
As March gracefully arrives, ushering in the vibrant spirit of spring and the anticipation of festive celebrations, it’s impossible not to feel the joyous energy of St. Patrick’s Day. Time truly does fly, and here we are, already in the third month of the year, with a feeling that it was just yesterday we welcomed the new year. In Lakeview, the charming town I call home, St. Patrick’s Day is an exceptionally big deal. Our community dedicates an entire weekend to thrilling festivities, which proudly feature unique local traditions like competitive potato hockey and exhilarating outhouse races. These celebrations highlight our town’s fun-loving spirit and deep appreciation for the holiday.
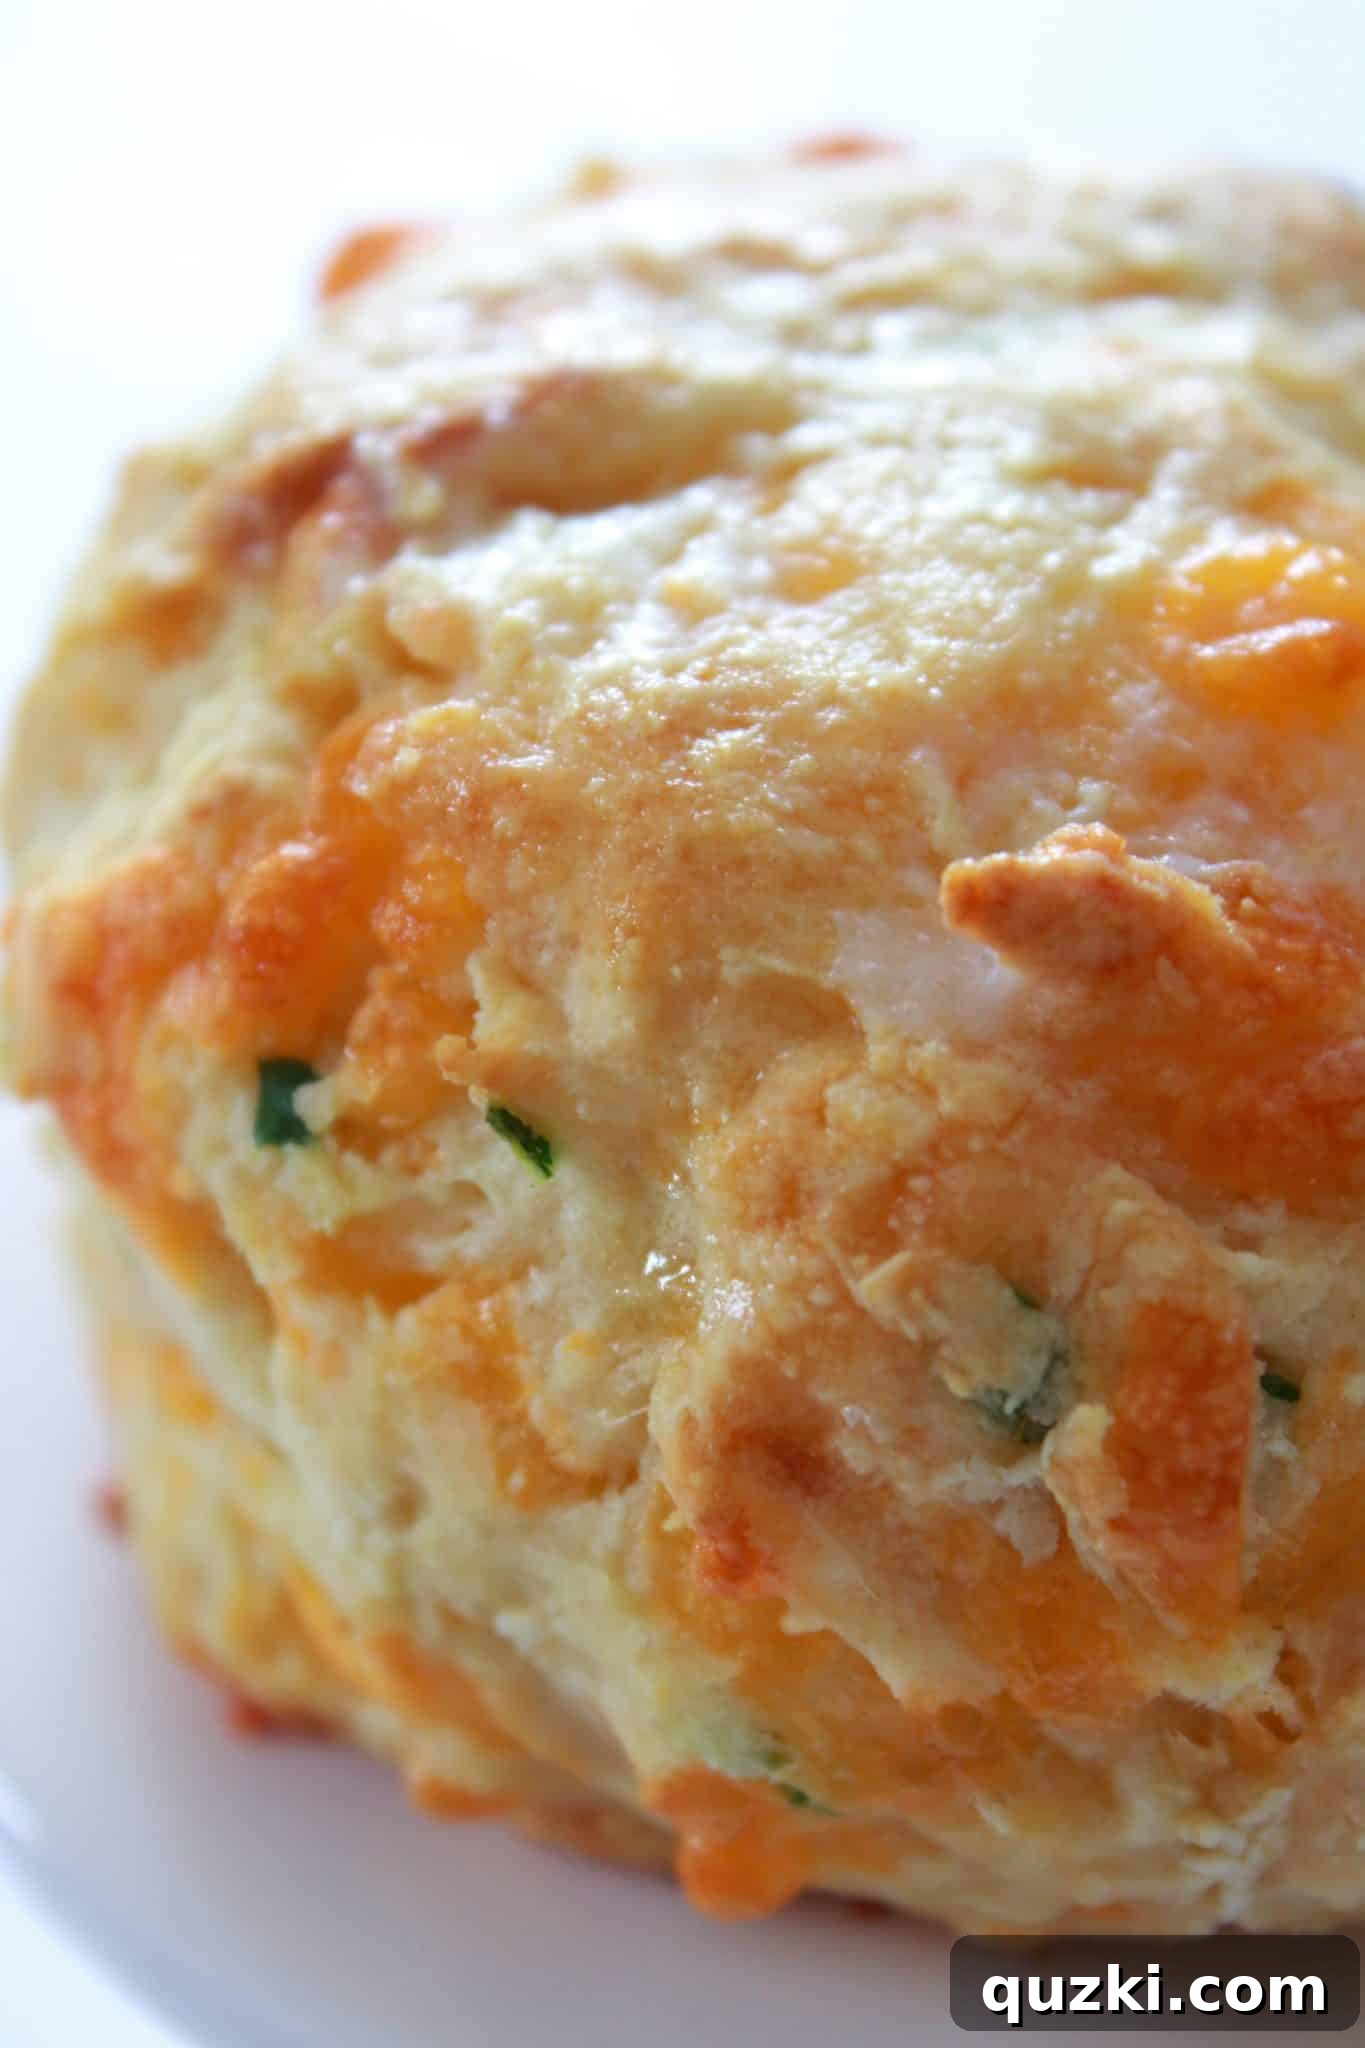
While the timeless pairing of traditional Corned Beef and Cabbage undeniably offers a super tasty and hearty meal, I always enjoy exploring alternatives that bring fresh excitement to the St. Patrick’s Day feast. This year, I’m absolutely thrilled to share a recipe that has become a personal favorite for its delightful simplicity and incredible flavor: my signature **Cheddar & Chive Mini Irish Soda Bread**. These savory little loaves are a fantastic way to celebrate, offering a comforting warmth and a burst of exquisite taste that perfectly complements any festive spread.

Why These Mini Irish Soda Breads Will Become Your New Favorite
There are countless reasons to fall in love with this particular recipe, but two stand out immediately: its remarkable ease of preparation and its impressively quick baking time. Traditional Irish soda bread is often shaped into a large, rustic round loaf, which, while beautiful, can take a significant amount of time to bake through to the center. To make the process far more efficient and to create individual, perfectly portioned delights, I’ve chosen to divide the dough into smaller rounds. This ingenious modification cuts the baking time by almost half, meaning you can enjoy warm, homemade bread on your table in a fraction of the time.
These mini loaves, with their charming round shape, might remind you of classic biscuits. However, their texture is distinctly different; Irish soda bread boasts a unique, slightly denser crumb with a wonderfully chewy crust, offering a satisfying bite that biscuits typically don’t. But what truly elevates these mini soda breads from delightful to utterly irresistible is the infusion of two incredibly flavorful ingredients: sharp cheddar cheese and fresh chives. The rich, tangy notes of cheddar melt beautifully into the bread, creating pockets of savory goodness, while the delicate, oniony zest of the chives provides a fresh, aromatic counterpoint. When you add cheddar cheese and chives to anything, you don’t just make it delicious; you automatically transform it into something truly extra special and comforting.
These savory mini breads are incredibly versatile and pair wonderfully with a variety of hearty meals. Imagine serving them warm, with a pat of butter, alongside a rich and savory Shepherd’s Pie Skillet, where they can perfectly sop up all the flavorful gravy. Or, for a more robust and satisfying pairing, they are an excellent accompaniment to a delicious Brat and Potatoes Sheet Pan Meal. Their cheesy, herby profile makes them the ultimate comfort food side, ideal for elevating any dinner, particularly during the festive season or on a chilly evening.
The Enduring Legacy of Irish Soda Bread: A Culinary Journey
Irish soda bread, known in Gaelic as “arán sóid,” is far more than just a simple loaf of quick bread; it embodies a rich culinary history deeply rooted in resourcefulness and tradition. Its origins trace back to the mid-19th century in Ireland, a period when baking soda became readily available and widely used. This unassuming leavening agent revolutionized bread-making, especially for rural households that often lacked conventional ovens and instead relied on cast-iron pots known as bastibles, cooked over open turf fires.
The beauty of Irish soda bread lies in its straightforward ingredients and preparation. It traditionally combines just four staples: soft wheat flour (which was common in Ireland), baking soda, salt, and buttermilk. The acidity of the buttermilk reacts with the alkaline baking soda, producing carbon dioxide bubbles that cause the bread to rise without the need for yeast or extensive kneading. This chemical reaction results in a characteristically dense yet tender crumb, often with a robust, slightly craggy crust. Its simplicity and speed of preparation made it an invaluable and economical daily bread for many Irish families, providing sustenance quickly and efficiently.
While the most traditional soda bread is plain, designed to be served with butter, jam, or alongside hearty stews, regional variations and modern adaptations have blossomed over time. Some versions incorporate sweet elements like raisins or currants, while others embrace savory additions like caraway seeds or, in our case, the irresistible combination of cheddar cheese and chives. Our Mini Irish Soda Breads honor this storied legacy by maintaining the fundamental characteristics of this beloved classic—its quick preparation and comforting flavors—while offering a contemporary twist that’s perfect for modern palates and busy lifestyles. They capture the essence of Irish heritage in a convenient, individual serving size, making them a truly special treat for St. Patrick’s Day and beyond.
Crafting Perfect Cheddar & Chive Mini Irish Soda Bread: A Detailed Step-by-Step Guide
Creating these incredibly flavorful and charming mini soda breads is a wonderfully straightforward and rewarding experience. Follow these detailed steps to ensure each batch turns out perfectly golden, tender, and bursting with cheesy, herby goodness.
1. Prepare Your Dry Ingredients with Precision
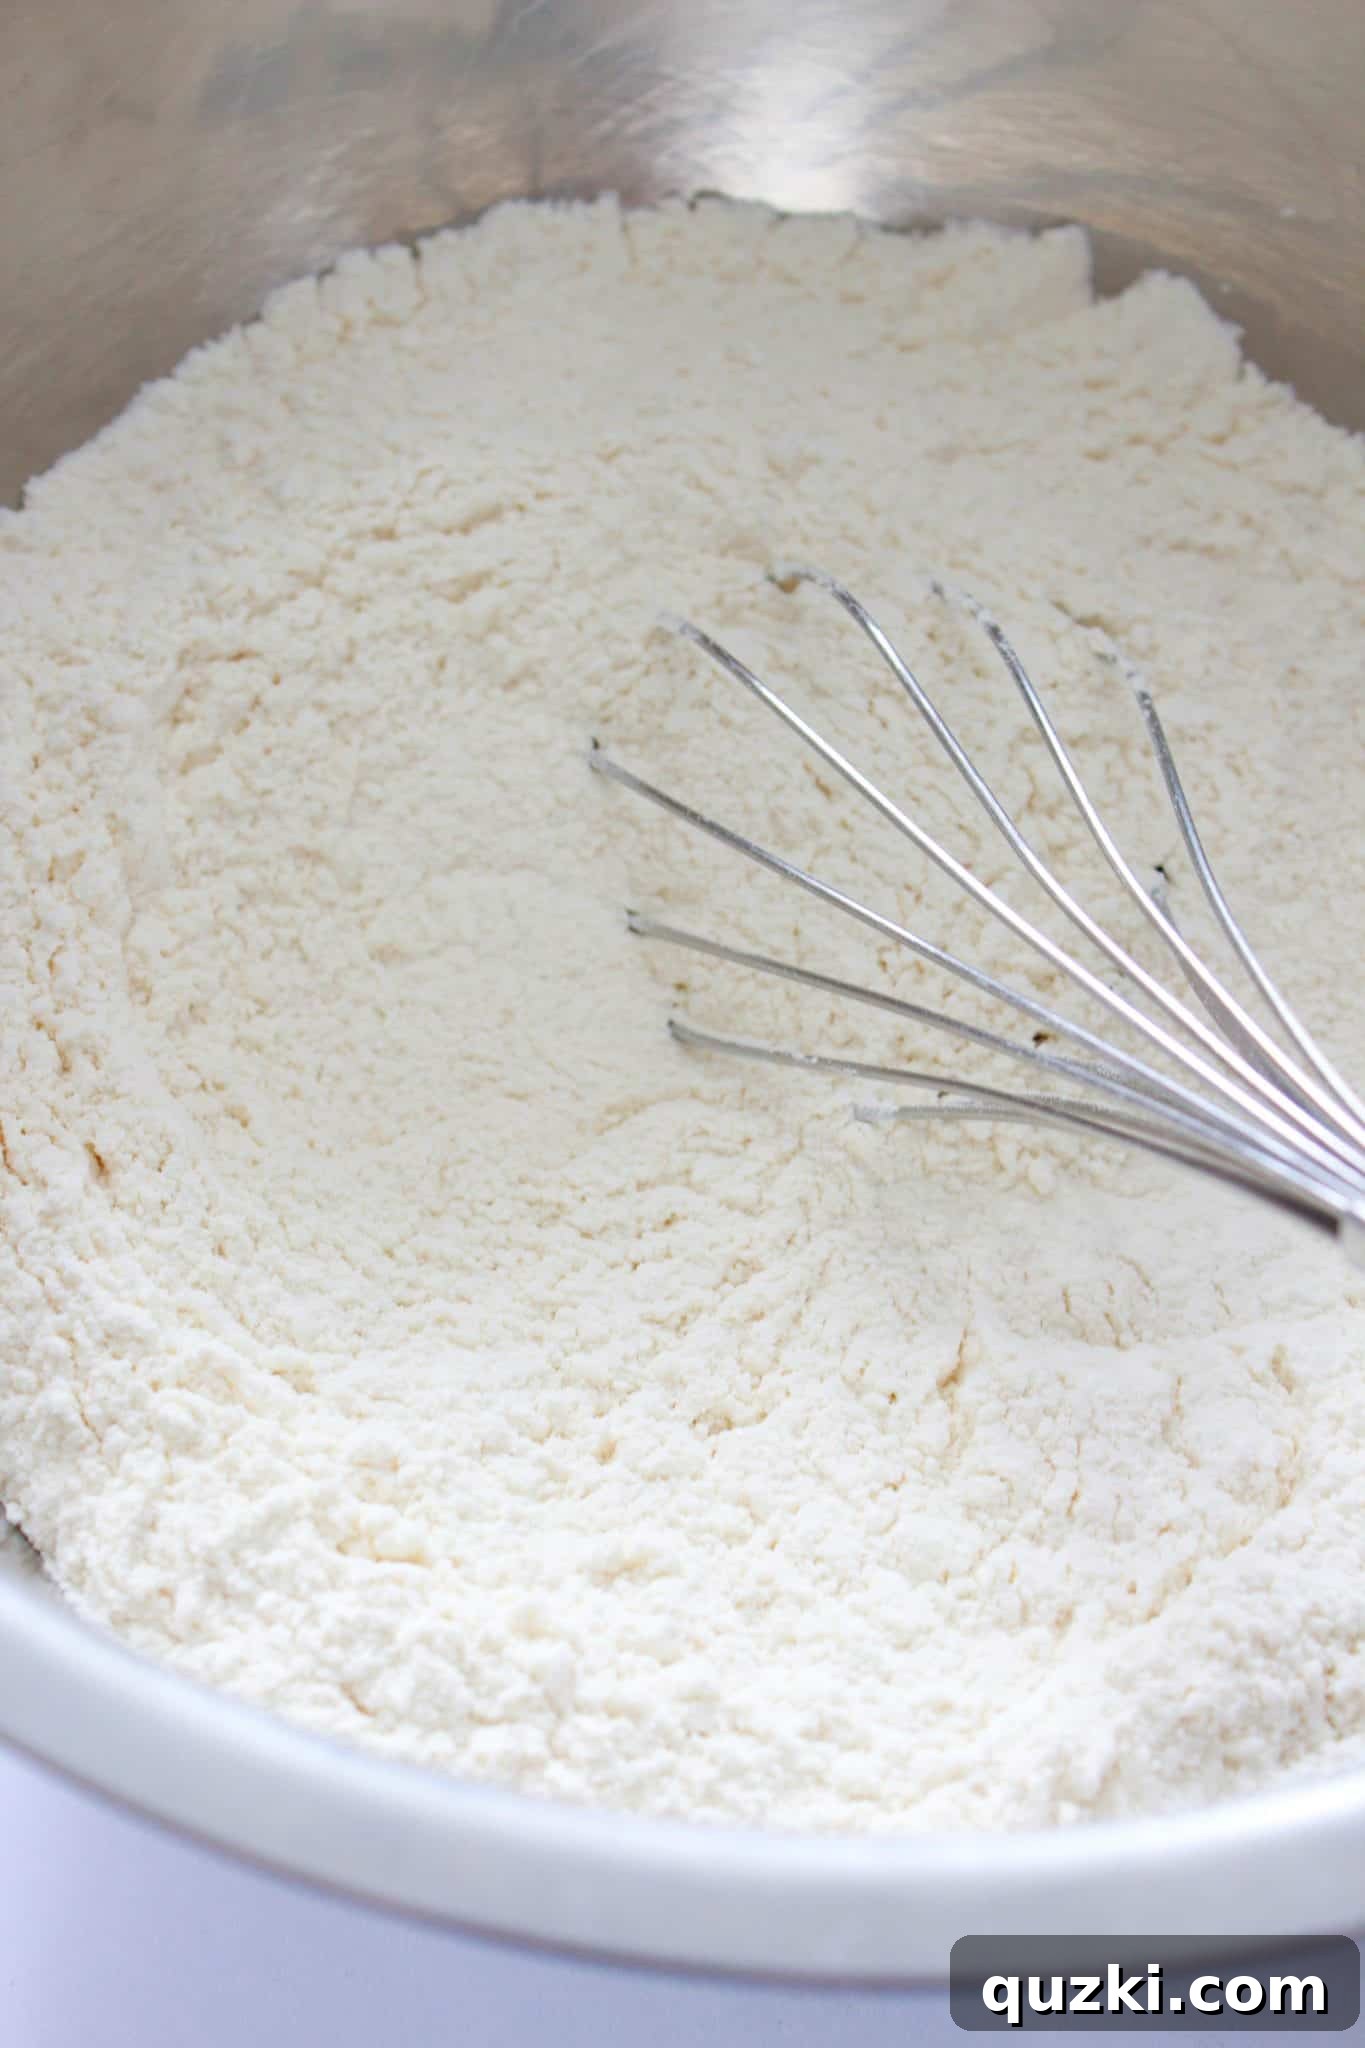
The foundation of any great bread begins with the careful preparation of dry ingredients. In a large mixing bowl, meticulously combine your all-purpose flour, granulated sugar, baking soda, and salt. While whisking them together is perfectly acceptable, I highly recommend sifting them through a fine-mesh sieve. Sifting not only removes any small clumps but, more importantly, aerates the flour and ensures that the baking soda and salt are evenly distributed throughout the mixture. This uniformity is crucial for a consistent rise and flavor in every bite of your finished bread.
2. Introduce the Savory Stars: Cheddar and Chives
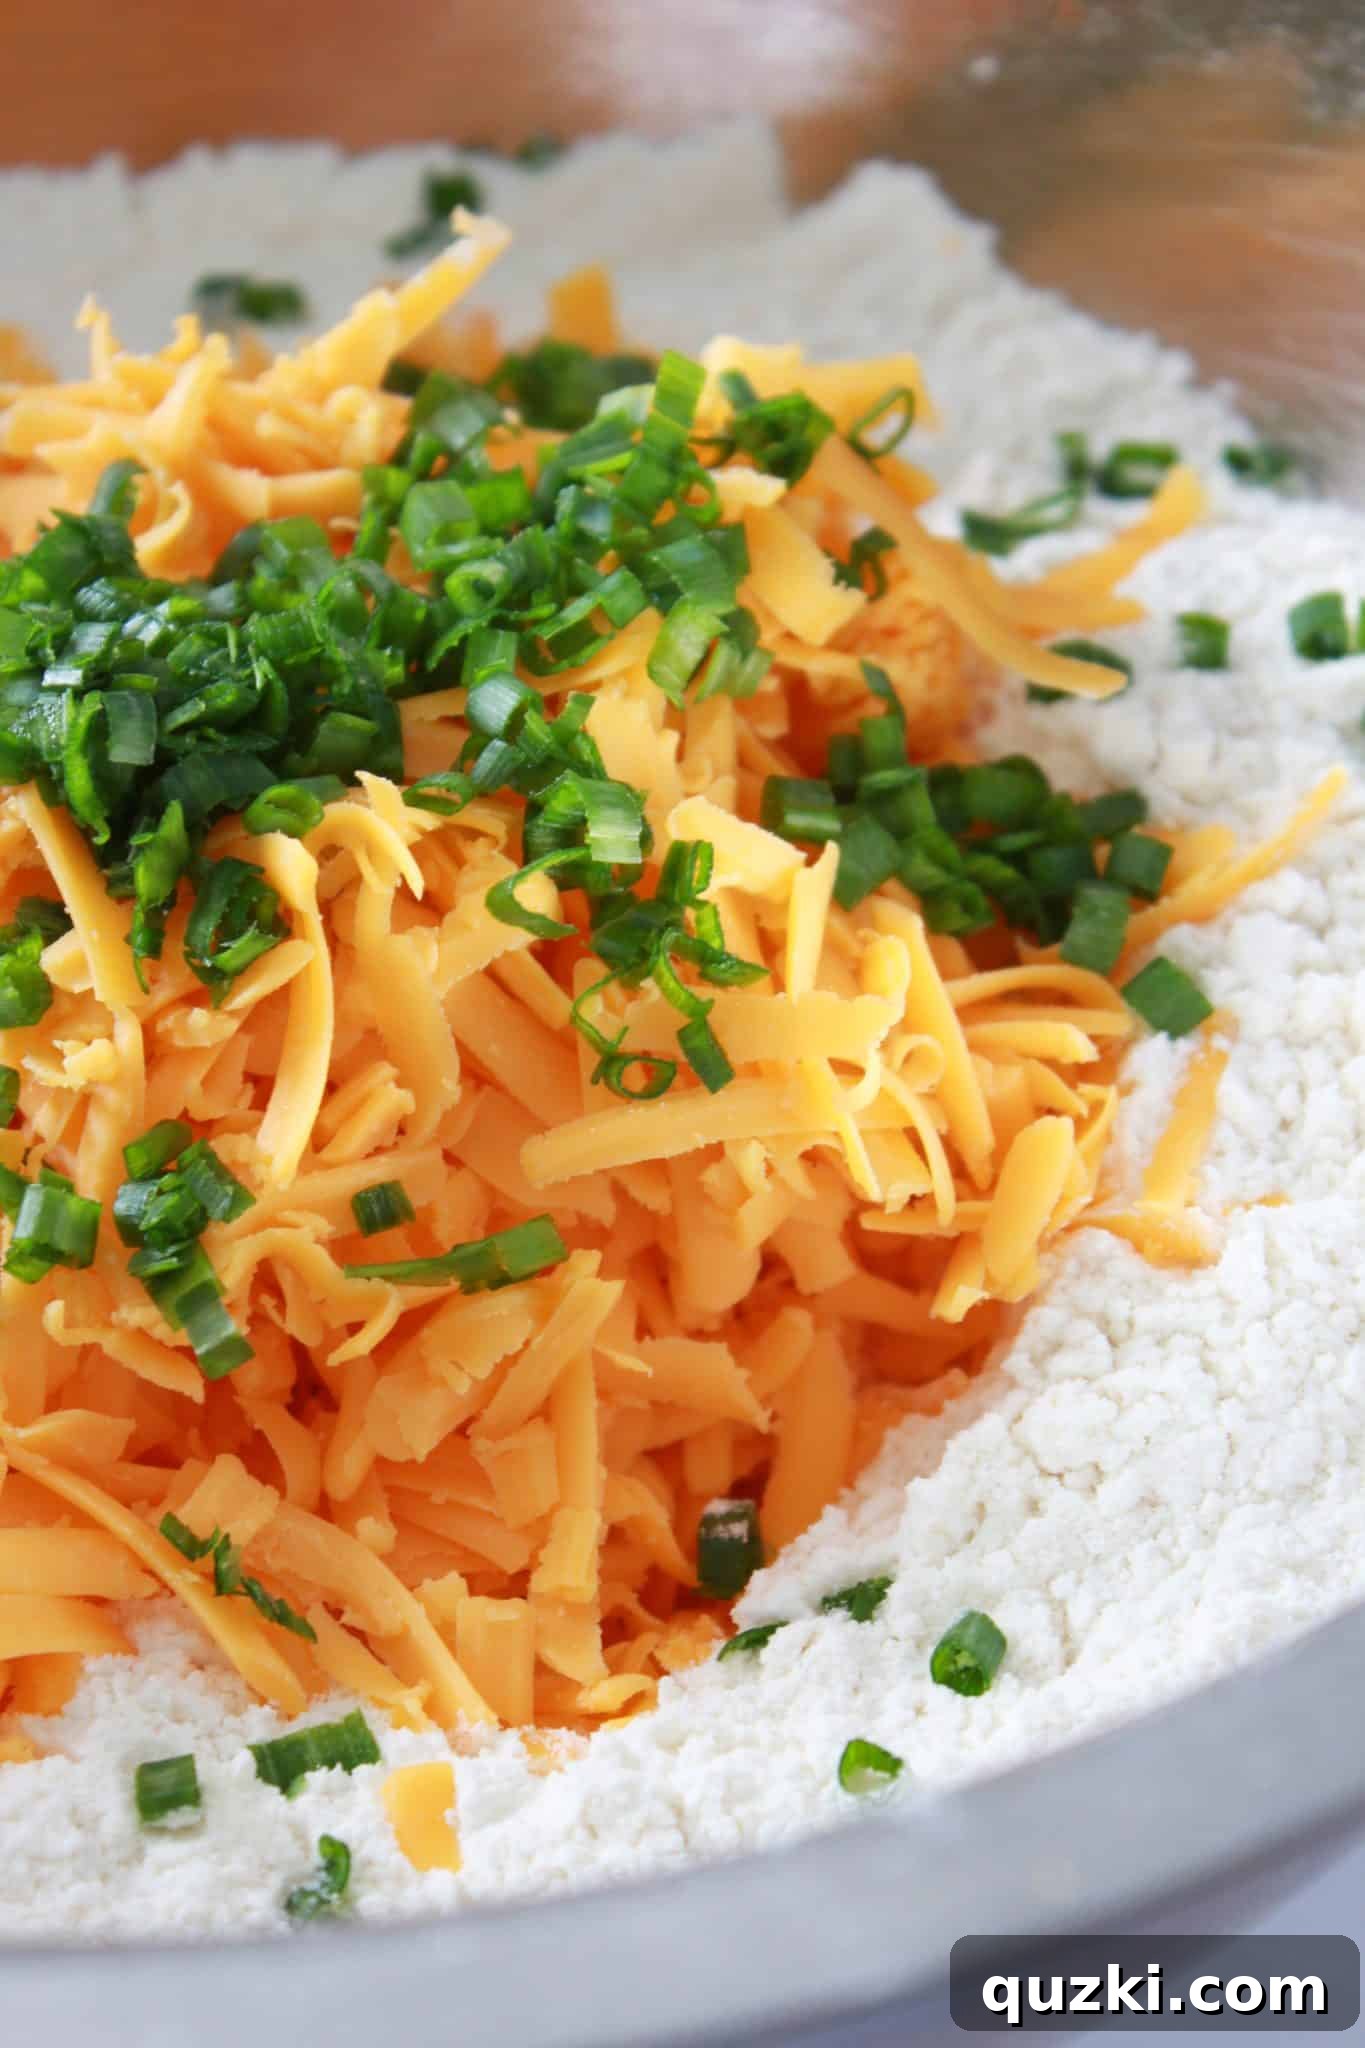
Once your dry ingredients are perfectly blended, it’s time to bring in the stars of our savory soda bread: the vibrant shredded cheddar cheese and the freshly chopped chives. Gently add these flavorful additions to your dry mixture. Using a spoon or your hands, carefully fold them in, ensuring they are well dispersed throughout the flour. The sight of the bright green chives contrasting with the golden cheddar against the white flour is truly beautiful! This step is where the bread begins to take on its distinctive savory character, marrying the sharp, creamy notes of cheddar with the delicate, fresh oniony flavor of chives.
3. Gently Form the Dough with Milk
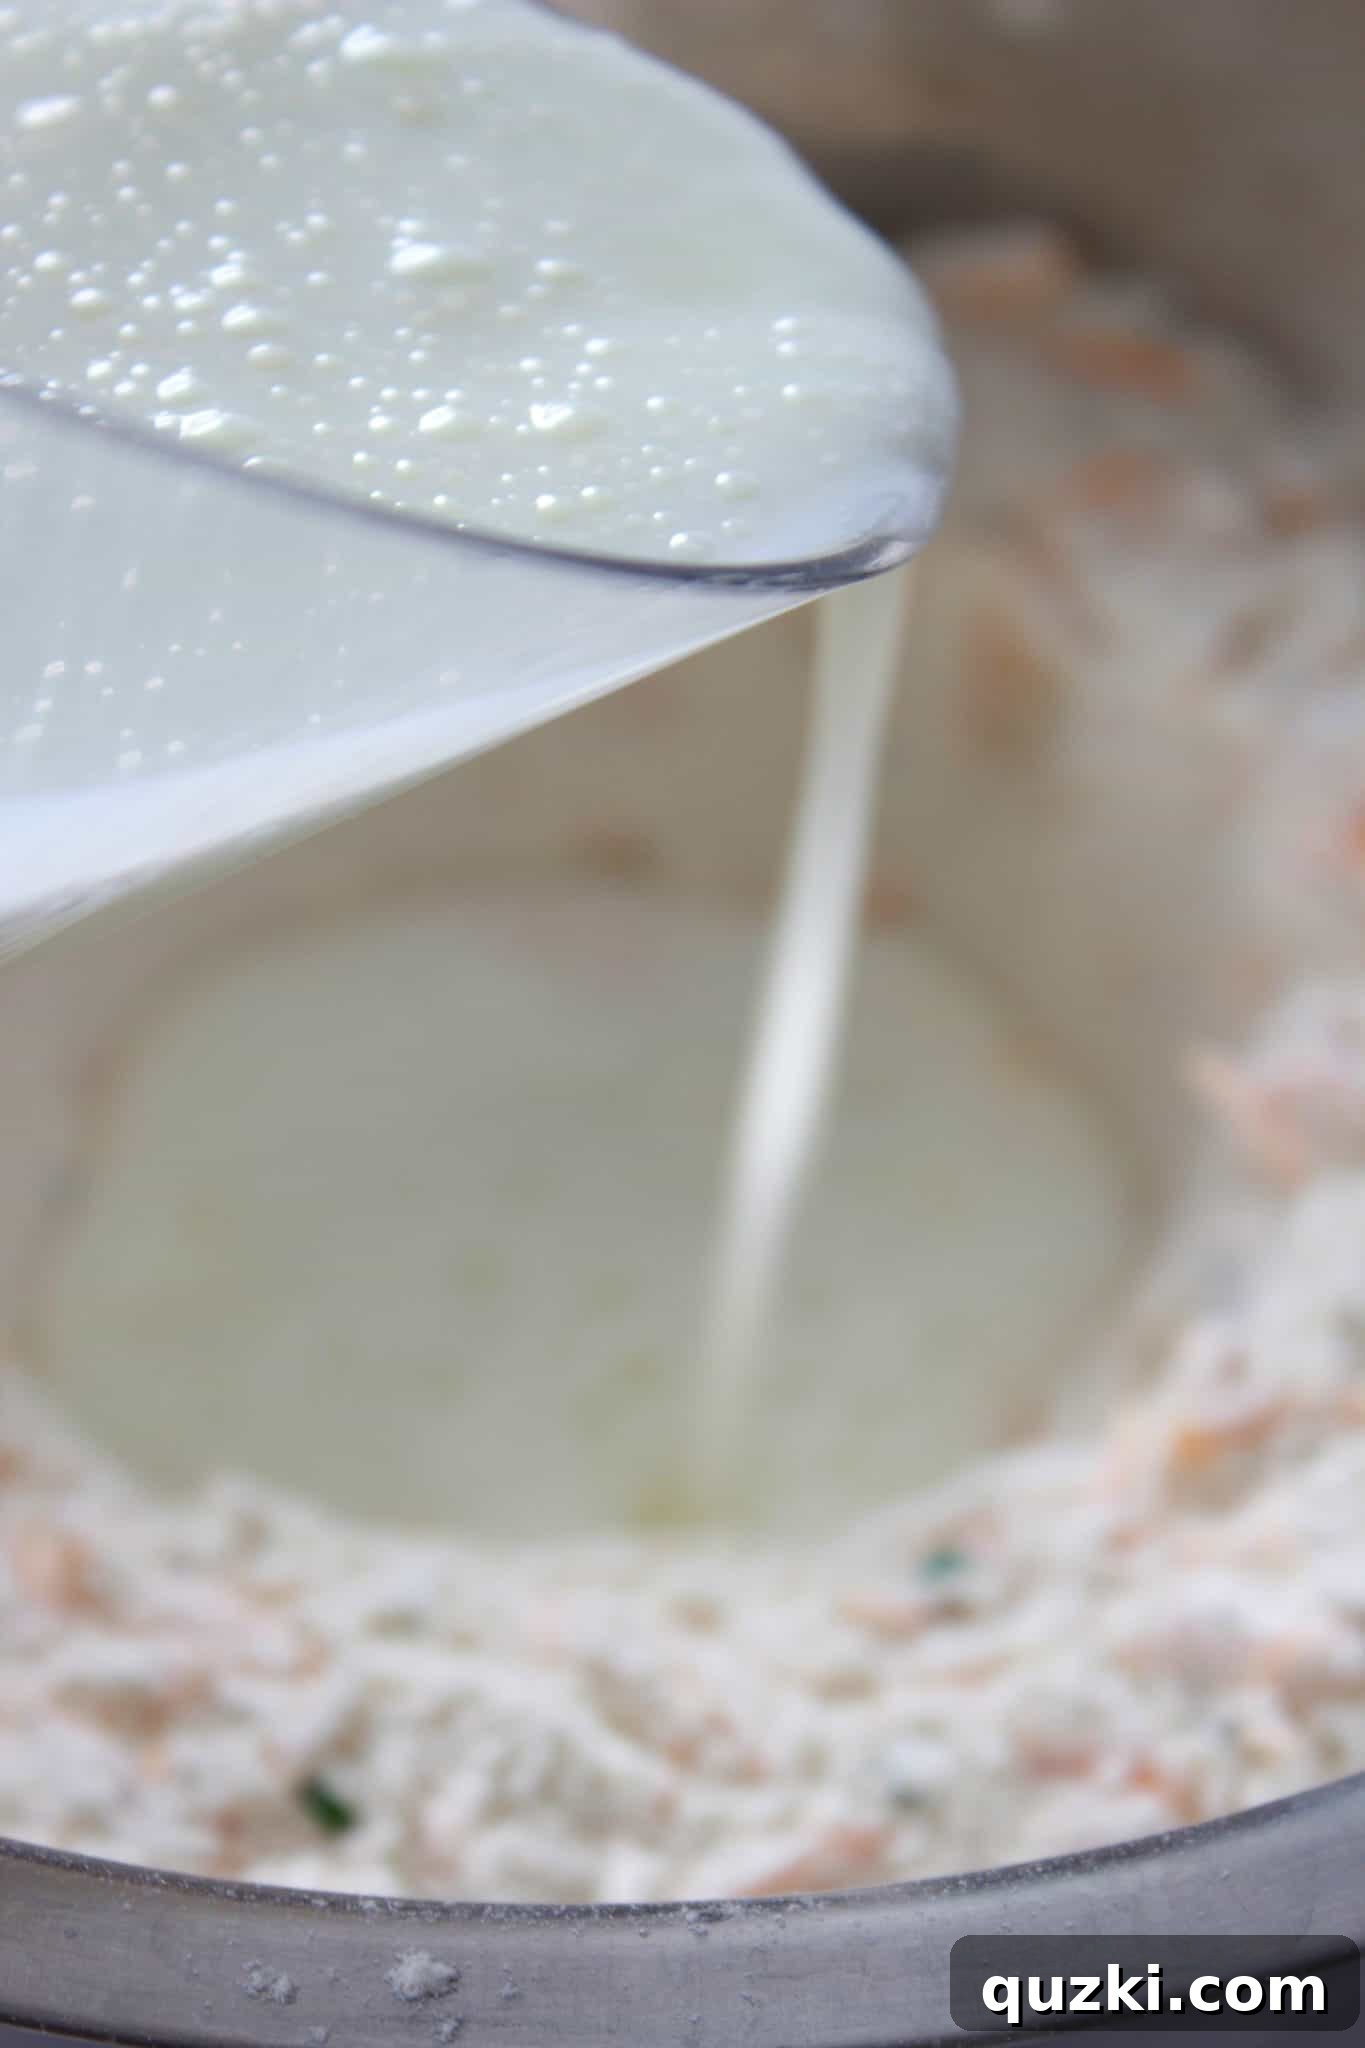
With your dry and savory ingredients perfectly combined, it’s time for the liquid component. Gradually pour in the milk. Using a wooden spoon or a sturdy spatula, stir the mixture until it just comes together to form a soft, shaggy dough. The key principle here is gentle handling: avoid overmixing at all costs. Overworking the dough can develop the gluten in the flour excessively, leading to a tough and less tender bread. We are aiming for a soft, slightly sticky dough that holds its shape. If your mixture seems too dry and isn’t coming together, don’t hesitate to add an additional tablespoon or two of milk, one at a time, until you achieve the correct, pliable consistency. The dough should not be overly wet, but moist enough to form a ball.
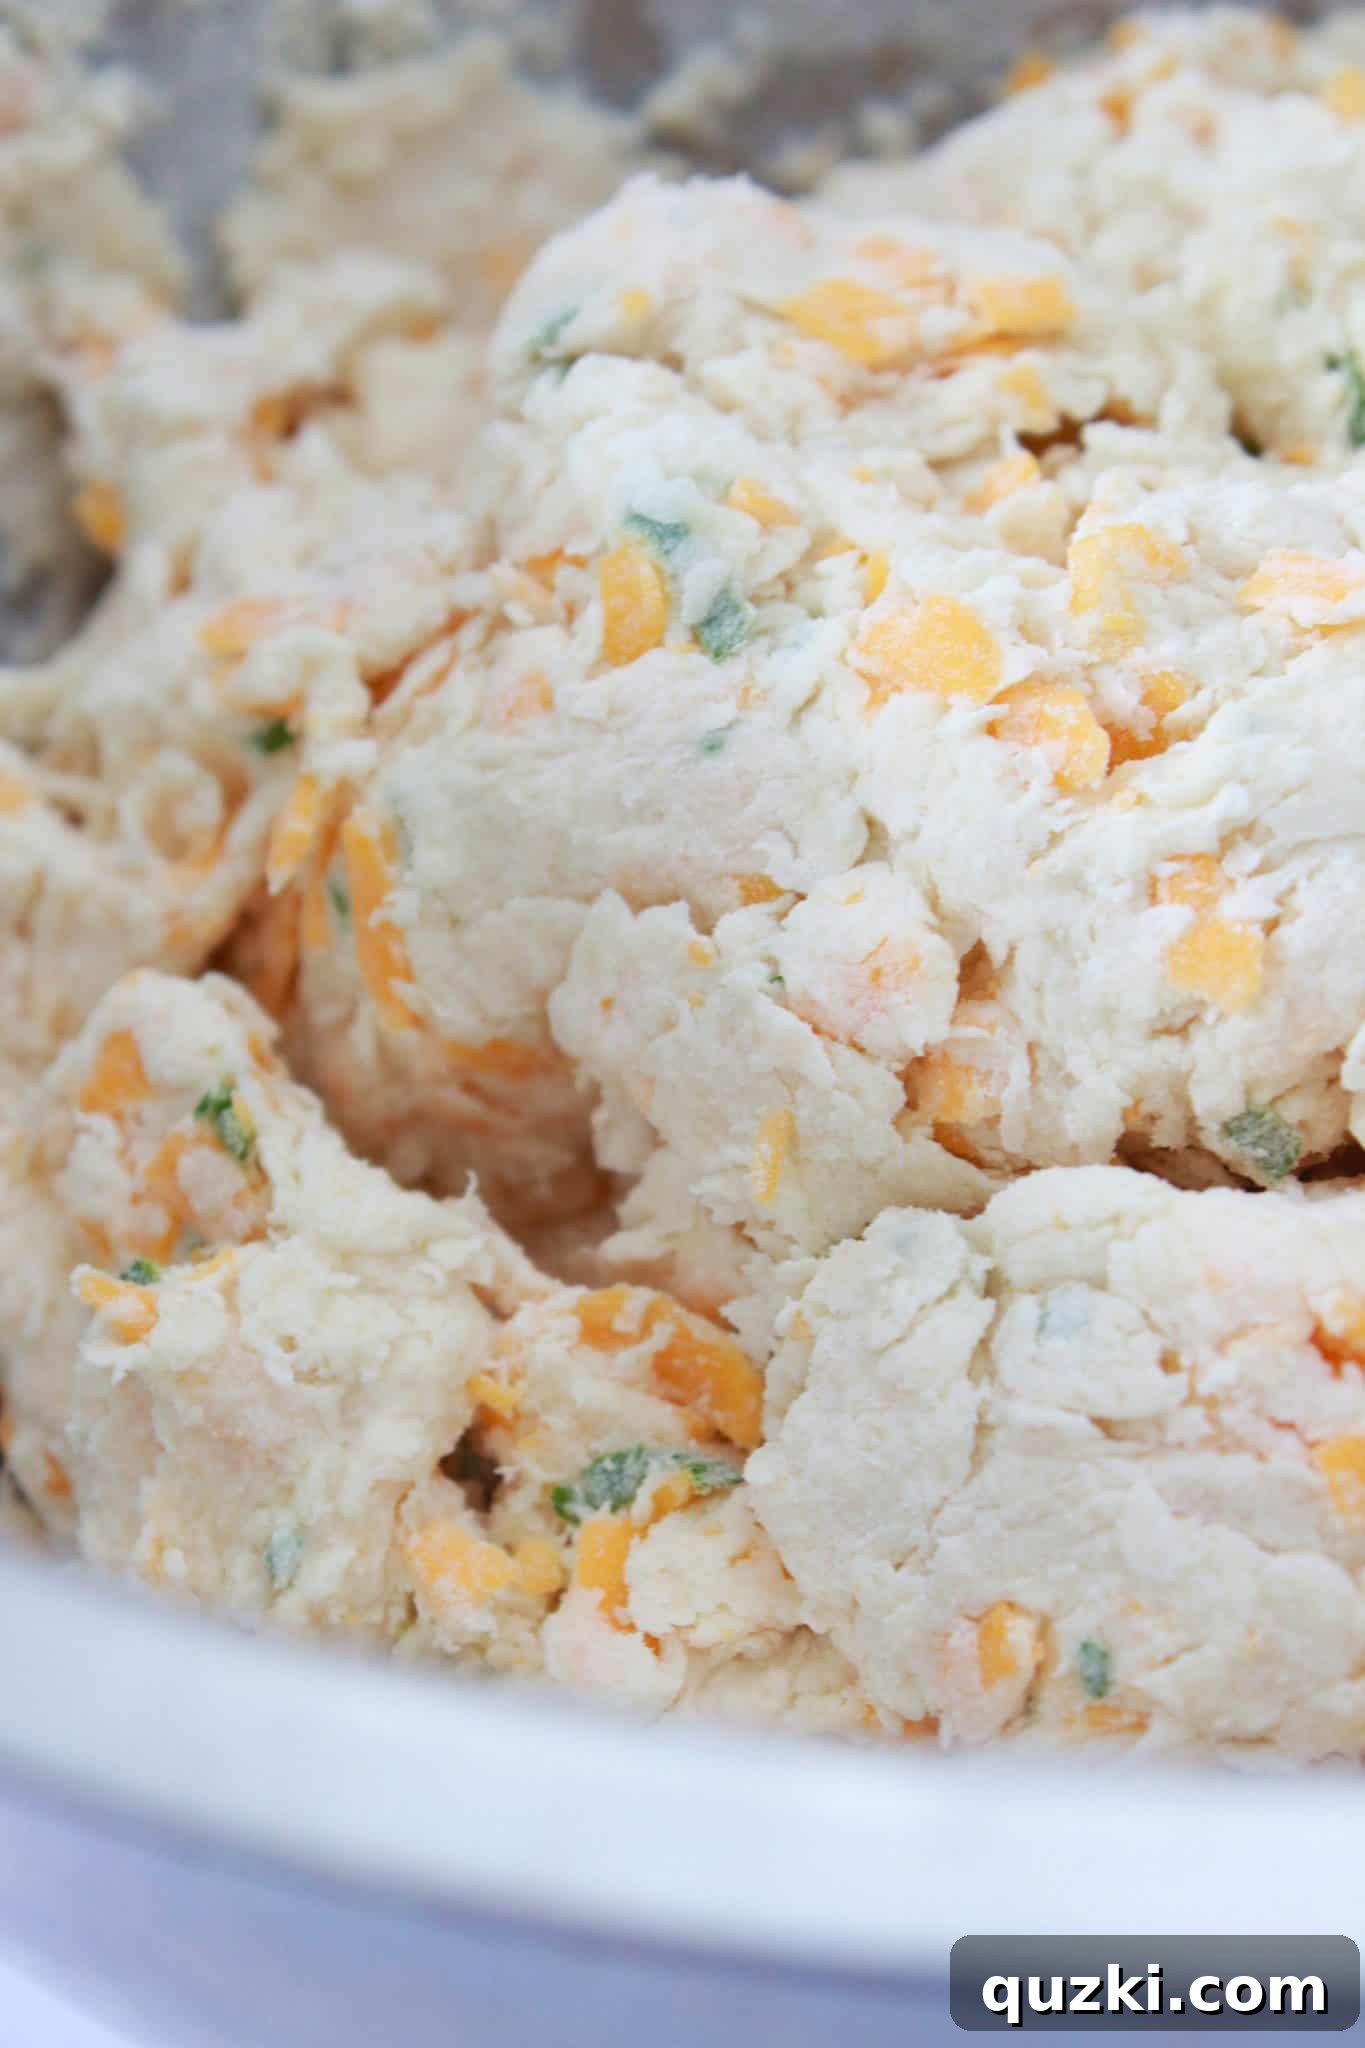
4. Portion and Shape Your Adorable Mini Rounds
Once your dough is ready, lightly flour your hands and a clean, dry work surface. Carefully transfer the dough from the bowl onto the prepared surface. Now, divide the dough into eight equal pieces. For precise and uniform results, especially if you desire consistently sized breads, a kitchen scale can be very helpful here. Gently mold each piece into a small, round disc. These don’t need to be perfectly smooth or symmetrical; their rustic, slightly irregular shape is part of their inherent charm and appeal. Unlike traditional biscuits, you won’t be rolling out the dough and cutting it with a cutter; simply shaping them by hand is sufficient. Arrange these lovely rounds onto a baking sheet that has been lined with parchment paper or a Silpat mat, ensuring you leave a small amount of space between each one to allow for even heat circulation and baking.
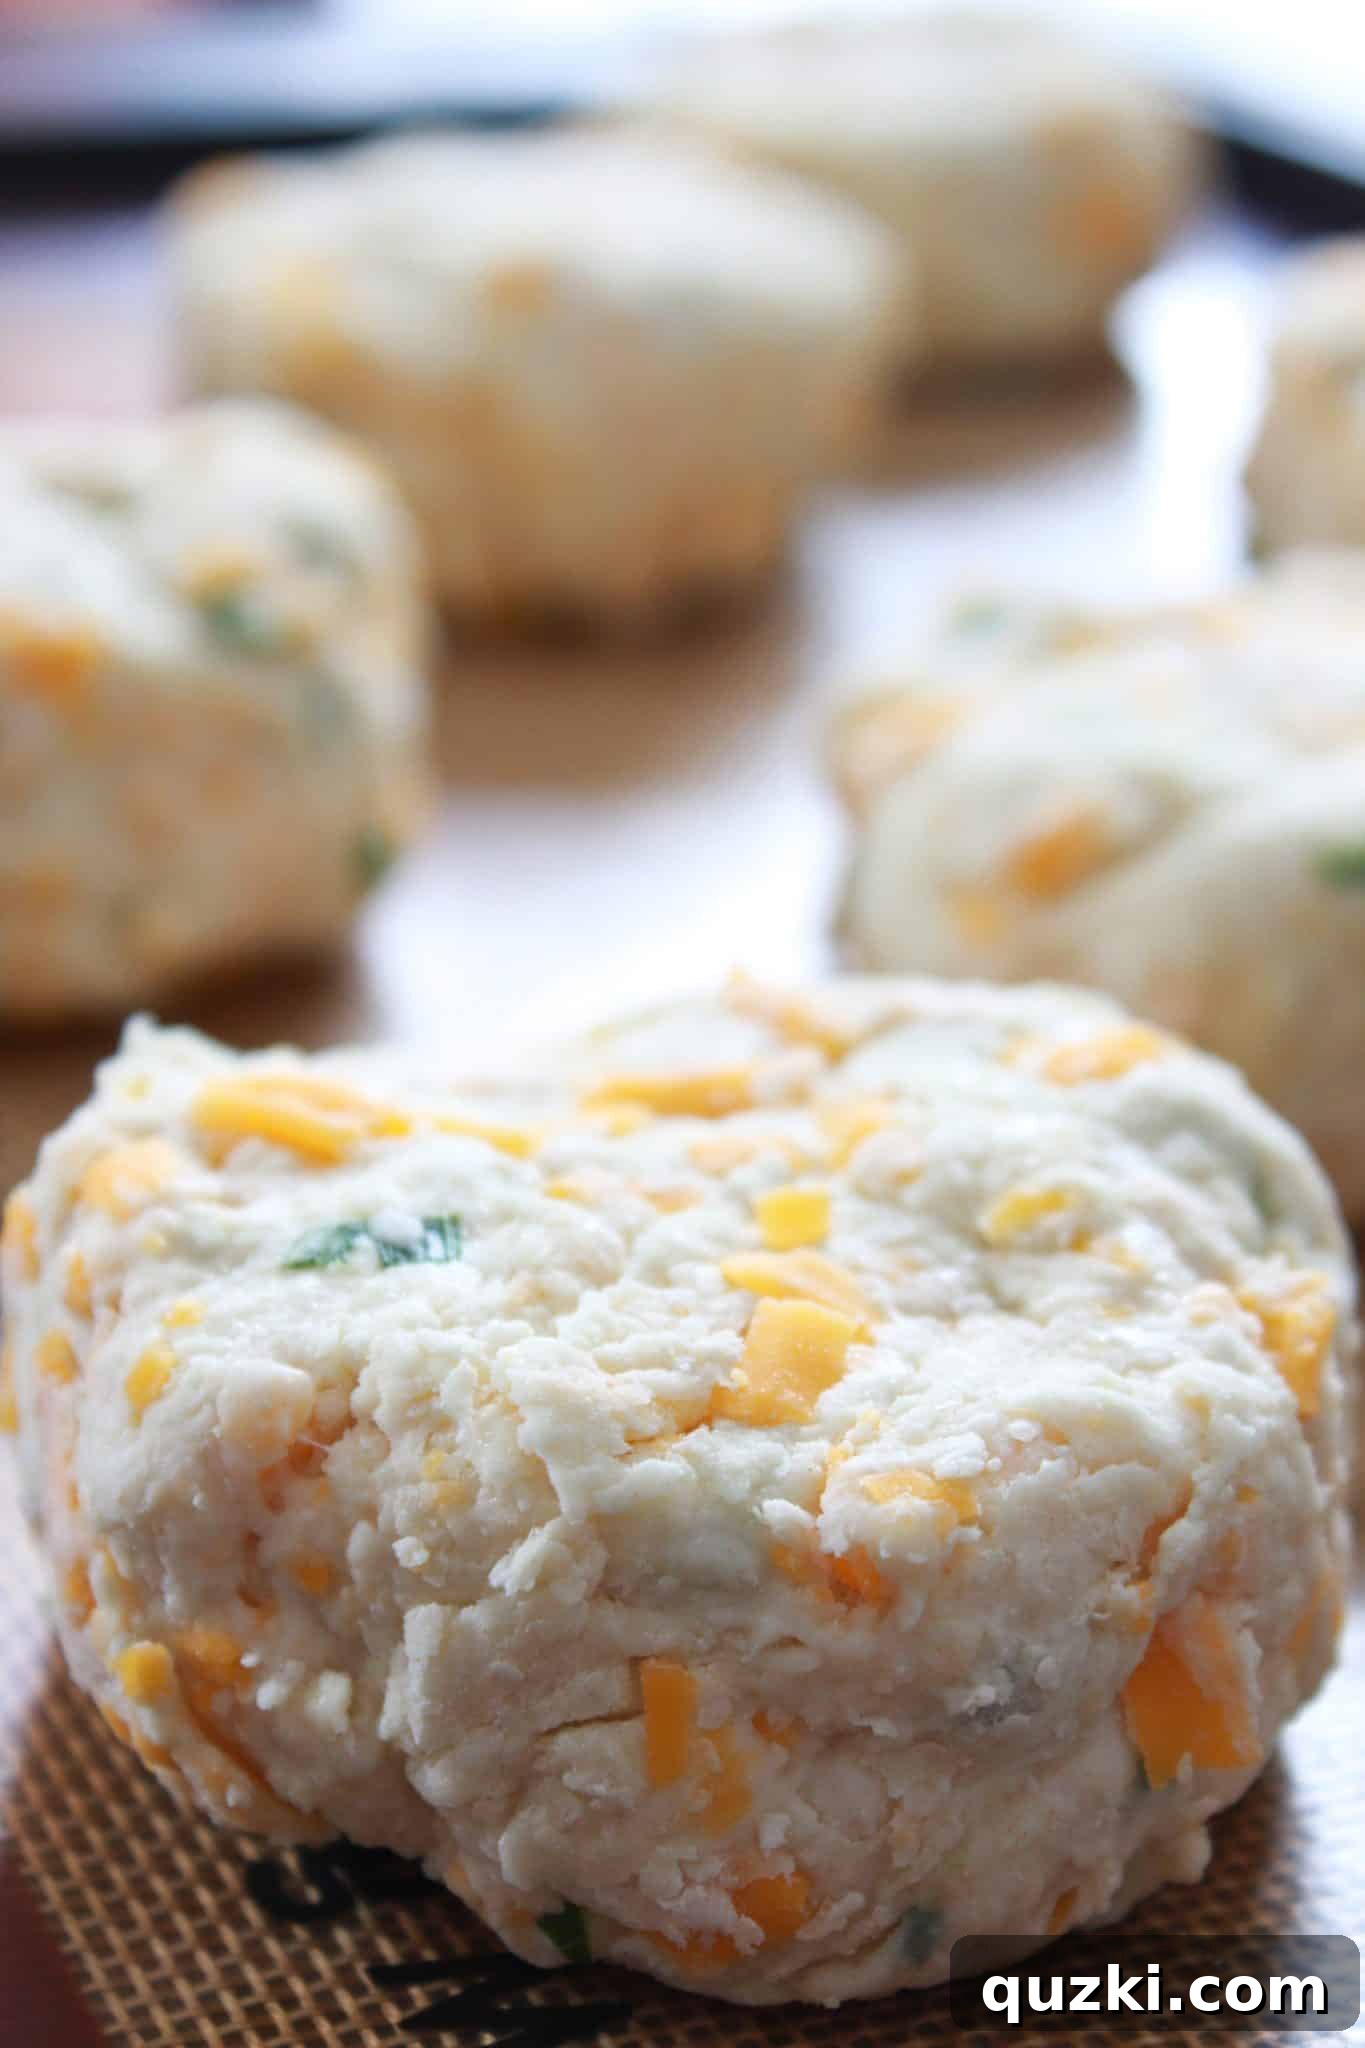
5. Bake to Golden Perfection and Finish with Butter
With your oven preheated to 400°F (200°C), place your baking sheet with the mini soda breads into the oven. Bake them for approximately 20-25 minutes, or until they achieve a beautiful golden-brown color on the outside and are thoroughly cooked through. You can test for doneness by inserting a toothpick into the center of one loaf; it should come out clean. As they bake, your kitchen will be filled with an absolutely irresistible aroma!
The moment you remove these golden treasures from the oven, and while they are still wonderfully warm, spread a small amount of softened butter over the top of each bread. This simple step adds a delicate sheen, a touch of richness, and helps to keep the crust soft and tender. Take a moment to peek inside one of these beauties—the fluffy interior, generously dotted with melted cheddar and vibrant chives, is truly a sight to behold. So divine, indeed, and utterly ready to be enjoyed!

The Genius of Mini Soda Bread: Efficiency Meets Elegant Serving
While the large, round loaf of traditional Irish soda bread possesses undeniable charm and rustic appeal, there’s a particular brilliance in scaling it down to individual portions. The “mini” format offers several compelling advantages, making it an excellent choice for both everyday baking and special occasions:
- Significantly Faster Baking: This is perhaps the most immediate and appreciated benefit. A full-sized soda bread loaf can require an hour or more in the oven to cook through completely. By dividing the dough into smaller, individual pieces, the bake time is dramatically cut in half. This means you can have warm, freshly baked bread on your table in just 20-25 minutes, making it perfect for busy weeknights or unexpected guests.
- Perfect Individual Portions: Each mini soda bread is a self-contained, satisfying serving. This eliminates the need for slicing a large loaf and ensures that every person receives a perfectly proportioned piece, complete with its own delightful crust. It’s excellent for portion control and simplifies serving, especially when entertaining.
- Enhanced Crust Texture: With more surface area exposed to the oven’s heat, these mini loaves develop a wonderfully crisp and flavorful crust all around, contributing to a more satisfying textural experience with every bite.
- Versatile and Elegant Presentation: Their adorable size makes them incredibly versatile for presentation. They can be arranged beautifully in a bread basket, served individually alongside bowls of soup or stew, or even used as a base for small open-faced sandwiches or appetizers. They add a sophisticated yet rustic touch to any meal setting.
- Ideal for Freezing and Reheating: The individual nature of these breads makes them perfect for freezing. Bake a batch, enjoy some fresh, and then easily freeze the remainder. When a craving strikes, simply thaw and gently reheat a single mini loaf for that fresh-baked taste without any fuss.
These individual loaves were an outstanding accompaniment to a hearty seasonal stew, providing the perfect vehicle to soak up all the rich, comforting flavors. However, their versatility truly knows no bounds; they would be a superb side dish for almost any meal you can imagine. From a simple chili or a robust beef roast to grilled chicken or even as a unique addition to a breakfast spread, these mini soda breads are sure to be a crowd-pleaser.

Cheddar & Chive Mini Irish Soda Bread: The Full Recipe
Enjoy these incredibly fun and flavorful mini soda breads, expertly infused with sharp cheddar cheese and vibrant fresh chives. They are the perfect quick bread to beautifully complement your St. Patrick’s Day feast or any meal that calls for a touch of savory comfort and homemade goodness.
By: June Albertson-Dick
Prep time: 10 minutes | Cook time: 25 minutes | Total time: 35 minutes
Yields: 8 servings
Ingredients
- 3 cups all-purpose flour
- 2 tablespoons granulated sugar
- 1 teaspoon baking soda
- 1 teaspoon salt
- 2 cups shredded cheddar cheese
- 2 tablespoons fresh chives, chopped
- 1 1/4 cups milk (plus 1-2 tablespoons extra if needed)
- 2 tablespoons butter, softened (for brushing after baking)
Instructions
- Preheat your oven to 400°F (200°C). Prepare a baking sheet by lining it with parchment paper or a Silpat mat. This prevents sticking and ensures easy cleanup.
- In a large mixing bowl, combine the all-purpose flour, granulated sugar, baking soda, and salt. Whisk or sift these dry ingredients together thoroughly until they are well combined and free of any lumps.
- Add the shredded cheddar cheese and freshly chopped chives to the dry mixture. Stir gently with a spoon or your hands to ensure they are evenly distributed throughout the flour.
- Pour in 1 ¼ cups of milk. Stir with a wooden spoon or spatula until a soft, shaggy dough forms. Be careful not to overmix; just combine until no dry flour streaks remain. If the dough appears too dry and crumbly, add an additional tablespoon or two of milk, one at a time, until it just comes together into a soft, manageable consistency.
- Lightly flour your hands and a clean work surface. Transfer the dough from the bowl. Divide the dough into 8 equal pieces. Gently shape each piece into a small, round disc, resembling a rustic biscuit.
- Place the shaped dough rounds onto your prepared baking sheet, ensuring there is a small amount of space between each one to allow for even baking and proper air circulation.
- Bake for 20-25 minutes, or until the mini soda breads are beautifully golden brown on the outside and cooked through. A toothpick inserted into the center of a loaf should come out clean.
- Immediately upon removing the breads from the oven, while they are still warm, spread a small amount of softened butter over the top of each loaf. This adds shine, flavor, and helps to keep the crust soft.
- Serve warm and savor every bite! These delicious mini soda breads can be stored in an airtight container at room temperature for up to 3 days. For longer storage, they freeze exceptionally well for up to 3 months; simply thaw at room temperature and reheat gently in the oven for a fresh-baked experience.
Approximate Nutrition Information (per 1 biscuit serving)
- Serving Size: 1 biscuit
- Calories: 346 kcal
- Carbohydrates: 41g
- Protein: 13g
- Fat: 14g
- Saturated Fat: 8g
- Polyunsaturated Fat: 1g
- Monounsaturated Fat: 3g
- Trans Fat: 0.1g
- Cholesterol: 40mg
- Sodium: 650mg
- Potassium: 132mg
- Fiber: 1g
- Sugar: 5g
- Vitamin A: 465 IU
- Vitamin C: 0.4mg
- Calcium: 255mg
- Iron: 2mg
Note: This nutrition information is automatically calculated and should be used as an approximation. Actual values may vary based on specific brands of ingredients, exact measurements, and preparation methods.
Loved making this recipe and enjoying these delicious mini soda breads? We’d absolutely love to hear about your experience! Please feel free to leave a comment below and share your thoughts and any tips with our community. Your feedback is truly invaluable and greatly appreciated!