
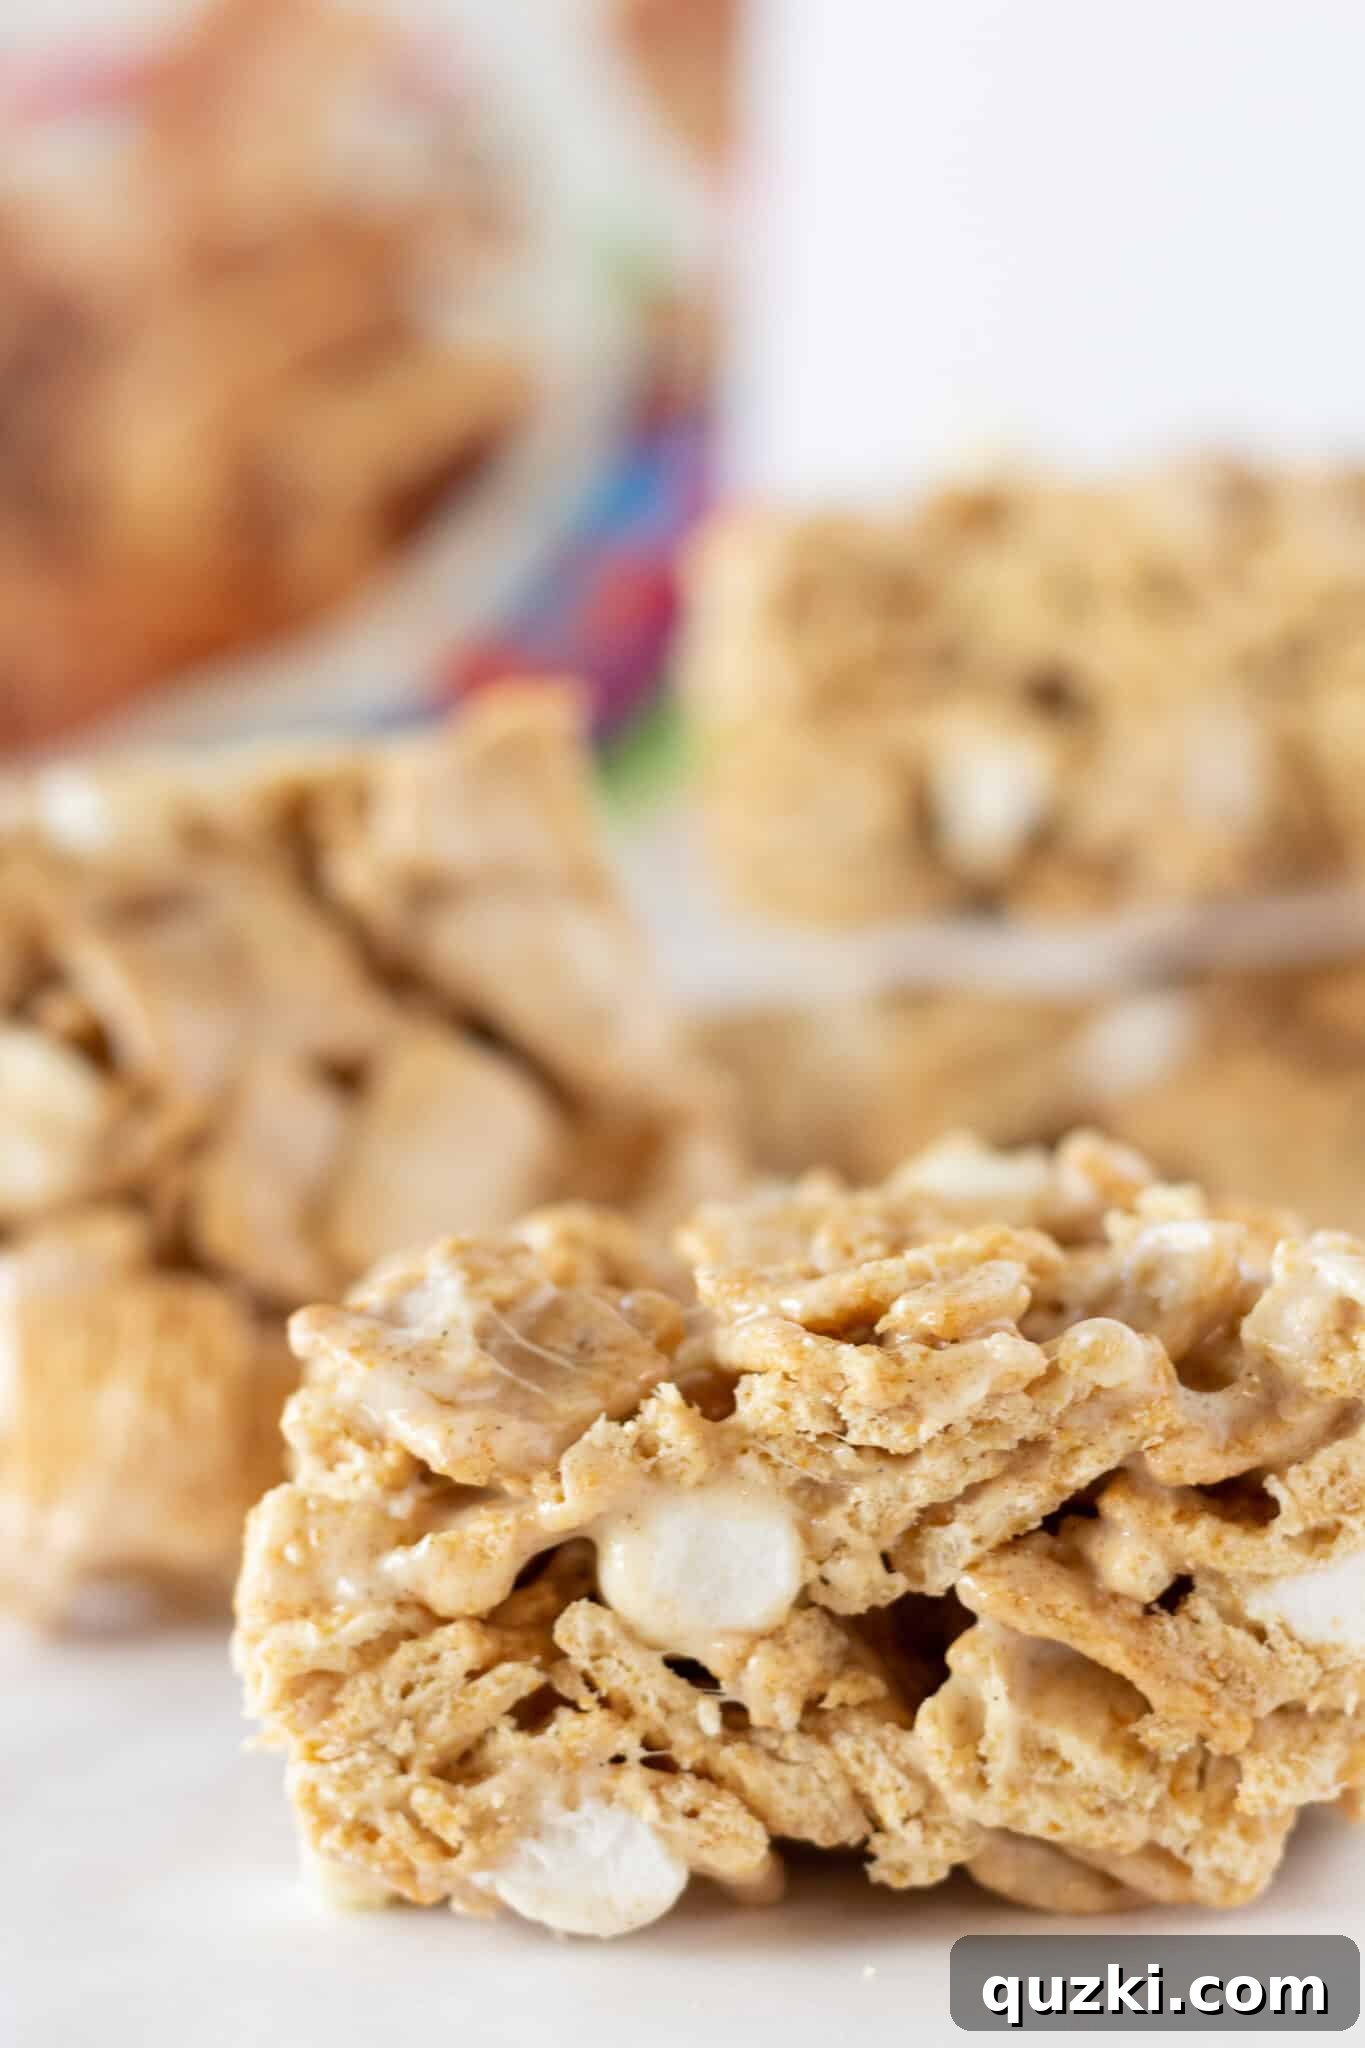
Ultimate No-Bake Cinnamon Toast Crunch Bars: Your New Favorite Easy Dessert
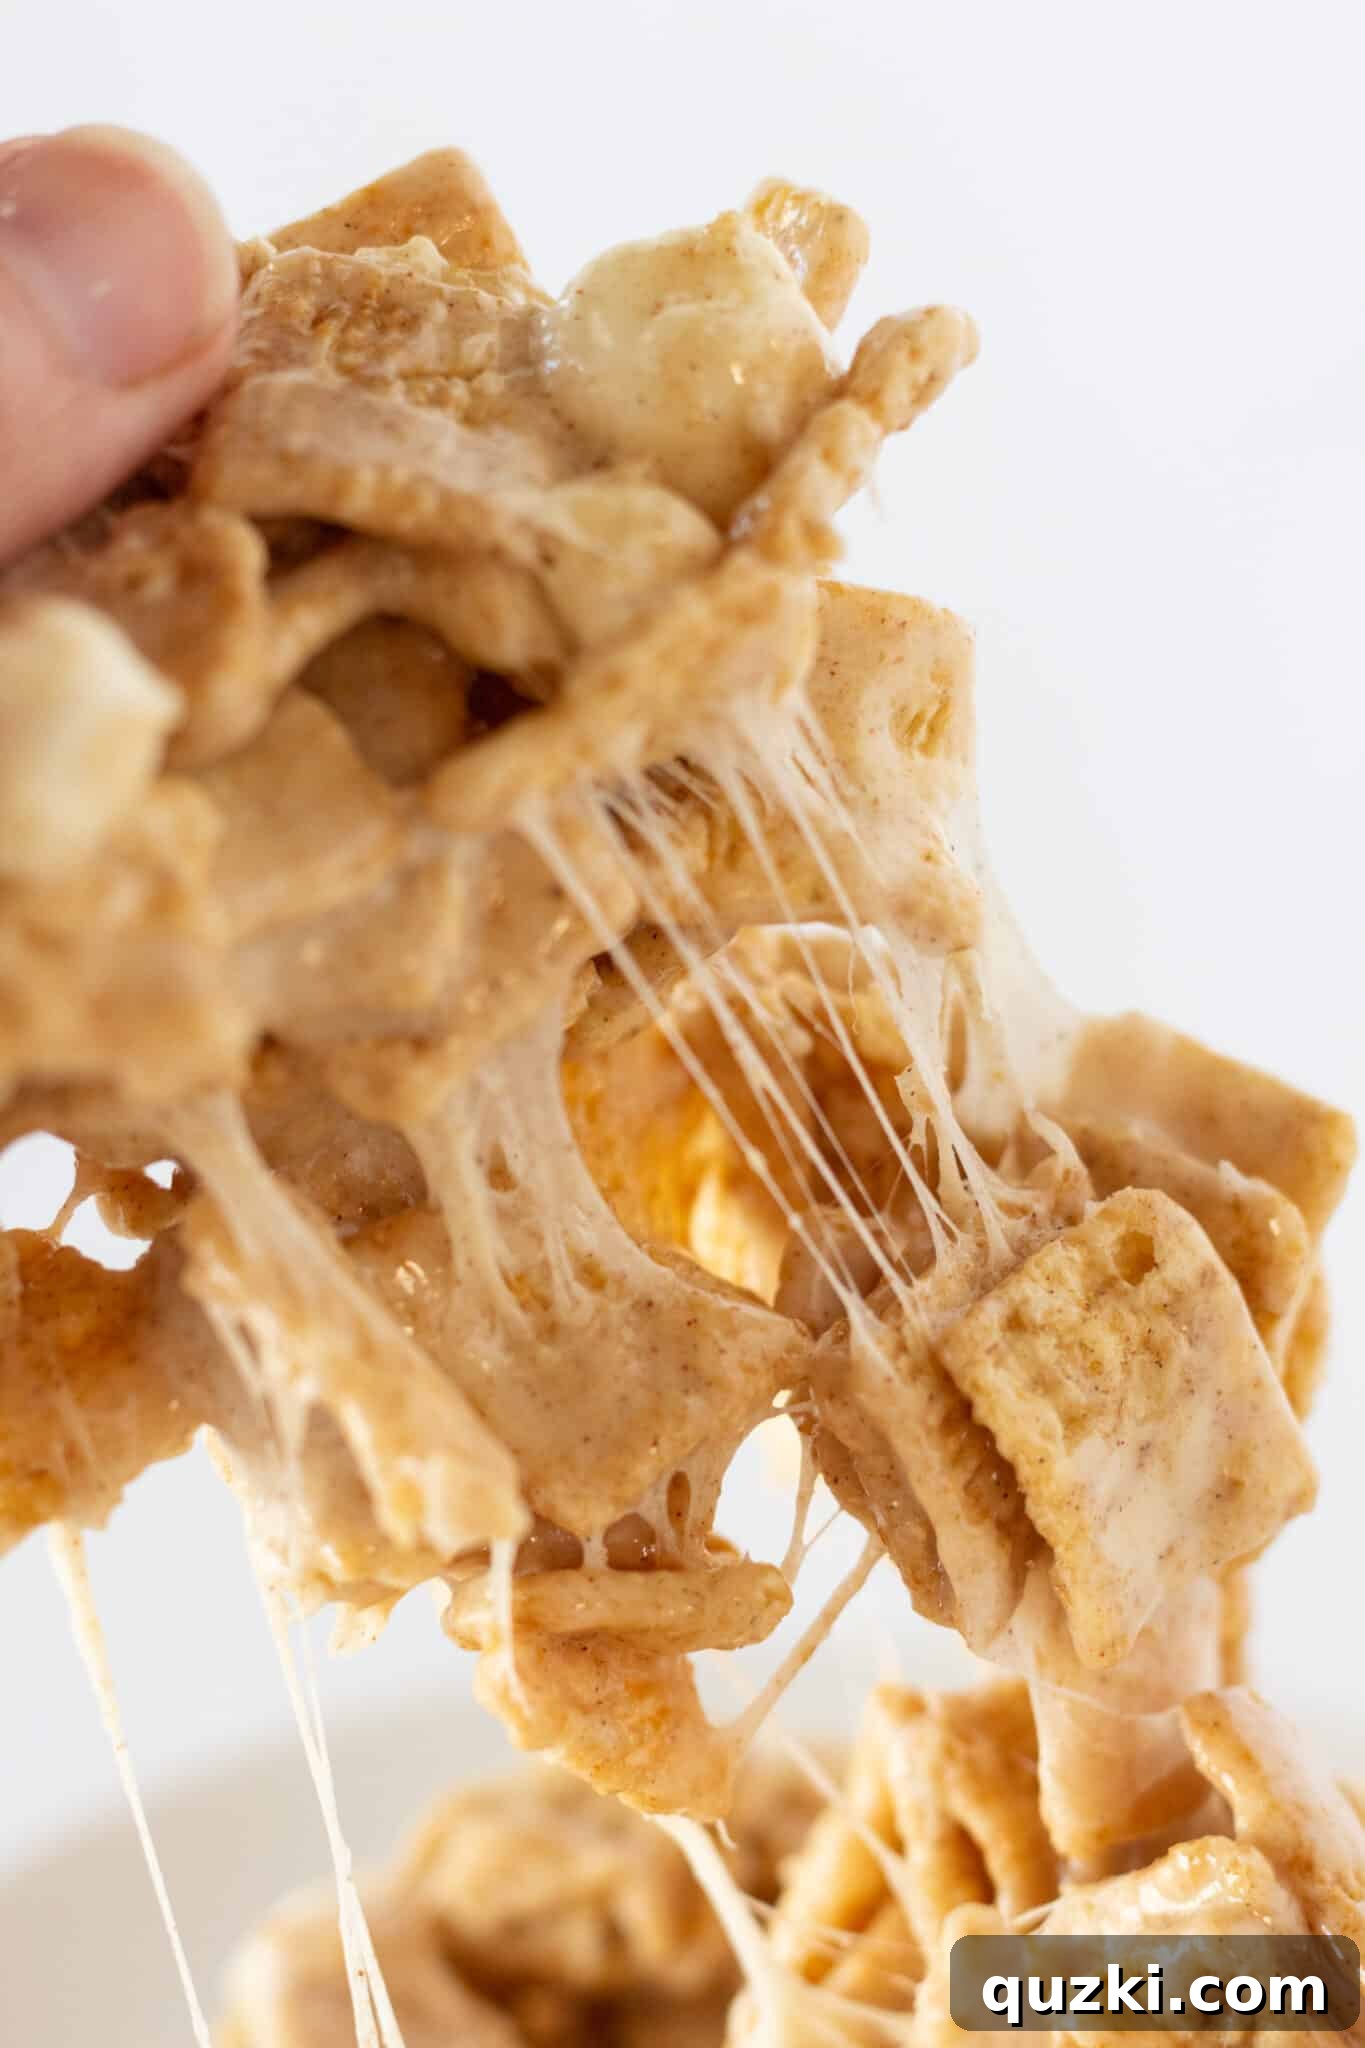
Prepare to fall in love with these incredible No-Bake Cinnamon Toast Crunch Bars! Imagine the irresistible crunch of your favorite cinnamon-sugar cereal perfectly bound together with a gooey, sweet marshmallow and butter mixture. This recipe transforms classic Cinnamon Toast Crunch into a sensational no-bake treat that rivals (and many say surpasses!) traditional Rice Krispie Treats. It’s an absolute game-changer for anyone craving a quick, easy, and undeniably delicious dessert that requires zero oven time.
These bars are more than just a simple snack; they’re a celebration of flavor and convenience. Each bite delivers that iconic cinnamon-sugar swirl combined with a delightful chewiness that will transport you straight back to childhood mornings. Whether you’re a seasoned baker or a complete novice, this recipe guarantees success with minimal effort and maximum satisfaction.
Looking for more nostalgic cereal-inspired treats? Don’t miss my Homemade Cookie Crisp Cereal for another dose of deliciousness!
Thank you for visiting! This post contains affiliate links. If you make a purchase through my links, I may receive a small commission (for example, as an Amazon Associate, I earn from qualifying purchases). Rest assured, I only recommend products I genuinely use and love.
Why You’ll Love These No-Bake Cinnamon Toast Crunch Bars
The allure of these No-Bake Cinnamon Toast Crunch Bars extends far beyond their mouthwatering taste. They are a testament to how simple ingredients can create something extraordinary, making them a go-to recipe for any occasion. Here’s why these bars are destined to become a staple in your kitchen:
- Effortlessly Simple: With just three primary ingredients, this recipe streamlines dessert making. Forget complicated steps or lengthy ingredient lists; this is pure, unadulterated simplicity.
- No Oven Required: As the name suggests, there’s absolutely no baking involved! This makes them perfect for hot summer days, dorm room cooking, or anytime you want a treat without heating up your kitchen.
- Quick to Prepare: From start to finish, the hands-on prep time is incredibly short – typically under 15 minutes. The majority of the time is spent allowing the bars to set, making them ideal for last-minute cravings or spontaneous gatherings.
- Kid-Friendly: Both making and eating these bars are a hit with kids! The familiar taste of Cinnamon Toast Crunch and the fun of a no-bake treat make them a beloved snack or dessert for all ages.
- Irresistibly Delicious: The combination of crispy cereal, sweet marshmallow, and rich butter creates a texture and flavor profile that’s hard to resist. The distinctive cinnamon-sugar coating on the cereal squares adds an extra layer of deliciousness that sets these bars apart.
- Versatile and Adaptable: While fantastic on their own, these bars serve as a blank canvas for customization. Add chocolate chips, sprinkles, or a drizzle of glaze to make them uniquely yours.
Embrace the joy of effortless dessert creation with these magnificent Cinnamon Toast Crunch Bars. They prove that you don’t need fancy equipment or a culinary degree to whip up something truly special.
Essential Ingredients for Your Cinnamon Toast Crunch Bars
One of the many triumphs of this recipe is its minimalist approach to ingredients. You only need three core components to create these delectable bars. Opting for quality ingredients, even in such a simple recipe, can significantly enhance the final taste and texture.
- Cinnamon Toast Crunch Cereal: This is the star of the show! You will need a standard 12 oz. box, which typically yields about 8 cups of cereal. The iconic crispy squares, generously coated with real cinnamon and sugar, are what give these bars their signature flavor and texture. Ensure your cereal is fresh for maximum crunch and flavor.
- Mini Marshmallows: A 10 oz. bag of mini marshmallows is required. Mini marshmallows are preferred because they melt more evenly and quickly than large marshmallows, creating a smoother, more consistent binding mixture. Remember to reserve about 2/3 cup of these marshmallows to stir in at the end. This clever trick adds pockets of soft, chewy marshmallow throughout the bars, enhancing the textural contrast.
- Butter: You’ll need butter to create the rich, smooth marshmallow binder. I personally prefer using salted butter as it subtly balances the sweetness of the marshmallows and cereal, adding a depth of flavor. However, unsalted butter works perfectly well, too. Just use what you have on hand or what you typically prefer for baking. The butter ensures a smooth melt and contributes to the bars’ delightful chewiness.
That’s it! Three simple ingredients are all you need to unlock a world of cinnamon-sugar marshmallow bliss. Gather your components, and let’s get ready to create some magic!
Crafting Your Cinnamon Toast Crunch Bars: A Simple Step-by-Step Guide
Making these no-bake bars is incredibly straightforward, perfect for a fun kitchen activity or a quick dessert fix. Follow these easy steps to create your own batch of irresistible Cinnamon Toast Crunch treats:
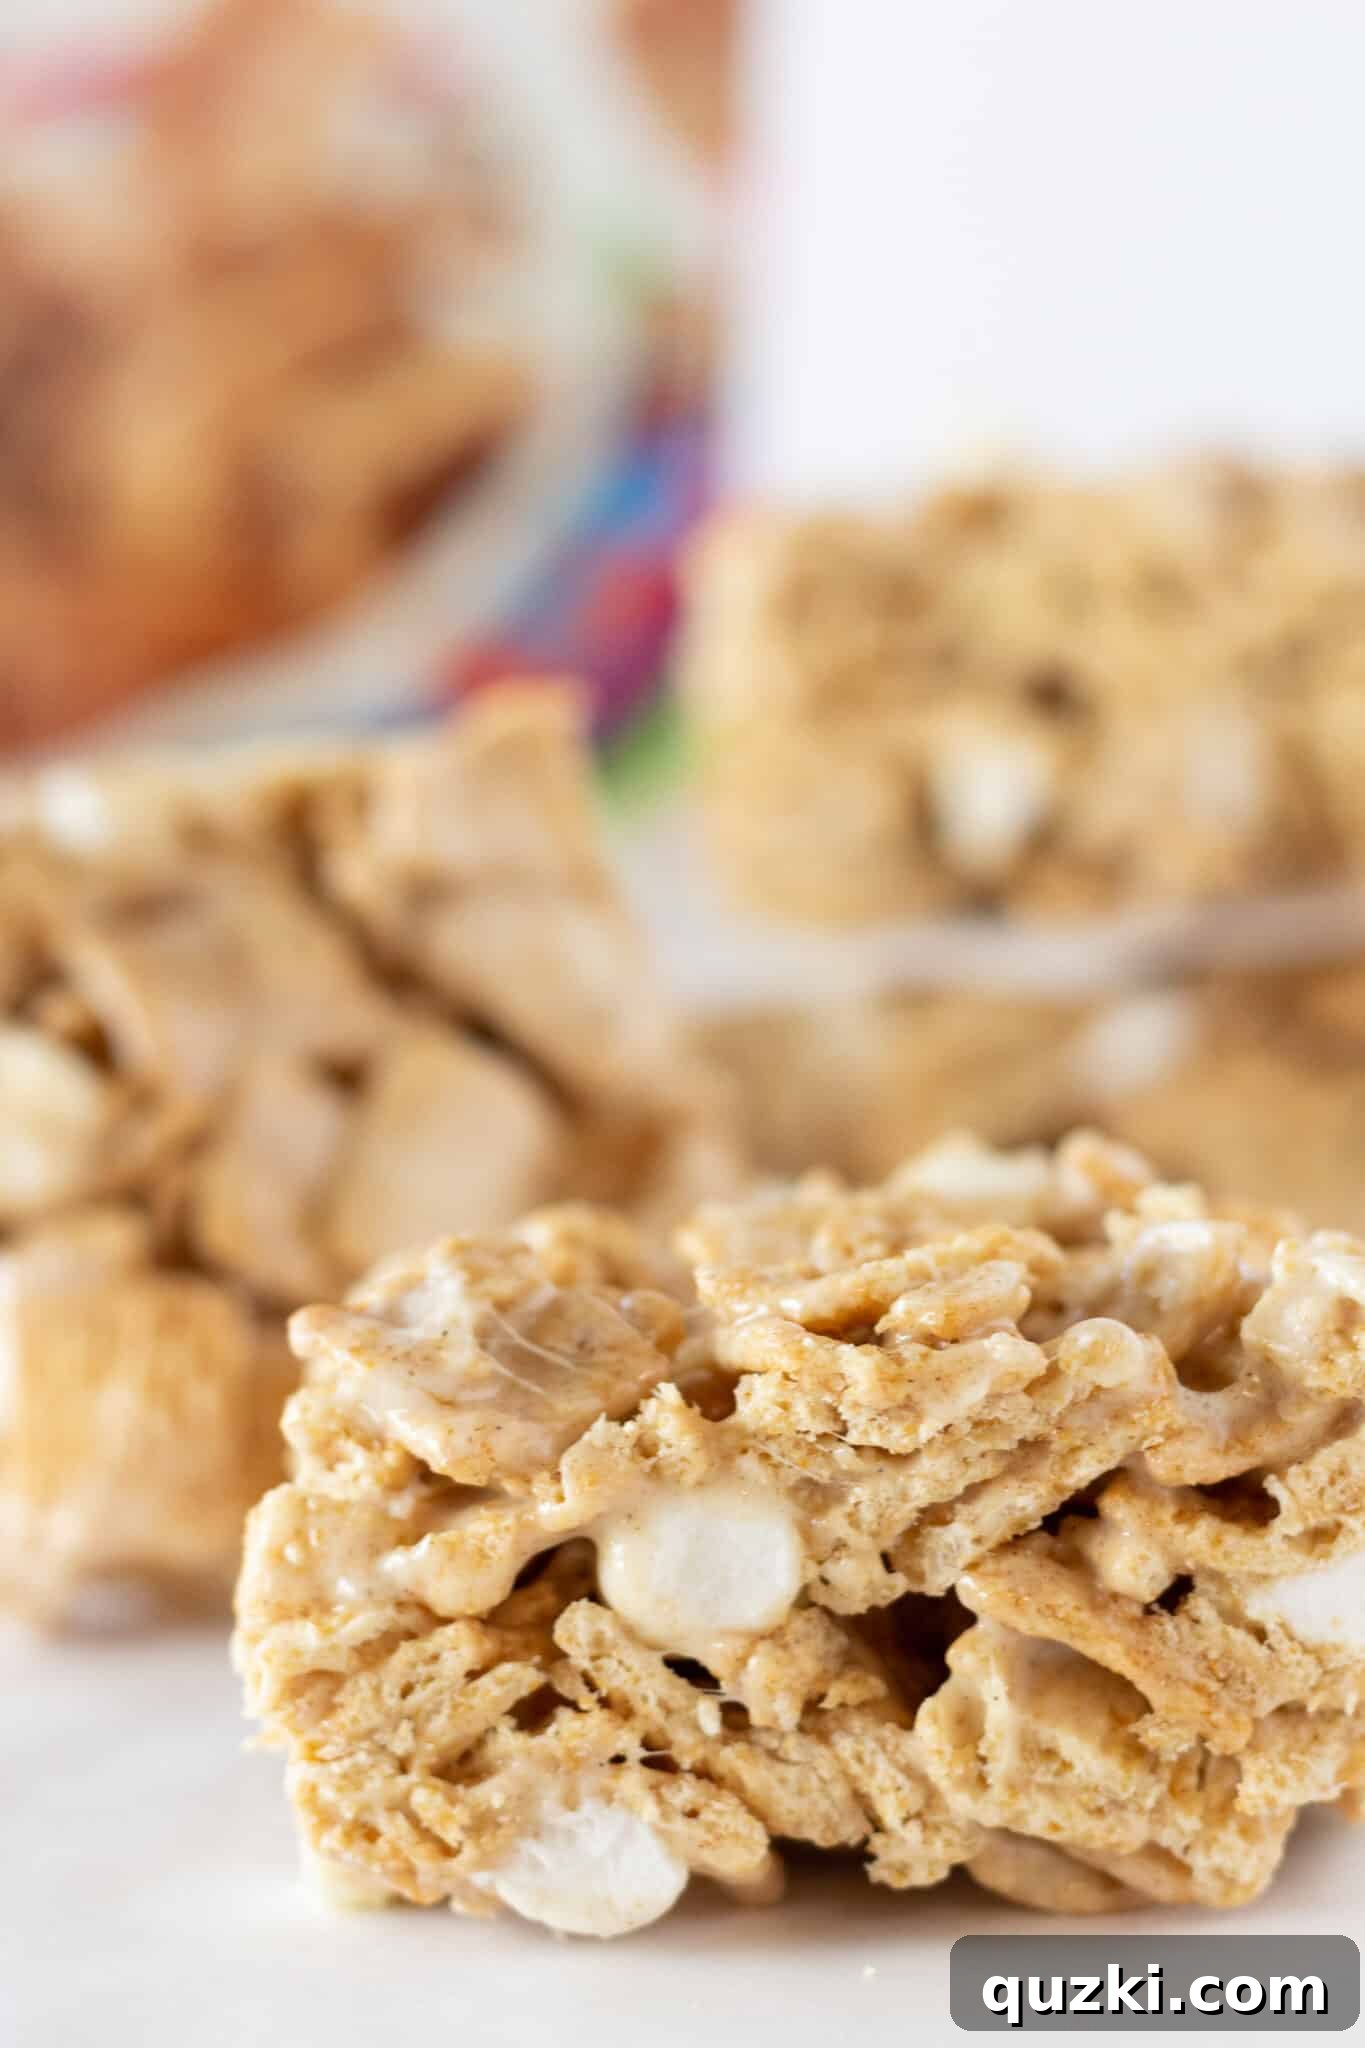
- Prepare Your Pan: First, ensure your baking pan is ready. Liberally spray a 9×9 inch square baking pan with non-stick cooking spray. This crucial step prevents the sticky marshmallow mixture from adhering to the pan, making removal and cutting a breeze. You can also line the pan with parchment paper or foil, leaving an overhang on the sides, for even easier lifting and cutting later. Set the prepared pan aside.
- Measure Your Cereal: Pour the entire 12 oz. box of Cinnamon Toast Crunch cereal into a very large mixing bowl. The bowl should be spacious enough to allow for thorough mixing without spilling. Set the bowl of cereal aside for a moment.
- Melt the Butter: In a medium saucepan, melt the butter over medium-low heat. Patience is key here; avoid rushing the process by using high heat, as this can scorch the butter. Melting it “low and slow” ensures an even, golden melt without burning.
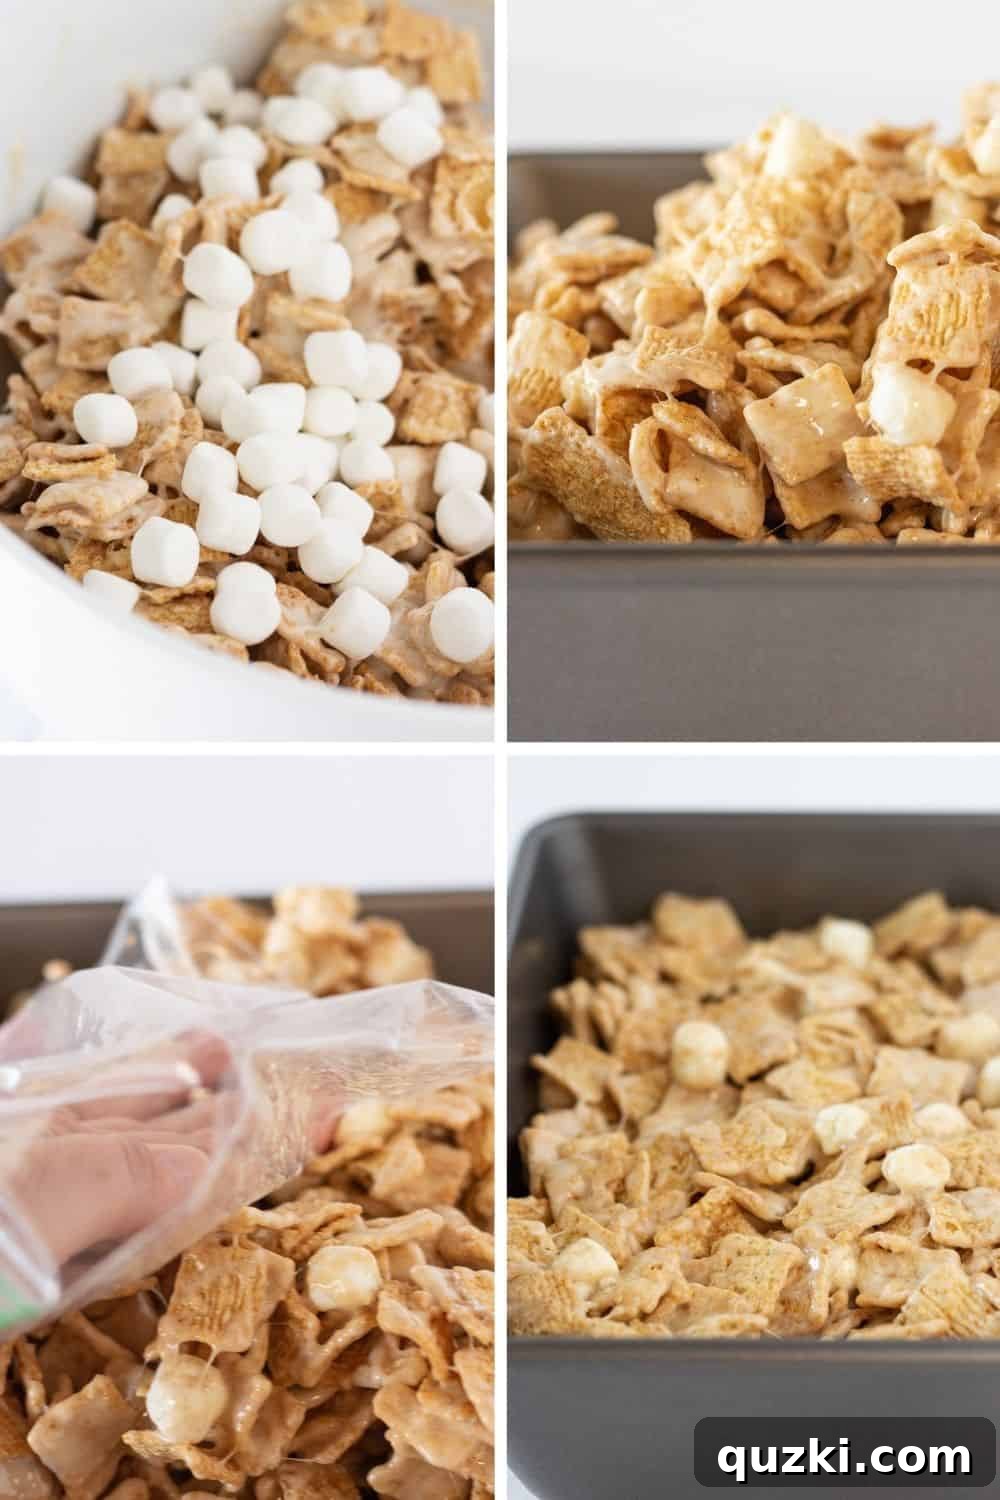
- Introduce the Marshmallows: Once the butter is fully melted, add the majority of the mini marshmallows to the saucepan. Remember to reserve about 2/3 cup of mini marshmallows from the bag – these will be incorporated later for added chewiness and visual appeal. Continue to cook the butter and marshmallow mixture over medium-low heat, stirring frequently, until the marshmallows have completely melted and the mixture is smooth and gooey. Be careful not to overcook, as this can make the bars too hard.
- Combine Wet and Dry: Immediately pour the warm, melted butter and marshmallow mixture over the Cinnamon Toast Crunch cereal in the large bowl.
- Gentle Mixing: Using a spatula or large spoon, carefully stir the melted marshmallow mixture into the cereal. The goal is to evenly coat all the cereal pieces without crushing or breaking them. Stir gently but thoroughly until every crisp square is glossy and sticky with the marshmallow coating.
- Add Reserved Marshmallows: Once the cereal is well coated, add the previously reserved 2/3 cup of mini marshmallows to the bowl. Stir them in quickly until they are just evenly incorporated. These will only slightly melt from the residual heat, creating delightful pockets of soft marshmallow throughout the finished bars.
- Press into Pan: Transfer the entire mixture into the prepared 9×9 inch baking pan.
- Firmly Press: Using a piece of wax paper, parchment paper, or even a zipper-top bag sprayed with non-stick spray over your hand (as I prefer to avoid sticking), press the mixture down firmly and evenly into the pan. This step is essential to ensure the bars hold together well and don’t crumble when cut. Make sure the surface is as flat and compact as possible.
- Chill and Set: Cover the pan loosely with plastic wrap or foil and allow the bars to set at room temperature. For optimal firmness and ease of cutting, I recommend letting them set for at least 4 hours, or ideally, overnight. While 1 hour might be tempting, more time yields a perfectly stable bar.
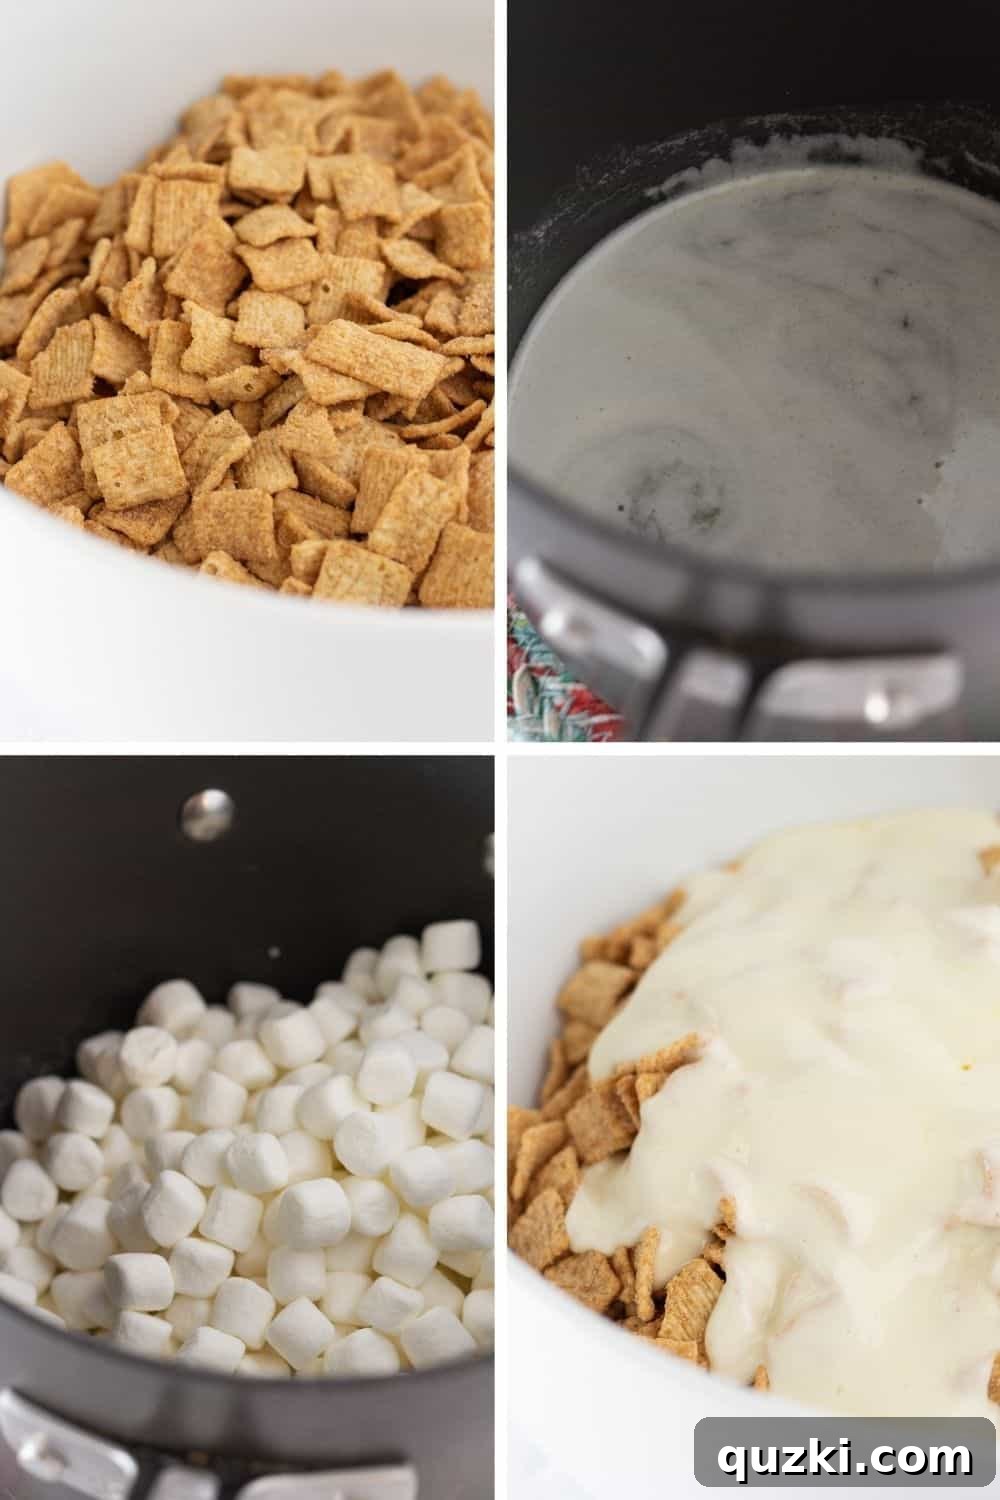
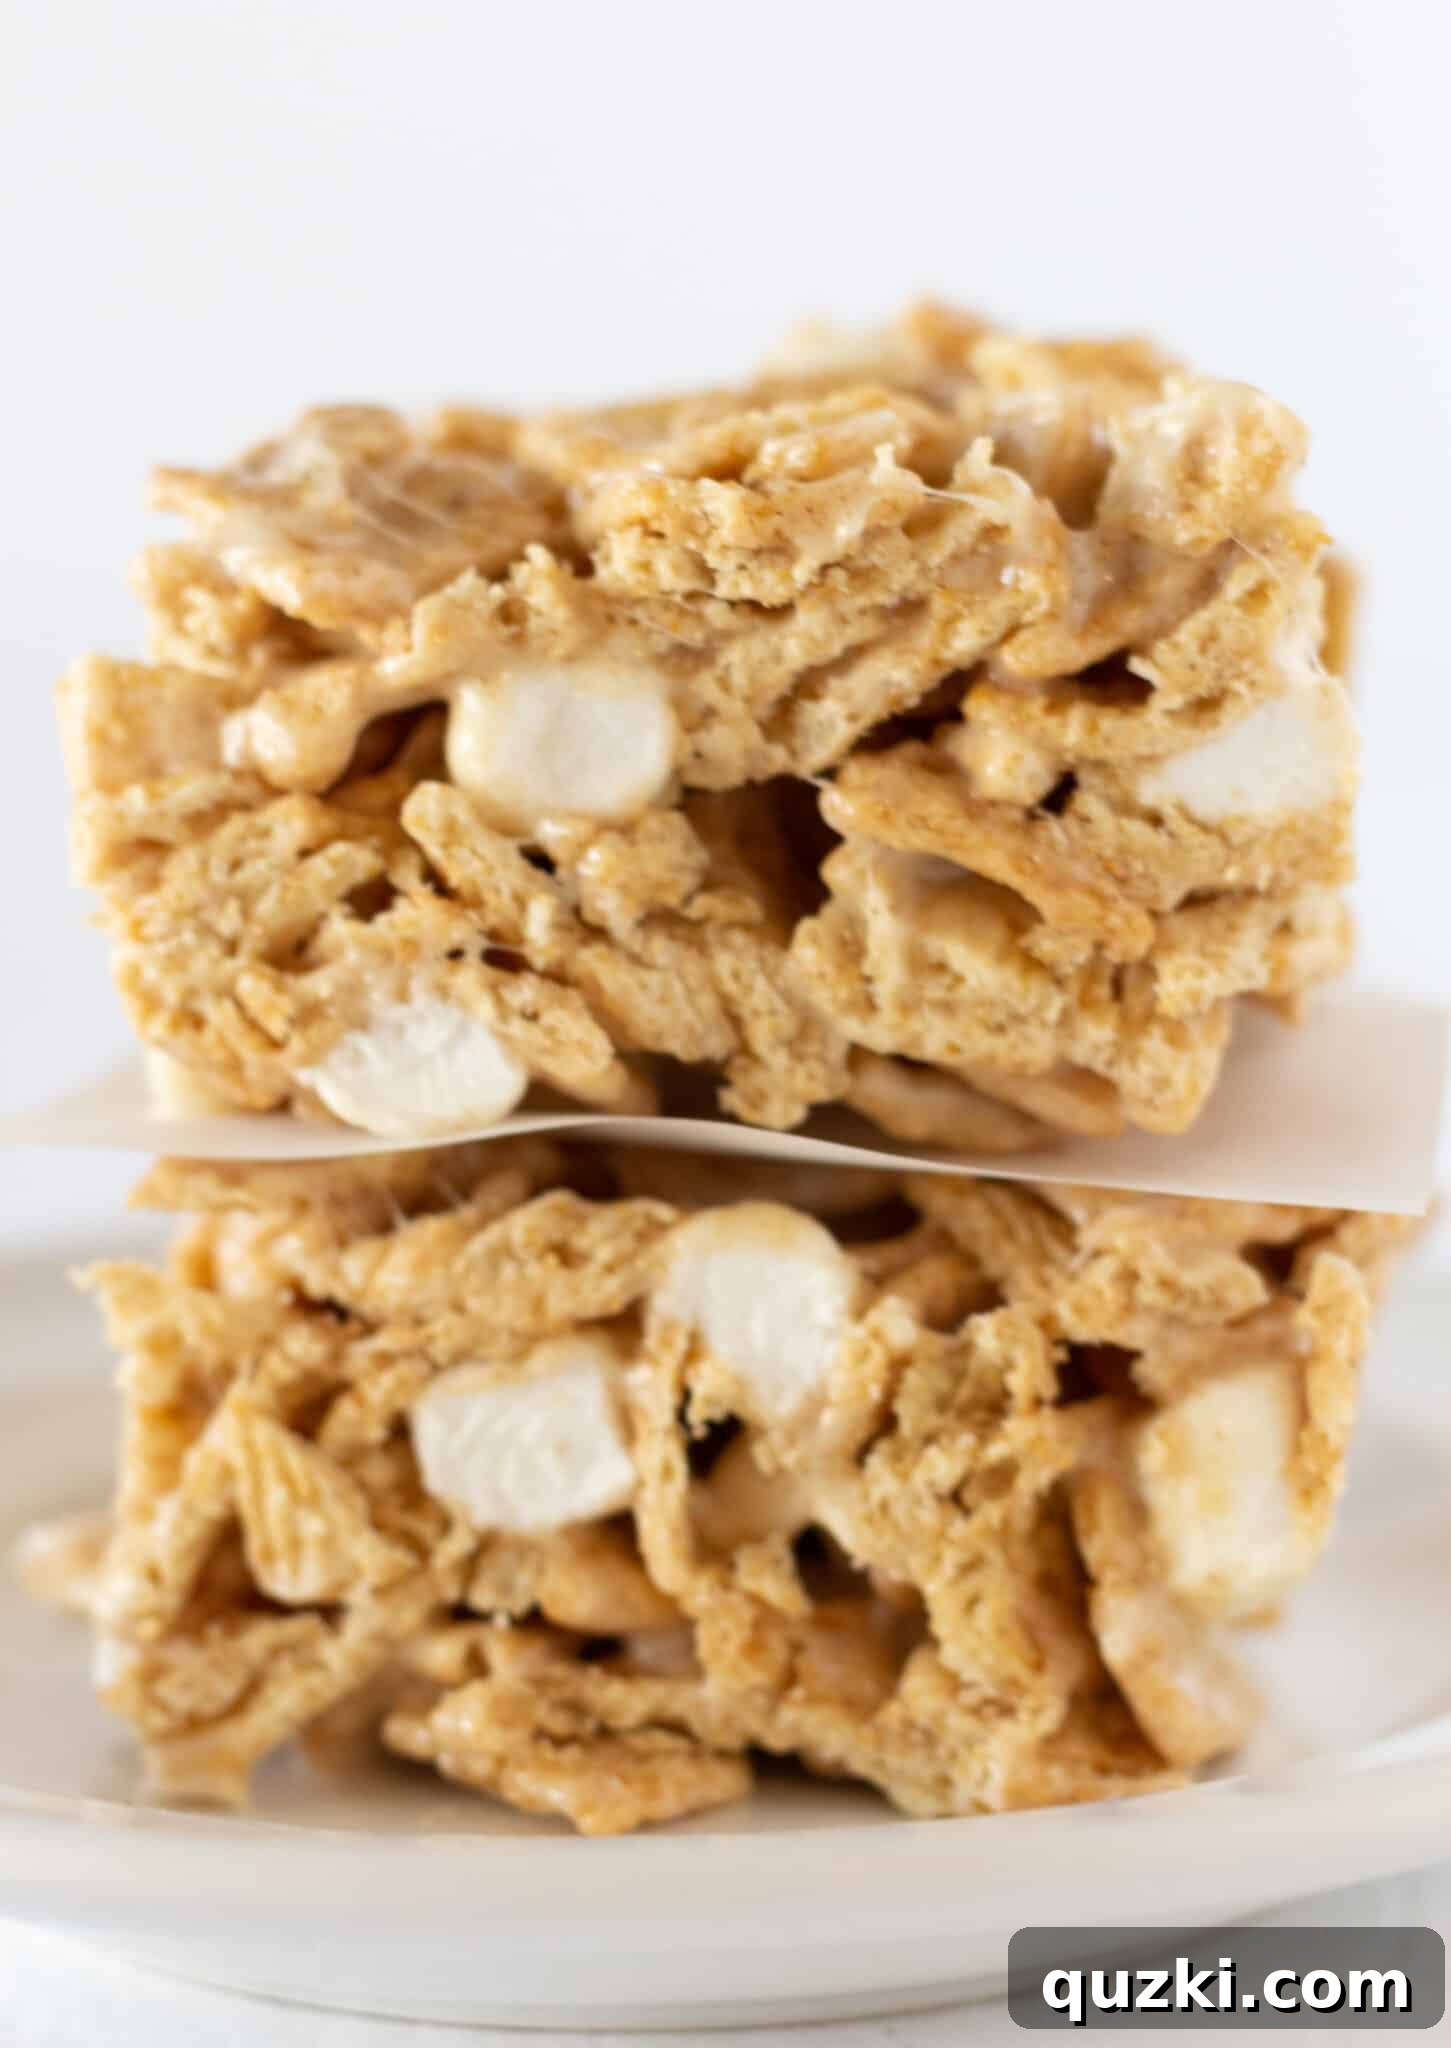
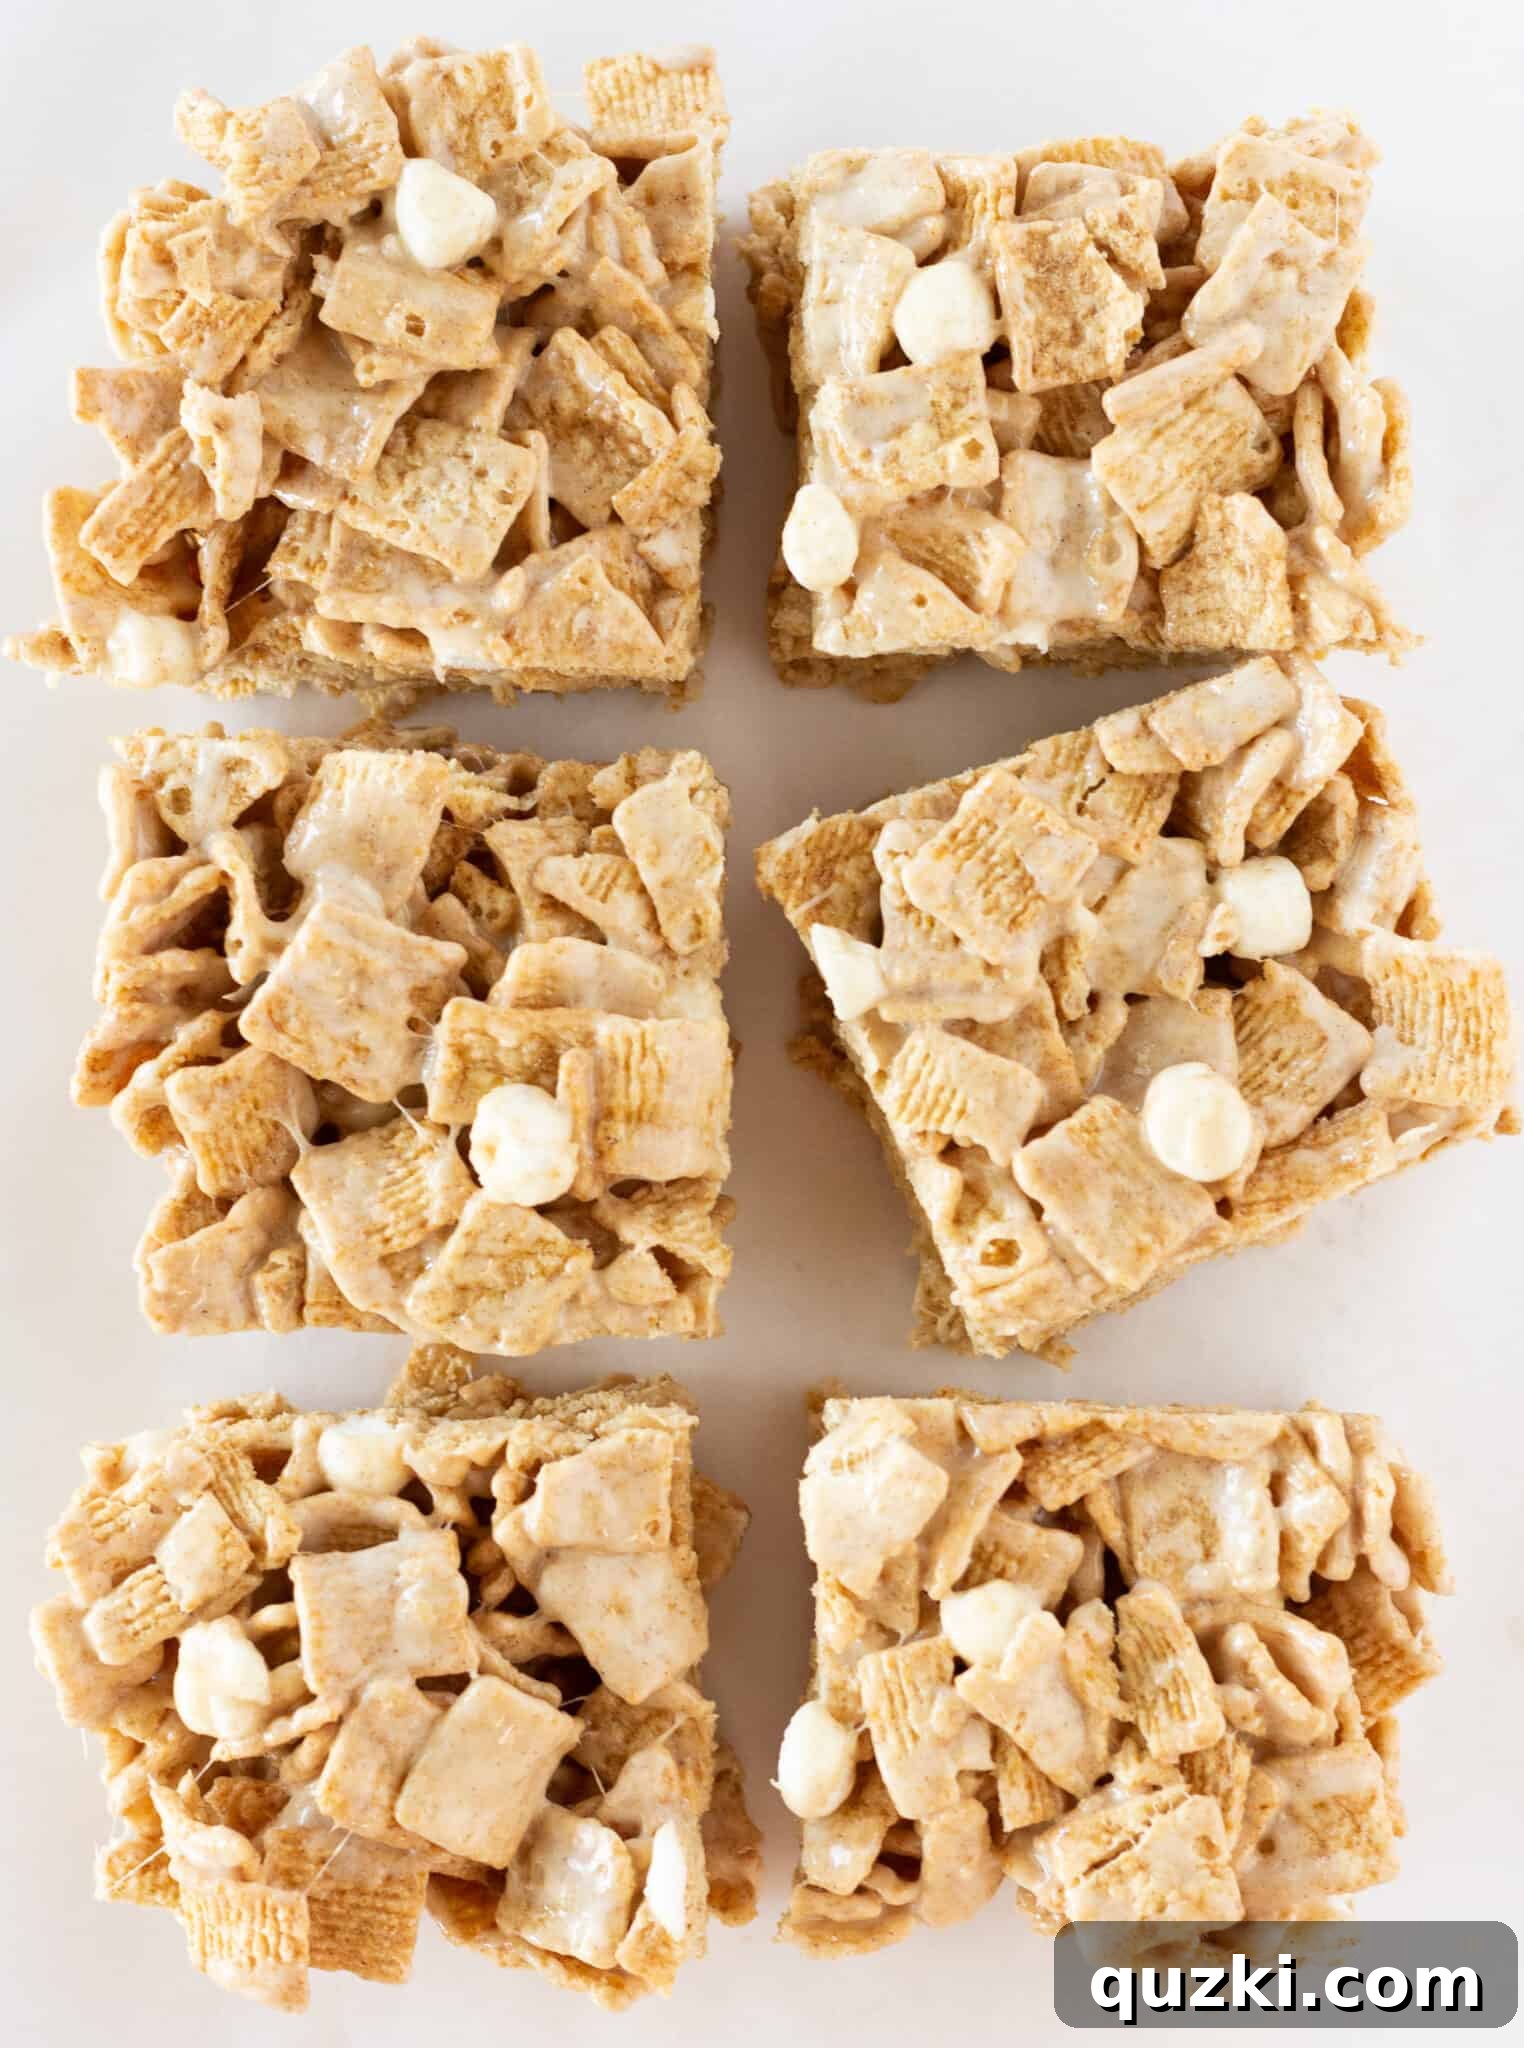
Once set, your No-Bake Cinnamon Toast Crunch Bars are ready to be cut into squares and enjoyed! Get ready for a delicious, crispy, and chewy treat that everyone will adore.
Frequently Asked Questions About No-Bake Cereal Bars
Have some questions before you dive into making these incredible Cinnamon Toast Crunch Bars? Here are answers to some common inquiries to ensure your success:
Can you use other cereals for these no-bake bars?
Absolutely! The beauty of this recipe is its versatility. While Cinnamon Toast Crunch delivers a unique flavor, many other cereals can be substituted to create different variations. Consider using:
- Fruit Loops: For a vibrant, fruity, and colorful bar.
- Captain Crunch: Offers a distinct crunch and sweet, slightly buttery flavor.
- Apple Jacks: Infuses an apple and cinnamon twist.
- Cocoa Pebbles: Transforms them into a rich, chocolatey treat.
- Honey Grahams: Provides a wholesome, sweet honey-graham flavor.
- Lucky Charms: Adds fun shapes and marshmallow bits for an extra festive touch.
- Frosted Flakes: For a simple, sweet, and classic crispy bar.
Experiment with your favorite cereals to find your next go-to no-bake creation!
Can you make Cinnamon Toast Crunch Bars ahead of time?
Yes, absolutely! These bars are fantastic for making ahead. In fact, I often prefer to make them a day in advance. This allows ample time for them to set up properly, resulting in cleaner cuts and a firmer texture. Preparing them ahead also takes the stress out of last-minute dessert preparations for parties or events.
Can I use large marshmallows instead of mini marshmallows?
You certainly can! If you only have large marshmallows on hand, use a 10 oz. bag, which is generally equivalent to the volume of mini marshmallows needed. To ensure even melting, you might want to cut the large marshmallows into smaller pieces before adding them to the melted butter. If you wish to have those soft pockets of unmelted marshmallow in the final product, hold out about 5 large marshmallows and cut them into small, bite-sized pieces to incorporate at the end, just as you would with the reserved mini marshmallows.
How do I store my No-Bake Cinnamon Toast Crunch Bars?
To maintain their freshness, crispness, and chewiness, store your No-Bake Cinnamon Toast Crunch Bars in an airtight container at room temperature. They will remain fresh and delicious for up to 3 days. If stacking layers of bars, place a piece of wax paper or parchment paper between each layer to prevent them from sticking together. Avoid refrigeration if possible, as it can sometimes make the bars overly hard and reduce their chewiness. However, if you prefer a firmer bar, a brief chill in the fridge before serving is fine. For longer storage, they can be frozen for up to 2-3 months in an airtight, freezer-safe container, separated by parchment paper. Thaw at room temperature before serving.
Expert Tips for Making the Best Cinnamon Toast Crunch Bars
While this recipe is incredibly simple, a few expert tips can elevate your No-Bake Cinnamon Toast Crunch Bars from great to absolutely phenomenal. Pay attention to these details for perfect results every time:
- Liberal Pan Preparation is Key: Do not skimp on the non-stick spray! Ensure your 9×9 inch pan is thoroughly coated. Alternatively, line the pan with parchment paper or foil, leaving a generous overhang on the sides. This creates “handles” that make lifting the set bars out of the pan incredibly easy, allowing for clean, precise cuts.
- Press Down Firmly and Evenly: Once the cereal mixture is in the pan, apply firm, even pressure across the entire surface. This is critical for ensuring the bars hold together well and don’t crumble when you cut them. If the mixture is loosely packed, your bars might fall apart. Use the back of a spatula, a piece of wax paper over your hand (sprayed with non-stick spray for extra protection against stickiness), or even another smaller pan to press down firmly.
- Patience During Setting Time: Allow the bars ample time to set. While 1 hour might seem sufficient, for the best texture and structure, aim for at least 4 hours, or even overnight, at room temperature. Rushing this step can result in soft, floppy bars that are difficult to cut cleanly. The longer they set, the firmer and more cohesive they become.
- Store Properly for Lasting Freshness: To keep your no-bake bars fresh, crispy, and perfectly chewy, always store them in an airtight container at room temperature. Exposure to air will quickly make them stale and hard. If you’re stacking them, use layers of wax paper or parchment paper to prevent them from sticking together.
- Gentle Mixing: When combining the melted marshmallow mixture with the cereal, stir gently. Cinnamon Toast Crunch squares are somewhat delicate. Over-aggressive stirring can break them into smaller pieces, compromising the texture and appearance of your bars. A light, folding motion works best.
- Avoid Overheating Marshmallows: When melting the marshmallows and butter, keep the heat on medium-low. High heat can cause the marshmallows to become brittle or rubbery once cooled, leading to hard bars. A slow, steady melt produces a smooth, pliable mixture that sets perfectly.
By keeping these simple tips in mind, you’ll be able to create batches of perfect Cinnamon Toast Crunch Bars every time – a truly irresistible treat that’s as fun to make as it is to eat!
Do you love fun and easy desserts? Try these other fantastic recipes…
- Hostess Cupcake Cookies
- Texas Sheet Cake Bundt Cake
- Reese’s Peanut Butter Cookies
- Cosmic Brownie Cookies
- Muddy Buddy Cookies
- Chocolate Rice Krispie Treats
No Bake Cinnamon Toast Crunch Bars Recipe
June Albertson-Dick
Crispy Cinnamon Toast Crunch cereal is combined with a marshmallow and butter mixture to create the ultimate No Bake Cinnamon Toast Crunch Bars Recipe that rivals Rice Krispie Treats.
10 mins
4 hrs
4 hrs 10 mins
9 large bars
Rate Recipe
Print Recipe
Ingredients
- ½ cup butter
- 10 oz. bag mini marshmallows
- 12 oz. box Cinnamon Toast Crunch Cereal
Instructions
- Spray a 9×9 baking pan liberally with non-stick cooking spray and set aside.
- Pour the Cinnamon Toast Crunch cereal into a large bowl and set aside. Open the marshmallows and reserve ⅔ cup.
- Add the butter to a medium saucepan and melt over medium-low heat. Pour the marshmallows (except for the reserved amount) into the melted butter and continue to cook over medium-low heat until melted.
- Pour the melted butter and marshmallow mixture over the Cinnamon Toast Crunch Cereal and stir to combine (making sure to not break up the cereal as you stir). Once combined, add the reserved marshmallows and stir until evenly incorporated.
- Pour the mixture into the prepared 9×9 baking pan and press down firmly. NOTE: I like to use a zipper bag over my hand that is sprayed with non-stick spray to be sure it doesn’t stick.
- Cover and allow the no-bake bars to set up at room temperature for 4 hours to overnight. Store the leftovers in an airtight container for up to 3 days. Use parchment or wax paper between layers.
Nutrition
Serving: 1 bar, Calories: 1096kcal, Carbohydrates: 257g, Protein: 6g, Fat: 11g, Saturated Fat: 7g, Polyunsaturated Fat: 1g, Monounsaturated Fat: 3g, Trans Fat: 0.4g, Cholesterol: 27mg, Sodium: 341mg, Potassium: 21mg, Fiber: 0.3g, Sugar: 182g, Vitamin A: 348IU, Calcium: 13mg, Iron: 1mg
Nutrition information is automatically calculated, so should only be used as an approximation.
Like this? Leave a comment below!