
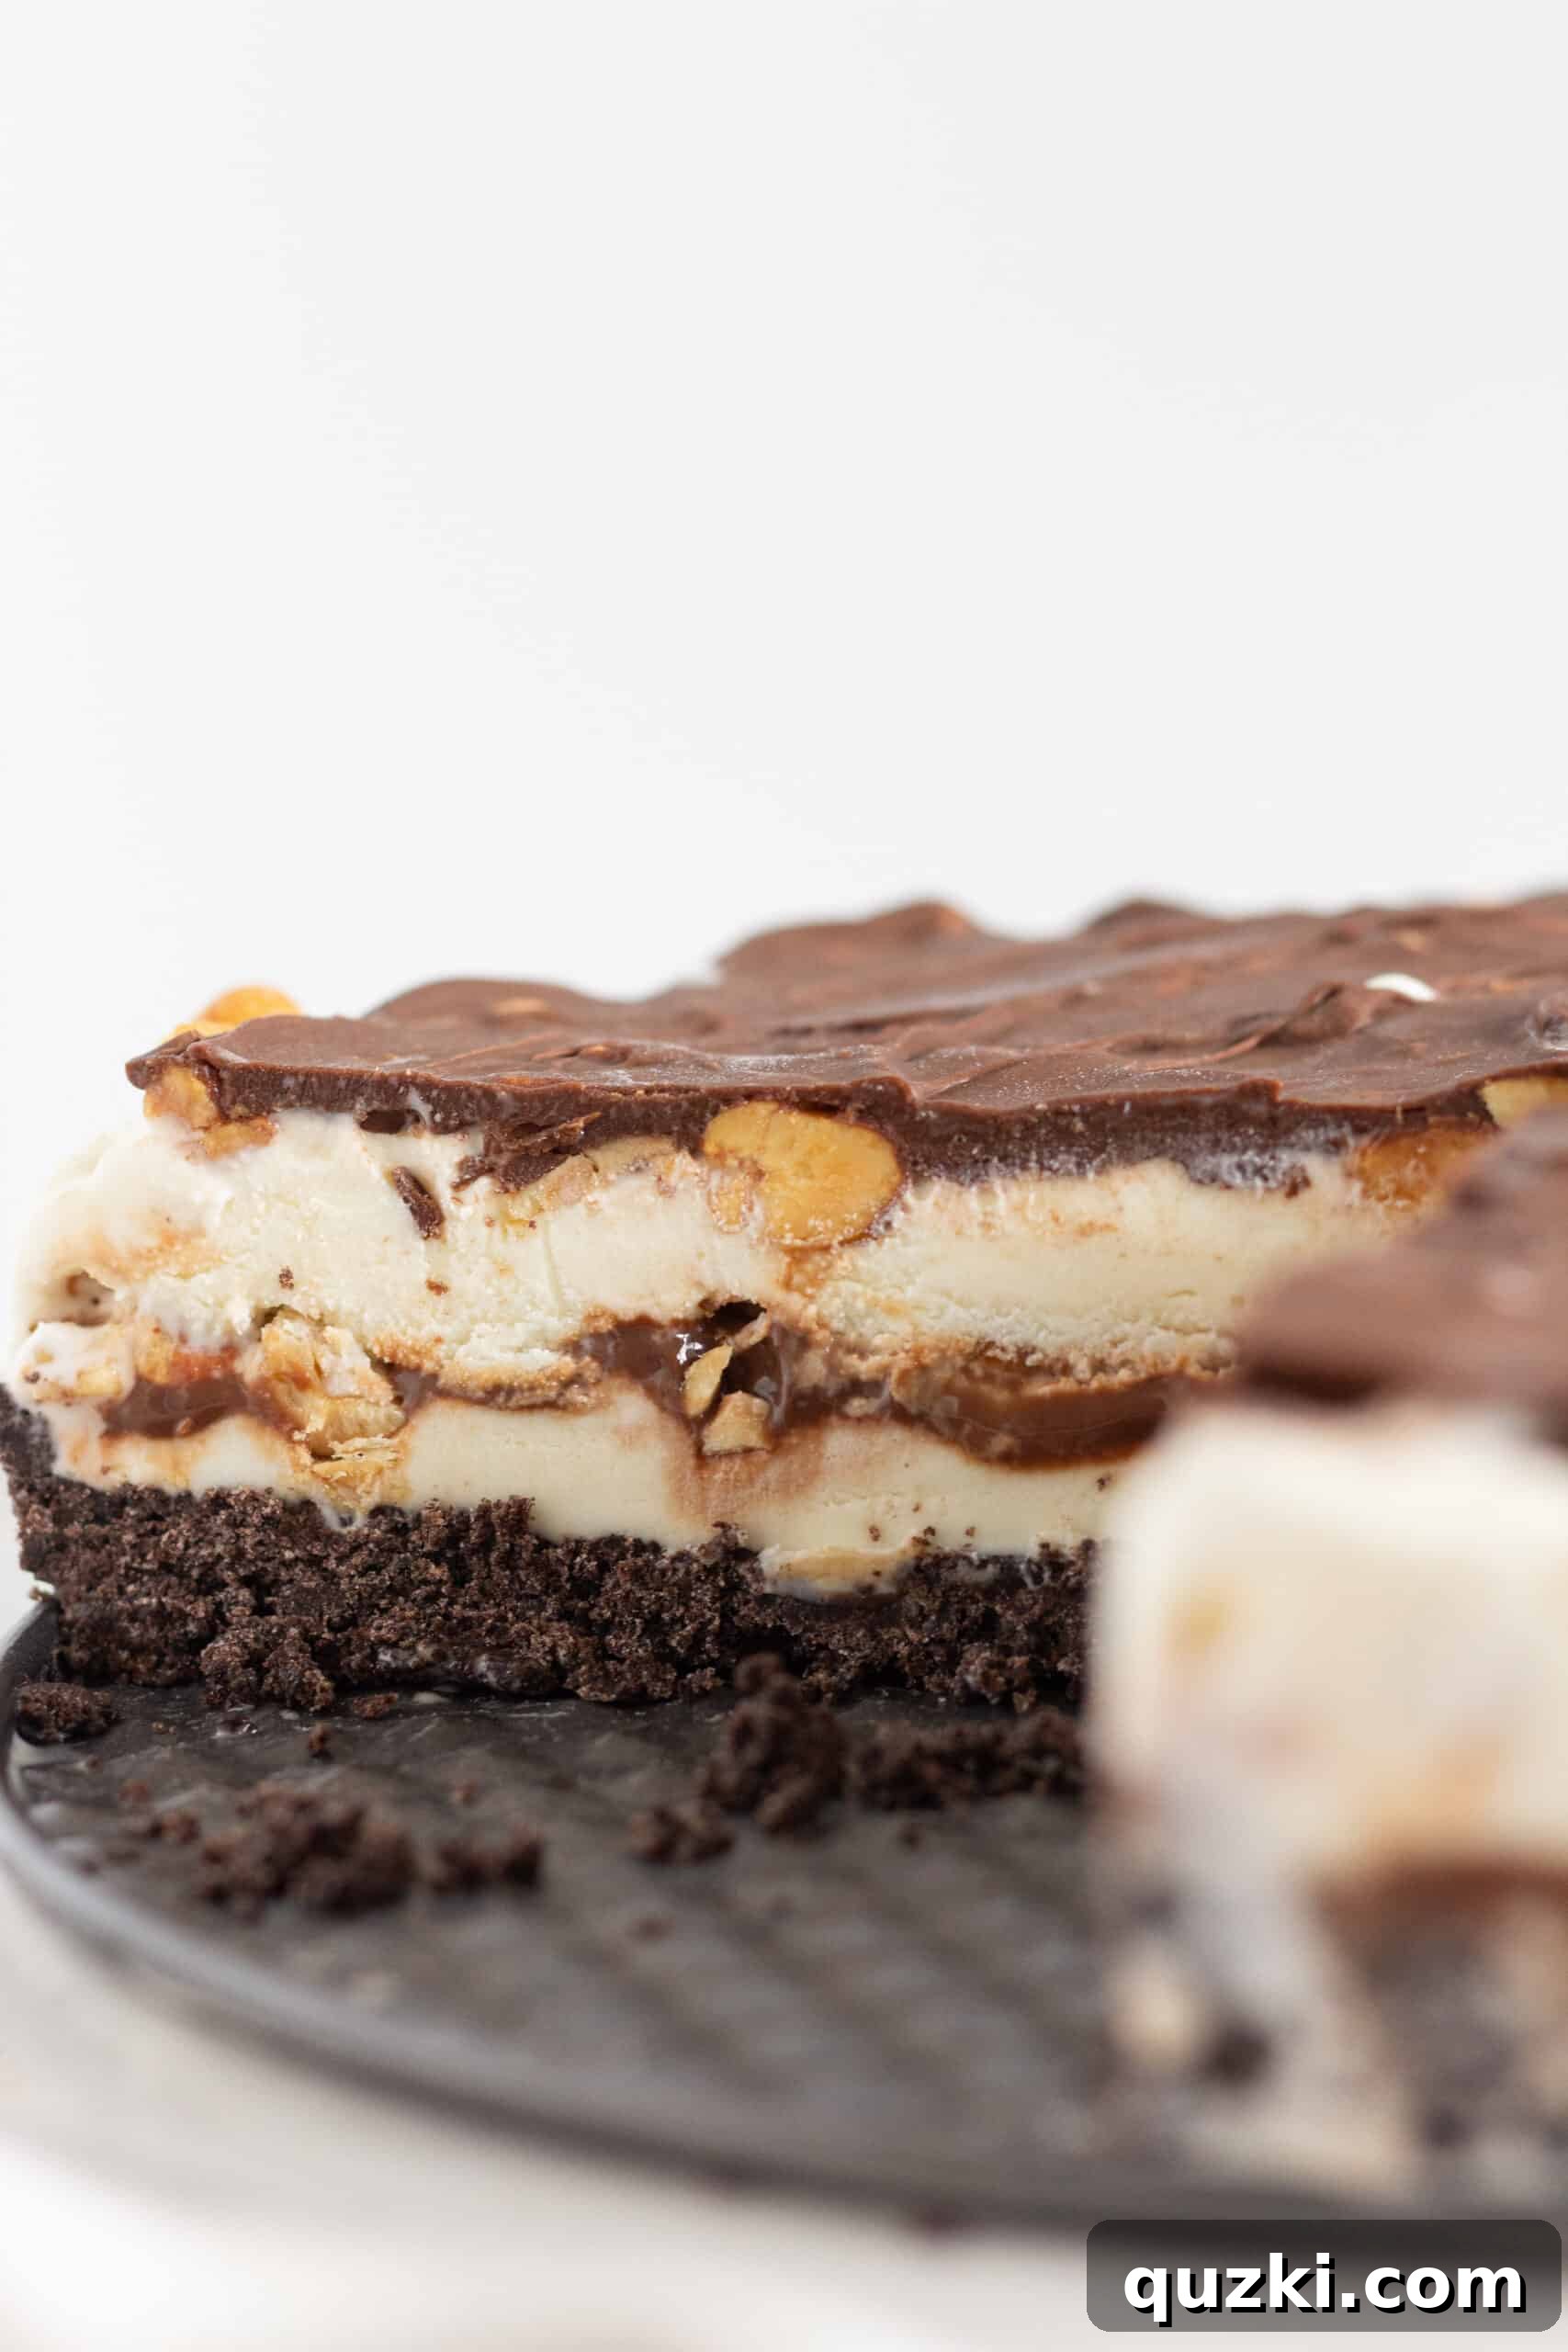
If you’ve ever savored the classic Buster Bar from Dairy Queen and wished you could enjoy its delightful layers anytime, you’re in for a treat! Today, we’re unveiling a fantastic recipe to recreate the magic of a Dairy Queen Buster Bar, transformed into an impressive, crowd-pleasing ice cream pie. This dessert combines an irresistible Oreo crust, smooth vanilla ice cream, rich fudge, and savory peanuts, all culminating in a perfect balance of textures and flavors. It’s truly the ultimate no-bake dessert for summer gatherings or any occasion that calls for a cool, sweet indulgence.
Love frozen desserts? Don’t miss this Easy Drumstick Pie Recipe for another delightful no-bake option!
What Exactly is a Dairy Queen Buster Bar?
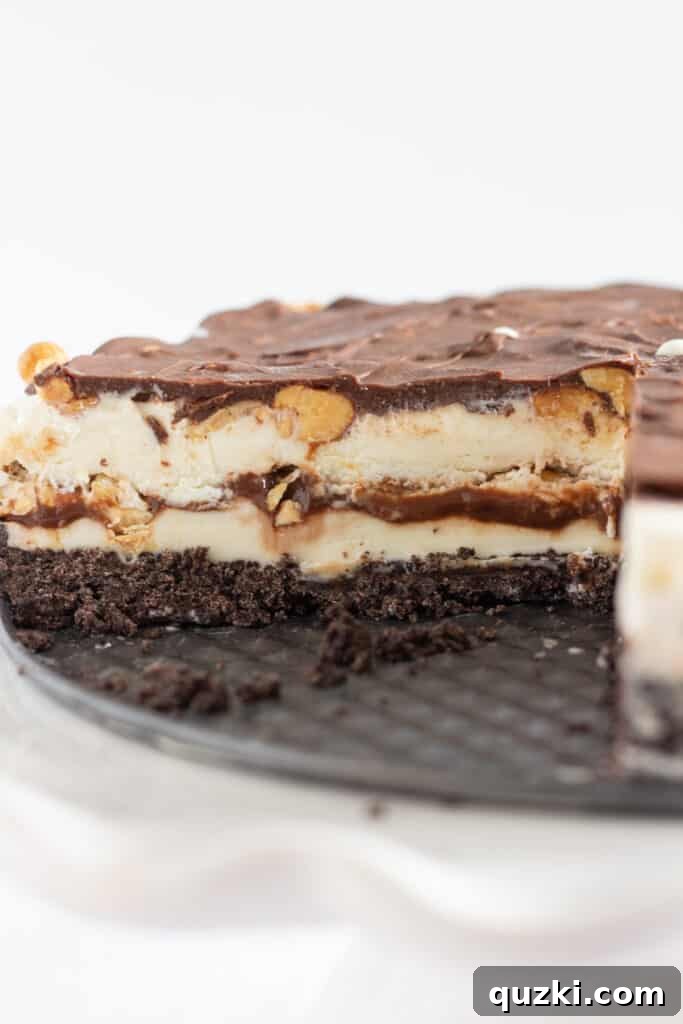
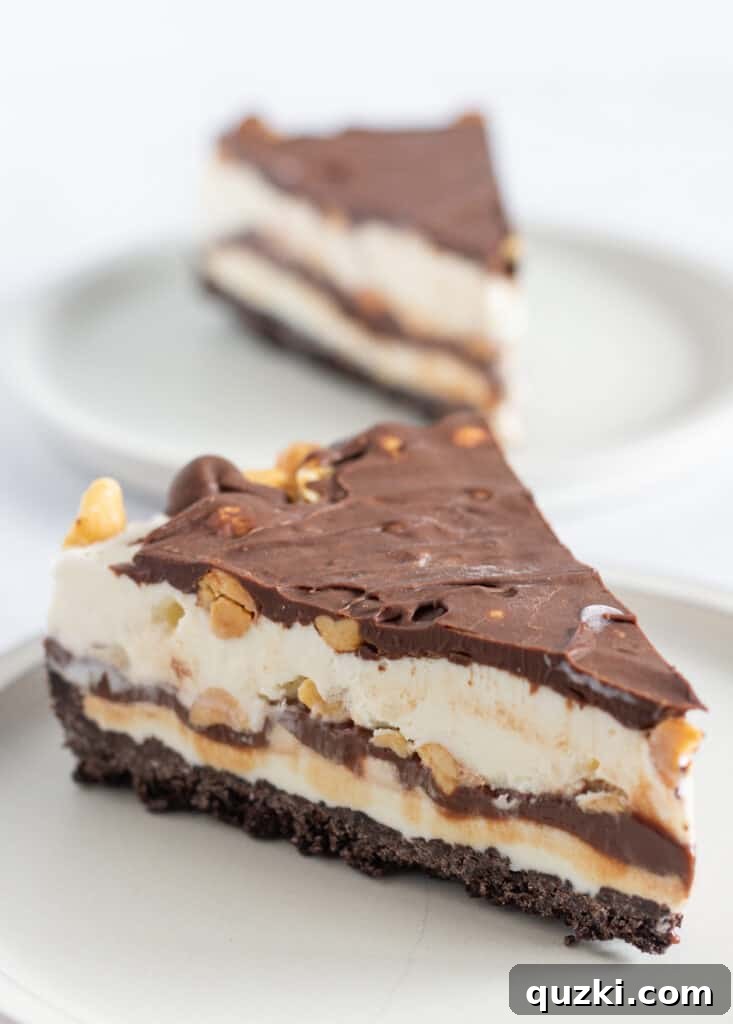
The Buster Bar is an iconic Dairy Queen treat, traditionally served on a stick. It starts with Dairy Queen’s signature creamy vanilla soft-serve ice cream, generously layered with rich chocolate fudge and crunchy peanuts. The entire bar is then enveloped in a luscious chocolatey coating that hardens instantly, creating that satisfying crack with every bite. The harmonious blend of sweet chocolate, cool ice cream, and the slightly salty crunch of peanuts creates an unparalleled flavor experience that has captivated dessert lovers for decades. While enjoying one straight from the stick is undoubtedly part of the fun, transforming it into a shareable pie offers a new dimension of enjoyment, perfect for feeding a crowd without the individual wrapping.
Our homemade Buster Bar Ice Cream Pie captures every essence of this beloved classic, but in a format that’s ideal for entertaining. Imagine serving this stunning frozen dessert at your next summer barbecue or family dinner – it’s guaranteed to be a showstopper and disappear in record time.
Essential Ingredients for Your Homemade Buster Bar Dessert
Creating this magnificent Buster Bar Ice Cream Pie requires just a handful of readily available ingredients, each playing a crucial role in replicating the authentic Dairy Queen experience. Here’s what you’ll need:
- Oreo Cookies: These classic chocolate sandwich cookies are the backbone of our pie, forming a rich, dark, and perfectly crumbly crust. Using Oreos ensures that distinctive chocolate flavor base that complements the other layers beautifully.
- Butter: Melted butter binds the Oreo crumbs together, creating a firm and flavorful crust that holds its shape when sliced. Unsalted butter is generally recommended, allowing you to control the saltiness of the overall dessert.
- Fudge Sauce: A high-quality fudge sauce is key to achieving that signature gooey, chocolatey layer found in the original Buster Bar. Choose a rich, decadent sauce that will add depth and moisture to the pie.
- Vanilla Ice Cream: Since vanilla ice cream forms the core of this dessert, opting for a good quality, full-fat vanilla ice cream is essential. Its creamy texture and classic flavor provide the perfect canvas for the fudge and peanuts. Allow it to soften slightly before assembling for easier spreading.
- Peanuts: Lightly salted peanuts are non-negotiable for that iconic sweet-and-salty crunch. The saltiness enhances the sweetness of the chocolate and ice cream, while the nuts add a textural contrast that makes every bite exciting.
- Magic Topping (Chocolate Shell): To truly emulate the Dairy Queen Buster Bar, a “Magic Shell” type chocolate topping is indispensable. This special sauce hardens almost instantly when it hits cold ice cream, creating that satisfying, thin chocolate coating on top of your pie.
Do I need a Springform Pan for this Recipe?
A springform pan is highly recommended for this Buster Bar dessert because its removable sides make serving incredibly easy. Once the pie is fully frozen, you can simply unlatch and remove the ring, presenting a beautifully intact dessert with clean edges. However, if you don’t own a springform pan, don’t worry! This recipe can also be successfully made in a standard 9-inch pie plate. While you won’t be able to remove the sides for a freestanding pie, it will still taste just as amazing.
How to Make Your Own DQ Buster Bar Ice Cream Pie: Step-by-Step Instructions
Crafting this delightful ice cream pie is a straightforward and fun process. Follow these simple steps to create a homemade masterpiece:
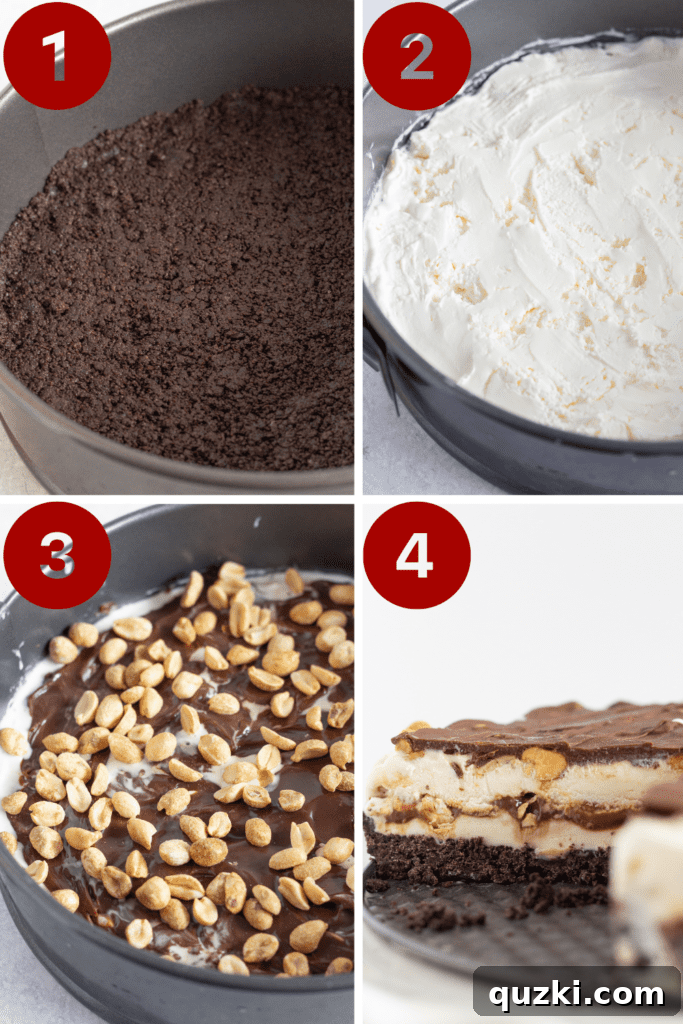
- Prepare the Crust: Begin by setting your vanilla ice cream out on the counter to soften slightly while you prepare the crust. In a separate bowl, combine the finely crushed Oreo cookie crumbs with the melted butter. Press this mixture firmly into the bottom of a springform pan (or a 9-inch pie plate) that has been lightly coated with nonstick cooking spray. Ensure the crust is even and compact. Refrigerate for at least 10-15 minutes to allow it to set.
- First Ice Cream Layer: Once the crust is chilled, take half of your softened vanilla ice cream and carefully spread it over the Oreo crust. Gently press it down with the back of a spoon or an offset spatula to create a smooth, even layer.
- Fudge and Peanut Layer: Next, generously pour about half of the fudge sauce over the ice cream layer, spreading it evenly. Immediately sprinkle half of the lightly salted peanuts over the fudge. This creates a delicious core of chocolate and nuttiness.
- Second Ice Cream Layer: Carefully scoop the remaining vanilla ice cream on top of the fudge and peanut layer. Gently press it flat, taking care not to disturb the layers below too much.
- Final Touches and Freezing: Sprinkle the remaining half of the peanuts over the top ice cream layer. Finally, drizzle the Magic Shell chocolate sauce over the entire pie. The Magic Shell will harden quickly, creating that classic crackle effect. Place the pie in the freezer for a minimum of 3-4 hours, or ideally, overnight, to ensure it is completely set and firm.
- Serve and Enjoy: Once thoroughly frozen, remove the springform pan ring (if using). Slice the pie with a sharp knife (running it under hot water between cuts can help for cleaner slices) and serve immediately. Prepare for rave reviews!
Expert Tips for Crafting the Perfect Dairy Queen Buster Bar Dessert
To ensure your homemade Buster Bar Ice Cream Pie turns out absolutely perfect, keep these helpful tips in mind:
- Grease Your Pan: Even with a springform pan, lightly greasing the sides before adding the crust is a small step that makes a big difference. This prevents any potential sticking and allows for a super clean release when you remove the ring.
- Softened Ice Cream is Key: Don’t rush the softening process for the vanilla ice cream. Letting it sit out while the crust chills ensures it’s pliable enough to spread smoothly and evenly without melting completely. This is crucial for creating distinct, beautiful layers without too much fuss.
- Work Quickly or Freeze Between Layers: Ice cream melts fast! To maintain crisp layers and prevent the ice cream from seeping through the sides of the springform pan, work efficiently when spreading the layers. If your kitchen is warm or you feel the ice cream becoming too soft, pop the pie back into the freezer for 10-15 minutes between layers to firm it up.
- Keep Peanuts Whole (or Halves): Resist the urge to finely chop your peanuts. Leaving them in their whole or halved state provides the substantial crunch and texture that is characteristic of the original Buster Bar. Smaller pieces might get lost in the creamy layers, diminishing that delightful textural contrast.
- Quality Ingredients Matter: While simple, the quality of your ingredients truly shines through in this dessert. A good brand of vanilla ice cream, a rich chocolate fudge sauce, and fresh, lightly salted peanuts will elevate your pie from good to exceptional.
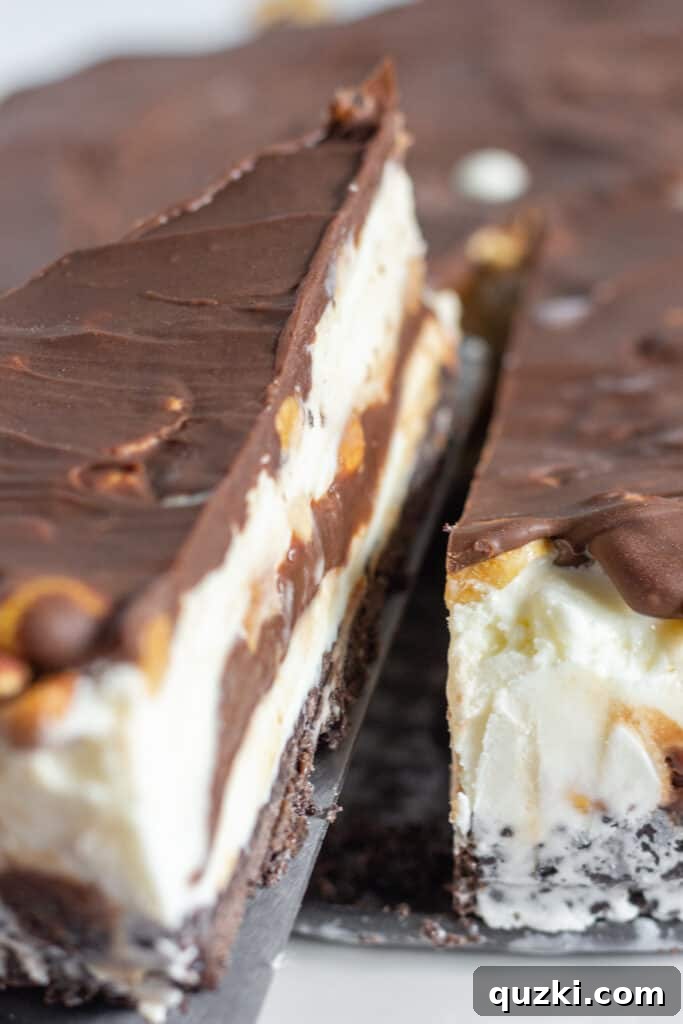
Delicious Variations to Customize Your Buster Bar Dessert
While the classic Buster Bar combination is undeniably delicious, this recipe is incredibly versatile. Feel free to experiment with different ingredients to create a unique twist that suits your personal taste:
Crust Variations:
The Oreo crust provides a wonderful chocolatey foundation, but you can easily swap it out for other cookie crumbs to change the flavor profile entirely. Consider these delicious alternatives:
- Vanilla Wafer Crust: For a lighter, buttery, and subtly sweet base.
- Chocolate Chip Cookie Crust: A fantastic option if you love the flavor of fresh-baked chocolate chip cookies.
- Shortbread Crust: Offers a rich, buttery, and slightly less sweet alternative.
- Golden Oreo Crust: Similar to the one used in this No Bake Golden Oreo Cheesecake, it provides a milder, vanilla-flavored base.
Ice Cream Flavor Swaps:
Vanilla ice cream is traditional, but feel free to unleash your creativity with different flavors:
- Chocolate Ice Cream: A classic choice that will amplify the chocolate notes without overpowering the peanuts and fudge.
- Coffee Ice Cream: Adds a sophisticated depth that pairs wonderfully with chocolate and nuts.
- Cookie Dough or Peanut Butter Cup Ice Cream: For those who love bold flavors and extra mix-ins, these options will create an even more decadent experience.
- Mint Chocolate Chip Ice Cream: A refreshing twist, especially appealing during warmer months.
Nut Alternatives:
If peanuts aren’t your favorite, or if you need to accommodate allergies, there are many delicious alternatives:
- Almonds: Sliced or chopped almonds offer a milder, slightly sweeter crunch.
- Pistachios: Provide a unique color and a distinctive, slightly earthy flavor.
- Pecans: Bring a rich, buttery flavor that complements chocolate beautifully.
- No Nuts: For a nut-free version, simply omit them or replace them with mini chocolate chips, toffee bits, or crushed pretzels for a salty crunch.
Buster Bar Dairy Queen Dessert: Storage and Serving Tips
This Buster Bar Ice Cream Pie is a frozen dessert and needs to be stored in the freezer at all times to maintain its structure and creamy texture. For the best experience, cover the pie tightly with plastic wrap or aluminum foil once it’s completely frozen to prevent freezer burn and absorb any unwanted odors. It can be stored for up to 2-3 weeks in the freezer.
When you’re ready to serve, remove the pie from the freezer about 5-10 minutes before slicing. This brief period allows the ice cream to soften just enough for easier cutting, but not so much that it loses its integrity. A warm, sharp knife will yield the cleanest slices. Serve immediately to enjoy the perfect balance of frozen creaminess and crunchy layers.
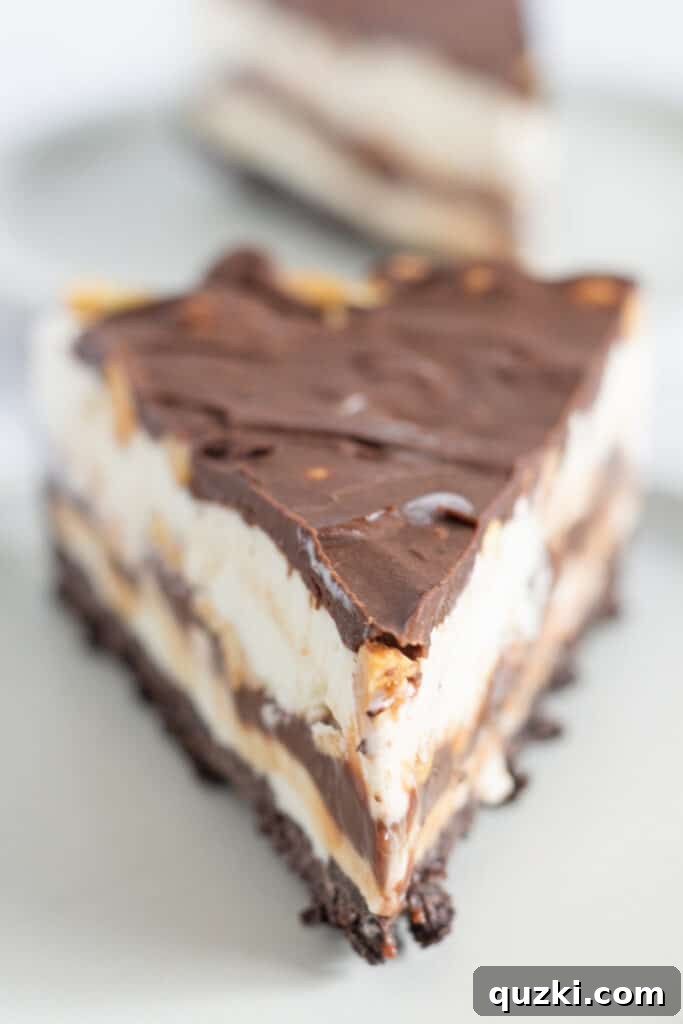
Explore More Amazing Ice Cream Desserts!
If you’re a true ice cream aficionado, you’ll love these other fantastic frozen dessert recipes:
- No Churn Oreo Ice Cream Recipe
- Ice Cream Sundae Cookie Bites
- Twix Icebox Cake
- No Churn S’mores Ice Cream Recipe
- Easy Drumstick Pie Recipe
Frequently Asked Questions About the Buster Bar DQ Dessert
What is the difference between a Dilly Bar and a Buster Bar?
Both Dilly Bars and Buster Bars are beloved Dairy Queen classics, but they offer distinct experiences. A Dilly Bar features creamy soft-serve ice cream enrobed in a single, hard chocolate, cherry, or butterscotch coating. A Buster Bar, on the other hand, is a more complex creation. It also starts with soft-serve vanilla ice cream, but it includes layers of rich chocolate fudge and crunchy peanuts before being dipped in its own signature chocolate coating. The Buster Bar is known for its multi-layered texture and flavor profile.
Are Buster Bars made in store at Dairy Queen?
The manufacturing process for Buster Bars can vary by Dairy Queen location. While some Dairy Queen franchises receive pre-made Buster Bars from a central supplier, many still pride themselves on making them fresh in-store daily. Locations that prepare them fresh often highlight this, as it allows for a more personalized touch and ensures the highest level of freshness for the product.
How much does a box of Buster Bars cost at Dairy Queen?
The cost of a box of Buster Bars at Dairy Queen can vary depending on location and any current promotions. Typically, a box containing six Buster Bars costs approximately $10.00. This averages out to slightly less than $2.00 per bar, making it a relatively affordable treat for families or when buying in bulk.
Dairy Queen Buster Bar Dessert: Ice Cream Pie Recipe
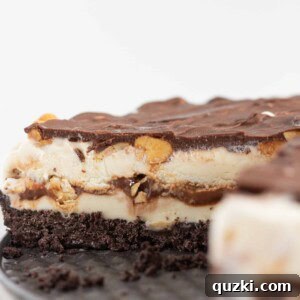
Dairy Queen Buster Bar Dessert
By: June Albertson-Dick
If you love Dairy Queen’s Buster Bars, then you will absolutely adore this homemade Buster Bar dessert inspired by the classic. This ice cream pie is a true delight!
Rating: 4.41 out of 5 stars (from 10 votes)
Prep Time: 15 minutes
Chill Time: 3 hours
Total Time: 3 hours 15 minutes
Servings: 10 slices
Pin Recipe | Rate Recipe | Print Recipe
Ingredients
Oreo Cookie Crust
- 2 ¼ cups Oreo cookie crumbs (about 25-30 cookies)
- ⅓ cup butter, melted
Ice Cream Pie Layers
- 1 cup fudge sauce (store-bought or homemade)
- 1 quart vanilla ice cream, slightly softened
- 1 ½ cups peanuts, lightly salted (whole or halves)
- 7.5 ounces Magic Topping (chocolate shell sauce)
Instructions
- Set the vanilla ice cream out on the counter to soften. While it softens, combine the Oreo cookie crumbs with the melted butter in a medium bowl. Press this mixture firmly into the bottom of a 9-inch springform pan (lightly sprayed with nonstick cooking spray) or a 9-inch pie plate. Refrigerate for 10-15 minutes to allow the crust to set.
- Spread half of the softened vanilla ice cream evenly over the chilled Oreo crust. Gently press down to create a smooth layer.
- Pour the fudge sauce over the ice cream layer and spread it out evenly with a spatula. Immediately sprinkle half of the lightly salted peanuts over the fudge.
- Scoop the remaining softened ice cream on top of the fudge and peanut layer. Gently press it flat to form the top layer of the pie.
- Sprinkle the remaining half of the peanuts over the top ice cream layer. Drizzle generously with the Magic Shell chocolate sauce.
- Freeze the pie for at least 3 hours, or until completely firm. For best results and easiest slicing, freeze overnight.
- When ready to serve, remove the pie from the freezer and, if using a springform pan, carefully unlatch and remove the sides. Slice with a sharp knife (dip in hot water for cleaner cuts) and enjoy your delicious homemade Dairy Queen Buster Bar Ice Cream Pie!
Nutrition
(Approximate values per serving)
- Serving: 1 slice
- Calories: 723kcal
- Carbohydrates: 84g
- Protein: 13g
- Fat: 39g
- Saturated Fat: 16g
- Polyunsaturated Fat: 6g
- Monounsaturated Fat: 15g
- Trans Fat: 0.3g
- Cholesterol: 58mg
- Sodium: 448mg
- Potassium: 584mg
- Fiber: 5g
- Sugar: 53g
- Vitamin A: 589IU
- Vitamin C: 1mg
- Calcium: 179mg
- Iron: 6mg
Nutrition information is automatically calculated and should only be used as an approximation.
Enjoyed this recipe? Leave a comment below!