
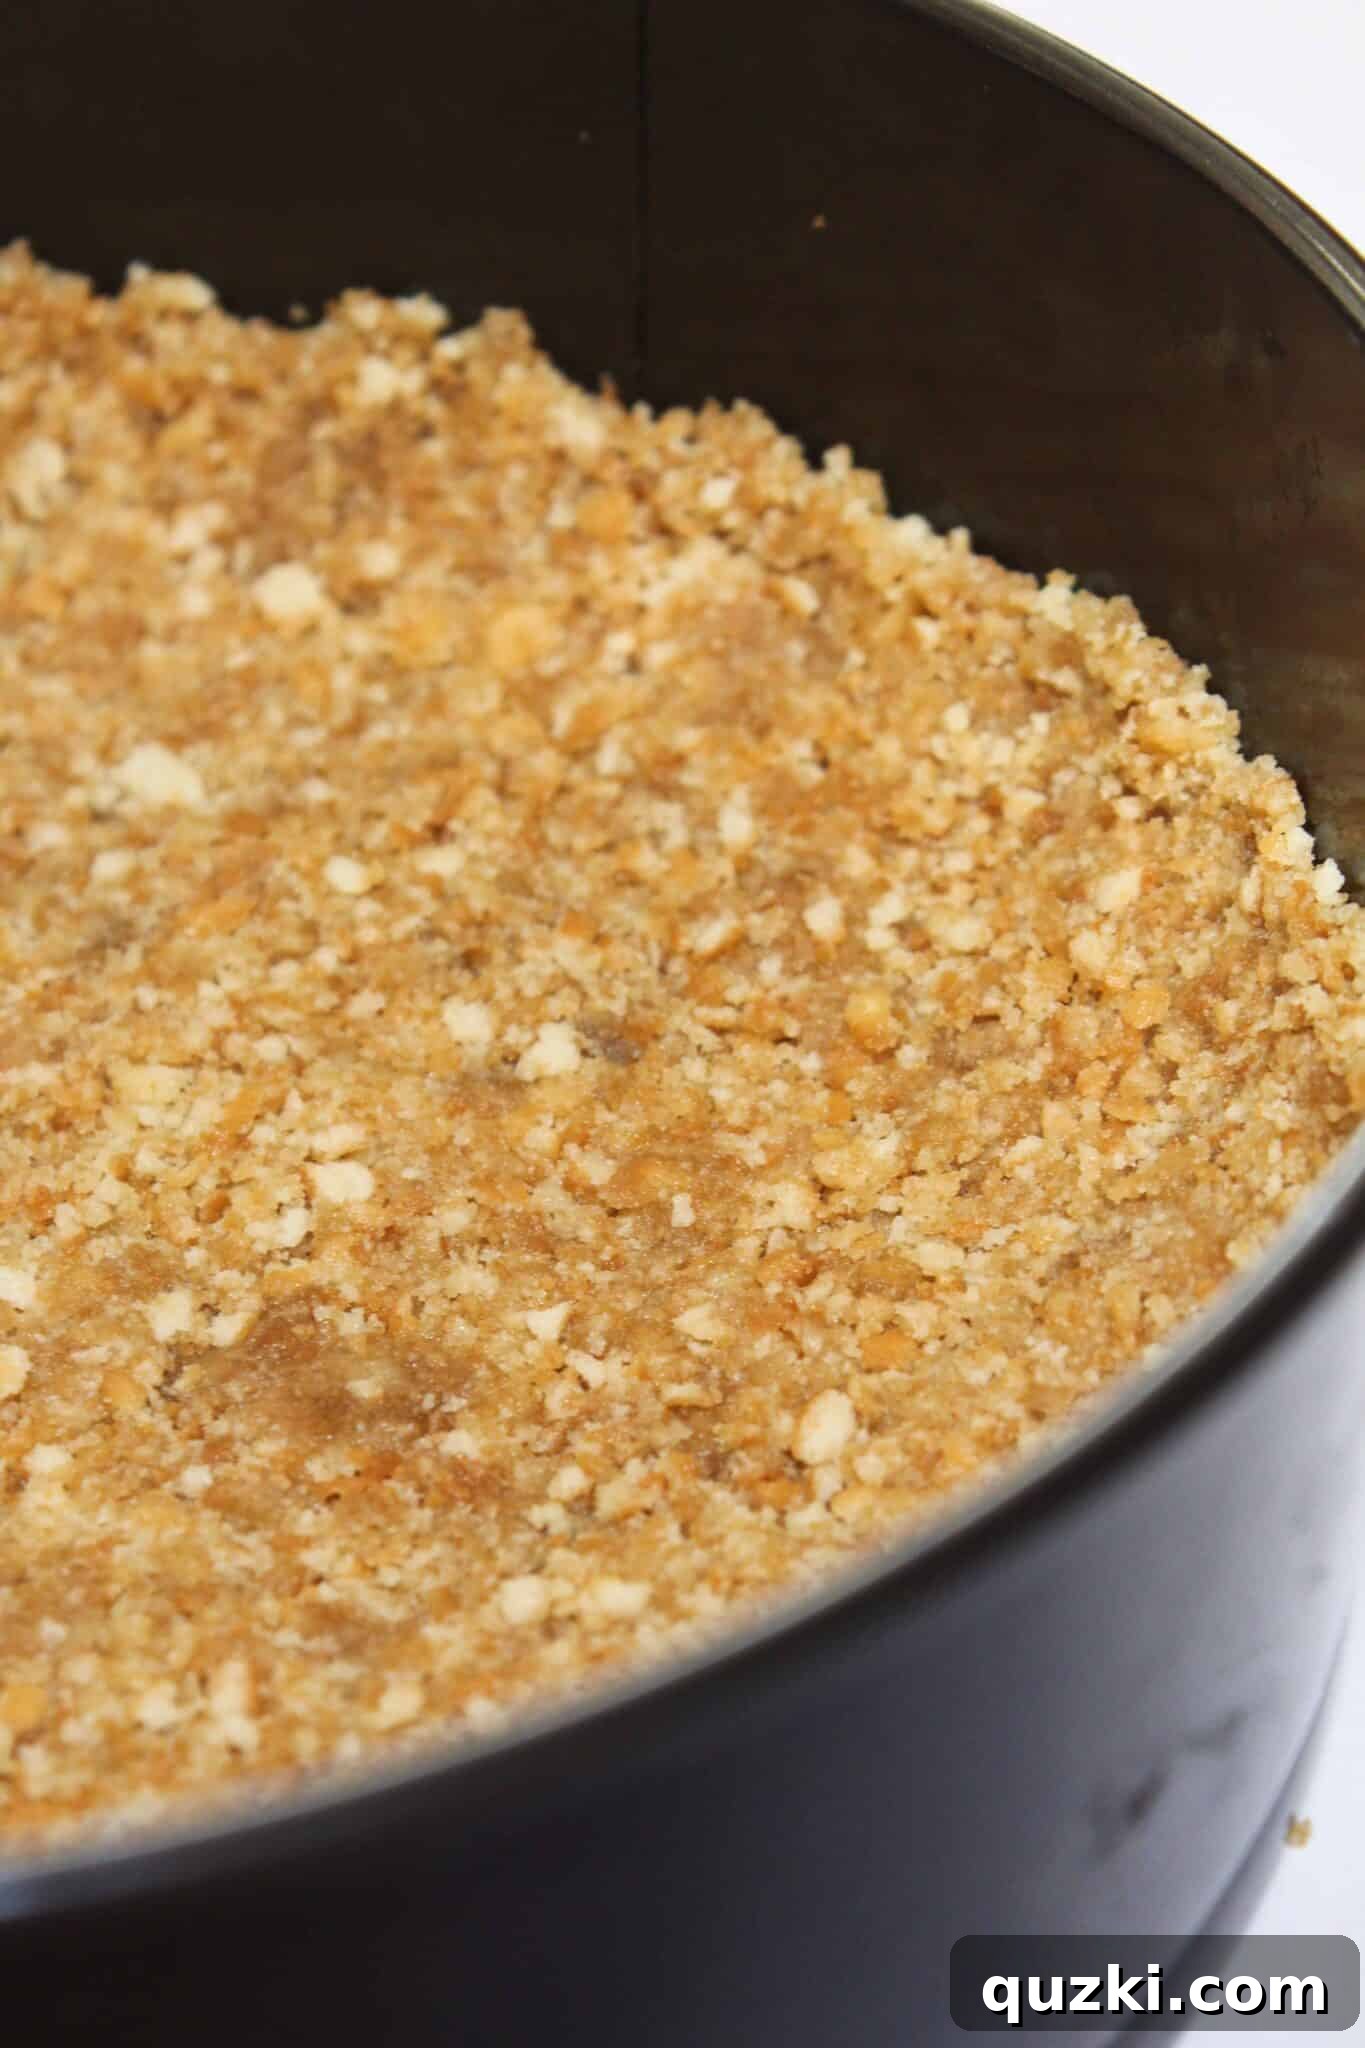
Easy 3-Ingredient No-Bake Vanilla Wafer Crust: The Ultimate Guide for Pies & Cheesecakes
Creating a delicious dessert doesn’t have to be complicated. In fact, some of the most impressive sweet treats start with the simplest foundations. Among these, the 3-ingredient Nilla Wafer crust stands out as an absolute game-changer. It’s incredibly easy to make, remarkably versatile, and delivers a subtly sweet, delicate flavor that complements a wide array of pies, cheesecakes, and no-bake desserts. As a seasoned professional recipe developer, I’m always on the lookout for straightforward recipes that promise big flavor with minimal effort, and this vanilla wafer crust truly excels in both departments.
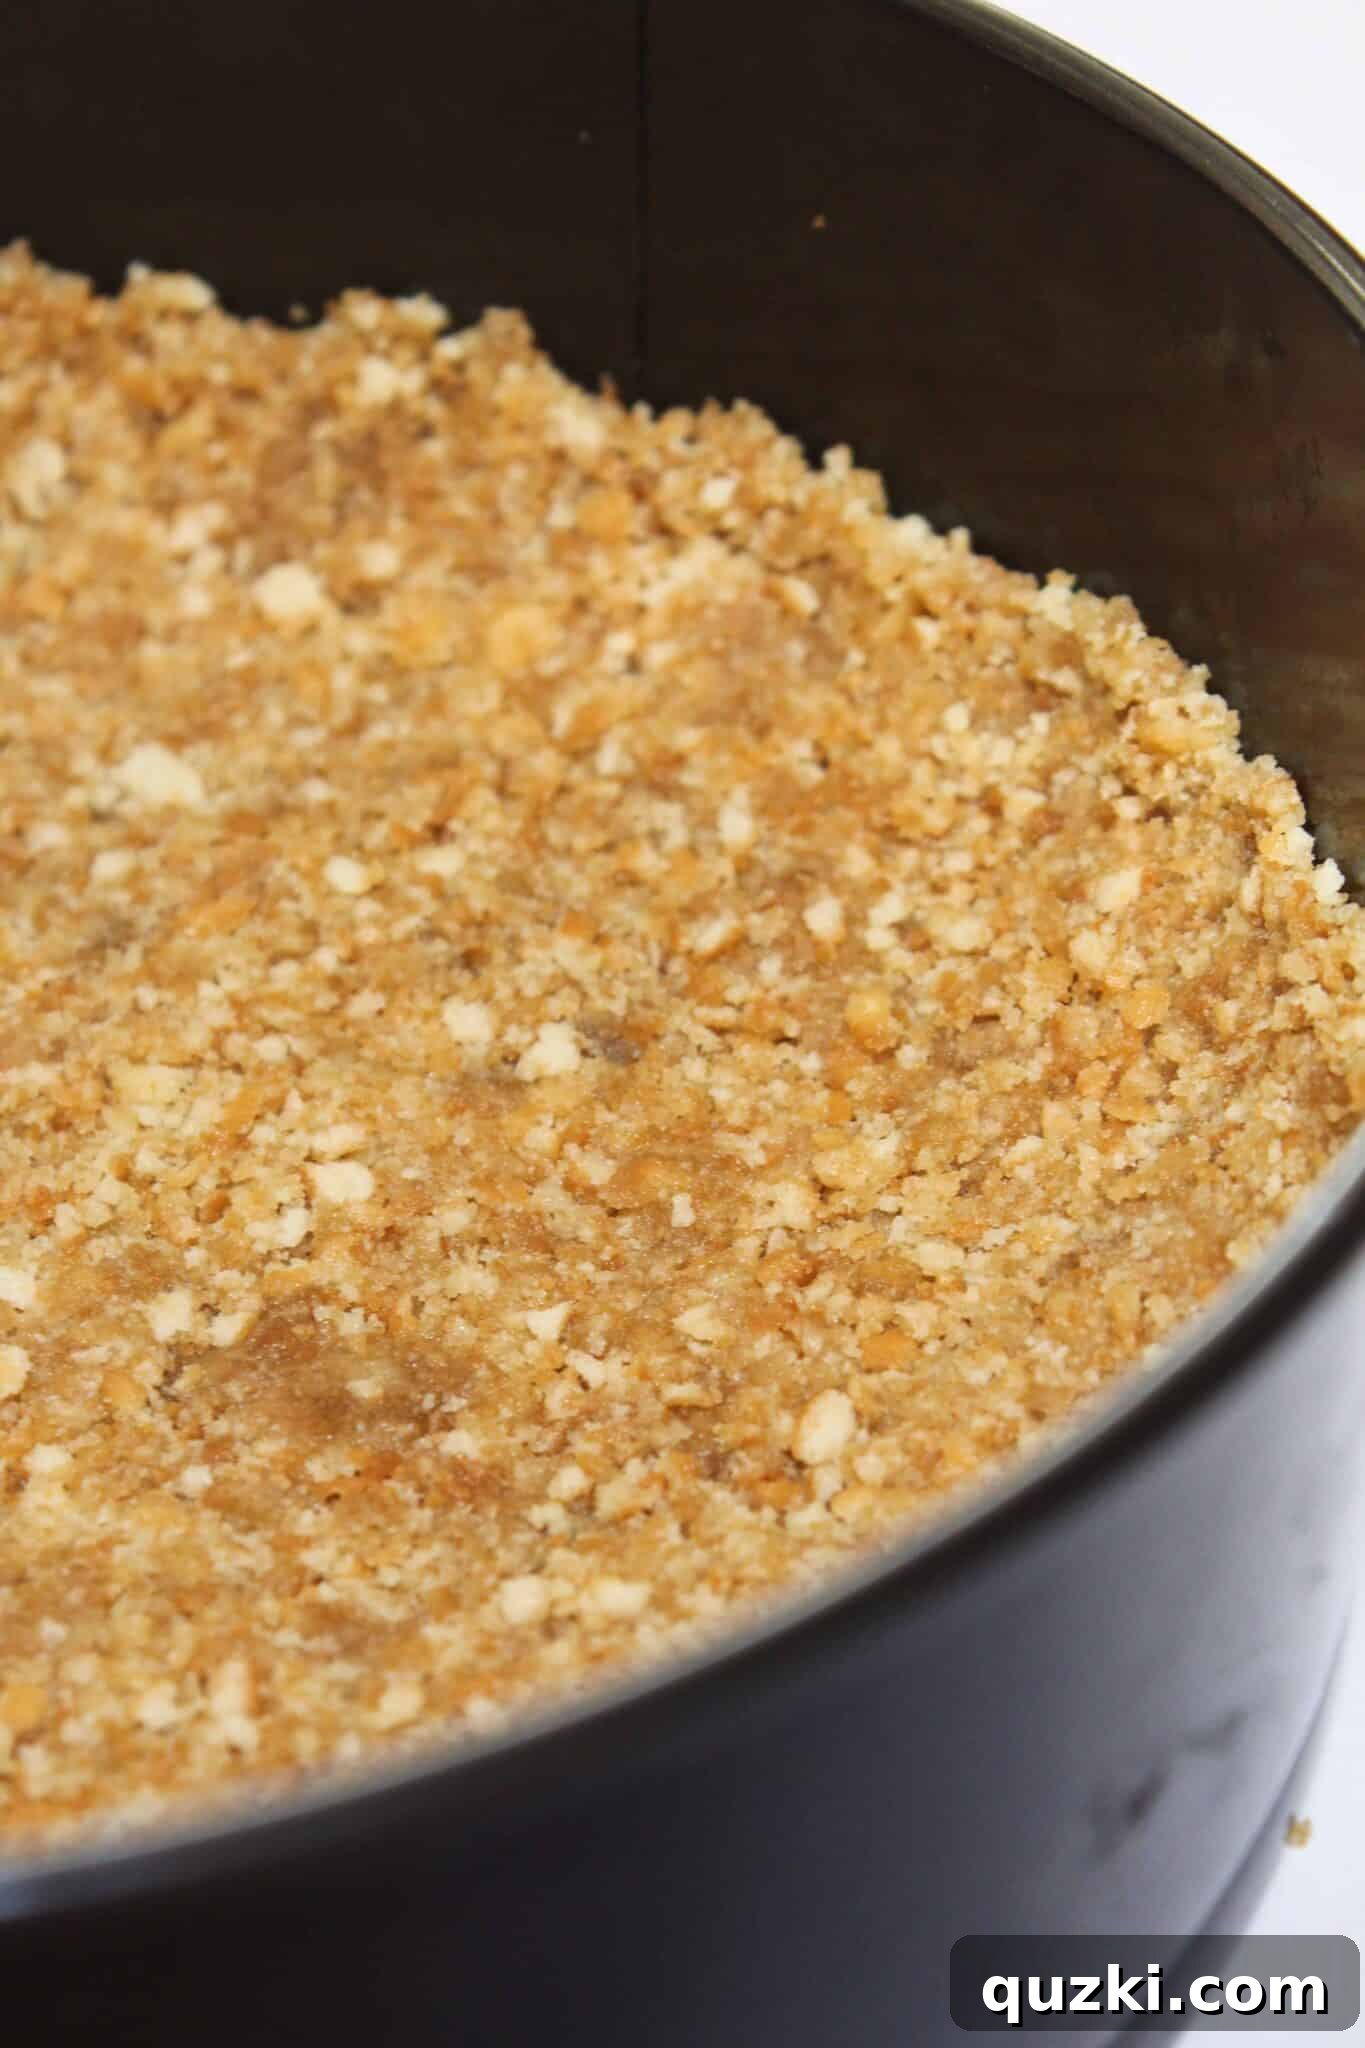
The best part about this particular recipe? It’s a completely no-bake crust. This makes it an ideal choice for those times when you want to avoid heating up your kitchen, especially during warmer months, or simply need a quick dessert solution. The process is straightforward: just mix three simple ingredients, press the mixture into your chosen pie dish or springform pan, and allow it to chill until firm. No oven required, no complicated steps, just pure, unadulterated convenience and flavor.
This vanilla wafer crust offers a delightful alternative to the more common graham cracker crust. While graham cracker crusts are undeniably delicious and easy, the vanilla wafer version brings a distinctively sweeter, more delicate, and richer vanilla flavor profile to your desserts. It has a melt-in-your-mouth quality that truly elevates any filling it holds. Once you experience its charming texture and taste, you’ll find yourself reaching for this recipe again and again for all your favorite sweet creations.
This post contains affiliate links. As an Amazon Associate, I earn from qualifying purchases, receiving a small amount of compensation if you choose to purchase from my links. Rest assured, I only link to products I personally use, trust, and love.
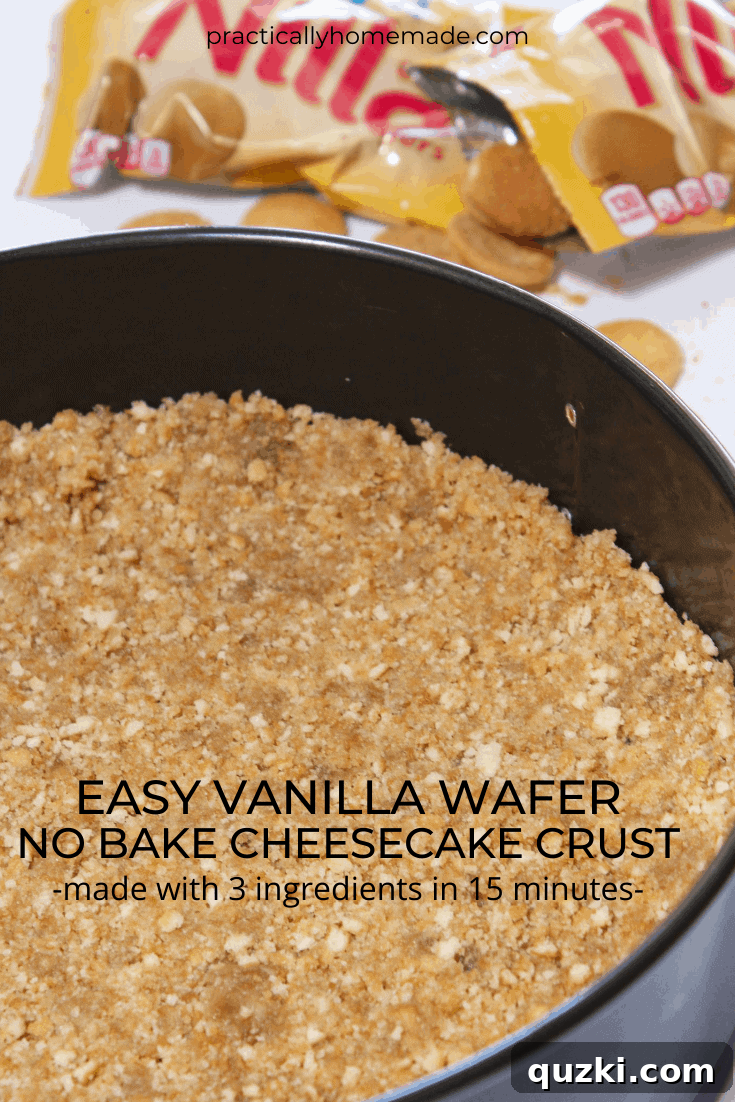
How to Make the Perfect No-Bake Vanilla Wafer Pie Crust
You’ll be amazed at how simple it is to prepare this crust. With just three ingredients and about 15 minutes of active prep time, you can have a perfect foundation ready for your next dessert masterpiece. This recipe is designed for maximum ease and efficiency, proving that sometimes the best things in life (and in the kitchen) truly are the simplest.
The Essential Ingredients for Your Vanilla Wafer Crust
Success with this crust begins with choosing the right ingredients and understanding their roles. Here’s what you’ll need and why:
- Vanilla Wafer Cookies: While the iconic Nilla brand is a popular choice, any brand of vanilla wafer cookies will work beautifully. Whether you find regular-sized or mini wafers, the key is to ensure they are fresh for optimal flavor. You’ll need enough to yield approximately 2 1/4 cups of fine crumbs.
- Brown Sugar: We opt for brown sugar over granulated white sugar for a few key reasons. Brown sugar introduces a subtle molasses note, adding depth and a hint of caramel flavor to the crust. It also contributes to a slightly chewier, more tender texture. However, if you prefer a less sweet crust, or simply don’t have brown sugar on hand, you can omit it entirely or substitute with a smaller amount of granulated sugar.
- Melted Butter: This is the crucial binding agent that holds your crust together without the need for baking. Butter not only acts as the “glue” but also infuses the crust with a rich, creamy flavor. Furthermore, the fat content in the butter prevents the crust from sticking to the pan, eliminating the need to grease your springform or pie dish.
Step-by-Step Guide to a Flawless Crust
Let’s walk through the incredibly simple steps to create your ideal no-bake vanilla wafer cheesecake crust.
- Crumble the Cookies: The first step is to transform your vanilla wafers into fine crumbs.
- Using a Food Processor: This is the quickest and most efficient method. Add the vanilla wafers to your food processor and pulse until you achieve fine, consistent crumbs. Avoid over-processing to prevent turning them into a paste.
- No Food Processor? No Problem!: If you don’t have a food processor, simply place the cookies in a sturdy Ziploc bag. Seal the bag, pressing out as much air as possible, and then use a rolling pin or the bottom of a heavy pan to smash the cookies into fine crumbs. Ensure the crumbs are as fine as possible for a crust that holds together nicely and has a smooth texture.
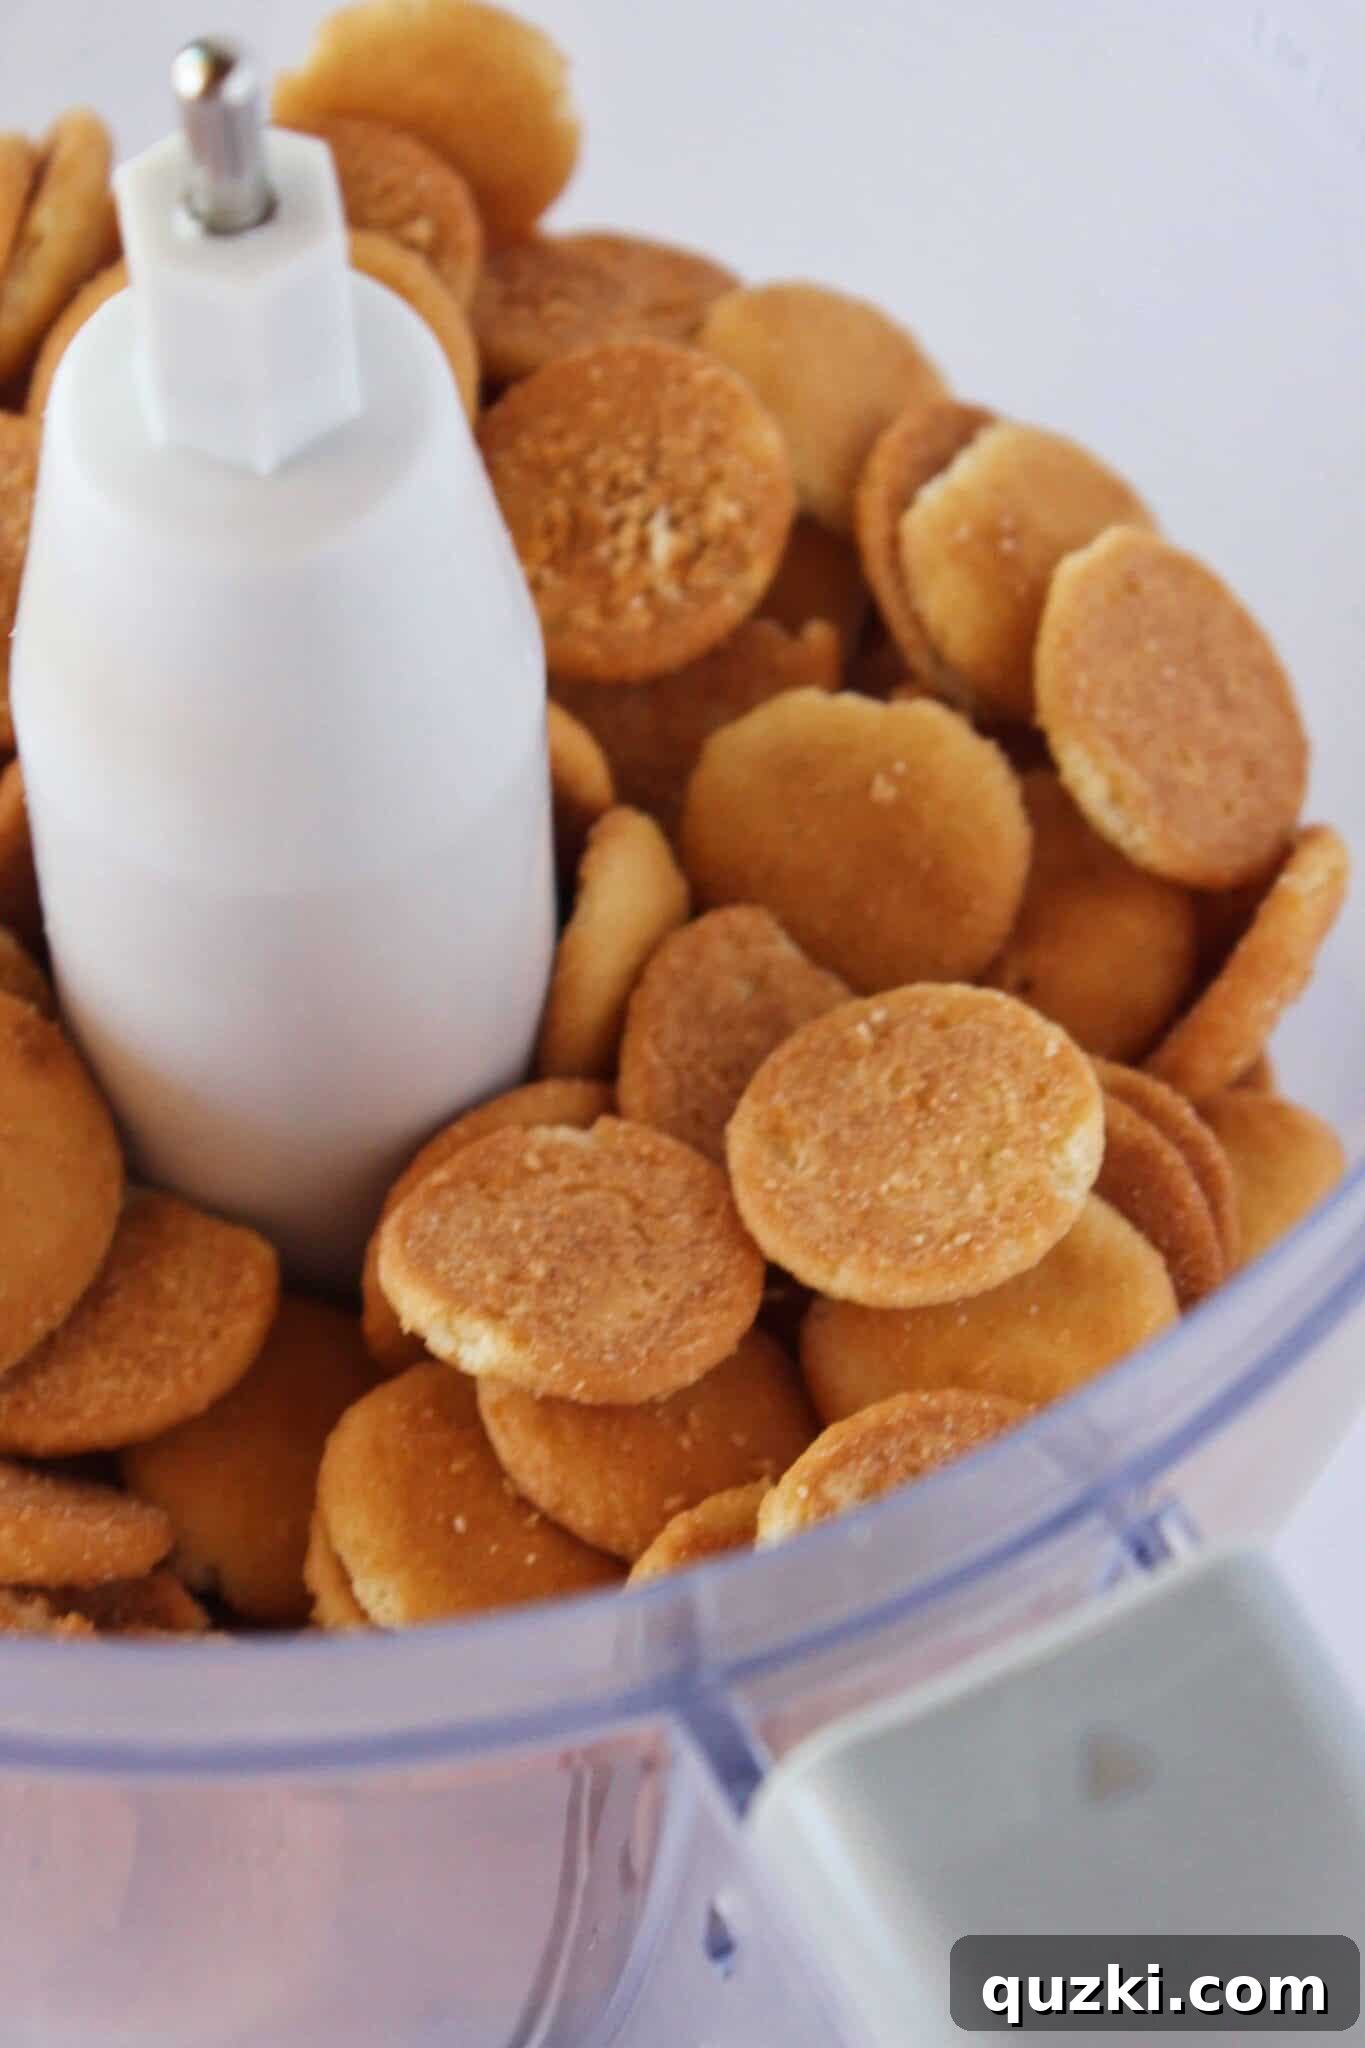
Once your vanilla wafers are finely crushed, transfer them to a medium-sized mixing bowl. It’s truly important that most of the pieces are quite small; larger pieces can make the crust less stable and more prone to crumbling when serving.
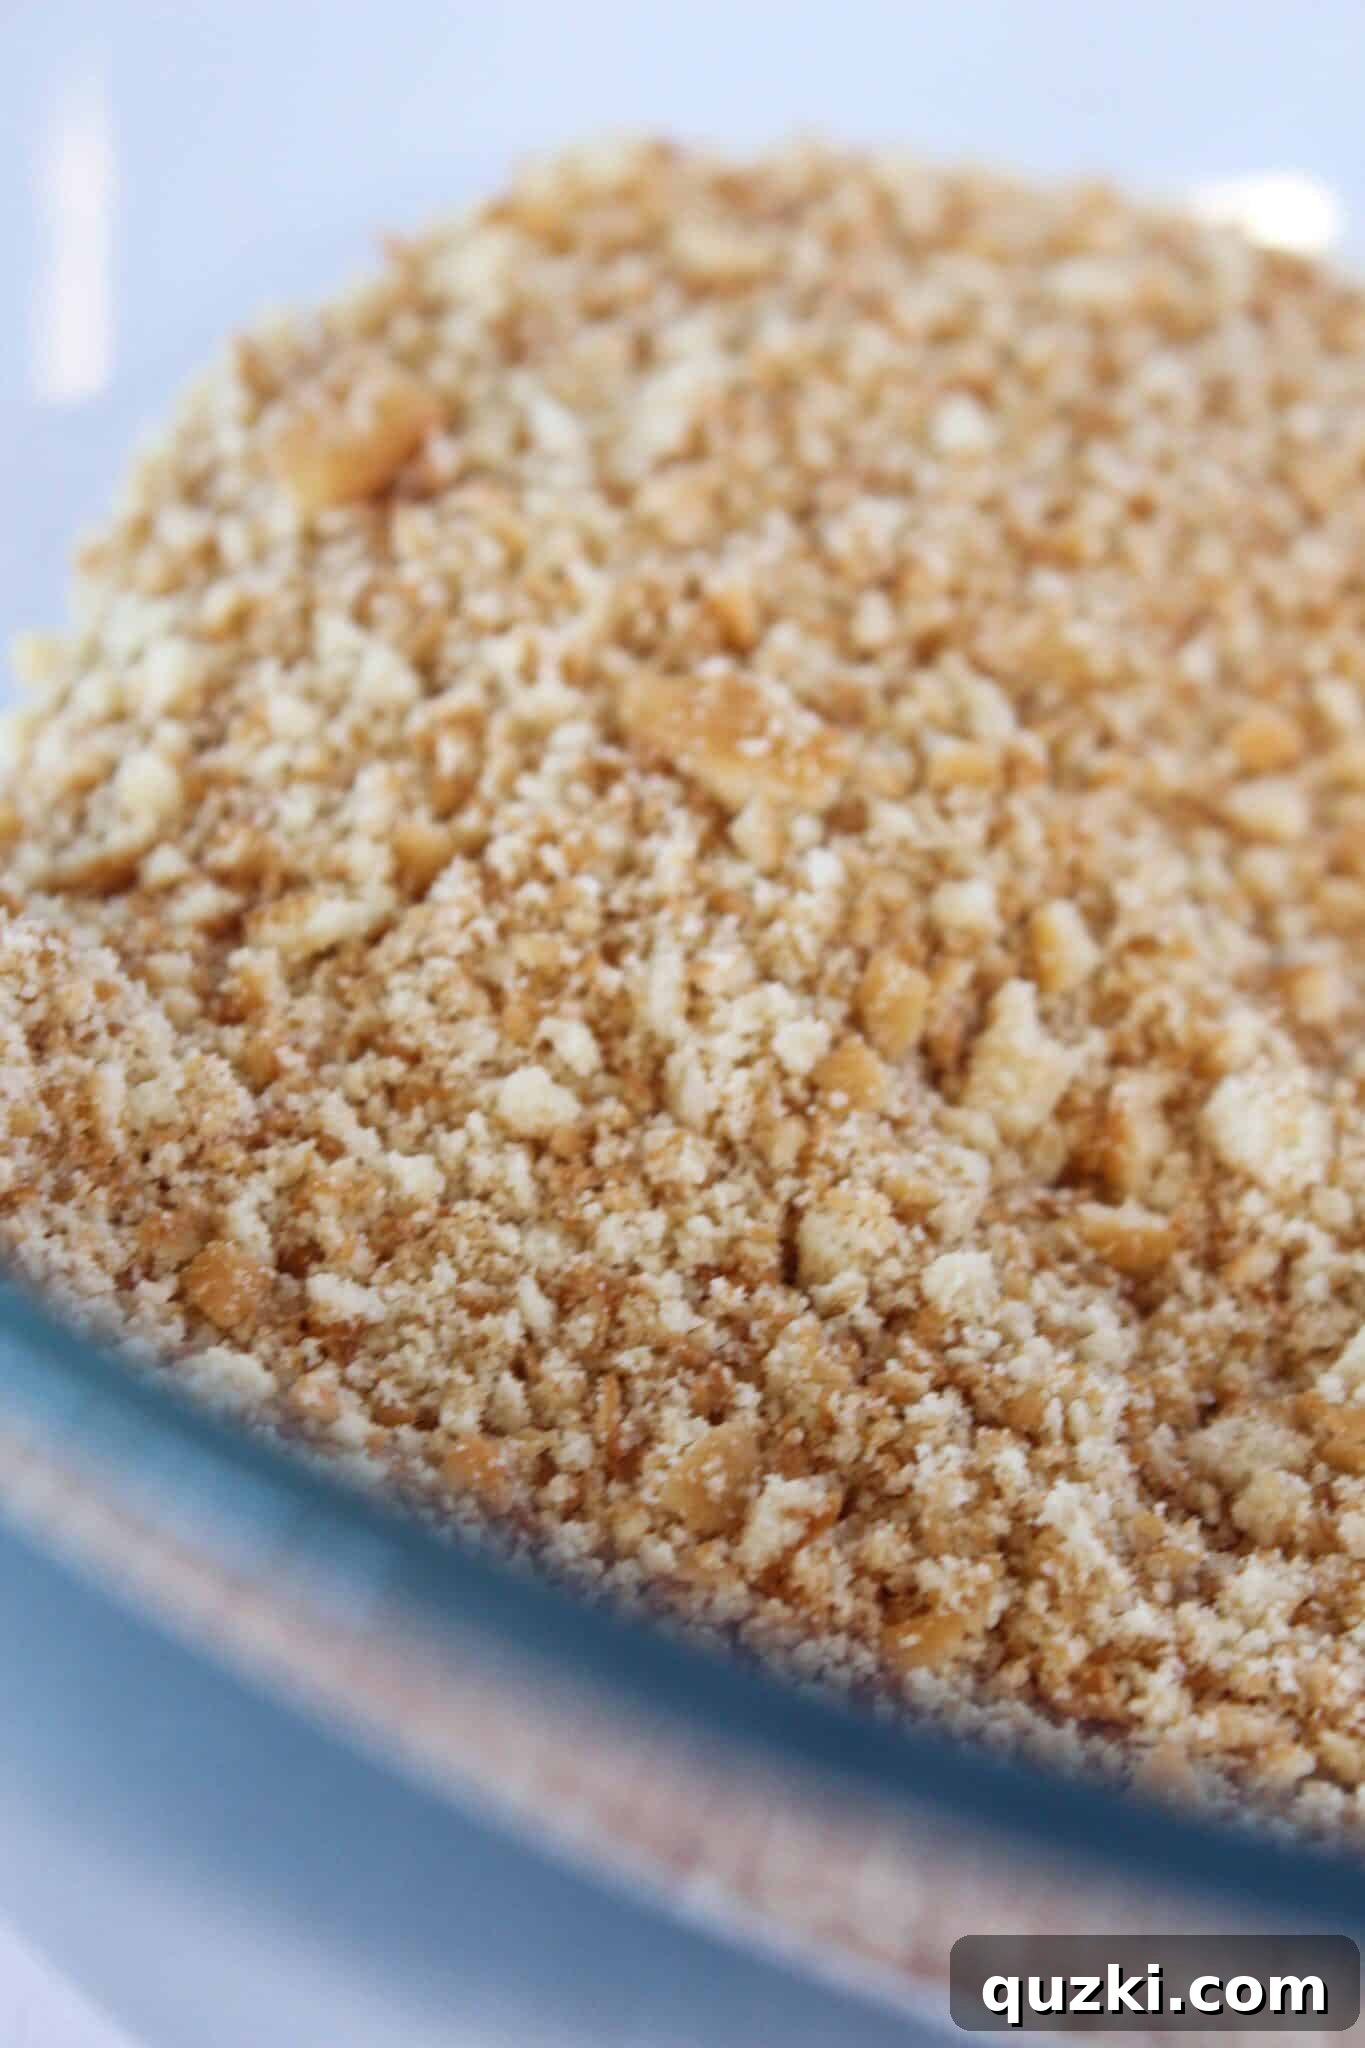
Next, add the melted butter and brown sugar to the cookie crumbs. Mix all the ingredients thoroughly until everything is well combined and evenly moistened.
The Indispensable Role of Butter in This No-Bake Crust
- The Ultimate Binder: In this no-bake recipe, butter is truly the star. It acts as the primary adhesive, ensuring that all the cookie crumbs stick together beautifully to form a cohesive, sliceable crust. While you might get away with less butter in a baked crust, for a no-bake vanilla wafer crust, the full 1/2 cup of melted butter is essential for stability.
- Natural Non-Stick Agent: Thanks to the fat content in the butter, there’s no need to grease your springform pan or pie dish. The butter naturally prevents the crust from sticking, making for easy removal and clean slices.
- Unbeatable Flavor Enhancer: Beyond its structural role, butter adds an incredible richness and depth of flavor that perfectly complements the vanilla wafers and brown sugar, resulting in a truly irresistible foundation for your dessert.
As mentioned, I prefer brown sugar for its unique flavor. However, if you’re looking to reduce the sweetness or simply don’t have brown sugar on hand, you can certainly omit it entirely. The crust will still be delicious, just with a slightly different flavor profile.
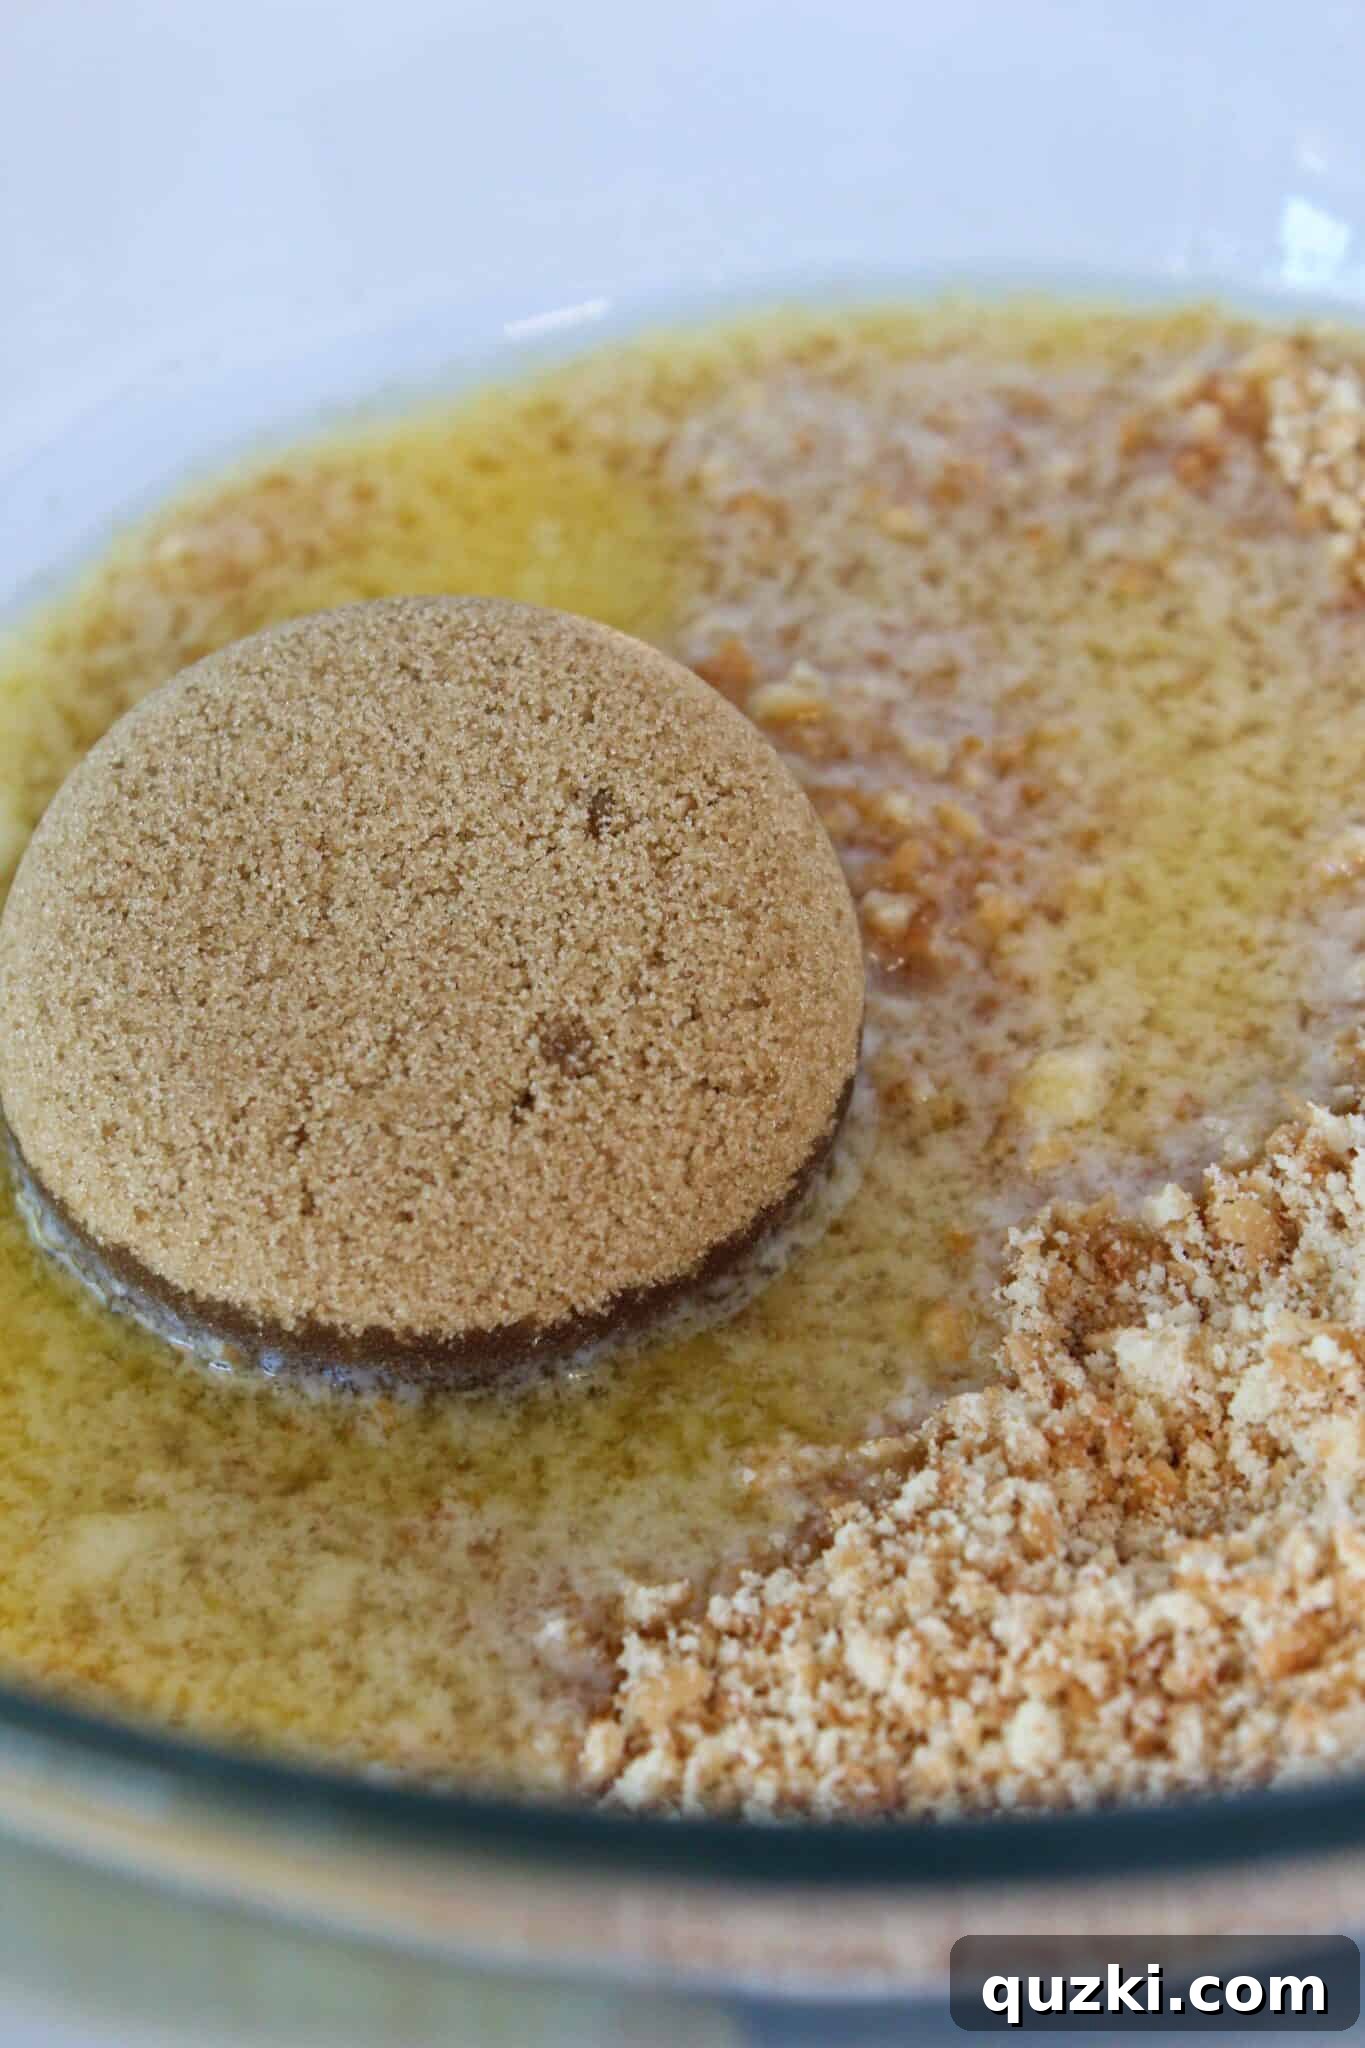
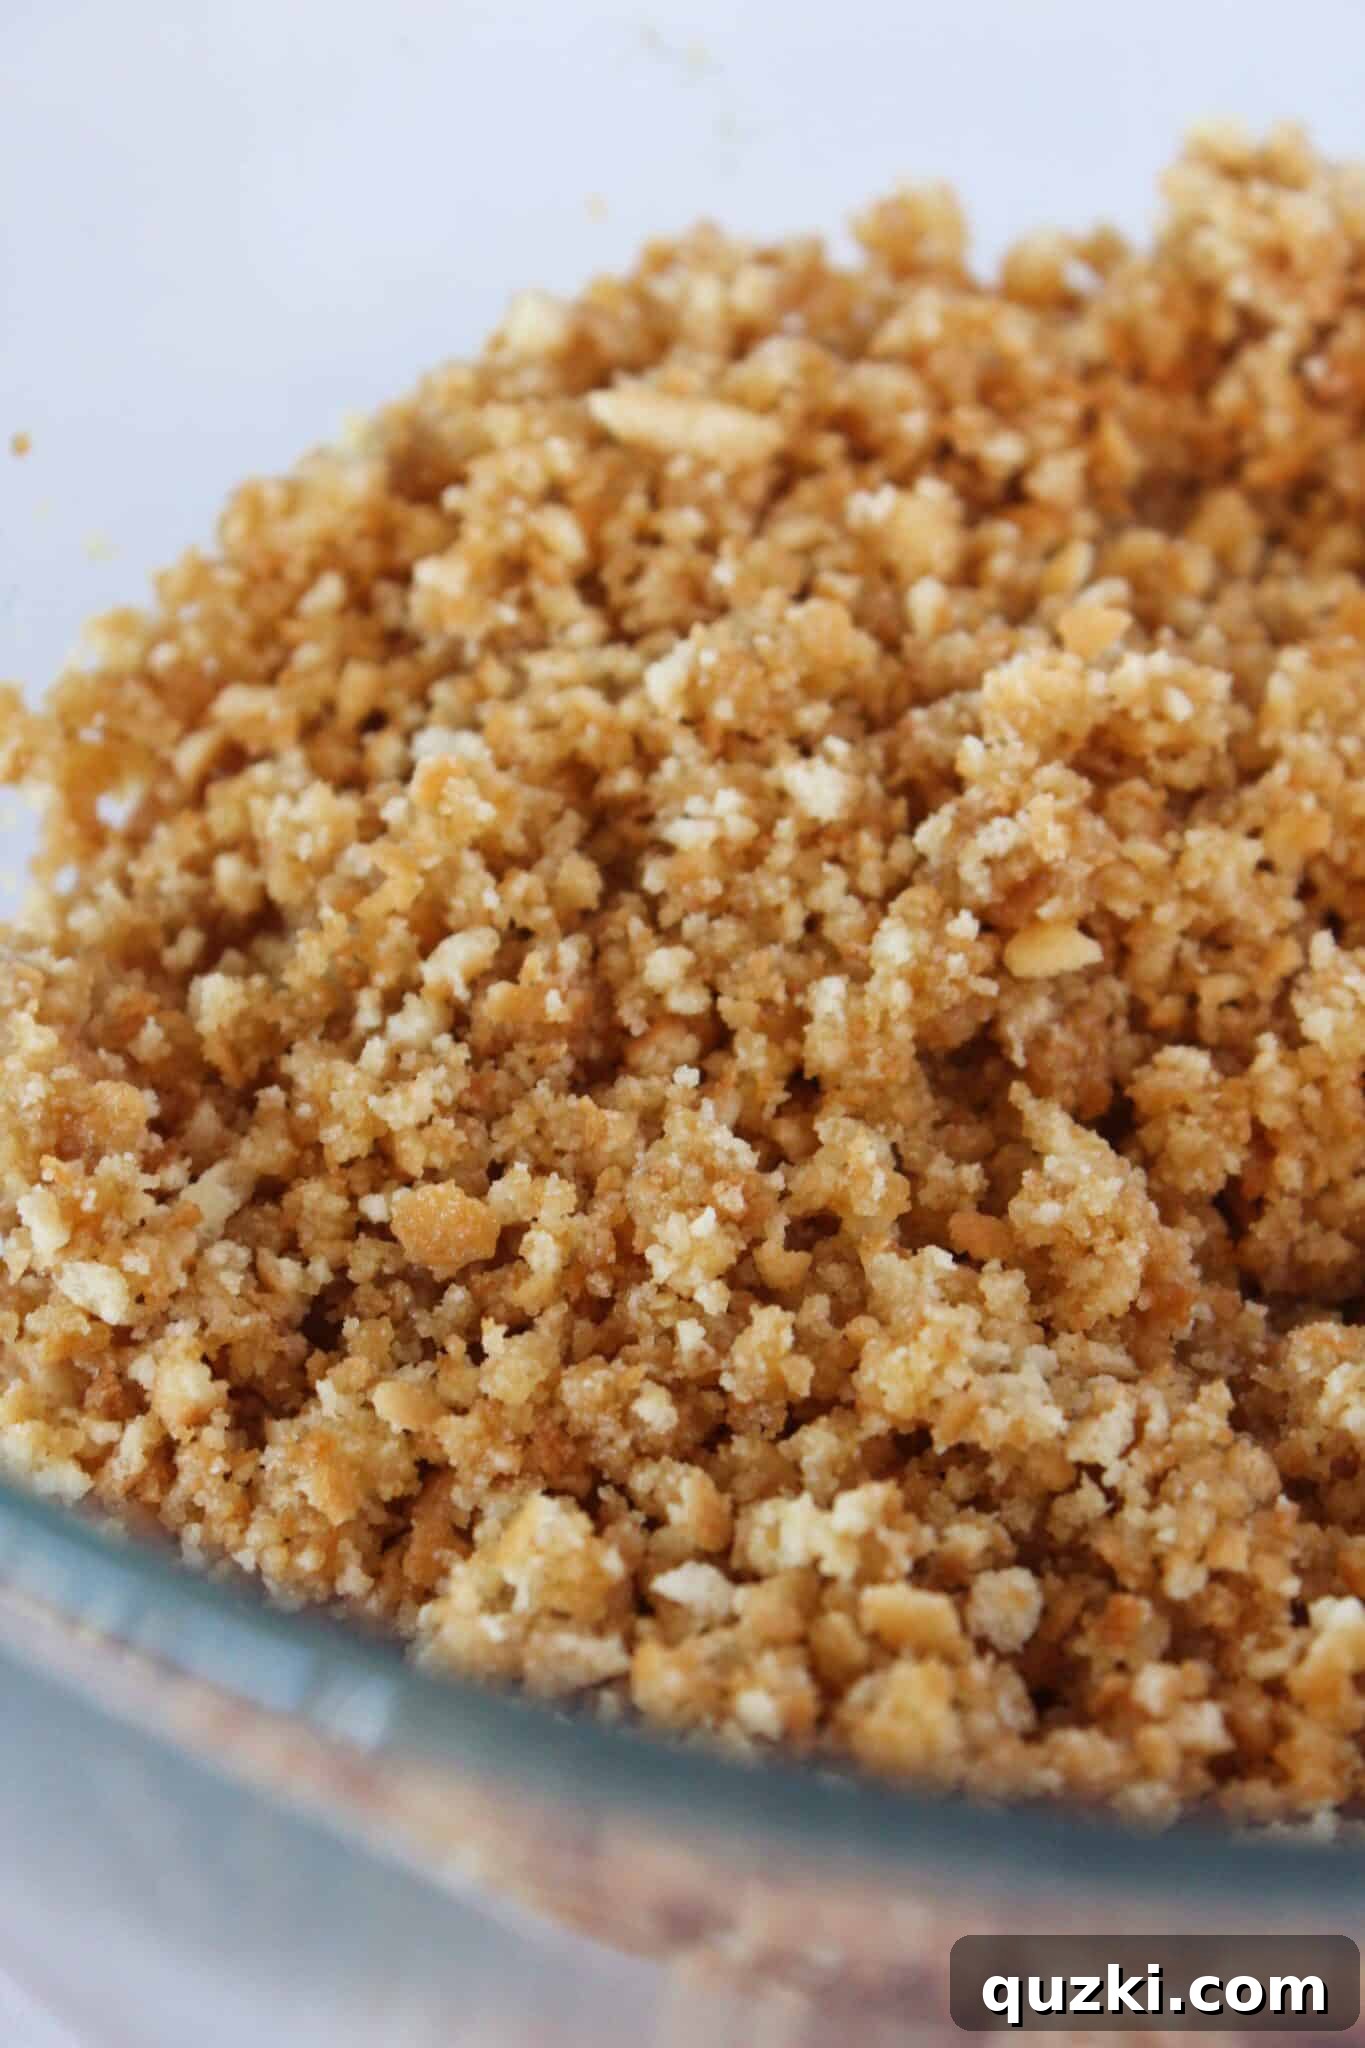
After mixing, you should end up with a mixture that resembles wet sand. It will feel moist to the touch and easily clump together when squeezed, indicating it’s ready to be pressed into the pan.
Pour the entire crumb mixture into an ungreased springform pan (or pie dish). Remember, due to the generous amount of butter, there’s no need to spray the pan beforehand.
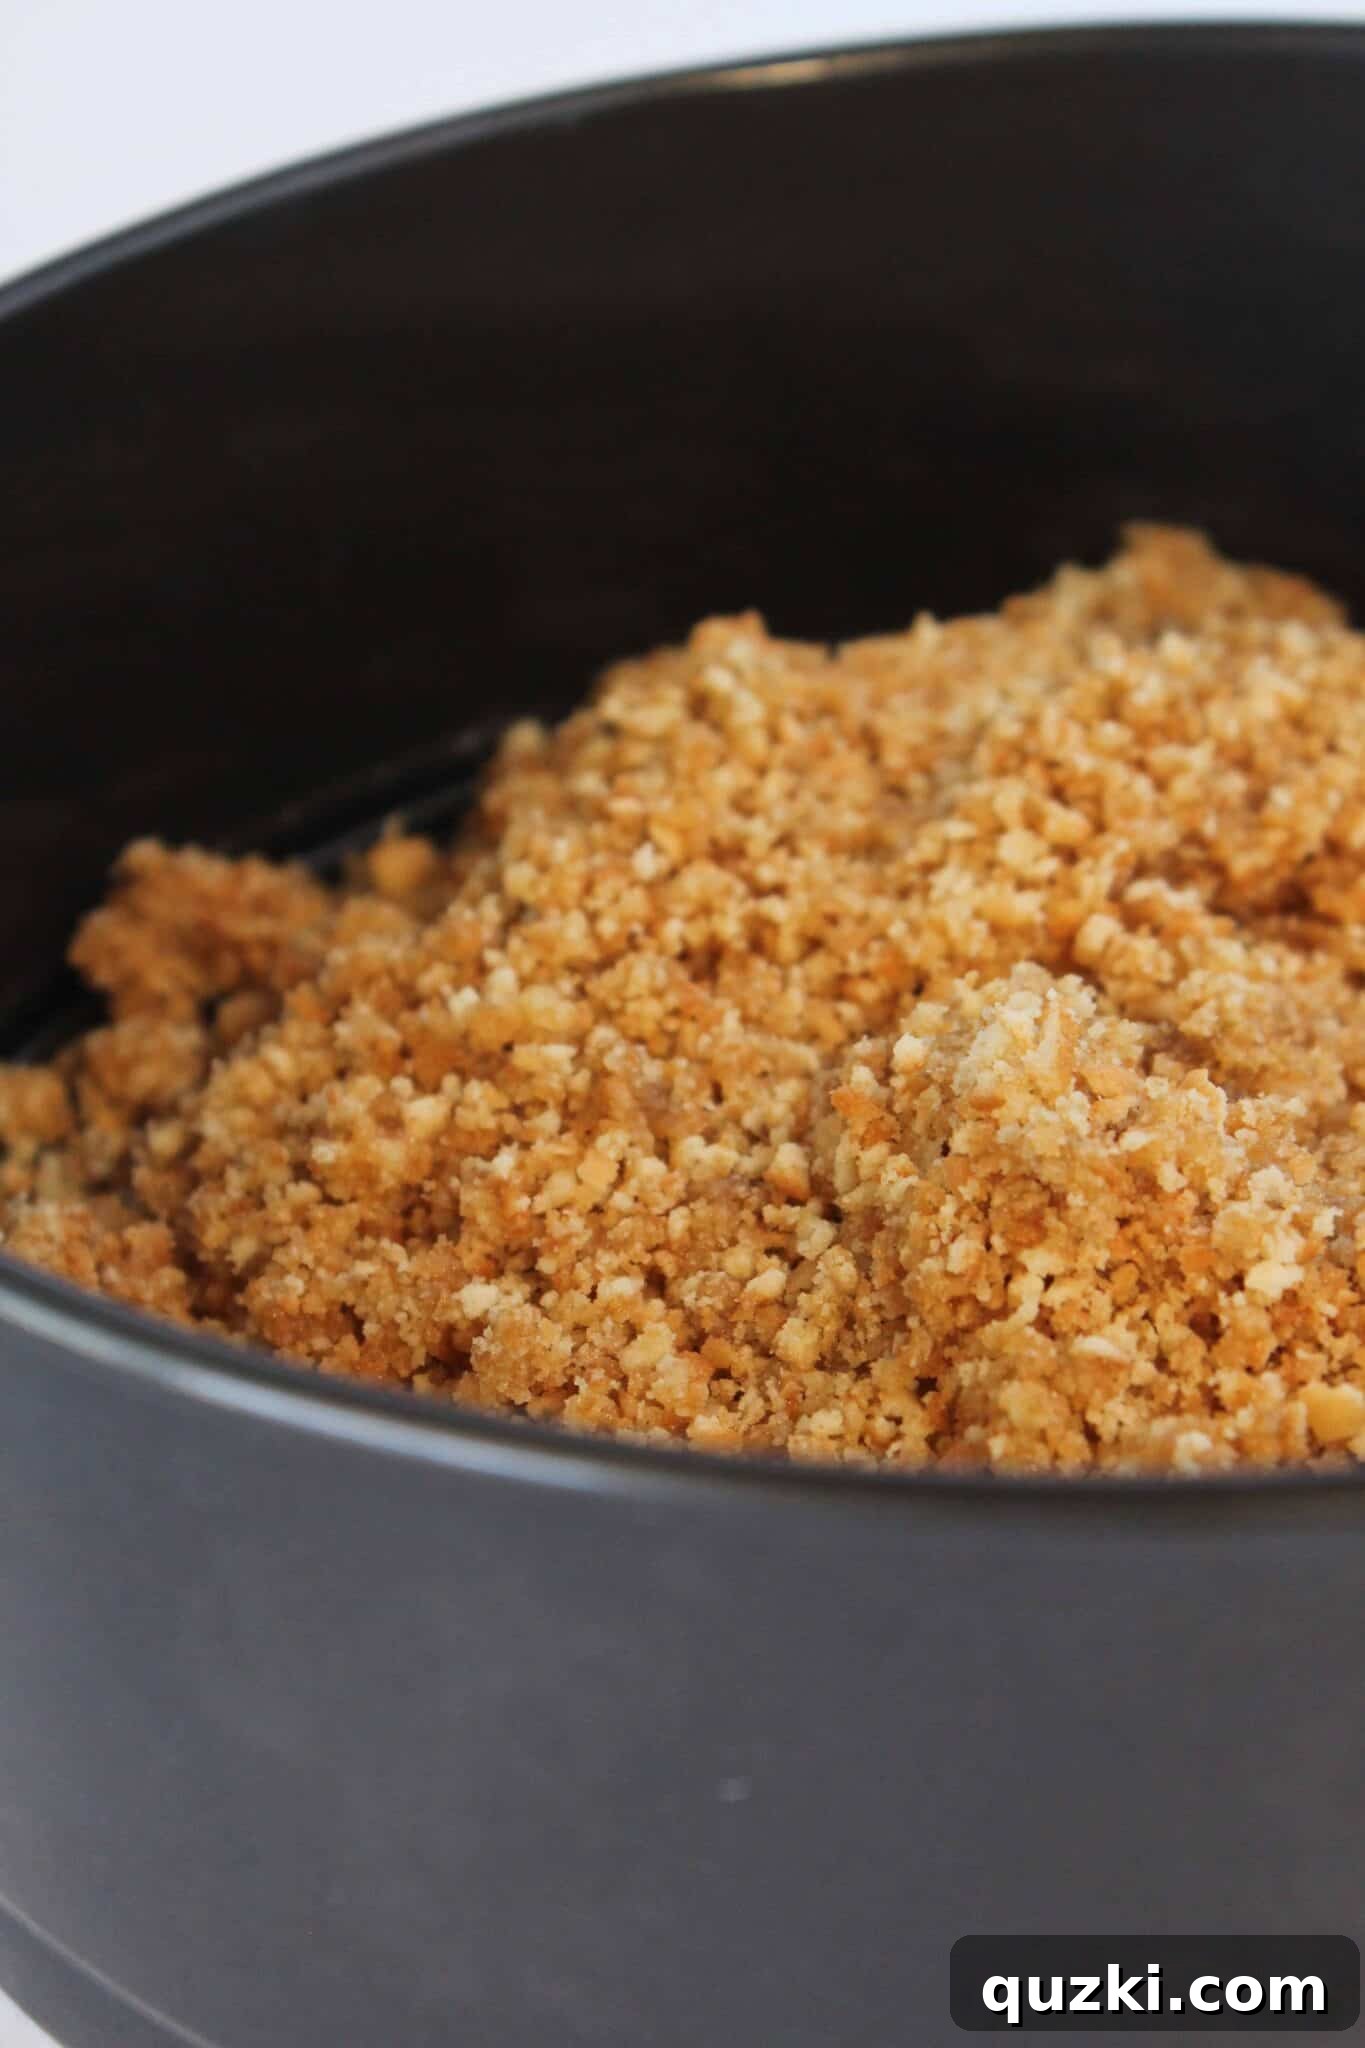
Now comes the crucial step of pressing the crumbs firmly into place. Use your fingers to evenly spread the mixture across the bottom of the pan and slightly up the sides. For a smoother, more uniform surface, you can also use the bottom of a flat-bottomed glass, a measuring cup, or a tart tamper. Press down firmly and consistently to ensure a compact and stable crust that won’t fall apart when sliced. The firmer you press, the more solid your crust will be.
Once pressed, refrigerate your vanilla wafer crust for at least 10 minutes. This chilling time allows the butter to solidify, setting the crust firmly in place before you add your chosen filling. This simple step is vital for a sturdy, reliable base.
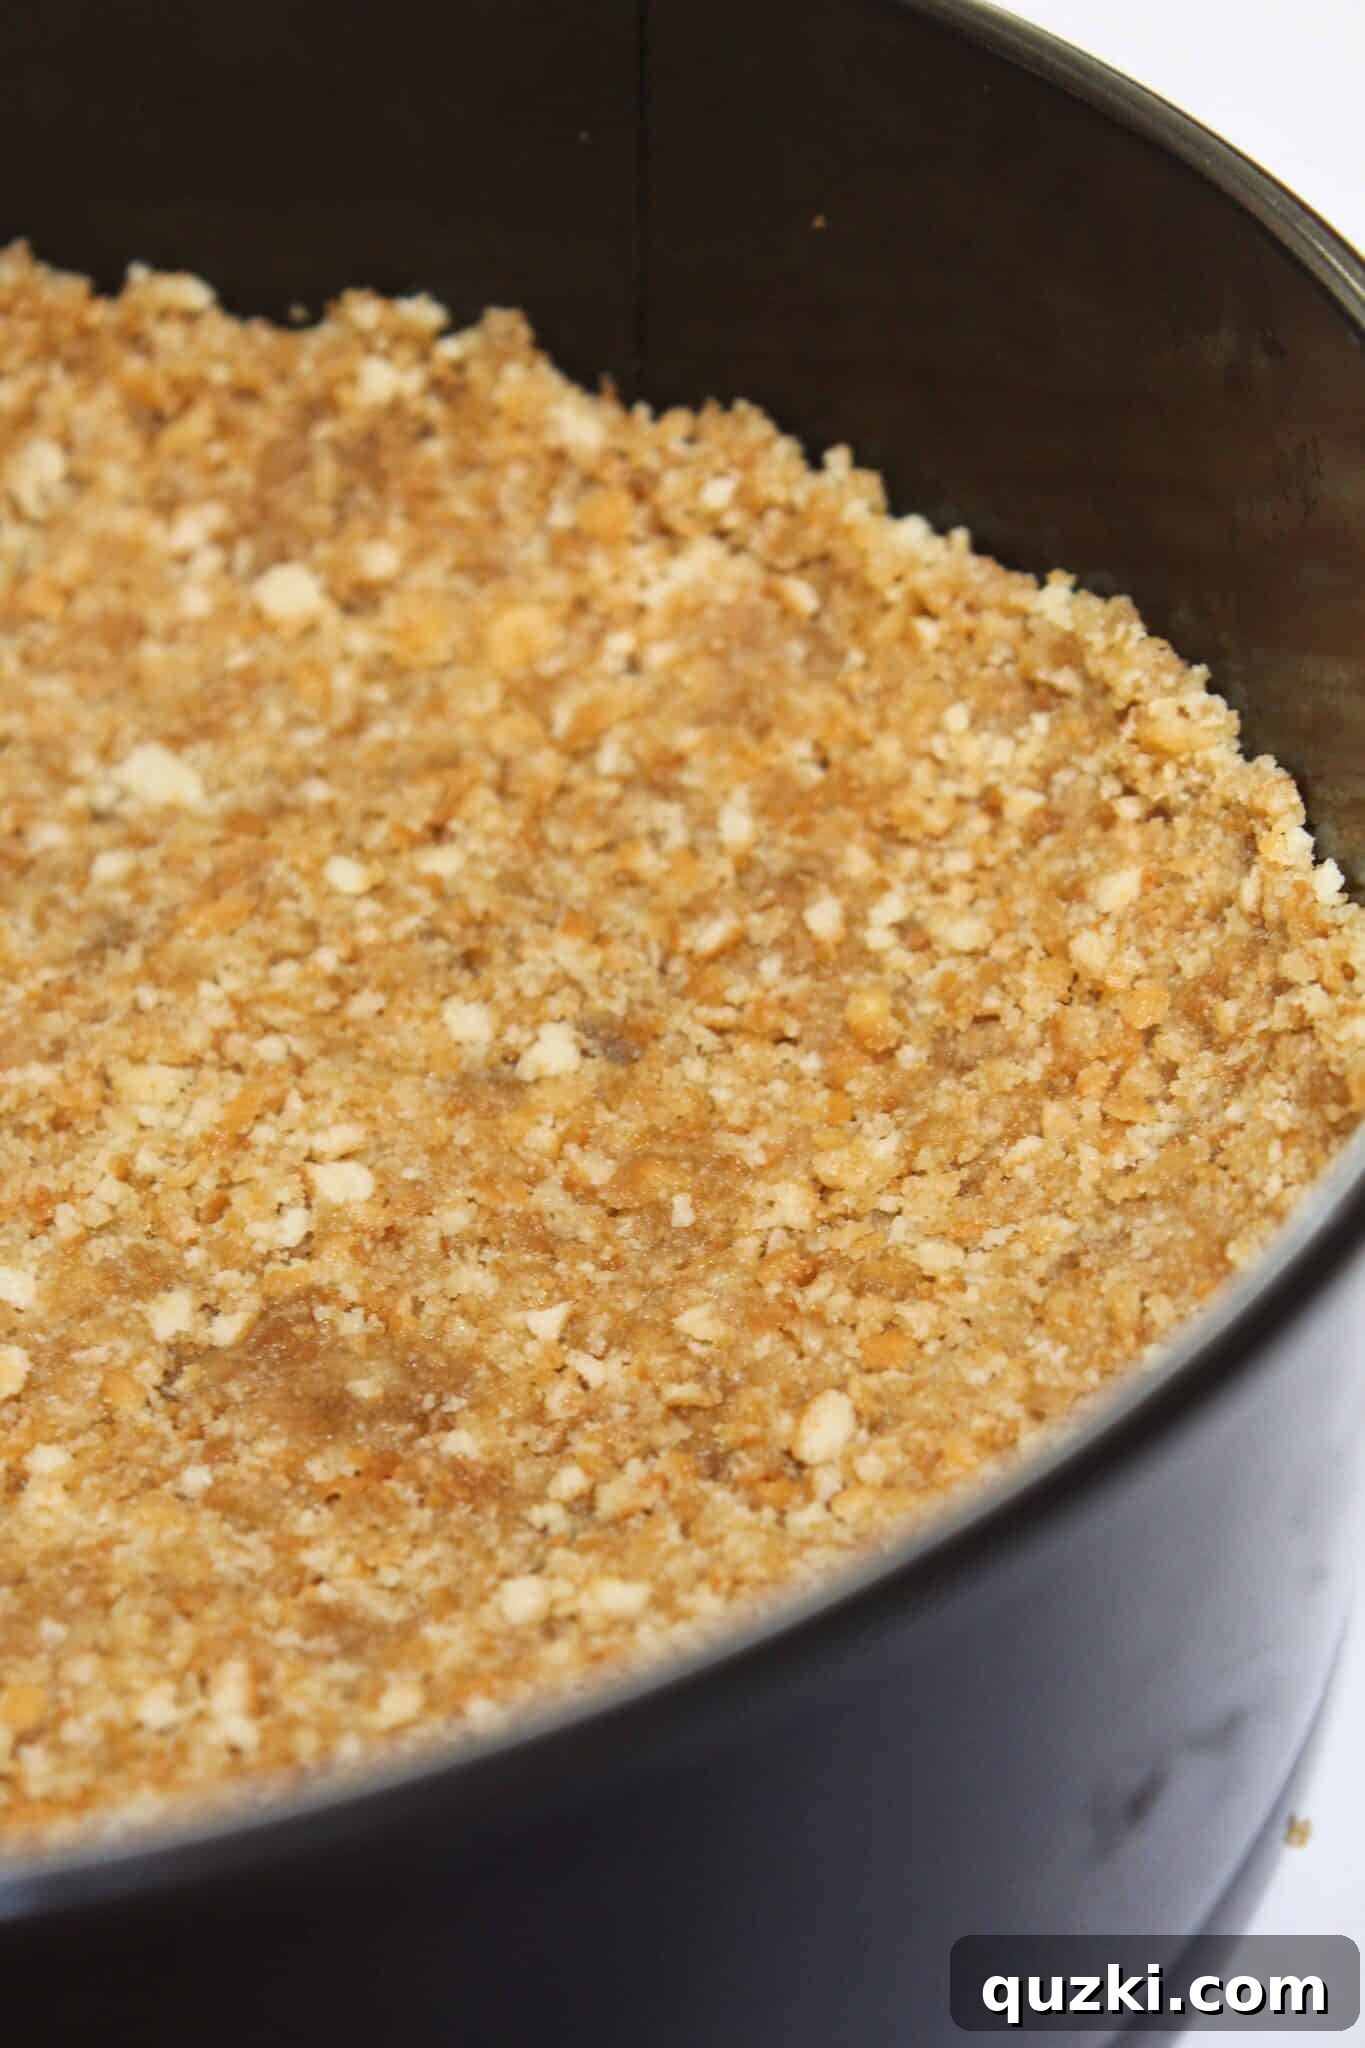
That’s all there is to crafting this incredible vanilla wafer cheesecake crust! Can you believe how effortlessly simple it is to create such a versatile and flavorful base for your desserts? If you haven’t tried it before, prepare to be amazed by its ease and delightful taste!
Creative Ways to Utilize Your Nilla Wafer Pie Crust
The beauty of this homemade vanilla wafer crust lies in its exceptional versatility. Its sweet, delicate flavor profile makes it a perfect companion for nearly any dessert filling. Here are just a few ideas to get your culinary creativity flowing:
- Cheesecakes: This crust is a match made in heaven for both no-bake cheesecakes and traditional baked cheesecakes. Its rich flavor provides a wonderful contrast to creamy cheesecake fillings.
- Try it with an Easy No Bake Sprinkle Cheesecake for a fun, festive treat.
- For a zesty twist, pair it with a refreshing No Bake Key Lime Pie.
- Indulge in a sweet and tangy No Bake Margarita Cheesecake.
- Elevate your dessert game with a quick and delicious Golden Oreo No Bake Cheesecake.
- For chocolate and caramel lovers, a Snickers No Bake Cheesecake is an absolute must-try.
- Cream Pies: From classic banana cream to decadent chocolate cream, the vanilla wafer crust provides a delightful textural contrast and complementary flavor.
- It’s the ideal base for this Easy Butter Pecan Cream Pie.
- Imagine it with a smooth coconut cream filling or a luscious chocolate pudding pie.
- Fruit Tarts: A simple vanilla wafer crust can beautifully support fresh fruit fillings, allowing the natural sweetness of the fruit to shine.
- Ice Cream Pies: For a quick and impressive dessert, fill this chilled crust with your favorite ice cream, freeze, and top with fudge, caramel, or whipped cream.
- Mini Desserts: Press the crumbs into muffin tins for individual mini no-bake cheesecakes or tartlets. These are perfect for entertaining or portion control!
- Trifles and Parfaits: Use crumbled pieces of the crust as a sweet, crunchy layer in trifles or parfaits, adding texture and vanilla flavor.
- Specialty Cheesecakes: Don’t forget to try this vanilla wafer crust with an Easy No Bake Banana Pudding Cheesecake for a truly Southern-inspired treat!
Homemade Vanilla Wafer Crust
June Albertson-Dick
15 mins
15 mins
10 servings
Print Recipe
Ingredients
- 2 1/4 cups Vanilla Wafer cookie crumbs
- 1/4 cup brown sugar {lightly packed}
- 1/2 cup butter {melted}
Instructions
- Combine Vanilla Wafer cookie crumbs, brown sugar, and melted butter in a bowl. Mix together until everything is nicely incorporated. Pour into an ungreased springform pan. Press crumbs firmly into the bottom and slightly up the sides of the springform pan. Refrigerate for at least 10 minutes before adding filling of your choice.
Notes
Nutrition
Serving: 1 slice, Calories: 217kcal, Carbohydrates: 23g, Protein: 1g, Fat: 14g, Saturated Fat: 7g, Polyunsaturated Fat: 2g, Monounsaturated Fat: 3g, Trans Fat: 0.4g, Cholesterol: 25mg, Sodium: 174mg, Potassium: 31mg, Fiber: 0.3g, Sugar: 13g, Vitamin A: 284IU, Calcium: 7mg, Iron: 0.04mg
Nutrition information is automatically calculated, so should only be used as an approximation.
Enjoyed this recipe? Share your thoughts below!
We love hearing from you.
This 3-ingredient no-bake vanilla wafer crust is more than just a recipe; it’s a gateway to endless dessert possibilities. It’s perfect for both novice bakers and experienced dessert enthusiasts who appreciate simplicity without compromising on taste. Its quick preparation time and delightful flavor make it an indispensable staple in any home kitchen. Whether you’re whipping up a sophisticated cheesecake for a special occasion or a simple fruit tart for an everyday treat, this crust provides the perfect balance of sweetness and tender crunch. So go ahead, give it a try, and discover why this easy Nilla Wafer crust will become your new go-to for all your no-bake dreams. Happy baking (or rather, no-baking)!