
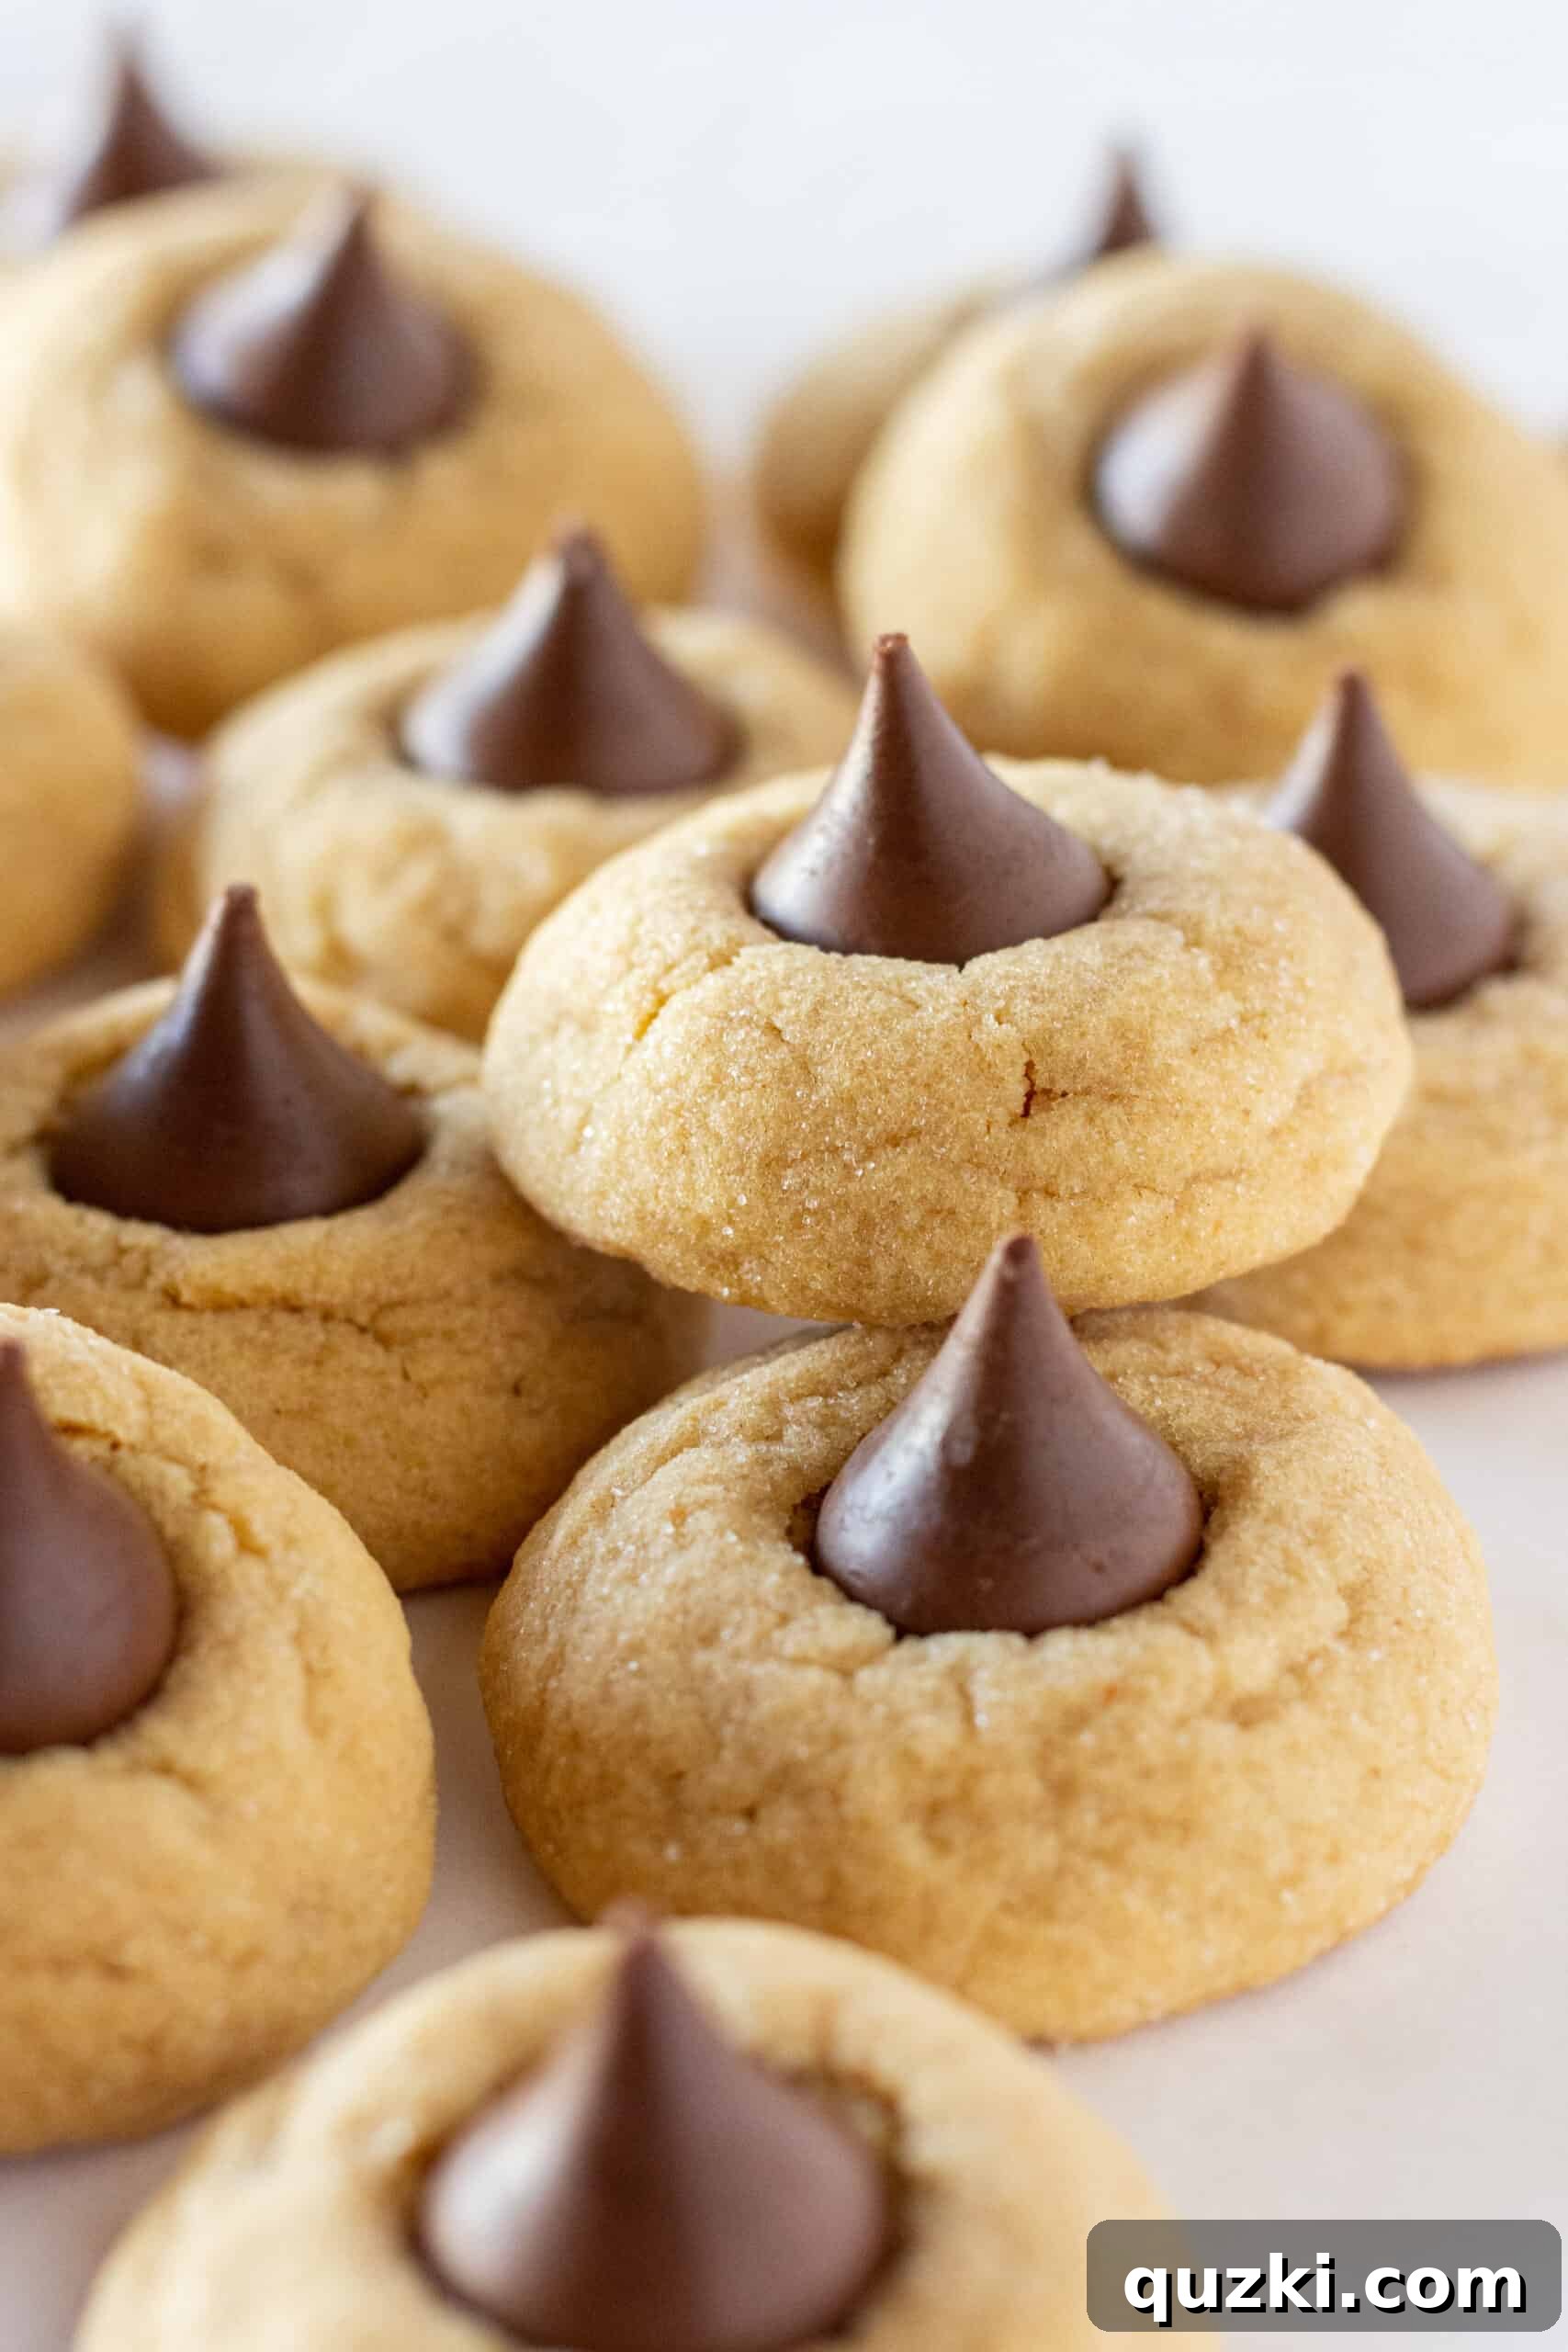
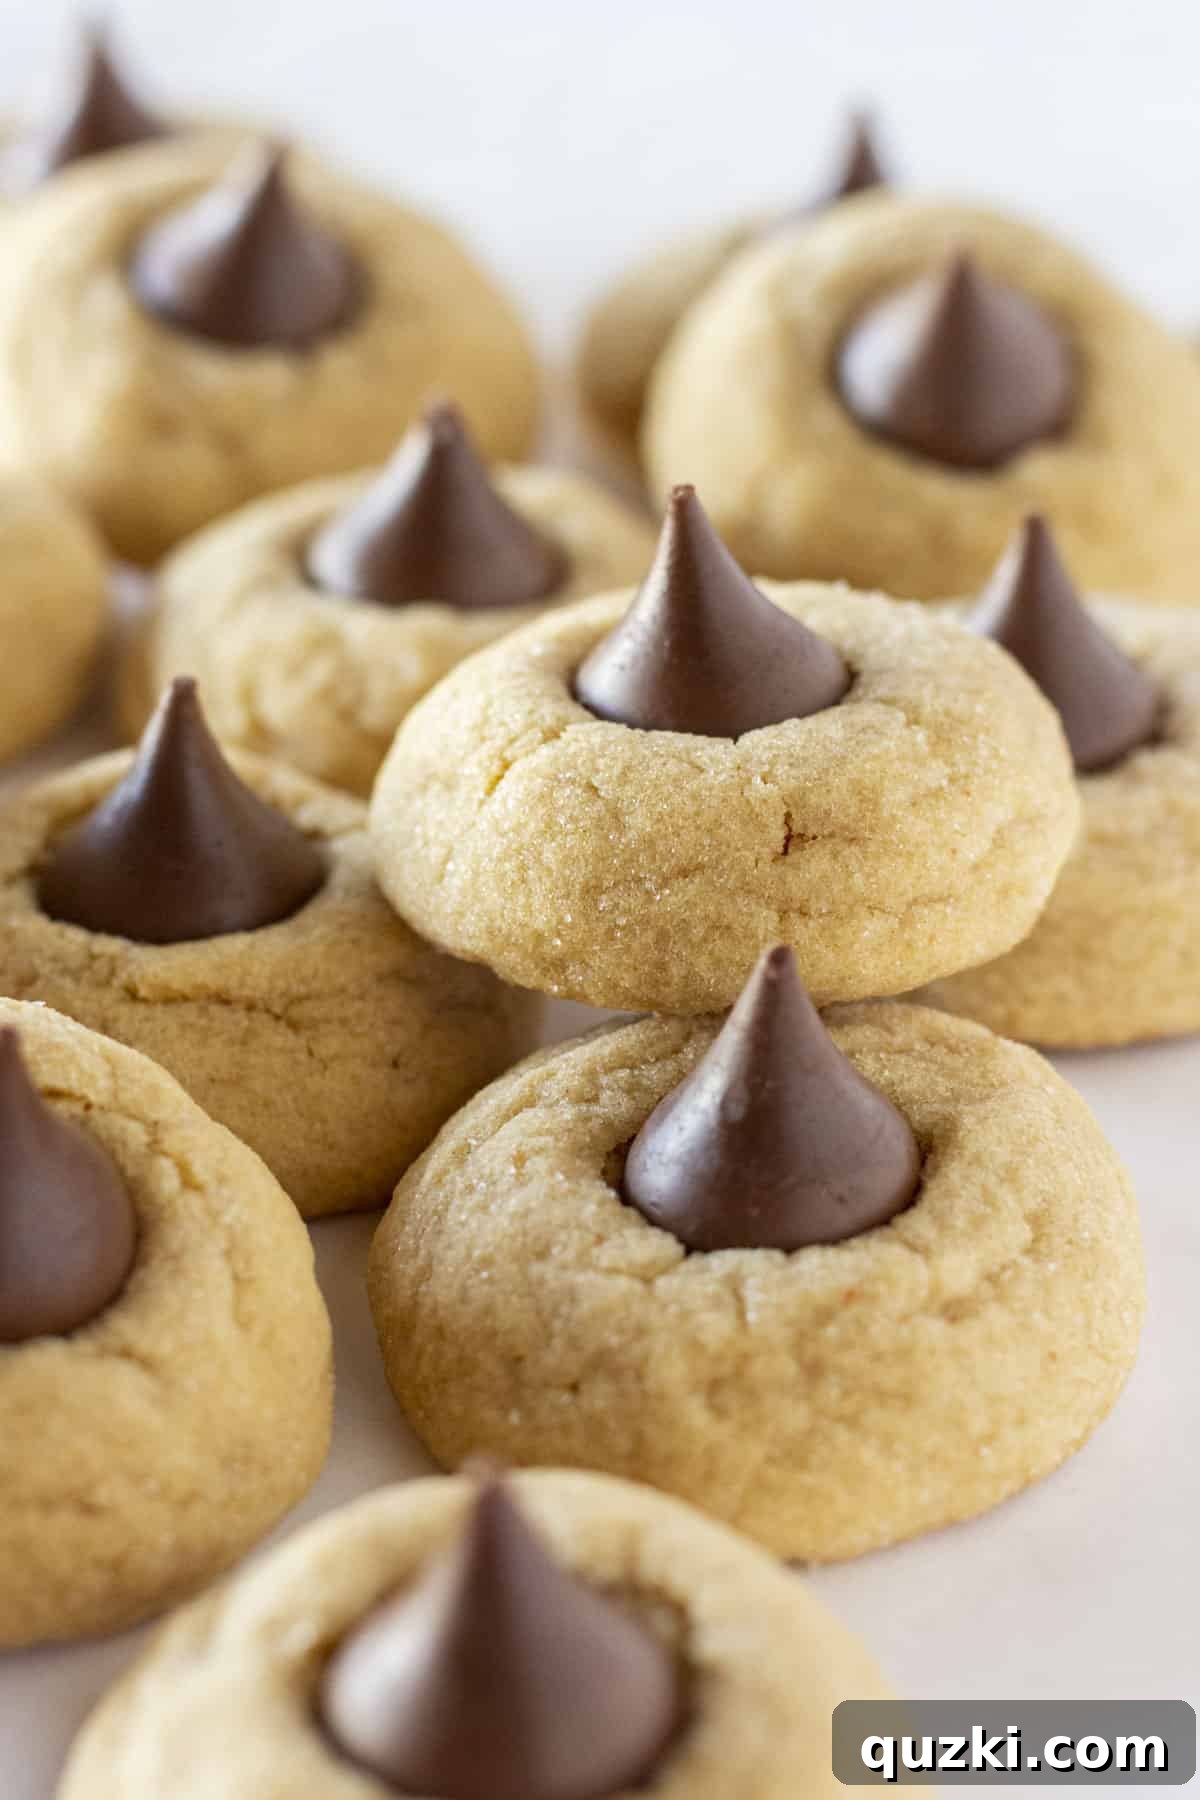
There’s something truly magical about a classic cookie that brings a smile to everyone’s face, and these Peanut Butter Blossom Cookies are no exception. What if we told you that creating these nostalgic, melt-in-your-mouth delights could be incredibly simple? Our recipe, starting with a humble cake mix, transforms baking into an effortless joy. Imagine: a tender, sweet peanut butter cookie base, perfectly crowned with a luscious chocolate kiss. It’s a delightful combination that guarantees to be a crowd-favorite wherever they go. A cookie and a kiss in one bite—what could possibly be better than that?
Why These Cake Mix Peanut Butter Blossom Cookies Are THE BEST!
In a world full of complex recipes, sometimes simplicity reigns supreme. Our cake mix peanut butter blossoms stand out for several compelling reasons, making them a go-to for busy bakers and cookie enthusiasts alike. They combine convenience with an irresistible homemade taste, promising pure satisfaction with every bite.
- No Chill Dough: Ultimate Convenience at Your Fingertips
The absolute worst part about wanting cookies often involves the agonizing wait for the dough to chill. We’ve all been there – staring at a bowl of dough, patiently counting minutes (or hours!) until it’s ready to bake. With this recipe, you can kiss that frustration goodbye! Our easy peanut butter cookie dough requires absolutely no chilling. This means you can go from craving to biting into a warm, fresh cookie in record time, making spontaneous baking sessions a reality. It’s perfect for when unexpected guests arrive or when you simply can’t wait for that sweet treat. - Rolled in Sugar: A Symphony of Texture and Sweetness
Before these cake mix cookies even hit the oven, each dough ball is lovingly rolled in granulated sugar. This simple step is a game-changer! It adds a beautiful sparkle to the cookies, giving them an enticing visual appeal. More importantly, it creates a delicate, sugary crust that provides a wonderful textural contrast to the soft, chewy interior. This extra layer of sweetness and crunch elevates the entire cookie experience, making each bite even more delightful and memorable. - Super Soft Cookie: The Epitome of Comfort
Who doesn’t adore a super soft cookie? These Cake Mix Peanut Butter Blossoms deliver on that promise, offering an incredibly tender texture that practically melts in your mouth. The secret lies partly in the cake mix base and the precise baking time, ensuring a perfectly moist crumb every single time. A soft, buttery peanut butter cookie, with a smooth, perfectly nestled chocolate kiss in its center, is the ultimate comfort food. This harmonious blend of textures and flavors is always welcome, whether you’re enjoying one with a glass of milk or sharing them with loved ones. - Perfect for Any Occasion: Celebrate Every Day
While Peanut Butter Blossoms are iconic Christmas cookies, we firmly believe you don’t need to wait for a special occasion to whip up this easy recipe! If there’s one culinary lesson we want to impart, it’s this: today is a special enough day for baking cookies. Of course, the holiday season always provides a fantastic excuse to make these delicious cookies, as they are consistently a huge hit on any festive cookie tray. Their classic charm and irresistible flavor make them the perfect addition to family gatherings, potlucks, bake sales, or simply as an everyday treat. In our family, they’ve earned a special place as perennial favorites, particularly during Christmas.
Essential Ingredients for These Easy Peanut Butter Blossoms
One of the beauties of this recipe is its simplicity, thanks to a few key ingredients that come together to create something truly extraordinary. You’ll be amazed at how quickly you can gather what’s needed for these delightful treats.
- Yellow Cake Mix: The Ultimate Shortcut
The star of this incredibly simple recipe, a box of yellow cake mix, dramatically reduces the number of individual ingredients you need. It provides a consistent base of flour, sugar, and leavening agents, ensuring a perfect cookie every time without measuring multiple dry ingredients. While yellow cake mix imparts a classic, subtle vanilla flavor and golden hue, a white or vanilla cake mix will also work beautifully if that’s what you have on hand. - Creamy Peanut Butter: The Heart of the Cookie
For the best flavor and texture, it’s crucial to use a high-quality creamy peanut butter. Brands like Jif or Skippy are excellent choices for baking due to their consistent texture and rich, nutty flavor that many find comforting and familiar. Avoid using natural peanut butter varieties that require extensive stirring, as their oil separation can sometimes affect the dough’s consistency. However, if you prefer a natural peanut butter made simply with peanuts, ensure it’s well-stirred and smooth for optimal results in this recipe. The peanut butter is truly the main attraction, so choose wisely! - Butter: For Unmatched Richness and Structure
Melted butter is incorporated into the dough to add a luxurious richness and depth of flavor that complements the peanut butter beautifully. It also plays a vital role in binding the ingredients together, contributing to the cookie’s tender and soft crumb. While vegetable oil can be used as a last-minute substitute, butter undeniably enhances the taste and texture, giving these cookies that signature homemade quality. We always recommend using butter for superior results. - Eggs: The Binding Element
Large eggs are essential for structure and moisture in almost any cookie recipe, and these are no different. They act as a binder, helping to hold the dough together and giving the cookies their perfect chewy yet soft texture. Always use large eggs for consistent results, as different sizes can alter the moisture balance of the dough. - Granulated Sugar: The Sparkling Finish
Used primarily for rolling the cookie dough balls, granulated sugar is more than just a sweet coating. It creates an appealing, slightly crunchy exterior that contrasts wonderfully with the soft cookie. This extra touch of sweetness on the outside provides a delightful burst of flavor, which we believe peanut butter cookies can always benefit from, enhancing their overall appeal. - Hershey’s Kisses: The Iconic Crown
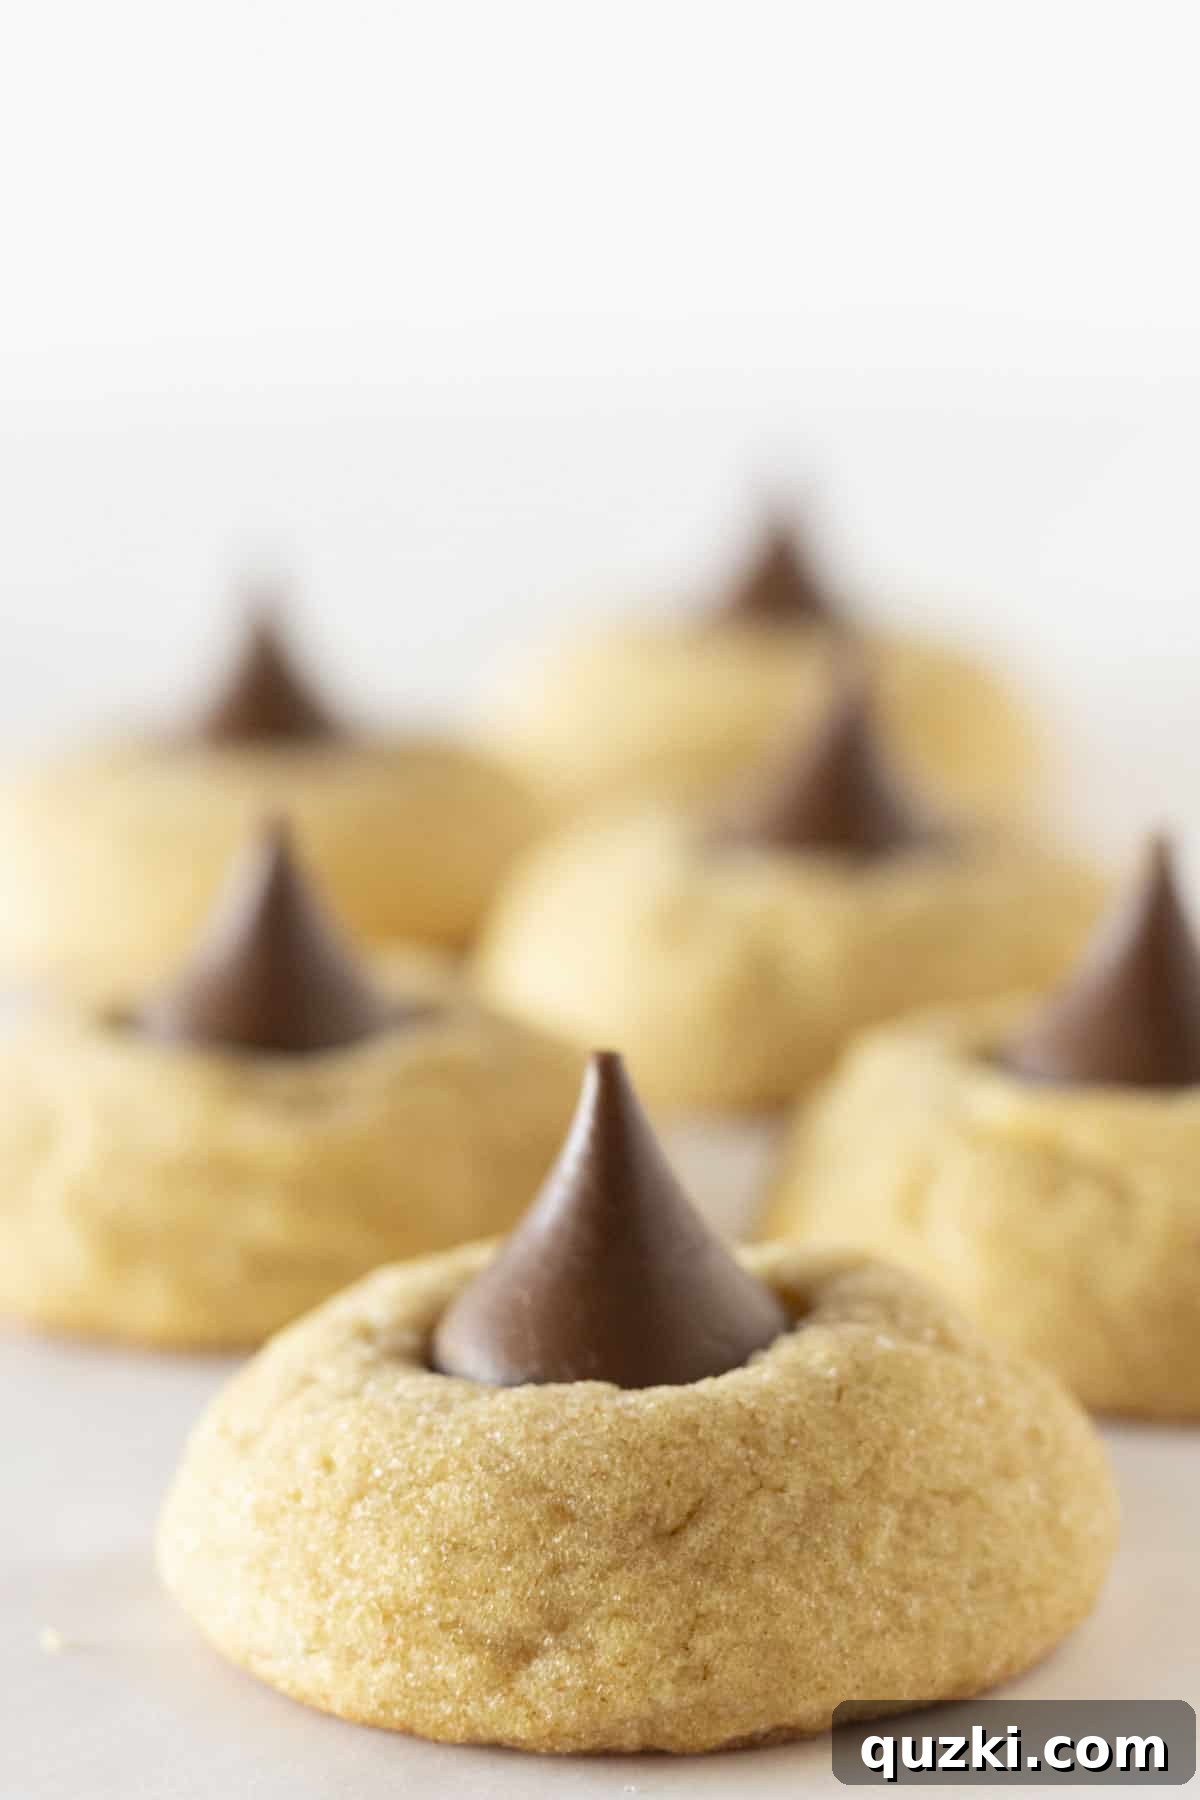
A Peanut Butter Blossom simply isn’t complete without the iconic chocolate kiss nestled in its warm center. This classic milk chocolate candy adds a burst of creamy chocolate goodness and gives the cookie its distinctive, beloved appearance. Be sure to have your Hershey’s Kisses unwrapped and ready to press into the cookies immediately after baking for that perfect, slightly melted finish.
Exciting Variations to Elevate Your Peanut Butter Blossoms
While the classic Peanut Butter Blossom is undeniably perfect, there’s always room for creative twists! Experimenting with different toppings and coatings can introduce new flavors, textures, and visual appeal, making these cookies even more adaptable for various occasions or personal preferences.
Candy Topping Alternatives: Don’t limit yourself to just traditional milk chocolate Hershey’s Kisses! Consider these delicious alternatives to crown your cookies:
- Mini Peanut Butter Cups: Double down on the peanut butter flavor with miniature peanut butter cups. Their soft, creamy texture and intense peanut butter-chocolate combination are truly indulgent.
- Rolo Candies: For a delightful caramel surprise, press a Rolo into the center of each warm cookie. The soft caramel will slightly melt, creating a gooey, irresistible center.
- Chocolate Chips: A few chocolate chips pressed into the center or scattered on top before baking can add a classic touch. For an extra special presentation, you could even melt a small amount of chocolate and drizzle it over the cooled cookies.
- Other Hershey’s Kiss Flavors: Hershey’s offers a wide array of Kiss flavors – try dark chocolate, white chocolate, caramel-filled, or even seasonal varieties like peppermint for a festive twist. Each flavor will impart a unique character to your blossoms.
Dough Coatings for Extra Flair: Beyond granulated sugar, consider these fun options for rolling your cookie dough:
- Sanding Sugar: For a more dramatic sparkle and a slightly coarser crunch, roll the cookies in sanding sugar. Available in various colors, it’s perfect for coordinating with holiday themes or adding a vibrant touch.
- Sprinkles: Especially festive for celebrations, rolling the dough in colorful sprinkles before baking will give your cookies a playful appearance. Choose holiday-themed sprinkles for Christmas, birthday sprinkles for parties, or simply rainbow sprinkles for everyday cheer. {See this fun holiday Peanut Butter Blossom recipe for inspiration!}.
Step-by-Step: How to Make Easy Peanut Butter Blossom Cookies with a Cake Mix
Creating these delightful cookies is a straightforward process, making them an ideal baking project for beginners and seasoned bakers alike. Follow these simple steps for perfectly soft, peanut buttery treats.
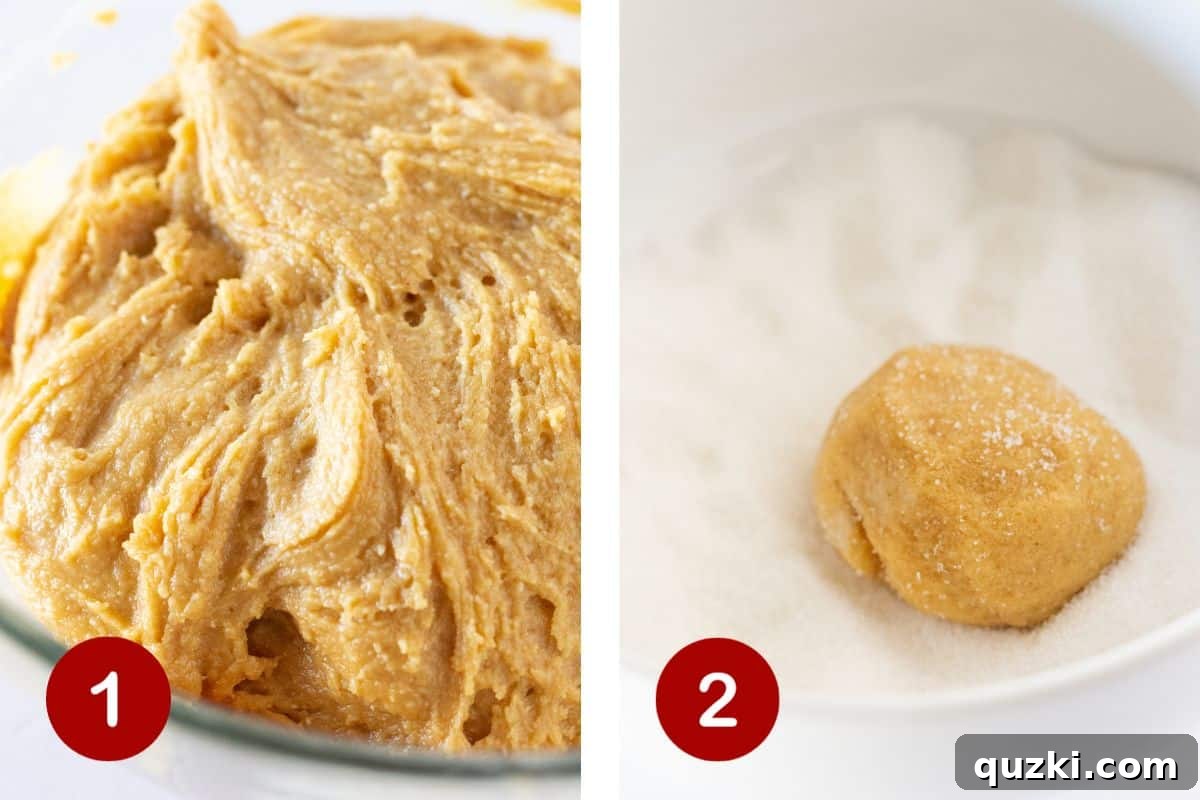
1. Prepare the Dough: In a medium-sized mixing bowl, combine the entire box of yellow cake mix, the creamy peanut butter, the softened butter, and the large eggs. Using an electric mixer (either a hand-held mixer or a stand mixer with a paddle attachment), beat the ingredients on medium speed until they are thoroughly combined and form a thick, uniform dough. This dough is wonderfully forgiving and comes together quickly, similar to this chewy peanut butter cookies recipe!
2. Shape and Sugar-Coat the Cookies: Pour the granulated sugar into a separate shallow bowl. Using a medium cookie scoop (about 1.5 to 2 tablespoons), scoop even mounds of the peanut butter cookie dough. Gently drop each dough ball into the bowl of granulated sugar. Roll the cookie dough balls until they are completely covered in sugar. The dough may feel slightly sticky at first, but rolling it in the sugar will make it easier to handle and shape.
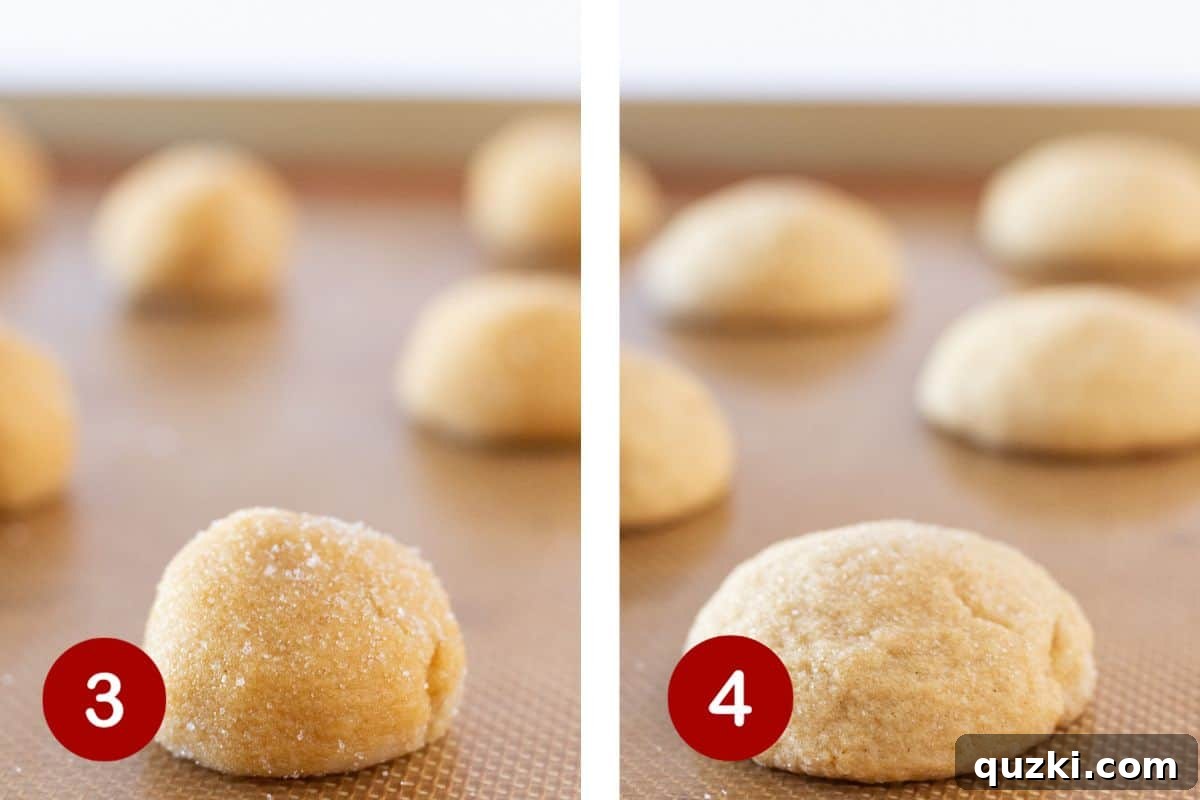
3. Arrange on Baking Sheet: Place the sugar-coated cookie dough mounds onto a prepared baking sheet. It’s best to line your baking sheet with a silicone mat or parchment paper to prevent sticking and ensure even baking. Leave about 2 inches between each cookie to allow for spreading.
4. Bake to Perfection: Preheat your oven to 350°F (175°C). Bake the cookies for 8 to 10 minutes, or until the edges are lightly golden and the centers appear set. It’s crucial not to overbake these cookies, as this will prevent them from achieving their signature super-soft texture. Remove the baking sheet from the oven and allow the cookies to cool on the sheet for 1-2 minutes. This brief cooling period helps them set without becoming brittle.
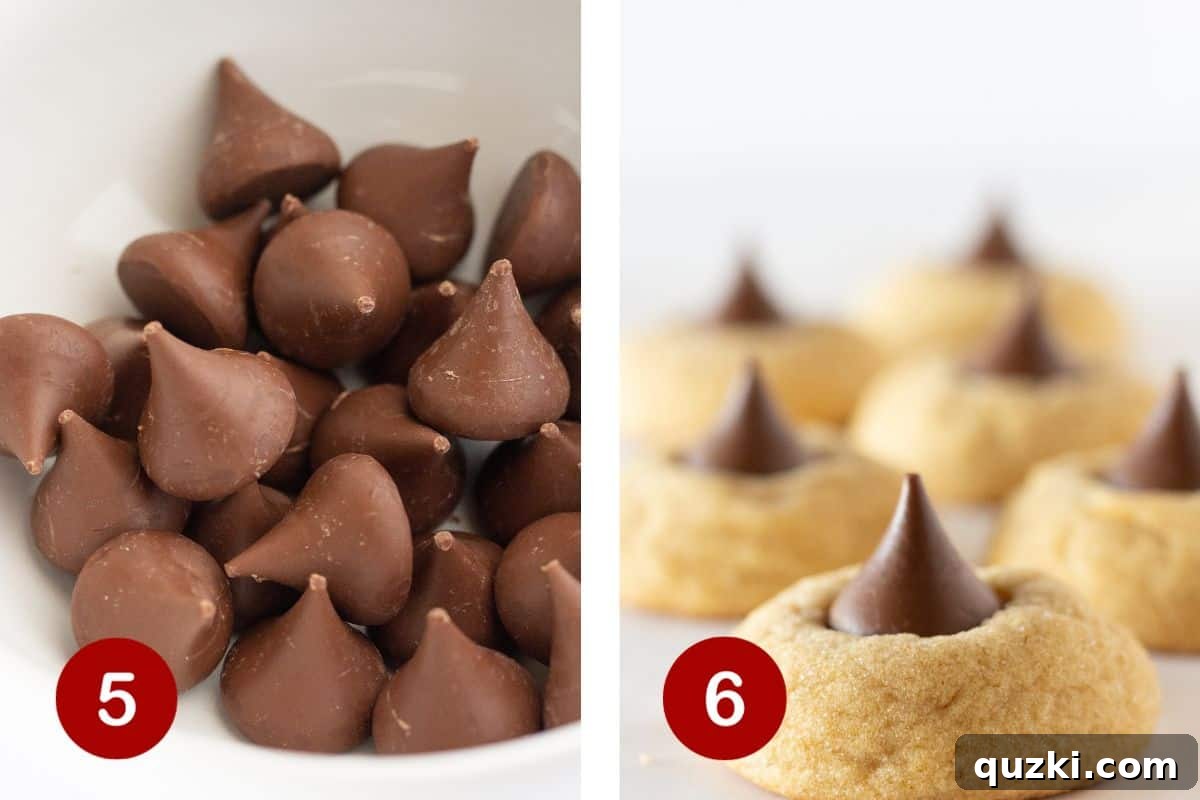
5. Prepare Hershey’s Kisses: While the cookies are baking, ensure your Hershey’s Kisses are unwrapped and ready to go. Having them prepared beforehand will make the next step seamless and prevent the cookies from cooling too much before the kisses are added.
6. Add the Chocolate Kisses and Cool: After the cookies have cooled on the baking sheet for a minute or two, carefully transfer them to a wire rack or a fresh piece of parchment paper to continue cooling. Immediately press a Hershey’s Kiss into the center of each warm cookie, applying a slight but firm pressure. If you’re new to making Peanut Butter Blossoms, you’ll notice the chocolate kisses will begin to soften and slightly melt. This is entirely normal and desired, creating that characteristic appearance. However, resist the urge to move the cookies again until the kisses have completely hardened. You can let them cool at room temperature, or to speed up the hardening process, place them in the refrigerator for a few minutes.
Expert Tips for Perfect Peanut Butter Blossoms Every Time
Achieving the perfect Peanut Butter Blossom is all about timing and a few simple tricks. The most common challenge bakers face is preventing the Hershey’s Kisses from completely melting and losing their distinct shape. Here are some invaluable tips to ensure your chocolate kisses remain beautifully intact and your cookies turn out flawless:
- The Critical Cooling Period on the Baking Sheet: This is perhaps the most important step for maintaining the shape of your Hershey’s Kisses. After removing the cookies from the oven, allow them to rest and cool for a good 1 to 2 minutes directly on the hot baking sheet. This brief pause allows the cookies to set slightly and cool down from their peak temperature before the chocolate is introduced. Adding a cold chocolate kiss to a scorching hot cookie straight out of the oven is a recipe for a completely melted mess.
- Transfer Before Adding Kisses: Once that initial cooling period on the baking sheet is complete, transfer the cookies to a separate cooling rack or a piece of parchment paper. This might seem like an extra step, but it’s crucial. By moving the cookies off the hot baking sheet, you eliminate the residual heat radiating from the pan, which can contribute significantly to the kisses melting too much. On a cooler surface, the chocolate will soften just enough to adhere to the cookie but will harden quickly, retaining its iconic shape.
- Have Kisses Ready and Chilled (Optional): For an extra layer of protection against melting, consider placing your unwrapped Hershey’s Kisses in the refrigerator or even the freezer for 10-15 minutes before you plan to press them into the cookies. A slightly chilled chocolate kiss will melt slower, giving it a better chance to set beautifully.
- Don’t Overbake: Overbaked cookies are dry cookies, and dry cookies crumble. Stick to the suggested baking time of 8-10 minutes. The cookies will continue to cook slightly on the hot baking sheet for those initial 1-2 minutes.
- Use a Cookie Scoop: For uniform size and even baking, a cookie scoop is your best friend. This ensures all your cookies cook at the same rate and look perfectly matched for your cookie tray.
Storage and Freezing Guidelines for Freshness
Proper storage is key to keeping your Peanut Butter Blossom Cookies fresh and delicious for as long as possible. Whether you plan to enjoy them within a few days or save them for a later treat, these guidelines will help.
Storage: Once the chocolate kisses have completely hardened back up (either at room temperature or after a quick chill in the refrigerator), your cookies are ready for storage. Place them in an airtight container at room temperature for up to 5 days. For slightly extended freshness, especially in warmer climates, storing them in the refrigerator can keep them good for up to a week. Layer parchment paper between stacks of cookies to prevent them from sticking together or the kisses from getting smudged.
Freezing: These cookies freeze exceptionally well, making them perfect for meal prep or enjoying homemade treats whenever a craving strikes. Once the cookies have cooled completely and the Hershey’s Kisses are firm, place them in a single layer on a baking sheet and flash freeze for about 30 minutes until solid. This prevents them from sticking together. Then, transfer the frozen cookies to a freezer-safe zipper bag or an airtight container. Be sure to wrap them tightly in plastic wrap or use a freezer bag to prevent freezer burn. They will maintain their quality for up to 3 months. To enjoy, simply thaw them at room temperature for a few hours.
Recipe FAQs: Your Peanut Butter Blossom Questions Answered
If your cookies turn out dry, it generally indicates that there wasn’t enough liquid in the cookie mixture or, more commonly, they were overbaked. Overbaking causes too much moisture to evaporate, resulting in a crumbly, dry texture. Ensure you measure ingredients accurately, especially the butter and eggs. And always stick to the recommended baking time of 8-10 minutes; the cookies should still look slightly soft in the center when you remove them from the oven, as they will continue to set as they cool.
While many traditional peanut butter cookie recipes do require refrigeration for at least 2 hours to prevent spreading and develop flavor, this particular cake mix-based dough is designed as a no-chill recipe. This means you can mix and bake immediately, saving valuable time! However, if you prefer to prepare the dough ahead of time, you certainly can. Scoop the dough into mounds, roll them in sugar, and then refrigerate them in an airtight container for up to 2-3 days before baking. This flexibility allows for convenient planning.
For these specific cake mix Peanut Butter Blossoms, creamy peanut butter is recommended to achieve the desired super-soft, smooth texture. Crunchy peanut butter will work and will add a nice textural element, but the cookies might have a slightly different overall consistency and chewiness. If you love the crunch, feel free to try it, but be aware of the slight change in texture!
More Delightful Cake Mix Cookie and Baking Recipes to Explore!
If you’ve fallen in love with the sheer simplicity and delicious results of baking with a cake mix, you’re in for a treat! The versatility of cake mixes extends far beyond just cookies, opening up a world of easy and impressive desserts. Here are a few more fantastic recipes that leverage the convenience of a cake mix to create incredible baked goods:
More Cake Mix Creations You’ll Adore
Vanilla & White Cake Mix
Can You Substitute Vanilla Cake Mix for White Cake Mix?
Learn the subtle differences between vanilla and white cake mixes and when you can confidently swap one for the other in your baking projects.
Kitchen Essentials
Simple Food Gifting Supplies for Everyday Giving
Discover essential supplies for beautifully packaging your homemade treats, making them perfect for thoughtful gifts any time of year.
Christmas Cookies
Festive Grinch Cake Mix Cookies
Bring some Whoville cheer to your holiday baking with these fun, vibrant green cookies, made easily with a cake mix base.
Breads
Zesty Lemon Cake Mix Bread
Brighten your day with this incredibly easy and flavorful lemon bread, a quick-bread recipe that uses a cake mix for a perfect texture and taste.

Easy Peanut Butter Blossom Cookie Recipe
June Albertson-Dick
10
8-10
~20
24 cookies
Rate Recipe
Print Recipe
Ingredients
- 1 box yellow cake mix, {15.25 ounces}
- 1 cup creamy peanut butter
- ½ cup butter, {softened}
- 2 large eggs
Toppings
- ¼ cup granulated sugar
- 24 Hershey Kisses, {unwrapped}
Instructions
-
Preheat the oven to 350°F (175°C). Line a baking sheet with a silicone mat or parchment paper.
-
In a medium bowl, combine the yellow cake mix, creamy peanut butter, softened butter, and eggs. Mix using an electric mixer (handheld or stand mixer) until you have a thick, well-combined dough.
-
Place granulated sugar in a shallow bowl. Use a medium cookie scoop to form mounds of cookie dough, then roll each mound in the sugar until fully coated. Place the sugar-coated dough balls onto the prepared baking sheet, leaving about 2 inches between each. Bake for 8-10 minutes.
-
Remove cookies from the oven and allow them to cool on the baking sheet for 1-2 minutes. This helps them set. Then, carefully move the cookies to a wire rack. Immediately press an unwrapped Hershey’s Kiss into the middle of each warm cookie. Allow the cookies to cool completely on the wire rack until the Hershey Kisses have hardened back up. You can place them in the refrigerator to speed this up.
-
Store cooled cookies in an airtight container at room temperature for up to 5 days or freeze for up to 3 months.
Notes
- Experiment with different flavors of Hershey’s Kisses or other small candies for a unique taste and texture in each cookie.
- For perfectly shaped Kisses, you can chill them in the refrigerator for 10-15 minutes before pressing them into the warm cookies.
- Do not overbake! These cookies are best when they are soft and chewy.
Nutrition Information
Nutrition information is automatically calculated, so should only be used as an approximation.
Loved this recipe? Share your thoughts below!
Your feedback helps other bakers discover great recipes.