
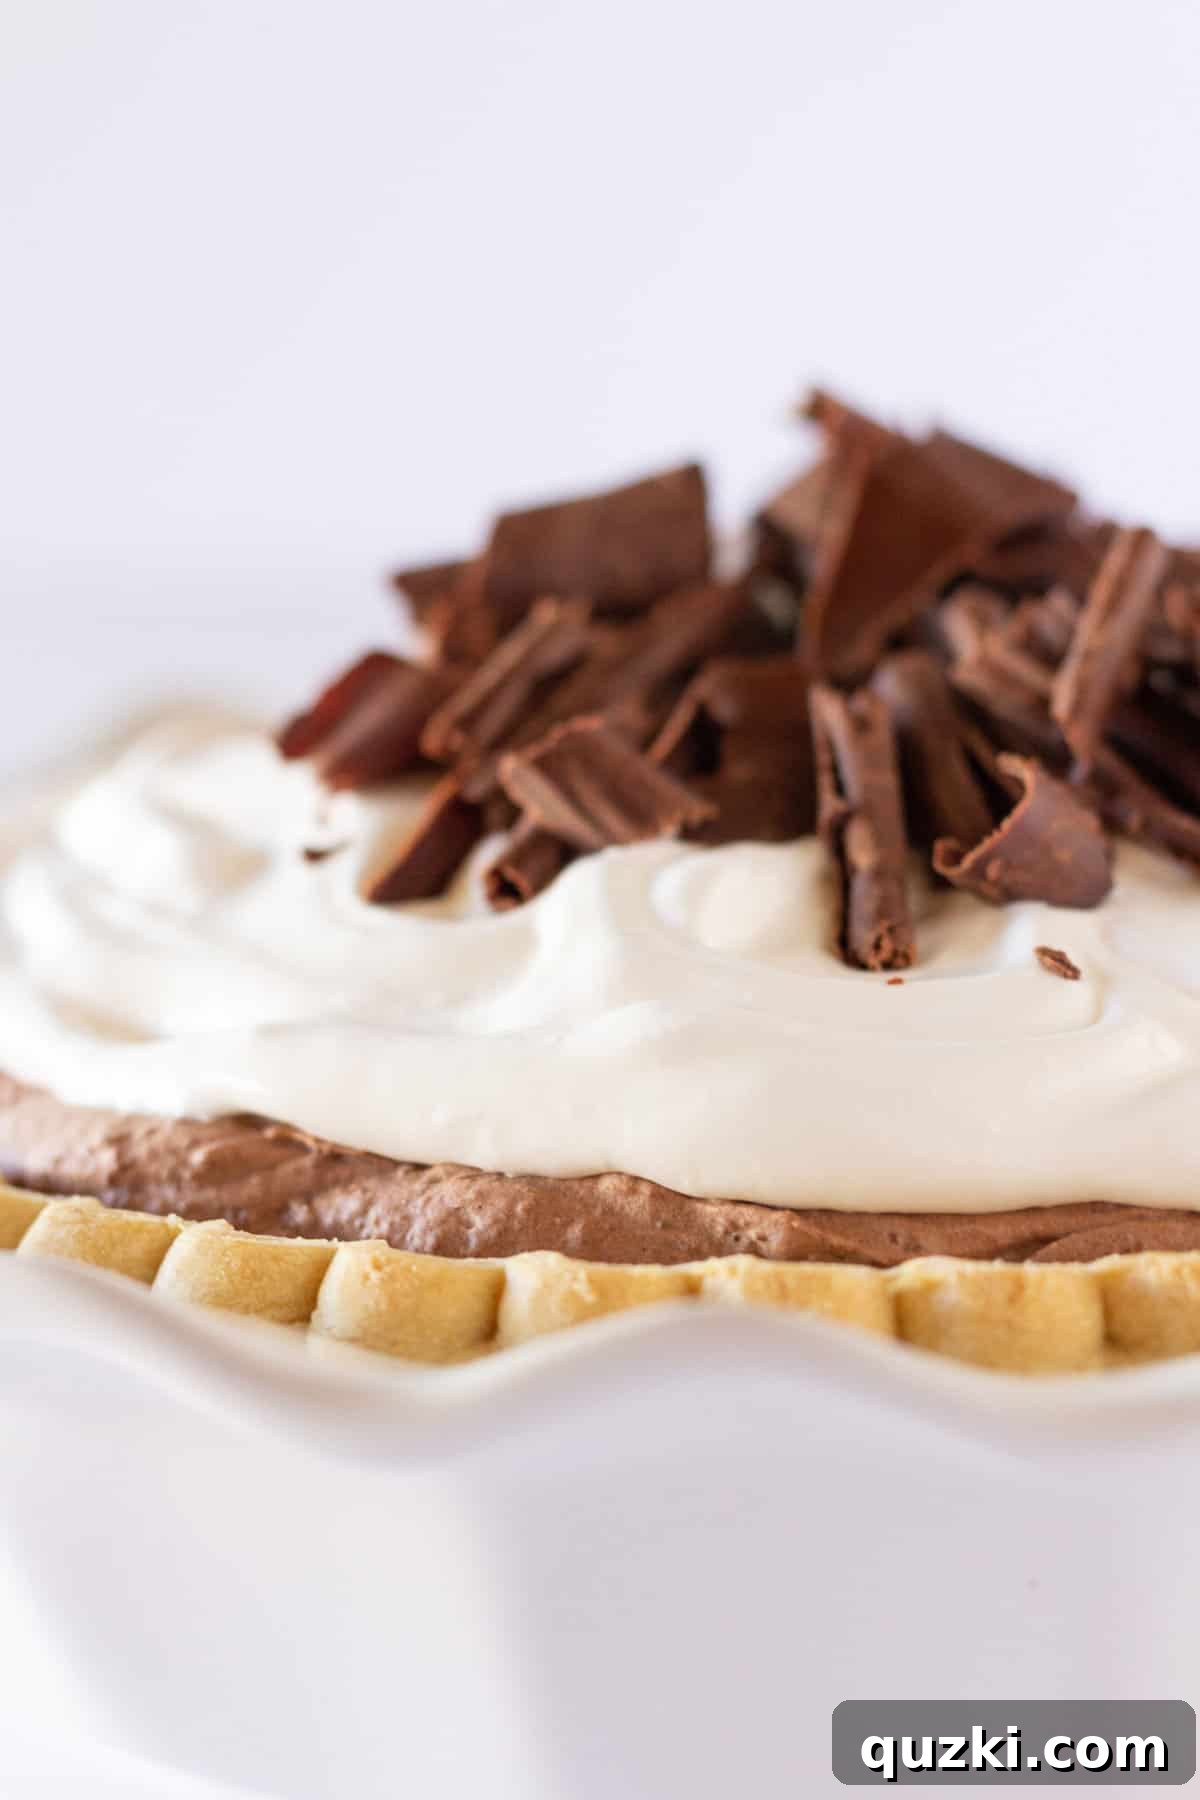
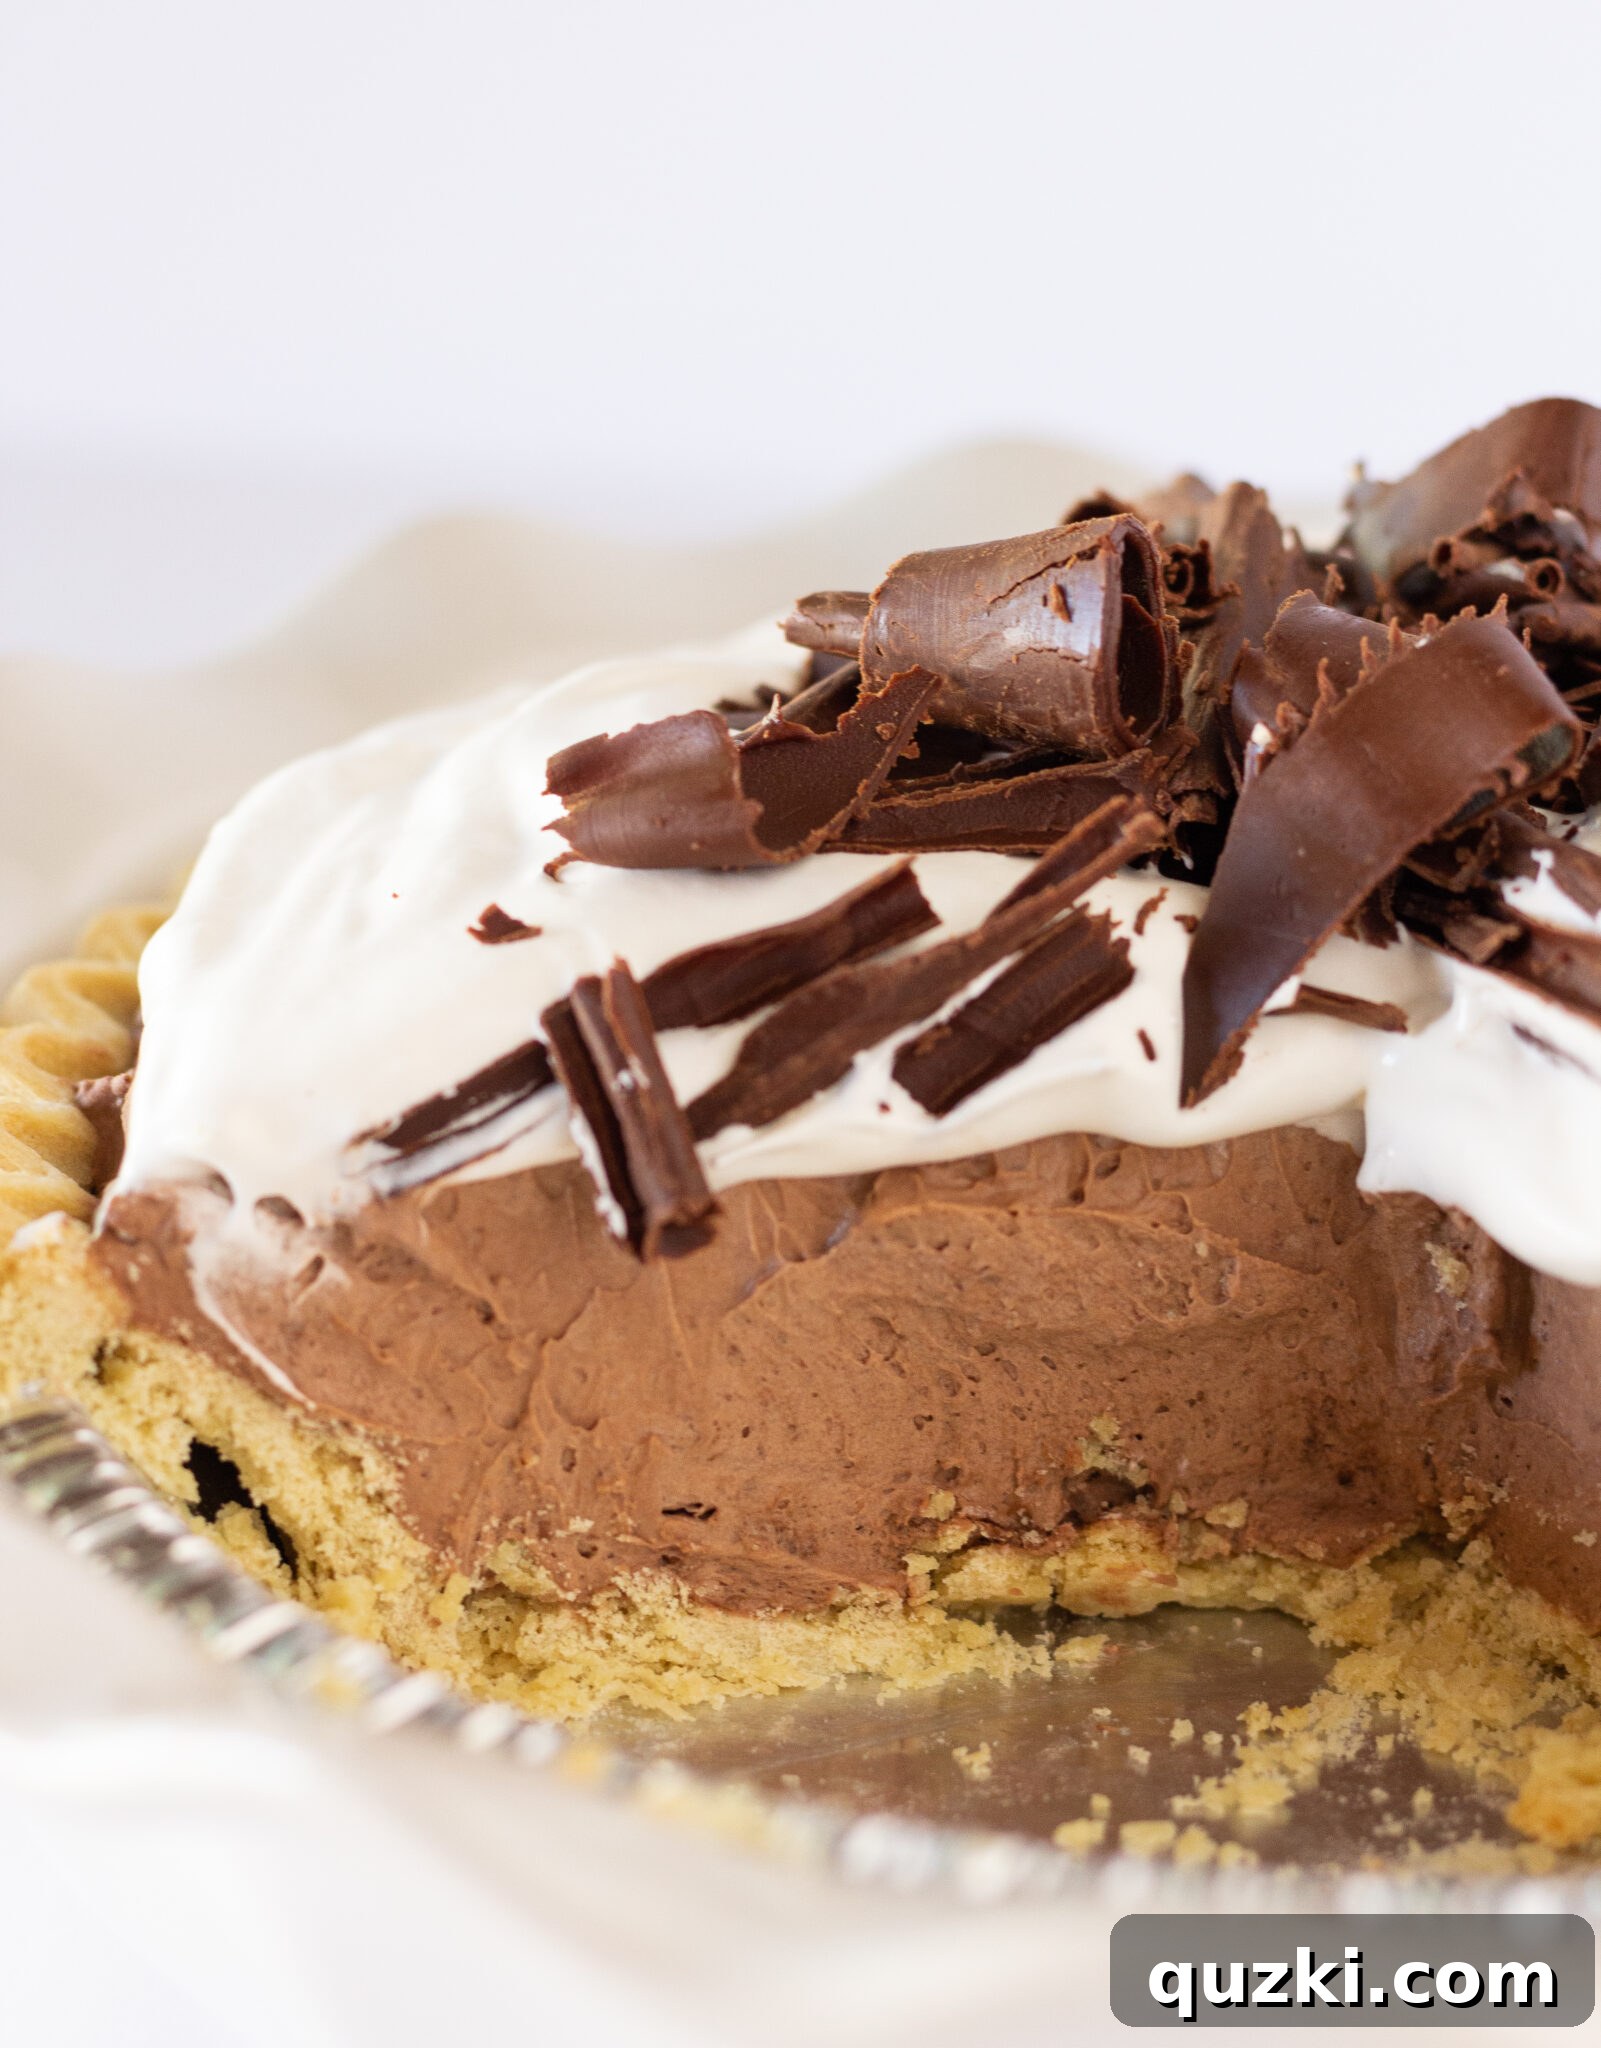
For years, I’ve delighted in crafting countless chocolate pies, each with its own charm. However, this **Easy No-Bake Chocolate Mousse Pie** stands out as an absolute favorite, not just for its incredible flavor but also for its astonishing simplicity. The true magic lies in a humble box of instant chocolate pudding mix, which effortlessly transforms into a rich, velvety mousse-like filling. Crowned with a generous layer of fluffy whipped topping, this pie achieves the perfect balance of light and creamy indulgence, making it an instant classic for any dessert lover seeking a quick yet elegant treat.
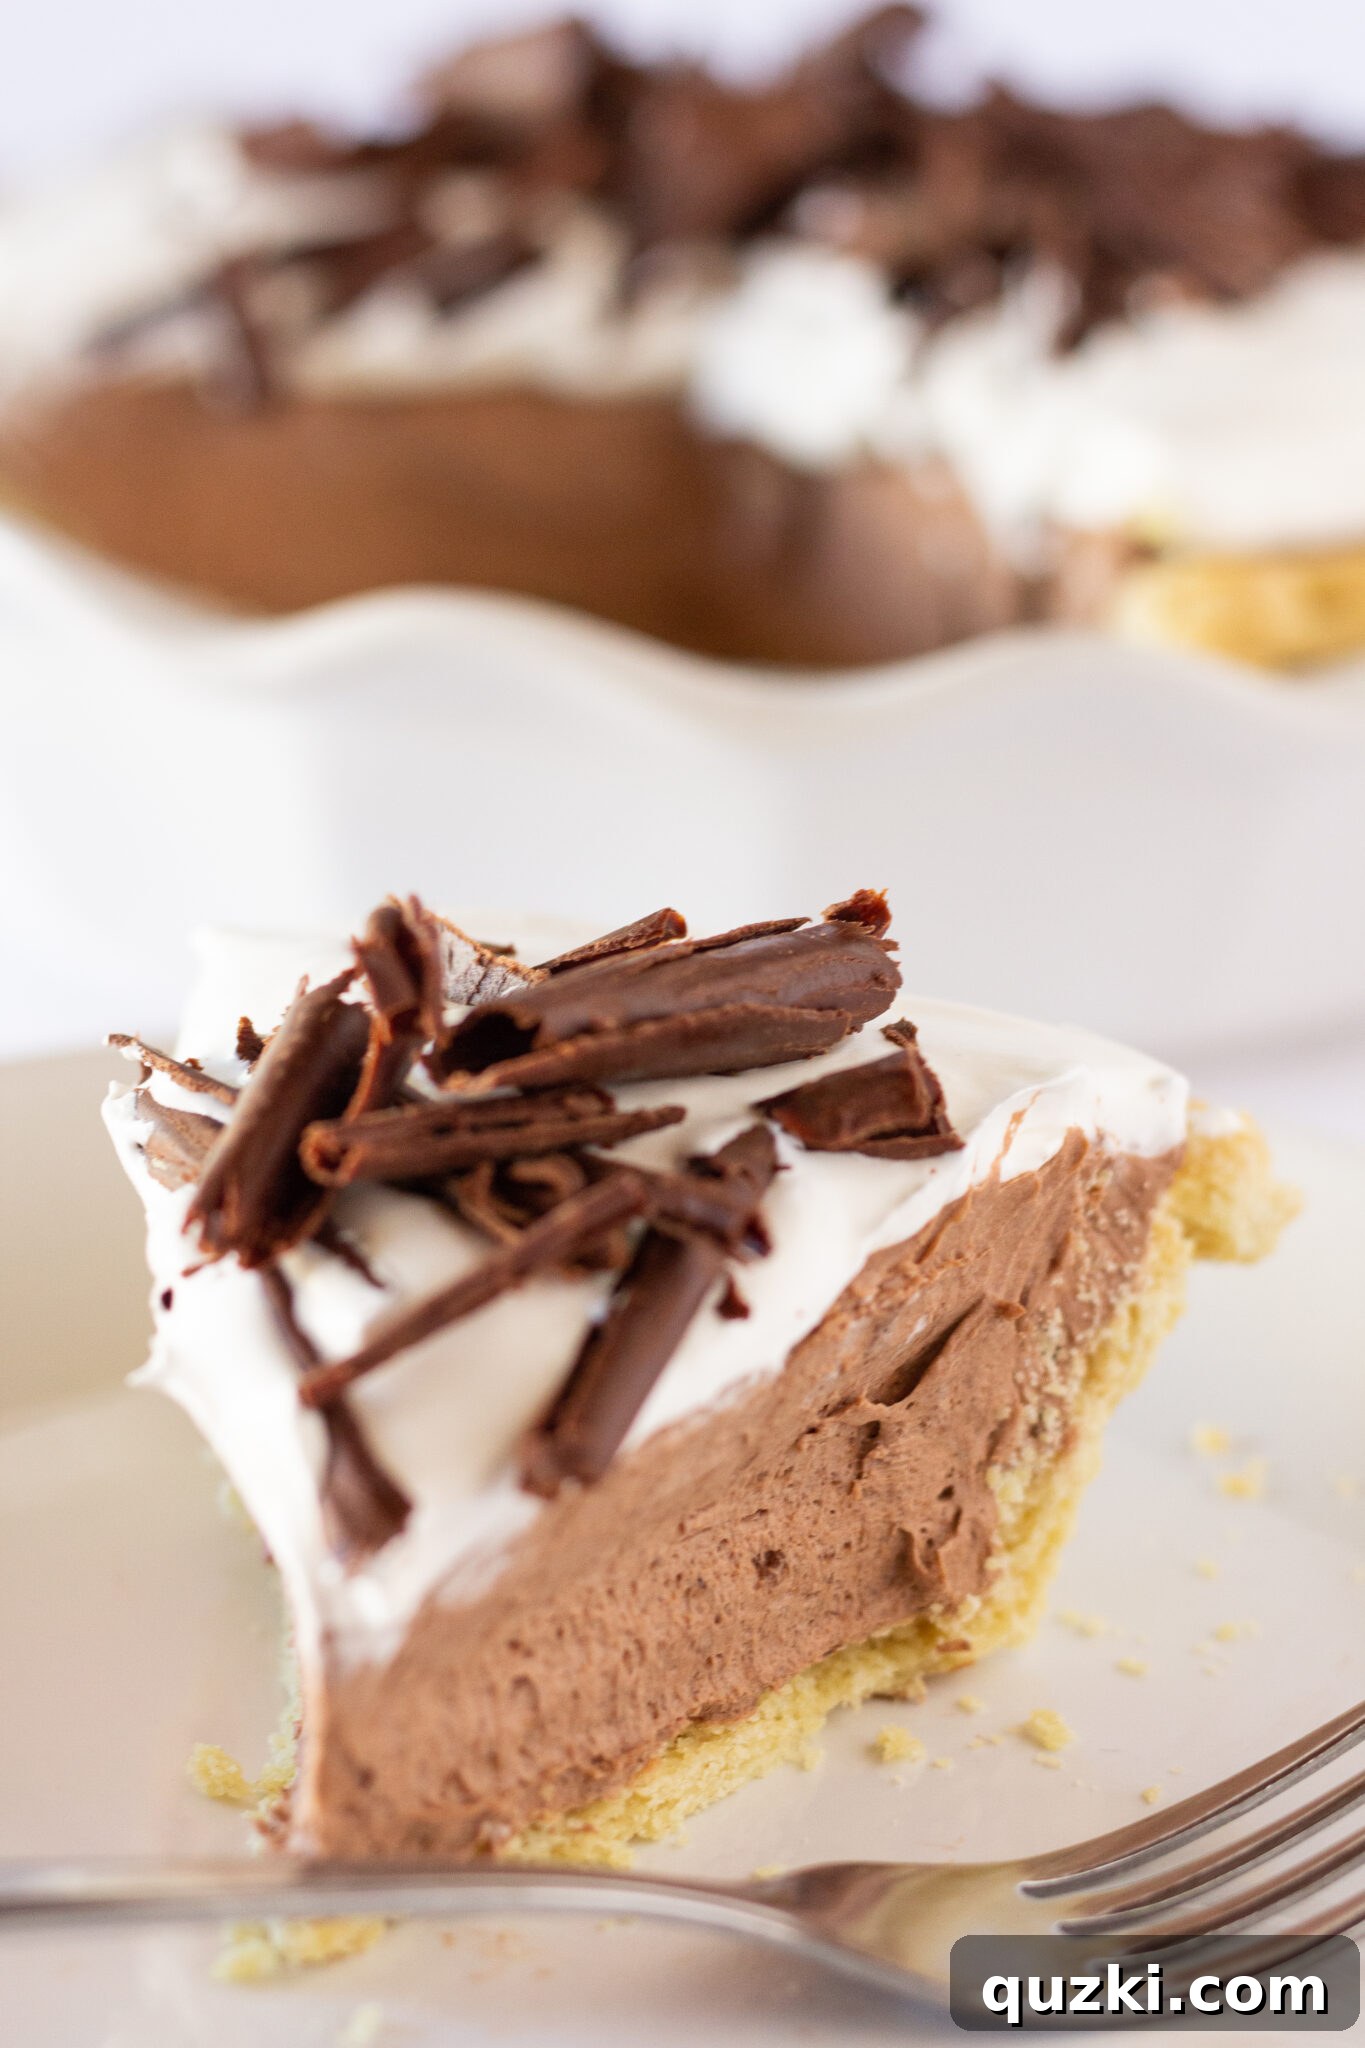
Why You’ll Fall in Love with this Easy Chocolate Mousse Pie Recipe
This chocolate mousse pie isn’t just a dessert; it’s a revelation. Here’s why it’s destined to become a staple in your recipe collection:
- Effortless Preparation: Forget complicated baking techniques and lengthy ingredient lists. This recipe is designed for maximum flavor with minimal effort, requiring just a handful of common ingredients and basic kitchen tools. It’s the perfect entry point for beginner bakers or a stress-free option for seasoned cooks.
- Unforgettable Chocolate Flavor: Prepare your taste buds for an exquisite experience. The combination of instant chocolate pudding and a touch of unsweetened cocoa powder creates a deep, rich chocolate profile that is intensely satisfying without being overly sweet. Each spoonful delivers a burst of pure chocolate bliss, complemented by the airy texture.
- Incredibly Fast: When dessert cravings hit, or you need a show-stopping treat in a pinch, this pie delivers. With active prep time often under 15 minutes and a minimal chilling period, you can go from mixing bowl to a perfectly set, ready-to-serve pie in less than an hour. It truly is one of the quickest and most rewarding pie recipes you’ll ever encounter.
- No Oven Required: Say goodbye to heating up your kitchen! This is a true no-bake wonder, making it an ideal dessert for warm weather, busy holidays, or simply when you want a delicious treat without turning on the oven.
- Crowd-Pleasing Elegance: Despite its simple origins, this chocolate mousse pie presents beautifully. Its smooth, decadent filling and airy whipped topping create an elegant dessert that looks like it took hours to prepare, yet it’s wonderfully straightforward. It’s guaranteed to impress guests and satisfy any chocolate craving.
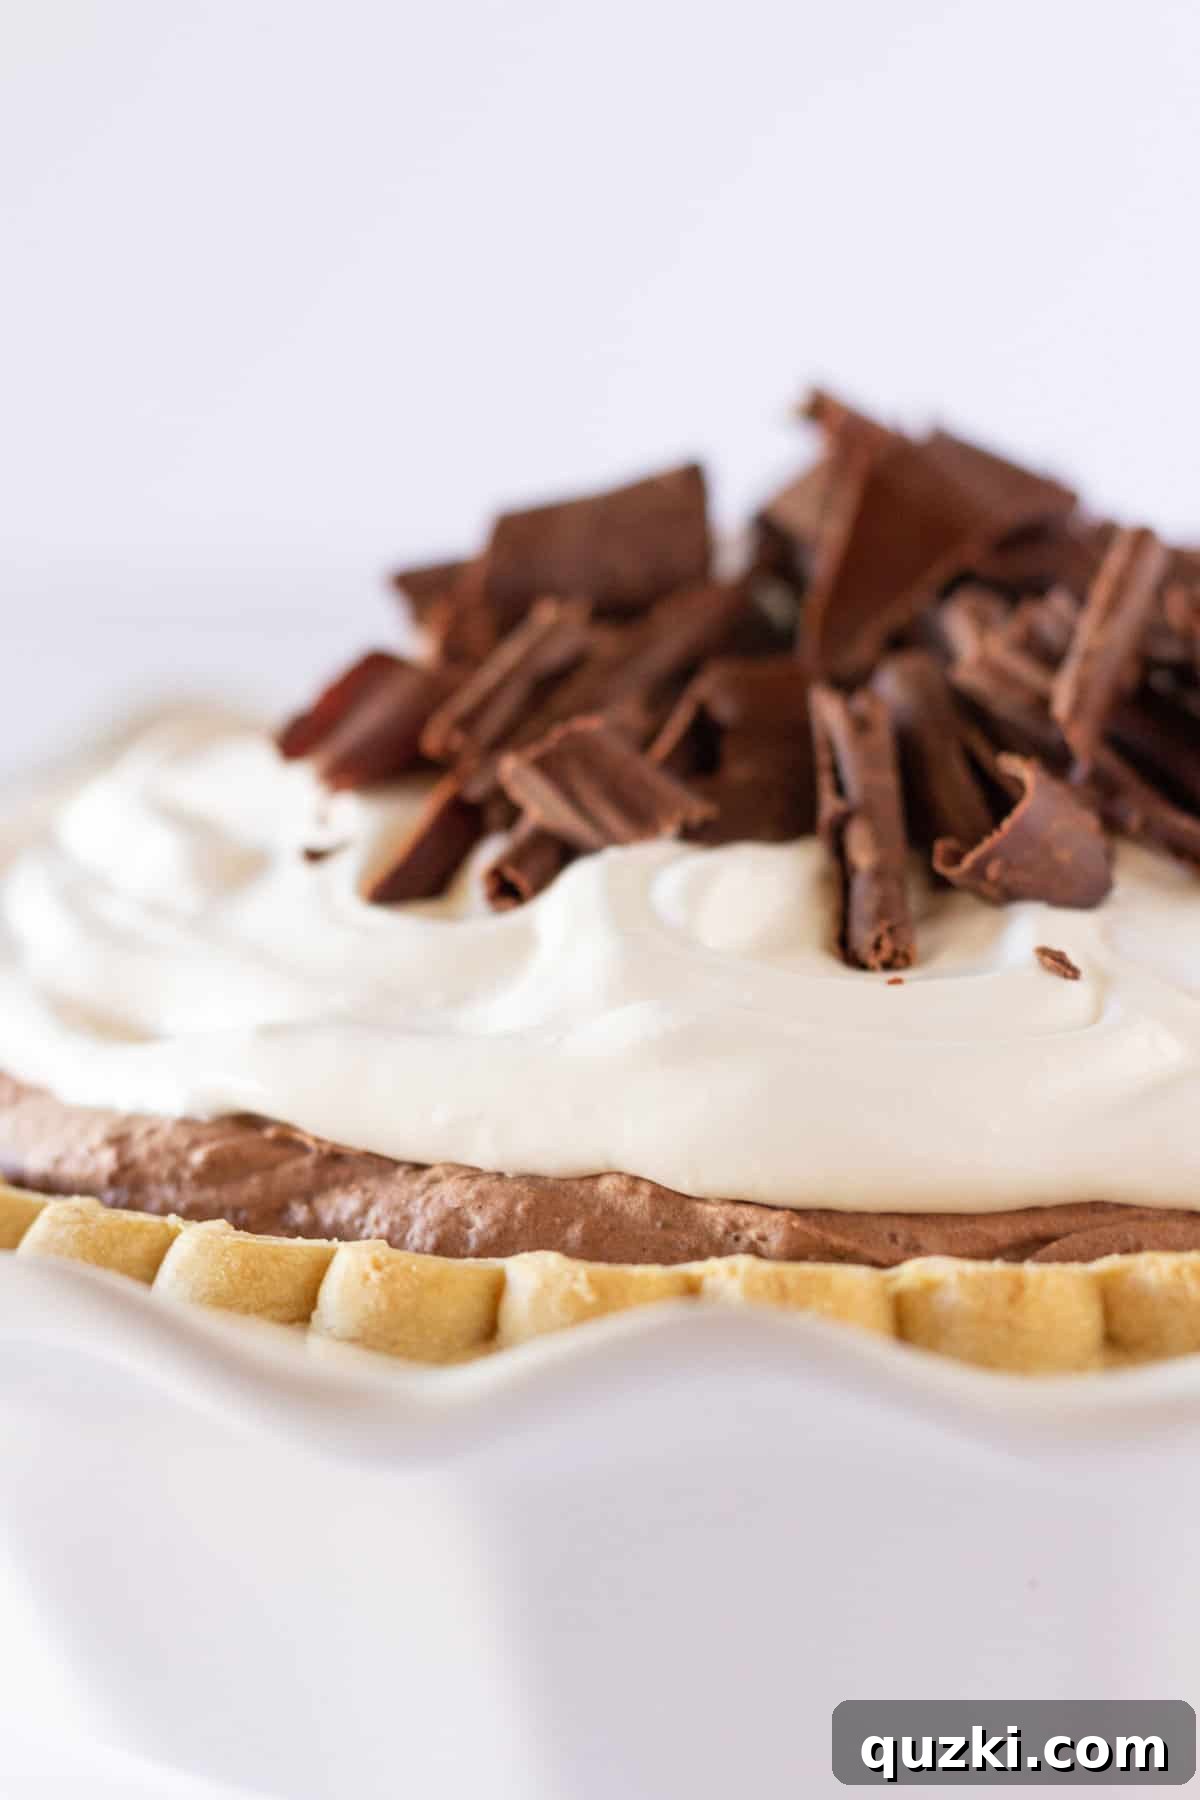
Essential Ingredients for Your Perfect Chocolate Mousse Pie
Crafting this irresistible chocolate mousse pie starts with a carefully selected list of ingredients. Each component plays a crucial role in achieving the desired texture, flavor, and overall appeal of this no-bake masterpiece. Here’s a detailed look at what you’ll need and why:
- Pie Crust: The foundation of any great pie! While I often opt for a store-bought frozen pie crust (which I sometimes bake empty for extra crispness), the versatility here is boundless. You could choose a refrigerated pie crust, or for an added layer of flavor and texture, a pre-made Oreo or graham cracker crust from the baking aisle works wonderfully. Consider a gluten-free crust for dietary needs.
- Instant Chocolate Pudding Mix: This is our secret weapon! A single 3.9 oz. box of instant chocolate pudding mix is the key to creating that luscious, mousse-like filling and ensures the pie sets up quickly without any cooking. Make sure to select “instant” pudding, not the “cook and serve” variety, as they behave very differently. You can experiment with different chocolate varieties like chocolate fudge or dark chocolate for depth.
- Unsweetened Cocoa Powder: To amplify the chocolatey goodness, a couple of tablespoons of unsweetened cocoa powder are added. This enhances the depth of flavor, giving the pie a richer, more sophisticated chocolate taste that truly elevates it beyond a standard pudding pie. It also helps to balance the sweetness of the pudding.
- Heavy Cream: This ingredient is essential for transforming the pudding mix into a light, airy, and creamy mousse. The high fat content in heavy cream whips beautifully, incorporating air and giving the filling its distinctive smooth texture and luxurious body. For best results, ensure your heavy cream is very cold before mixing.
- Whipped Topping: A generous layer of whipped topping provides a delightful contrast to the rich chocolate filling. Its light, airy, and velvety texture adds a refreshing element to each slice, making the pie feel even more decadent and complete. Feel free to use a store-bought tub for convenience or whip up your own fresh cream for a gourmet touch.
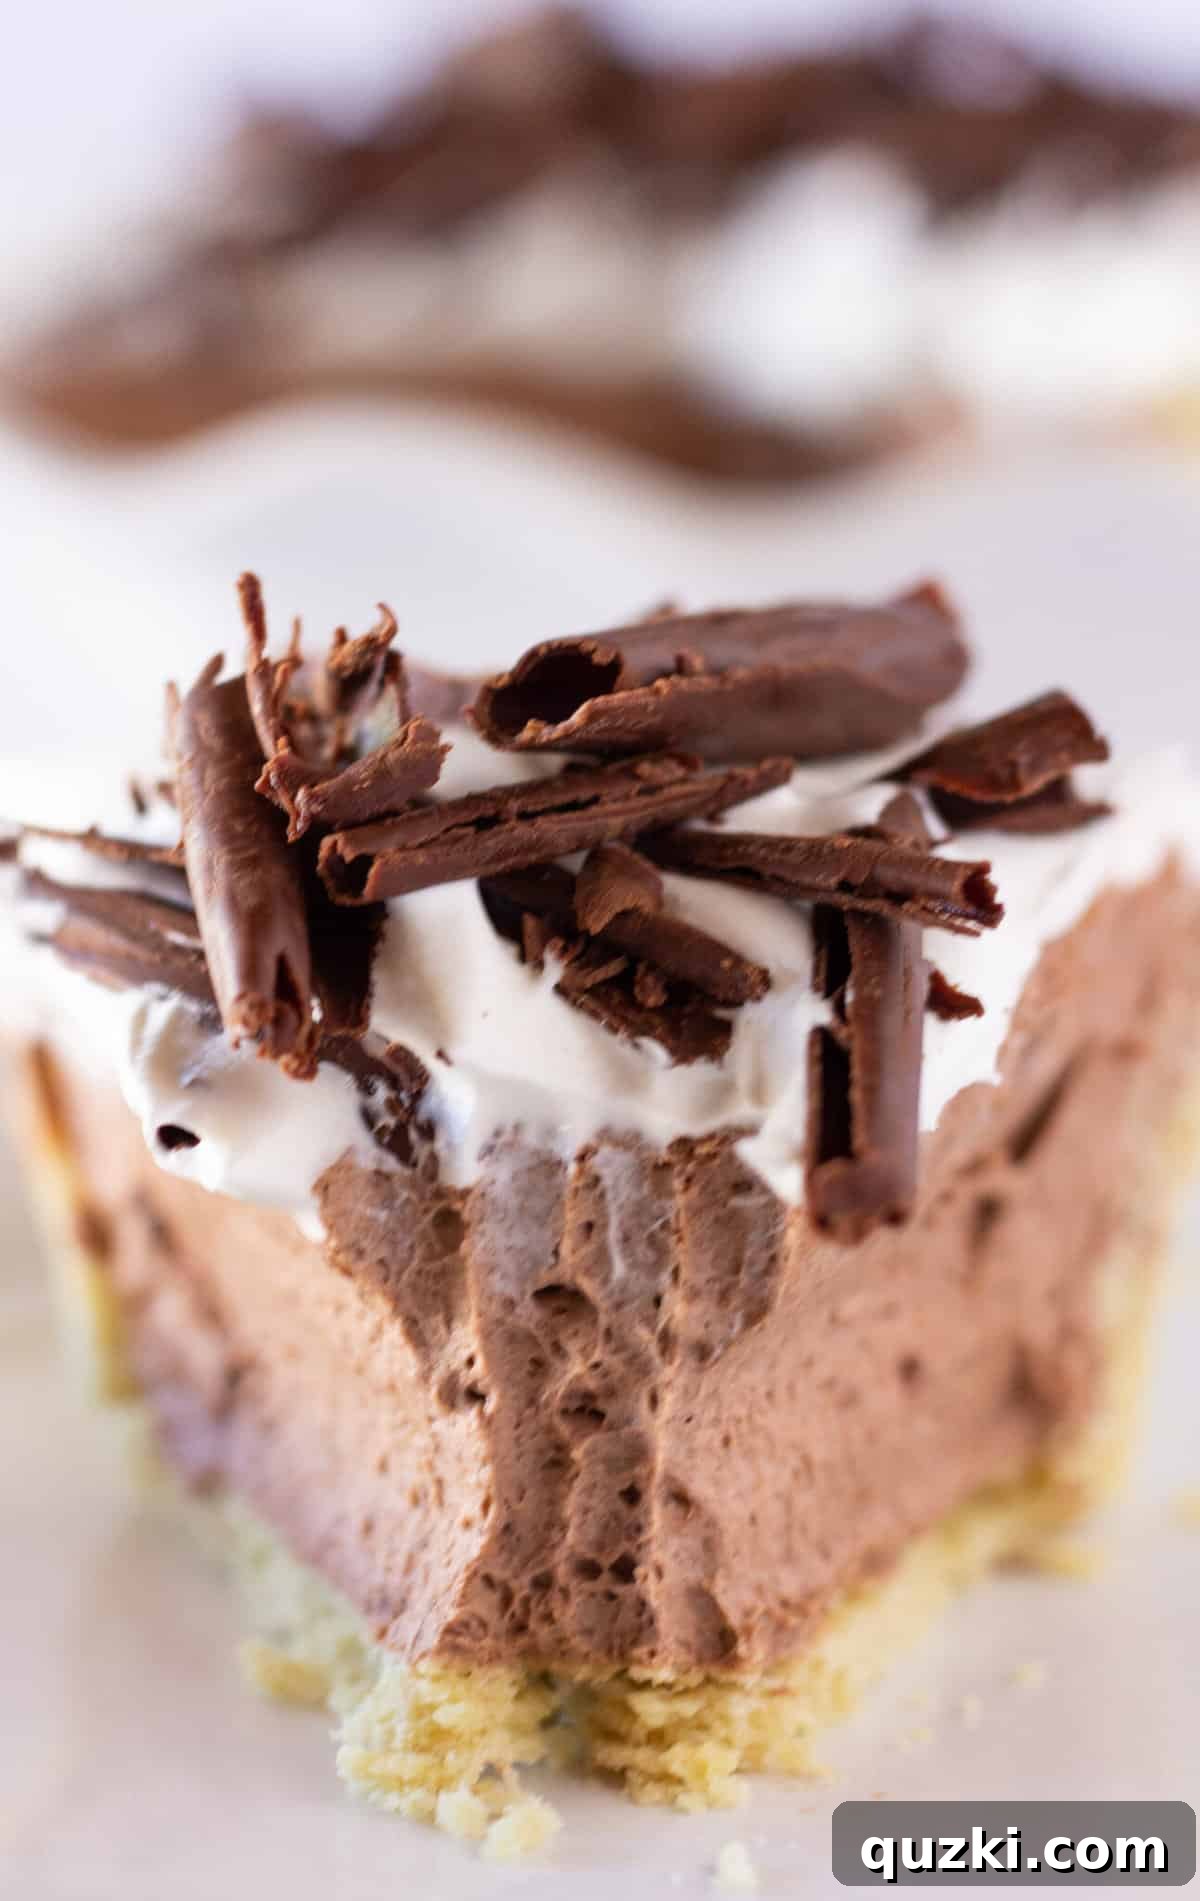
- Chocolate Shavings {Optional, but highly recommended}: While totally optional, chocolate shavings add a touch of elegance and an extra boost of chocolate flavor. They’re surprisingly easy to make with a vegetable peeler and a bar of chocolate. Other fun topping ideas include chocolate candies, sprinkles, mini chocolate chips, or even a drizzle of caramel or hot fudge.
For precise measurements and detailed instructions, remember to refer to the comprehensive recipe card below. Gather all your ingredients before you begin, ensuring a smooth and enjoyable pie-making process!
Crafting Your Easy Chocolate Mousse Pie: Step-by-Step Guide
Creating this magnificent chocolate mousse pie is a breeze, even for the most novice baker. Follow these simple steps to assemble a dessert that’s both impressive and incredibly satisfying:
- Prepare Your Pie Crust: Begin by preparing your chosen pie crust. If you’re using a frozen pie crust, follow package directions for baking it empty and allowing it to cool completely. For a pre-made graham cracker or Oreo crust, simply unwrap and set it aside. Ensure your crust is ready to go before you start on the filling.
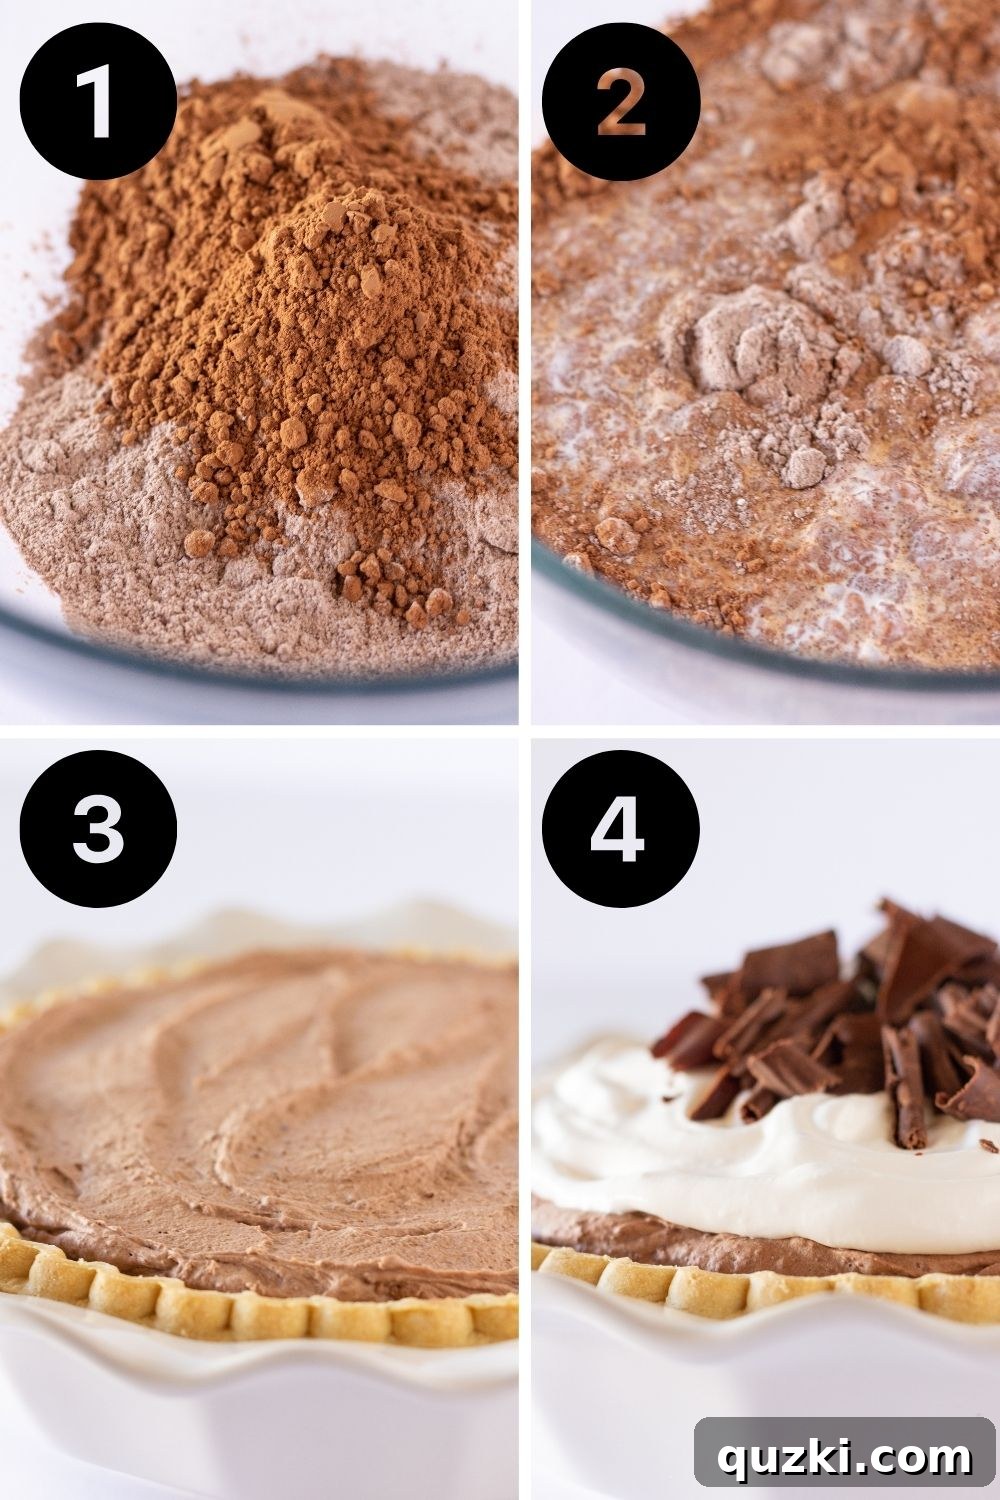
- Combine Dry Ingredients: In a large mixing bowl, combine the instant chocolate pudding mix with the unsweetened cocoa powder. It’s crucial to whisk these two dry ingredients together thoroughly. This step helps to break up any lumps in the pudding mix and ensures an even distribution of cocoa powder, leading to a smooth, consistent chocolate flavor throughout your mousse.
- Create the Velvety Filling: Once your dry ingredients are lump-free, gradually pour in the cold heavy cream. Using a hand-held electric mixer (or a whisk if you prefer a good arm workout!), mix for approximately one minute. You’ll witness the magical transformation as the mixture thickens into a rich, creamy, and airy chocolate mousse. Be careful not to overmix; stop once the desired thick consistency is achieved.
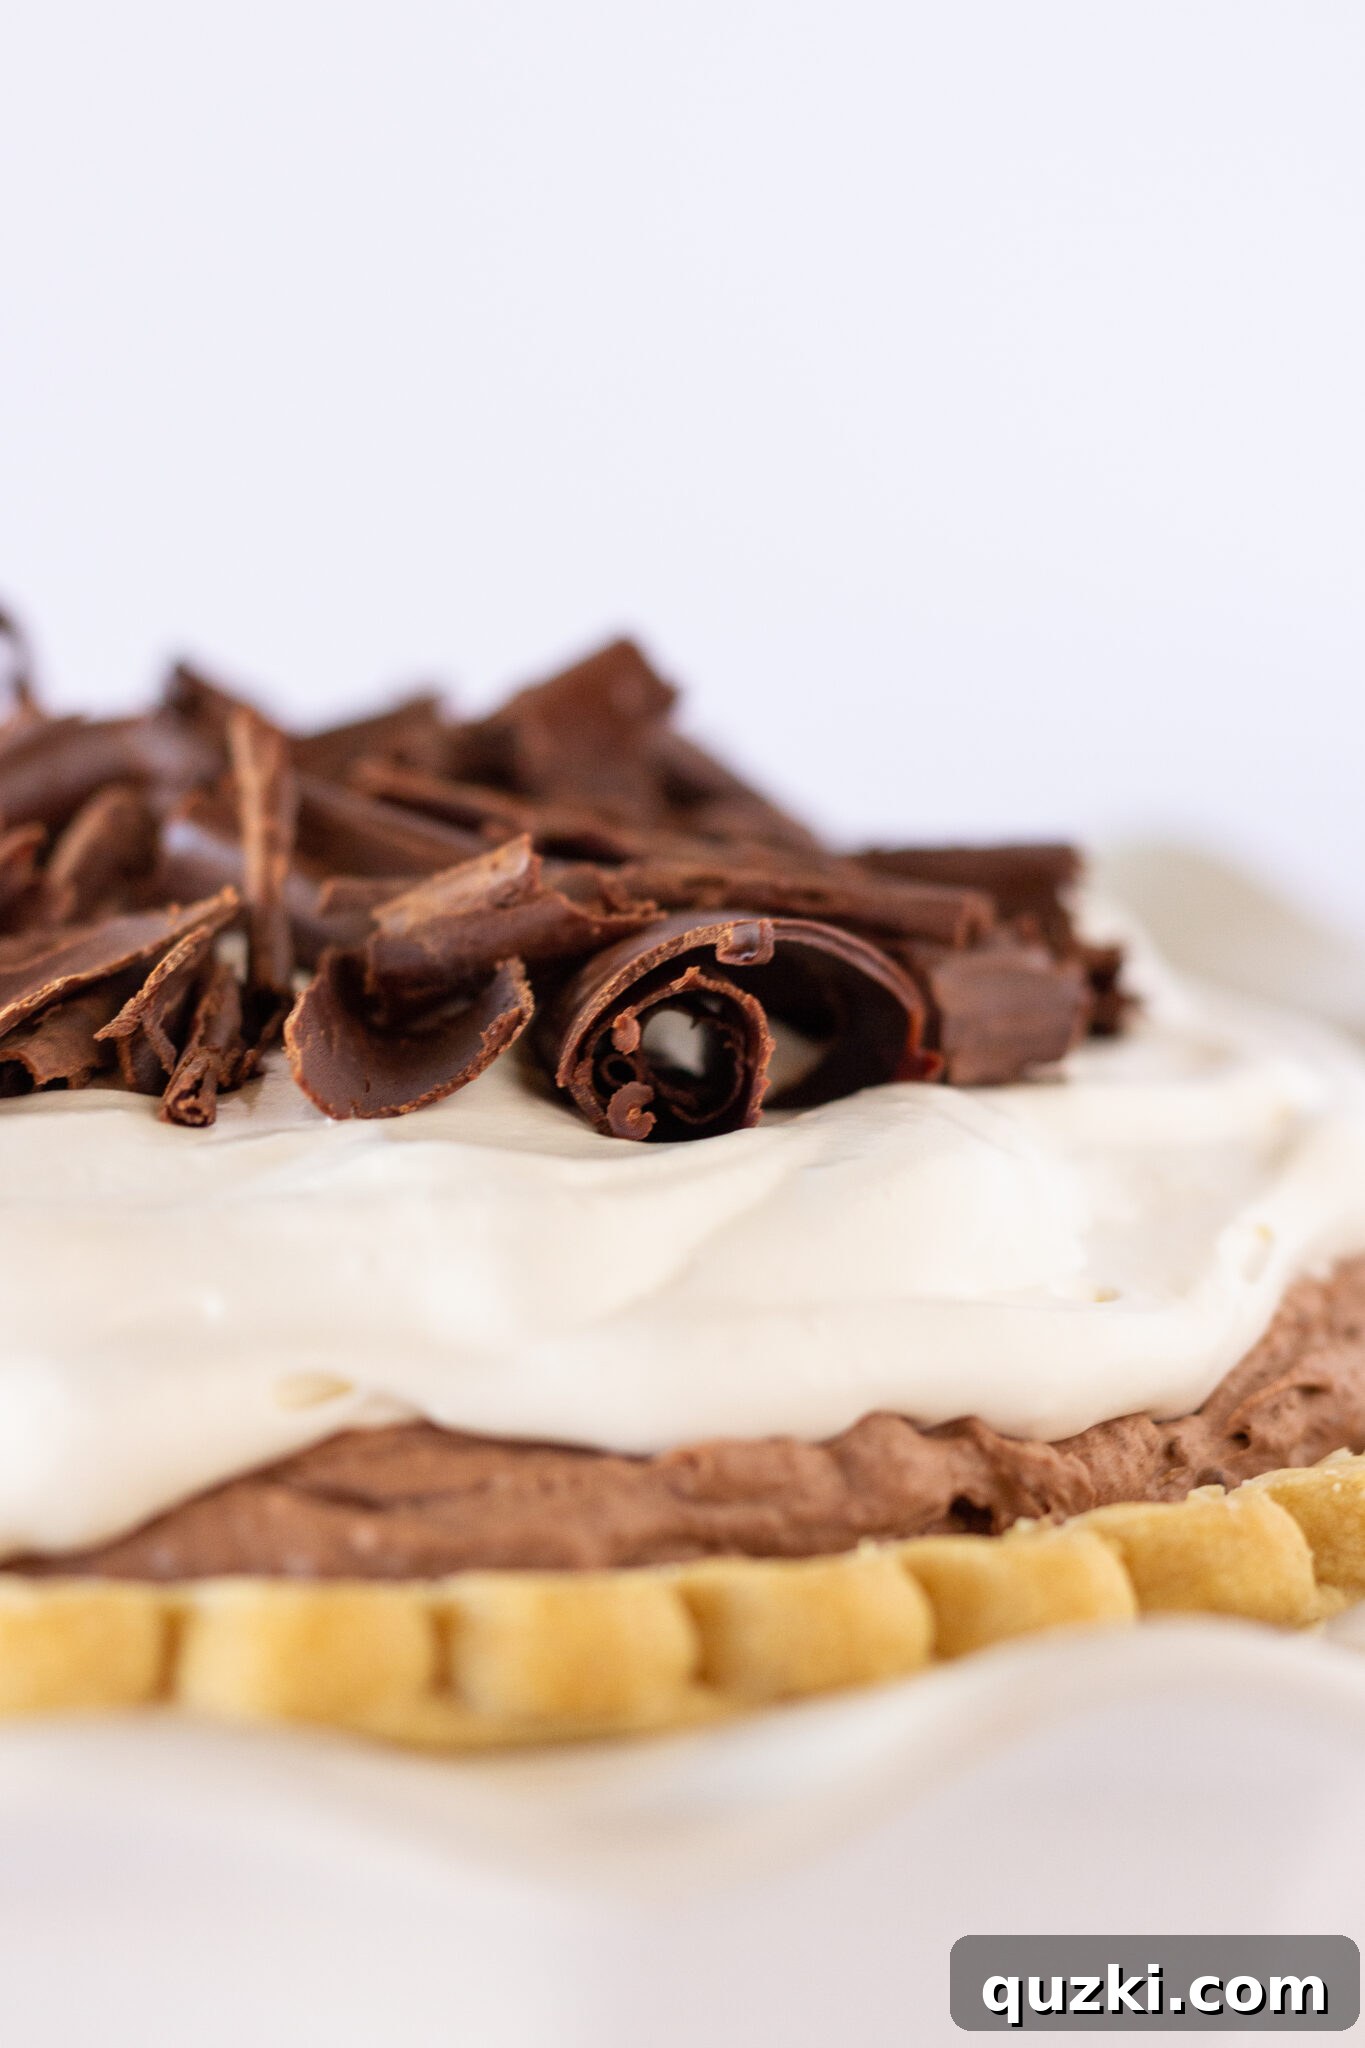
- Assemble and Garnish: Carefully pour the decadent chocolate mousse filling into your prepared pie crust. Use a spatula to spread it out evenly, creating a smooth and appealing surface. Top generously with your preferred whipped topping, spreading it gently to cover the chocolate layer. Finally, sprinkle with homemade chocolate shavings or any other desired garnishes for a beautiful presentation.
- Chill to Perfection: Place your assembled pie in the refrigerator for at least 15 minutes to allow the mousse to fully set and firm up. While it might be tempting to slice it immediately, proper chilling ensures clean cuts and the best possible texture. Serve when ready and enjoy the rich, creamy goodness!
Each step is straightforward, ensuring you achieve a perfectly set and unbelievably delicious chocolate mousse pie with minimal fuss.
Exciting Variations for Your Chocolate Mousse Pie
One of the best aspects of this easy chocolate mousse pie recipe is its adaptability. Whether you’re looking to customize it based on ingredients you have on hand, cater to different tastes, or simply want to experiment with new flavors, these variations offer endless possibilities to make this pie uniquely yours.
Crust Customizations:
Instead of a traditional baked frozen crust, consider these exciting alternatives:
- Refrigerated Pie Crust: A simple, unbaked refrigerated pie crust can be pressed into your pie dish.
- Pre-made Cookie Crumb Crusts: A store-bought Oreo or graham cracker crust offers an instant flavor boost and incredible convenience.
- Homemade Cookie Crumb Crusts: For a personal touch, crush your favorite cookies (like chocolate wafers, shortbread, or even Biscoff) and mix with melted butter for a custom crumb crust. You can even use my Oreo crust recipe for a truly decadent base.
- Nut-Based Crusts: A finely ground nut crust (like almond or pecan) with a touch of sweetener and butter provides a sophisticated, gluten-free option, similar to what I used in my No Bake Caramel Apple Cheesecake.
Pudding Flavor Twists:
While chocolate pudding is classic, don’t hesitate to explore other instant pudding flavors to create new and exciting mousse pies:
- Chocolate Fudge: For an even richer, deeper chocolate experience.
- Cookies and Cream: Adds texture and a beloved flavor combination.
- Mint Chocolate: A few drops of mint extract or a mint-flavored pudding mix for a refreshing twist.
- Coffee/Espresso: Incorporate a teaspoon of instant espresso powder into the chocolate pudding mix to create a mocha mousse.
- Caramel or Butterscotch: For a delightful sweet and buttery undertone, perfect for autumn.
Creative Topping Ideas:
Beyond classic chocolate shavings, the possibilities for garnishes are endless, allowing you to tailor the pie for any occasion or preference:
- Chocolate Candy: Chopped chocolate bars, mini chocolate candies, or shaved dark chocolate for intense flavor.
- Sprinkles: Festive and fun for birthdays or holidays.
- Fresh Fruit: Sliced strawberries, raspberries, or cherries add a burst of color and a tart counterpoint to the rich chocolate.
- Crushed Cookies: A sprinkle of crushed Oreos, Biscoff, or graham crackers for added texture.
- Sauces: Drizzle with caramel sauce, hot fudge, or a raspberry coulis.
- Coconut: Toasted coconut flakes add a tropical twist and delightful chewiness.
- Chopped Nuts: Pecans, walnuts, or almonds for a nutty crunch.
Common Questions About This Easy Chocolate Mousse Pie
To ensure your chocolate mousse pie experience is as smooth as the filling itself, here are answers to some frequently asked questions:
Can I make this chocolate mousse pie in advance?
Absolutely! This easy chocolate mousse pie is an excellent make-ahead dessert, perfect for entertaining or simplifying your holiday prep. You can prepare the entire pie, including the filling and crust, a day or even two days in advance. For optimal freshness and presentation, I recommend holding off on adding the whipped topping and any delicate garnishes (like fresh fruit) until a few hours before you plan to serve it. This keeps the topping looking its best and prevents it from weeping or deflating.
How long is this chocolate pie good for?
Once assembled and stored properly in the refrigerator, this Easy Chocolate Mousse Pie remains delicious for 2-3 days. To keep it at its best, cover it loosely with plastic wrap or aluminum foil. If left for much longer, especially with a traditional baked crust, the pie crust can start to absorb moisture from the filling and become soggy. For optimal enjoyment, consume it within the first few days.
Can I freeze this pie?
Yes, this Chocolate Mousse Pie freezes beautifully, making it an ideal option for portioning or extended storage. To freeze, place the entire assembled pie (without the whipped topping and delicate garnishes) on a flat baking sheet and freeze for 2-3 hours until solid. Once frozen, wrap it tightly in several layers of plastic wrap, followed by a layer of aluminum foil, or place it in a large freezer-safe bag. It can be stored in the freezer for up to 3 months.
To thaw, simply transfer the frozen pie to the refrigerator and let it thaw slowly for several hours or overnight. Once thawed and ready to serve, add your fresh whipped topping and chocolate shavings or other desired garnishes.
What kind of chocolate pudding mix should I use?
It is crucial to use *instant* chocolate pudding mix for this recipe, not the “cook and serve” variety. Instant pudding contains stabilizers that allow it to set quickly when combined with cold heavy cream, creating the perfect mousse texture without any cooking. Using cook and serve pudding will result in a runny, unset pie.
Why is my pie filling not setting properly?
There are a few common reasons why your mousse filling might not be setting:
- Not Instant Pudding: Double-check that you used instant pudding mix, as mentioned above.
- Warm Cream: Heavy cream must be very cold to whip and activate the pudding’s setting agents effectively.
- Insufficient Mixing: Ensure you’ve mixed the ingredients with the heavy cream for at least one minute, or until the mixture is thick and airy.
- Not Enough Chill Time: While the active setting is quick, the pie needs sufficient time in the refrigerator to fully firm up and allow all ingredients to stabilize.
Expert Tips for the Best Easy Chocolate Mousse Pie
While this recipe is incredibly simple, a few professional insights can elevate your chocolate mousse pie from great to absolutely exceptional. Follow these pro tips for a flawless and truly decadent dessert:
- Enhance Your Crust’s Presentation: If you’re using a pre-made store-bought pie crust that comes in a flimsy aluminum tin, consider transferring it to a sturdier and more attractive ceramic or glass pie plate. This not only gives your no-bake pie a more polished, homemade appearance but also adds structural sturdiness, making it easier to handle and serve.
- Meticulous Dry Ingredient Whisking: Do not underestimate the importance of thoroughly whisking the instant pudding mix and cocoa powder together before adding any liquids. Any small lumps or inconsistencies in the dry ingredients will be very difficult, if not impossible, to smooth out once the heavy cream is incorporated. A smooth start ensures a silky-smooth, lump-free mousse filling.
- Timing is Everything for Toppings: If you’re preparing this pie several hours or a day in advance, resist the urge to add the whipped topping and delicate garnishes (like chocolate curls, fresh berries, or sprinkles) until closer to serving time. This crucial step prevents the whipped topping from losing its fluffiness or “weeping” moisture, and keeps your delicate garnishes looking vibrant and fresh, ensuring your pie looks as good as it tastes.
- Chill Your Bowl and Whisk: For an even airier and quicker-setting mousse, place your mixing bowl and whisk attachment (if using a stand mixer) in the refrigerator or freezer for 10-15 minutes before you begin. Cold equipment helps the heavy cream whip up more efficiently and ensures the pudding sets faster.
- Quality of Ingredients Matters: While this recipe uses convenient shortcuts, opting for a good quality instant chocolate pudding mix and unsweetened cocoa powder can make a noticeable difference in the depth of chocolate flavor. Similarly, using fresh, cold heavy cream is key to achieving that perfect airy texture.
- For a Clean Slice: To achieve picture-perfect slices, use a sharp knife that has been dipped in hot water and wiped clean between each cut. This prevents the mousse and topping from sticking and dragging, giving you beautifully defined portions.
Discover More Irresistible No-Bake Pie Creations!
If you’ve fallen in love with the ease and deliciousness of this no-bake chocolate mousse pie, you’re in for a treat! The world of no-bake desserts is vast and wonderful, offering endless possibilities for quick, creamy, and delightful concoctions. Explore these other fantastic no-bake pie recipes that are just as simple to make and equally satisfying:
- Peanut Butter Pie: A dreamy, rich pie for peanut butter lovers, often featuring a chocolate crust.
- Raspberry Pretzel Pie: A delightful combination of sweet, salty, and tart flavors with a crunchy pretzel crust.
- No Bake Key Lime Pie: Tangy, refreshing, and incredibly easy to whip up, perfect for summer.
- Pumpkin Mousse Pie: All the flavors of autumn in a light, airy, and creamy no-bake format.
- Drumstick Ice Cream Pie: A fun, nostalgic dessert inspired by your favorite ice cream treat.
- 5 Ingredient Lemon Cheesecake: A bright, zesty, and incredibly simple cheesecake that requires no oven time.
Chocolate Mousse Pie with Instant Pudding
Rate Recipe
Print Recipe
Ingredients
- 1 pre-made pie crust
- 1-3.9 oz. box instant chocolate pudding
- 2 tablespoons unsweetened cocoa powder
- 2 ½ cups heavy cream
- 1-8 oz. tub whipped topping
- 1 cup chocolate shavings {optional}
Instructions
- Get your pre-made pie crust ready and set aside.
- Combine pudding mix and cocoa powder in a large bowl. Whisk the two ingredients together to remove any lumps.
- Add heavy cream to the pudding mix and mix with a hand-held mixer (or by hand) for 1 minute.
- Pour chocolate filling into prepared pie crust and spread out into an even layer. Top with whipped topping and chocolate shavings.
- Refrigerate for at least 15 minutes before serving. Store leftovers in the refrigerator for up to 4 days.
Notes
To freeze, put the entire pie on a baking sheet and freeze for a couple of hours.
After the pie is frozen, place it in a large freezer bag (or wrap well in plastic wrap) and freeze for up to 3 months.
To thaw, refrigerate the pie until ready and then add the whipped topping and chocolate shavings.
Nutrition
Serving: 1 slice, Calories: 536kcal, Carbohydrates: 36g, Protein: 5g, Fat: 42g, Saturated Fat: 27g, Polyunsaturated Fat: 2g, Monounsaturated Fat: 11g, Trans Fat: 0.02g, Cholesterol: 86mg, Sodium: 216mg, Potassium: 314mg, Fiber: 3g, Sugar: 28g, Vitamin A: 1129IU, Vitamin C: 0.4mg, Calcium: 91mg, Iron: 2mg
Nutrition information is automatically calculated, so should only be used as an approximation.