
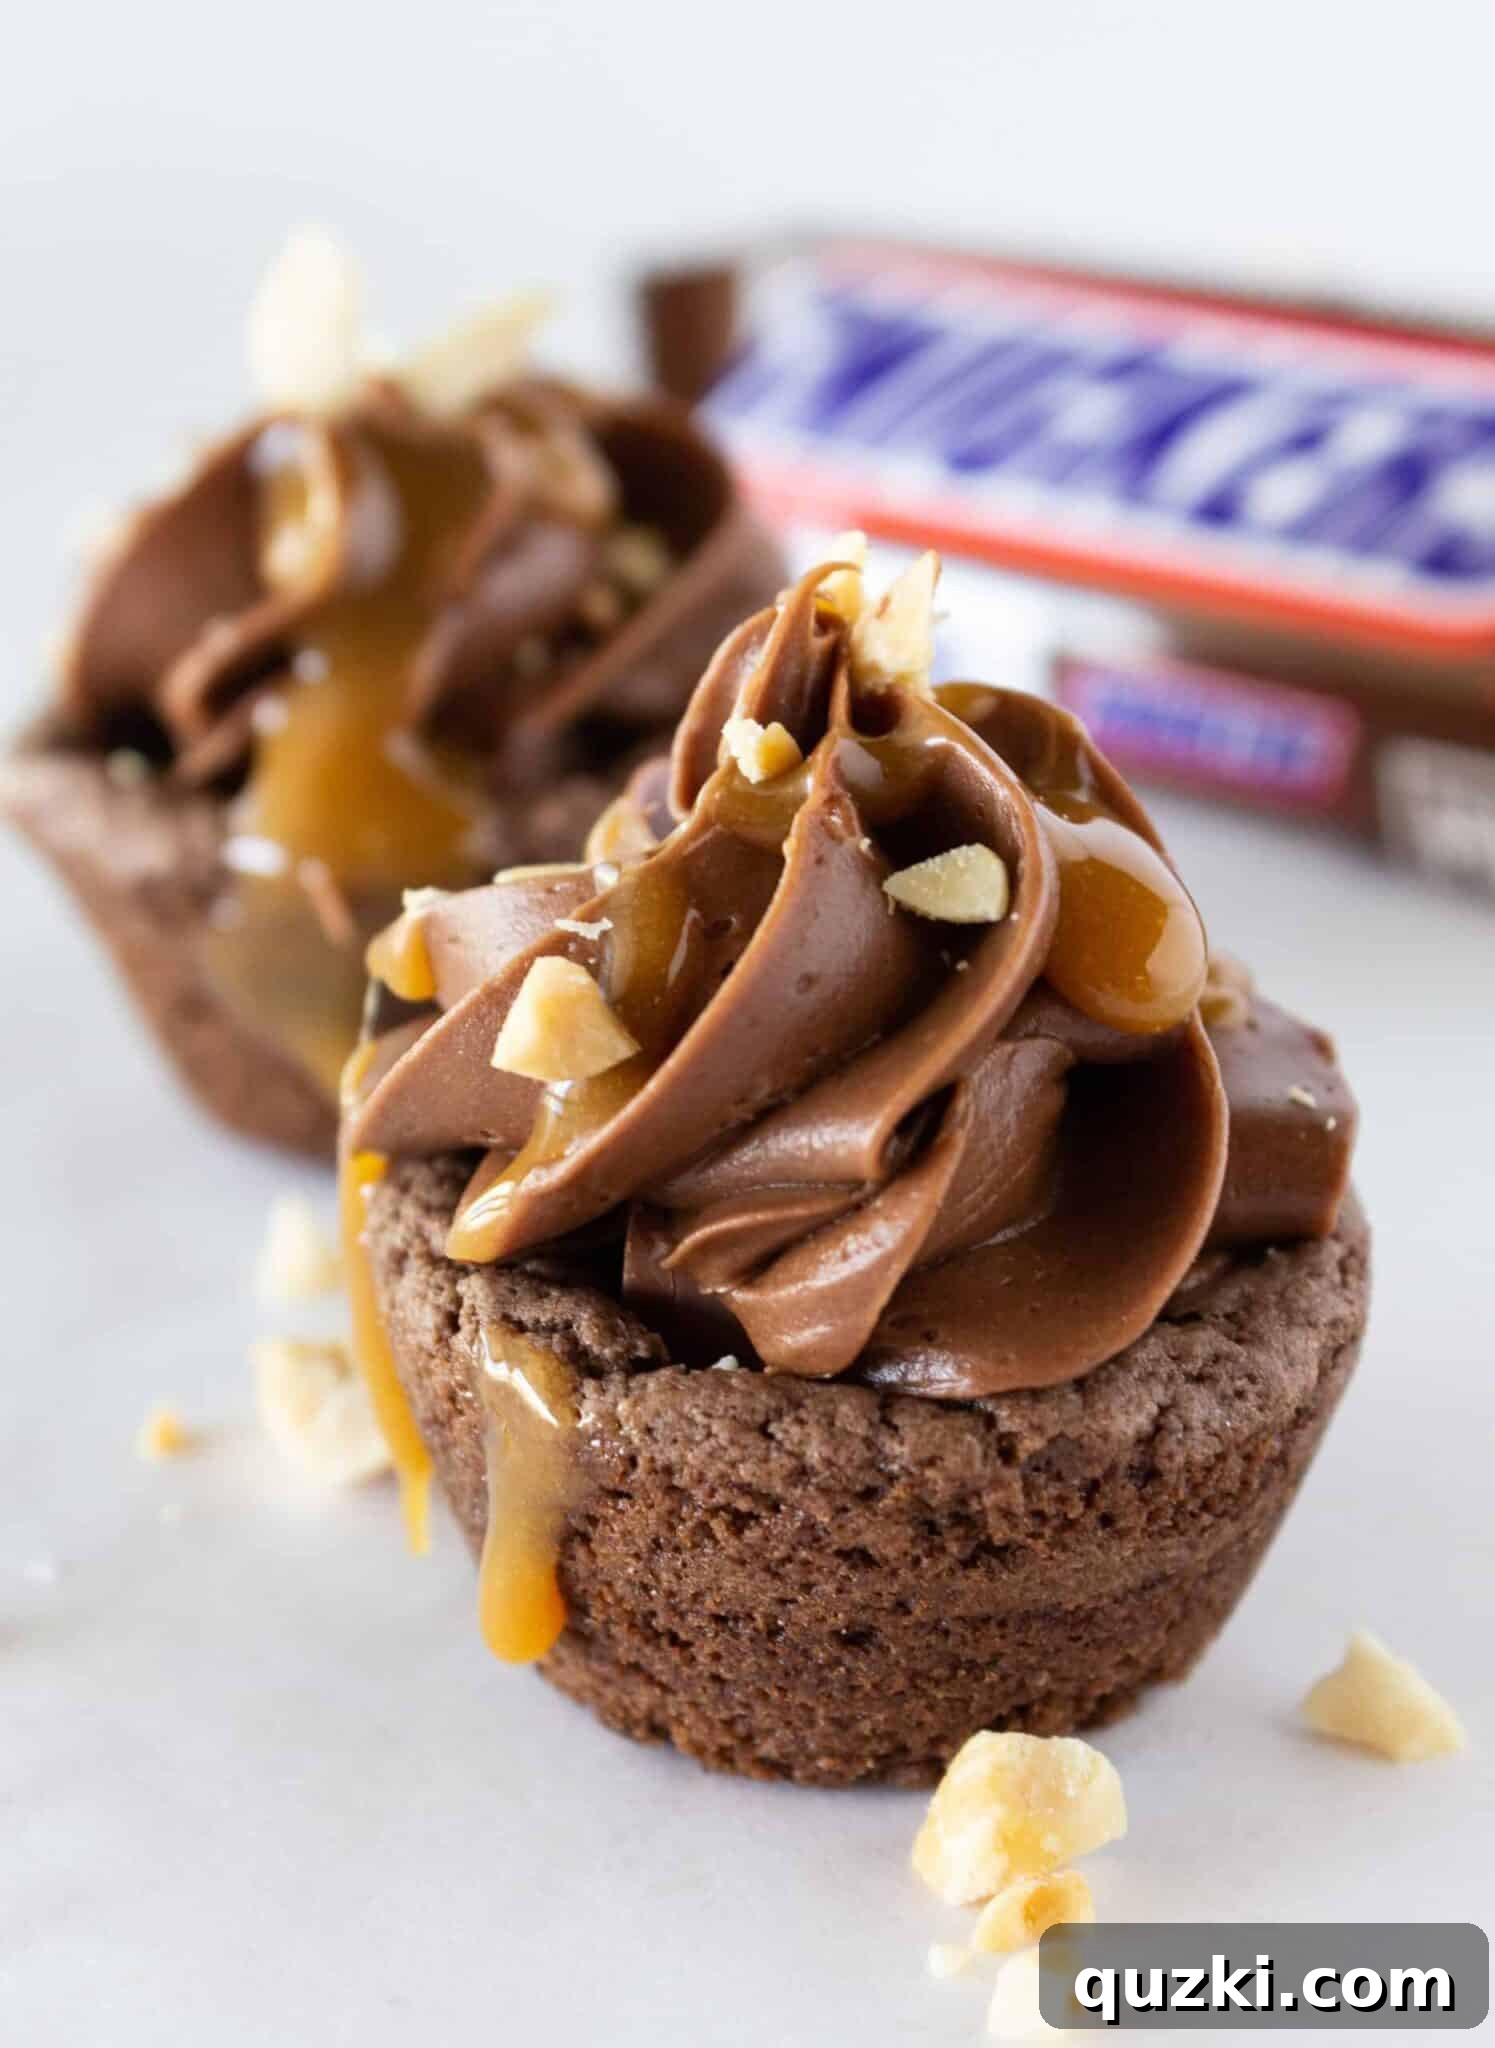
Effortless Snickers Cookie Cups: Your Go-To Cake Mix Dessert
There are few things as satisfying as whipping up a batch of delicious homemade treats with minimal effort. And when it comes to quick, impressive desserts, using a cake mix to create delightful cookie cups is an absolute game-changer. These Snickers Cookie Cups are not just incredibly easy to make, but they also offer a symphony of flavors and textures that will have everyone reaching for more. Inspired by my husband’s (affectionately known as Darb) love for Snickers bars, this recipe transforms a classic candy into an irresistible bite-sized dessert that’s guaranteed to be a hit in your home, too.
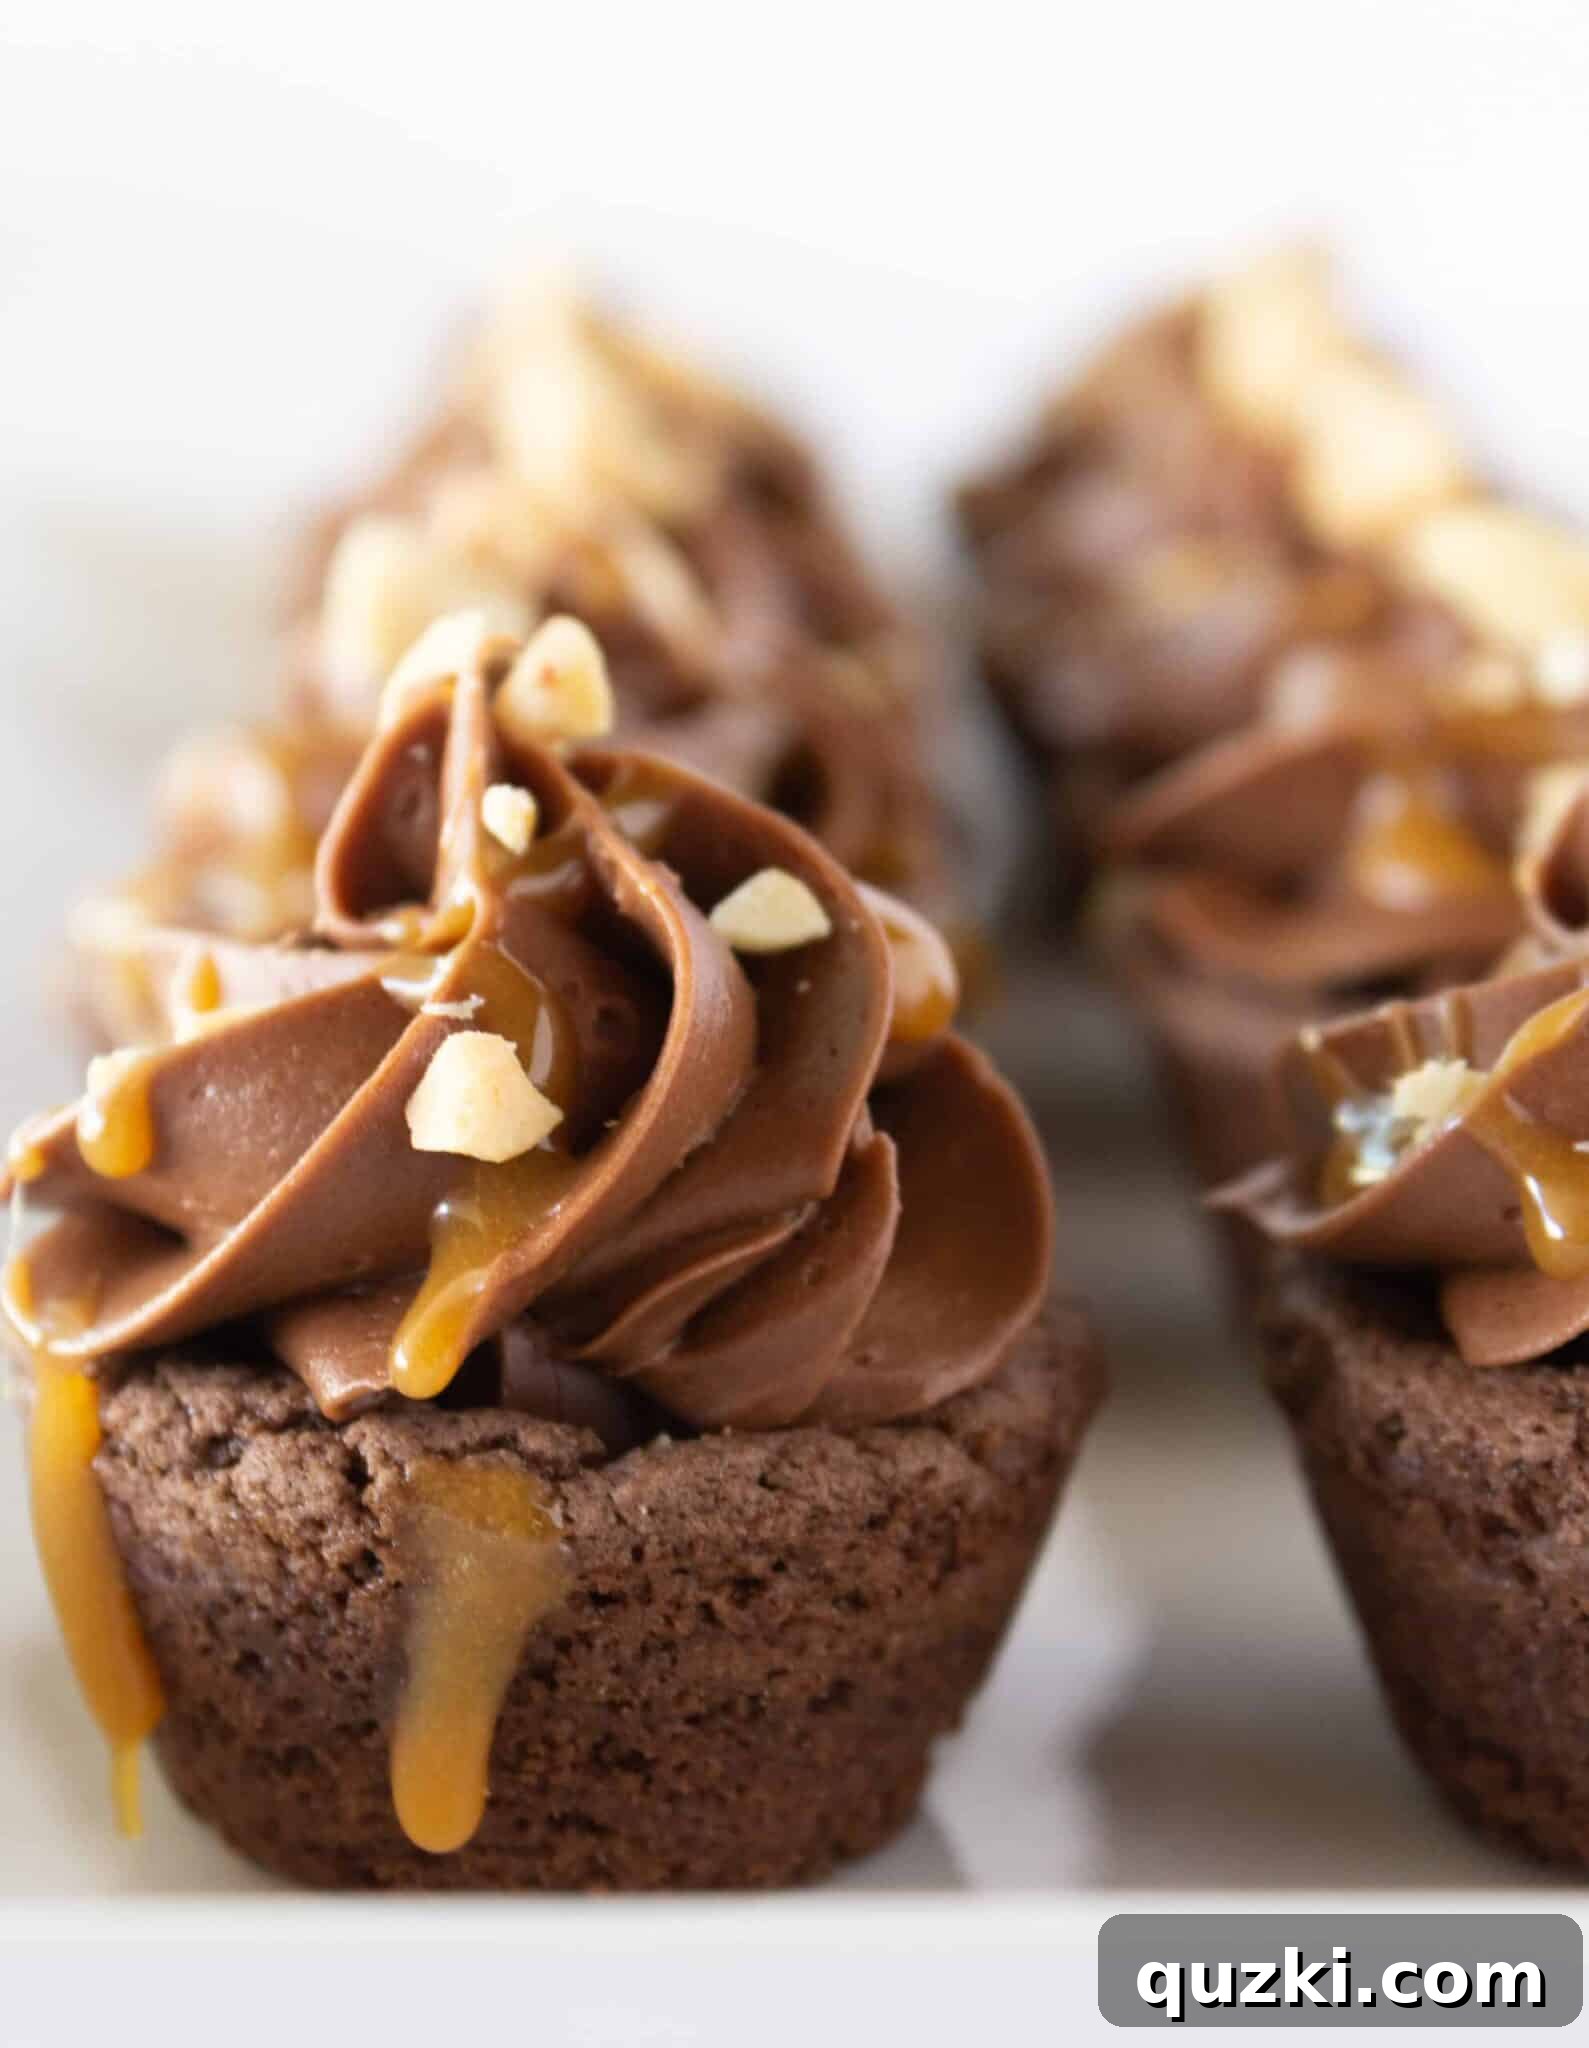
Leveraging beloved candy bars or popular cookies as the foundation for a dessert concept is a secret weapon in any baker’s arsenal. It ensures instant recognition and a high chance of success because you’re building on flavors people already adore. Everyone knows the iconic taste of a Snickers bar – that perfect blend of chocolate, caramel, nougat, and peanuts. Now, imagine taking a generous chunk of that beloved candy and nestling it into the heart of a perfectly baked, tender chocolate cookie cup. The result? Pure magic!
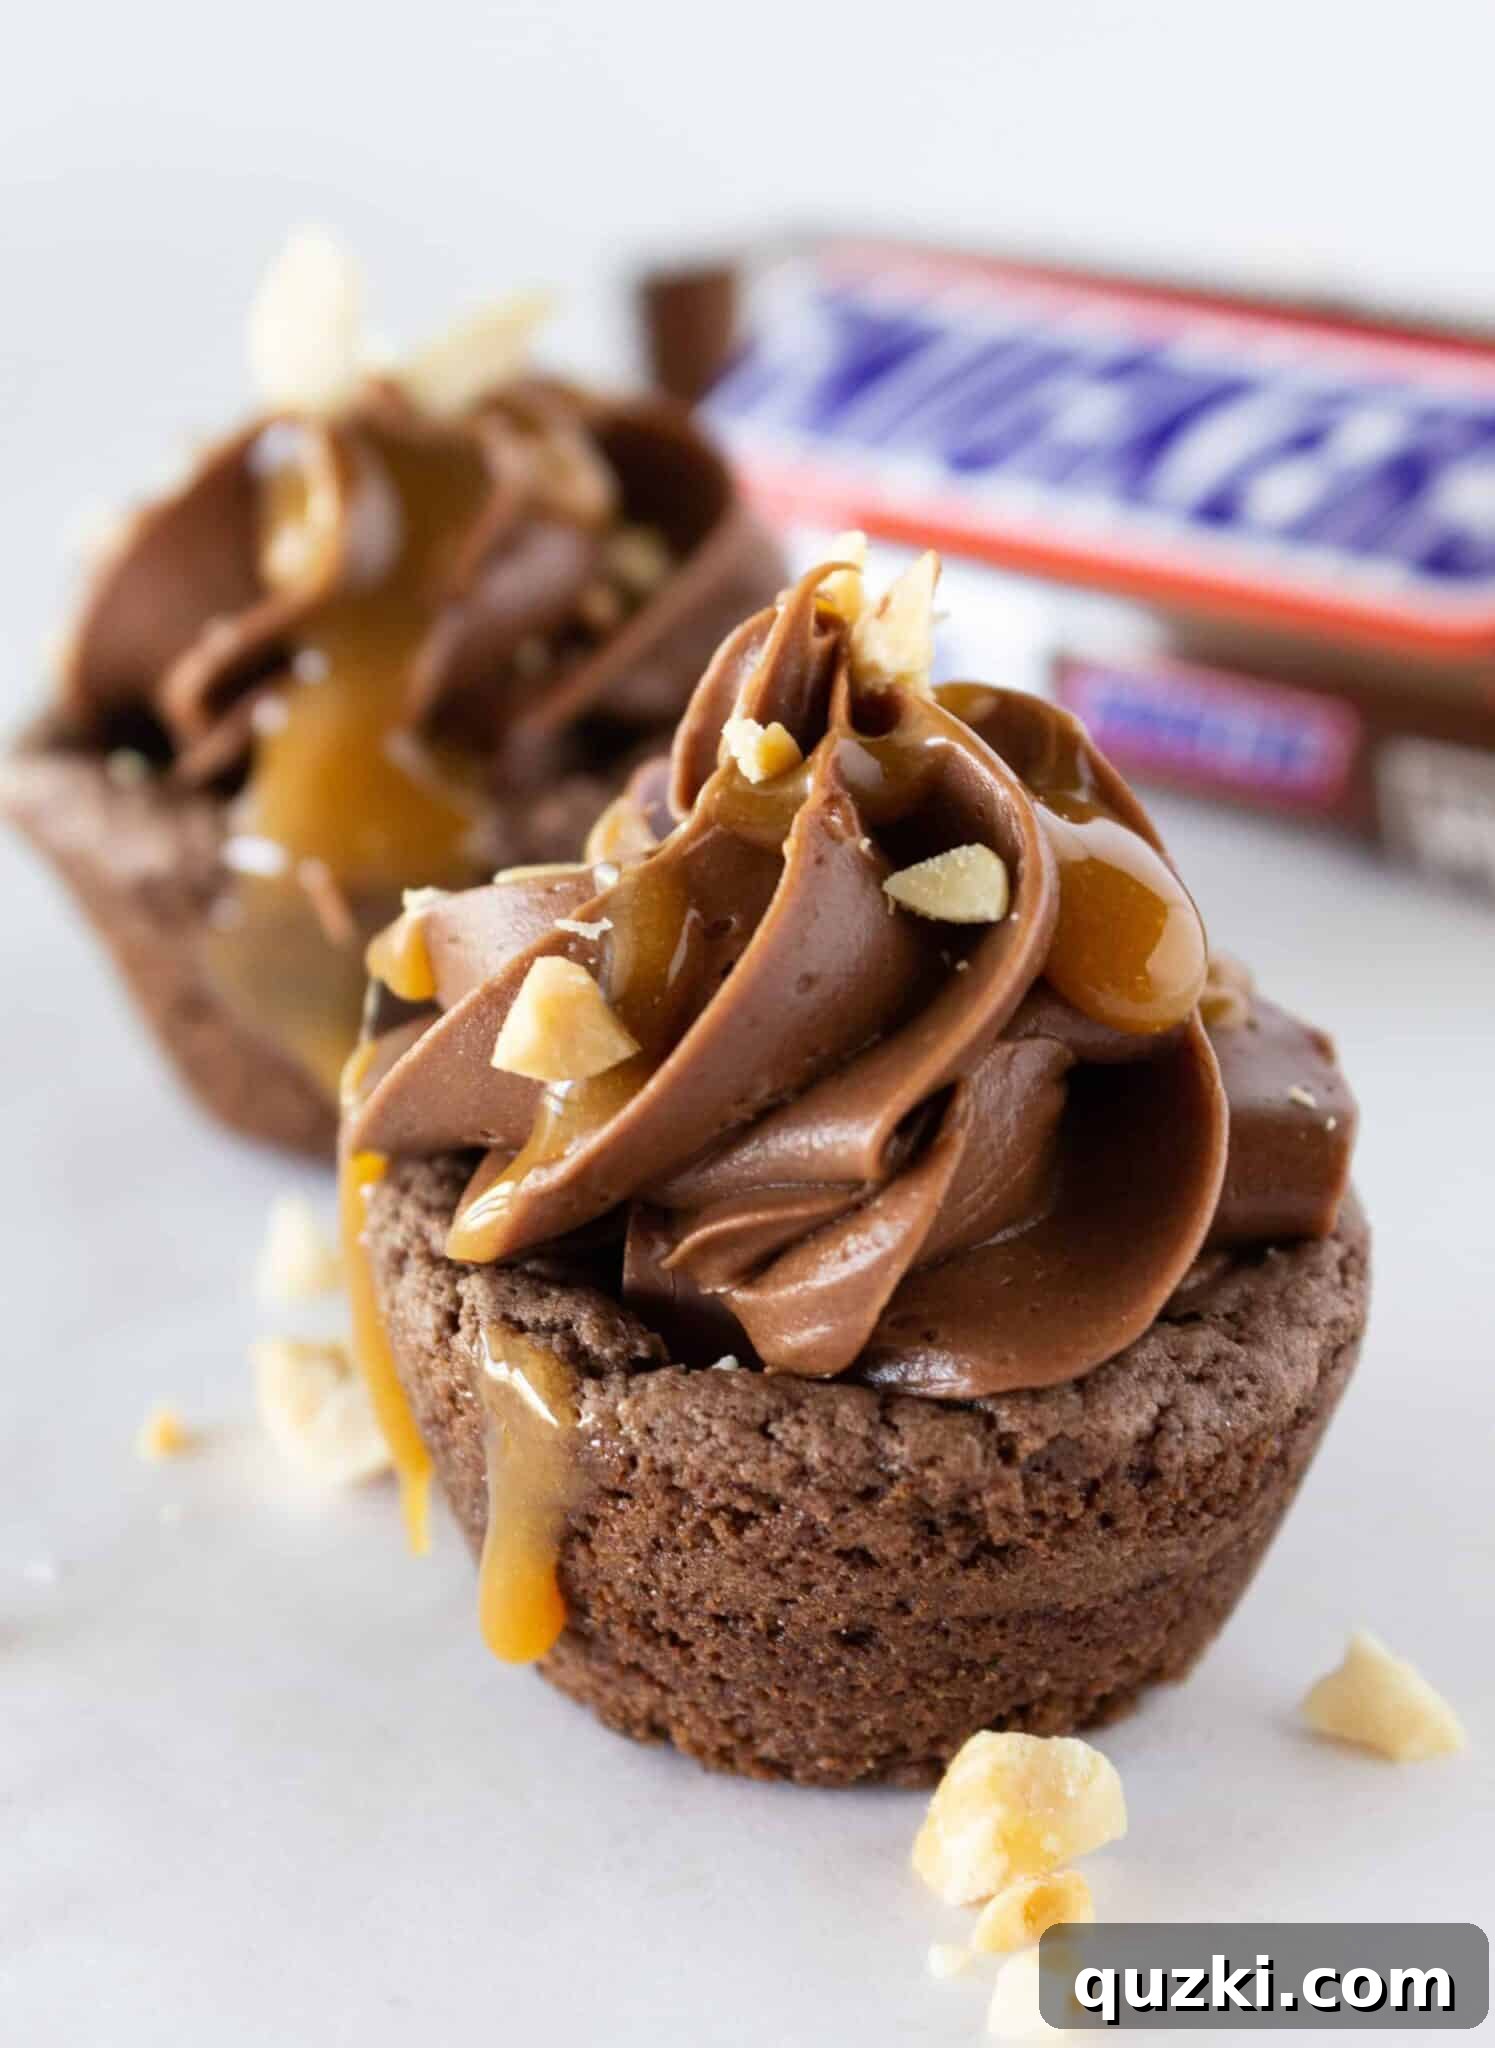
But the indulgence doesn’t stop there. To elevate these cookie cups from delightful to truly extraordinary, we’ve jazzed up store-bought chocolate frosting with a generous swirl of creamy peanut butter. This rich, velvety frosting is then piped artistically onto each cookie, creating a decadent cap that perfectly complements the Snickers core. A final flourish of luscious caramel drizzle and a sprinkle of finely chopped, salted peanuts adds both visual appeal and an extra layer of flavor and crunch. Trust me, just one of these Snickers Cookie Cups simply won’t be enough!
Why Choose Cake Mix for Your Cookie Cups?
Using a cake mix as the base for cookies is one of the smartest shortcuts in baking, offering unparalleled convenience without sacrificing flavor or texture. For these Snickers Cookie Cups, a chocolate fudge cake mix provides a rich, moist, and wonderfully chewy cookie every time. Here’s why this method is a true baking hack:
- Speed and Simplicity: The dry ingredients are pre-measured and perfectly balanced, significantly cutting down on prep time. You just add a few wet ingredients, and you’re ready to go!
- Consistent Results: Cake mixes are designed for consistency, meaning your cookie cups will turn out perfectly baked and delicious batch after batch.
- Soft, Chewy Texture: The specific blend of ingredients in a cake mix often yields an incredibly soft and tender cookie, making it an ideal base for a delicate cookie cup.
- Versatility: While we’re using a chocolate fudge mix here, the possibilities are truly endless. Imagine using a yellow cake mix for a caramel apple cookie cup, or a red velvet mix for cream cheese-filled delights.
This method empowers even novice bakers to create impressive desserts that taste like they came from a high-end bakery, all with minimal fuss.
How to Create Irresistible Snickers Cookie Cups from a Cake Mix
Crafting these delectable Snickers Cookie Cups is a straightforward process that anyone can master. Follow these steps for a dessert that’s sure to impress:
1. Prepare the Chocolate Cookie Base
- Begin by preheating your oven to a standard 350°F (175°C). The first crucial step is to prepare your mini muffin pan. Generously spray each cavity with a high-quality nonstick cooking spray. This step is absolutely vital for ensuring your cookie cups release easily after baking, preserving their perfect shape.
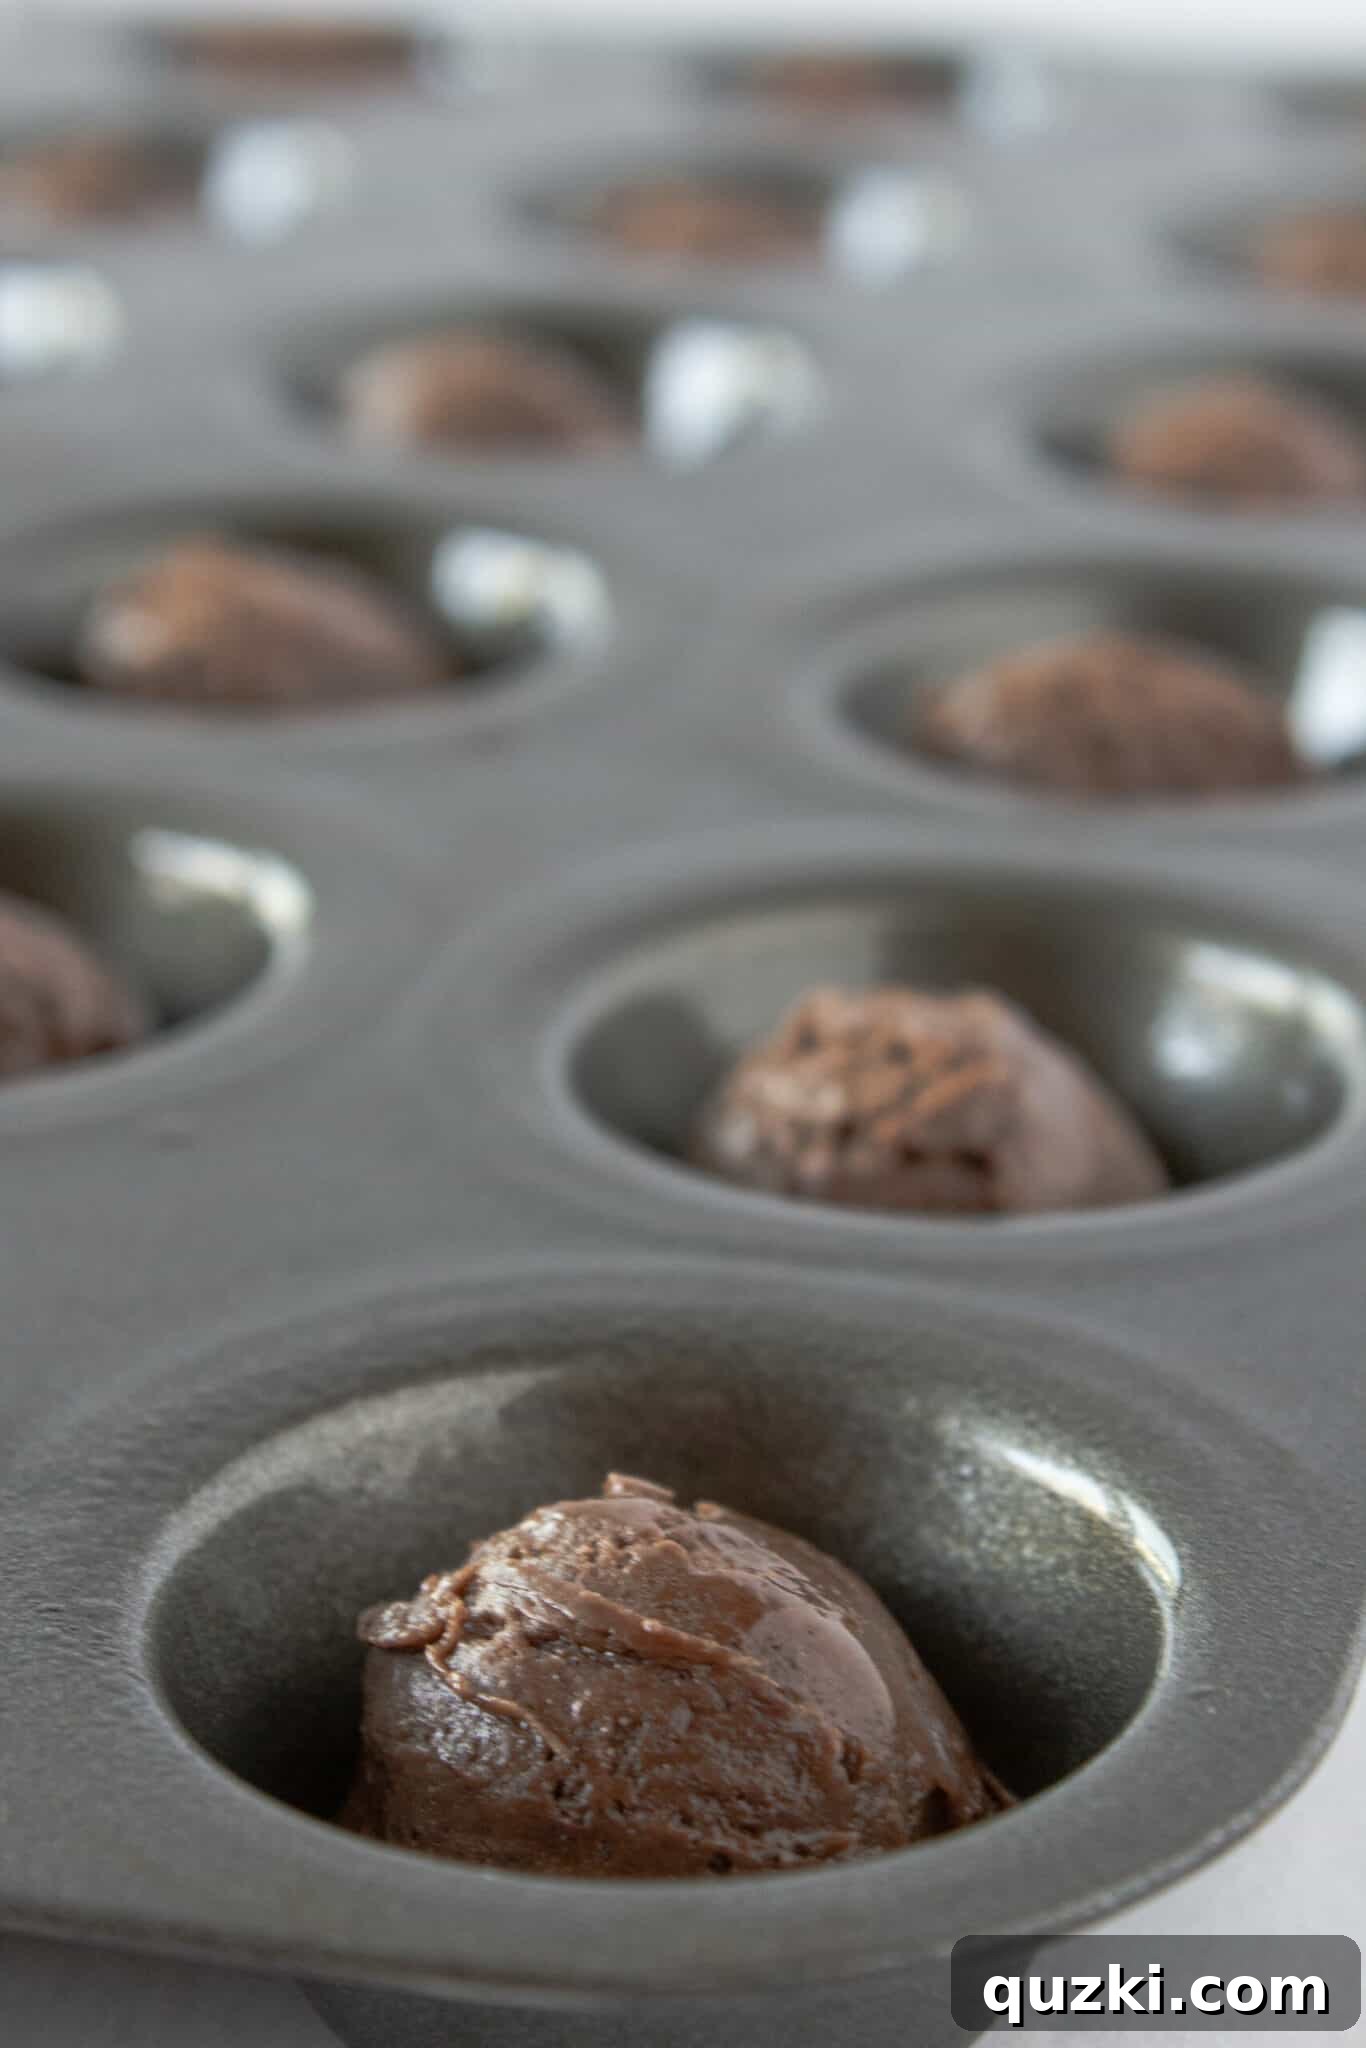
- In a large mixing bowl, combine the entire package of chocolate fudge cake mix with two large eggs and one-third cup of vegetable oil. Mix these ingredients thoroughly using a handheld mixer (or a sturdy spoon if mixing by hand) until a thick, sticky cookie dough forms. The dough will be dense, which is exactly what you want for perfectly shaped cookie cups.
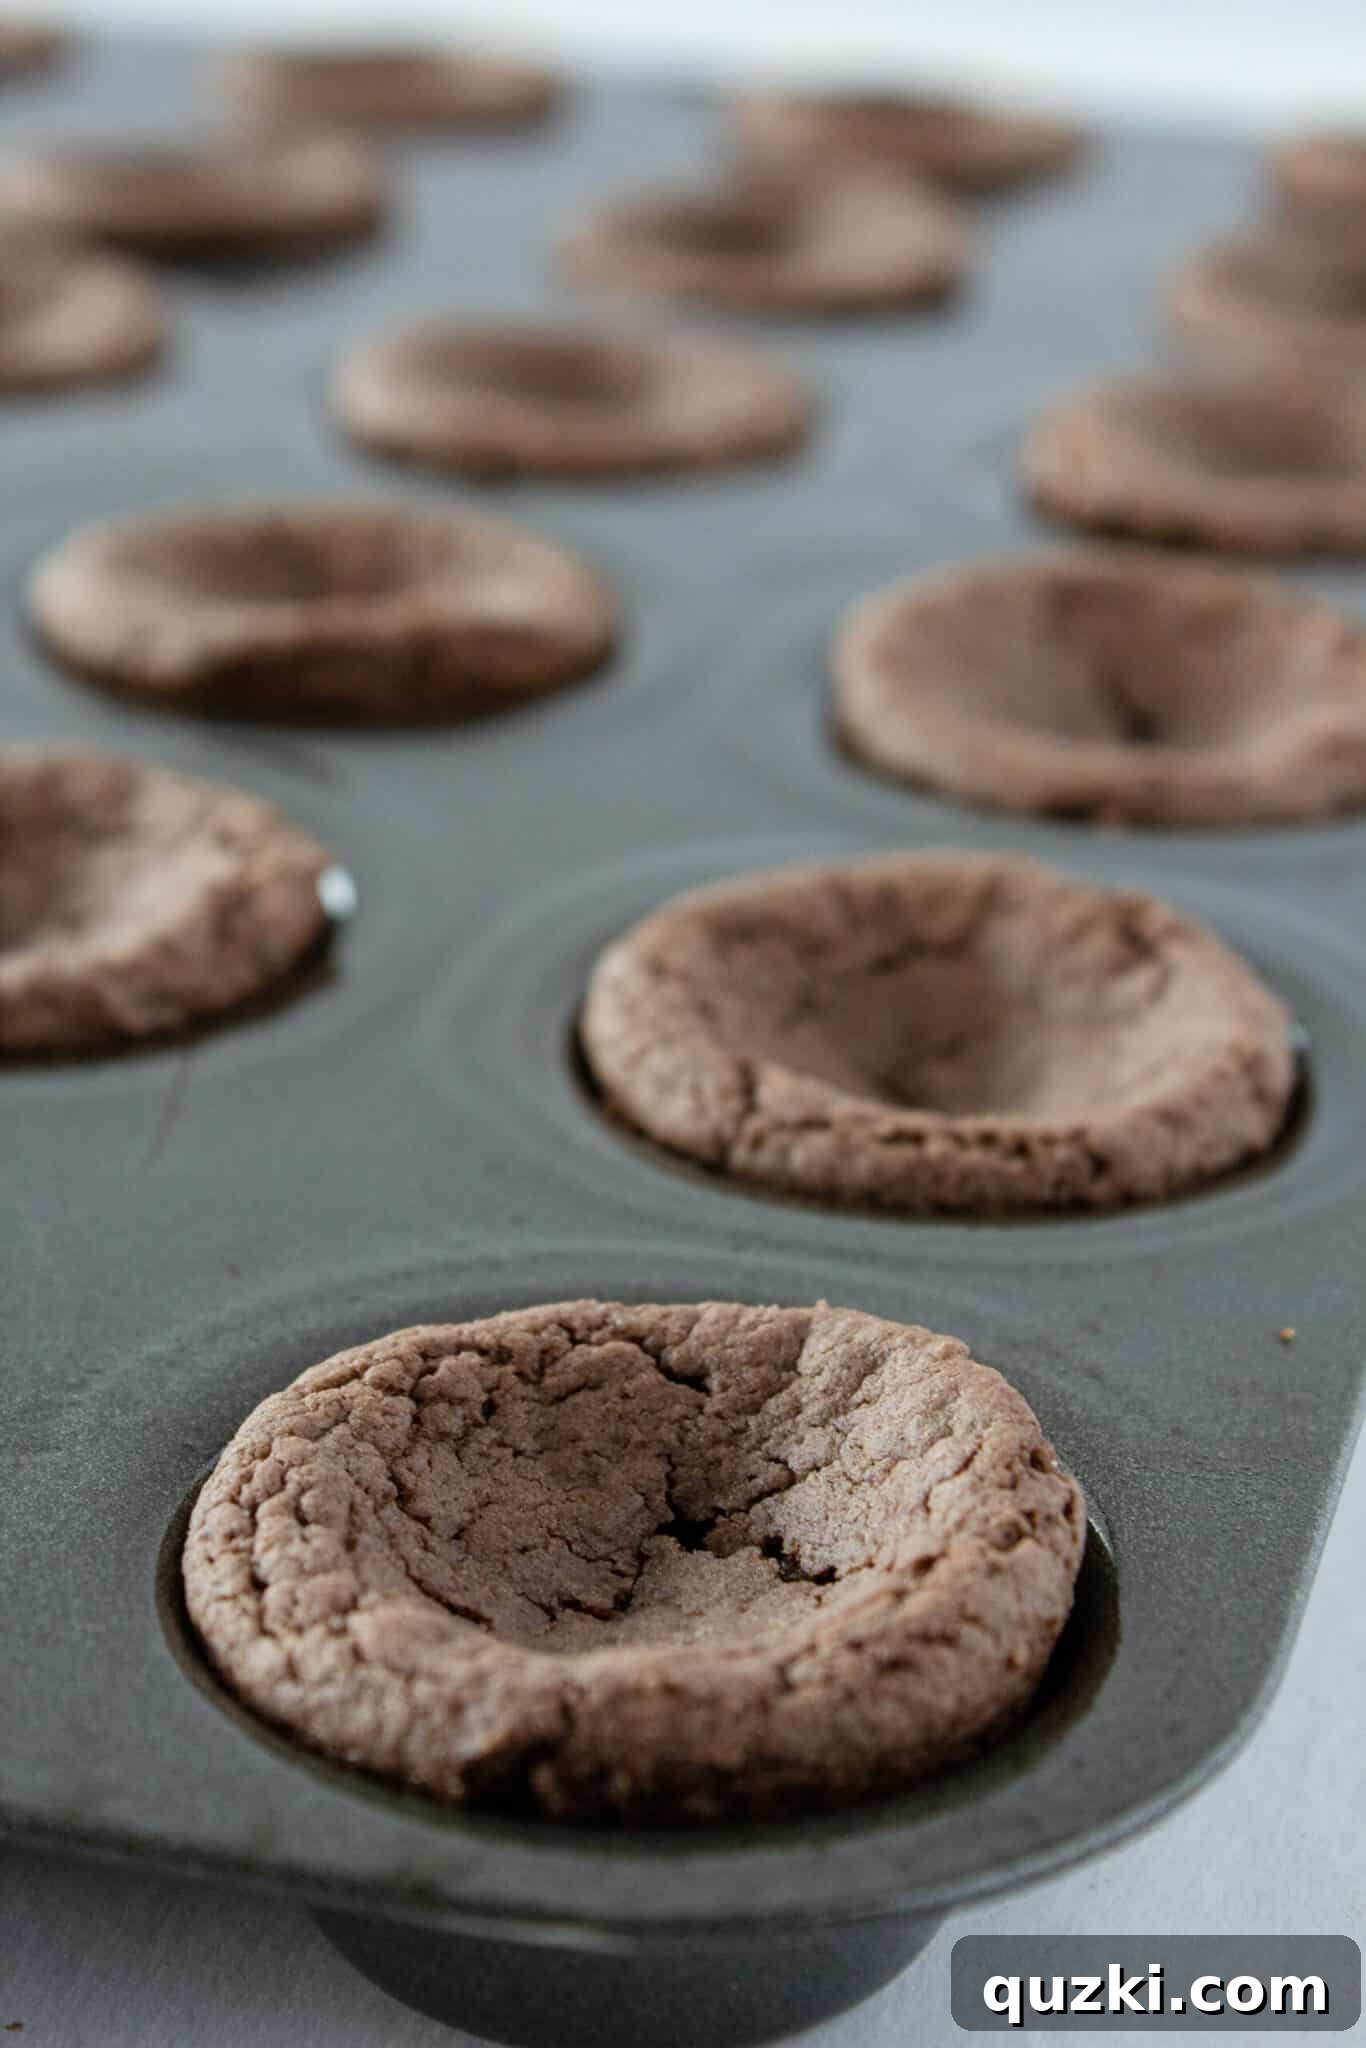
- Using a small cookie scoop (approximately 1 to 1.5 tablespoons), scoop uniform mounds of dough into each prepared mini muffin cavity. After scooping, gently press down on each mound of dough with your fingers or the back of a spoon. This creates a more level surface for the cookie and ensures an even bake.
- Bake the cookie cups in the preheated oven for 9-11 minutes. It’s essential not to overbake them, as they will continue to set and firm up as they cool. Overbaking can lead to a dry, crumbly texture, so aim for just-set edges and a slightly soft center.
2. Add the Snickers Surprise
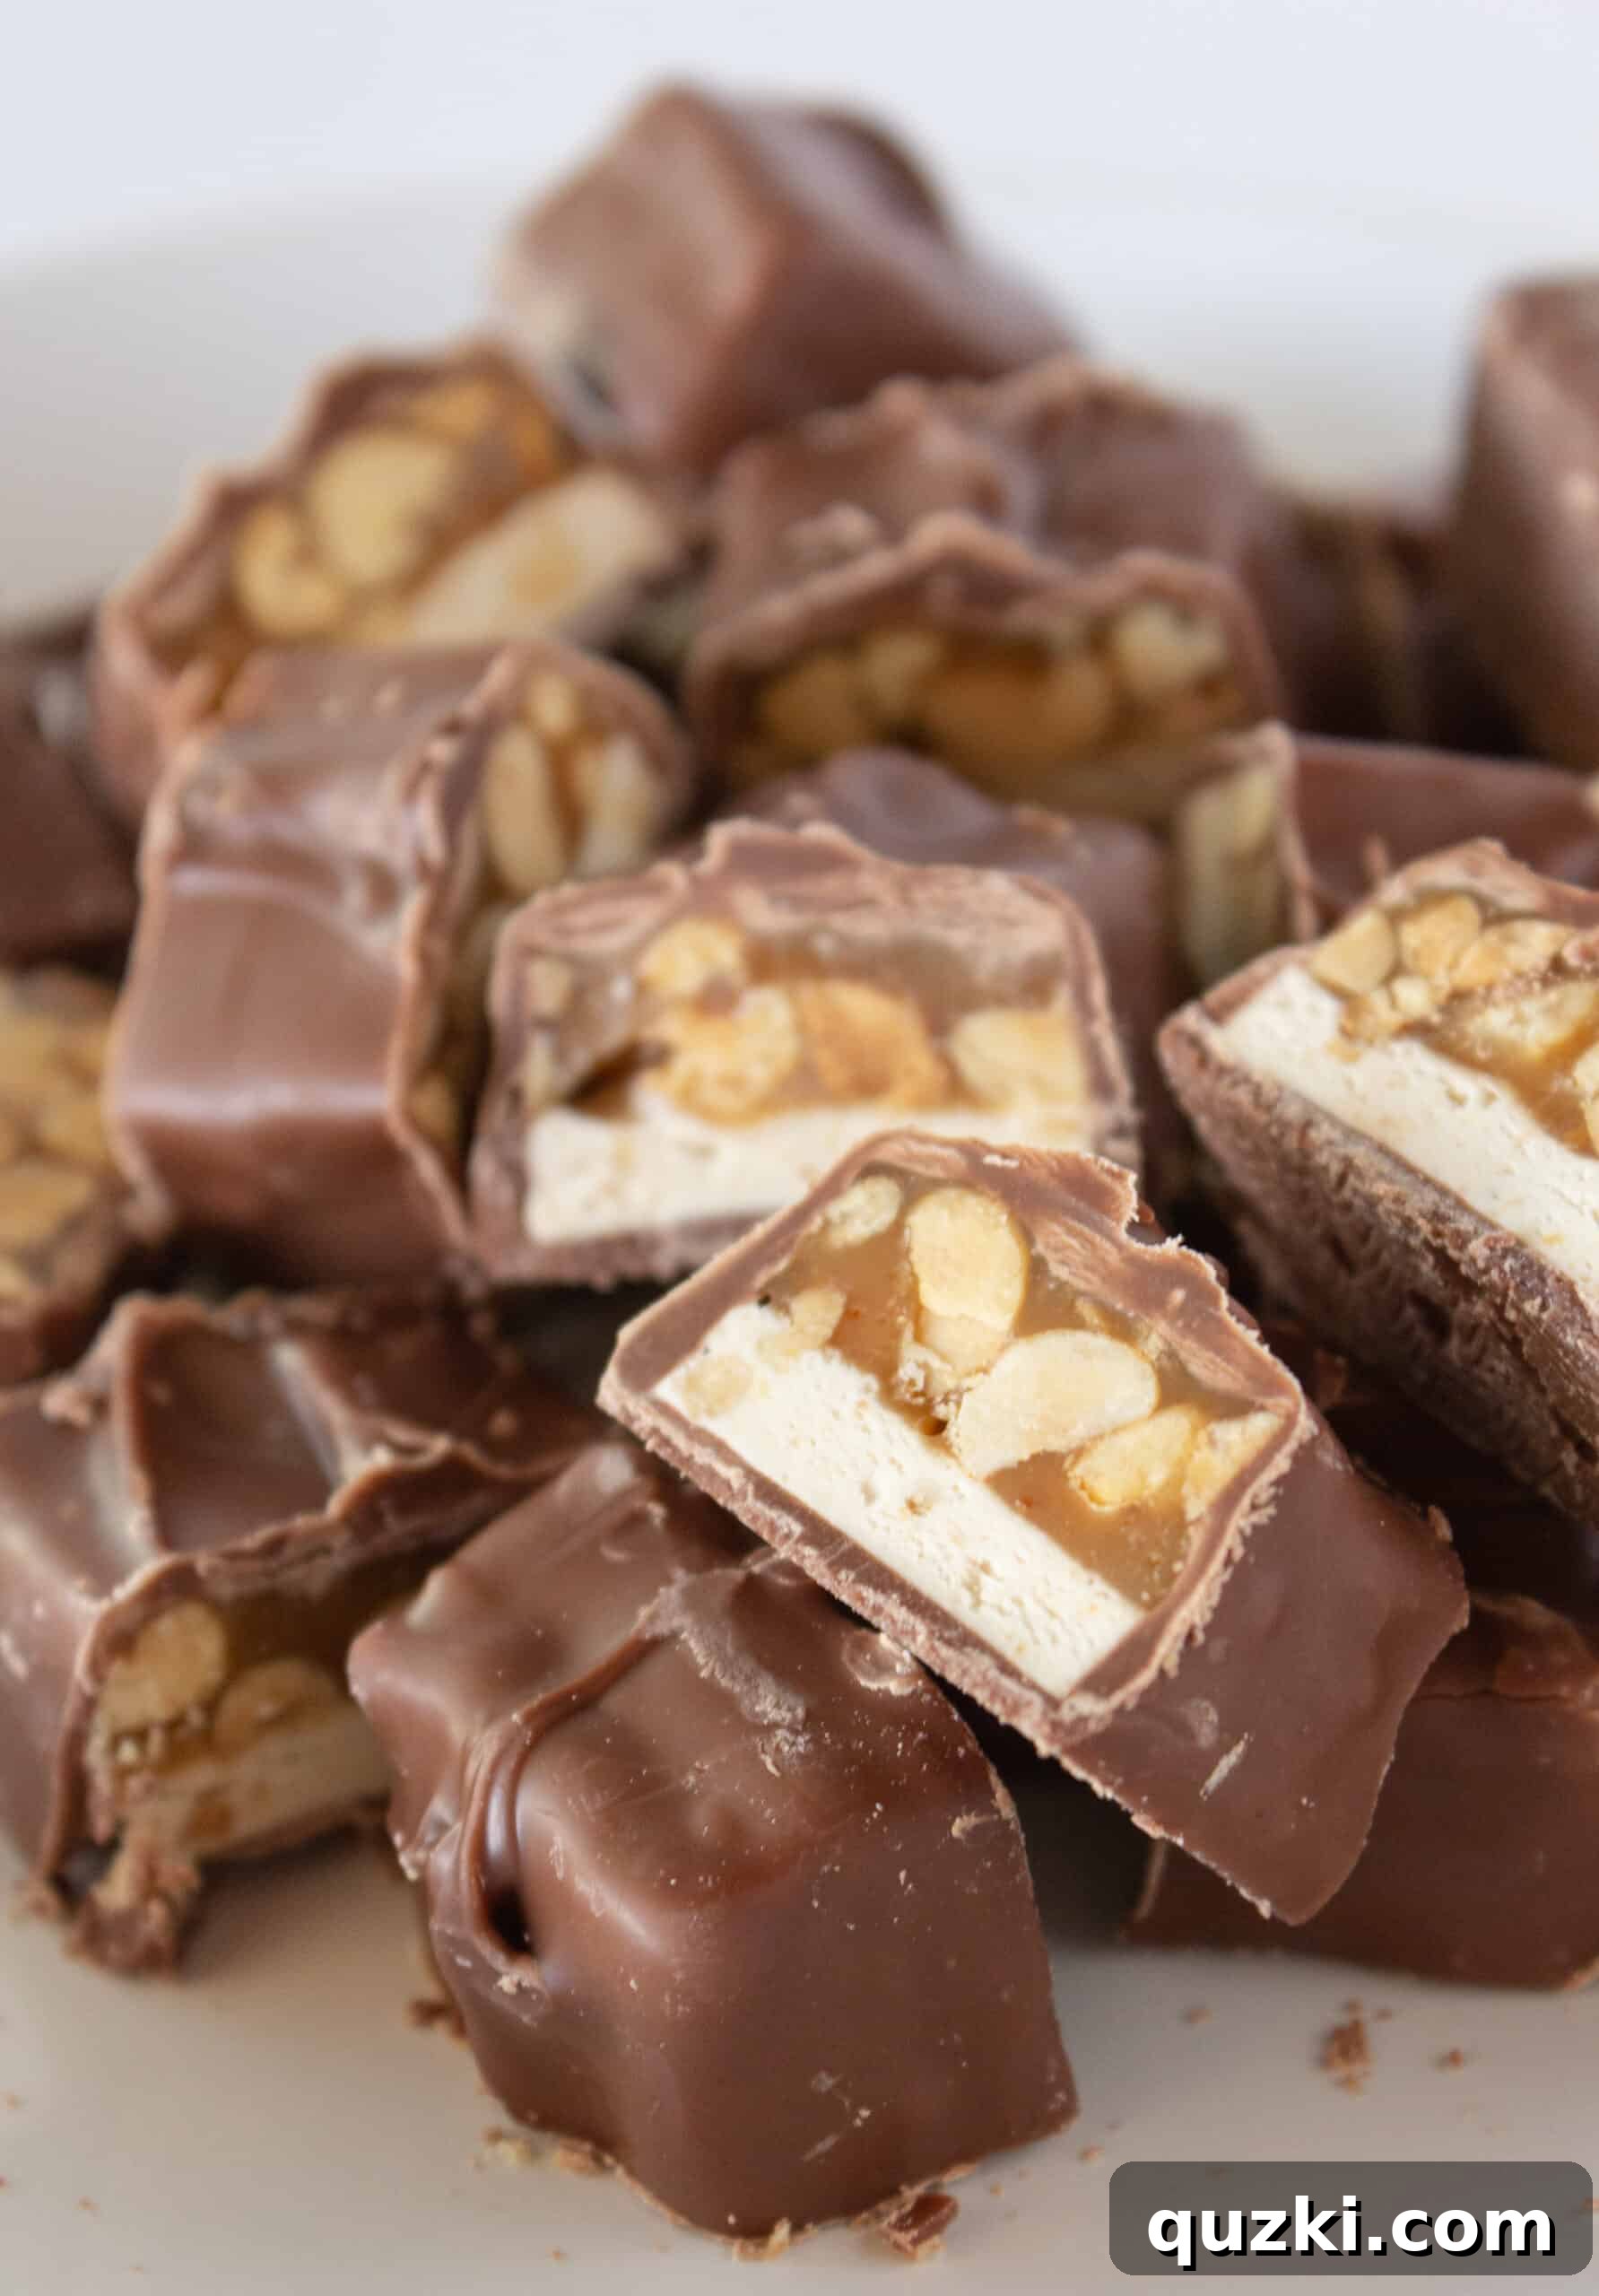
- While your cookie cups are baking, unwrap six regular-sized Snickers bars. With a sharp knife, carefully cut each Snickers bar into six equal, bite-sized chunks. You’ll need one chunk for each cookie cup.
- Immediately after removing the baked cookie cups from the oven, gently run a thin knife or offset spatula around the edge of each cookie to loosen them from the pan. This step is critical, as the cookies are most pliable when warm.
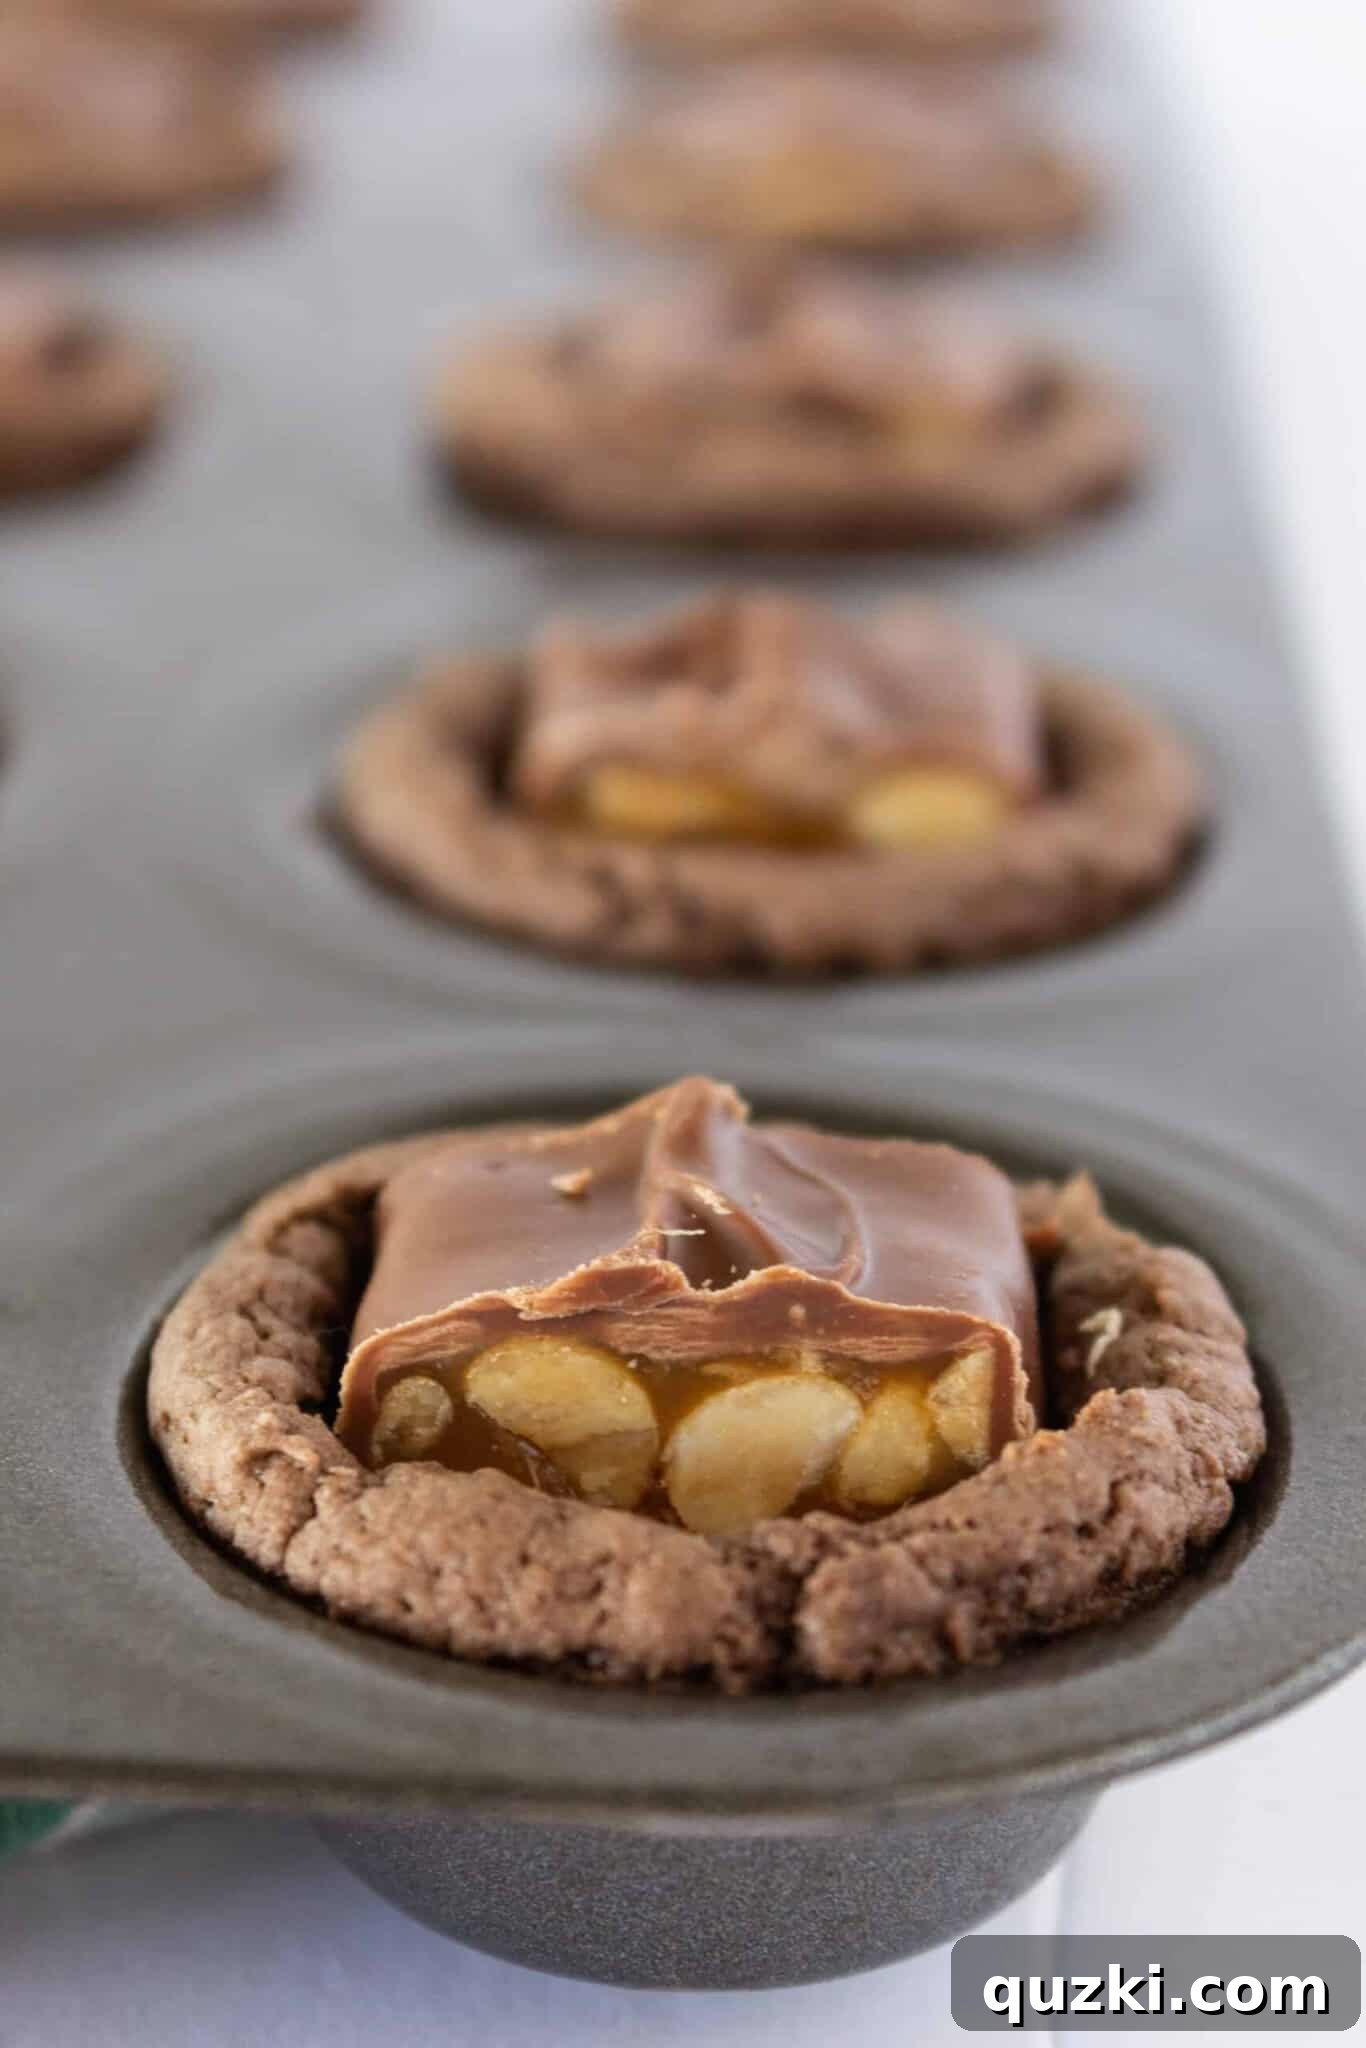
- While the cookies are still warm and soft, press one of the pre-cut Snickers chunks into the center of each cookie cup. As the cookies begin to cool, the residual heat will slightly melt the chocolate and caramel from the Snickers, creating an incredibly gooey and wonderfully delicious center that is truly magical.
3. Frost and Garnish for Perfection
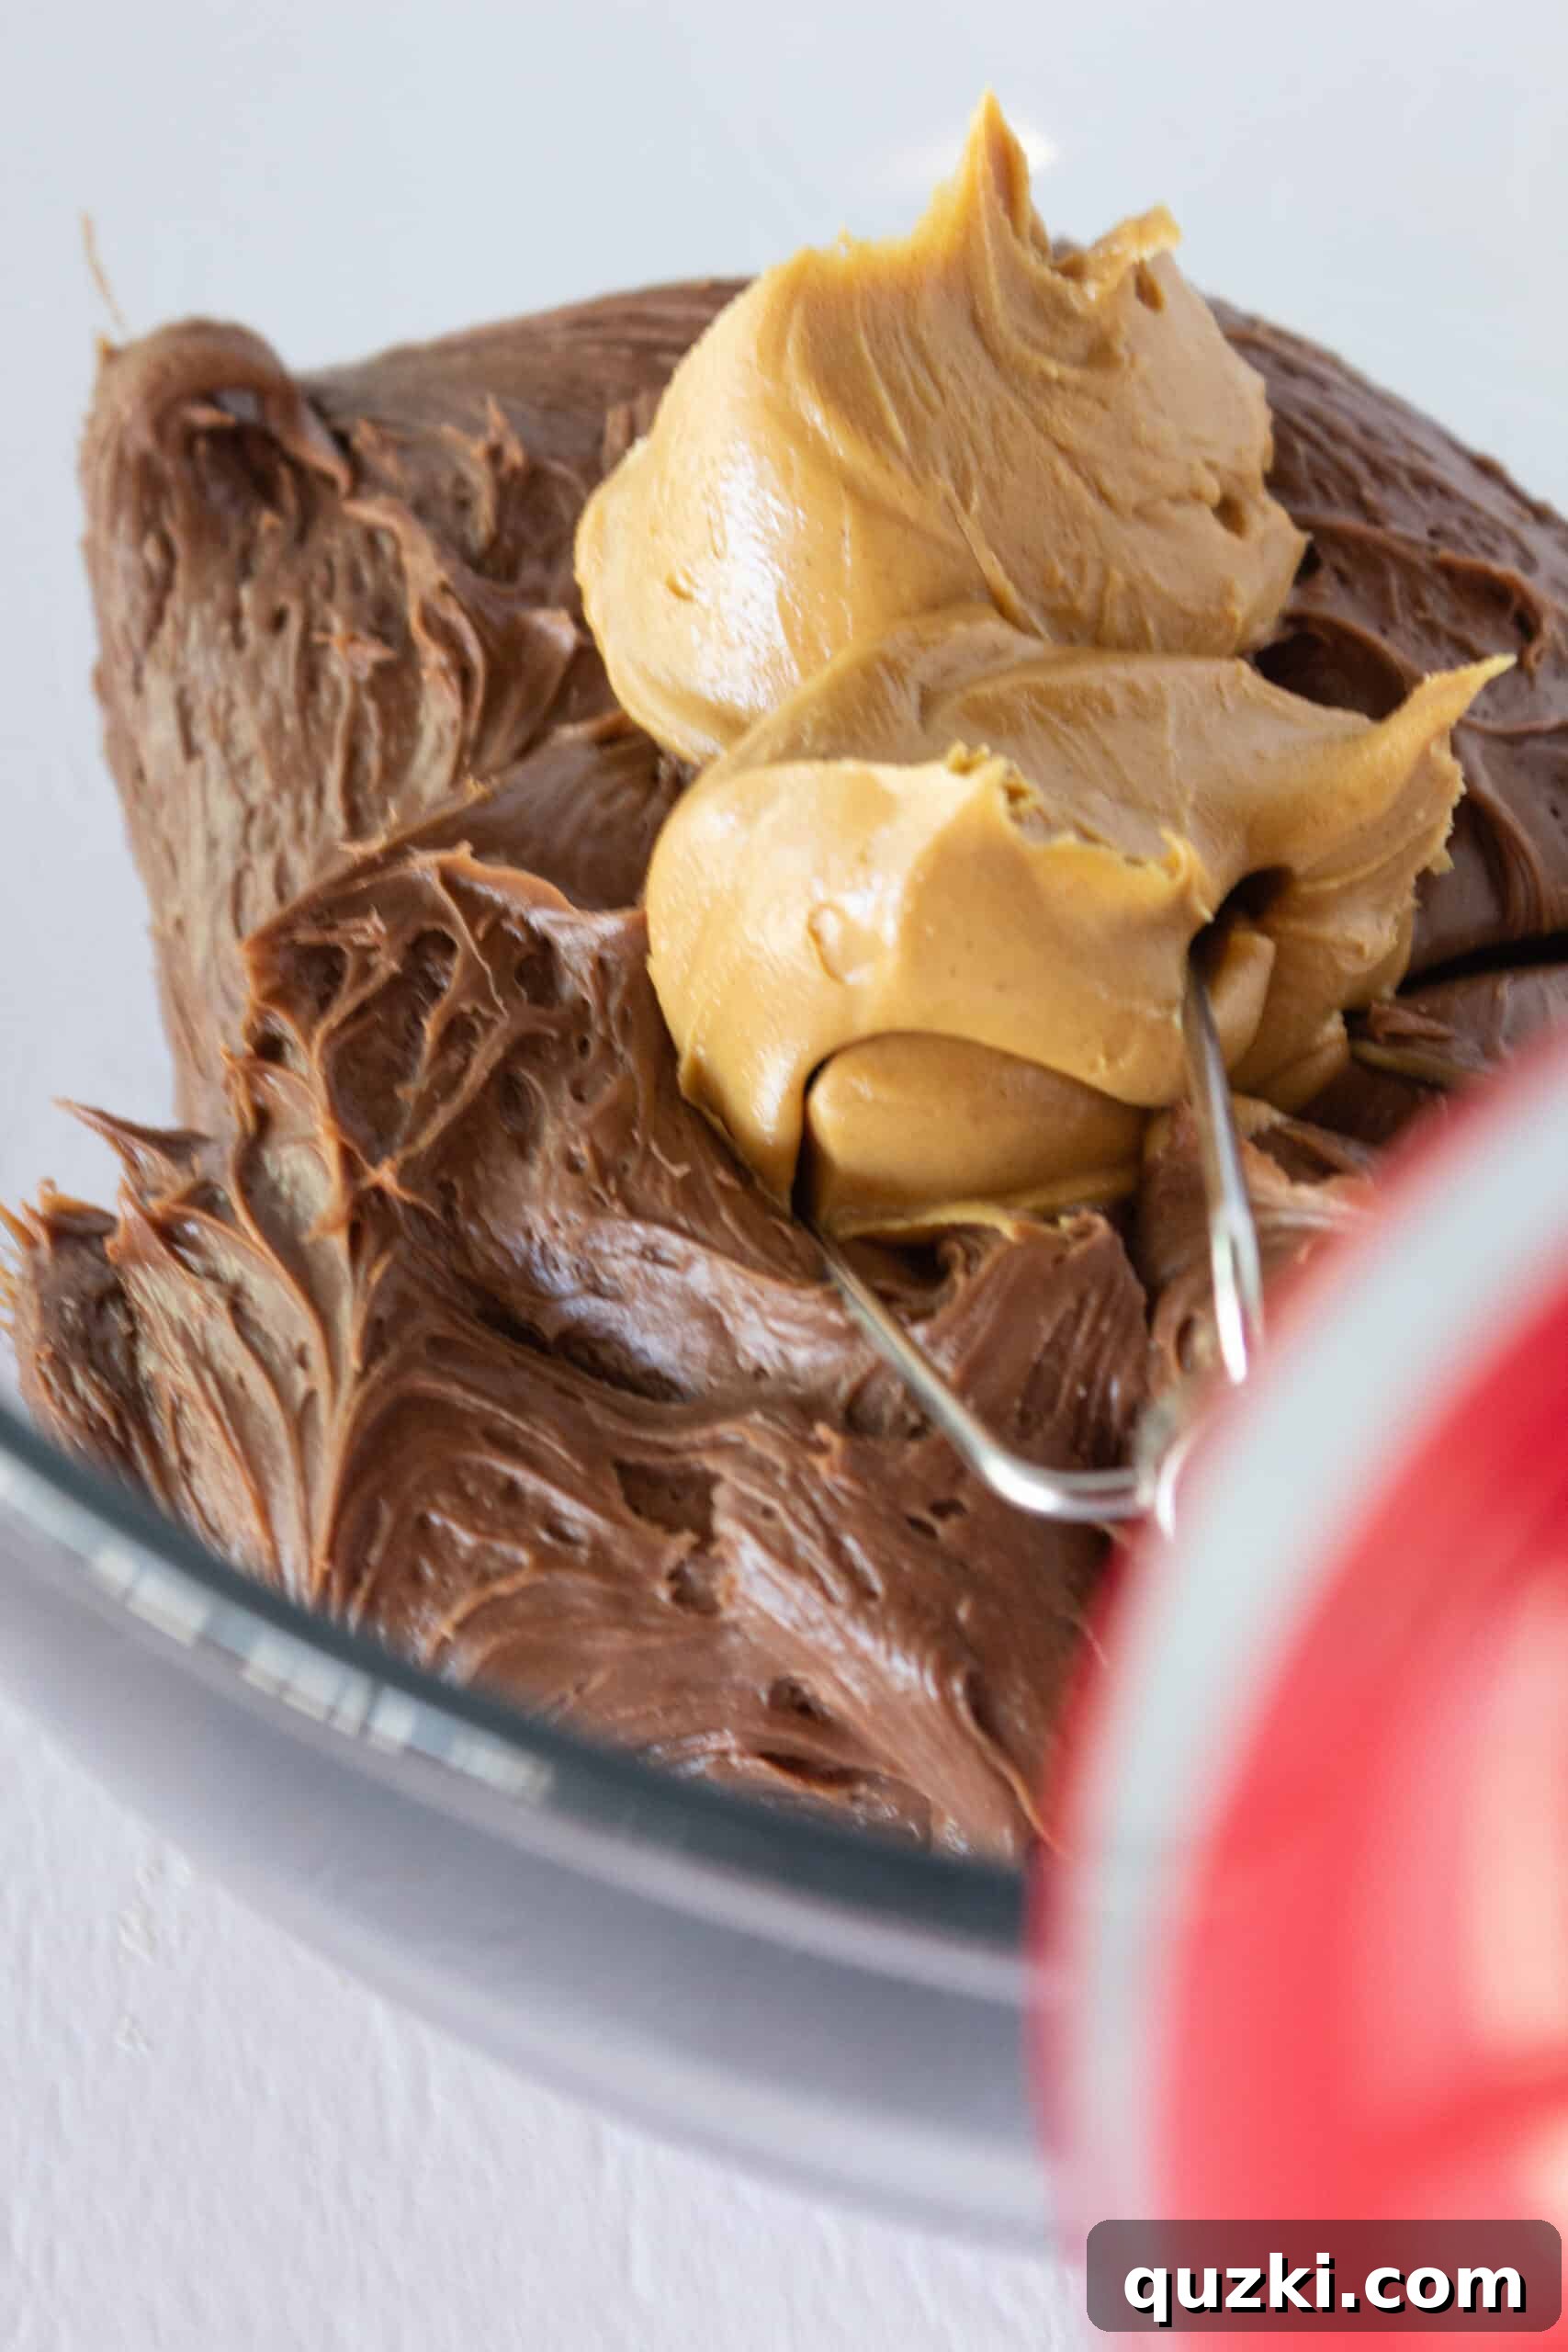
- For the irresistible chocolate peanut butter frosting, simply scoop a can of your favorite store-bought chocolate frosting into a medium bowl. Add 2-3 tablespoons of creamy peanut butter (adjust to your taste preference for more or less peanut butter flavor). Mix these together using a handheld mixer or by hand until the peanut butter is fully incorporated and the frosting is smooth and velvety.
- Transfer the decadent chocolate peanut butter frosting into a Ziploc bag with a corner snipped off, or a professional piping bag fitted with your desired tip. Pipe a generous swirl of frosting onto the top of each cooled cookie cup, ensuring that the Snickers center is completely covered.
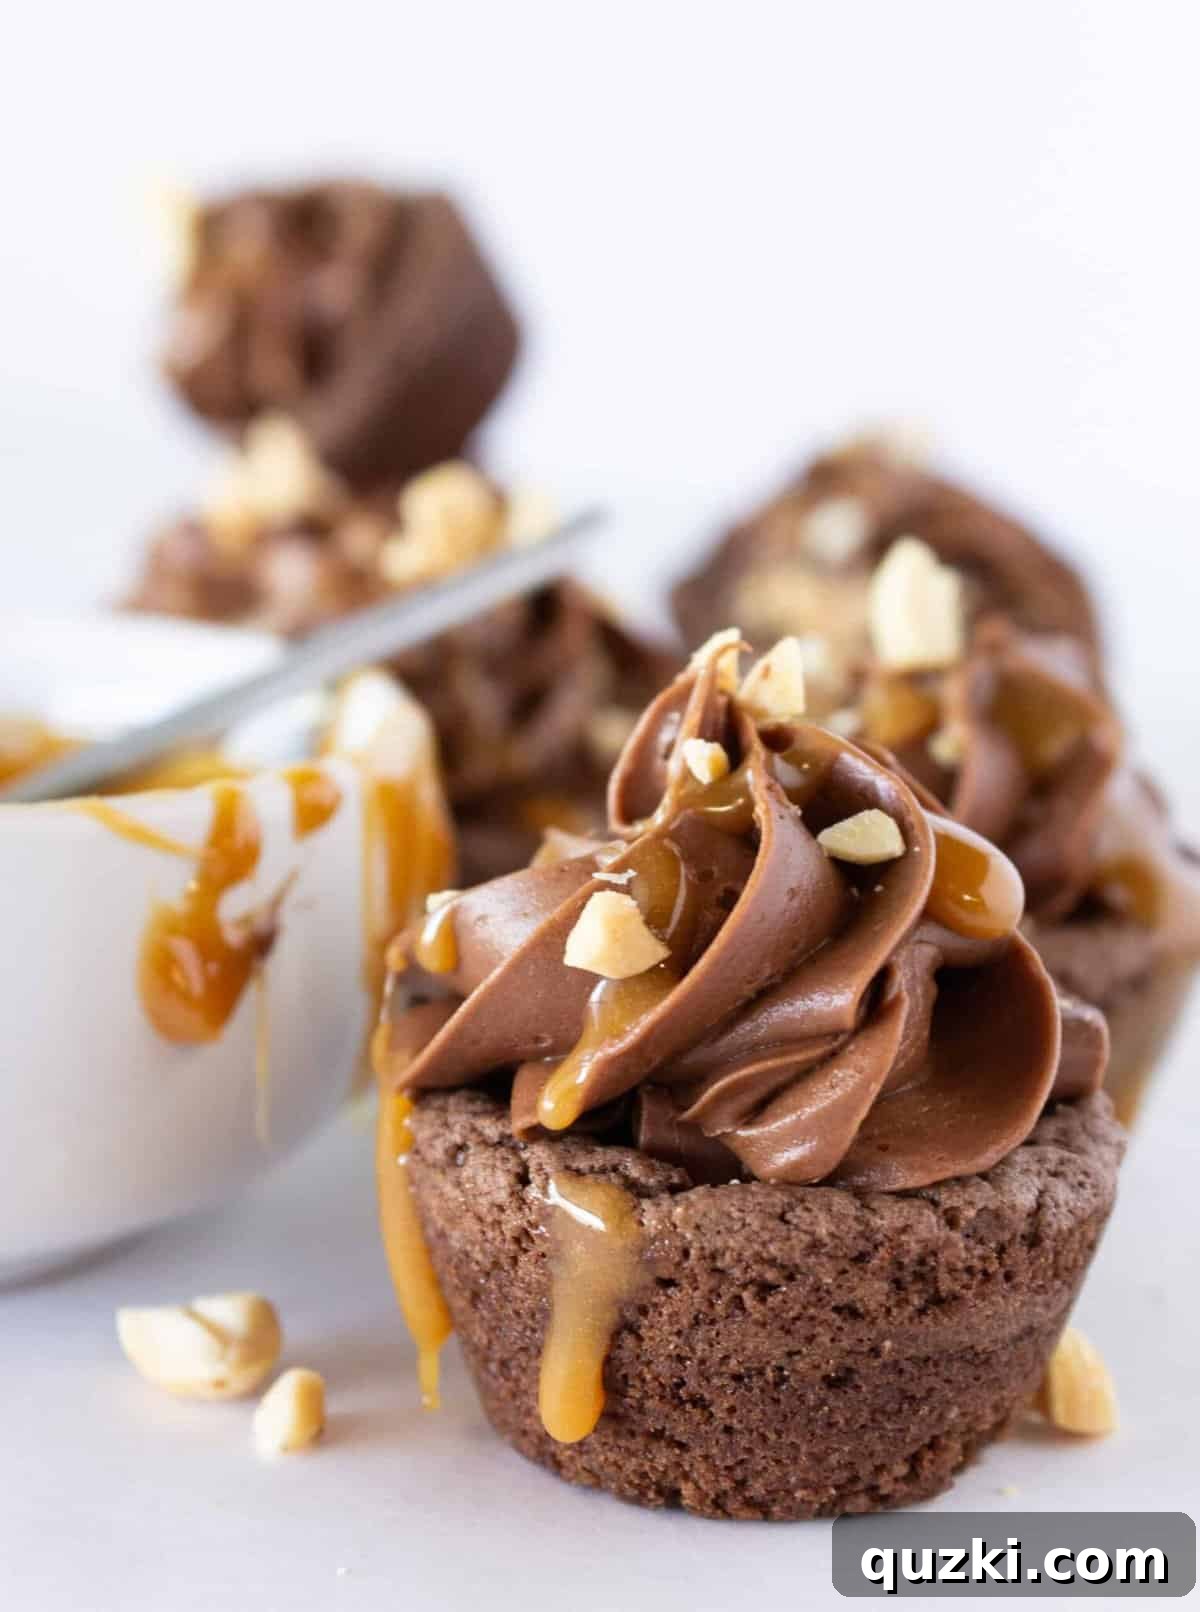
- To complete these masterpieces, artfully drizzle additional caramel sauce over the frosted cookie cups. Finally, sprinkle a generous amount of freshly chopped salted peanuts over the top. The saltiness of the peanuts beautifully contrasts with the sweetness of the caramel and chocolate, creating a perfectly balanced flavor profile.
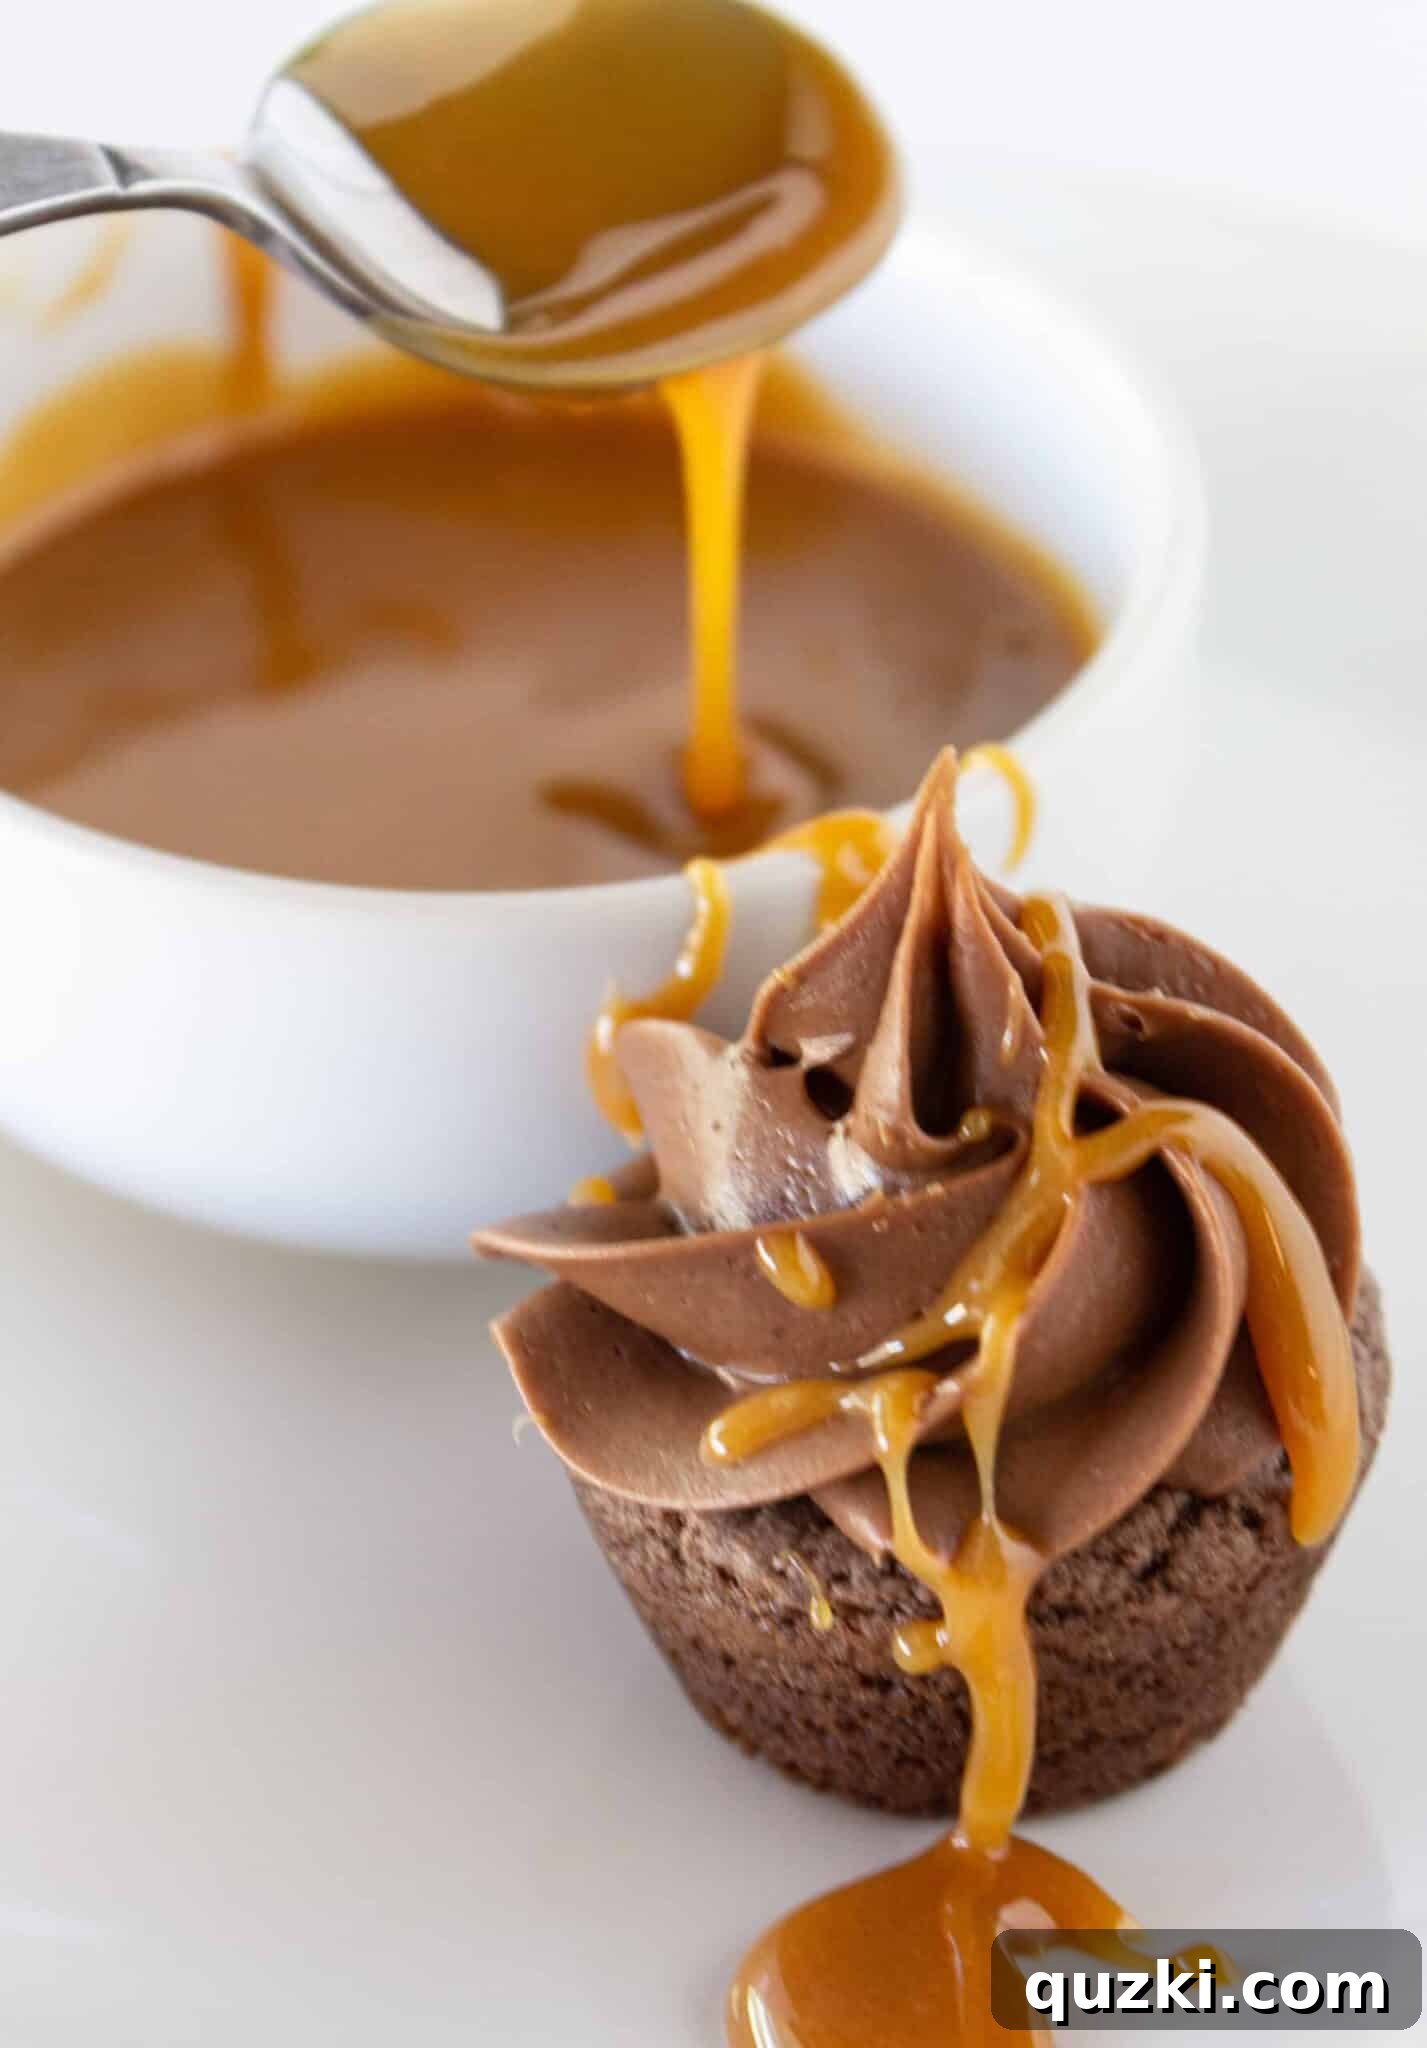
And now, for the moment you’ve been waiting for… the very best part: indulging in these incredible creations! Take a bite and savor the wonderfully delicious center. The soft chocolate cookie, the gooey melted Snickers, the creamy peanut butter frosting, and the delightful crunch of peanuts – isn’t it everything you’ve dreamed of in a dessert?
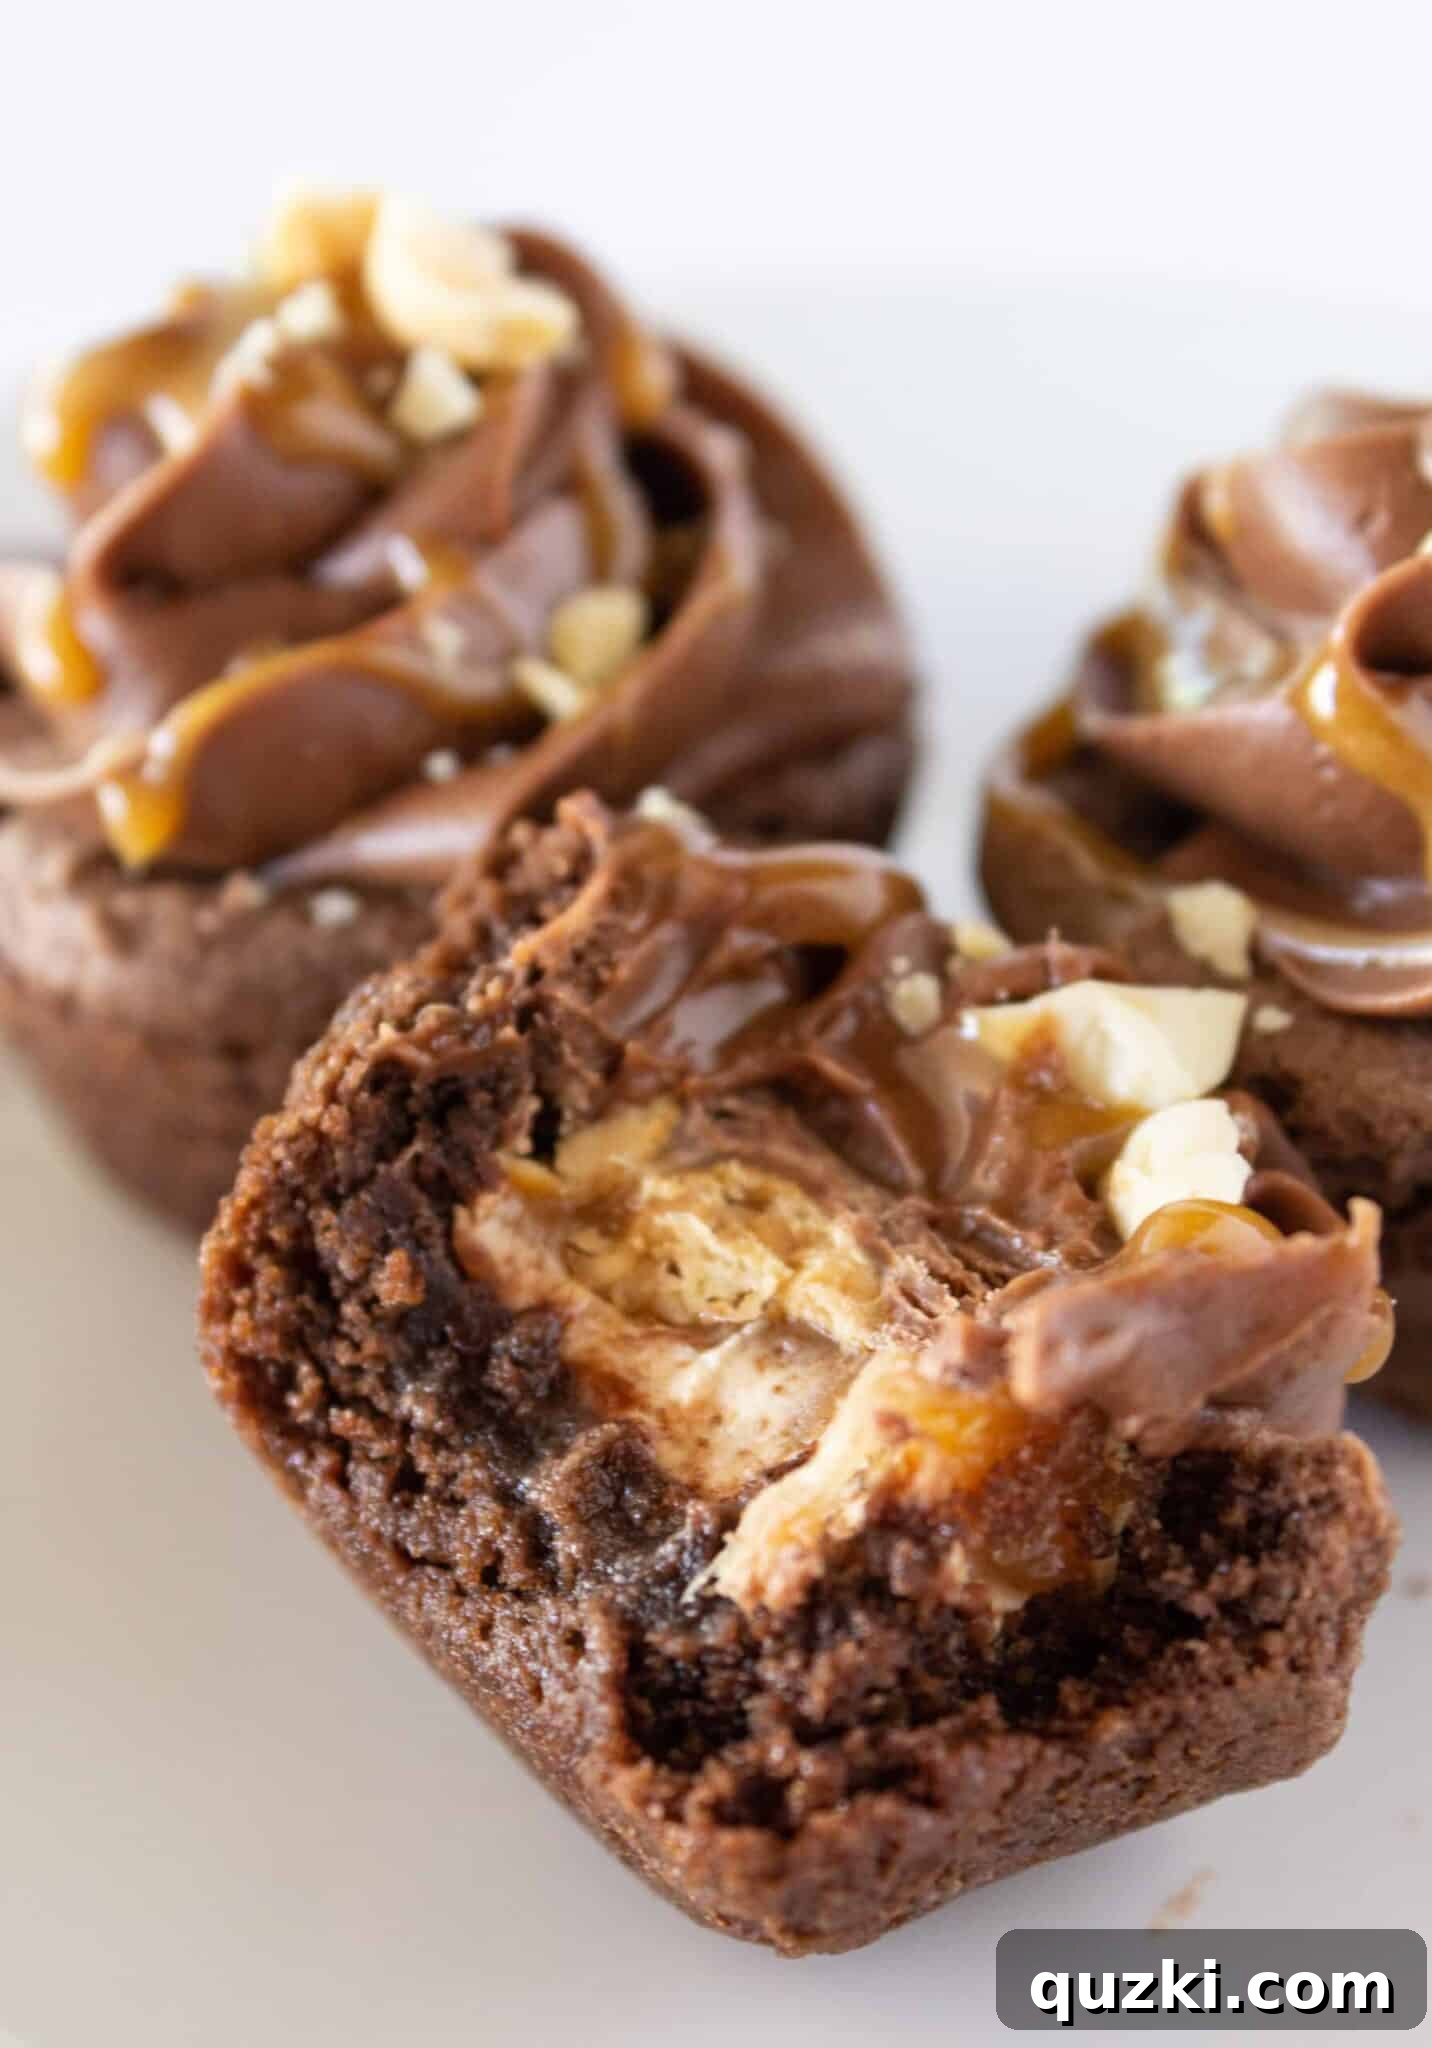
Whether you’re planning a grand celebration, a casual gathering, or simply treating yourself on an ordinary Tuesday night, I can promise that these Snickers Cookie Cups are guaranteed to impress. They offer a gourmet experience with homemade simplicity. In fact, I’m already thinking about making another batch right now! Just don’t tell Darb, because I’m not in the mood to share these ultimate treats.
Expert Tips for Perfect Cake Mix Cookie Cups Every Time
Achieving bakery-quality cookie cups is easier than you think, especially with these insider tips:
- Liberal Nonstick Spray is Your Best Friend: Seriously, do not skimp on the nonstick cooking spray for your mini muffin pan. Coating each cavity generously is the single most important step to ensure your beautiful cookie cups release cleanly and effortlessly. Skipping this can lead to frustration and broken cookies.
- Uniform Scooping for Even Baking: A small cookie scoop is not just for convenience; it’s key to consistency. Using one to portion your dough ensures that all your cookie cups are the same size. This uniformity is crucial for an even bake time across the entire batch, preventing some cookies from being underdone while others are overbaked.
- Avoid the Dreaded Overbake: I can’t stress this enough – resist the urge to overbake! The difference between a wonderfully soft, chewy cookie and a hard, hockey-puck-like disaster is often just a minute or two in the oven. The cookie cups might seem slightly underdone when you first pull them out, but they will continue to firm up as they cool. Trust the process.
- Loosen While Warm: As soon as the cookie cups emerge from the oven, grab a thin knife or an offset spatula. Immediately run it gently around the outside edge of each cookie. Doing this while they are still warm and pliable ensures they are all loose and won’t stick to the pan as they cool and firm up.
- Get Creative with Fillings: While Snickers is a phenomenal choice, the beauty of cookie cups lies in their versatility. Feel free to load the center with other extra delicious treats. Think mini peanut butter cups, Rolos, or even homemade caramel. For another fantastic idea, check out these Ice Cream Sundae Cookie Cups for inspiration.
Common Questions About Snickers Cookie Cups
- Can I use a different flavor cake mix? Absolutely! While chocolate fudge is fantastic, a yellow cake mix would create a lovely contrast, and a vanilla or even a spice cake mix could offer unique flavor profiles. Just ensure it’s a standard box mix (around 15 oz or 432g).
- How long do these cookie cups last? When stored in an airtight container at room temperature, they typically last for 2-3 days. If refrigerated, they can last up to 4-5 days. For best freshness, bring them back to room temperature before serving.
- Can I freeze Snickers Cookie Cups? Yes, you can! To freeze, place unfrosted cookie cups in a single layer on a baking sheet and freeze until solid. Then transfer them to an airtight freezer-safe bag or container for up to 2-3 months. Thaw at room temperature and then proceed with frosting and garnishing.
- What if I don’t have a mini muffin pan? While a mini muffin pan creates the perfect cup shape, you could adapt this recipe for a regular muffin pan. Just scoop larger amounts of dough, adjust baking time (likely 12-15 minutes), and use larger Snickers chunks. The yield will be fewer, larger cookies.
- Can I make the frosting from scratch? Of course! If you prefer a homemade touch, you can use your favorite chocolate buttercream recipe and simply mix in peanut butter to taste. However, the store-bought hack is part of what makes this recipe so incredibly easy and quick.
More Delightful Cookie Cup Recipes to Explore!
Desserts
Easy Black Forest Cookie Cups Recipe
Desserts
Banana Pudding Cookie Cups Recipe
Cookies
Chocolate Covered Strawberry Cookie Cups Recipe
Cookies
Lemon Bar Cookie Cups Recipe
Easy Snickers Cookie Cups Recipe
Cake mix cookie cups are filled with Snickers candy bar and topped with peanut butter chocolate frosting, caramel and salted peanuts for the perfect cookie bite.
Pin Recipe
Rate Recipe
Print Recipe
Ingredients
Chocolate Cookie Cup
- 1 box chocolate fudge cake mix, {13.25 ounces}
- 2 large eggs
- ⅓ cup vegetable oil
- 6 Snickers bars, regular size, cut into 6 equal pieces
Frosting
- 15 ounces chocolate frosting (store-bought)
- 2-3 Tablespoons peanut butter (creamy)
Toppings
- ¼ cup caramel sauce
- 3 Tablespoons salted peanuts, chopped
Instructions
Chocolate Cookie Cups
- Preheat oven to 350 degrees F (175°C). Liberally spray each cup of a mini muffin pan with non-stick cooking spray.
- In a large bowl, whisk or sift the chocolate cake mix to remove any lumps. Add the eggs and vegetable oil. Mix with a handheld mixer or by hand until a thick, sticky dough forms.
- Using a small cookie scoop (about 1 to 1.5 tbsp), place a mound of cookie dough into each muffin cup. Gently press the dough down with your fingers to create a level cookie base.
- Bake for 9-11 minutes. Do not overbake; the cookies will continue to set as they cool.
- Remove from oven. Immediately run a knife around the edge of each cookie cup to loosen them from the pan.
- While the cookies are still warm, press one piece of the pre-cut Snickers bar into the middle of each cookie cup.
Frosting
- In a medium-sized bowl, combine the canned chocolate frosting with 2-3 tablespoons of peanut butter. Mix with a handheld mixer or by hand until completely smooth and combined.
- Transfer the frosting to a Ziploc bag (with a corner snipped off) or a piping bag. Pipe the frosting onto the top of each cooled cookie cup, ensuring the Snickers bar is covered.
Toppings
- Finish the cookies by drizzling caramel sauce over the frosting.
- Sprinkle generously with chopped salted peanuts.
- Serve immediately, or store in an airtight container in the refrigerator for up to 4 days.
Nutrition
Calories: 180 kcal
Carbohydrates: 23g
Protein: 2g
Fat: 9g
Saturated Fat: 2g
Polyunsaturated Fat: 3g
Monounsaturated Fat: 4g
Trans Fat: 0.1g
Cholesterol: 10mg
Sodium: 160mg
Potassium: 109mg
Fiber: 1g
Sugar: 17g
Vitamin A: 30IU
Vitamin C: 0.1mg
Calcium: 31mg
Iron: 1mg
Nutrition information is automatically calculated and should only be used as an approximation.
Enjoyed this recipe? Leave a comment below!