

Crafting the Perfect Holiday Cookie Tray: Your Ultimate Guide for Festive Sweetness
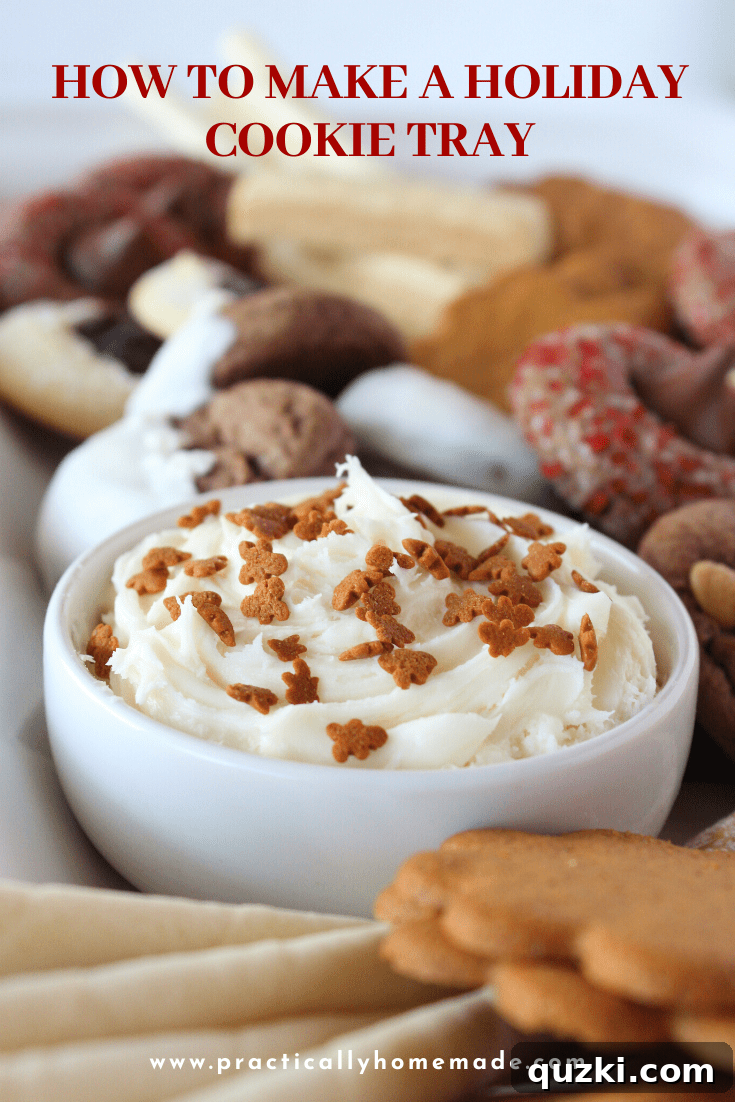
The holiday season truly is “cookie baking season”! As festive lights begin to twinkle and the scent of pine fills the air, almost every home in America embraces the cherished tradition of baking at least one batch of cookies. Whether you’re preparing them for thoughtful gifts, a festive potluck, or simply to enjoy with loved ones, Christmas cookies are the epitome of holiday cheer. But why stop at a single type of cookie when you can create a show-stopping, varied, and utterly delightful Easy Holiday Cookie Tray? It’s a simple yet elegant way to elevate your dessert offerings and spread an extra layer of happiness. Keep scrolling to discover just how effortless and rewarding this festive project can be.
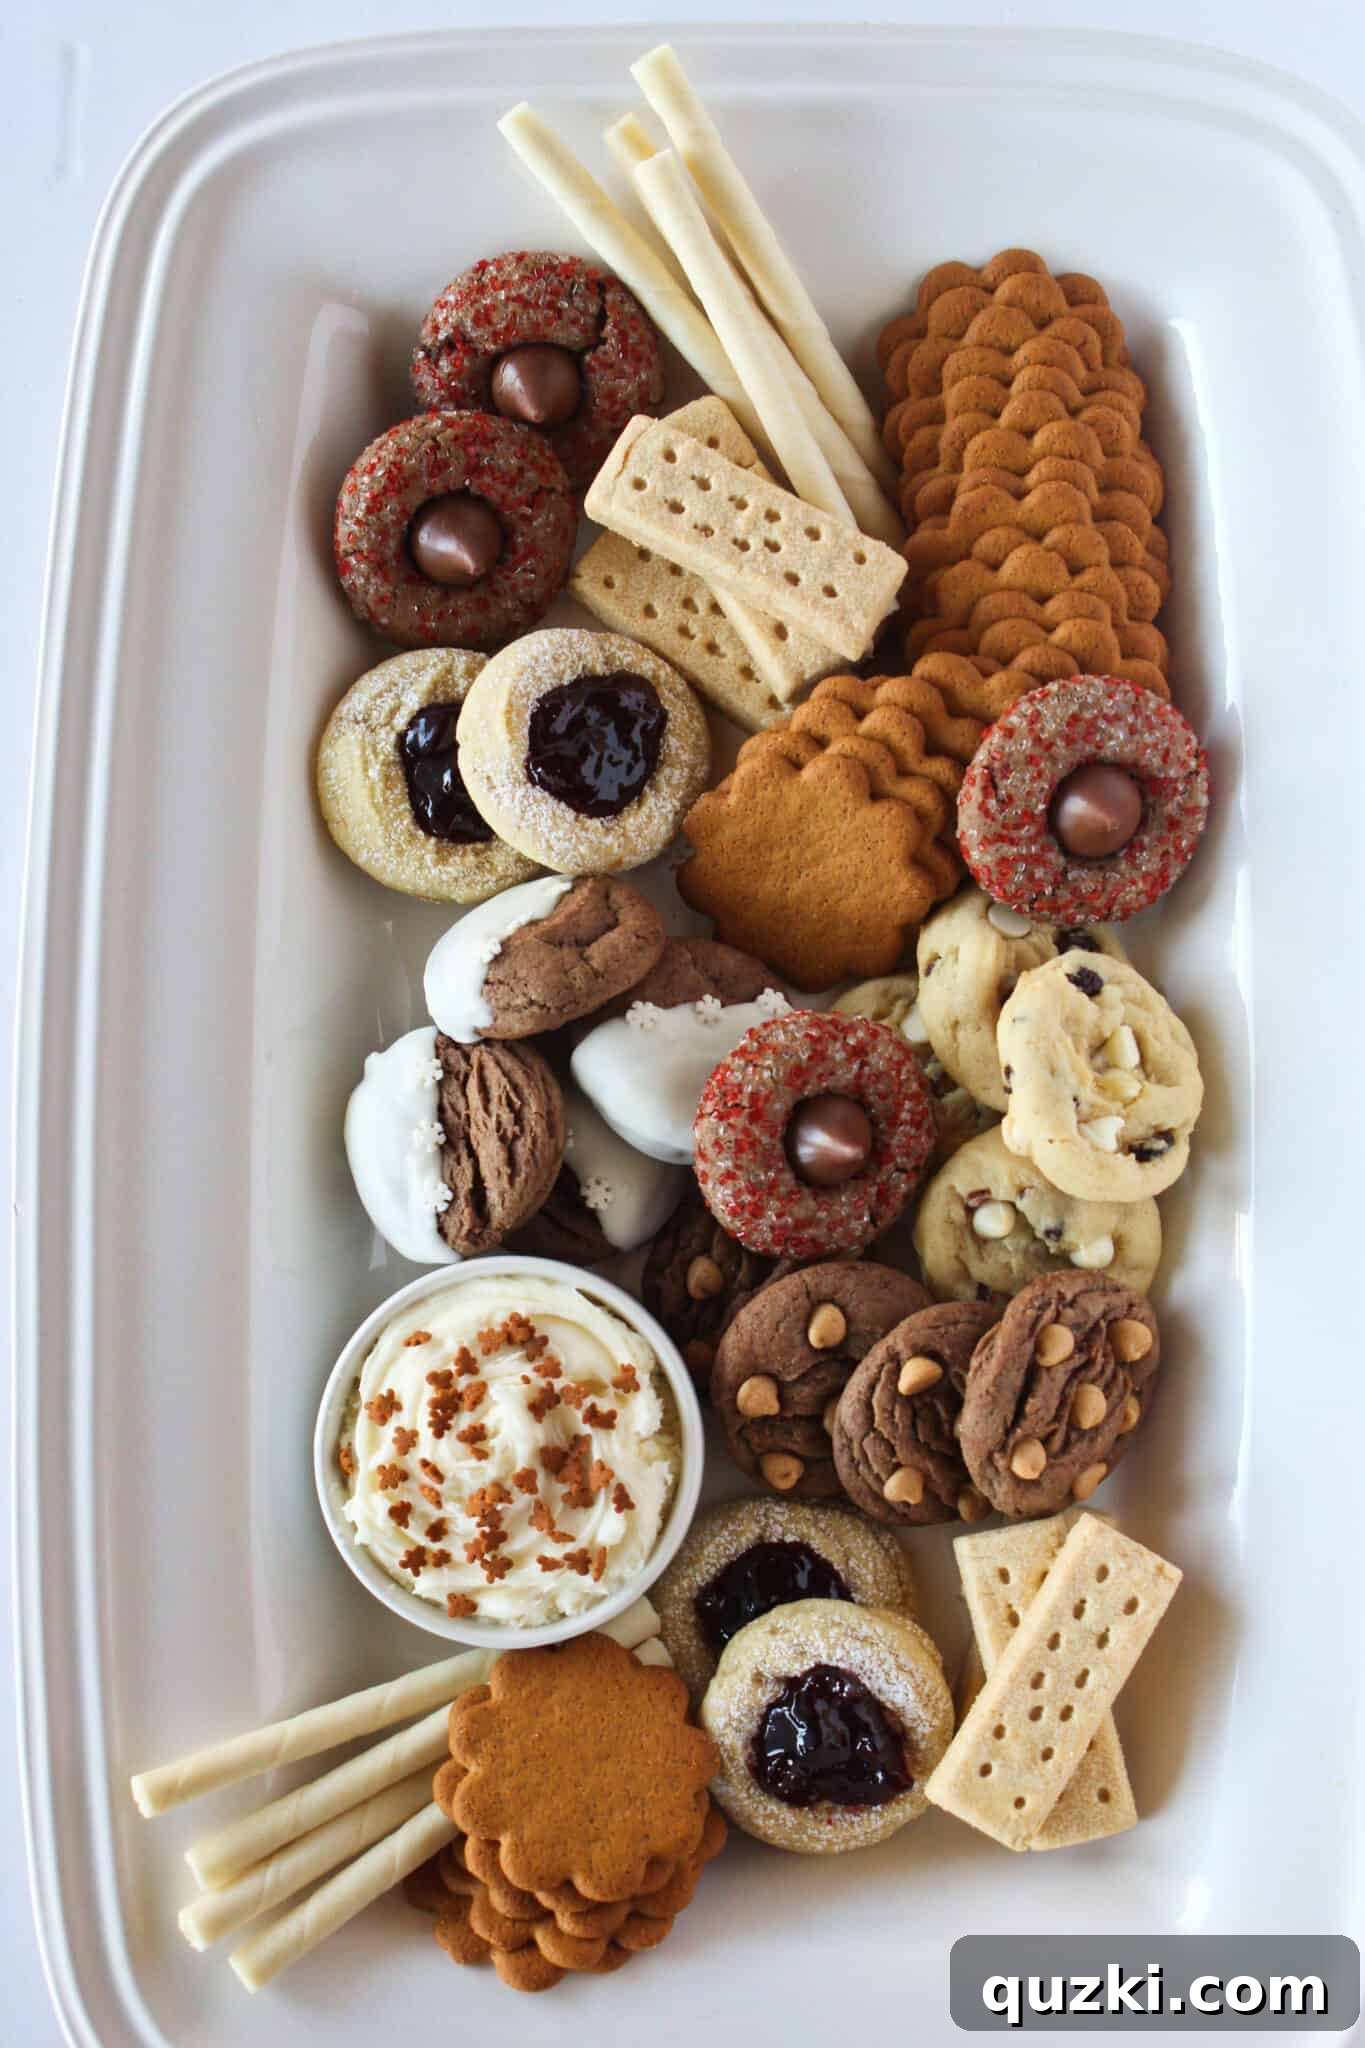
It’s hard to believe how quickly the holidays approach. With Thanksgiving around the corner and Christmas just over a month away, many of us are deep in the delightful trenches of planning our holiday menus. For me, the dessert course is always where the magic happens – both in planning and in indulging! There’s something truly special about adding a fun, yet unexpected, element to the holiday spread, and nothing quite captures that spirit like a beautifully arranged cookie tray.
Transforming a collection of my favorite treats—COOKIES—into a stunning display is always a winning strategy. Now, the only challenge is deciding which irresistible cookie recipes to include. But fear not, because this comprehensive guide is packed with all my best tips and tricks for assembling the ultimate Holiday Cookie Tray that will impress every guest and satisfy every sweet craving.
Thank you for visiting! This post contains affiliate links. Should you choose to purchase through my links, I may receive a small compensation (for example, as an Amazon Associate, I earn from qualifying purchases). I only recommend products that I genuinely use and love.
Choosing the Foundation: Your Perfect Cookie Tray or Platter
The first step in crafting an impressive holiday cookie tray is selecting the right board or platter. This foundational piece sets the stage for your entire delicious display, so it’s worth a moment of consideration to ensure it complements your cookies beautifully.
Size and Shape Considerations for Your Platter
- Size of the Cookie Board: The dimensions of your tray will largely depend on two key factors: the number of guests you plan to serve and the variety and size of the cookies you intend to feature. A smaller, more intimate gathering might call for a compact board, while a large holiday party will benefit from a more expansive surface. Don’t forget to account for any small bowls of dips or garnishes you might want to include.
- Shape of the Board: While ultimately a matter of personal aesthetic preference, the shape of your tray can influence the ease and appeal of your arrangement. Round, rectangular, square, or even organically shaped boards each offer unique opportunities for design. Round trays often encourage a radial arrangement, while rectangular ones allow for linear or grid-like patterns.
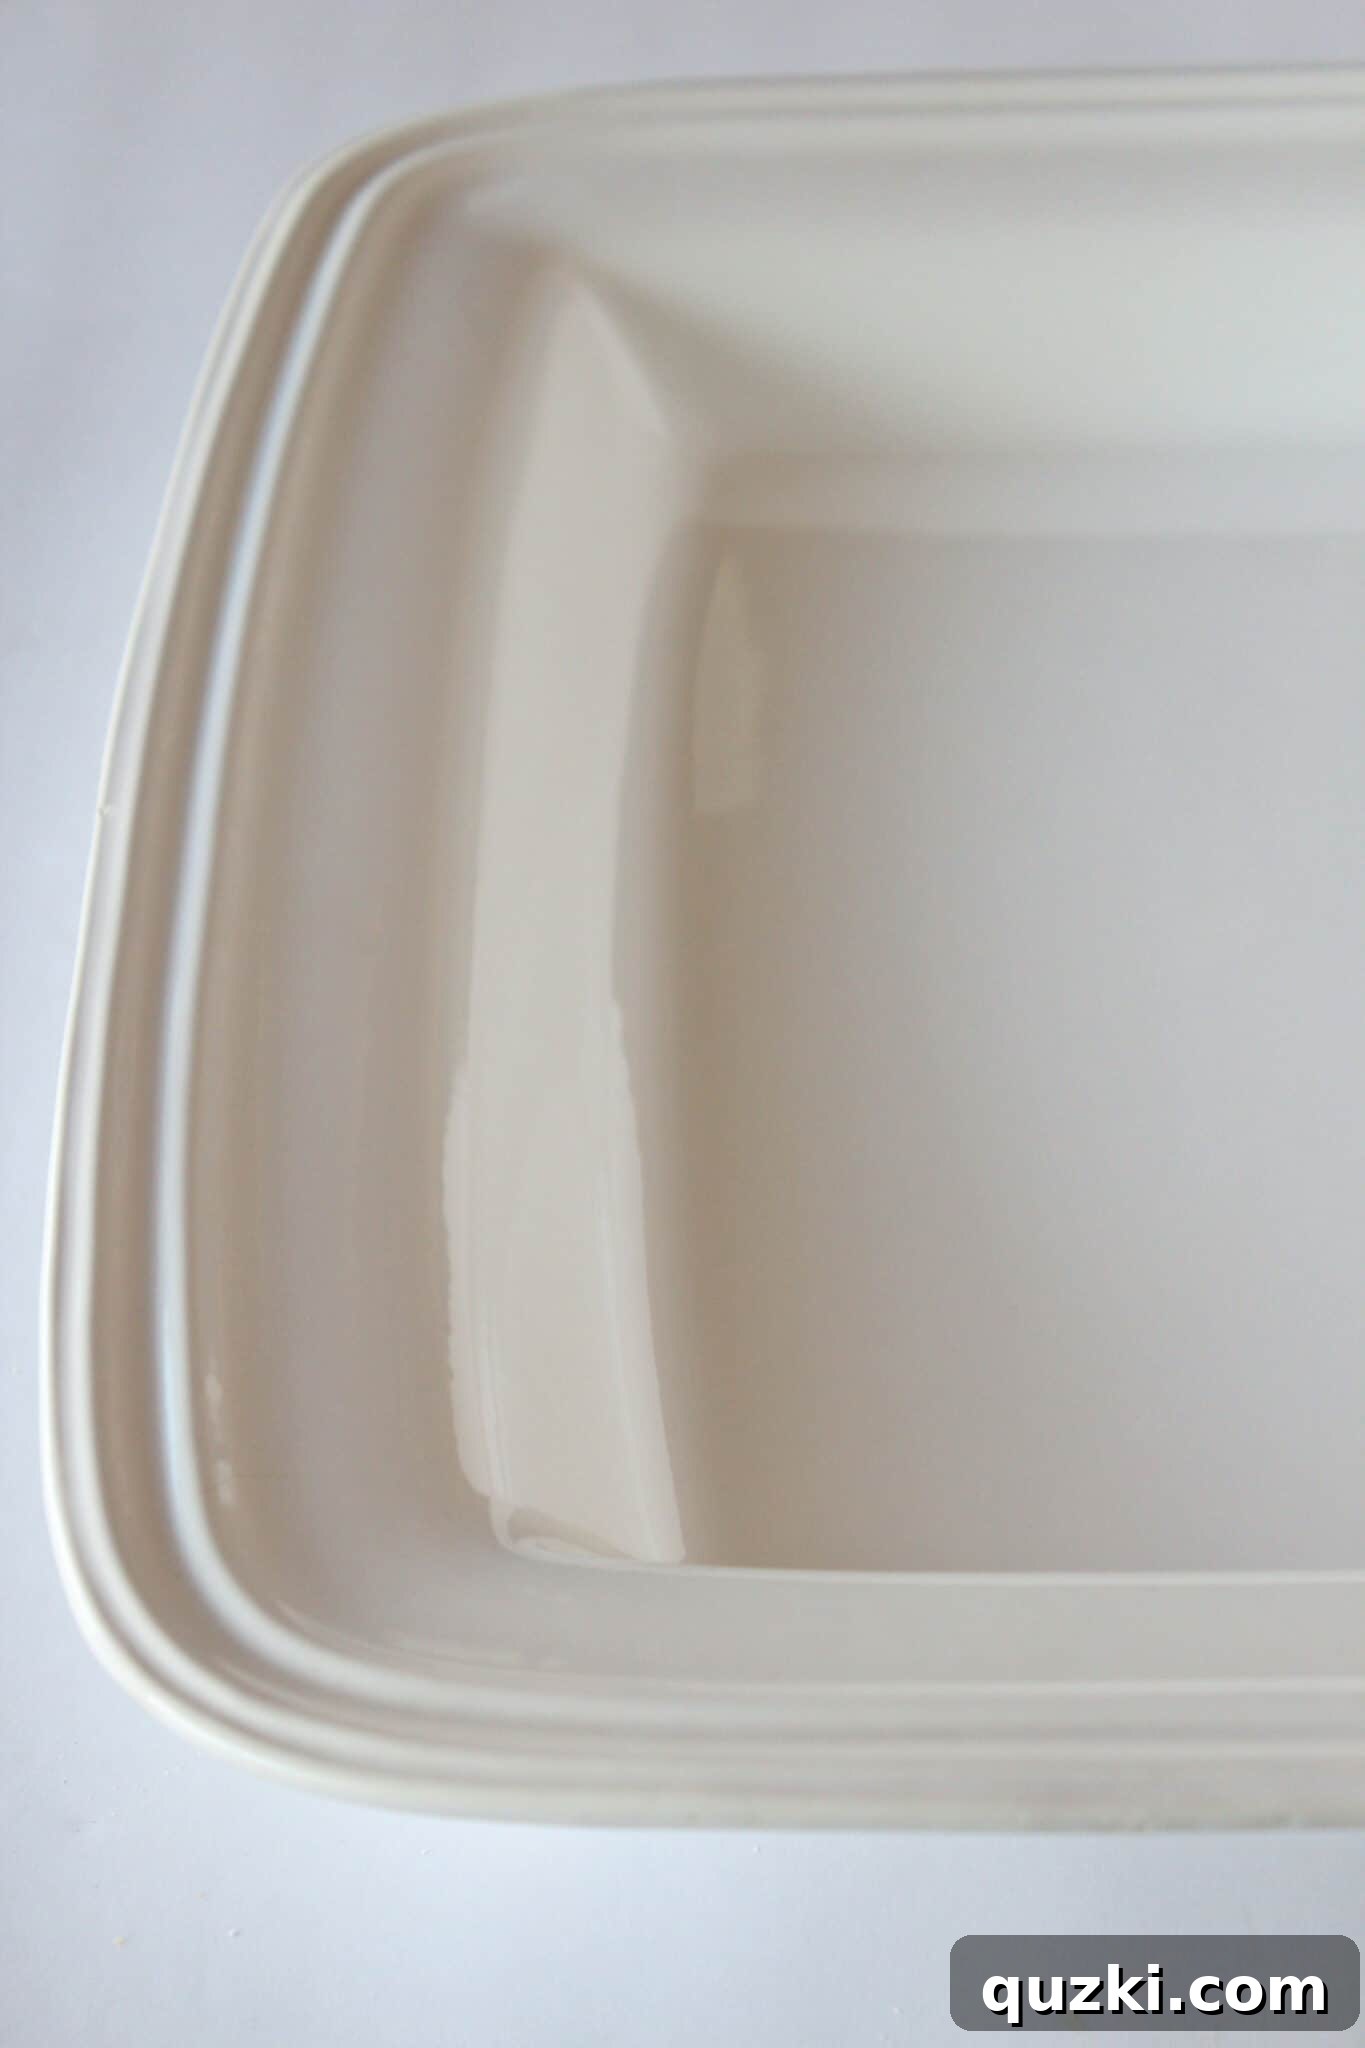
My top recommendation? Choose a board or tray that is a solid color. You want your vibrant, delicious cookies to be the stars of the show, not to compete with a busy or bold pattern on the platter itself. A clean, simple background allows the textures, colors, and shapes of your baked goods to truly pop.
Material Matters: Aesthetics and Practicality
When it comes to materials, you have several excellent options, each offering a distinct look and feel:
- I personally love a large white platter, especially one with a subtle rim. The rim offers a practical advantage, preventing smaller cookies from rolling off the edge, and the white color provides a crisp, elegant backdrop that makes food truly stand out.
- For a rustic or warm aesthetic, a beautiful wood board is an excellent choice. Wood adds natural charm and warmth to any display, perfect for a cozy holiday feel.
- If you’re aiming for a more classic or sophisticated look, a gleaming silver tray can add a touch of timeless elegance. Marble or slate boards also offer a luxurious, cool-toned backdrop that can make colorful cookies truly shine.
Consider the overall theme of your holiday decor and entertaining style when making your final selection. The right tray is an investment that you’ll use for many festive seasons to come.
Enhancing Your Tray: The Delight of Dipping Frosting
Every truly exceptional cookie tray deserves a delicious dipping component, and frosting is an absolute must! While homemade frosting is always a treat, there are times when convenience is key, especially during the bustling holiday season. Don’t hesitate to turn to the baking aisle of your local supermarket for a high-quality store-bought option.
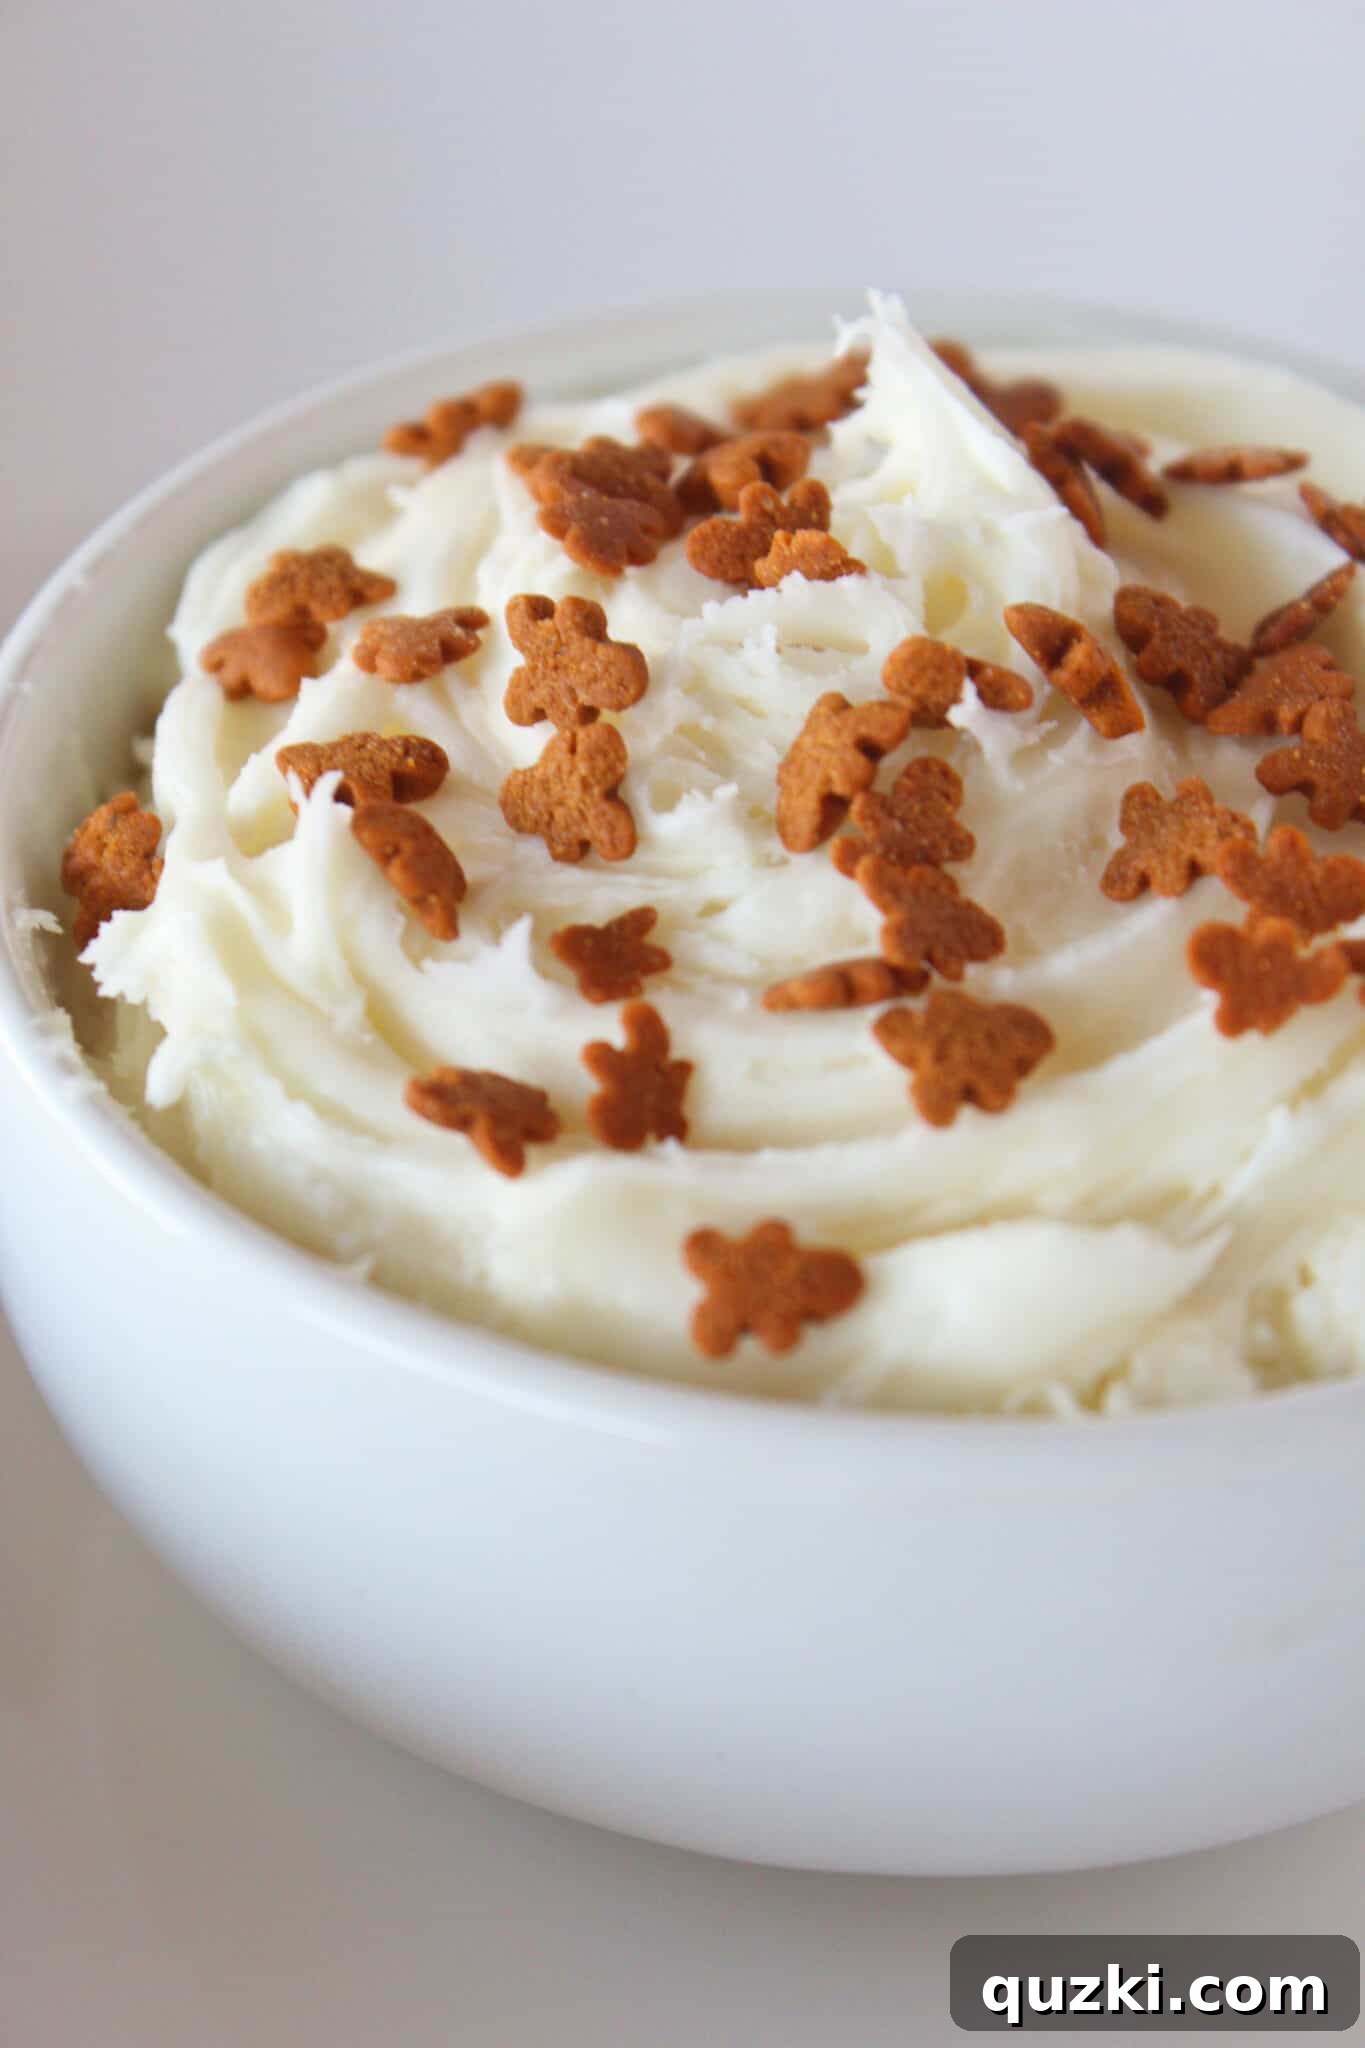
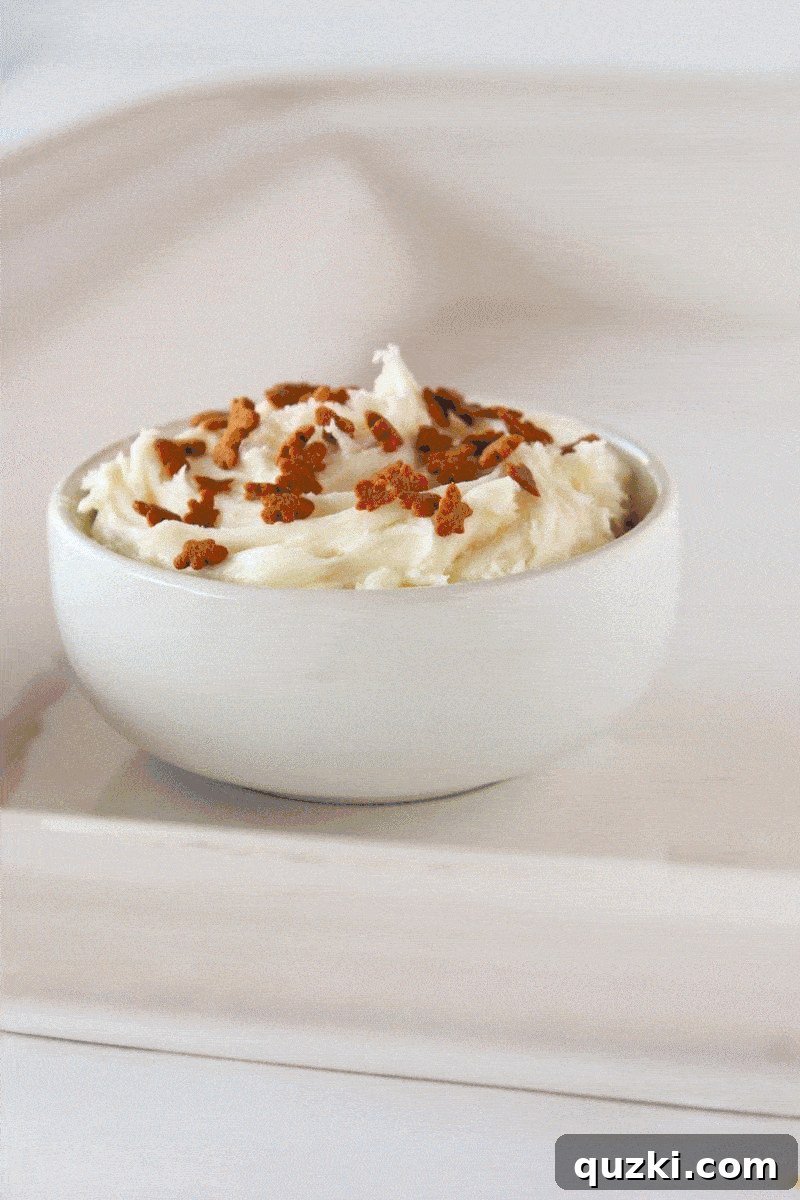
To give it that homemade touch and holiday flair, simply spoon your chosen vanilla frosting into a small, attractive serving bowl and top it with festive gingerbread sprinkles, colorful nonpareils, or even a dusting of cinnamon. The visual appeal instantly transforms it from basic to bespoke. Isn’t it just calling you to dip a warm, fresh cookie into its creamy goodness?
Always add the frosting bowl to your tray first, finding a prime spot that serves as an inviting starting point for your guests. It anchors your design and immediately signals the indulgent experience to come!
The Star of the Show: Selecting Cookies for Your Holiday Cookie Tray
This is arguably the most exciting part of creating your holiday cookie tray—choosing the stars of the show! Thoughtful selection ensures your tray is not only delicious but also visually stunning. Here are my go-to strategies for making the process enjoyable and effective:
Embracing Variety: A Feast for the Eyes and Palate
- Diversity in Size and Shape: Opt for cookies of varying sizes and shapes. This isn’t just for aesthetic appeal; it’s incredibly practical. A mix of large, medium, and small cookies, along with different geometric forms (rounds, squares, stars, cut-outs), adds tremendous visual interest and makes it remarkably easy to fill any gaps on your tray. The goal is for your holiday cookie tray to look bountiful and utterly irresistible.
- A Spectrum of Colors and Textures: Think beyond just flavor. Include cookies with different color palettes – rich chocolates, vibrant reds and greens, classic golden browns, and delicate whites. Also, consider texture: include chewy oatmeal cookies, crisp shortbread, soft gingerbread, crunchy biscotti, and crumbly snowball cookies. This textural interplay keeps every bite interesting.
- Diverse Flavor Profiles: While visual variety is key, don’t forget the taste buds! Offer a range of flavors to cater to every preference. Include classic chocolate chip, spicy gingerbread, nutty peanut butter, zesty lemon, refreshing peppermint, and perhaps a fruity thumbprint cookie. This ensures there’s something delightful for everyone on your guest list.
Homemade vs. Store-Bought: Smart Blending Strategies
Let’s be realistic: the holiday season is a whirlwind, and there simply isn’t enough time in the day to bake every single cookie from scratch. That’s where smart blending comes in. Combining homemade favorites with carefully selected store-bought options is a fantastic way to achieve the variety you desire without baking for days on end.
- Homemade Heroes: Focus your baking efforts on a few signature recipes that you love and excel at, or traditional family favorites. These will be the sentimental anchors of your tray.
- Savvy Store-Bought Additions: Don’t underestimate the power of gourmet store-bought cookies. Look for high-quality shortbread, delicate macarons, elegant pizzelles, or even beautifully decorated sugar cookies from a local bakery. Websites like Amazon also offer an array of specialty cookies that can add an unexpected touch. Arrange them artfully, and no one will guess they weren’t fresh from your oven!

Smart Preparation: Baking Ahead for a Stress-Free Holiday
One of the best secrets to a calm and enjoyable holiday season is proactive planning, especially when it comes to baking. If you know you’ll be assembling a beautiful cookie tray, preparing your cookies ahead of time is an absolute game-changer. This approach minimizes last-minute stress and ensures you have fresh, delicious cookies ready when you need them. Here are several effective ways to get ahead:
Refrigerating Cookie Dough
Many cookie recipes actually benefit from a period of refrigeration, allowing the flavors to deepen and the dough to firm up, resulting in better texture and spread during baking. Some recipes even suggest chilling for anywhere from 2 hours to 3 days! Simply prepare your dough as directed, wrap it tightly in plastic wrap (either in a log shape or a disc), and store it in the refrigerator. When you’re ready to bake, just slice and bake, or scoop and bake, as usual.
Freezing Cookie Dough Portions
A lesser-known but incredibly convenient trick is to freeze cookie dough. It freezes beautifully! I love to scoop out individual portions of cookie dough (as if I were about to bake them) and arrange them on a parchment-lined baking sheet. Freeze these scoops until they are solid, typically for an hour or two. Once frozen, transfer the dough mounds into airtight freezer bags or containers. This method allows you to bake just a few cookies at a time, whenever a craving strikes, or pull out a larger batch for your tray. You can thaw them in the refrigerator overnight or even bake them directly from frozen—just add a couple of extra minutes to the baking time.
Baking and Freezing Complete Cookies
For maximum convenience, most baked cookies also freeze exceptionally well for up to three months. This means you can have a freezer stocked with ready-to-go treats! After baking, allow the cookies to cool completely. Then, arrange them in a single layer on a baking sheet and freeze until solid. Once frozen, transfer them to an airtight container or freezer bag, separating layers with parchment paper to prevent sticking. When you’re ready to serve, simply pull them out about an hour or two beforehand to thaw at room temperature. This method works perfectly for many types of cookies, though it’s less ideal for delicate cookies with intricate icing, as the frosting might become moist upon thawing. For those, you could bake and freeze them plain, then ice them once they’ve thawed.
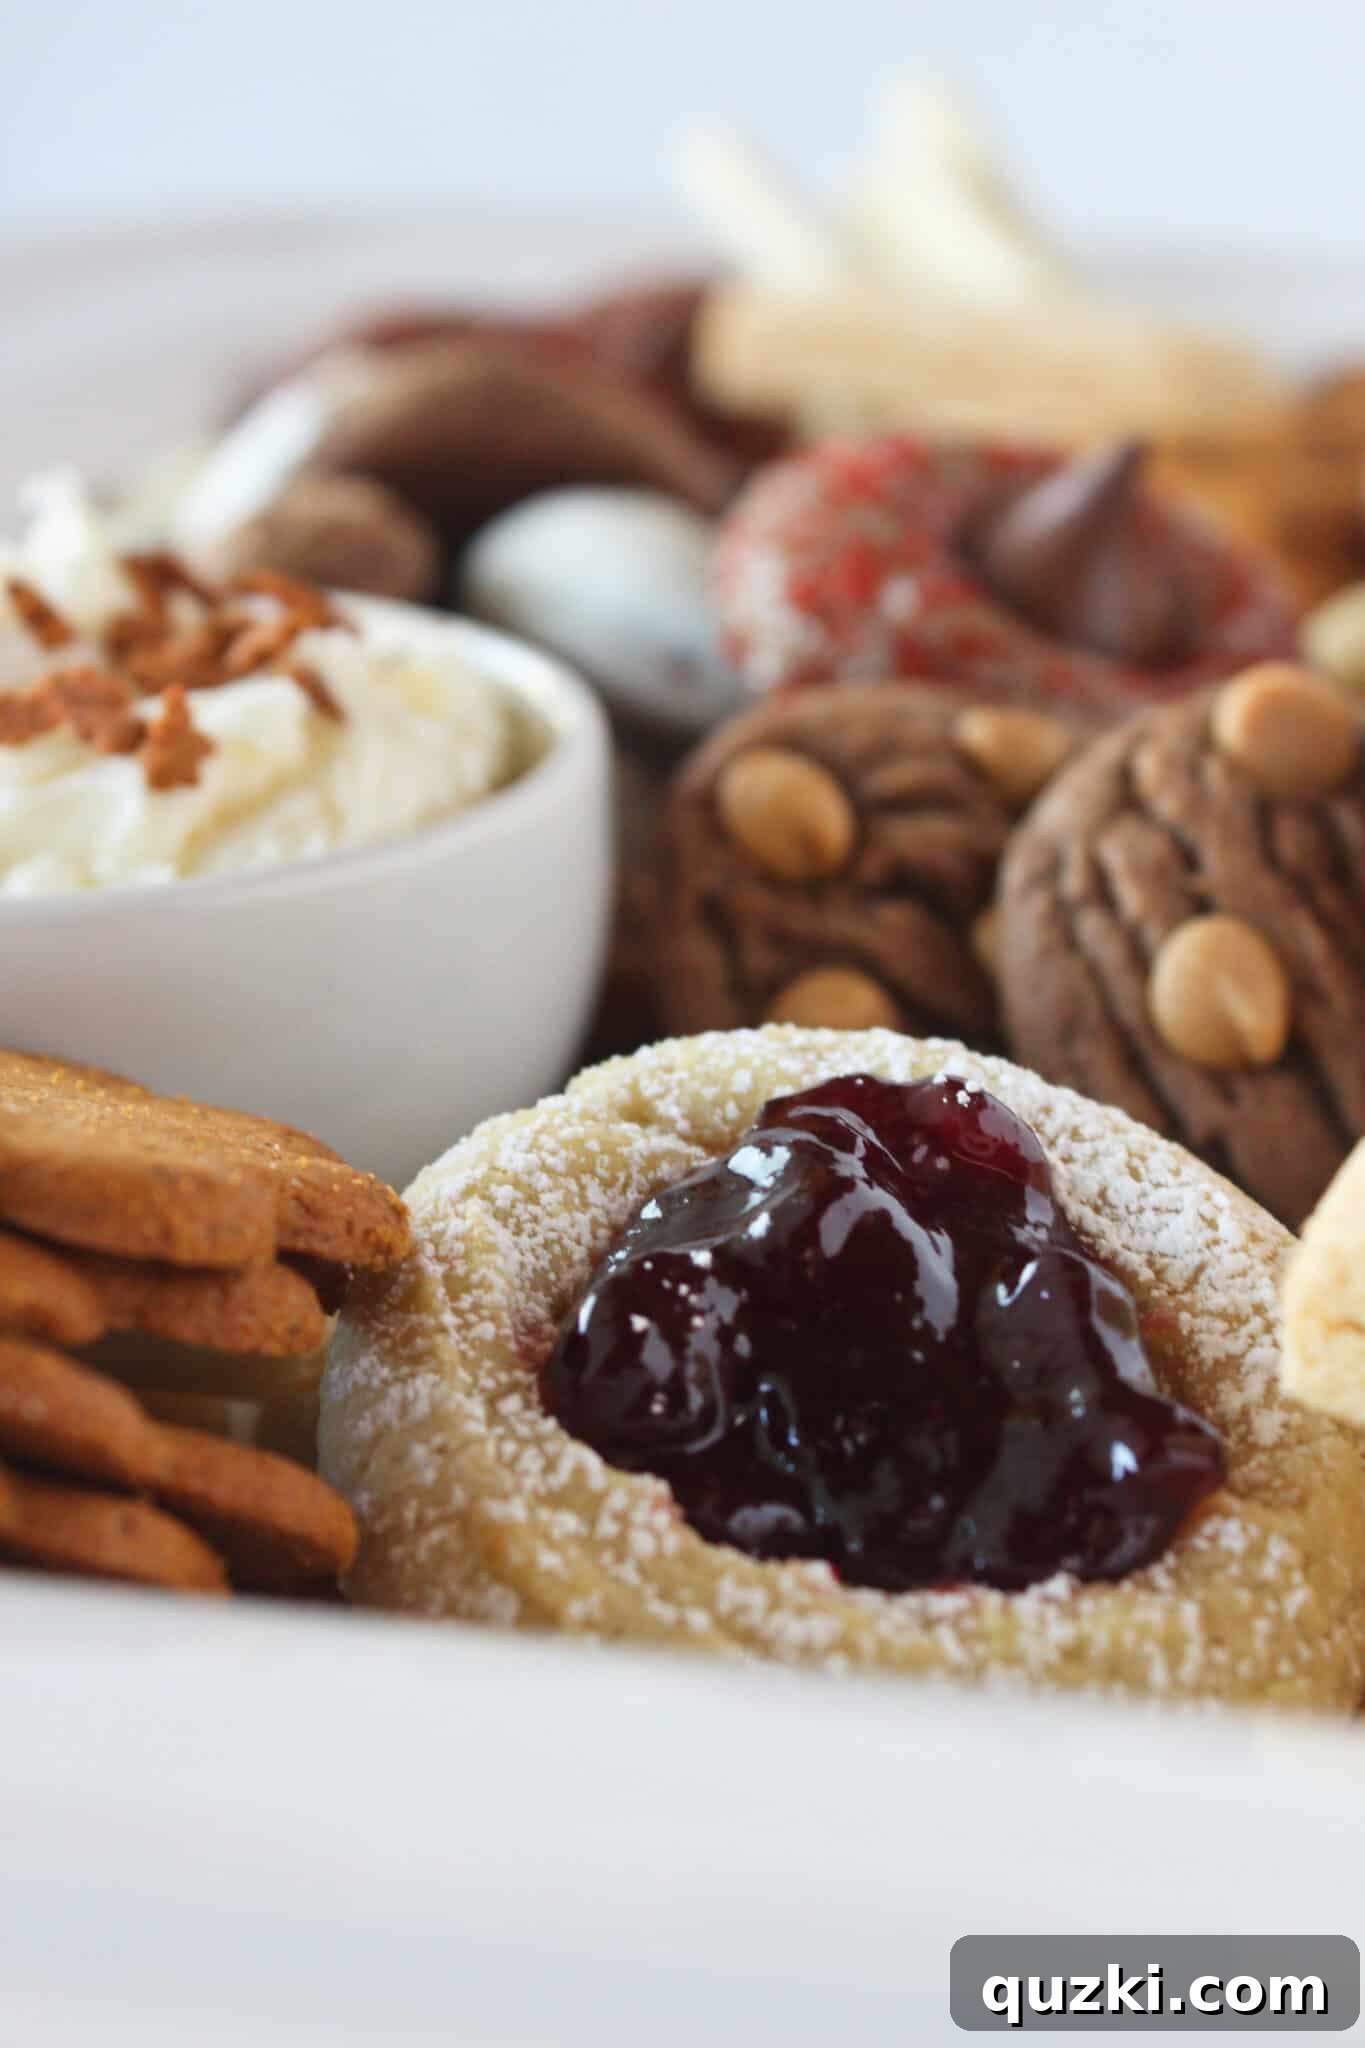
Planning for Your Guests: How Many Cookies Do You Really Need?
Determining the perfect quantity of cookies for your holiday tray can feel like a guessing game, but with a few guidelines, you can plan effectively. While several factors can influence the ideal amount, a general rule of thumb is to plan for 4-5 cookies per person. This usually ensures everyone gets a satisfying taste of several varieties.
However, this number can be adjusted based on specific circumstances:
- Your Guests: Consider who will be attending. Children, for example, often have a larger appetite for cookies than adults. If your party is largely made up of younger guests, you might want to lean towards the higher end of the estimate.
- Time of Day: The time you’re serving the cookies also plays a role. An afternoon gathering, perhaps around 3 p.m. when the “hunger monster” is real, might see guests consuming more than if cookies are offered after a full dinner meal.
- Other Desserts: If your cookie tray is just one of many dessert options, you won’t need as many cookies per person. However, if the cookie tray is the primary sweet offering, you’ll want to ensure there’s an ample supply. For a full dinner party where guests will likely be quite satisfied, fewer cookies per person may suffice.
- Event Type: A casual open house where guests come and go might require more overall cookies due to a longer serving window, even if individual consumption is lower. A sit-down dinner is more predictable.
Ultimately, you know your guests and the nature of your event better than anyone. My personal philosophy? It’s always better to over-serve than to run out! Any delicious leftovers can be beautifully packaged and sent home with guests as a thoughtful holiday gift, ensuring no cookie goes to waste and spreading even more joy.
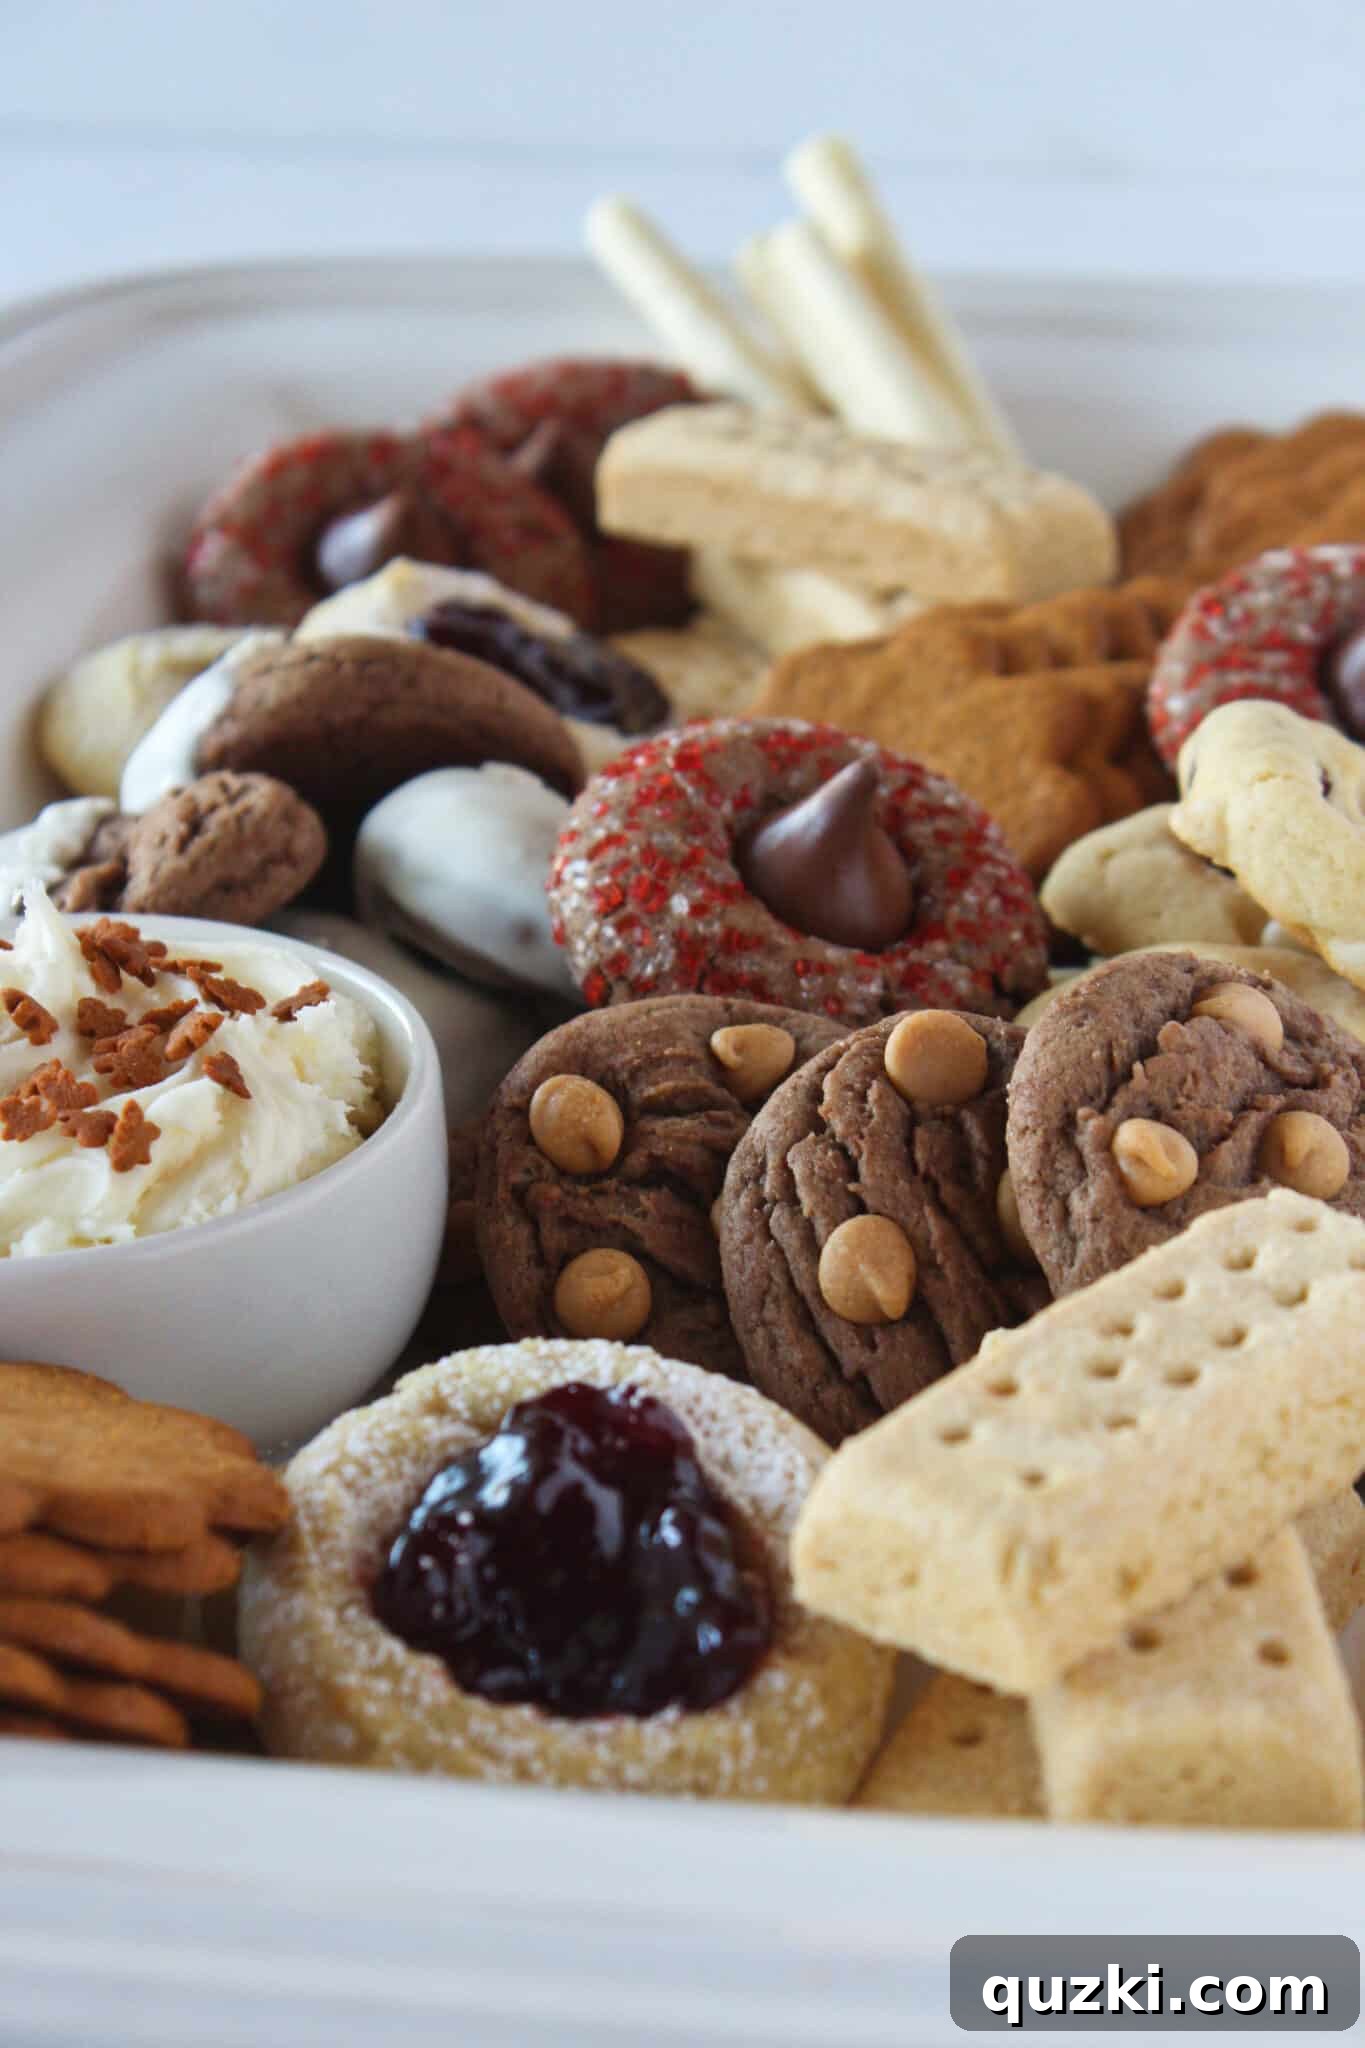
The Art of Arrangement: Crafting a Visually Stunning Cookie Tray
Once you have your selection of delicious cookies ready, the final step is arranging them into a captivating display. This is where your holiday cookie tray truly comes to life, transforming simple treats into an inviting edible masterpiece. Follow these simple steps for a professional-looking arrangement:
Building Your Base: Bowls and Larger Elements
- Start with Your Bowls: Begin by placing any small bowls you’re using onto the tray. This could be for your delicious frosting dip, caramel sauce, chocolate ganache, or even a selection of delicate cookies that you want to keep separate and protected. These bowls will act as anchor points for your design.
- Add the Larger Cookies: Next, strategically place your largest cookies around your bowls or at key positions on the tray. By adding these first, you ensure they have ample space and create a foundational structure for the rest of your arrangement. Think of them as the main focal points.
Layering and Filling: Creating Depth and Abundance
- Introduce Medium and Smaller Cookies: Once the larger cookies are in place, start arranging your medium-sized cookies, followed by the smaller ones. Position them around the larger cookies, creating a flow and visual interest. Try to alternate shapes and colors to prevent any area from looking monotonous.
- Fill in Any Holes: The key to a truly abundant and inviting cookie tray is to minimize any empty spaces. Use your smallest cookies, truffles, or other tiny treats to fill in any remaining gaps. This makes the tray look incredibly generous and inviting.
The Finishing Touches: Edible and Decorative Accents
To truly elevate your cookie tray, consider adding a few non-cookie elements. These can enhance both the visual appeal and the overall flavor experience:
- Candies and Chocolates: For a sweet surprise, tuck in some festive candies like Hershey’s Kisses, foil-wrapped chocolates, gourmet truffles, or small peppermint candies.
- Nuts and Dried Fruits: A sprinkle of sugared nuts (pecans, walnuts, almonds) or vibrant dried fruits (cranberries, apricots) can add texture, color, and a complementary flavor profile.
- Fresh Greenery: For a beautiful and aromatic touch, artfully place small sprigs of fresh rosemary or mint amongst the cookies. Ensure these are food-safe and clean.
- Non-Edible Ornaments: Small, clean, food-safe holiday ornaments (like tiny pinecones or decorative berries) can also be used sparingly to enhance the festive theme, just be sure they are easily distinguishable from edible items.
The goal is to create a visually appealing, abundant, and irresistible spread that encourages guests to explore and enjoy every delicious offering.
Elevating Your Cookie Tray: Serving and Gifting Ideas
A beautifully curated holiday cookie tray is more than just a dessert; it’s a statement, a gesture, and a source of pure joy. By adding this delightful centerpiece to your holiday dessert menu, you are guaranteed to have exceptionally happy guests, creating lasting memories of your festive hospitality. But the utility of a cookie tray extends far beyond your own dining table.
Beyond Your Home: Perfect for Any Occasion
Imagine the delight of arriving at a potluck or a holiday party with a stunning assortment of cookies. A well-arranged cookie tray makes an absolutely wonderful dessert to share, instantly elevating the spread and offering a variety that a single-dish dessert might not. It’s a conversation starter, a crowd-pleaser, and a true testament to holiday generosity.
A Thoughtful Gift from the Heart
Beyond entertaining, a carefully constructed cookie tray makes for an incredibly thoughtful and personal gift. Wrap it beautifully in clear cellophane, tie it with a festive ribbon, and add a handmade tag for a special friend, a beloved relative, or a kind neighbor. It’s a gift that speaks volumes of care and effort, far more personal than any store-bought item. For corporate gifts or teacher appreciation, individual smaller trays or boxes filled with a selection from your main tray are also fantastic options.
Pairings for Perfection
To truly complete the experience, consider what drinks would perfectly complement your cookie tray. A rich, steaming pot of coffee, a creamy mug of hot chocolate with whipped cream, or even a spiced mulled cider can transform your dessert offering into a complete holiday experience. These pairings enhance the flavors of the cookies and add to the cozy, festive atmosphere.
Let’s make Holiday Cookie Trays the next big thing! Cookies have an undeniable power to make everyone happy, and in a world that could always use a little more happiness, a tray full of these sweet delights is a perfect way to spread cheer and warmth throughout the festive season. Embrace the tradition, get creative with your selections and arrangements, and enjoy the smiles your delicious efforts will bring.
Delicious Cookie Recipes to Inspire Your Tray
Looking for some irresistible recipes to fill your holiday cookie tray? Here are a few tried-and-true favorites that are sure to be a hit:
- Soft Gingerdoodles
- Chocolate Chip Shortbread
- Peanut Butter Blossoms
- Snowflake Linzer Cookies
- Honey Nut Rugelach
- Cream Cheese Sugar Cookies
- Red Velvet Kiss Cookies