
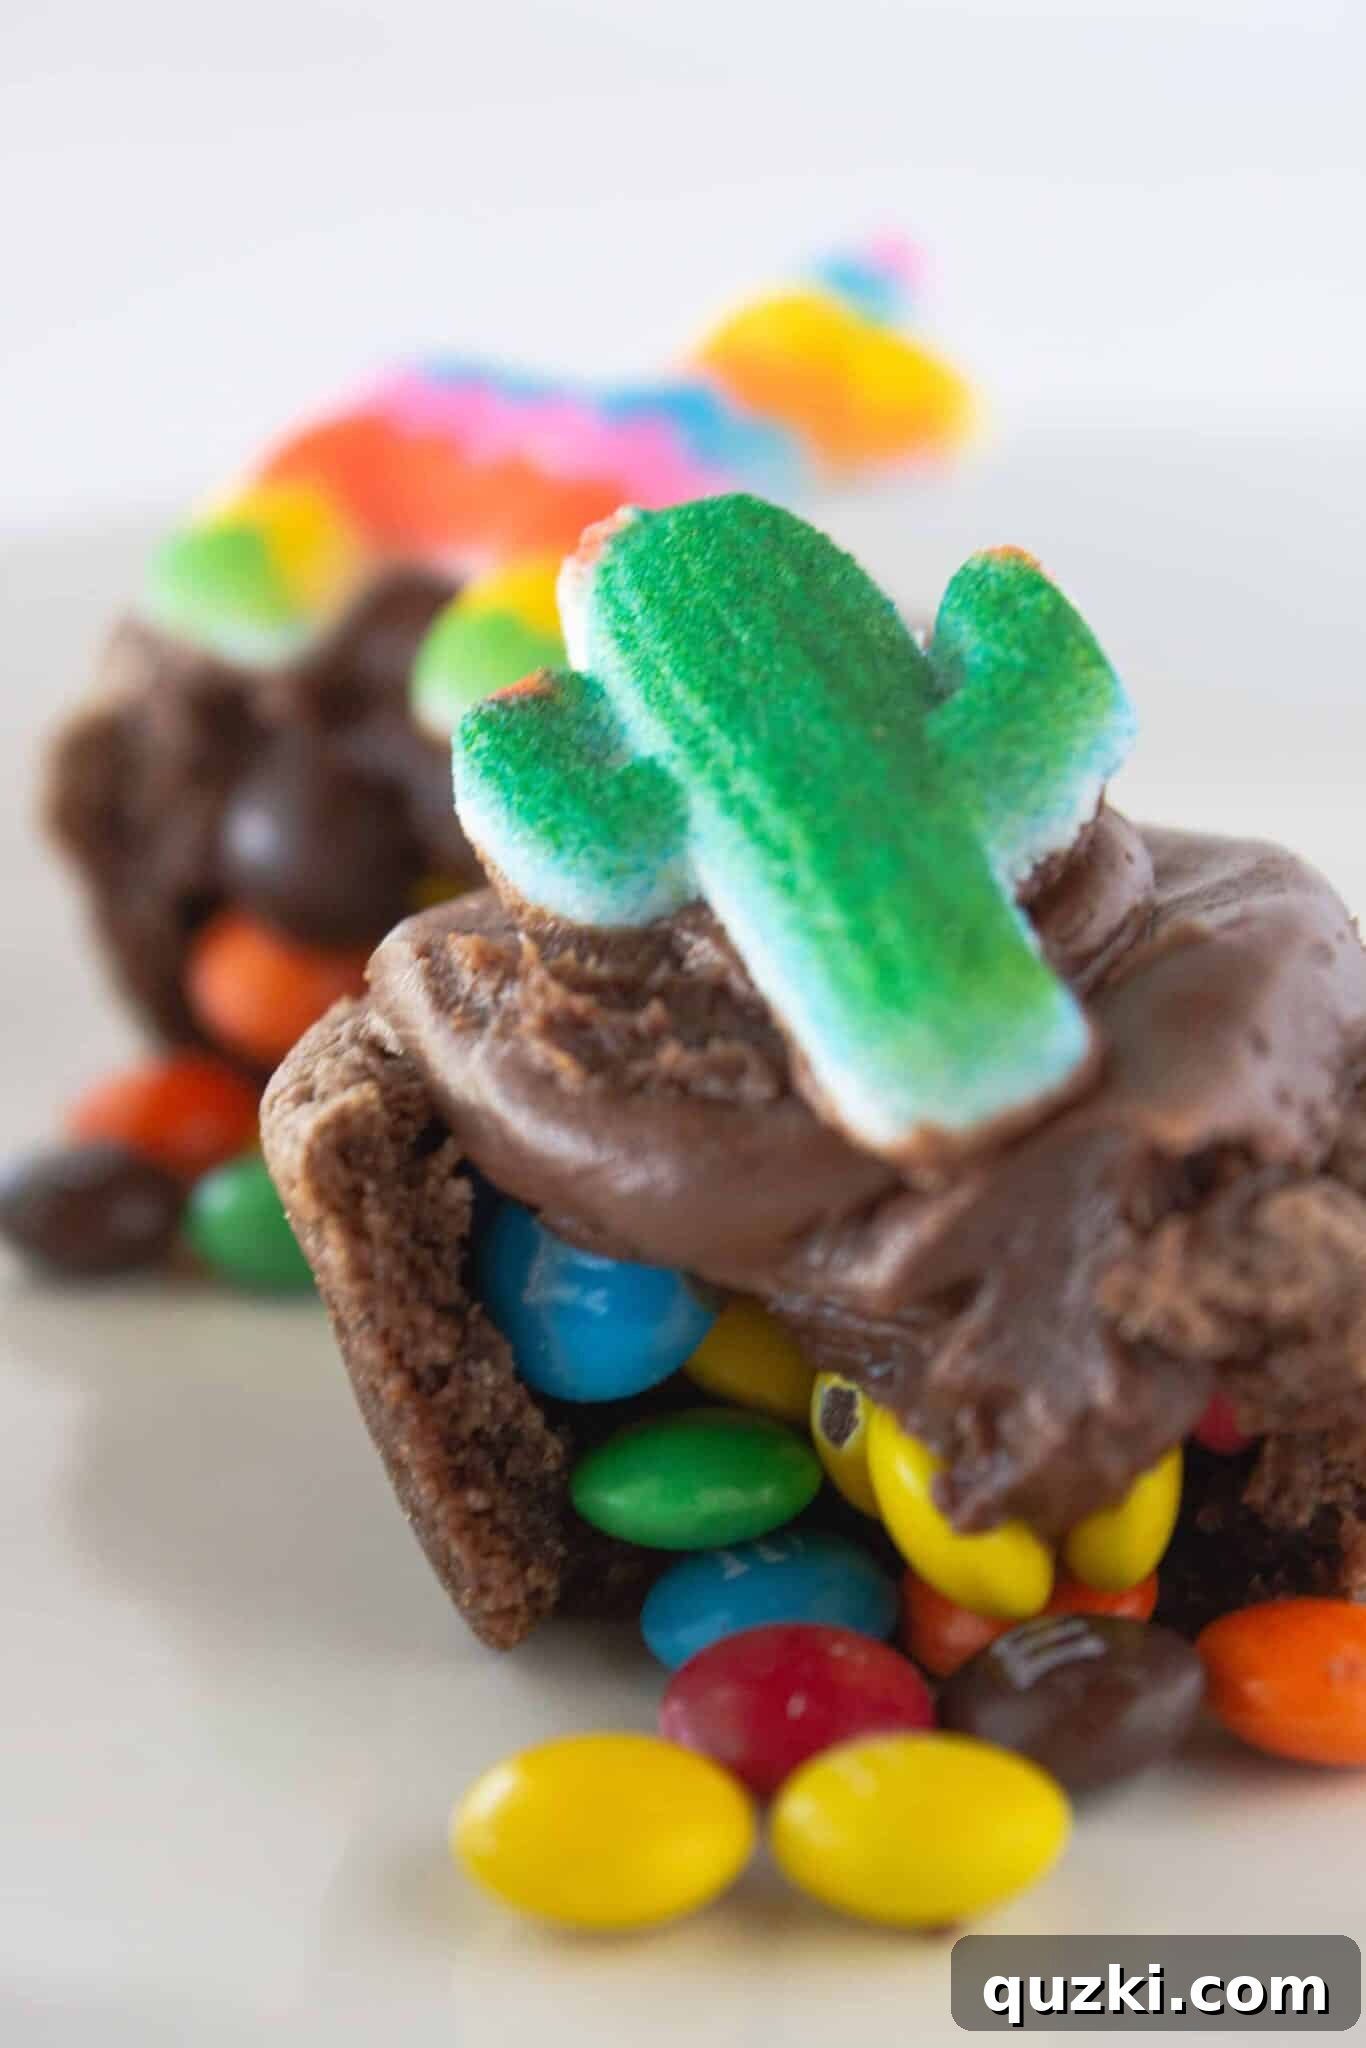
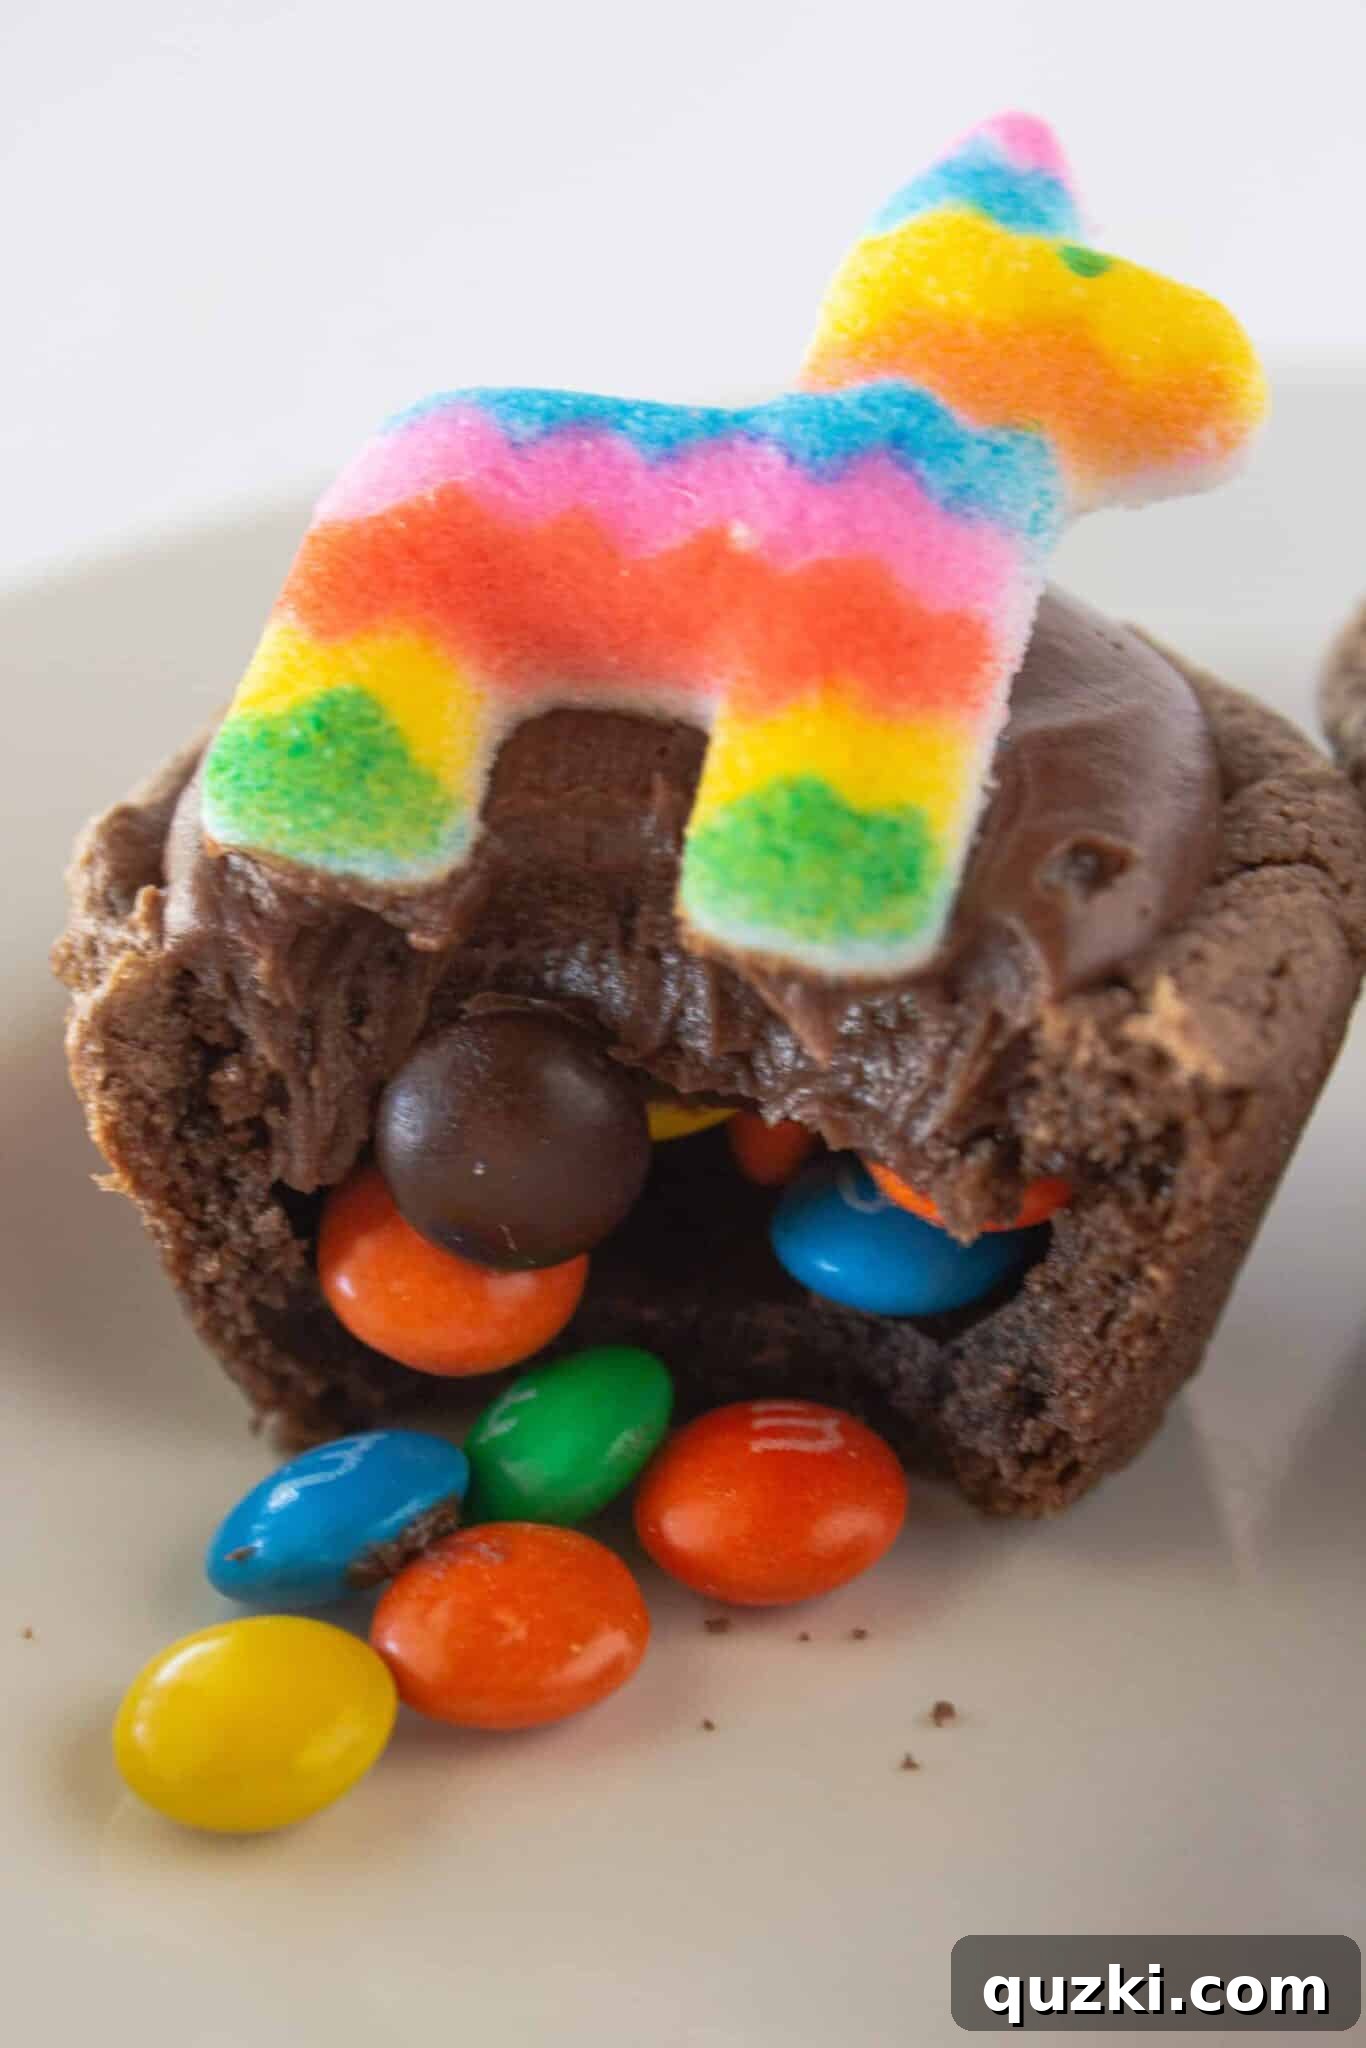
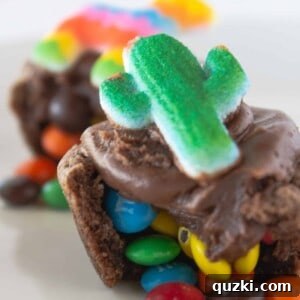
Get ready to unleash a burst of joy with these incredible Pinata Cookies! Just like their namesake, these delightful treats are brimming with a secret stash of candy, promising an edible surprise in every bite. Crafted effortlessly from a humble cake mix, these fun-filled cookie cups are guaranteed to be a sensational hit at any gathering, especially for celebrations like Cinco de Mayo. Prepare for smiles, laughter, and an unforgettable dessert experience!
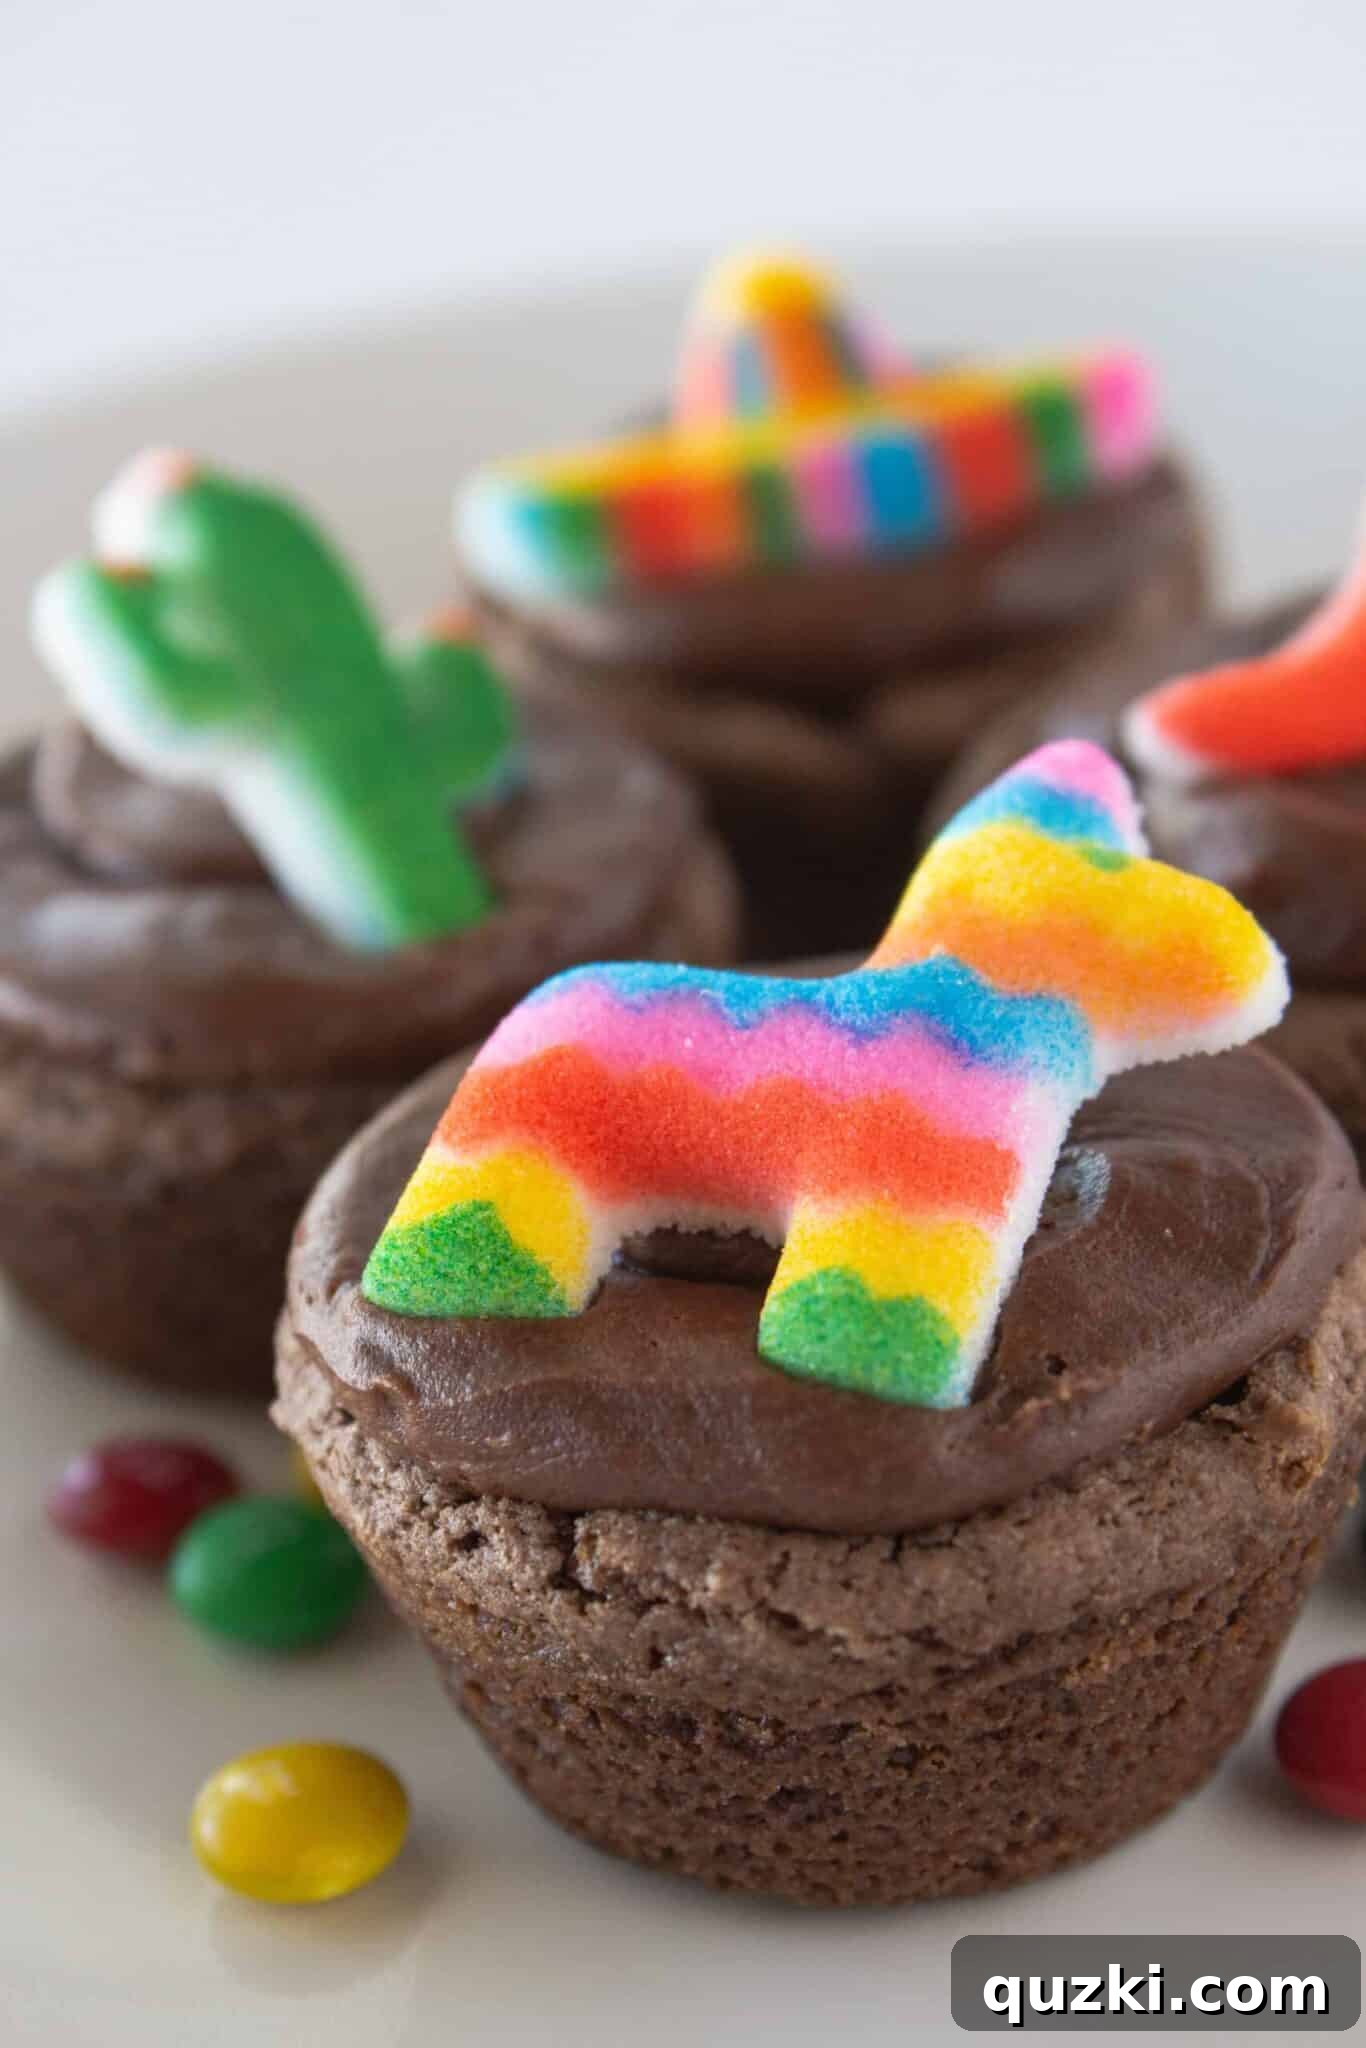
Why These Pinata Cookies Are Your Next Must-Make Dessert
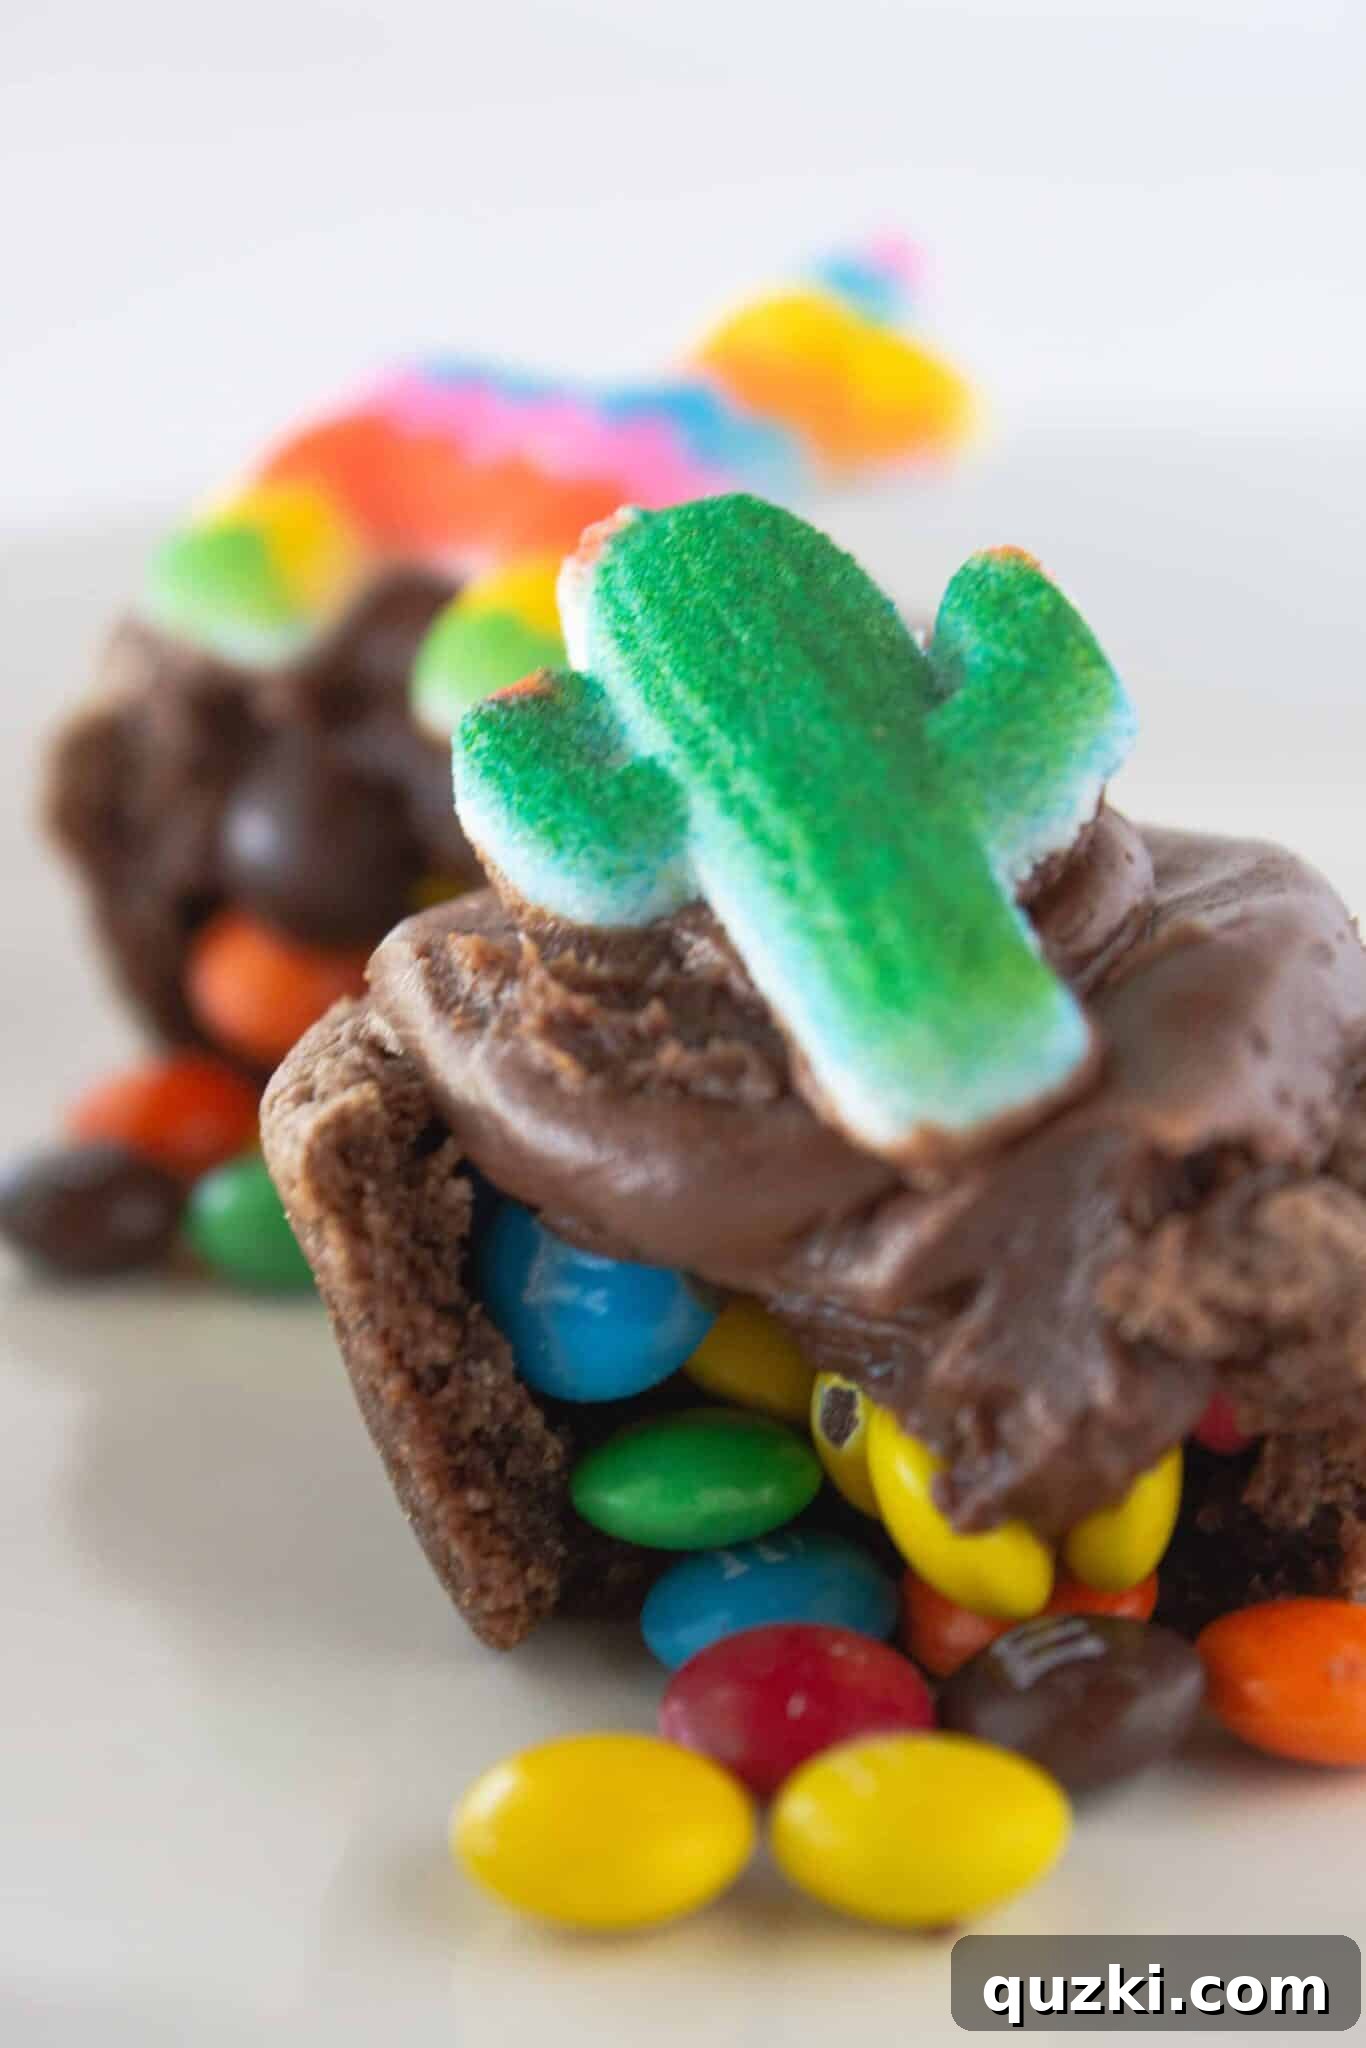
Imagine the delight on your guests’ faces as they bite into a seemingly ordinary chocolate cookie, only to discover a colorful cascade of mini candies pouring out! These Pinata Cookies aren’t just desserts; they’re an experience. They combine the convenience of a cake mix recipe with the excitement of a traditional piñata, making them perfect for parties, holidays, or simply brightening an ordinary day. From their vibrant hidden filling to their easy preparation, these cookie cups are designed to bring maximum joy with minimum fuss.
What truly sets these cookies apart is their versatility and charm. You can customize the candy filling to match any theme or preference, and their individual serving size makes them ideal for potlucks, bake sales, or kids’ parties. Plus, using a cake mix simplifies the baking process immensely, ensuring even novice bakers can achieve perfectly soft, chewy cookie cups every time. These aren’t just cookies; they’re edible celebrations waiting to happen!
The Sweet Inspiration: From Pinata Cupcakes to Cookie Cups
Creating festive desserts for Cinco de Mayo has become one of our absolute favorite baking traditions. After the immense success and pure fun of our Pinata Cupcakes, we knew we had to develop a cookie version that captured the same playful spirit. The challenge was finding a way to perfectly encase a generous amount of candy within a cookie, creating that signature “burst” effect.
The solution? Transforming a simple cake mix into a delightful cookie cup, crafting a sturdy yet tender vessel for our sweet treasures. Filling these chocolatey cups with an assortment of mini candies and then sealing them with a smooth swirl of frosting proved to be the ideal approach. The result is a dessert that’s not only incredibly easy to assemble but also promises a memorable and delicious surprise for everyone lucky enough to enjoy one of these Pinata Cookie Cups.
Crafting Your Pinata Cookie Masterpiece: A Step-by-Step Guide
Making these candy-filled cookie cups is simpler than you might think, especially with the clever use of a cake mix. Follow these easy instructions to create your own batch of delightful Pinata Cookies.
1. Prepare the Irresistible Cookie Dough
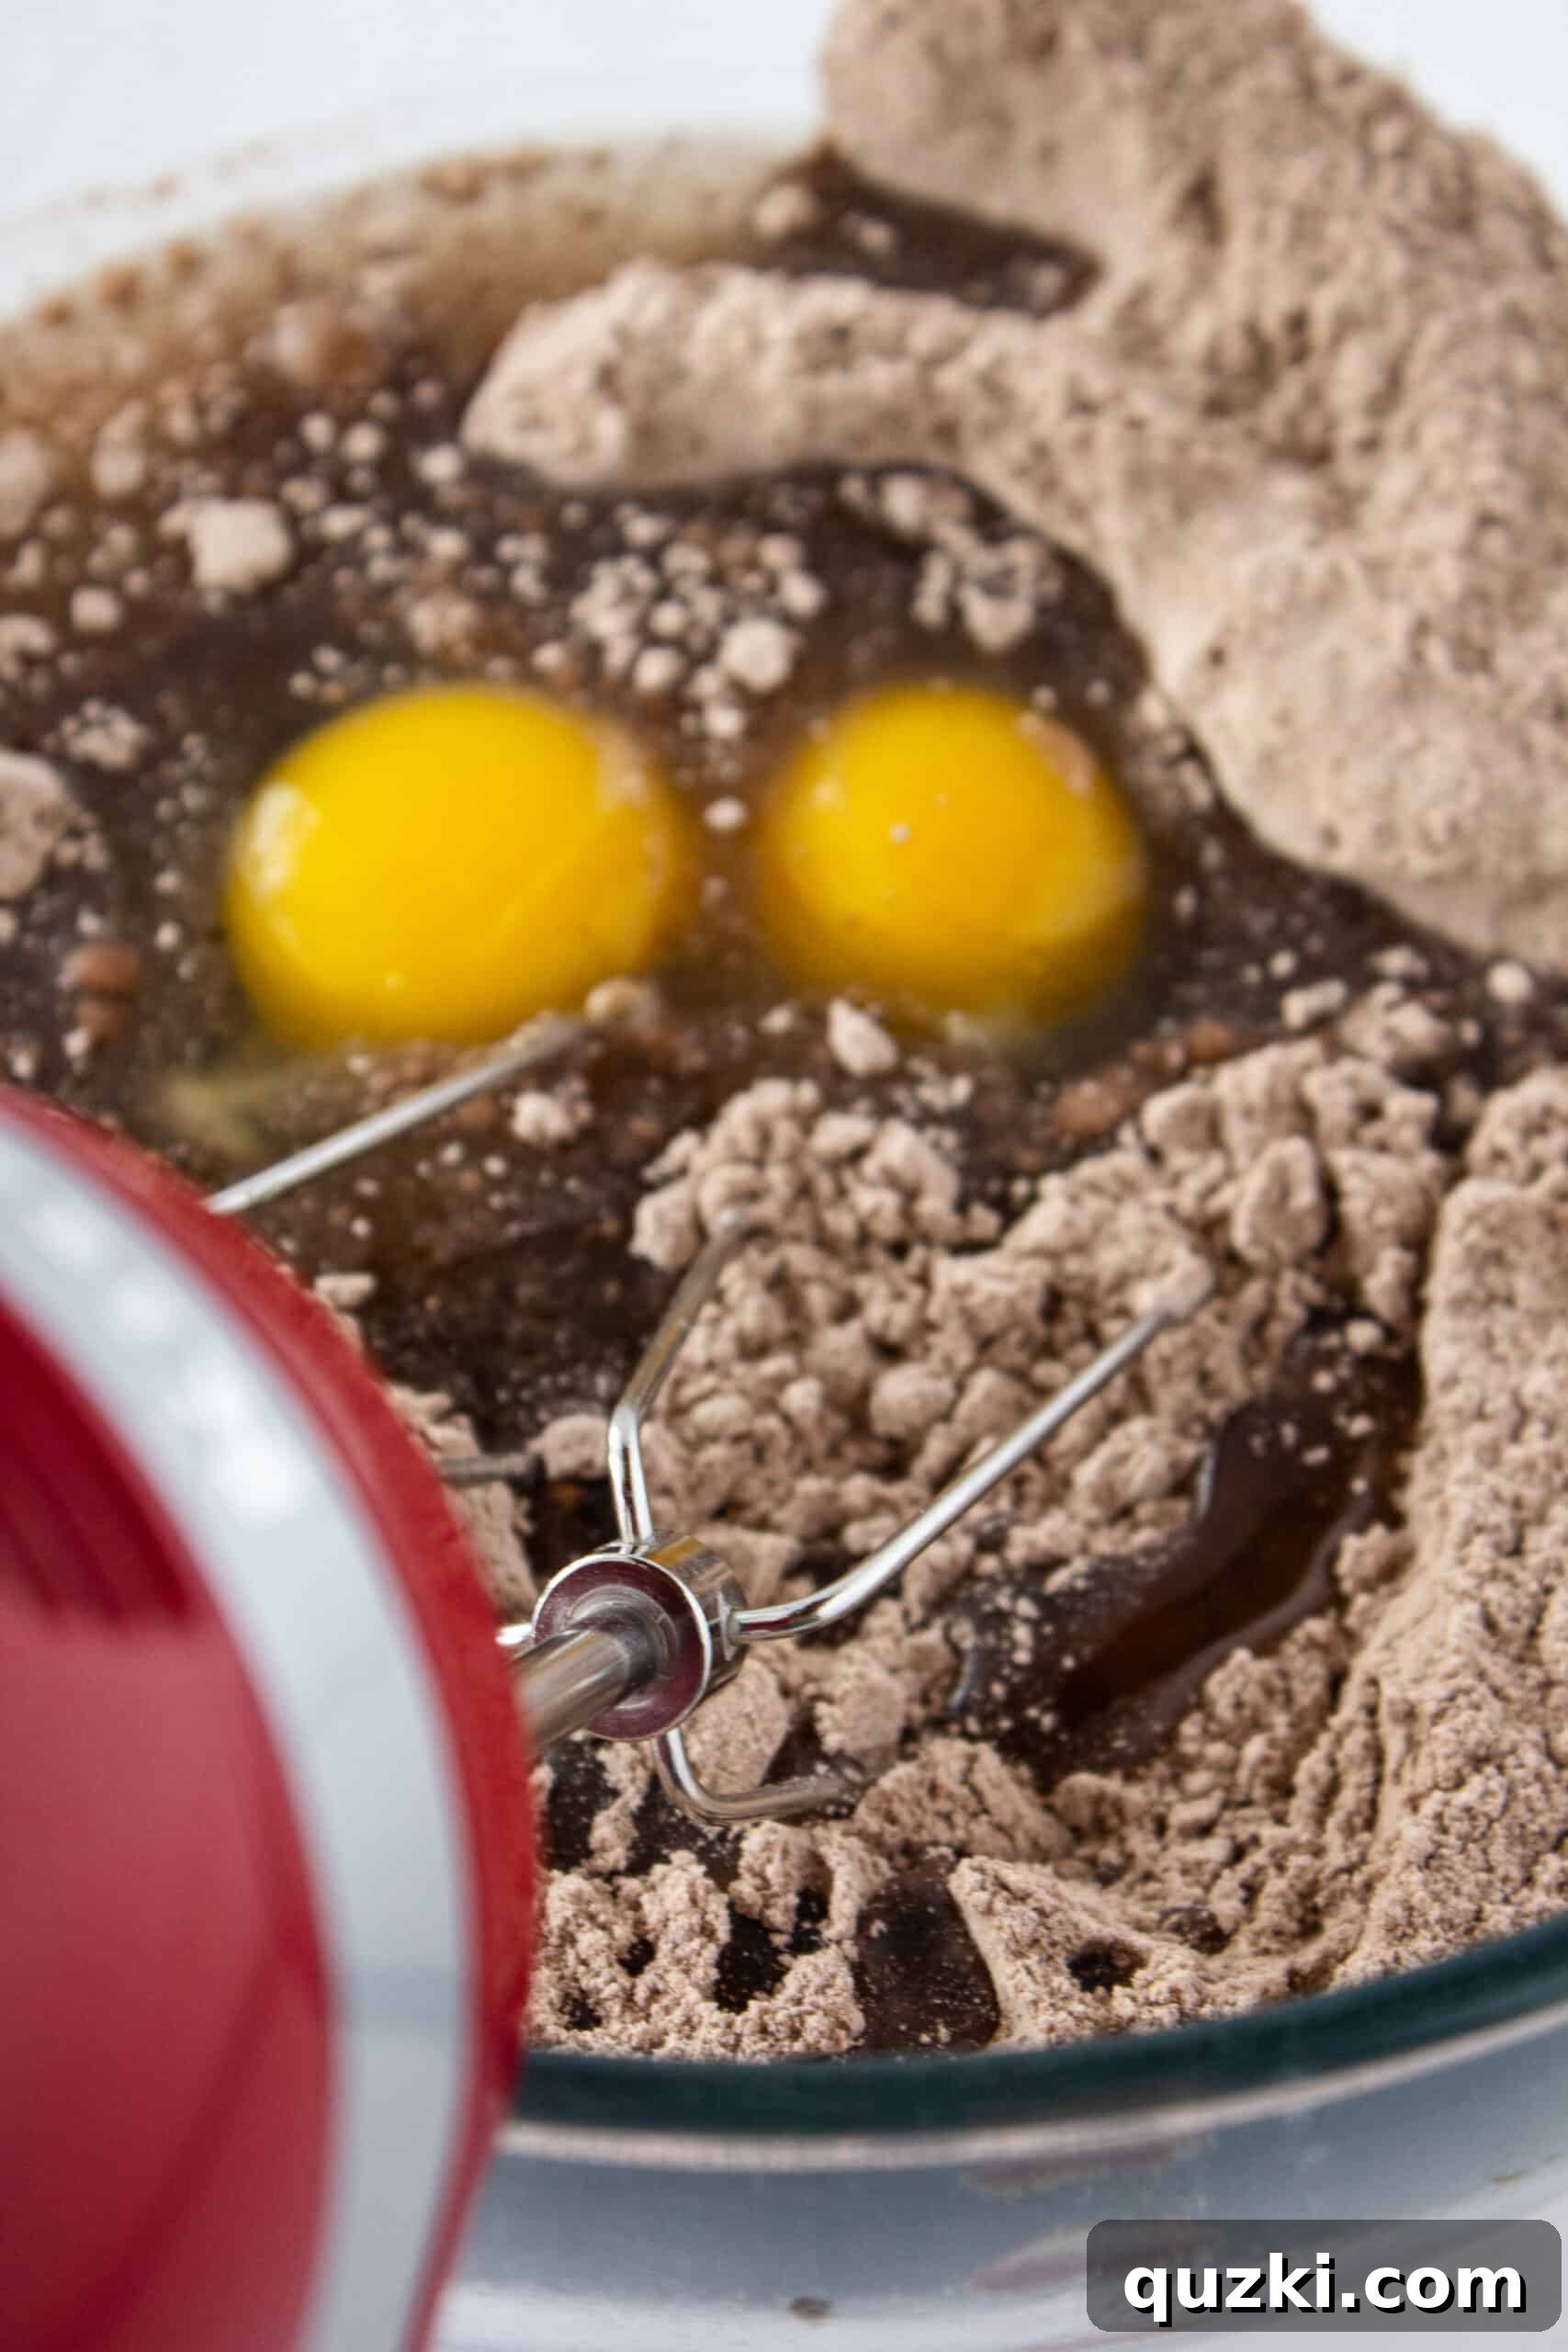
Begin by preheating your oven to 350°F (175°C). Take a standard chocolate cake mix (approximately 15.25 ounces) and pour it into a medium-sized mixing bowl. To ensure a smooth dough, you might want to quickly whisk or sift the cake mix to break up any potential lumps. Next, add two large eggs and ⅓ cup of vegetable oil to the mix. Using a handheld electric mixer (or a sturdy spoon for hand-mixing), combine all the ingredients until a thick, rich, and slightly sticky chocolate cookie dough forms. This dough will be wonderfully decadent and easy to work with.
2. Form the Cookie Cups
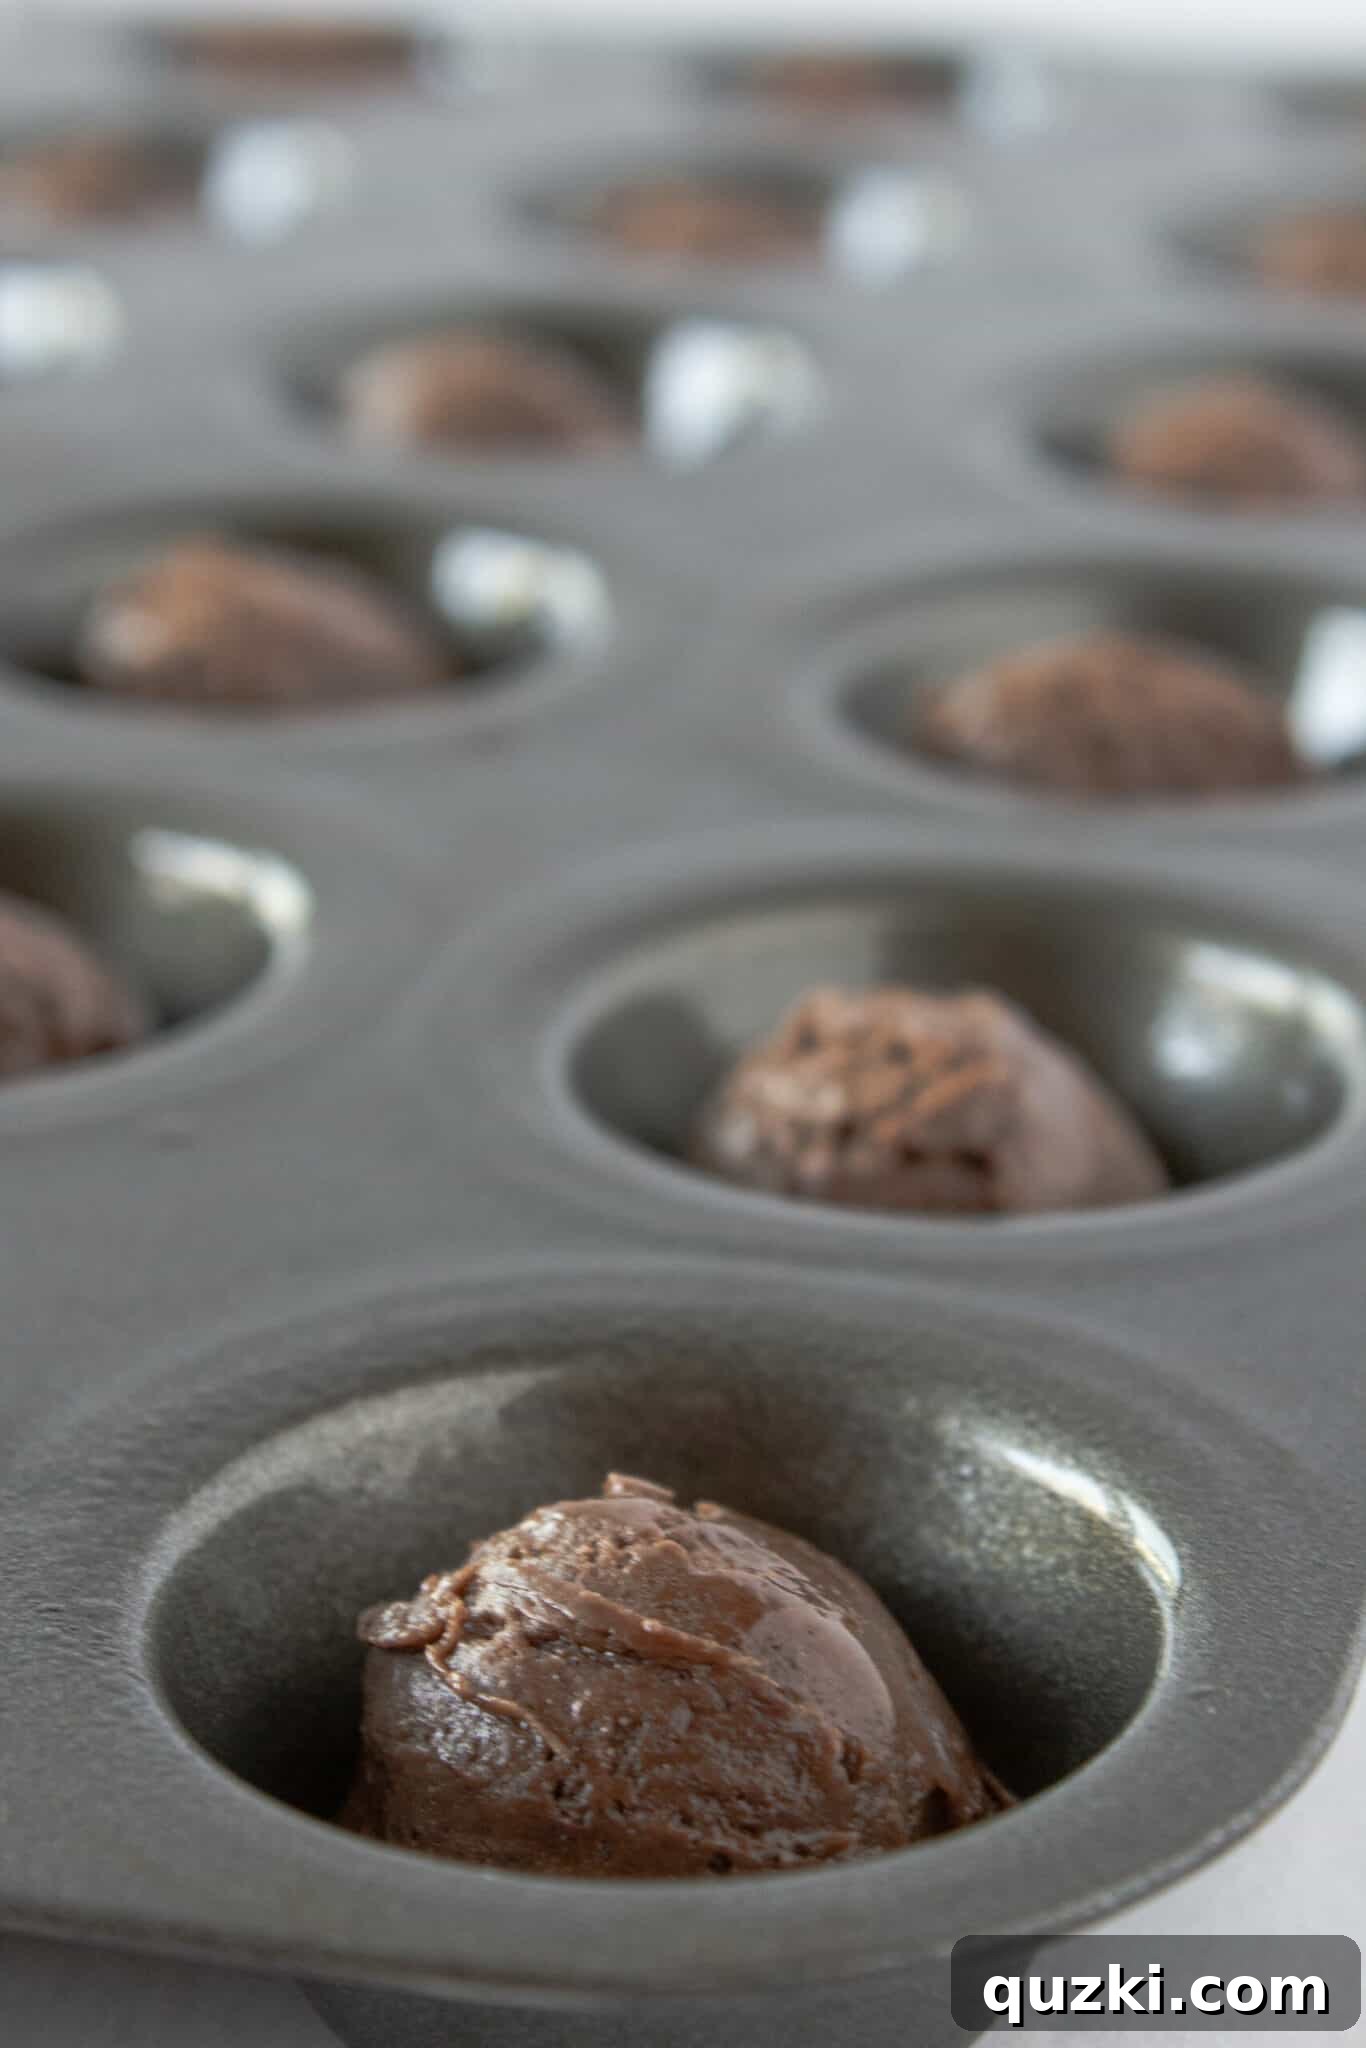
Generously spray each cup of a mini muffin pan with nonstick cooking spray. This crucial step ensures your cookie cups will release easily after baking. Using a small cookie scoop (or about ½ tablespoon for each), place a uniform mound of the prepared chocolate cookie dough into each muffin cup. Aim for consistency in size for even baking.
3. Shape and Bake to Perfection
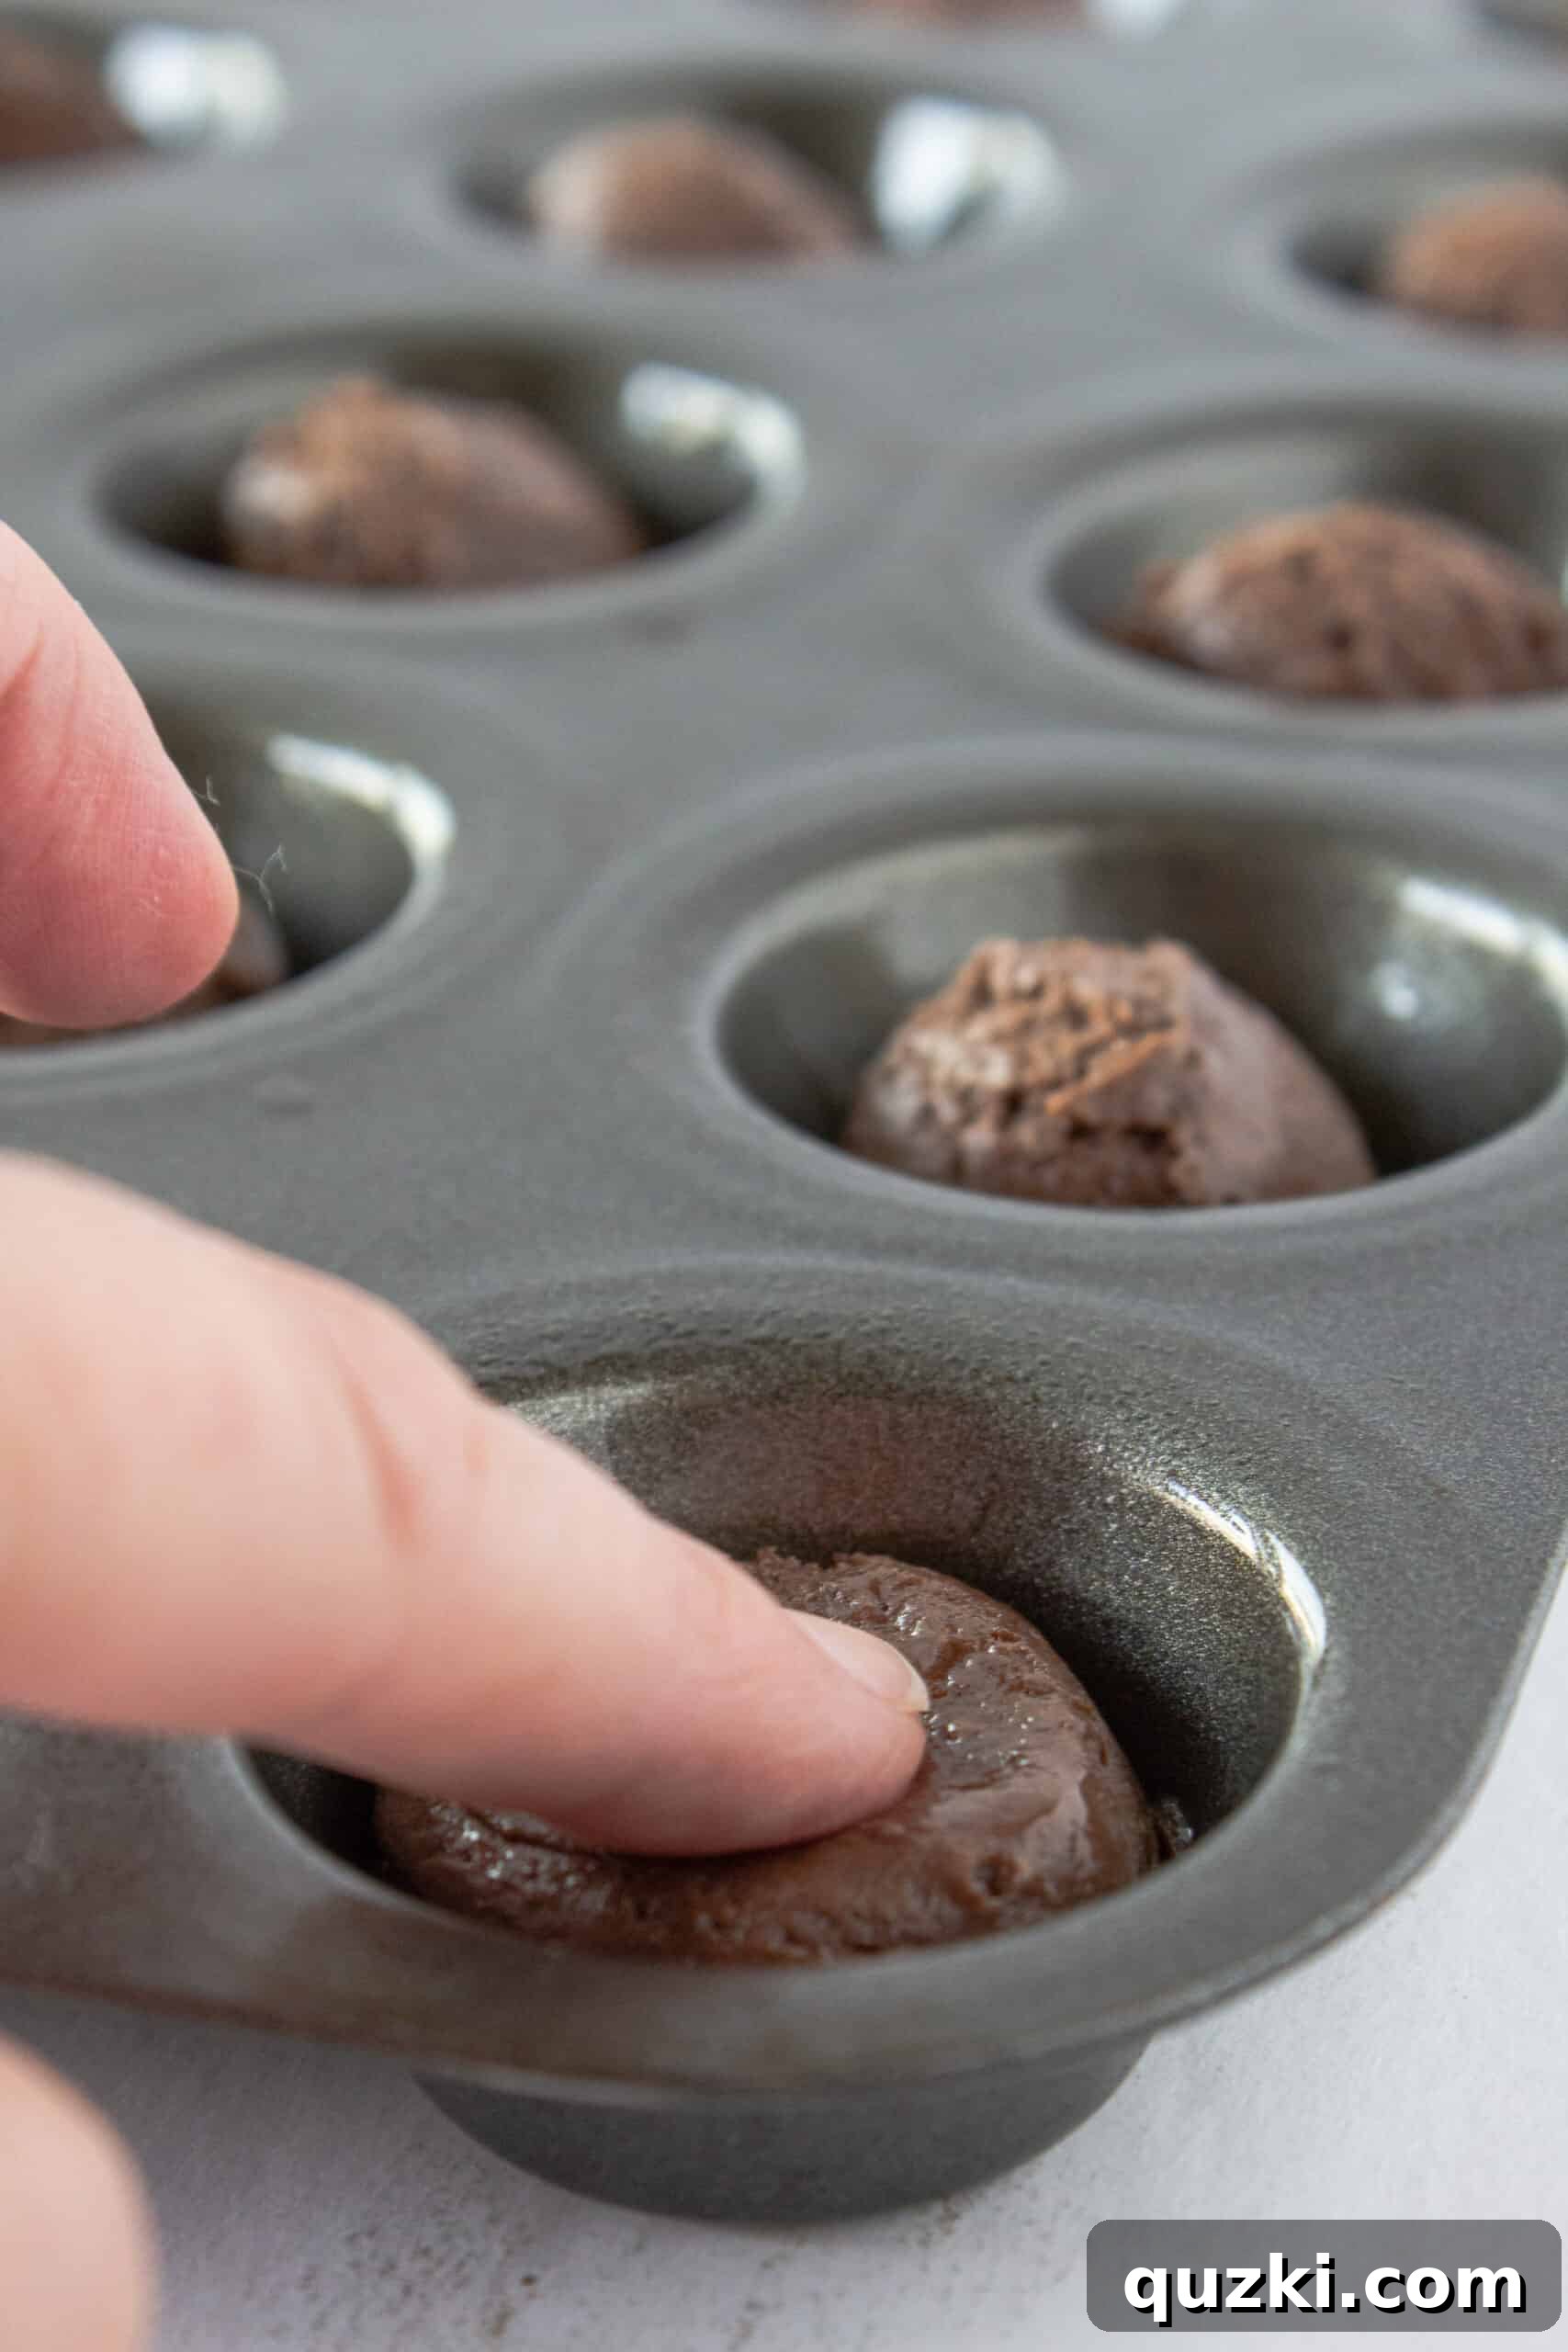
Once the dough is in the muffin pan, gently use your fingers to press down the top of each cookie mound. This flattens the dough, creating a level surface that will eventually form the base of your cookie cup. Bake in the preheated 350°F (175°C) oven for approximately 9-11 minutes. Keep a close eye on them; avoid overbaking, as they will continue to firm up as they cool, ensuring a tender and moist texture.
4. Create the Candy Cavity
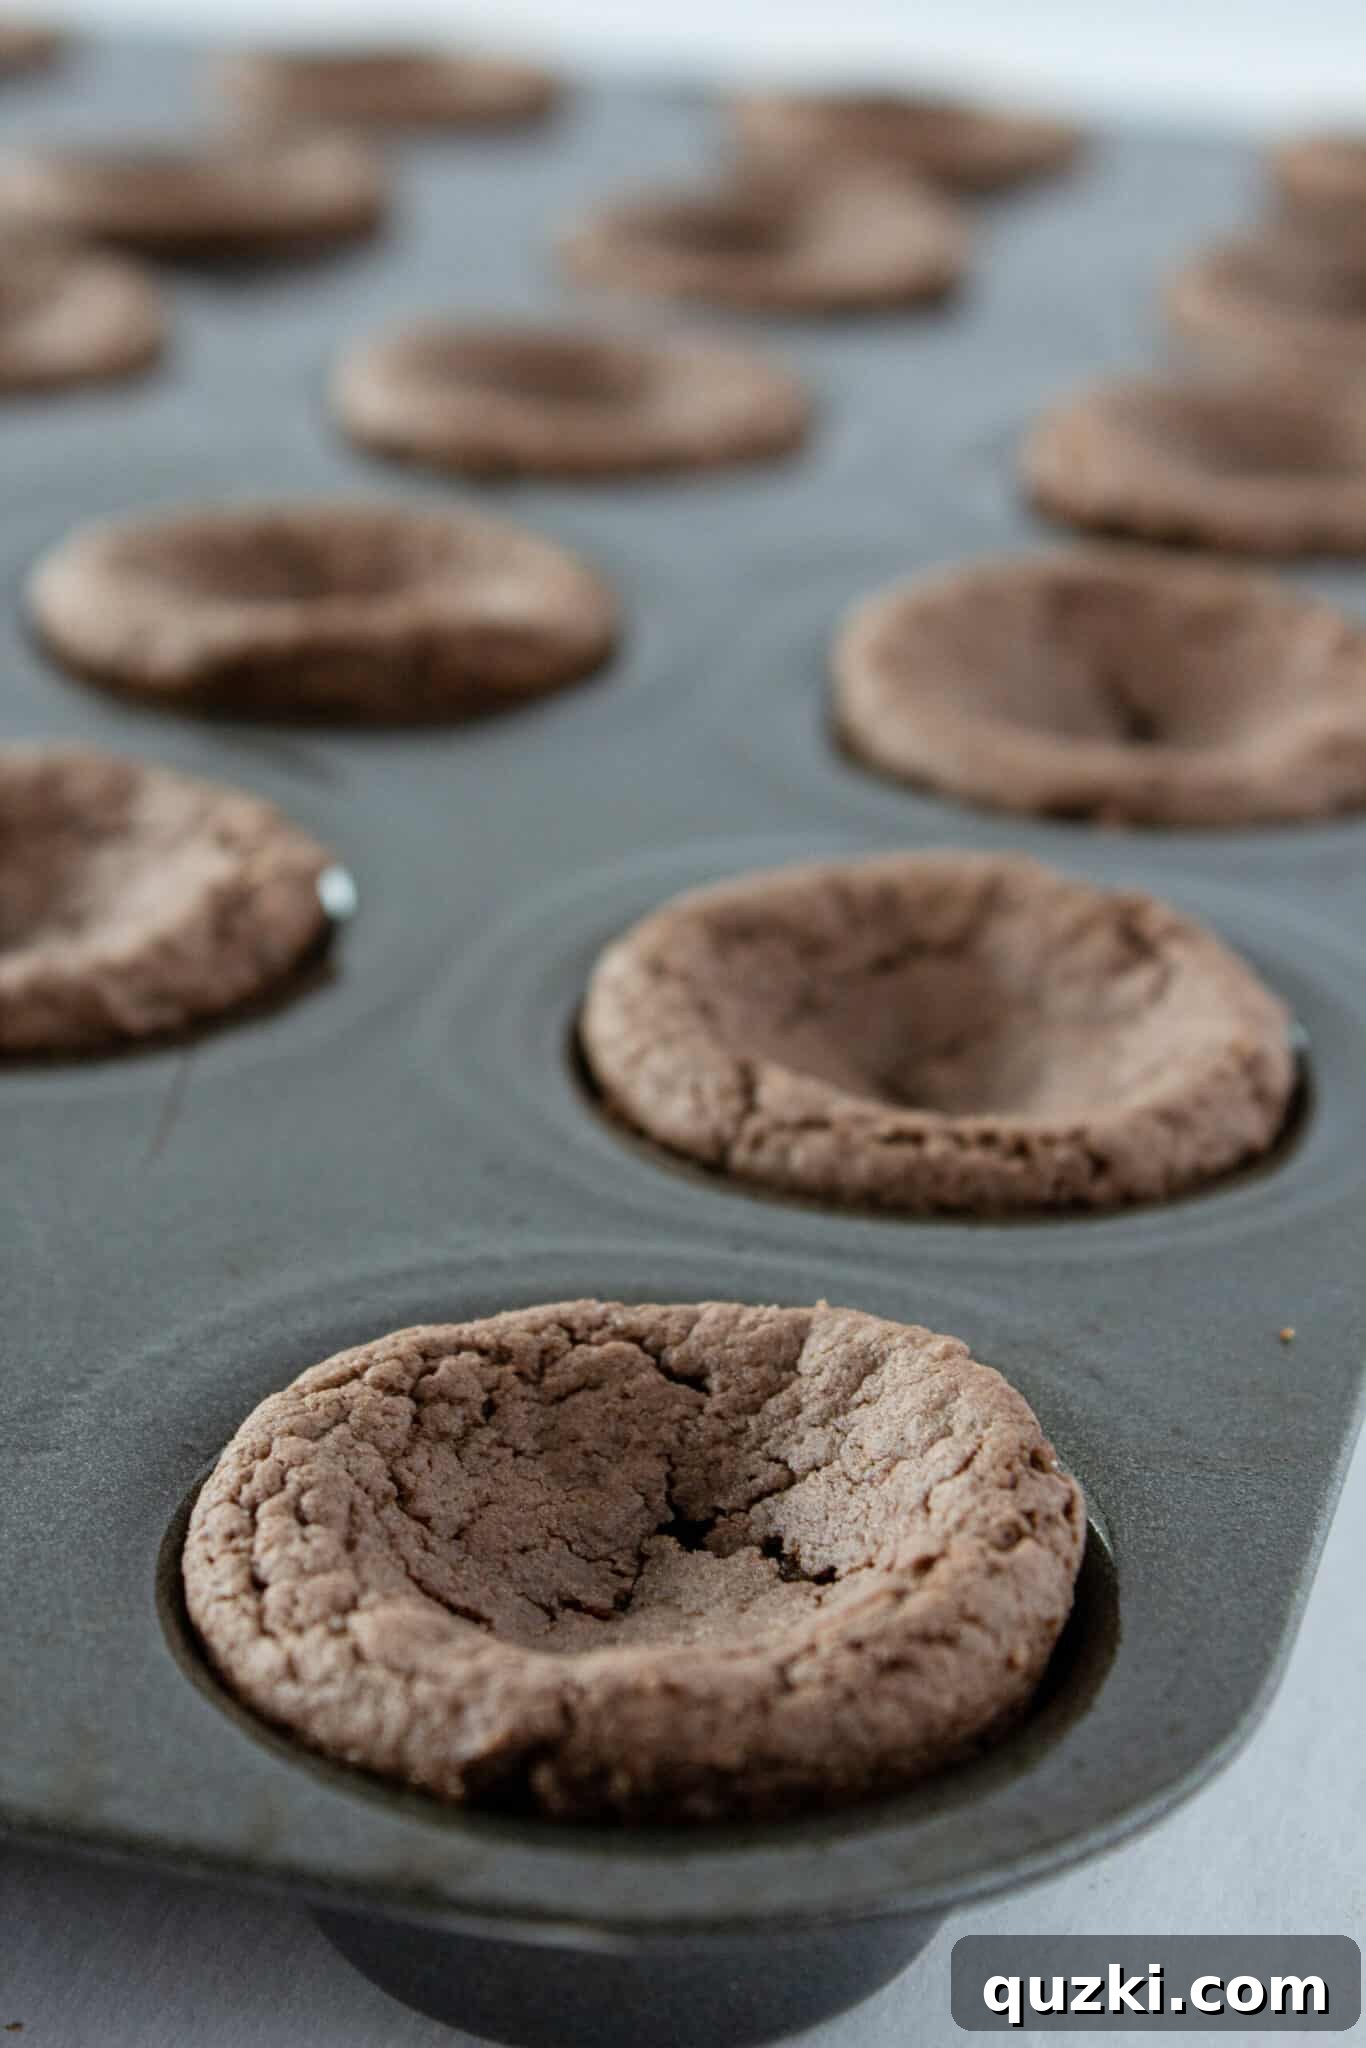
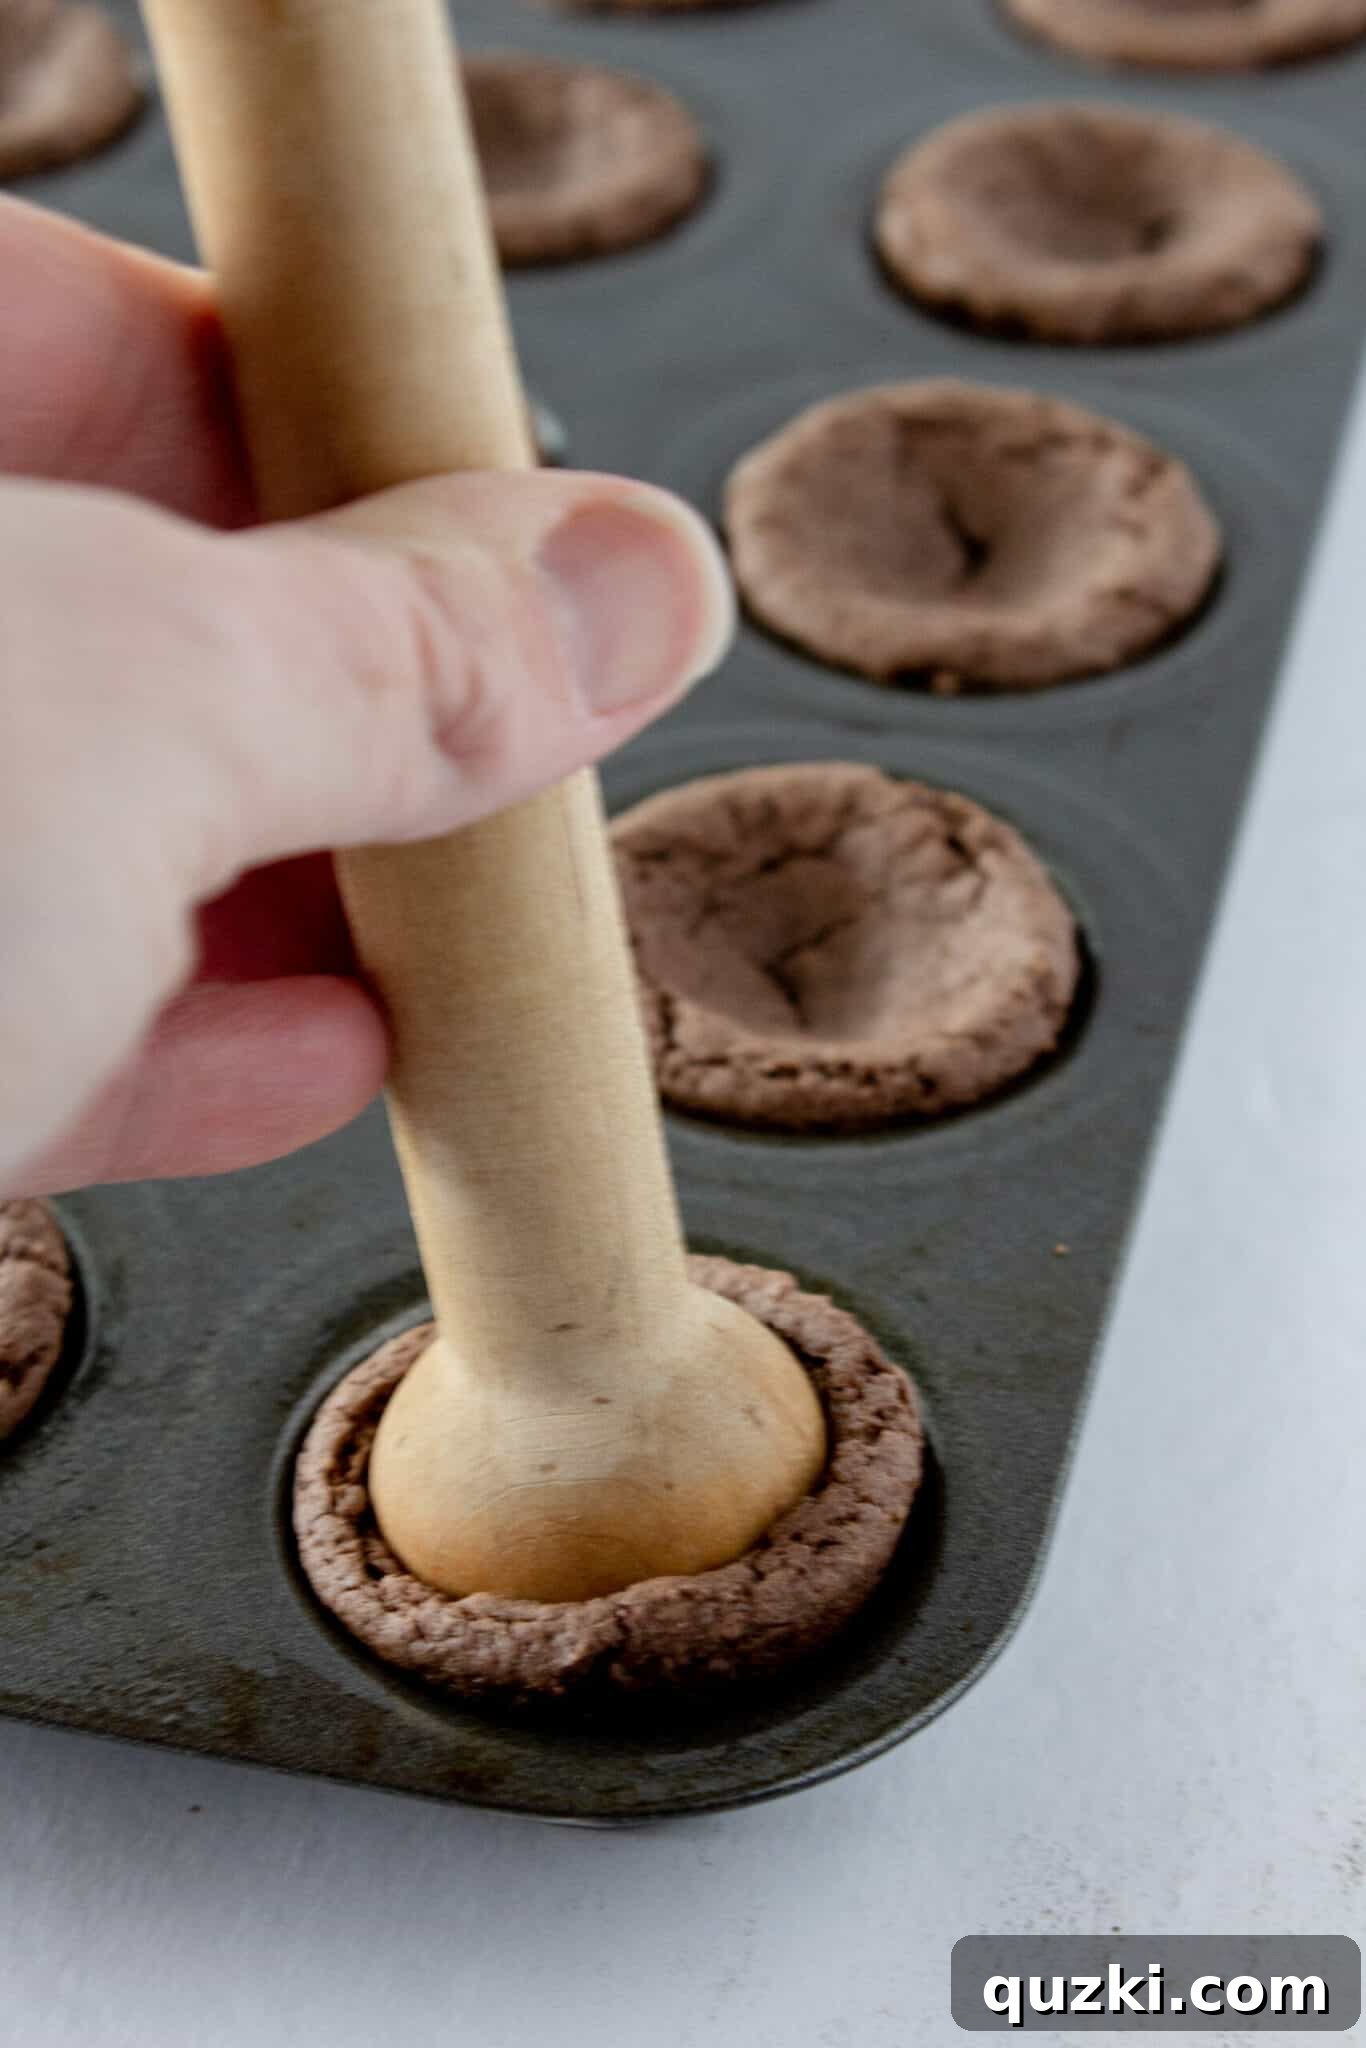
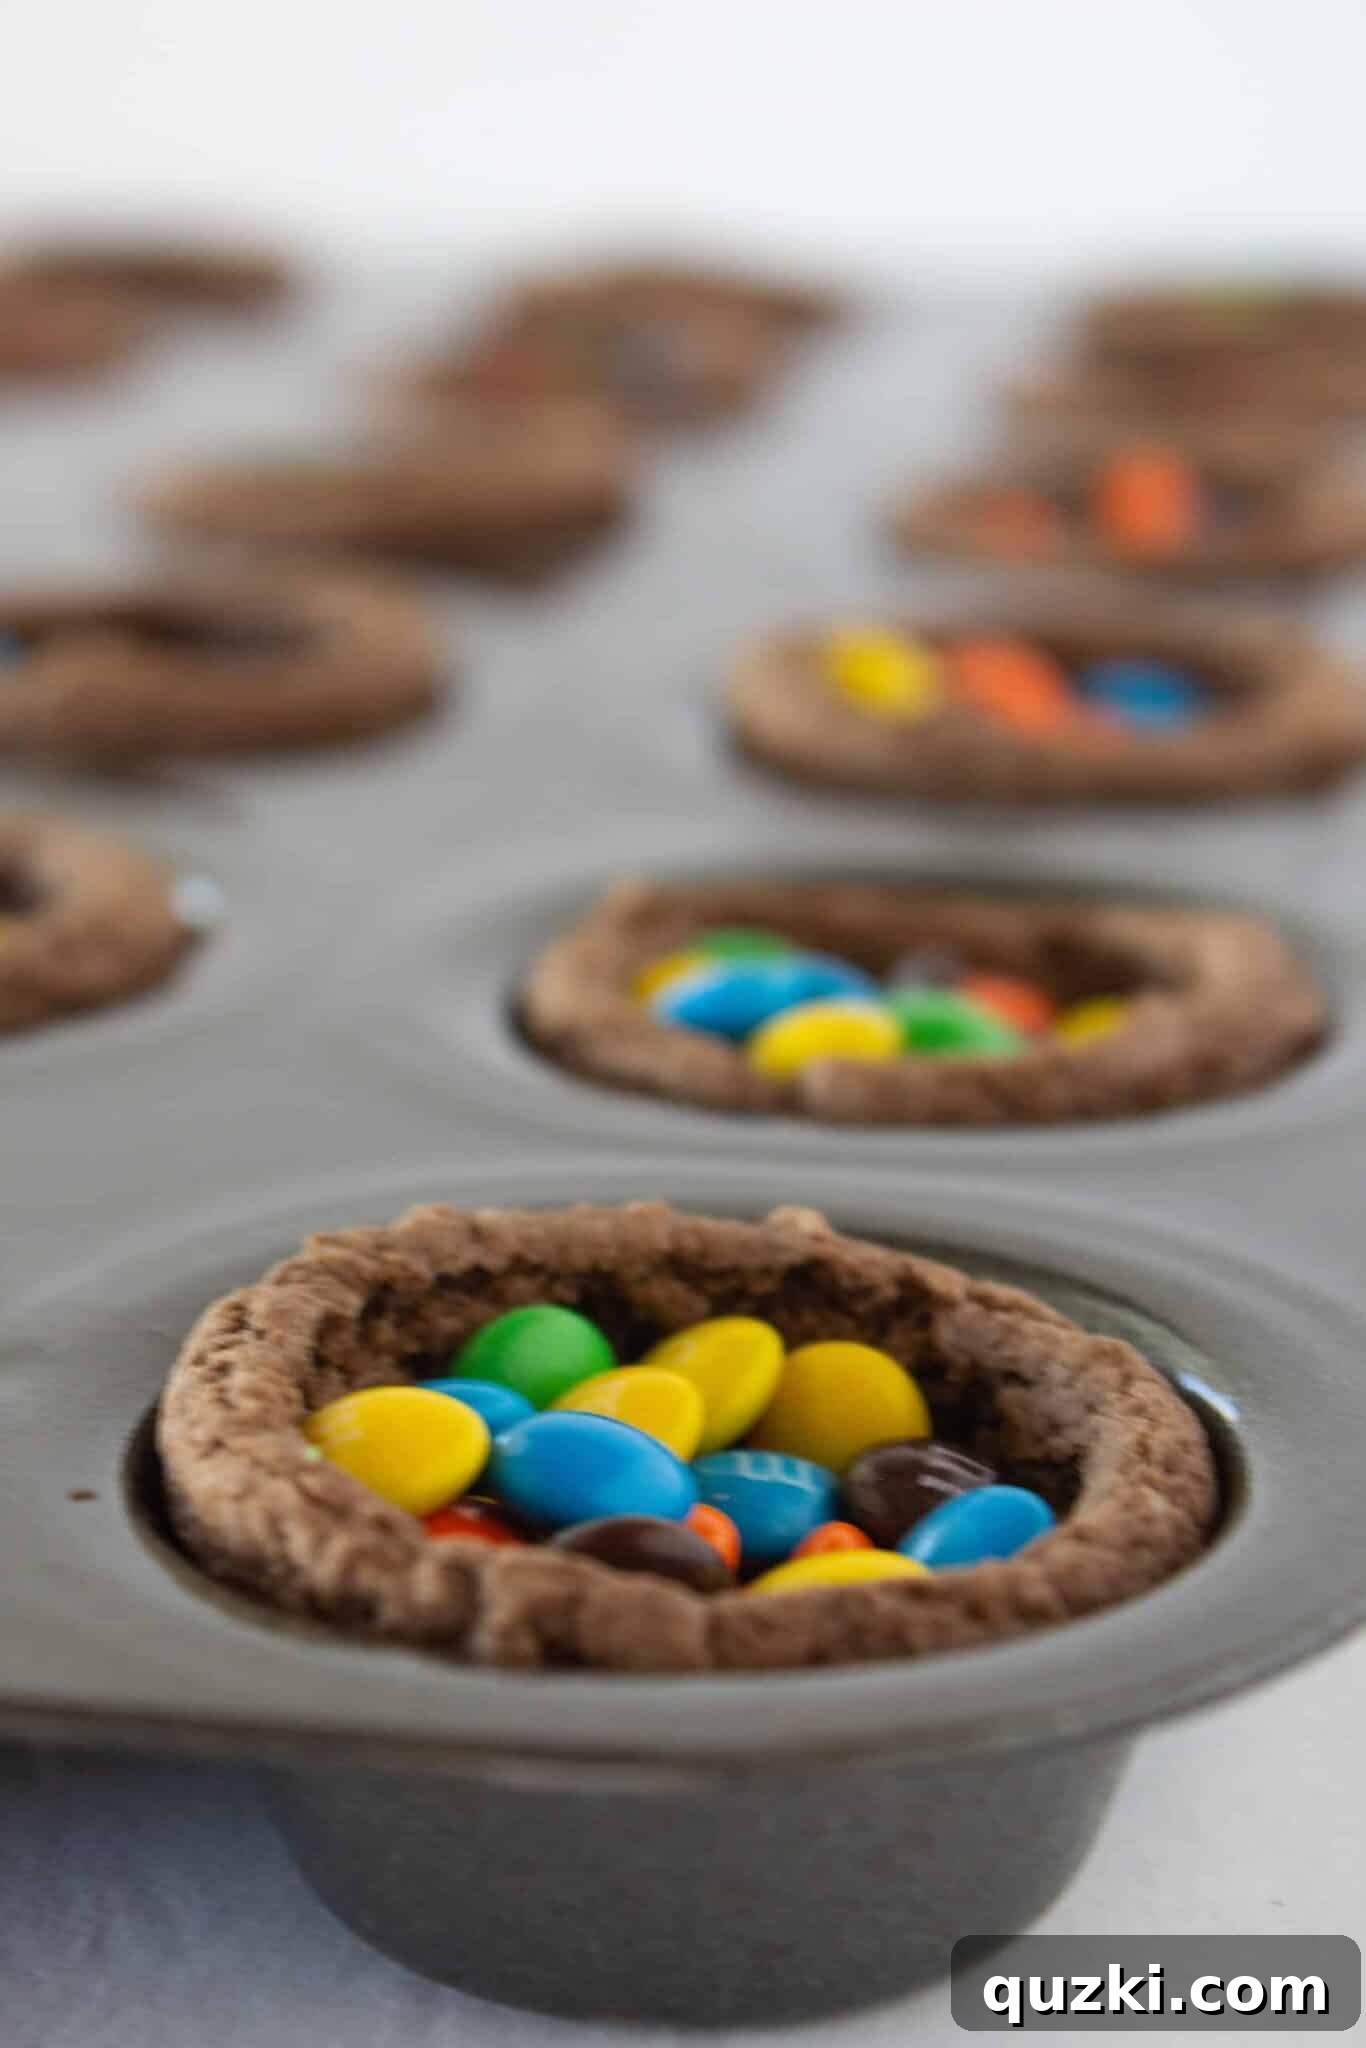
As soon as you remove the muffin pan from the oven, immediately take a small knife (an offset butter knife works wonderfully) and carefully run it around the edge of each warm cookie cup. This helps to loosen them from the pan and prevents sticking. Then, while the cookies are still warm and pliable, use a tart shaper (or the back of a small spoon or even your thumb) to gently press down into the center of each cookie. This action creates the perfect indentation or “cavity” that will hold your surprise candy filling. Once shaped, transfer the cookie cups to a wire cooling rack and allow them to cool completely before proceeding.
5. Fill with Sweet Surprises
Once the cookie cups are completely cool, it’s time for the most exciting part! Carefully spoon about a tablespoon of mini M&M’s into the indentation of each cookie cup. Feel free to be generous with the candy – this is where the “piñata” fun truly comes alive. Ensure the candies sit neatly within the cavity, ready to be covered.
6. Frost and Adorn Your Pinata Cookies
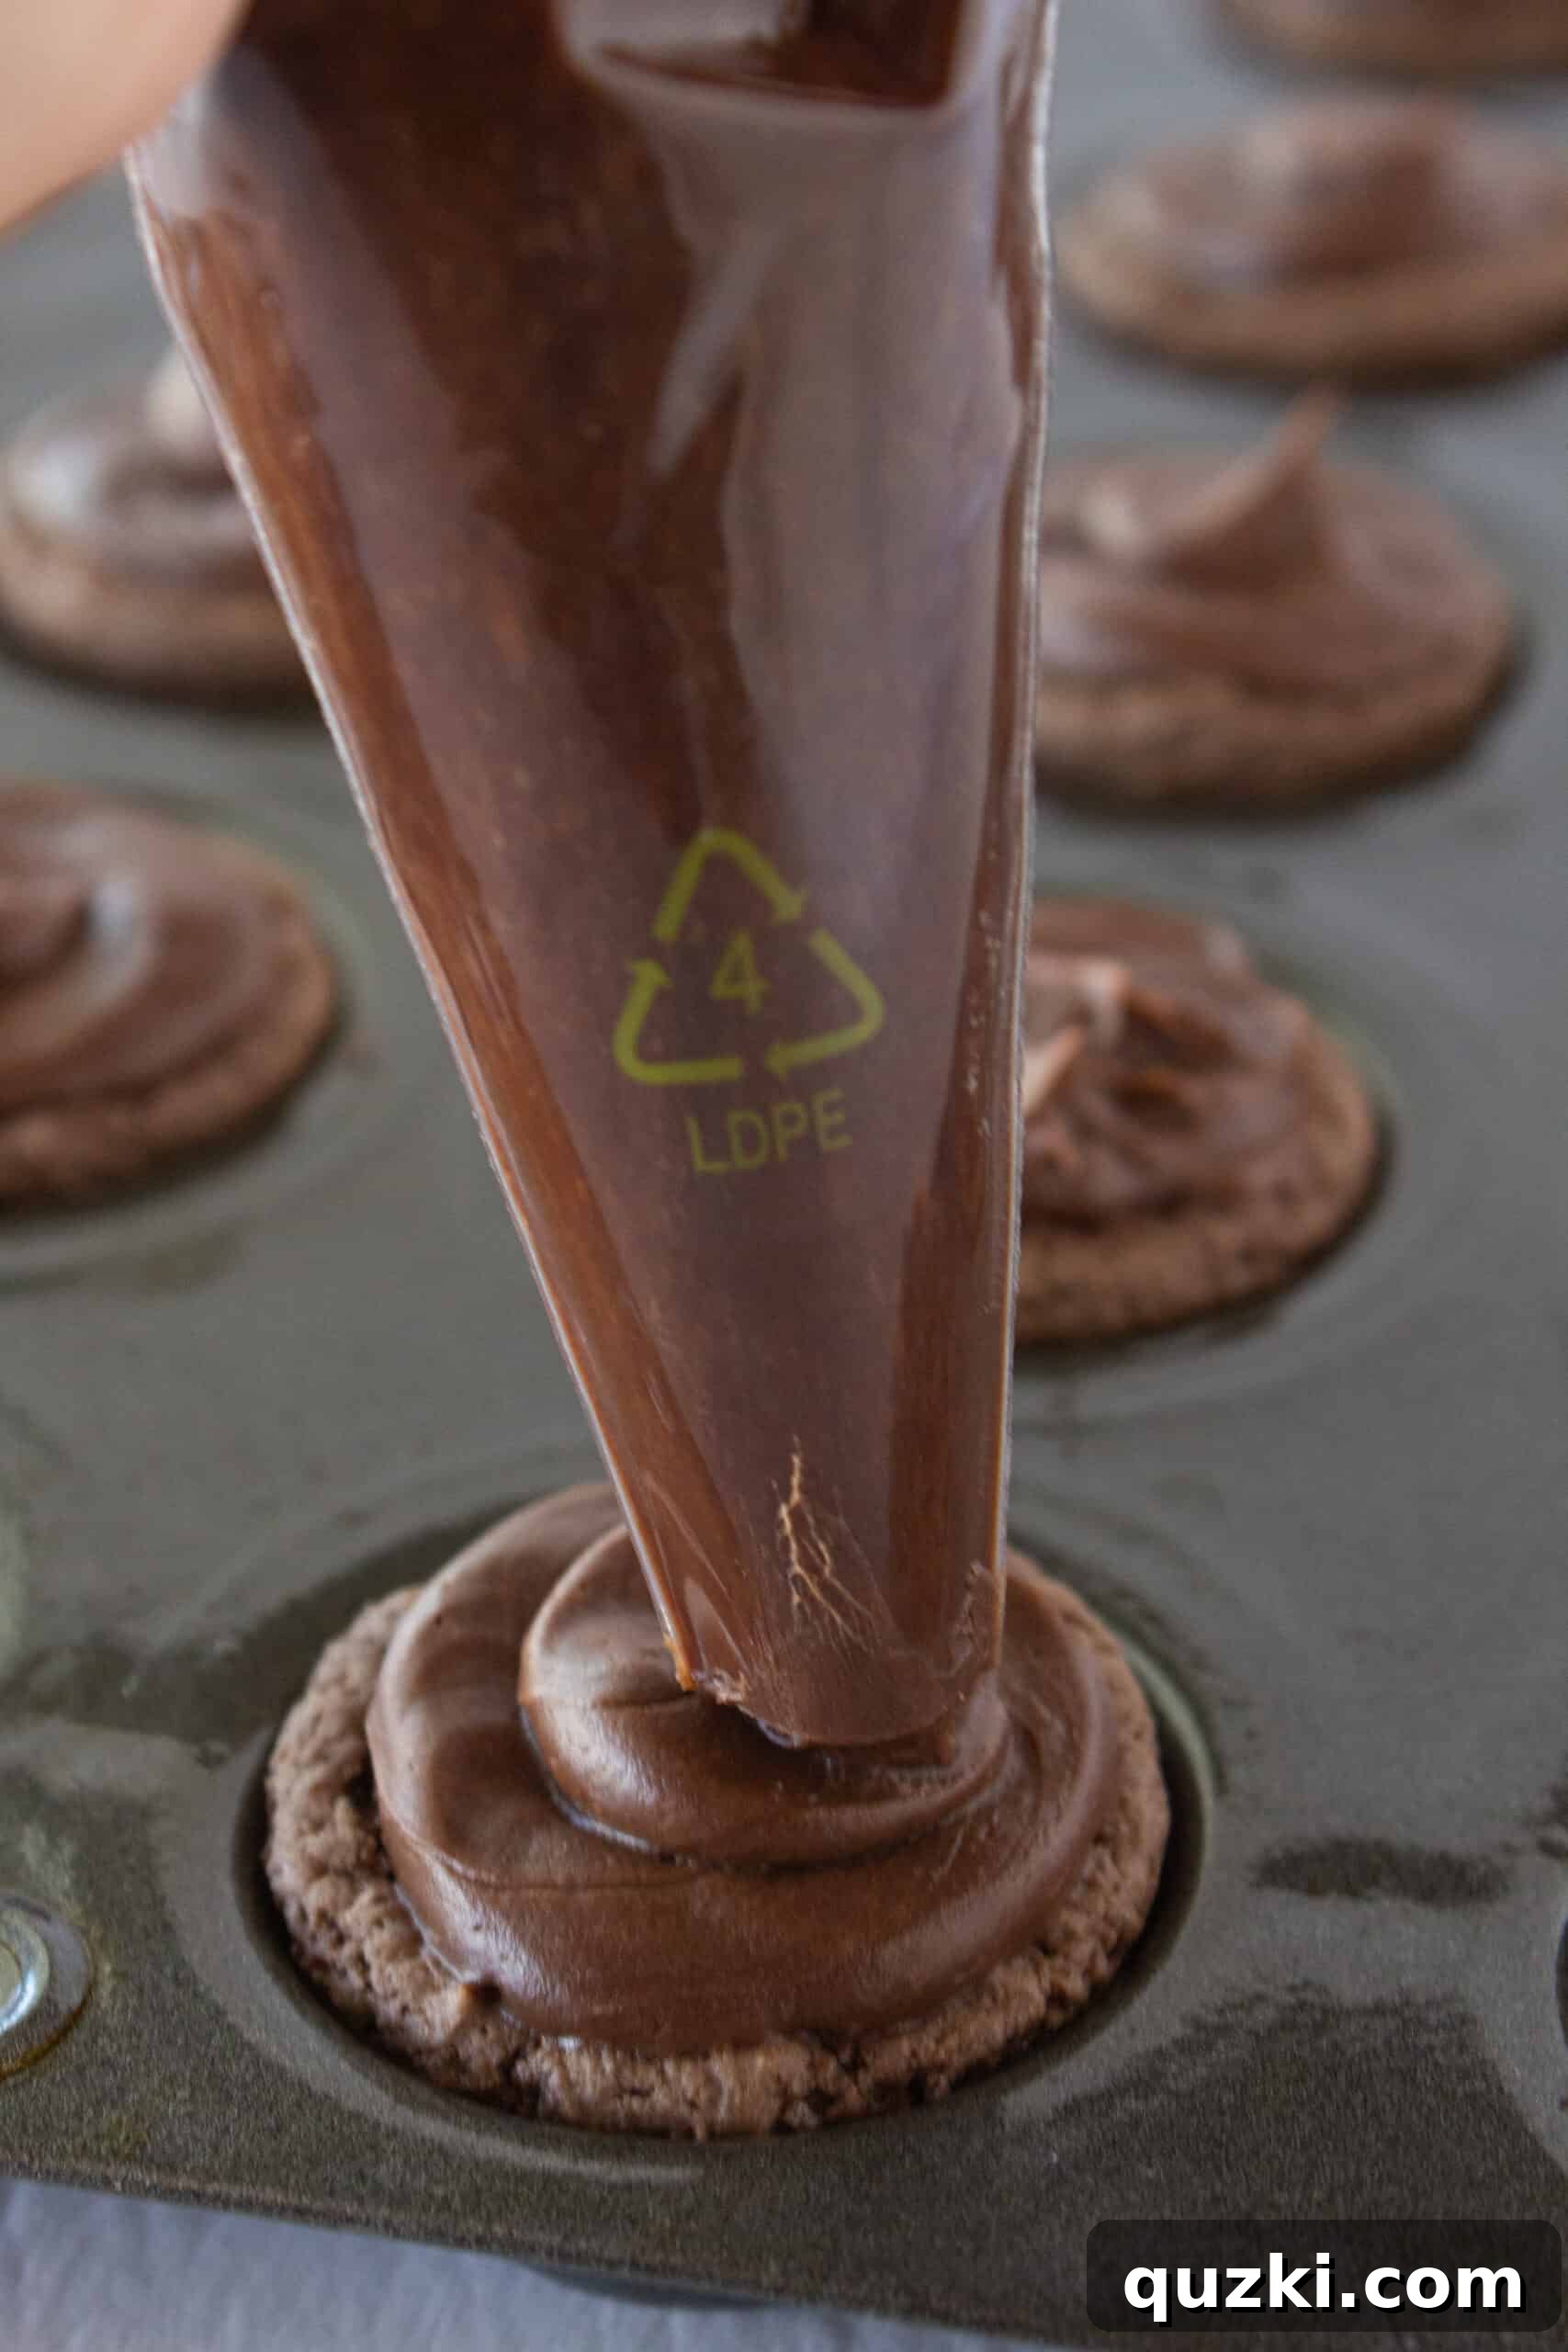
To seal in the candy surprise, fill a piping bag (or a sturdy Ziploc bag with a corner snipped off) with prepared chocolate frosting. Starting from the outside edge of the cookie cup and working your way inward, pipe a swirl of frosting over the mini M&M’s. The goal is to completely cover the candy, ensuring no colorful bits peek through. This creates a smooth, inviting top layer.
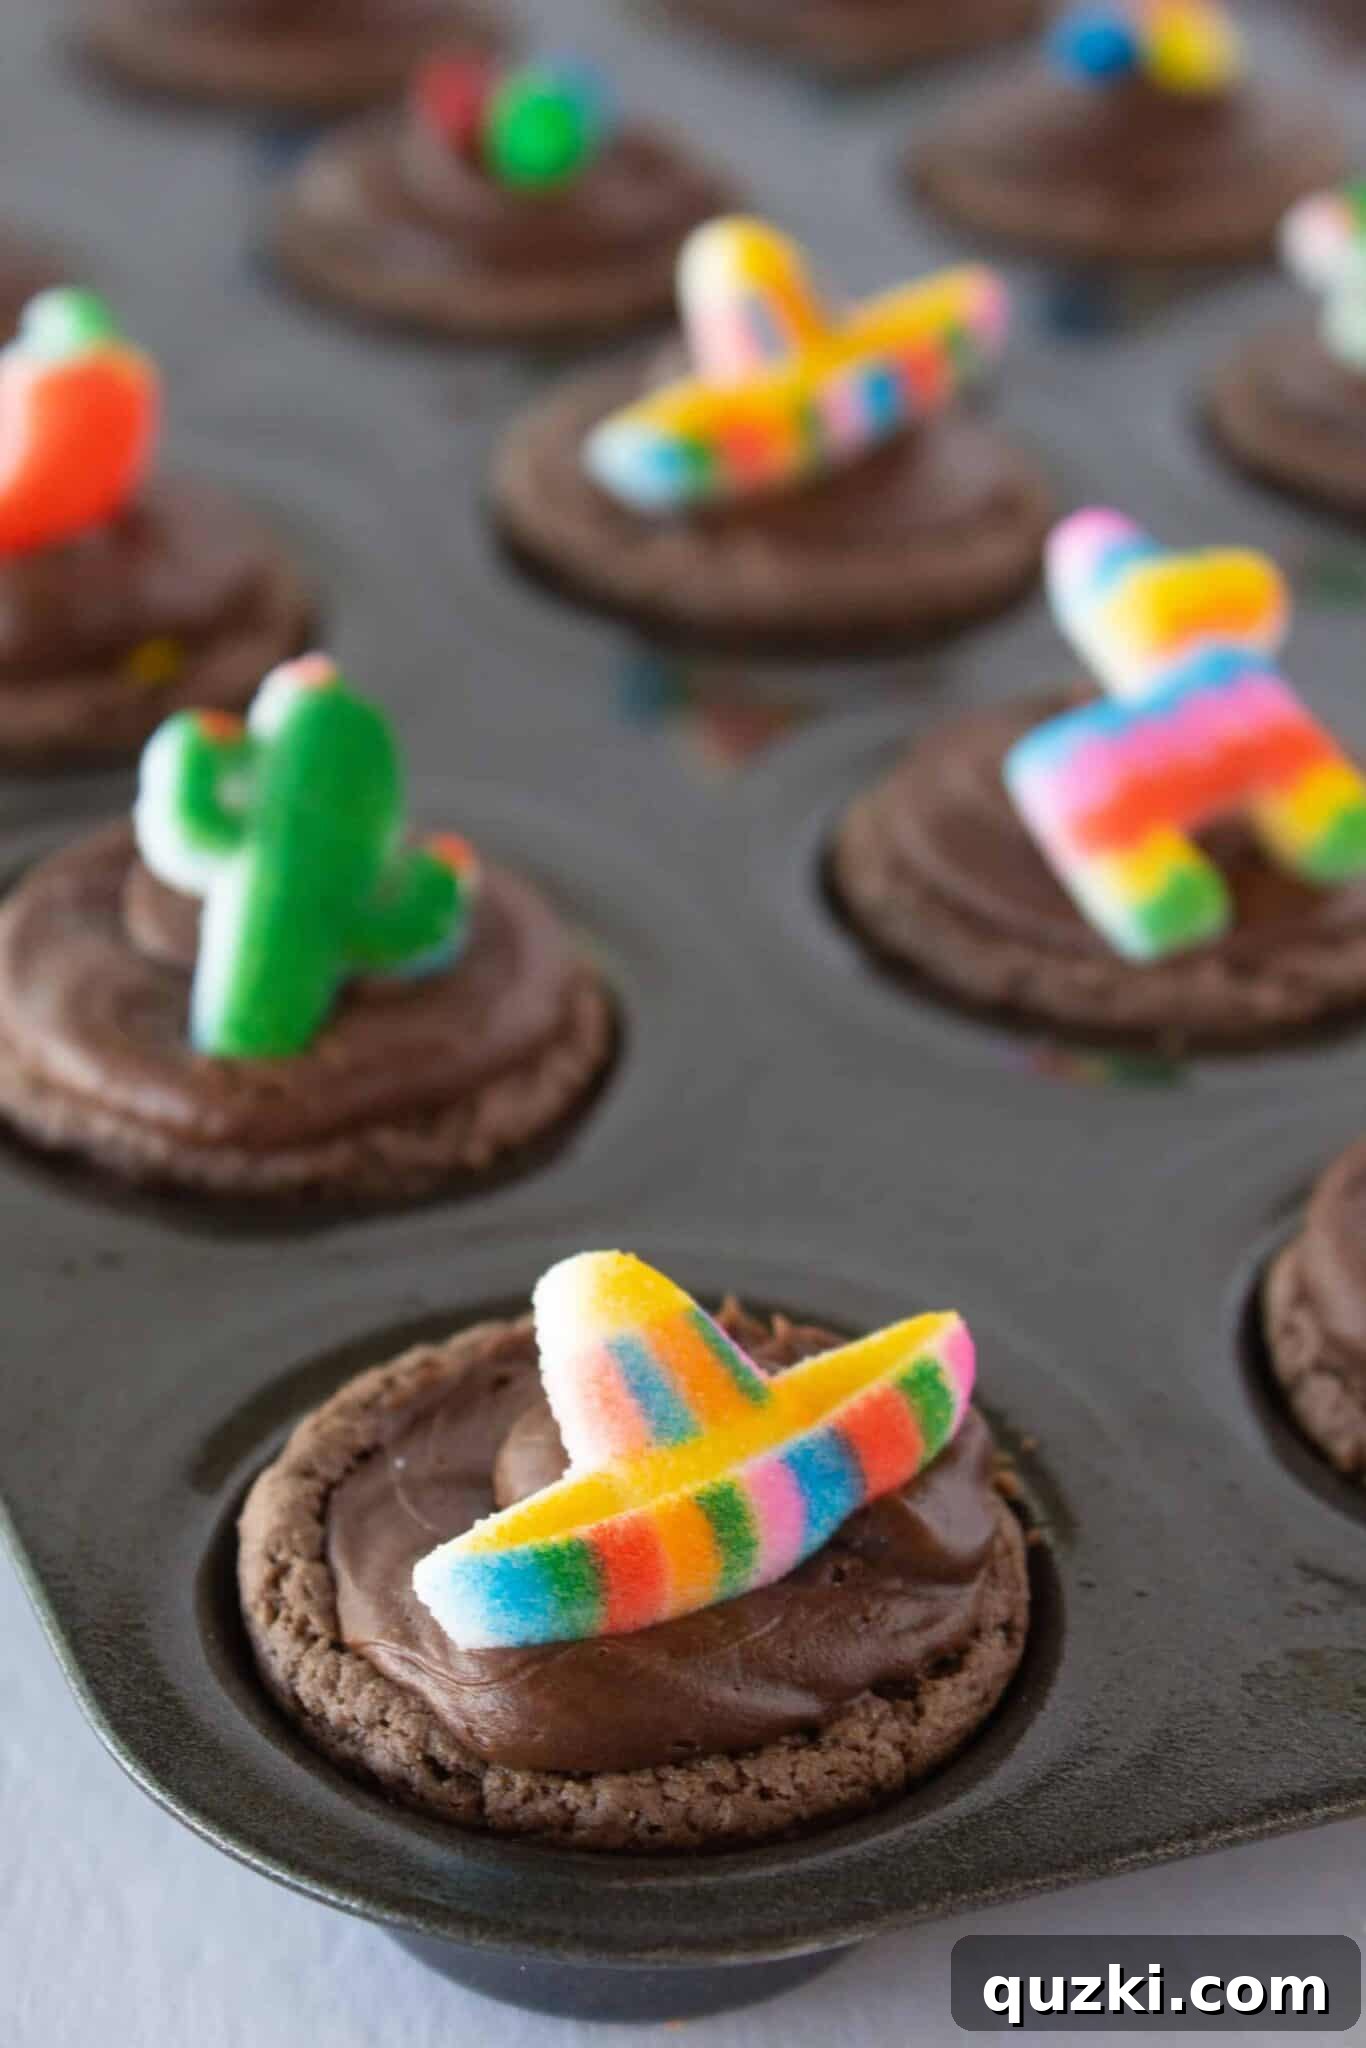
For an extra festive touch, adorn the frosted cookies with adorable sugar toppers, like miniature piñatas or festive designs. If sugar toppers aren’t available, a sprinkle of extra mini M&M’s or colorful sprinkles will also do the trick. Now, all that’s left is to take a delicious bite and enjoy the magic!
Tips for Perfect Pinata Cookie Cups Every Time
- Don’t Overbake: Cake mix cookies are prone to drying out if baked too long. Aim for just-set edges and a slightly soft center. They will continue to cook and firm up as they cool.
- Grease Your Pan Liberally: Even with a non-stick pan, a good spray of cooking oil ensures your cookie cups release effortlessly without breaking.
- Shape While Warm: The key to creating a perfect indentation is pressing the center while the cookies are still warm and flexible. If they cool too much, they might crack.
- Cool Completely: Before adding your candy filling and frosting, make sure the cookie cups are entirely cool. Warm cookies will melt the candy and frosting, leading to a messy result.
- Get Creative with Frosting: While chocolate frosting is classic, feel free to experiment with vanilla, cream cheese, or even colored frosting to match your party theme.
- Storage: Store your assembled Pinata Cookie Cups in an airtight container at room temperature for up to 5 days to maintain their freshness and delightful texture.
Unleash Your Creativity: Pinata Cookie Filling Ideas
While mini M&M’s are a classic choice, the beauty of Pinata Cookies lies in their endless customization possibilities. Here are some fun and colorful ideas to fill your cookie cups:
- Sprinkles: A mix of colorful sprinkles (jimmie, nonpareils, or confetti) creates a dazzling explosion.
- Skittles: For a fruity, chewy surprise, crush them slightly or use mini Skittles if available.
- Mini Chocolate Chips: A more subtle chocolatey surprise that’s always a crowd-pleaser.
- Small Jelly Beans: Offer a variety of flavors and a chewy texture.
- Nerds: For a tangy, crunchy pop of flavor that kids especially love.
- Mini Sweet Tarts: A delightful sweet and sour combination.
- Mini Chiclets Gum: A fun, unexpected chewable treat (ensure guests are aware it’s gum!).
- Tiny Candies: Explore other miniature candies like Reese’s Pieces Minis, or tiny gummy bears.
Mix and match these fillings for an even greater variety of surprises, making each cookie a unique adventure!
Frequently Asked Questions About Pinata Cookies
- Can I use a different flavor cake mix?
- Absolutely! While chocolate is a fantastic base, feel free to experiment with vanilla, funfetti, red velvet, or even a spice cake mix to create different flavor profiles for your cookie cups.
- What if I don’t have a mini muffin pan?
- You can try using a regular muffin pan, but your cookies will be much larger, and you’ll need to adjust baking times. You can also form balls of dough and press an indentation after baking on a regular cookie sheet, though the “cup” shape might not be as defined.
- How far in advance can I make these cookies?
- The cookie cups can be baked and stored in an airtight container for up to 3 days before filling and frosting. Once assembled, they are best enjoyed within 2-3 days to maintain optimal freshness and candy texture.
- Can I freeze Pinata Cookies?
- You can freeze the baked, unfrosted cookie cups for up to 3 months. Thaw them at room temperature before filling and frosting. Freezing them after filling with candy is not recommended as some candies might not hold up well to freezing and thawing, becoming sticky or losing texture.
- Are these suitable for children’s parties?
- Definitely! Pinata Cookies are incredibly popular with children due to their hidden candy surprise. They make fantastic party favors or a fun activity to decorate together.
Explore More Festive Cinco de Mayo Desserts!
If you’ve fallen in love with these delightful Pinata Cookies and are seeking more celebratory treats, be sure to explore our other fantastic Cinco de Mayo-inspired recipes:
Delicious Recipes to Elevate Your Celebration
Desserts
Cinco de Mayo Dessert: Churro Bars
Desserts
Easy Tres Leches Cake
Cookies
Mexican Hot Chocolate Cookies
Cheesecakes
No Bake Margarita Cheesecake Recipe
5 from 1 vote
Pinata Cookies Recipe Made with a Cake Mix
By: June Albertson-Dick
These Pinata Cookies are the easiest and most delicious Cinco de Mayo dessert ever! Best of all, they’re filled with a fun surprise!
Prep: 40 mins
Cook: 25 mins
Total: 1 hr 5 mins
Servings: 36 cookie cups
Rate Recipe
Print Recipe
Ingredients
Cookie Cups
- 15.25 ounces chocolate cake mix
- 2 eggs
- ⅓ cup vegetable oil
Filling & Frosting
- 3 cups mini M&M’s
- 16 ounces prepared chocolate frosting
- Pinata Shaped Toppers, optional
Instructions
Cookie Cups
- Preheat oven to 350°F (175°C). Prepare a mini muffin pan by spraying each cup liberally with non-stick cooking spray. Pour the chocolate cake mix into a medium bowl and whisk or sift to remove any lumps. Add eggs and oil to the cake mix and combine with a handheld mixer or by hand until the dough is thick and slightly sticky.
- Using a small cookie scoop (or about ½ tablespoon), place a mound of cookie dough into each muffin cup. Gently use your fingers to press the mound of dough down to create a level cookie surface.
- Bake for 9-11 minutes. Do not overcook; the cookies will set further as they cool. Remove from oven and immediately run a knife around the edge of each cookie cup to loosen it from the pan.
- While the cookies are still warm, use a tart shaper (or the end of a wooden spoon) to press down into the middle of each cookie, creating a distinct indentation. Move the cookies to a cooling rack and let them cool completely. Continue baking a second batch if necessary.
Assembling Pinata Cookie Cups
- Once the cookie cups are completely cooled, fill each cookie cavity (created in the previous step) with about a tablespoon of mini M&M’s.
- Fill a piping bag (or a sturdy Ziploc bag with a corner snipped) with prepared chocolate frosting. Pipe the frosting over the top of the M&M’s, starting from the outside edge and working inward, ensuring all the candy is covered.
- Once all the pinata cookies have frosting, add a shaped sugar topper or additional mini M&M’s for decoration. Store in an airtight container at room temperature for up to 5 days.
Nutrition
Serving: 1 cookie cup
Calories: 210kcal
Carbohydrates: 29g
Protein: 2g
Fat: 10g
Saturated Fat: 4g
Polyunsaturated Fat: 2g
Monounsaturated Fat: 2g
Trans Fat: 0.05g
Cholesterol: 12mg
Sodium: 137mg
Potassium: 68mg
Fiber: 1g
Sugar: 23g
Vitamin A: 53IU
Vitamin C: 0.1mg
Calcium: 40mg
Iron: 1mg
Nutrition information is automatically calculated and should be used as an approximation.
Loved this recipe? Share your thoughts below!
Your feedback helps us create more amazing content. Leave a comment and let us know how your Pinata Cookies turned out!