
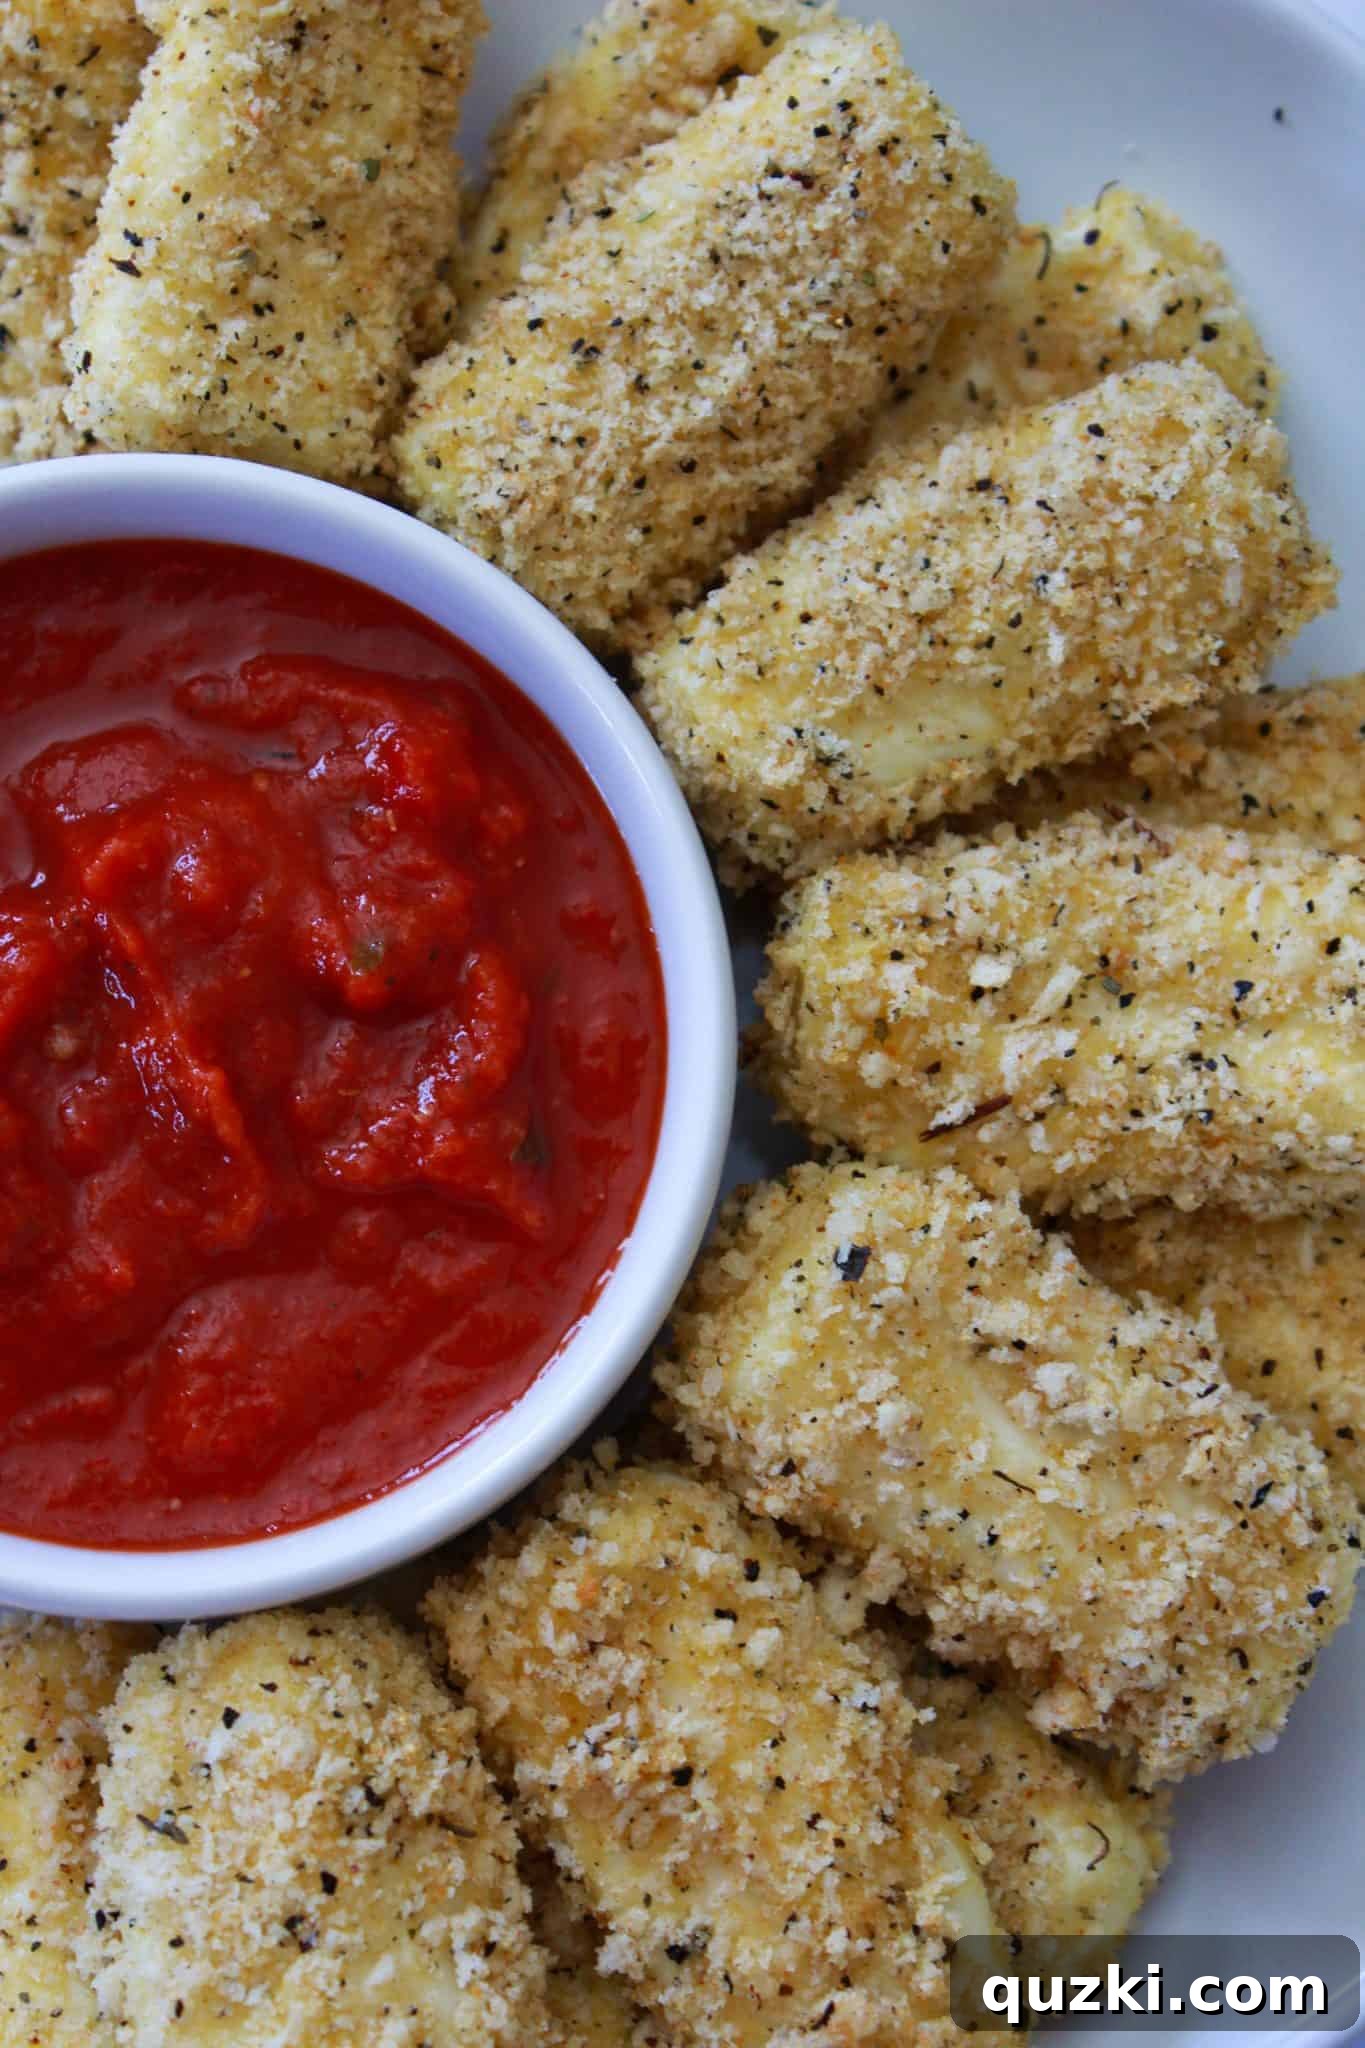
Crispy, Gooey Baked Mozzarella Sticks: Your Go-To Homemade Appetizer
Who can resist the irresistible allure of a perfectly golden, stringy mozzarella stick? They’re a staple on appetizer menus everywhere for a reason – people absolutely adore them! That delightful combination of soft, melting cheese encased in a crunchy, seasoned crust, all ready to be dipped into a rich marinara sauce, is pure comfort food. While they are undoubtedly a family favorite, the idea of deep-frying at home often deters many home cooks. If you’re like me and prefer to skip the mess and fuss of a deep fryer, you’re in for a treat! This recipe for **Baked Mozzarella Sticks** delivers all the beloved texture and flavor of the classic, but with a much lighter, oven-baked approach. Get ready to impress your family and friends, especially for the next big game, a festive holiday gathering, or just a simple family snack night!
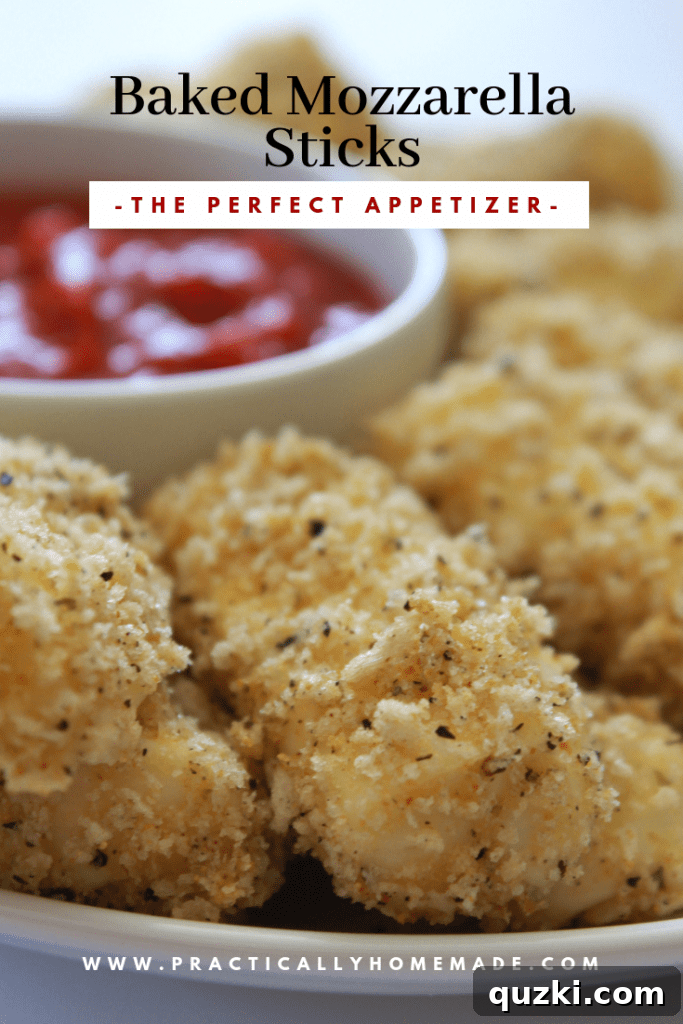
Why Choose Baked Mozzarella Sticks Over Fried?
The common misconception is that a baked cheese stick can’t possibly replicate the satisfying crunch and gooey center of its deep-fried counterpart. I was skeptical too, but I’m thrilled to report that this oven-baked method creates mozzarella sticks that are wonderfully crispy on the outside and perfectly soft and stretchy on the inside. The key to this culinary success lies in a few simple yet crucial steps, including a significant freezing period that helps maintain their shape and prevents the cheese from oozing out during baking, ensuring that sought-after crispy exterior and melted core.
Beyond the delightful texture, baking offers numerous advantages. It significantly reduces the amount of oil used, making these a healthier, less-greasy alternative to traditional fried versions. This also means far less cleanup in the kitchen – no splattering oil, no lingering deep-fry smell, and a much simpler process overall. It’s an accessible cooking method for everyone, removing the intimidation factor of deep-frying and opening up the world of delicious homemade mozzarella sticks to all culinary enthusiasts, from beginner cooks to seasoned chefs.
Another fantastic benefit? These baked mozzarella sticks reheat exceptionally well. You can make a big batch in advance and store them, then simply pop them in the oven for a few minutes or even a quick zap in the microwave, and they’re almost as good as fresh. This makes them ideal for meal prep, spontaneous snacking, or ensuring you always have a crowd-pleasing appetizer ready to go.
Essential Ingredients for Your Perfect Baked Mozzarella Sticks
Crafting these delectable cheese sticks requires just a handful of simple ingredients, most of which are likely already staples in your kitchen. The secret to their convenience and consistent quality lies in using mozzarella string cheese. Its pre-portioned size and low moisture content make it an ideal candidate for this recipe, ensuring uniform cooking and minimal leakage. For the signature crispy coating, we’ll employ a classic three-station dredging method: flour, egg wash, and a highly effective panko breadcrumb mixture. Panko is a game-changer here, as its light, airy, and flaky texture delivers an unparalleled crispiness that finer breadcrumbs simply cannot achieve. To elevate the flavor profile, we’ll infuse the panko with aromatic Italian seasoning and savory garlic powder.
What You’ll Need:
- Mozzarella String Cheese: 12 sticks, each cut in half. This yields 24 bite-sized pieces, perfect for appetizers.
- All-Purpose Flour: Approximately 3 tablespoons. This forms the initial dry layer that helps the egg wash adhere.
- Large Eggs: 2 eggs, whisked thoroughly with 1 teaspoon of water. This creates the essential “glue” for the breadcrumbs.
- Panko Breadcrumbs: 1 cup, preferably Italian-style for an inherent flavor boost, or plain panko that you’ll season yourself.
- Italian Seasoning: ½ teaspoon, to impart a fragrant blend of herbs to the crust.
- Garlic Powder: ½ teaspoon, for a complementary savory depth that pairs wonderfully with cheese.
- Non-Stick Cooking Spray: Crucial for helping the sticks brown evenly and preventing any sticking to the baking sheet.
- Warm Pizza Sauce: Your preferred choice for dipping. A classic marinara works beautifully too.
Step-by-Step Guide to Crafting Perfectly Baked Mozzarella Sticks
Step 1: Prepare and Freeze the Mozzarella
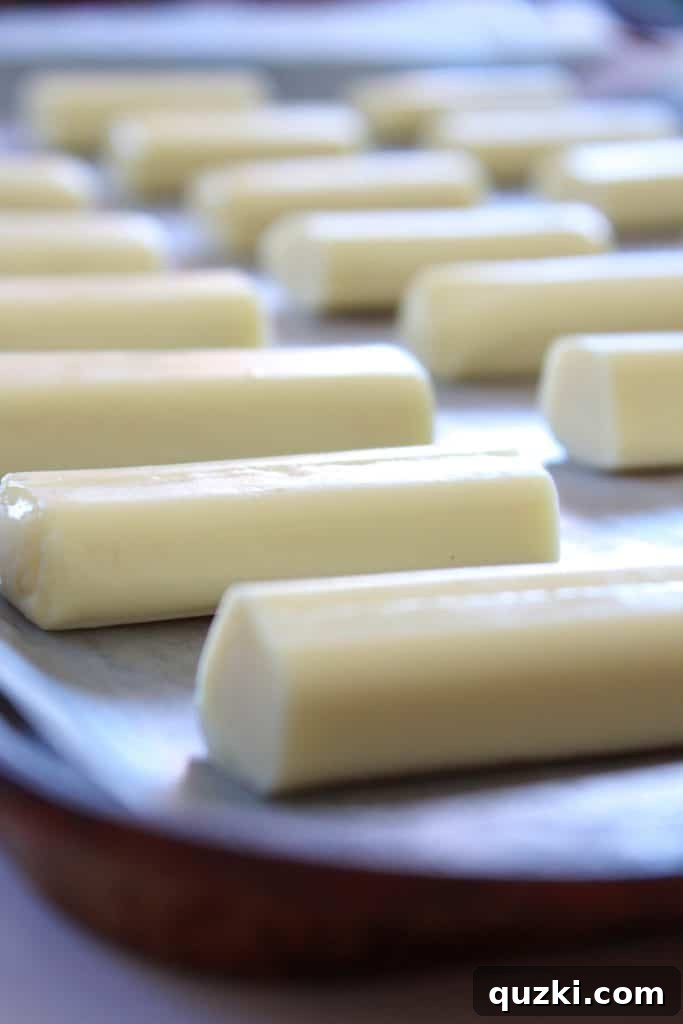
Begin your mozzarella stick journey by carefully taking your string cheese sticks and cutting each one precisely in half. This creates smaller, uniform pieces that are ideal for appetizers and ensure even cooking. Arrange these cheese halves in a single layer on a baking sheet. It’s important to line the baking sheet with either parchment paper or wax paper, which will prevent the cheese from sticking to the tray during freezing and make for easy handling. Once your cheese halves are neatly arranged, place the entire baking sheet into the freezer for a minimum of 15 to 30 minutes. This critical freezing step is non-negotiable; it helps the cheese firm up and maintain its shape, preventing it from melting too quickly and oozing out during the baking process. A properly frozen stick ensures a gooey interior without any messy leakage.
Step 2: Set Up Your Dredging Station
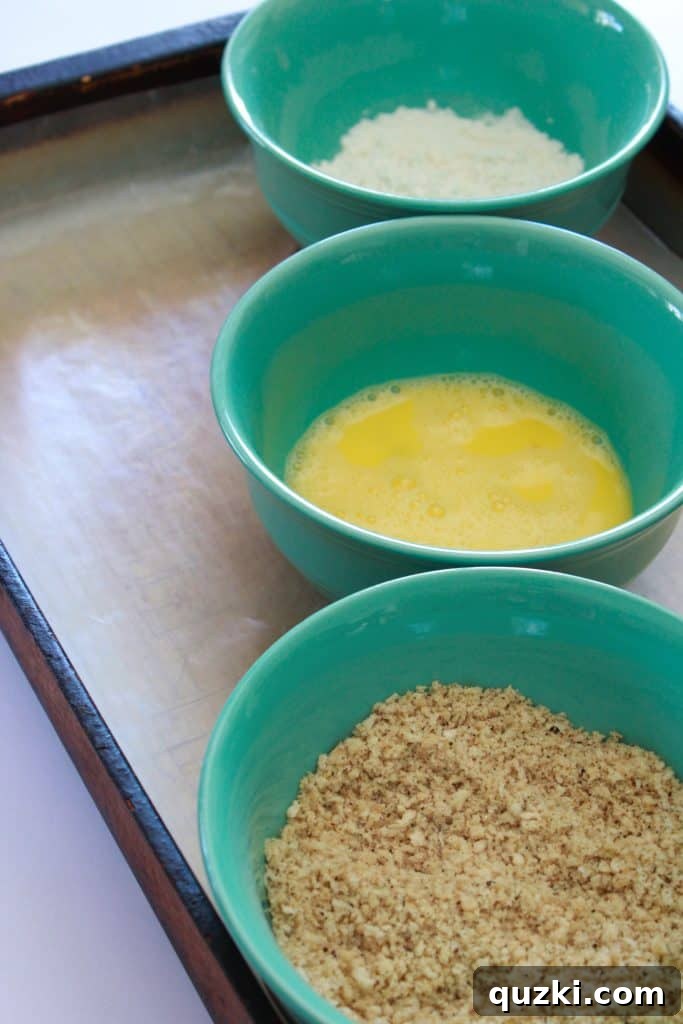
While your cheese sticks are chilling in the freezer, it’s the perfect time to prepare your organized dredging station. You will need three shallow bowls for this step. In the first bowl, pour your all-purpose flour. In the second bowl, whisk together the two large eggs with a teaspoon of water until the mixture is smooth and thoroughly combined; this will create your effective egg wash. In the third bowl, combine the panko breadcrumbs with the Italian seasoning and garlic powder, stirring them well to ensure the seasonings are perfectly and evenly distributed throughout the crumbs. For maximum efficiency and minimal mess, I highly recommend placing all three bowls onto a larger cookie sheet or tray. This setup creates a clean and streamlined assembly line for coating your cheese sticks.
Step 3: Coat with Flour
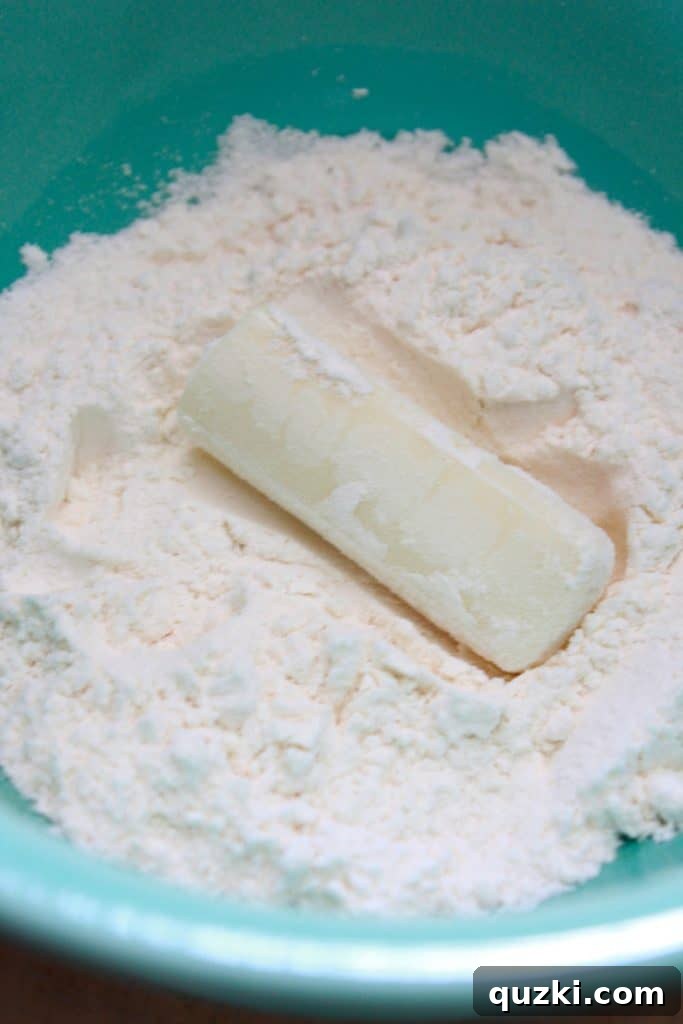
Once the cheese sticks have achieved sufficient firmness from their initial freeze, remove them from the freezer. Working meticulously one stick at a time, gently roll each mozzarella half in the flour. Ensure that the entire surface of the cheese stick is lightly coated. Then, carefully tap the side of the bowl or lightly shake the cheese stick to remove any surplus flour. The goal here is a thin, even layer of flour, which is essential for creating a good base for the subsequent coatings; too much flour can lead to an undesirable gummy texture in the final product.
Step 4: Dip in Egg Wash
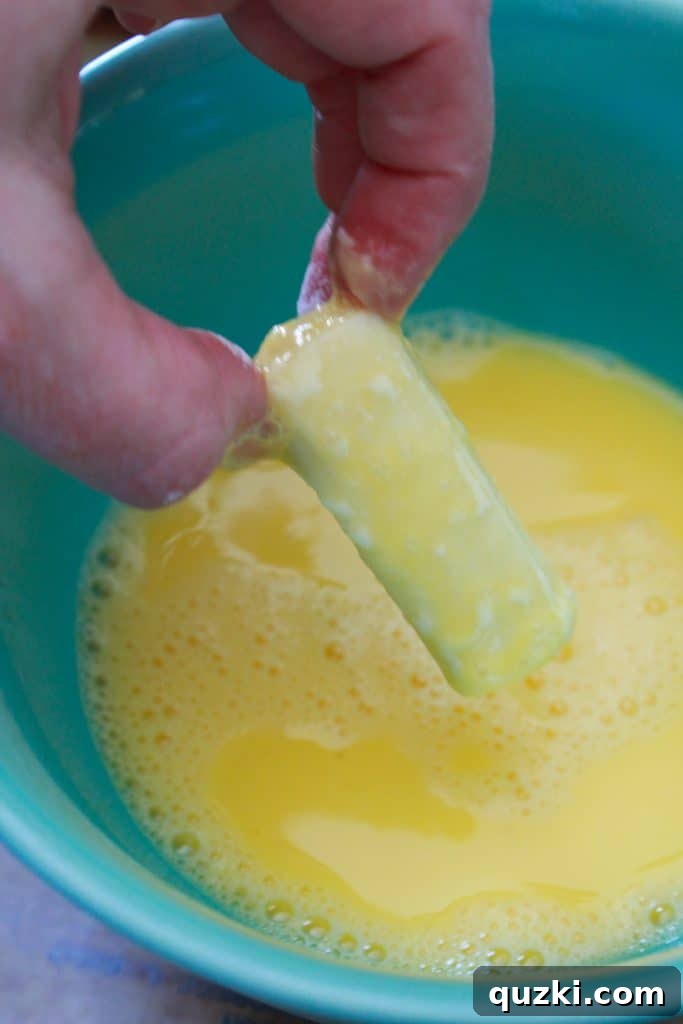
Next, carefully transfer the floured cheese stick into the egg mixture. Roll it around delicately to ensure it is completely coated from all angles. The egg wash plays a crucial role here, acting as the primary “glue” that will help the panko breadcrumbs adhere securely to the cheese, ultimately forming that perfect crispy crust. Allow any excess egg to drip off briefly before proceeding to the next station in your dredging assembly line.
Step 5: Apply Panko Breadcrumbs
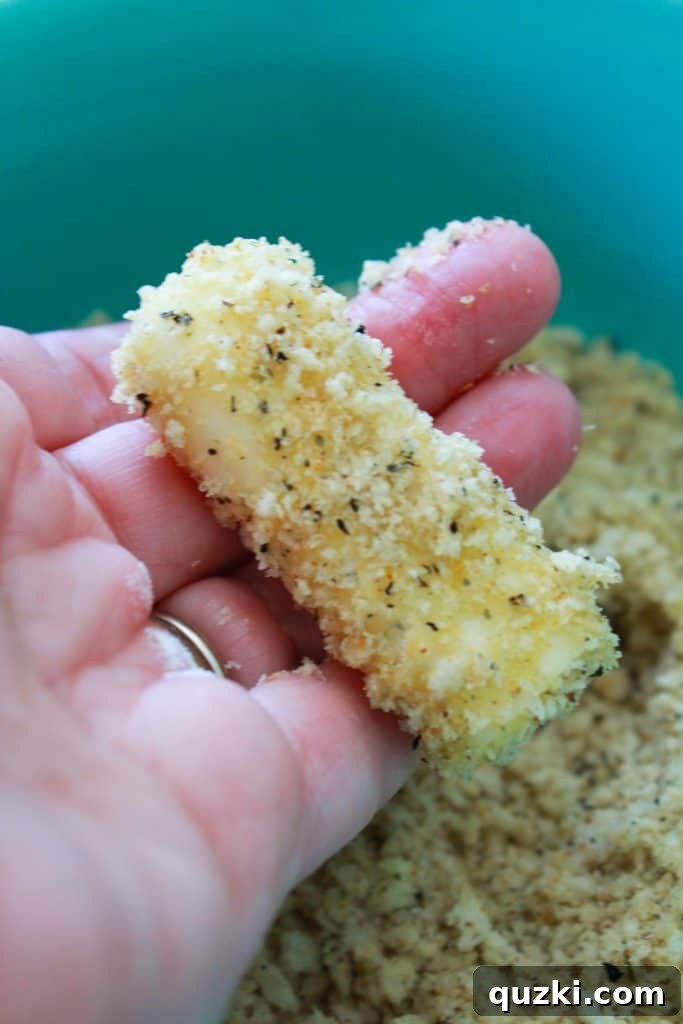
Finally, move the egg-coated cheese stick into the bowl containing the seasoned panko breadcrumbs. Roll it thoroughly and evenly in the mixture, taking a moment to gently press the crumbs onto the cheese stick. This pressing action helps to ensure a thick, consistent, and well-adhered coating. Remember, the more panko that confidently clings to the cheese stick, the crispier and more satisfying your baked mozzarella stick will ultimately be. Once fully coated, carefully place it onto a separate baking sheet that has been diligently lined with aluminum foil and lightly sprayed with non-stick cooking spray. Repeat this precise process for all the remaining cheese stick halves.
Step 6: Freeze Again for Optimal Crispiness
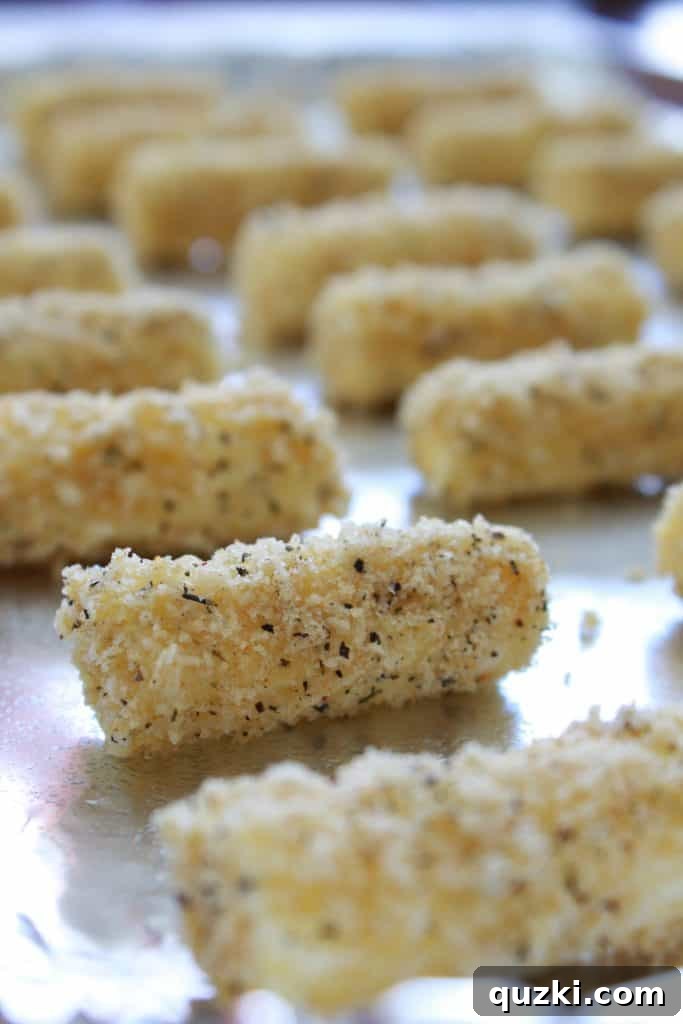
Once all the cheese sticks are meticulously coated and neatly arranged on the foil-lined baking sheet, it’s time for another vital step: place them back into the freezer for an additional 15 minutes. This second freeze is absolutely crucial for success! It serves to further firm up both the cheese and the breadcrumb coating, ensuring that the coating doesn’t fall off during baking and contributes significantly to achieving that ultimate, coveted crispy texture. While your mozzarella sticks are undergoing their second freezing, preheat your oven to a precise 400°F (200°C) to ensure it’s ready for baking.
Step 7: Bake to Golden Perfection
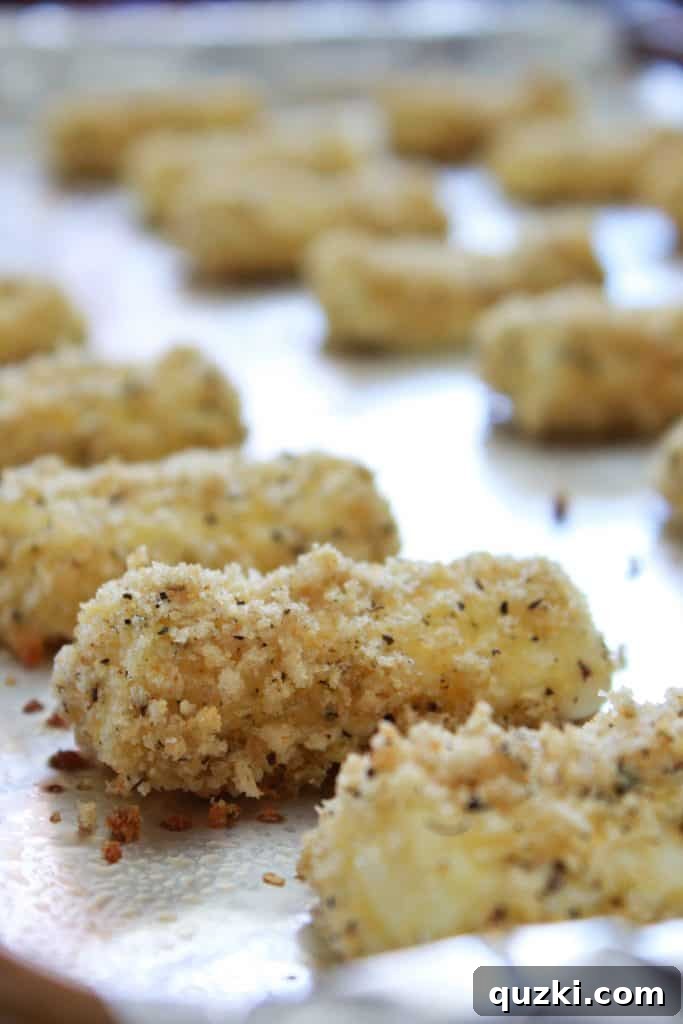
Carefully remove the thoroughly frozen, coated mozzarella sticks from the freezer. Just before placing them into the preheated oven, lightly spray the tops of each stick with non-stick cooking spray. This additional step is a small but powerful detail, as it greatly assists the panko in achieving a beautiful, even golden-brown color and guarantees a satisfying crunch with every bite. Bake the cheese sticks for approximately 8-9 minutes, or until the cheese inside is heated through, wonderfully soft and gooey, and the breadcrumbs have developed a rich, inviting golden-brown hue. It’s important to keep a close eye on them during the final minutes to prevent any overbaking, which could potentially lead to the cheese leaking out.
Step 8: Serve and Enjoy!
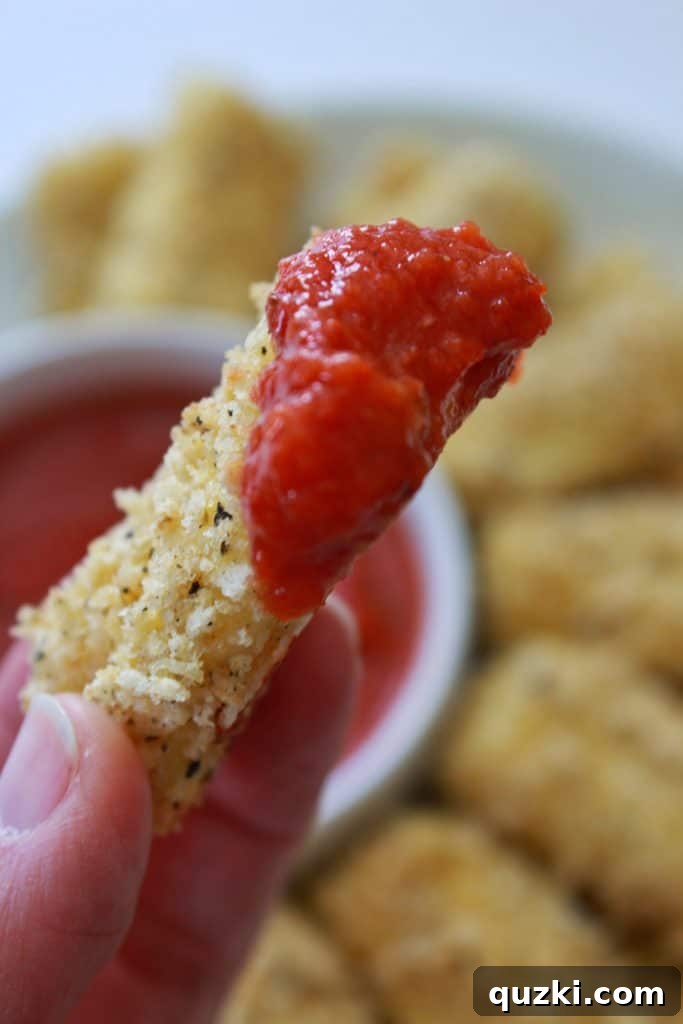
Once baked to perfection, exercise a little patience and resist the immediate urge to grab them! Allow the mozzarella sticks to set on the baking sheet for a crucial 2-3 minutes after removing them from the oven. This brief cooling period is vital, as it allows the molten cheese to slightly firm up, preventing it from completely flowing out when you pick them up, while still retaining that glorious, Instagram-worthy gooey pull. Serve them immediately with warm pizza sauce or your favorite dipping accompaniment. Your family and friends are sure to go absolutely crazy for these fun, simple, and utterly delicious homemade treats!
Expert Tips for the Best Baked Mozzarella Sticks
Achieving perfectly crispy and gooey baked mozzarella sticks is simple when you follow a few key guidelines. Here are some pro tips to ensure your homemade appetizer is a resounding success every time:
- Embrace the Freeze: The freezing steps are absolutely non-negotiable for successful baked mozzarella sticks. They are the primary defense against cheese leakage and are crucial for maintaining the sticks’ shape and achieving that desirable crispy crust.
- Ensure Even Coating: A complete and even coating of flour, egg wash, and panko is paramount. Any exposed cheese can melt out prematurely, leading to a less-than-perfect result.
- Season Your Panko Generously: Don’t just rely on plain panko! Enhancing it with Italian seasoning, garlic powder, onion powder, or even a tiny pinch of cayenne pepper can significantly elevate the overall flavor profile of your crust.
- Consider a Double Coat (Optional): For an extra thick, robust, and supremely crispy crust, you can double-coat the sticks. After the first panko coating, dip the sticks back into the egg wash and then into the panko again before performing the second freeze.
- Monitor Baking Closely: Oven temperatures can vary, so it’s always wise to start checking your mozzarella sticks around the 7-minute mark. Overbaking can cause the cheese to leak, so pull them out as soon as they’re golden and gooey.
- Serve Promptly: While they do reheat well, baked mozzarella sticks are always at their absolute best when enjoyed fresh out of the oven, when the cheese is at its peak gooey, stretchy perfection.
- Don’t Overcrowd the Pan: Give each mozzarella stick space on the baking sheet to allow for even heat circulation, which promotes crisping. Baking in batches if necessary is better than overcrowding.
Creative Dipping Sauce Ideas & Flavor Variations
While the classic pairing of warm pizza sauce with mozzarella sticks is undeniably a match made in heaven, don’t hesitate to explore beyond the traditional! Experimenting with different dipping sauces can introduce exciting new flavor dimensions to your baked mozzarella sticks. Here are some fantastic alternative dipping options to consider, along with ideas for customizing the sticks themselves:
Dipping Sauce Inspiration:
- Ranch Dressing: A creamy, tangy classic that provides a delightful contrast to the rich mozzarella.
- Pesto: For a fresh, aromatic, and distinctly Italian twist that adds a vibrant herbaceous note.
- Honey Mustard: Offers a unique balance of sweet and savory, adding a zesty kick.
- Garlic Aioli: Elevates the flavor profile with its rich, creamy texture and potent garlic notes, perfect for garlic lovers.
- Spicy Marinara: Easily achieved by stirring a pinch of red pepper flakes or a dash of hot sauce into your regular pizza sauce for a touch of heat.
- Warm Nacho Cheese Sauce: For an ultra-indulgent, extra-cheesy experience that takes comfort food to another level.
- Balsamic Glaze: A sophisticated, slightly sweet, and tangy drizzle that adds a gourmet touch.
Mozzarella Stick Flavor Variations:
- Herb-Infused Crust: Finely chop fresh herbs like parsley, oregano, or basil and mix them directly into your panko breadcrumb mixture for a garden-fresh aroma.
- Spicy Kick: Incorporate a pinch of red pepper flakes into either your flour or panko mixture for a subtle, warming heat that builds with each bite.
- Parmesan Boost: Grate some fresh Parmesan or Pecorino Romano cheese into the panko for an extra layer of salty, umami-rich flavor and a crispier texture.
- Smoked Paprika: A teaspoon of smoked paprika in the panko adds a beautiful color and a smoky depth that is incredibly appealing.
Make-Ahead and Storage Instructions
These baked mozzarella sticks are remarkably well-suited for advance preparation, making them a perfect choice for busy weeknights or upcoming gatherings! You can fully prepare and coat the cheese sticks, completing both crucial freezing steps. After the second freeze, instead of proceeding directly to baking, transfer the thoroughly frozen, coated sticks to a freezer-safe airtight container or a heavy-duty freezer bag. When stored correctly, they can maintain their quality in the freezer for up to 1-2 months. When you’re ready to enjoy them, simply preheat your oven to 400°F (200°C), lightly spray the tops of the frozen sticks with non-stick spray, and bake from frozen for approximately 10-12 minutes, or until they achieve that perfect golden-brown crispiness and a gloriously gooey center.
If you happen to have any leftovers (a rare occurrence with these delicious bites!), they can be stored in an airtight container in the refrigerator for up to 3-4 days. To reheat them while best preserving their texture, place them on a baking sheet in a preheated oven at 350°F (175°C) for about 5-7 minutes, or until they are crispy again and heated through. While you can microwave them for 20-30 seconds, be aware that this method may result in a softer crust, losing some of the desired crispiness.
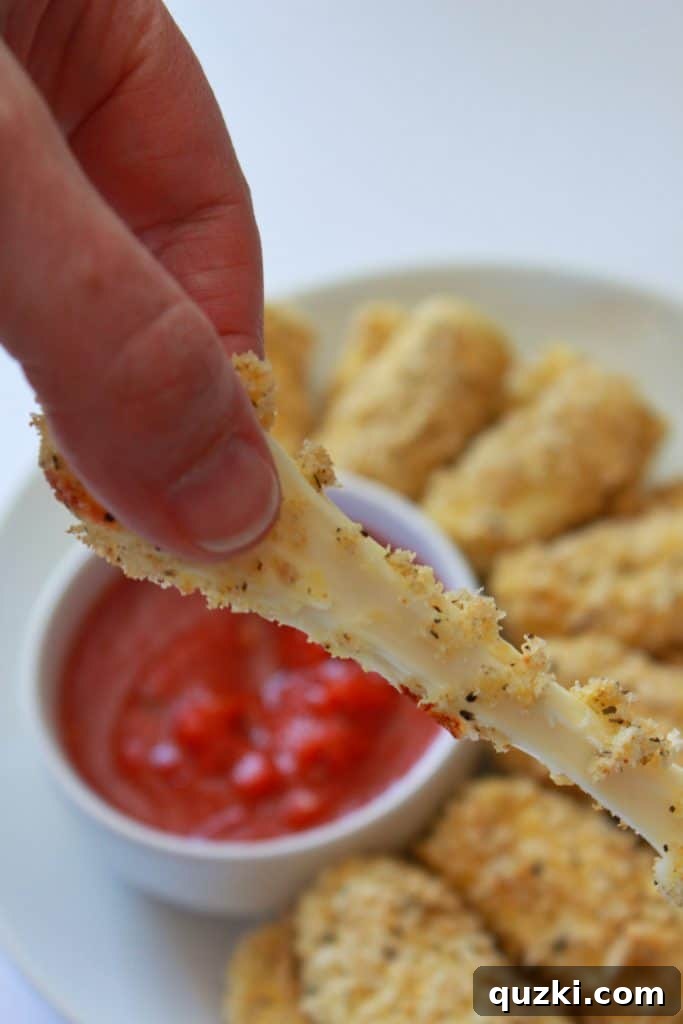
Just look at that perfect cheese pull – so utterly delicious!
Baked Mozzarella Sticks Recipe
By: June Albertson-Dick
Soft and stringy mozzarella cheese baked to perfection inside a crispy, seasoned panko crust, ideal for dipping in warm pizza sauce – a healthier, homemade twist on a classic appetizer!
Prep time: 40 mins
Cook time: 10 mins
Total time: 50 mins
Servings: 8 (approximately 24 halves)
Ingredients
- 12 sticks mozzarella string cheese, cut in half
- 3 tbsp all-purpose flour
- 2 large eggs, whisked with 1 tsp water
- 1 cup Italian panko breadcrumbs
- ½ tsp Italian seasoning
- ½ tsp garlic powder
- Non-stick cooking spray
- Warm pizza sauce for dipping
Instructions
- Prepare Cheese & Initial Freeze: Cut each mozzarella string cheese stick in half. Place the halves in a single layer on a baking sheet lined with parchment or wax paper. Freeze for at least 15-30 minutes.
- Preheat Oven & Set Up Dredging Station: While the cheese freezes, preheat your oven to 400°F (200°C). Set up three shallow bowls: one with all-purpose flour, one with the whisked eggs (and water), and one with the panko breadcrumbs mixed with Italian seasoning and garlic powder.
- Coat Cheese Sticks: Working one stick at a time, take a frozen cheese stick half and dip it into the flour, tapping off any excess. Next, move it to the egg mixture, ensuring it’s fully coated and allowing any excess to drip off. Finally, roll it thoroughly in the seasoned panko, gently pressing the crumbs to ensure a thick, even coating.
- Second Freeze: Place each fully coated cheese stick onto a separate baking sheet lined with aluminum foil and lightly sprayed with non-stick cooking spray. Repeat this coating process for all cheese halves. Return the baking sheet with all coated sticks to the freezer for another 15 minutes. This vital second freeze helps the coating adhere securely and prevents the cheese from melting too quickly during baking.
- Bake to Perfection: Remove the thoroughly frozen, coated mozzarella sticks from the freezer. Just before placing them in the oven, lightly spray the tops of each stick with non-stick cooking spray. Bake for 8-9 minutes, or until the panko crumbs are a beautiful golden brown and the cheese inside is heated through and wonderfully gooey.
- Serve Immediately: Once baked, remove the tray from the oven and let the mozzarella sticks rest on the baking sheet for 2-3 minutes. This brief resting period allows the cheese to set slightly, ensuring you get the best “cheese pull” without the cheese completely flowing out. Serve hot with warm pizza sauce or your favorite dipping sauce.
Recipe Notes
For ultimate convenience, these mozzarella sticks can be prepared ahead of time! Complete all coating and freezing steps. After the second freeze, transfer the thoroughly frozen, coated sticks to a freezer-safe bag or container and store for up to a month. To bake from frozen, preheat your oven to 400°F (200°C) and bake for 10-12 minutes, or until golden and gooey, remembering to spray tops with non-stick spray.
Nutrition Information (Approximate per 3 sticks)
Serving: 3 sticks, Calories: 89kcal, Carbohydrates: 13g, Protein: 4g, Fat: 2g, Saturated Fat: 1g, Polyunsaturated Fat: 1g, Monounsaturated Fat: 1g, Trans Fat: 0.004g, Cholesterol: 42mg, Sodium: 228mg, Potassium: 57mg, Fiber: 1g, Sugar: 1g, Vitamin A: 91IU, Vitamin C: 0.4mg, Calcium: 37mg, Iron: 1mg
Note: Nutrition information is automatically calculated and should be used as an approximation. Actual values may vary based on specific ingredients and preparation methods.
More Appetizer Inspiration!
If you’re a fan of these easy and delicious baked mozzarella sticks, you’re sure to love these other crowd-pleasing appetizer recipes that are perfect for any occasion:
- Pepperoni Pizza Biscuit Pull-Apart Dip
- Jalapeno Popper Crescent Bites
- Quick Queso Blanco
Shop This Post
To help you create these amazing mozzarella sticks and streamline your cooking process, here are some helpful items to consider:
- Appetizer Serving Plate & Bowl (consider a stylish serving platter to elevate your presentation!)
- Dredging Station Bowls (A convenient set of three nesting bowls makes the coating process efficient and clean.)
- Parchment Paper or Wax Paper (Essential for non-stick freezing and baking, ensuring easy removal.)
- Quality Baking Sheets (A sturdy, non-warping baking sheet provides an even surface for consistent cooking.)
Disclaimer: This post may contain affiliate links, meaning I may receive a small commission from any purchases you make through these links. This comes at no extra cost to you and helps support my site, allowing me to continue bringing you delicious recipes and helpful content.