
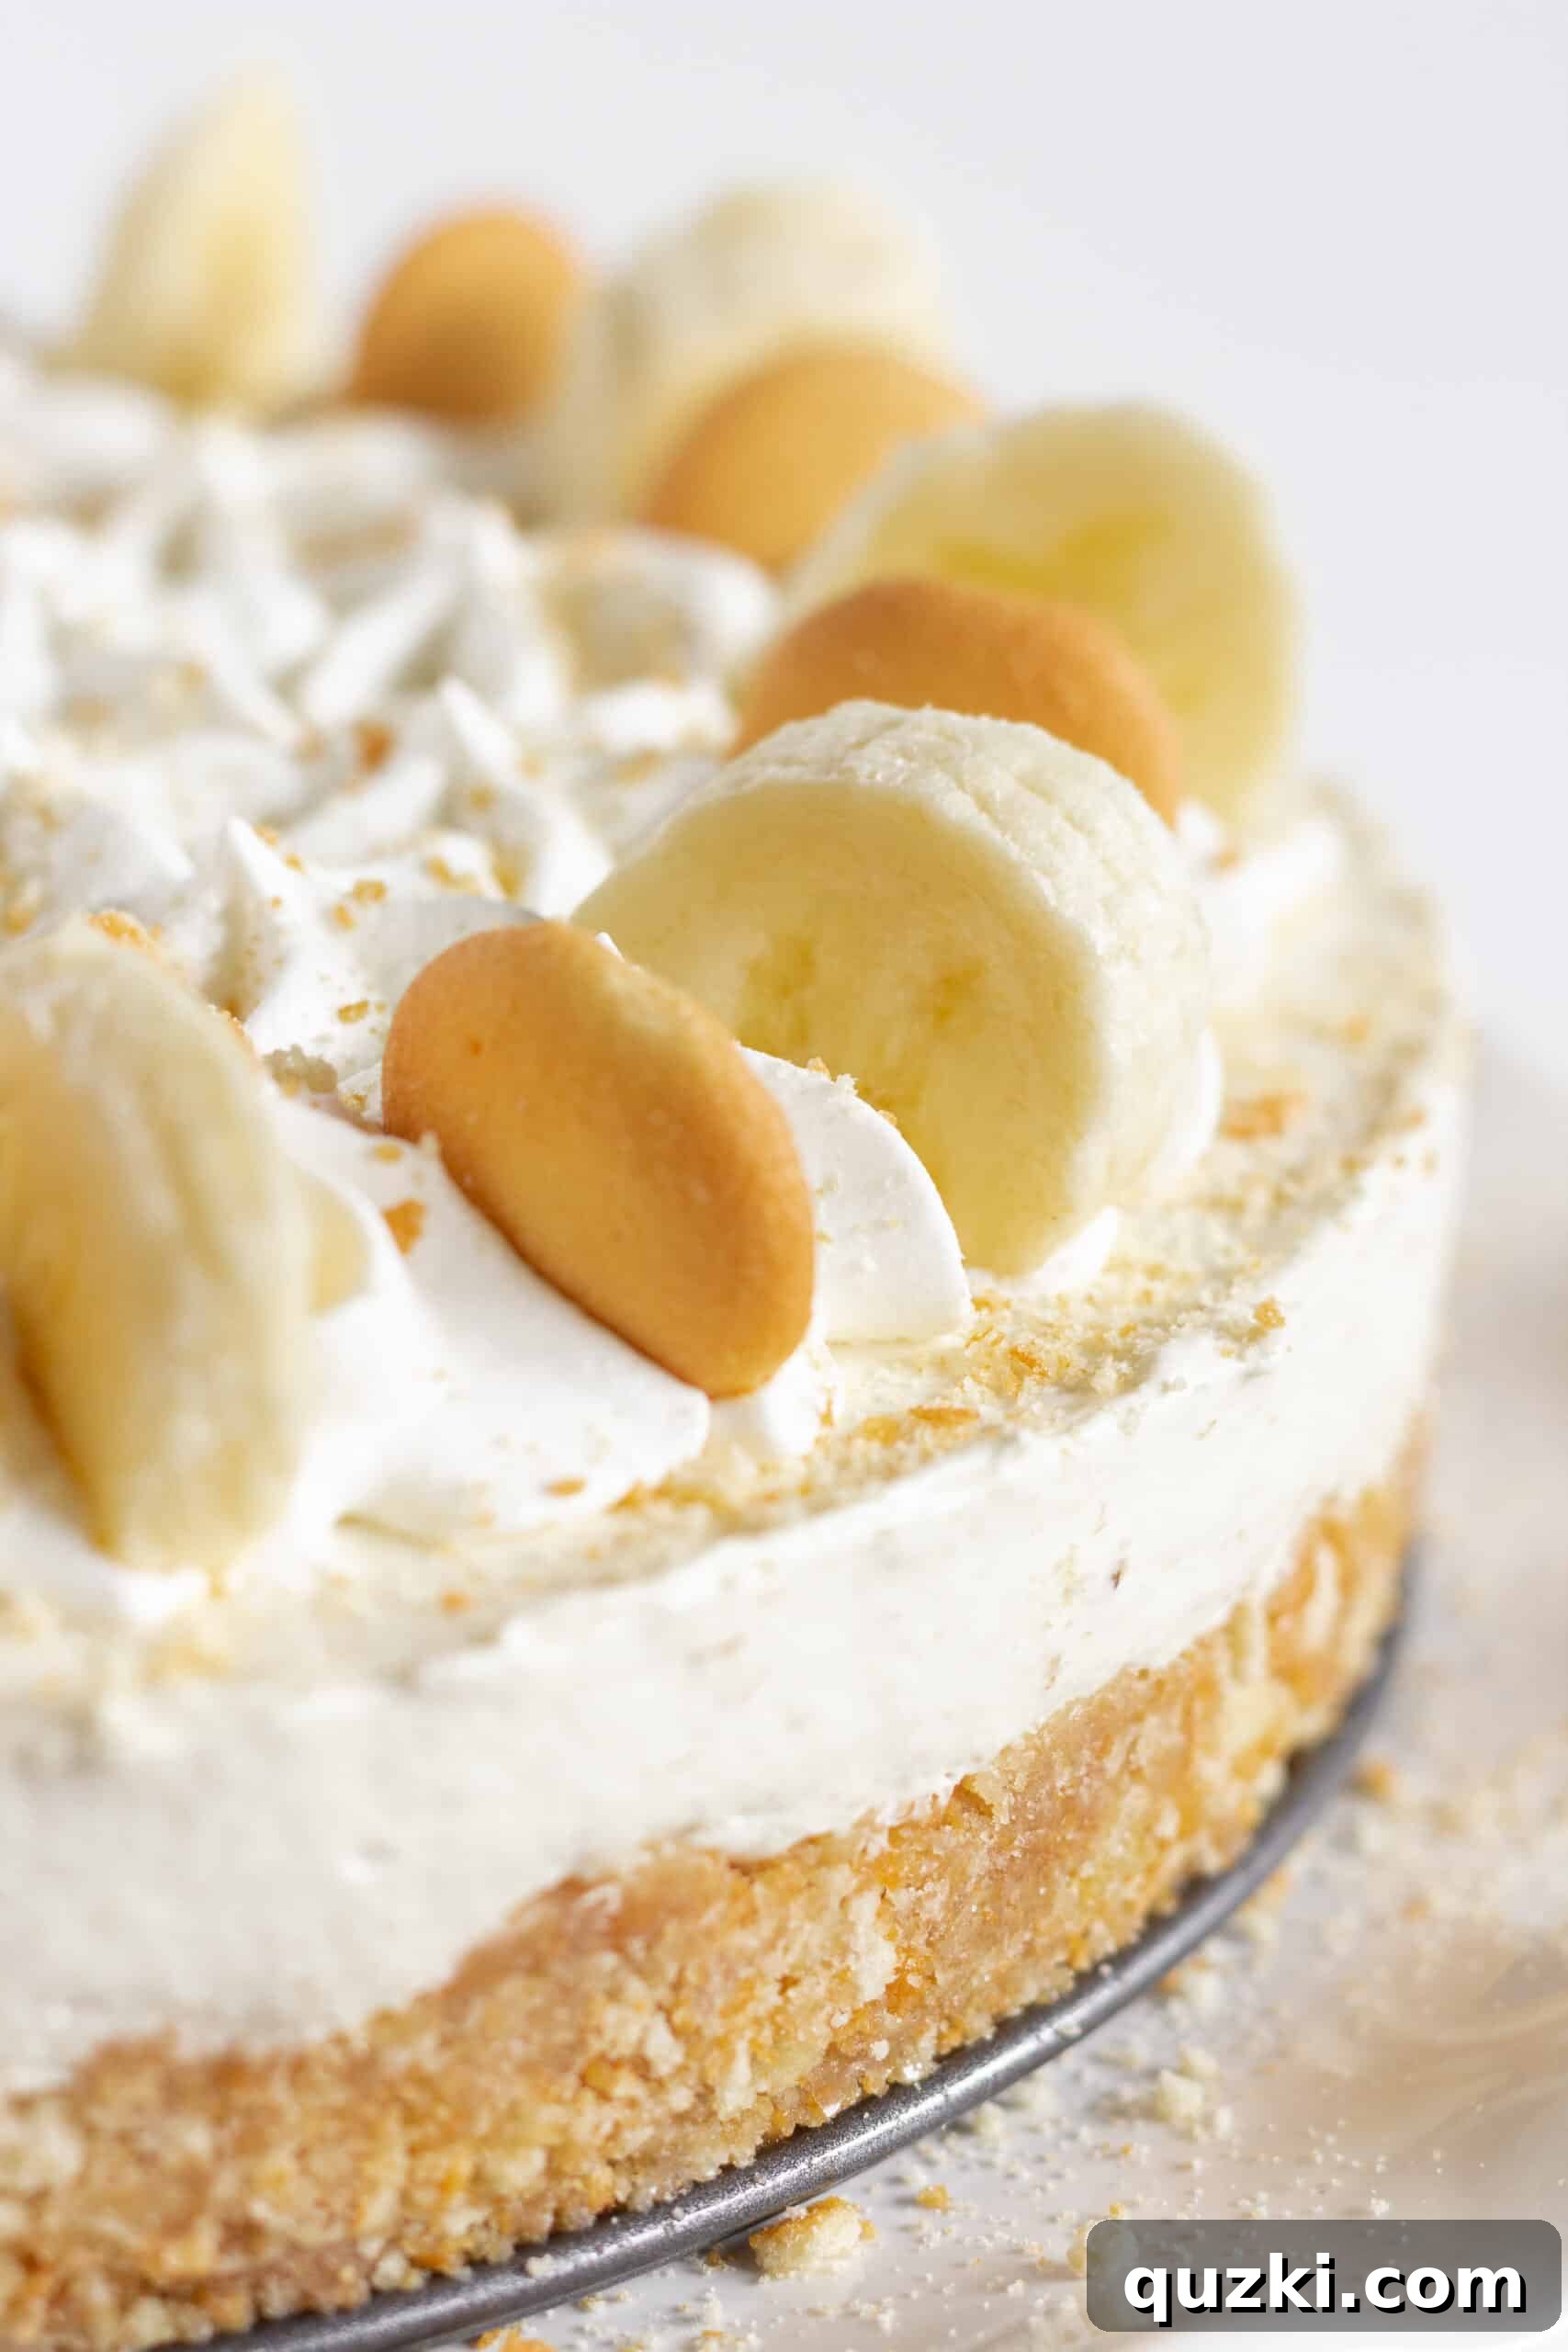
Irresistible No-Bake Banana Pudding Cheesecake: Your New Favorite Easy Dessert
Embark on a culinary journey that marries two beloved dessert traditions: the comforting nostalgia of classic banana pudding and the rich, creamy decadence of a cheesecake. This No-Bake Banana Pudding Cheesecake isn’t just a recipe; it’s the culmination of over three decades dedicated to perfecting effortless, no-bake delights, combined with a passion for transforming ripe bananas into extraordinary treats. The magic truly begins with ripe bananas, whose natural sweetness and velvety texture are indispensable, elevating every single bite.
What sets this particular no-bake cheesecake apart is the ingenious inclusion of banana pudding mix. This ingredient acts as a dual-threat, infusing the dessert with an unmistakable, robust banana flavor while simultaneously contributing to its luxuriously thick and smooth consistency. The result? A dessert that delivers the best of both worlds—the rich, comforting essence of banana pudding seamlessly blended with the sophisticated creaminess of a cheesecake. It’s a harmonious symphony of flavors and textures, designed to leave a lasting impression.
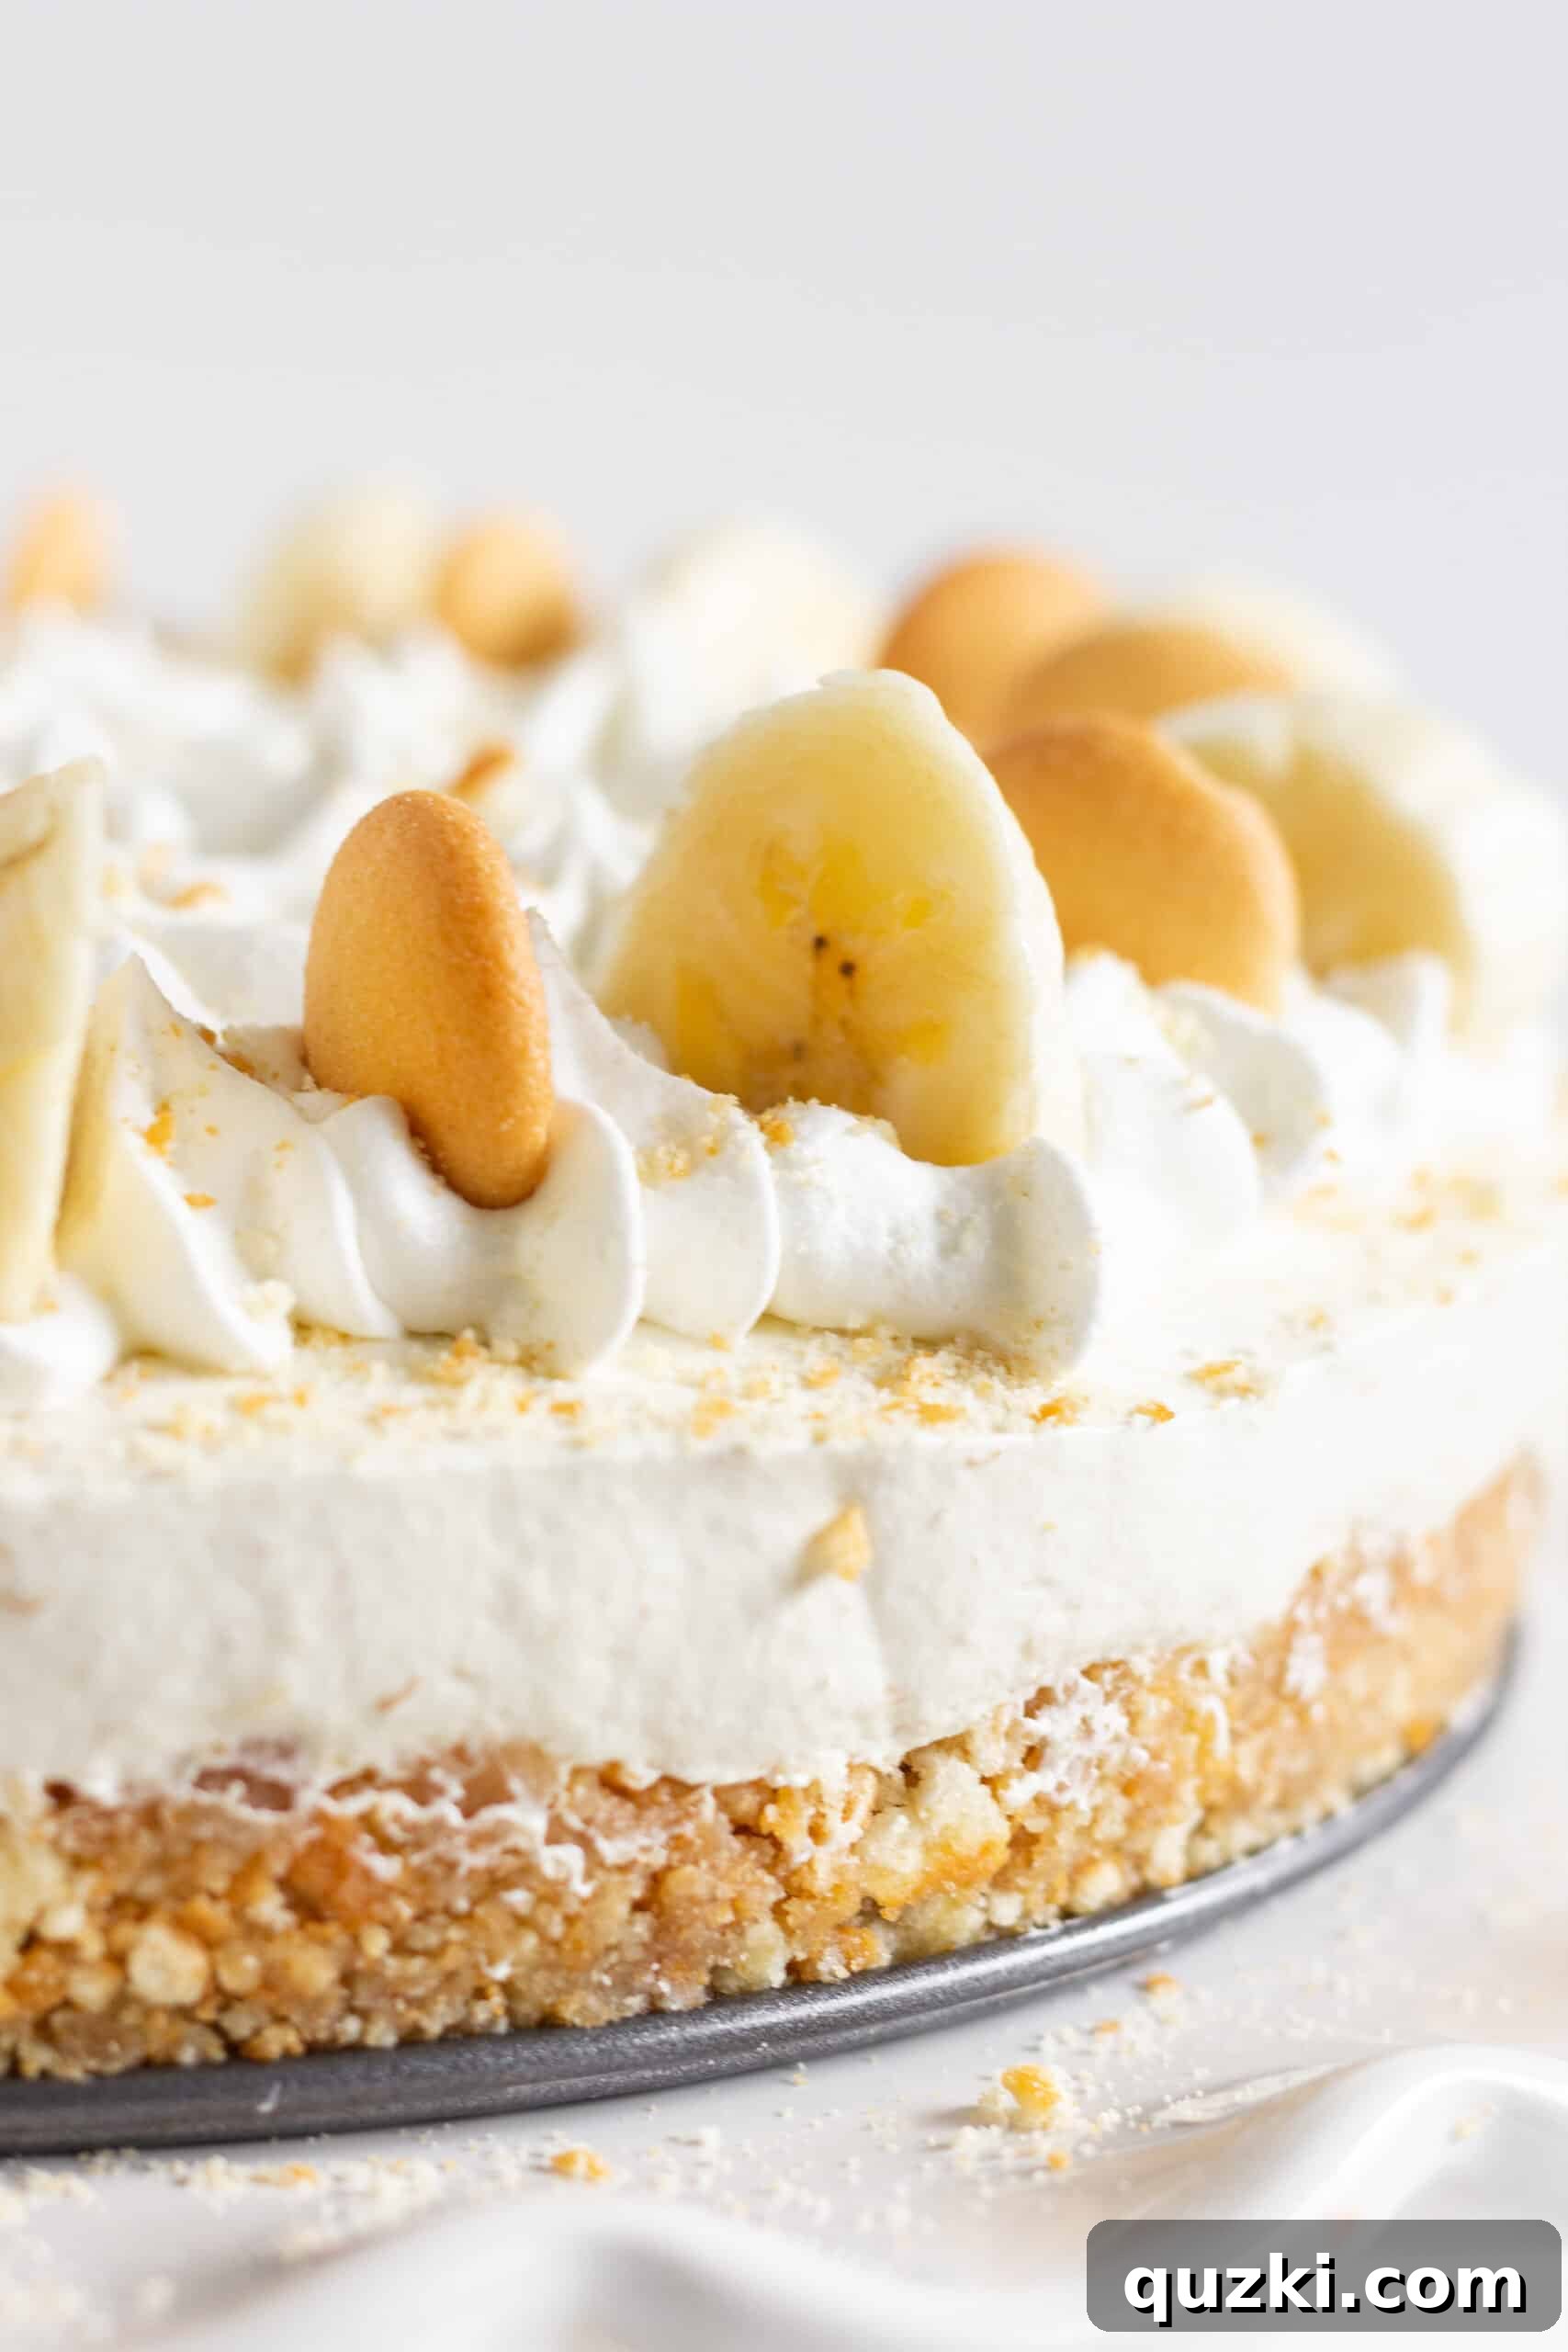
The beauty of this recipe lies in its simplicity and efficiency. With absolutely no oven required, it emerges as the ultimate dessert solution for any occasion, especially when the weather warms up, or you need a truly show-stopping treat without the usual baking fuss. Its preparation is as straightforward as it is delightful. We kick things off with a buttery, crunchy vanilla wafer crust. This golden foundation offers a delightful textural contrast that perfectly complements the smooth, ethereal cheesecake filling, setting the stage for an unforgettable dessert experience.
This dessert is an absolute triumph, guaranteed to be the star attraction at any gathering, from intimate family dinners and lively potlucks to festive holiday celebrations. Its ease of assembly means you can whip it up with minimal effort, allowing you more time to enjoy the occasion. For an added touch of freshness and visual appeal, don’t forget to adorn the top of the cheesecake with vibrant, freshly sliced bananas. This simple garnish not only enhances the flavor but also makes each individual serving incredibly tempting and utterly irresistible. Prepare for rave reviews and empty plates!
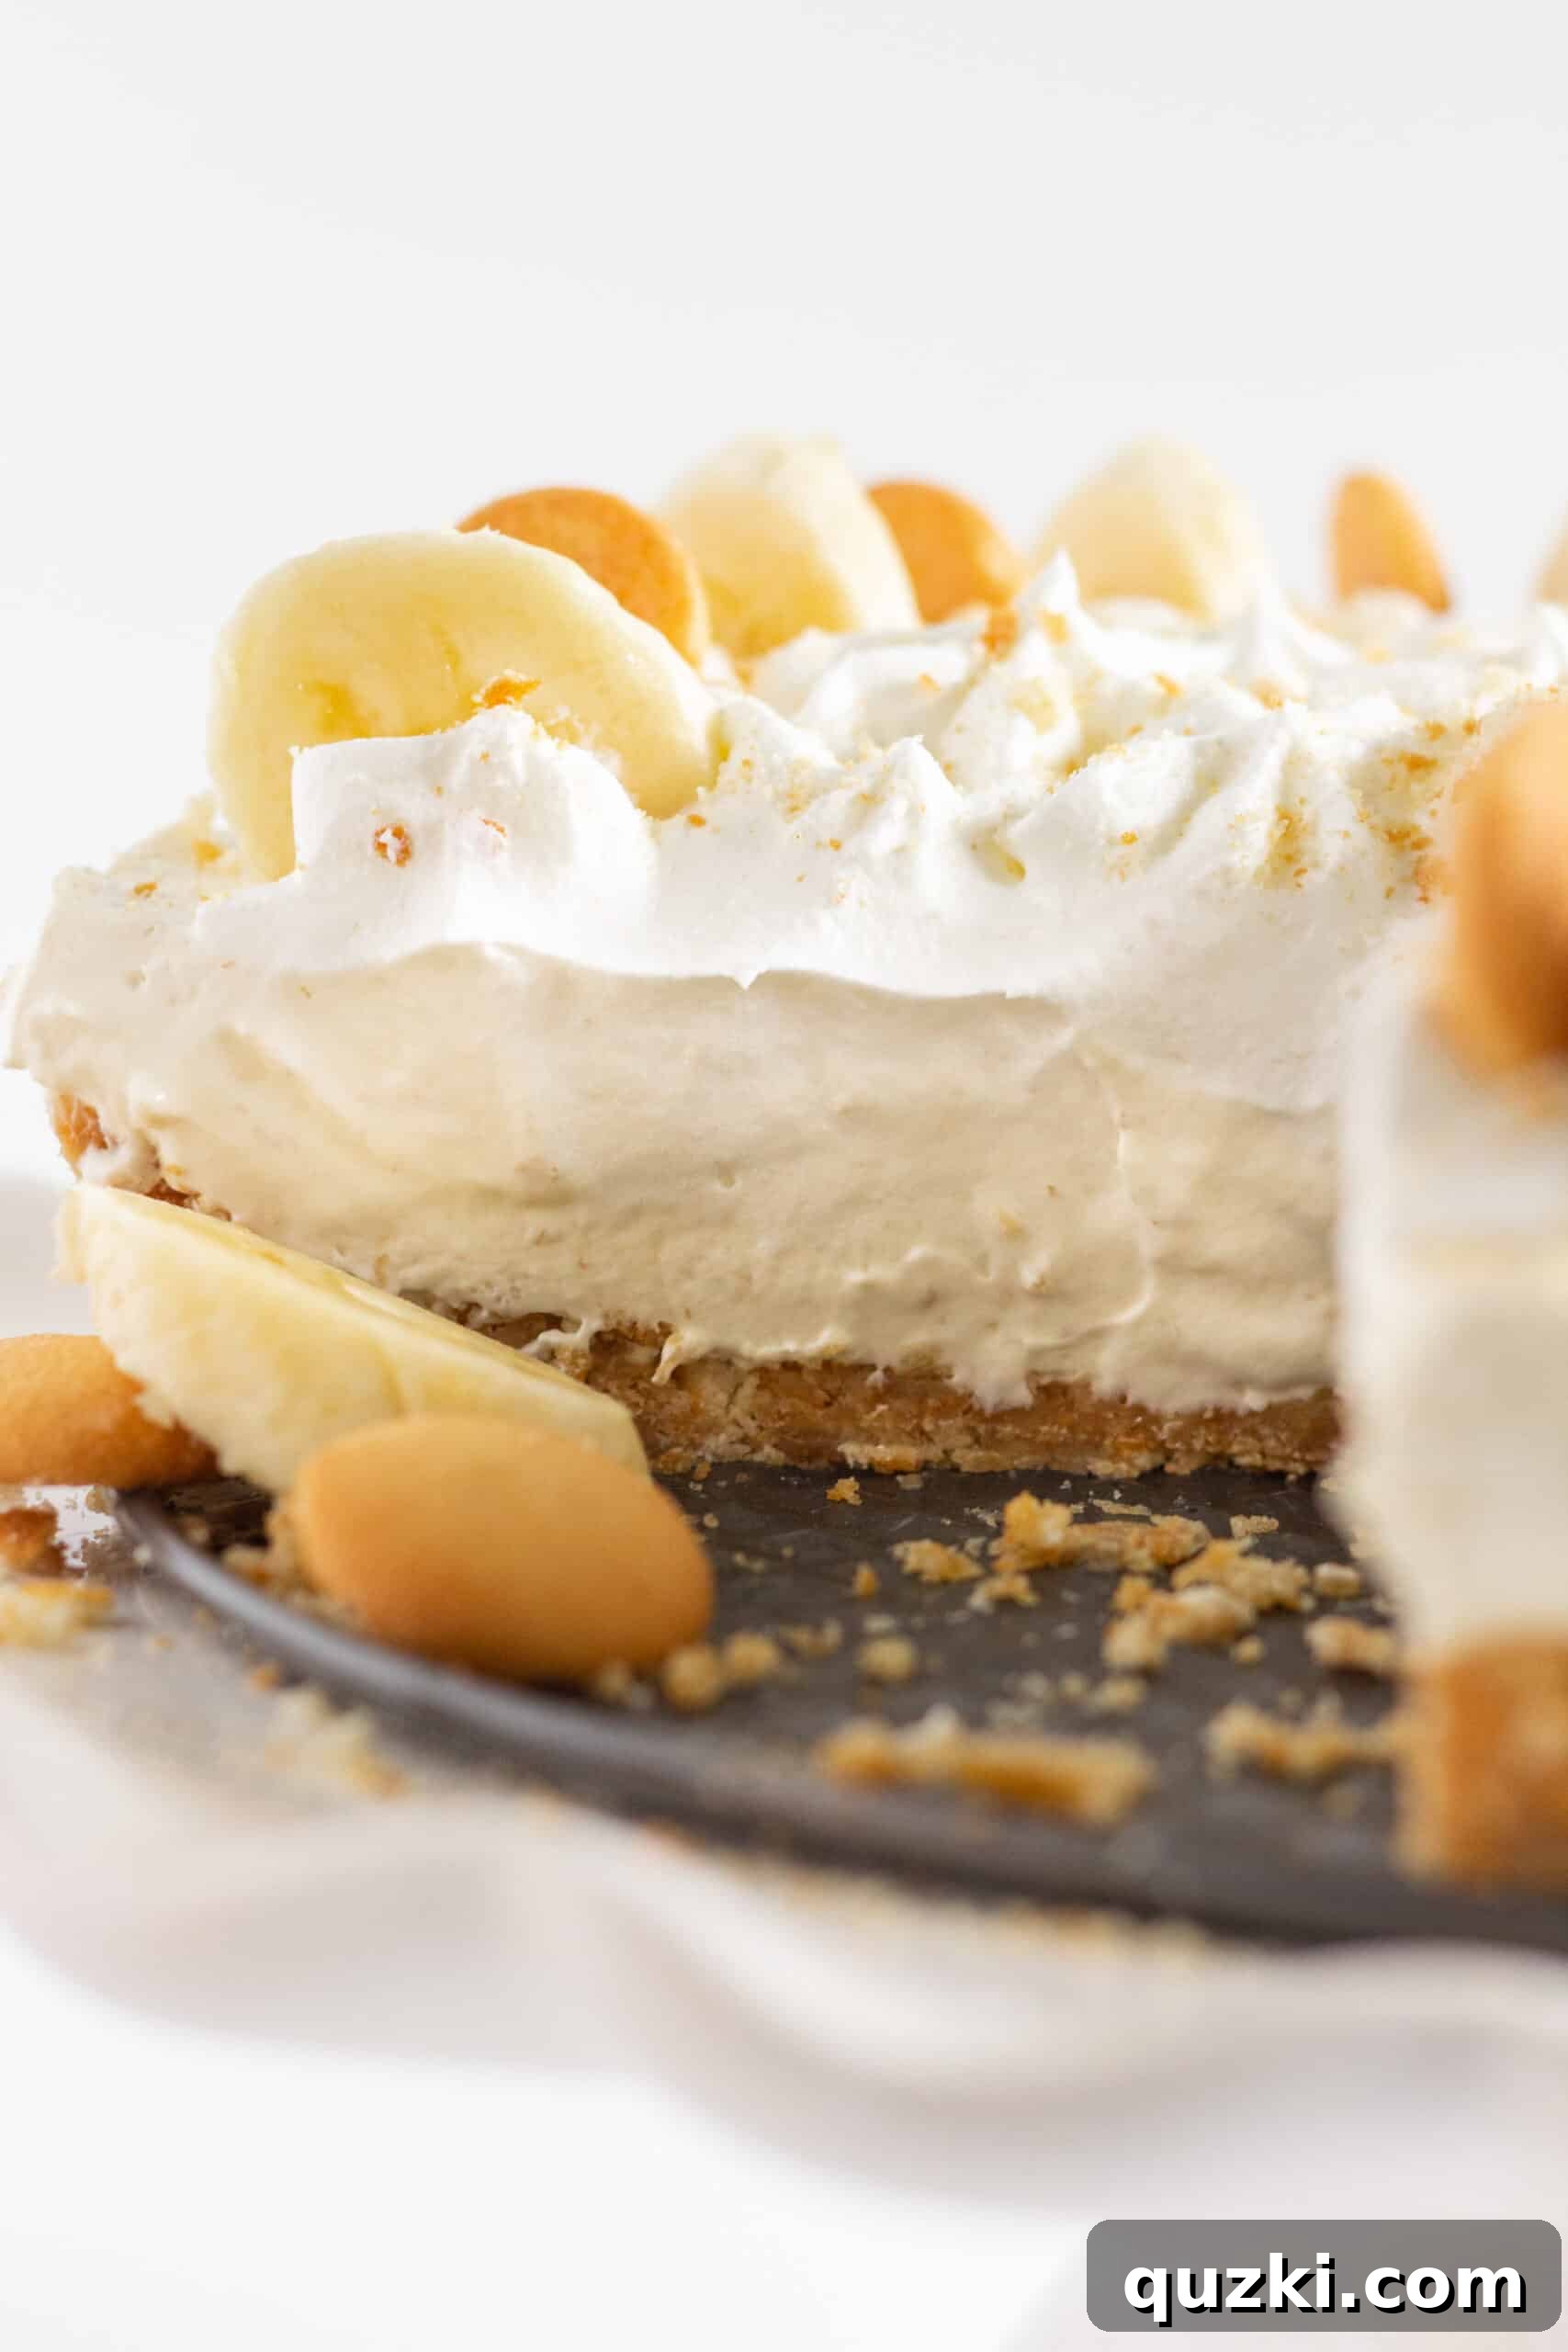
Key Ingredients for Your Perfect No-Bake Banana Pudding Cheesecake
Crafting this irresistible no-bake banana pudding cheesecake relies on a selection of quality ingredients, each playing a vital role in achieving its decadent flavor and creamy texture. Here’s a detailed look at what you’ll need and why each component is essential for dessert perfection.
For the Irresistible Vanilla Wafer Cheesecake Crust
The foundation of any great cheesecake begins with its crust, and for this banana pudding masterpiece, a vanilla wafer crust is simply unparalleled. It offers a unique sweetness and a crisp texture that perfectly balances the creamy filling.
- Vanilla Wafers: These classic cookies are the ideal choice, transforming into buttery crumbs that provide a sweet, tender crunch. They echo the flavors commonly found in traditional banana pudding, making them a natural fit for this hybrid dessert. Aim for finely pulsed crumbs to ensure a cohesive crust.
- Brown Sugar: A touch of brown sugar is added to the crushed wafers, not just for extra sweetness, but also for a subtle hint of molasses and a slight caramelization, which deepens the flavor profile of the crust.
- Melted Butter: This is the crucial binding agent. When melted and mixed with the crumbs and sugar, it creates a firm, pressable crust that holds its shape beautifully once chilled. Using good quality butter enhances the overall richness.
For the Silky Smooth No-Bake Cheesecake Filling
The heart of this dessert is its luscious, airy filling, bursting with banana flavor and classic cheesecake richness.
- Cream Cheese: The undisputed star of any cheesecake! It’s imperative to use full-fat cream cheese, softened to room temperature. This ensures a velvety smooth filling without any lumps and provides the signature tang and richness that defines a great cheesecake.
- Banana Pudding Mix (Instant): This is the secret weapon for an intense banana flavor and contributes significantly to the filling’s texture. It helps to set the cheesecake, creating a firm yet creamy consistency without the need for baking.
- Milk: Used to prepare the instant banana pudding mix. Cold milk is recommended to help the pudding thicken quickly and efficiently, ensuring a properly set filling. Any type of milk (whole, 2%, 1%) will work, but whole milk will yield the richest result.
- Whipped Topping (Frozen, Thawed): For that wonderfully light and airy cheesecake texture, whipped topping is key. Gently folded into the cream cheese and pudding mixture, it creates a mousse-like consistency that’s simply divine. Ensure it’s thawed but still cold for optimal incorporation.
- Ripe Banana: Fresh, ripe bananas are non-negotiable for authentic, vibrant banana flavor. They add natural sweetness and moisture to the filling, making it truly taste like banana pudding. Look for bananas with plenty of brown spots on the peel for the best flavor and sweetness.
For precise quantities and a comprehensive breakdown of each ingredient, please refer to the detailed recipe card below.
Step-by-Step Guide: Crafting Your No-Bake Banana Pudding Cheesecake
Creating this stunning no-bake cheesecake is a surprisingly simple process, broken down into easy-to-follow steps. Follow these instructions closely for a dessert that’s guaranteed to impress.
1. Preparing the Perfect Vanilla Wafer Crust
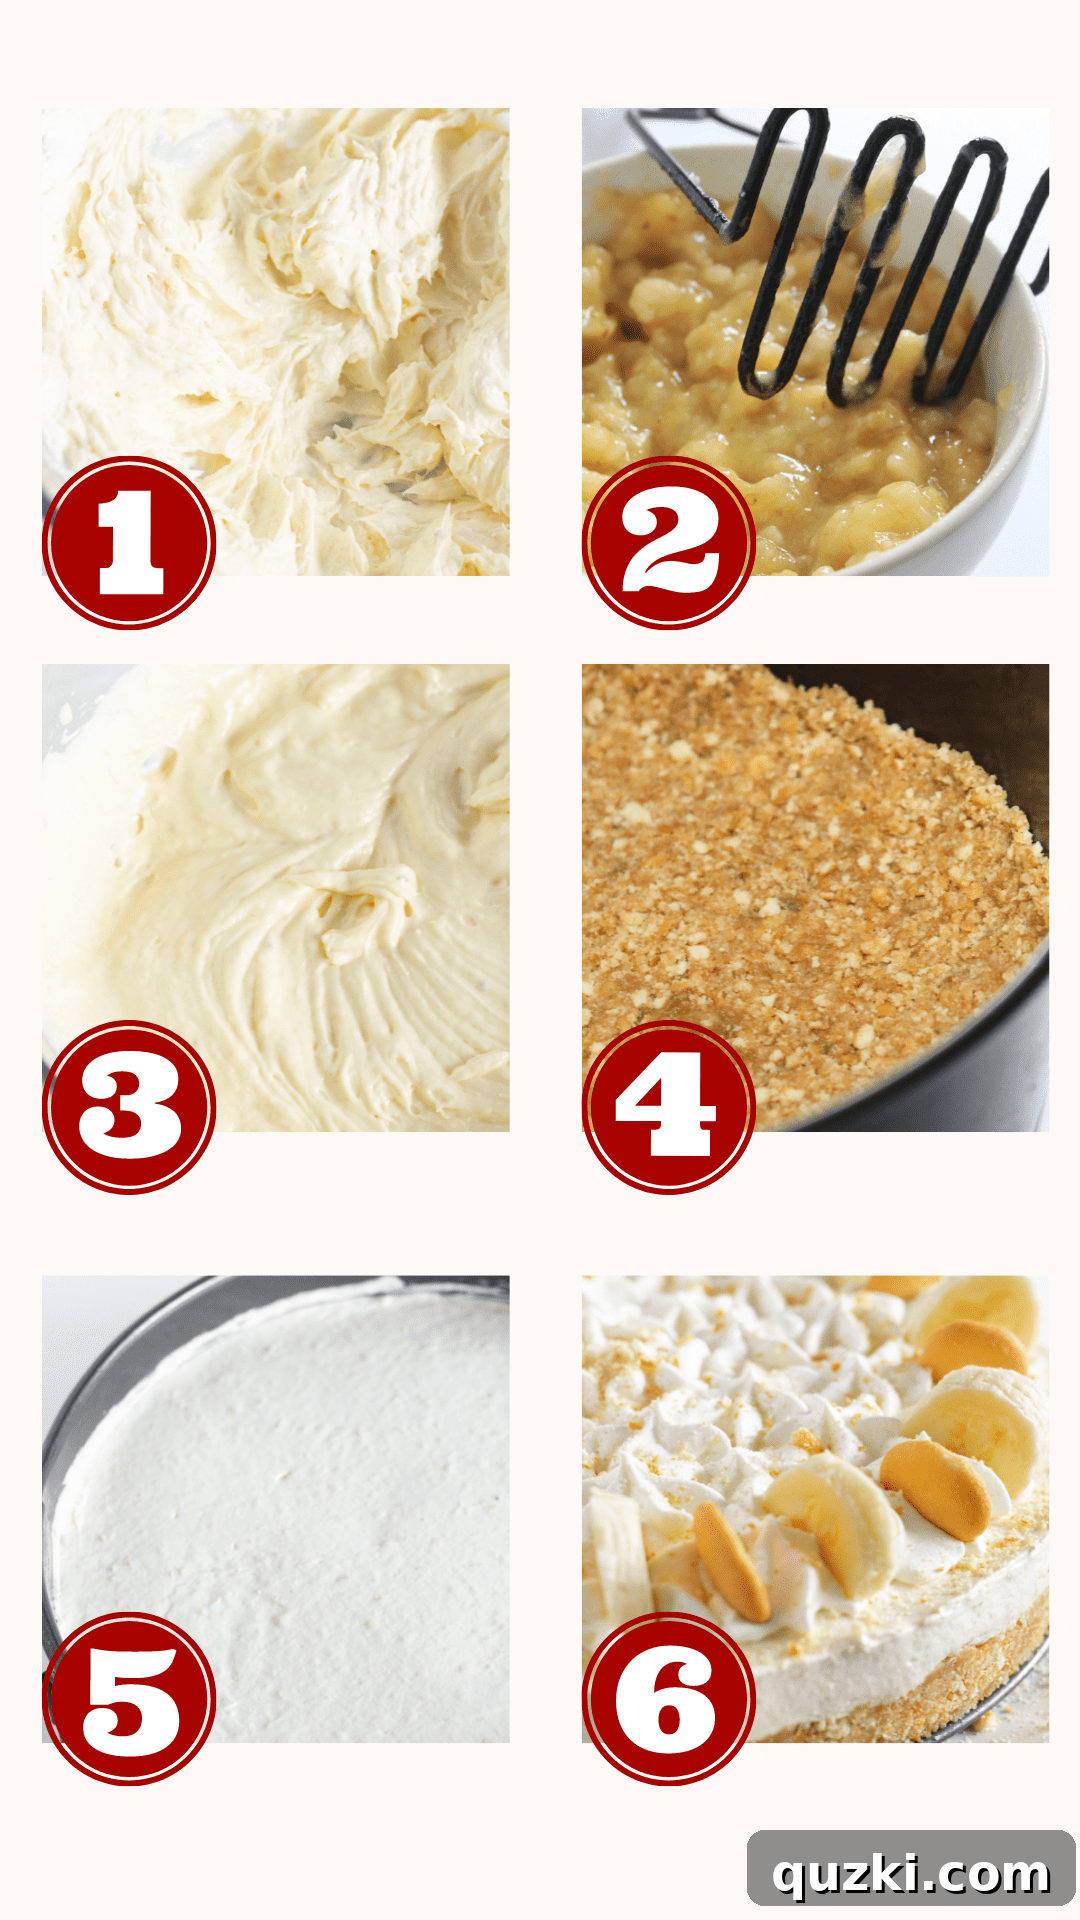
- Begin by finely crushing your vanilla wafers. This can be done efficiently using a food processor or a blender until they resemble fine crumbs. If you don’t have these tools, simply place the wafers in a sturdy zipper-top bag and crush them thoroughly with a rolling pin until uniformly fine.
- In a medium mixing bowl, combine the vanilla wafer crumbs with the brown sugar. Stir well to ensure the sugar is evenly distributed.
- Pour the melted butter over the crumb mixture. Mix thoroughly until all the crumbs are completely coated and moistened by the butter. The mixture should resemble wet sand.
- Transfer the buttered crumbs into a lightly greased 9-inch springform pan. Using the bottom of a glass or your clean hands, firmly press the mixture evenly into the bottom of the pan. For a classic cheesecake look, you can also press some of the mixture partially up the sides of the pan.
- Once the crust is formed, place the springform pan in the refrigerator to chill and firm up while you prepare the filling. This step is crucial for a stable crust.
2. Crafting the Silky Smooth Banana Pudding Cheesecake Filling
- In a large mixing bowl, using either a handheld electric mixer or a stand mixer fitted with a paddle attachment, beat the softened cream cheese on medium speed until it is completely smooth and creamy, with no lumps remaining. This might take 2-3 minutes.
- In a separate, medium-sized bowl, mash the ripe banana thoroughly using a fork or a potato masher until it forms a smooth purée. There should be no large chunks remaining.
- In another separate bowl, combine the instant banana pudding mix with the cold milk. Whisk continuously for about 2 minutes until the mixture thickens and is well incorporated. It should have a pudding-like consistency.
- Add the prepared banana pudding mixture to the beaten cream cheese, along with the mashed ripe banana. Mix on low speed until everything is just combined and smooth. Be careful not to overmix.
- Finally, gently fold in the thawed whipped topping by hand using a spatula. Use a light touch to maintain the airiness of the whipped topping, ensuring the filling remains light and fluffy. Continue folding until no streaks of whipped topping remain.
3. Assembling and Chilling for Perfection
- Retrieve the prepared vanilla wafer crust from the refrigerator.
- Carefully pour the banana pudding cheesecake filling into the chilled crust, spreading it out evenly with a spatula to create a smooth top.
- Cover the springform pan loosely with plastic wrap and return it to the refrigerator. Allow the cheesecake to chill for a minimum of 2-4 hours, or preferably overnight, to ensure it sets completely. This chilling time is essential for the cheesecake to firm up and slice cleanly.
4. Garnishing and Serving Your Masterpiece
- Once thoroughly chilled, carefully remove the outer ring of the springform pan.
- For a professional finish, pipe (or simply spread with a spatula) a generous layer of whipped topping over the entire top of the cheesecake.
- Arrange mini vanilla wafers and fresh banana slices artfully around the edge of the cheesecake. For an extra touch, you can sprinkle any leftover vanilla wafer crumbs on top.
- Slice the cheesecake using a sharp knife dipped in hot water and wiped clean between each cut for perfectly smooth slices. Serve immediately and savor every delicious bite!
Expert Tips for a Flawless No-Bake Banana Pudding Cheesecake
Achieving the perfect no-bake banana pudding cheesecake is easy with these insider tips and tricks:
- Crust Customization: While the vanilla wafer crust is divine, don’t hesitate to experiment! A classic graham cracker crust offers a more traditional cheesecake base. For a fun, golden twist, consider making a Golden Oreo crust. Simply follow the same crumb-to-butter ratio.
- Cold Milk for Pudding: Always use cold milk when mixing with the instant pudding mix. Cold milk helps the pudding set faster and achieve a thicker consistency, which is crucial for the cheesecake filling to firm up properly.
- Room Temperature Cream Cheese: This is paramount! Ensure your cream cheese is truly at room temperature. If it’s too cold, it won’t beat smoothly and you’ll end up with a lumpy filling, no matter how long you mix it. Take it out of the refrigerator at least 30-60 minutes before you start.
- Chilling is Key: Patience is a virtue, especially with no-bake desserts. Allowing the cheesecake to chill for the recommended 2-4 hours (or even longer) is essential for it to set completely. If you find it’s still a bit soft when you try to slice it, pop it into the freezer for about 30 minutes to firm it up quickly.
- Preventing Banana Browning: The mashed bananas within the filling are generally protected from browning due to their mixture with other ingredients. However, fresh banana slices used for garnish will brown when exposed to air. To keep them looking fresh and appealing, add them to the top of the cheesecake just before serving. If you need to garnish ahead of time or want a longer-lasting topping, consider using freeze-dried banana slices or a light spritz of lemon juice on fresh slices (though this might slightly alter the taste).
- Don’t Overmix the Whipped Topping: When folding in the whipped topping, do so gently and only until just combined. Overmixing can deflate the whipped topping, leading to a denser, less airy cheesecake.
- Springform Pan Essential: Using a springform pan makes for effortless removal and a beautifully presented cheesecake. If you don’t have one, you can use a regular pie dish, but serving will require spooning out slices rather than lifting the entire cheesecake.
Storage and Freezing Guidelines for Your Cheesecake
Proper storage ensures your delicious no-bake banana pudding cheesecake stays fresh and enjoyable for longer. Here’s how to best keep it:
- Refrigeration: The no-bake banana pudding cheesecake will remain fresh and delicious in the refrigerator for up to 4 days when covered tightly with plastic wrap or stored in an airtight container. While it’s great on day one, many find that the flavors meld and deepen beautifully after a day or two in the fridge, making it even more enjoyable.
- Freezing: Yes, absolutely! This no-bake banana cheesecake freezes wonderfully. You can freeze the entire cheesecake (without toppings) or individual slices. Wrap it tightly in plastic wrap, then an additional layer of aluminum foil to prevent freezer burn. It can be stored in the freezer for up to 1 month.
- Serving Frozen or Thawed: You have options when serving a frozen cheesecake! You can serve it directly from the freezer for a delightful, ice cream-like texture, or allow it to thaw partially for a semi-frozen, firmer consistency. For a classic creamy texture, transfer it to the refrigerator to thaw for several hours or overnight before serving. Add fresh toppings only after thawing.
Frequently Asked Questions (FAQs) About This No-Bake Delight
Here are answers to some common questions about making and enjoying your no-bake banana pudding cheesecake:
Can I use vanilla pudding instead of banana pudding mix?
You can certainly substitute vanilla pudding mix for banana pudding mix. However, the banana flavor will be significantly less prominent. To compensate, you might consider adding an extra mashed ripe banana to the filling for a more robust banana essence. Another tip for intensifying the banana flavor with vanilla pudding is to add a small amount of banana extract, available in most baking aisles. Start with a quarter teaspoon and adjust to taste, as extracts can be quite potent.
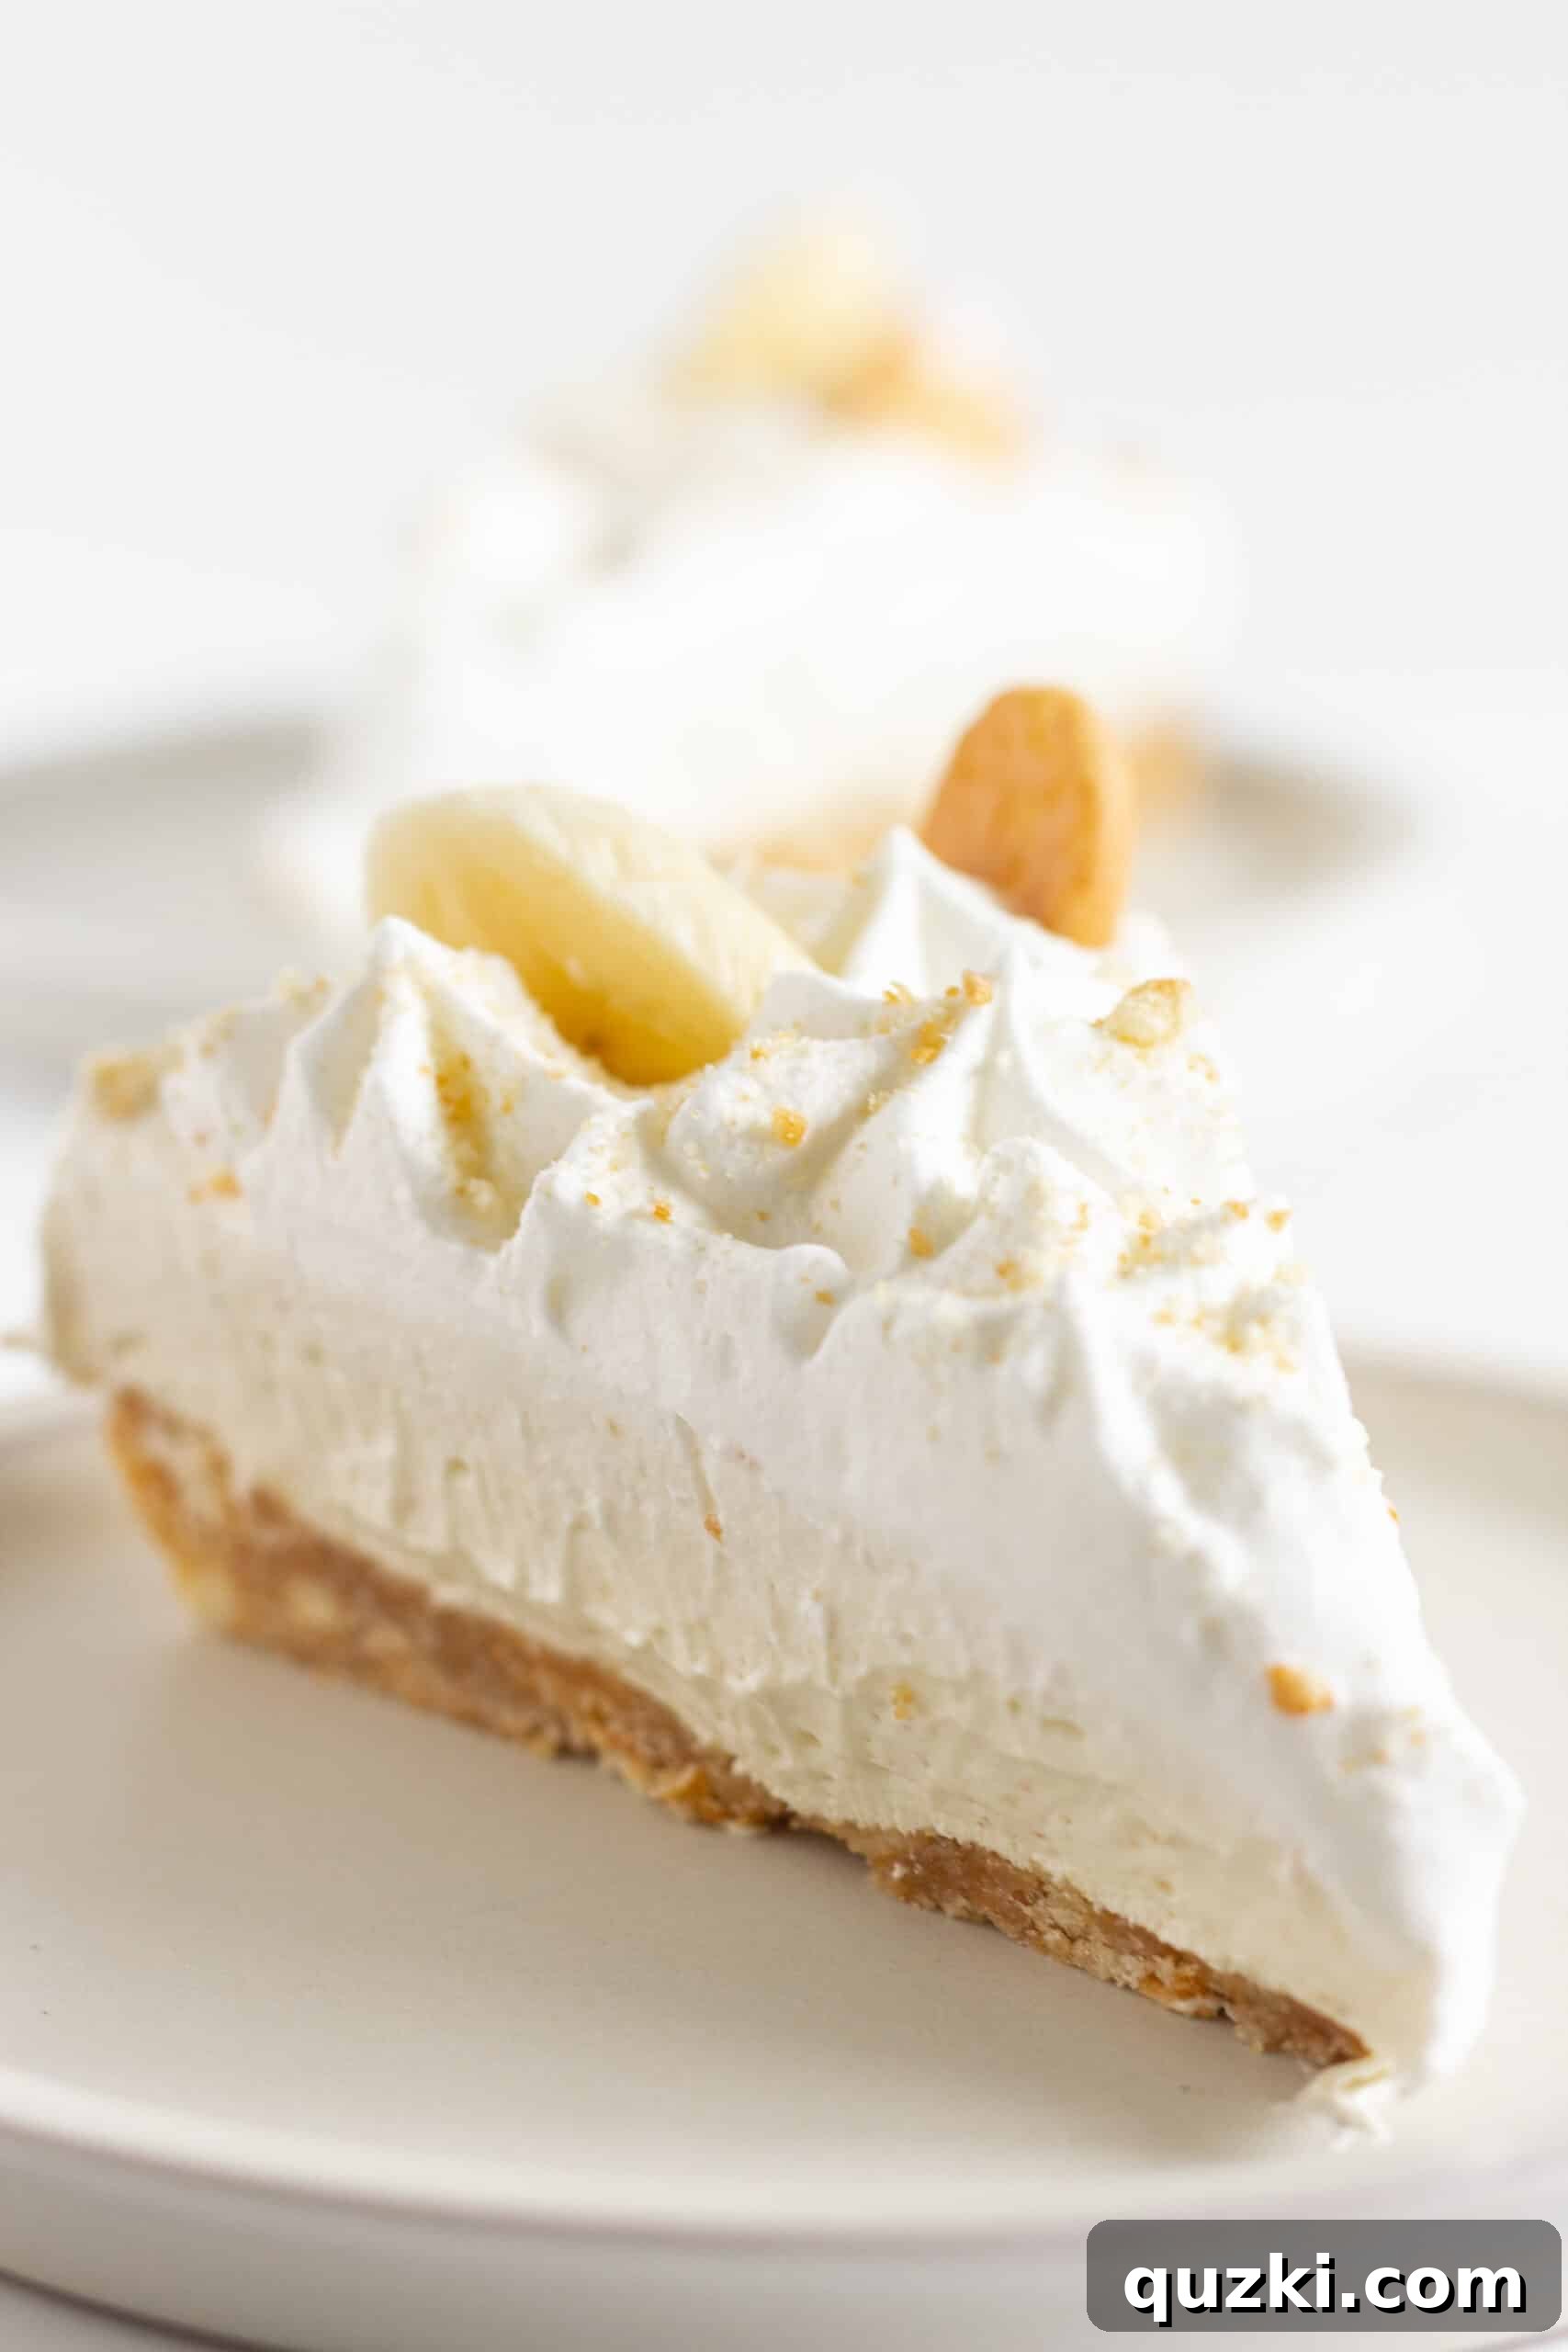
How do you keep bananas from turning brown in banana pudding cheesecake?
The mashed ripe bananas incorporated into the cheesecake filling are less prone to browning because they are mixed with other ingredients and are not exposed directly to air. The oxygen from the air is primarily responsible for oxidation and browning. For fresh banana slices used as a garnish on top of the cheesecake, however, browning is a common issue. To combat this, it’s best to add these fresh slices at the very last minute, just before serving. If you absolutely need to prepare them slightly ahead, a light brush or dip in lemon juice or a fruit fresh solution can help slow down the browning process, though this might introduce a subtle tartness.
Can I make this no-bake cheesecake ahead of time?
Absolutely! This no-bake banana cheesecake is an excellent make-ahead dessert, perfect for stress-free entertaining. You can prepare the entire cheesecake (crust and filling) one or two days in advance and keep it tightly covered in the refrigerator. This allows ample time for the cheesecake to set perfectly and for the flavors to fully develop. However, for the best visual appeal and texture, we strongly recommend adding any fresh toppings, such as whipped cream, fresh banana slices, or vanilla wafers, just before serving. This prevents the bananas from browning and keeps the wafers from getting soggy.
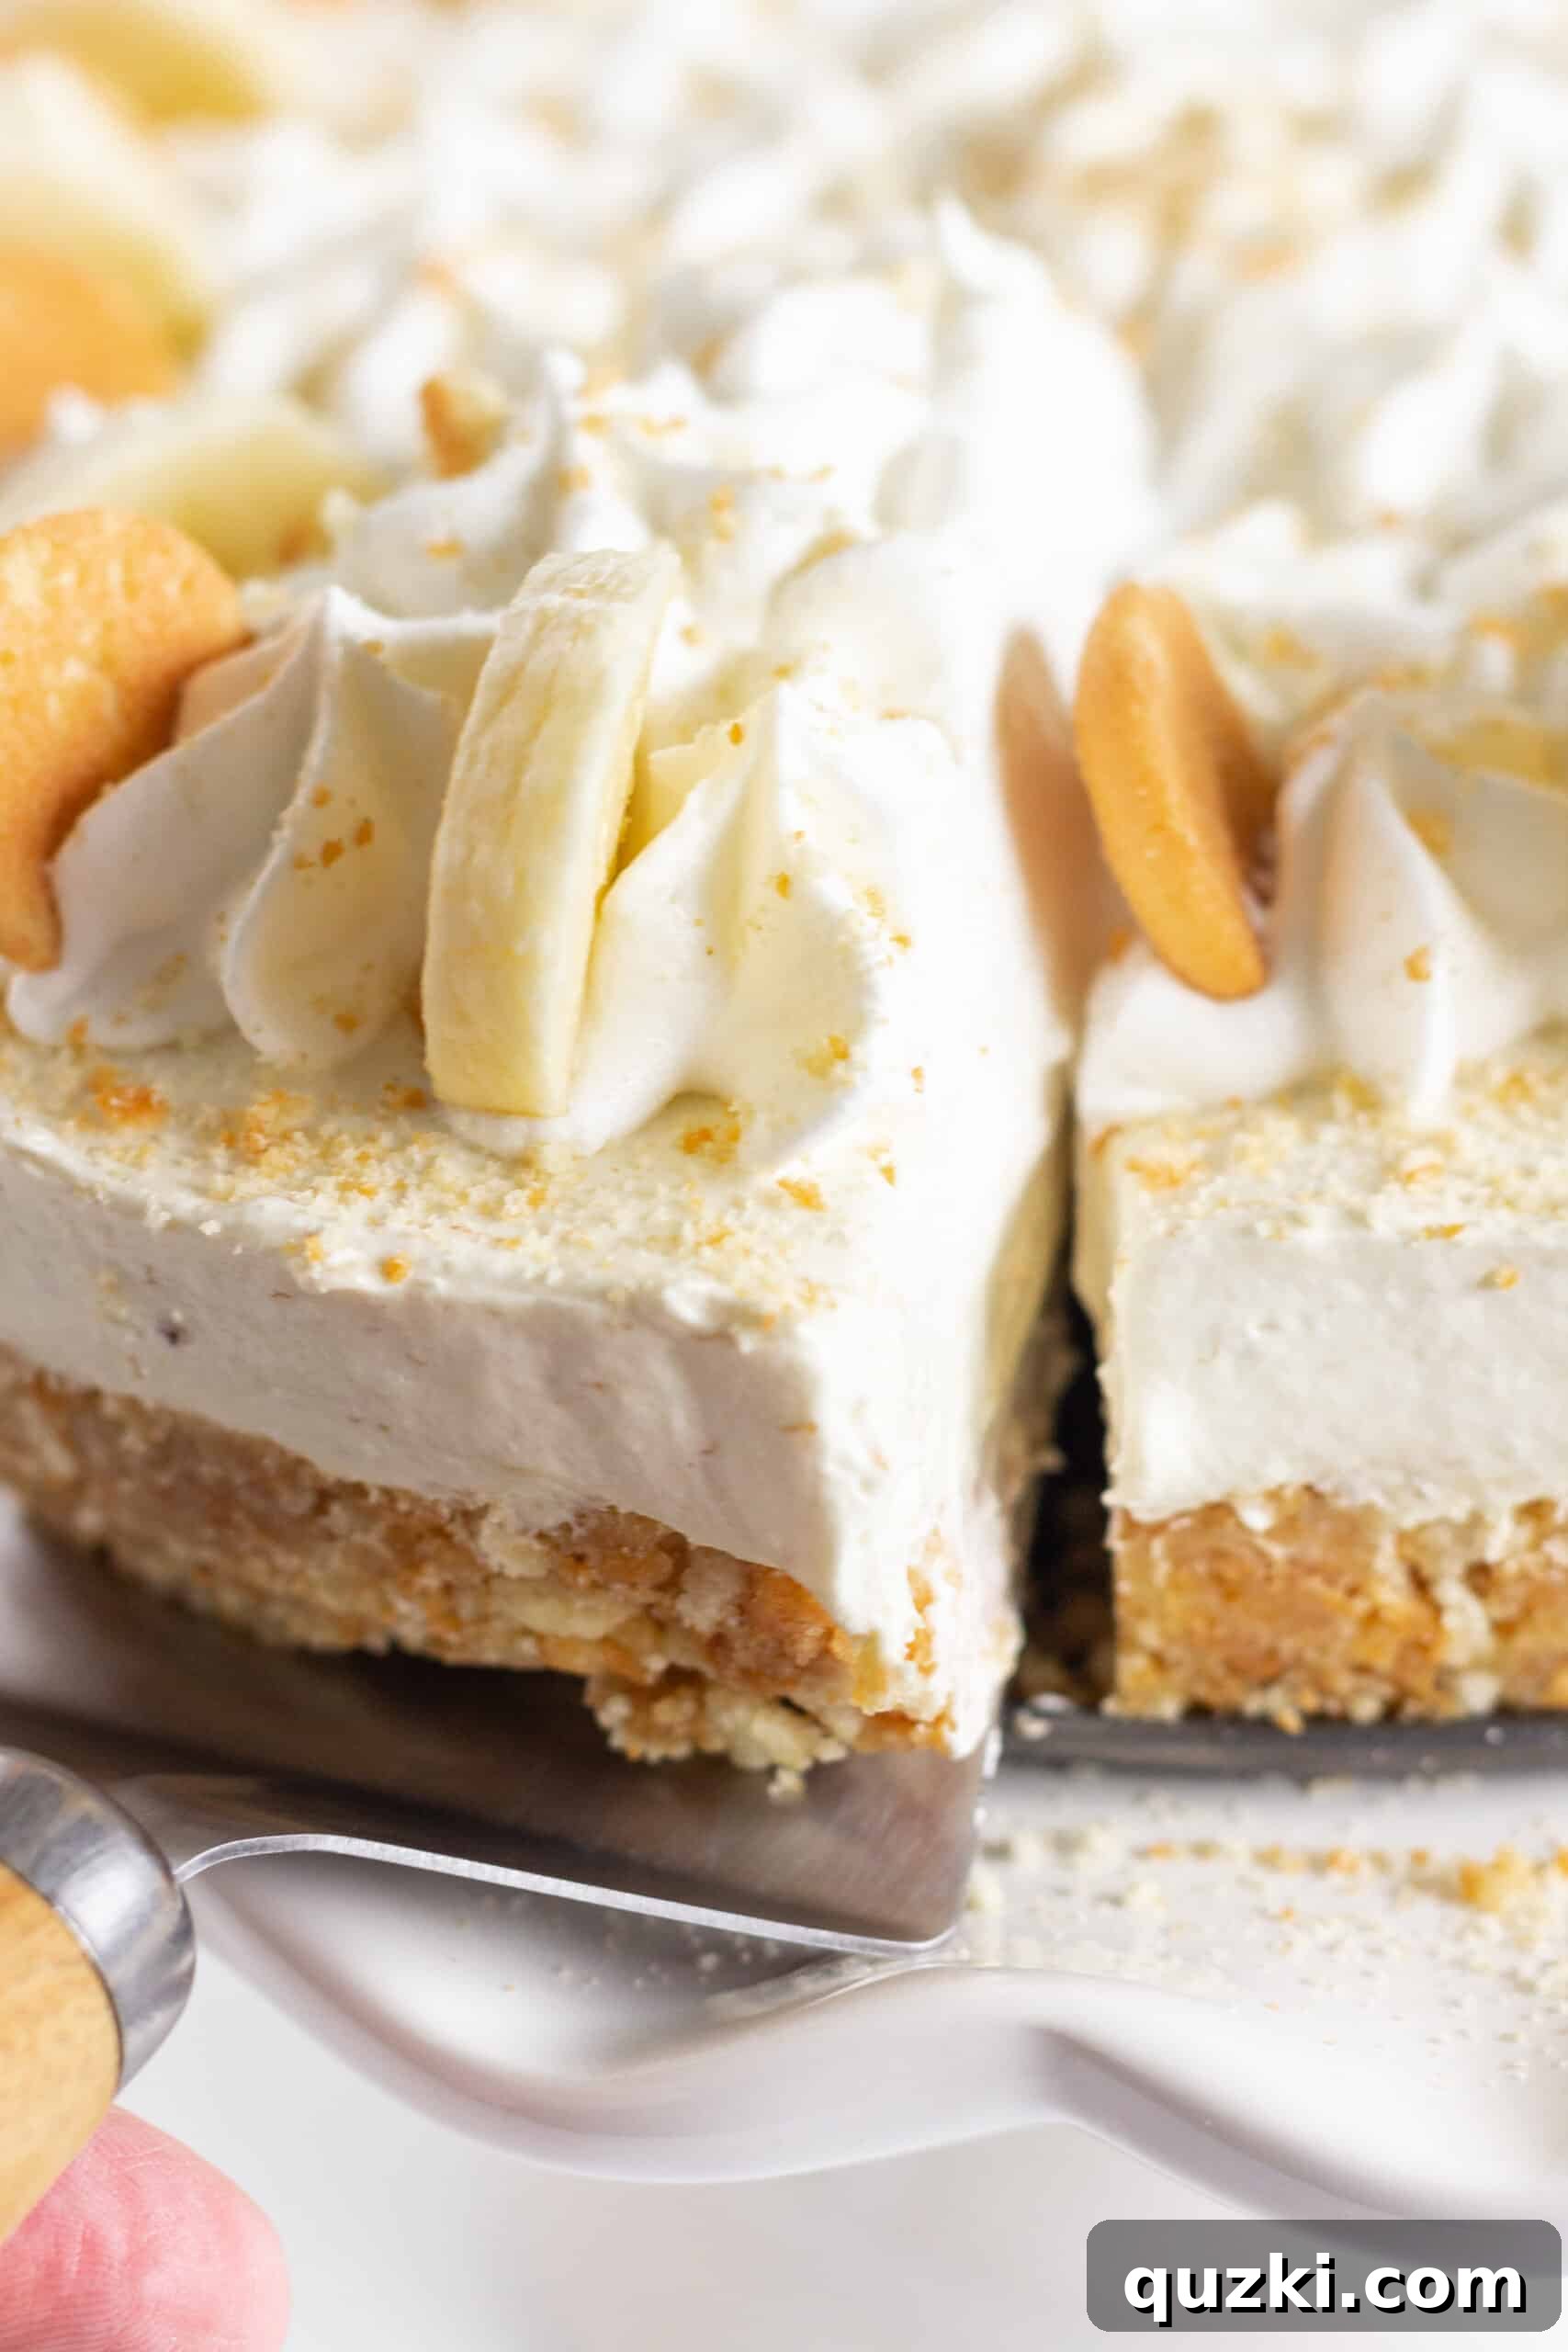
Craving More No-Bake Cheesecake Delights? Explore These Awesome Recipes!
If you’ve fallen in love with the ease and deliciousness of this no-bake banana pudding cheesecake, you’re in for a treat! We have a treasure trove of other fantastic no-bake cheesecake recipes that are just as simple to make and equally delightful. Perfect for any occasion where you want a luscious dessert without turning on your oven.
Pies
Easy Homemade Graham Cracker Crust
Cheesecakes
25 of the Best No Bake Cheesecakes
Cheesecakes
Super Easy No Bake Cheesecake Bars
Cheesecakes
Strawberry No Bake Cheesecake
Did you try this irresistible recipe? We would love to hear your thoughts! Leave a ⭐️⭐️⭐️⭐️⭐️ review below and don’t forget to tag @practicallyhomemade on Pinterest!
No Bake Banana Cheesecake
By: June Albertson-Dick
A buttery vanilla wafer crust provides the perfect base for a creamy, delightful banana pudding inspired cheesecake filling, enriched with fresh bananas.
Rate Recipe
Print Recipe
Ingredients
Vanilla Wafer Crust
- 2 ¼ cups vanilla wafer crumbs
- ¼ cup brown sugar (packed)
- ⅓ cup butter (melted)
Banana Pudding Cheesecake Filling
- 8 ounces cream cheese (softened)
- 3.4 ounce box banana pudding mix (instant)
- ¾ cup milk (e.g., 1%)
- 8 ounce whipped topping (thawed)
- 1 ripe banana (mashed)
Toppings (Optional)
- 10-12 mini vanilla wafers
- 1 banana (cut into slices)
- 1 cup whipped topping
Instructions
Vanilla Wafer Crust
- Pulse the vanilla wafers into fine crumbs using a food processor or blender. If these are unavailable, place cookies in a zipper bag and crush them with a rolling pin.
- In a bowl, mix together vanilla wafer crumbs, brown sugar, and melted butter. Stir until the crumbs are completely coated.
- Pour the crumb mixture into a lightly greased 9-inch springform pan and press firmly into the bottom and partially up the sides of the pan. Refrigerate the crust until the filling is prepared.
Banana Pudding Cheesecake Filling
- In a mixing bowl, beat the softened cream cheese until completely smooth.
- In a separate bowl, combine the banana pudding mix and milk, whisking until thick and fully incorporated.
- Add the banana pudding mixture to the cream cheese, along with the mashed banana. Mix until smooth.
- Gently fold the whipped topping into the mixture by hand until just combined.
- Pour the cheesecake mixture into the prepared vanilla wafer crust. Cover with plastic wrap and refrigerate for 2-4 hours, or until set.
- To serve, pipe or spread whipped topping over the cheesecake. Arrange whole mini vanilla wafers and fresh banana slices around the edge as desired. Sprinkle with any leftover vanilla wafer crumbs.
- Store leftovers tightly covered in the refrigerator for 3-4 days.
Nutrition
Serving: 1 slice,
Calories: 381kcal,
Carbohydrates: 43g,
Protein: 4g,
Fat: 22g,
Saturated Fat: 13g,
Polyunsaturated Fat: 2g,
Monounsaturated Fat: 5g,
Trans Fat: 1g,
Cholesterol: 42mg,
Sodium: 393mg,
Potassium: 155mg,
Fiber: 1g,
Sugar: 29g,
Vitamin A: 548IU,
Vitamin C: 1mg,
Calcium: 68mg,
Iron: 1mg
Nutrition information is automatically calculated and should only be used as an approximation.
Like this? Leave a comment below!