
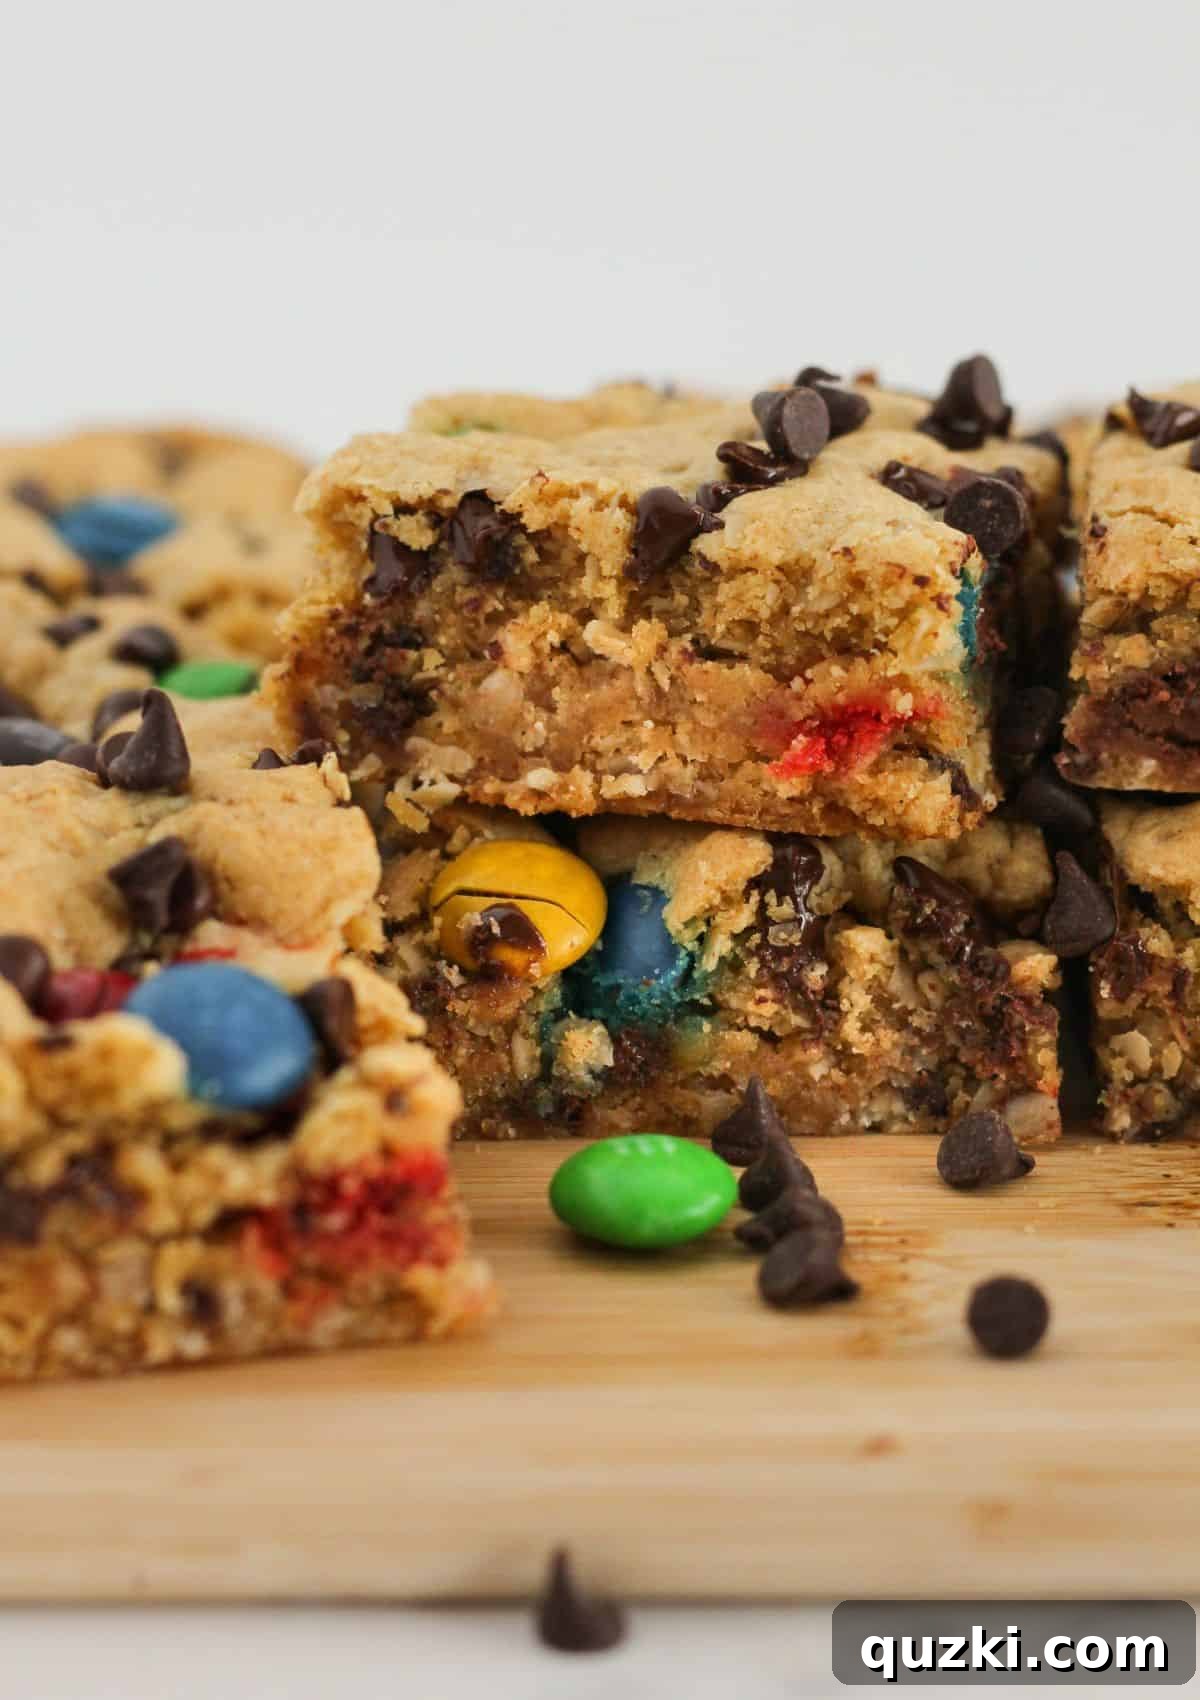
Easy Monster Cookie Bars: The Ultimate Cake Mix Recipe for Chewy, Peanut Butter & Chocolate Treats
If you’re a devoted fan of the irresistible combination of peanut butter, rich chocolate, and hearty oats, then these **Monster Cookie Bars** are about to become your new favorite treat. Imagine sinking your teeth into a thick, gloriously chewy bar, each bite bursting with classic monster cookie flavors – all without the hassle of scooping individual cookies or complex steps. This remarkably easy recipe leverages the convenience of a yellow cake mix, transforming it into a batch of delectable cookie bars that promise consistent perfection every single time. Forget the endless baking sheets; these bars are designed for simplicity and maximum flavor impact, making them an ideal choice for busy bakers and dessert enthusiasts alike. Get ready to impress your friends and family with these vibrant, irresistible goodies!
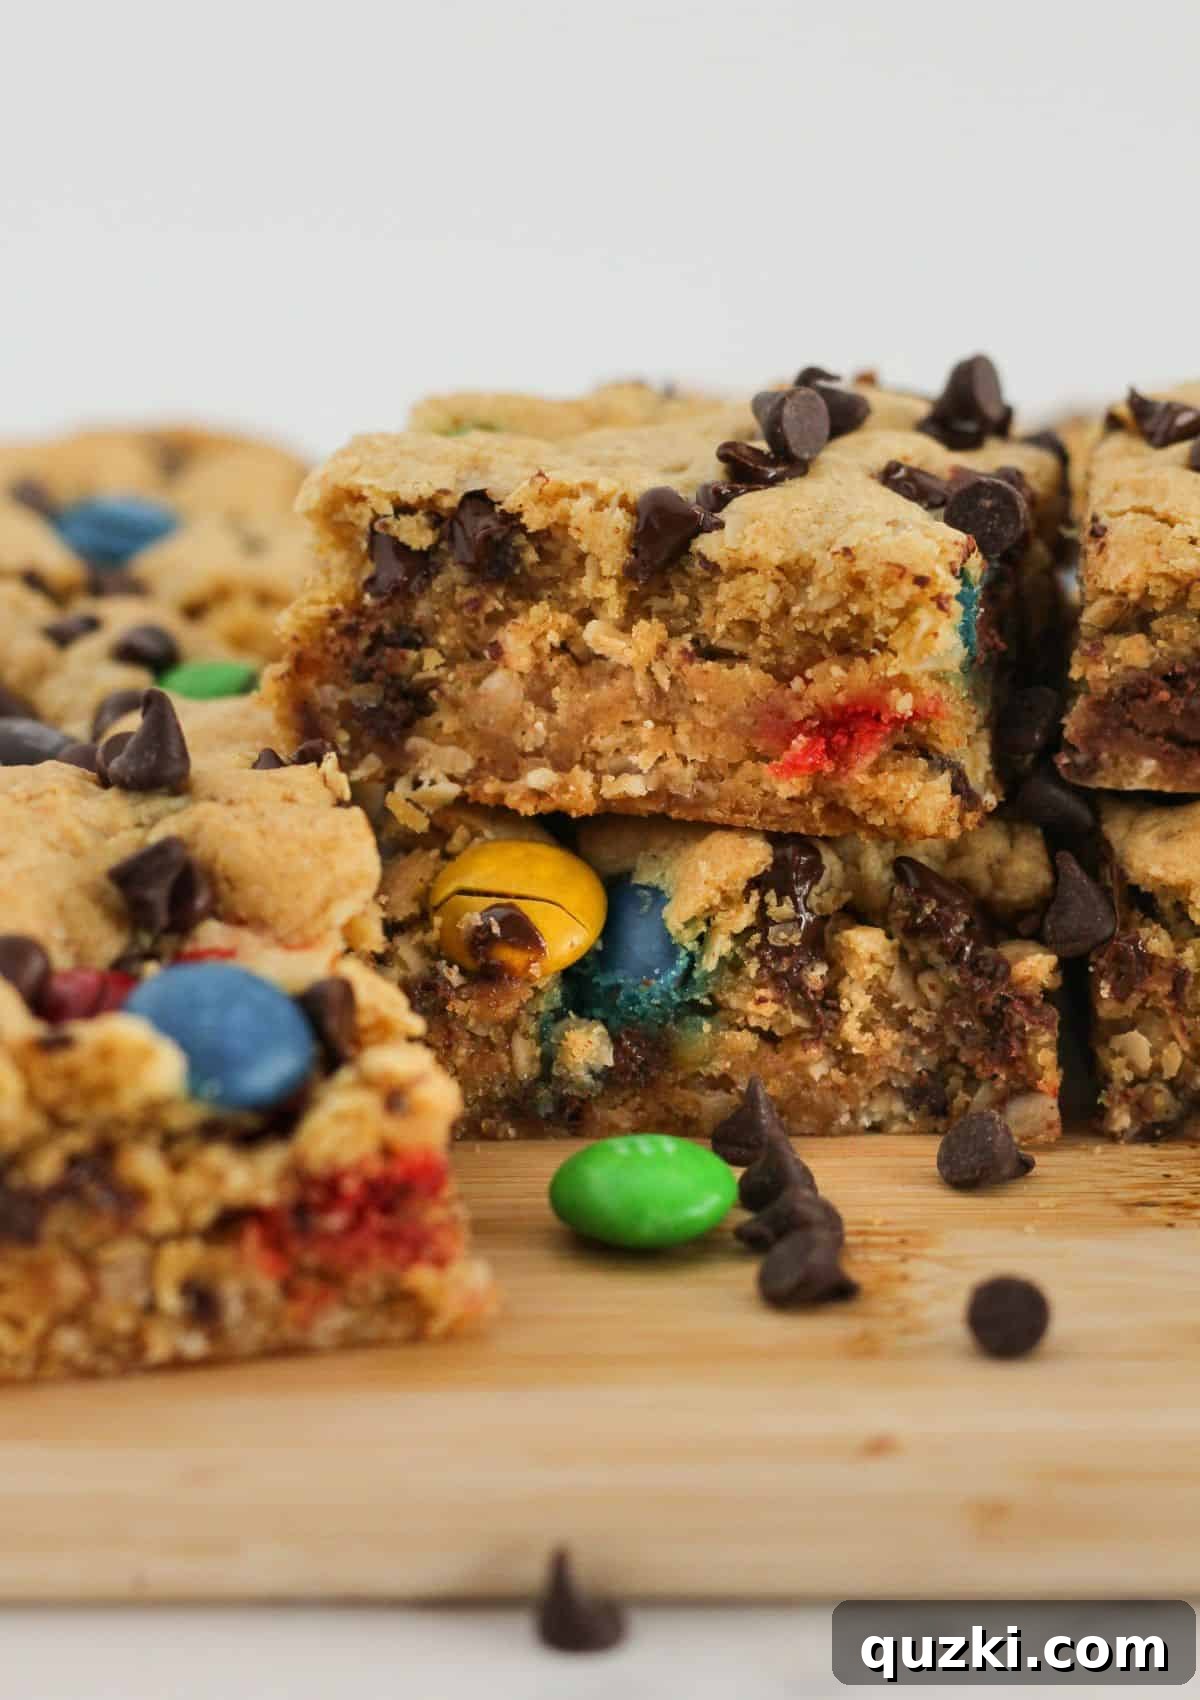
A Quick Look at This Irresistible Recipe
- Recipe Name: Ultimate Monster Cookie Bars
- Prep Time: A mere 10 minutes
- Bake Time: Approximately 30-35 minutes
- Yields: 12 generously sized servings
- Time-Saving “Practically Homemade” Ingredient: One box of yellow cake mix
Table of Contents
- What Are Monster Cookie Bars?
- Why You’ll Love These Monster Cookie Bars
- A Quick Look at This Irresistible Recipe
- Key Ingredients for Monster Cookie Bar Perfection
- How to Make Monster Cookie Bars with a Cake Mix (Step-by-Step)
- Expert Tips for Baking Flawless Monster Cookie Bars
- Storage and Freezing Instructions
- Monster Cookie Bars FAQs
- More Delicious Bar Cookie Recipes to Try
- Monster Cookie Oatmeal Bars Recipe Card
What Are Monster Cookie Bars?
Monster cookie bars are essentially a delicious, simplified version of monster cookies, baked into a convenient bar form. Traditionally, monster cookies are known for their “everything but the kitchen sink” approach, combining classic cookie elements like peanut butter, chocolate chips, and oats with colorful candy-coated chocolates (M&M’s are a popular choice). The name “monster” hints at their substantial size and satisfyingly rich, varied texture. When transformed into bars, they offer the same beloved flavor profile but streamline the baking process, eliminating the need to roll or scoop individual cookies. This makes them perfect for parties, potlucks, or simply when you’re craving a big, comforting treat without the extra fuss.
Why You’ll Love These Monster Cookie Bars
There are countless reasons to fall in love with this monster cookie bar recipe, especially if you appreciate simplicity without sacrificing flavor. Firstly, the use of a **yellow cake mix** is an absolute game-changer. It acts as a brilliant shortcut, providing a perfectly balanced dry base of flour, leavening agents, and a hint of vanilla, which means fewer ingredients to measure and less room for error. This makes the recipe incredibly **beginner-friendly** and remarkably **quick to prepare**, ideal for impromptu baking sessions or when time is of the essence.
Beyond their ease, these bars deliver an exceptional taste and texture experience. They are wonderfully **thick and chewy**, a hallmark of a great cookie bar, ensuring a satisfying bite every time. The rich combination of **creamy peanut butter** and a generous amount of **chocolate chips and M&M’s** creates a harmonious blend of sweet and savory, with delightful pops of candy color and crunch. The addition of **quick oats** introduces that beloved wholesome, slightly chewy texture that defines a true monster cookie.
Furthermore, these monster cookie bars are an absolute **crowd-pleaser**. Their vibrant appearance and universally loved flavors make them a hit at any gathering, from casual family desserts to school events and holiday parties. They’re also incredibly versatile; you can easily customize the mix-ins to suit your preferences or what you have on hand. Plus, baking them in a single pan means less cleanup and consistent results, eliminating the guesswork often associated with traditional cookie baking. In short, this recipe offers maximum flavor and convenience, proving that homemade treats don’t have to be complicated to be utterly delicious.
Key Ingredients for Monster Cookie Bar Perfection
Crafting these extraordinary Monster Cookie Bars requires a thoughtful selection of ingredients, each playing a vital role in achieving their signature taste and texture. While the recipe is designed for simplicity, understanding the contribution of each component will help you bake them to perfection every time.
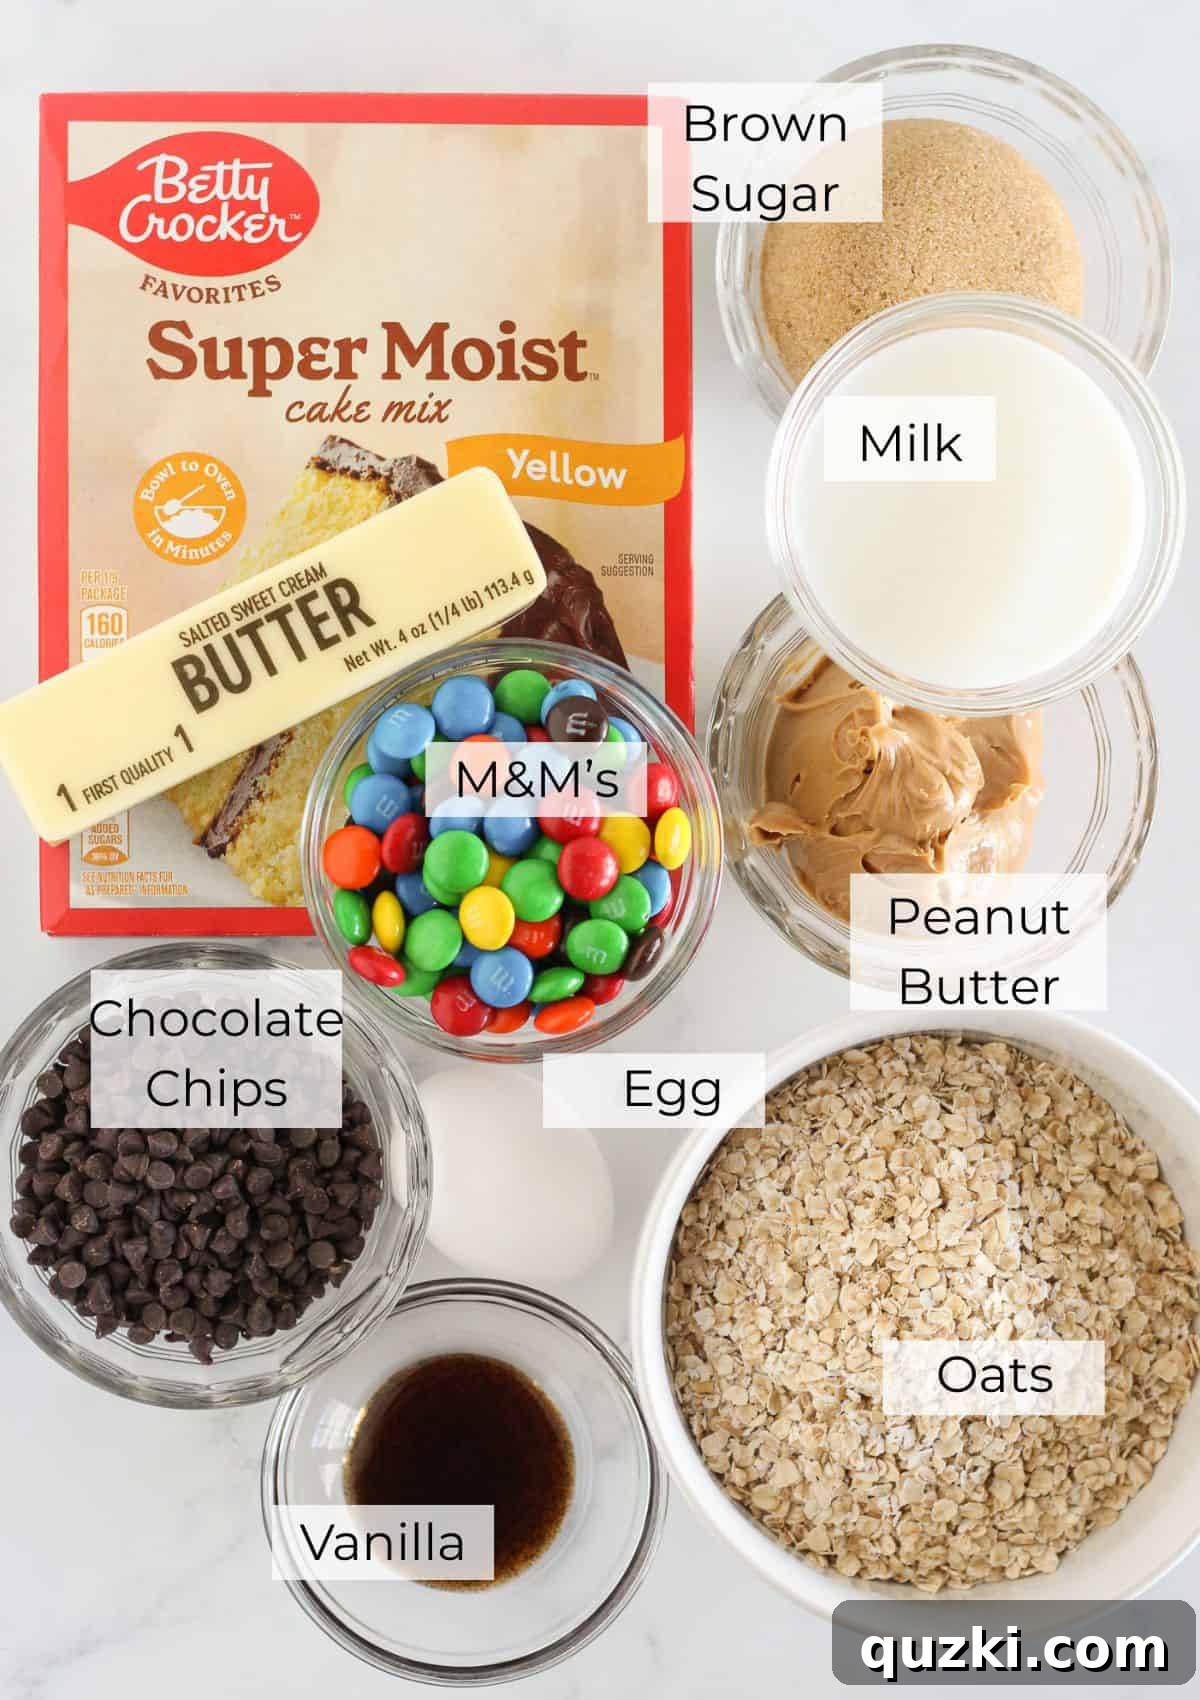
- Yellow Cake Mix (13.25 ounces): This is our secret weapon and ultimate time-saver! Using a box of yellow cake mix means you don’t have to measure out individual dry ingredients like flour, sugar, baking powder, and salt. It provides a fantastic foundation with a subtle vanilla flavor, guaranteeing a consistent and tender crumb for your bars. It’s one of the many reasons this ingredient frequently appears in our best cake mix recipes.
- Brown Sugar (packed): Beyond just sweetness, brown sugar adds crucial moisture and a rich, caramel-like depth of flavor to the bars. When packed, it ensures you’re getting the right amount for that perfect chewiness.
- Melted Butter: Butter contributes to the rich flavor and tender texture. Melting it ensures it fully incorporates into the dough, creating a smooth and pliable batter that spreads easily in the pan.
- Peanut Butter: The star of the show for that classic monster cookie taste! Any creamy peanut butter will work beautifully here, adding richness and that distinct nutty flavor. If you prefer an even stronger peanut butter presence, don’t hesitate to add an extra tablespoon or two. For a slightly different texture, you could even try crunchy peanut butter, but creamy provides a smoother blend.
- Large Egg: The egg acts as a binder, holding all the ingredients together and providing structure to the bars. It also adds moisture and contributes to the richness and chewiness. Ensure it’s at room temperature for optimal mixing.
- Milk: A splash of milk helps to bring the dough to the perfect consistency, ensuring it’s not too thick and dry. Whole milk typically offers the best results, adding a touch more richness. Like the egg, room temperature milk mixes in more smoothly.
- Vanilla Extract: A touch of vanilla enhances all the other flavors, adding a warm, aromatic note that elevates the overall taste profile of the cookie bars.
- Quick Oats: Essential for that signature chewy, wholesome texture of monster cookies. Quick oats are pre-cut into smaller pieces, allowing them to blend seamlessly into the dough while still providing a distinct oat presence without being overly chunky. This is the same type of oat we use for our Cake Mix Oatmeal Cookies.
- Mini Chocolate Chips: These tiny chocolate morsels ensure that you get a burst of chocolate in nearly every bite. Mini chips distribute more evenly throughout the thick dough compared to standard chips.
- M&M’s: The colorful candy-coated chocolates are not just for visual appeal! They add a delightful crunch and extra sweetness, making these bars truly “monster” worthy. Feel free to use classic milk chocolate M&M’s or experiment with different varieties for seasonal themes.
For precise measurements and quantities, please refer to the detailed recipe card below.
How to Make Monster Cookie Bars with a Cake Mix (Step-by-Step)
Crafting these phenomenal Monster Cookie Bars is surprisingly straightforward, thanks to our clever use of cake mix. Follow these simple steps for a flawless batch of chewy, flavor-packed treats!
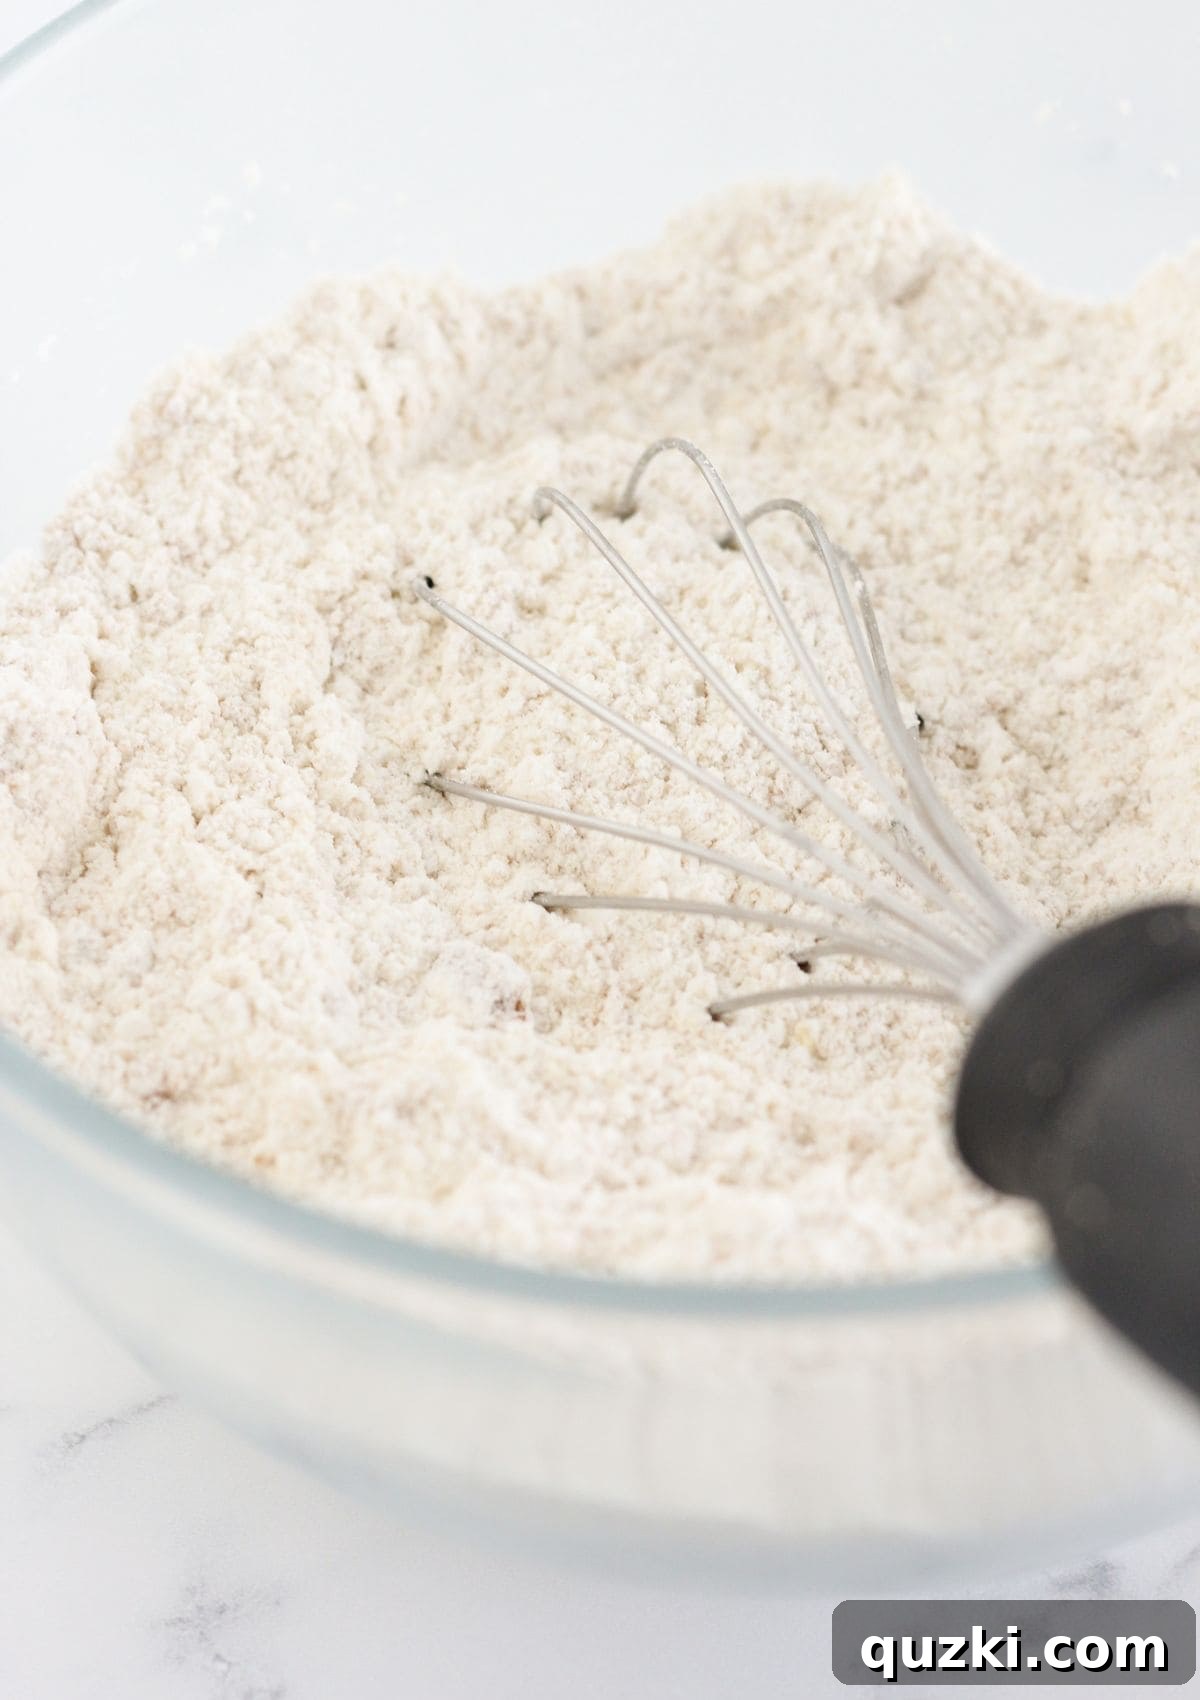
Step 1: Prepare the Dry Ingredients and Pan. Begin by preheating your oven to a steady 350°F (175°C). Prepare a 9×9 inch baking pan; you can either generously spray it with a nonstick cooking spray or, for easier removal, line it with parchment paper, leaving an overhang on the sides. In a spacious mixing bowl, combine the contents of the yellow cake mix with the packed brown sugar. Whisk these dry ingredients together thoroughly, ensuring any lumps are broken up to create a smooth base for your dough.
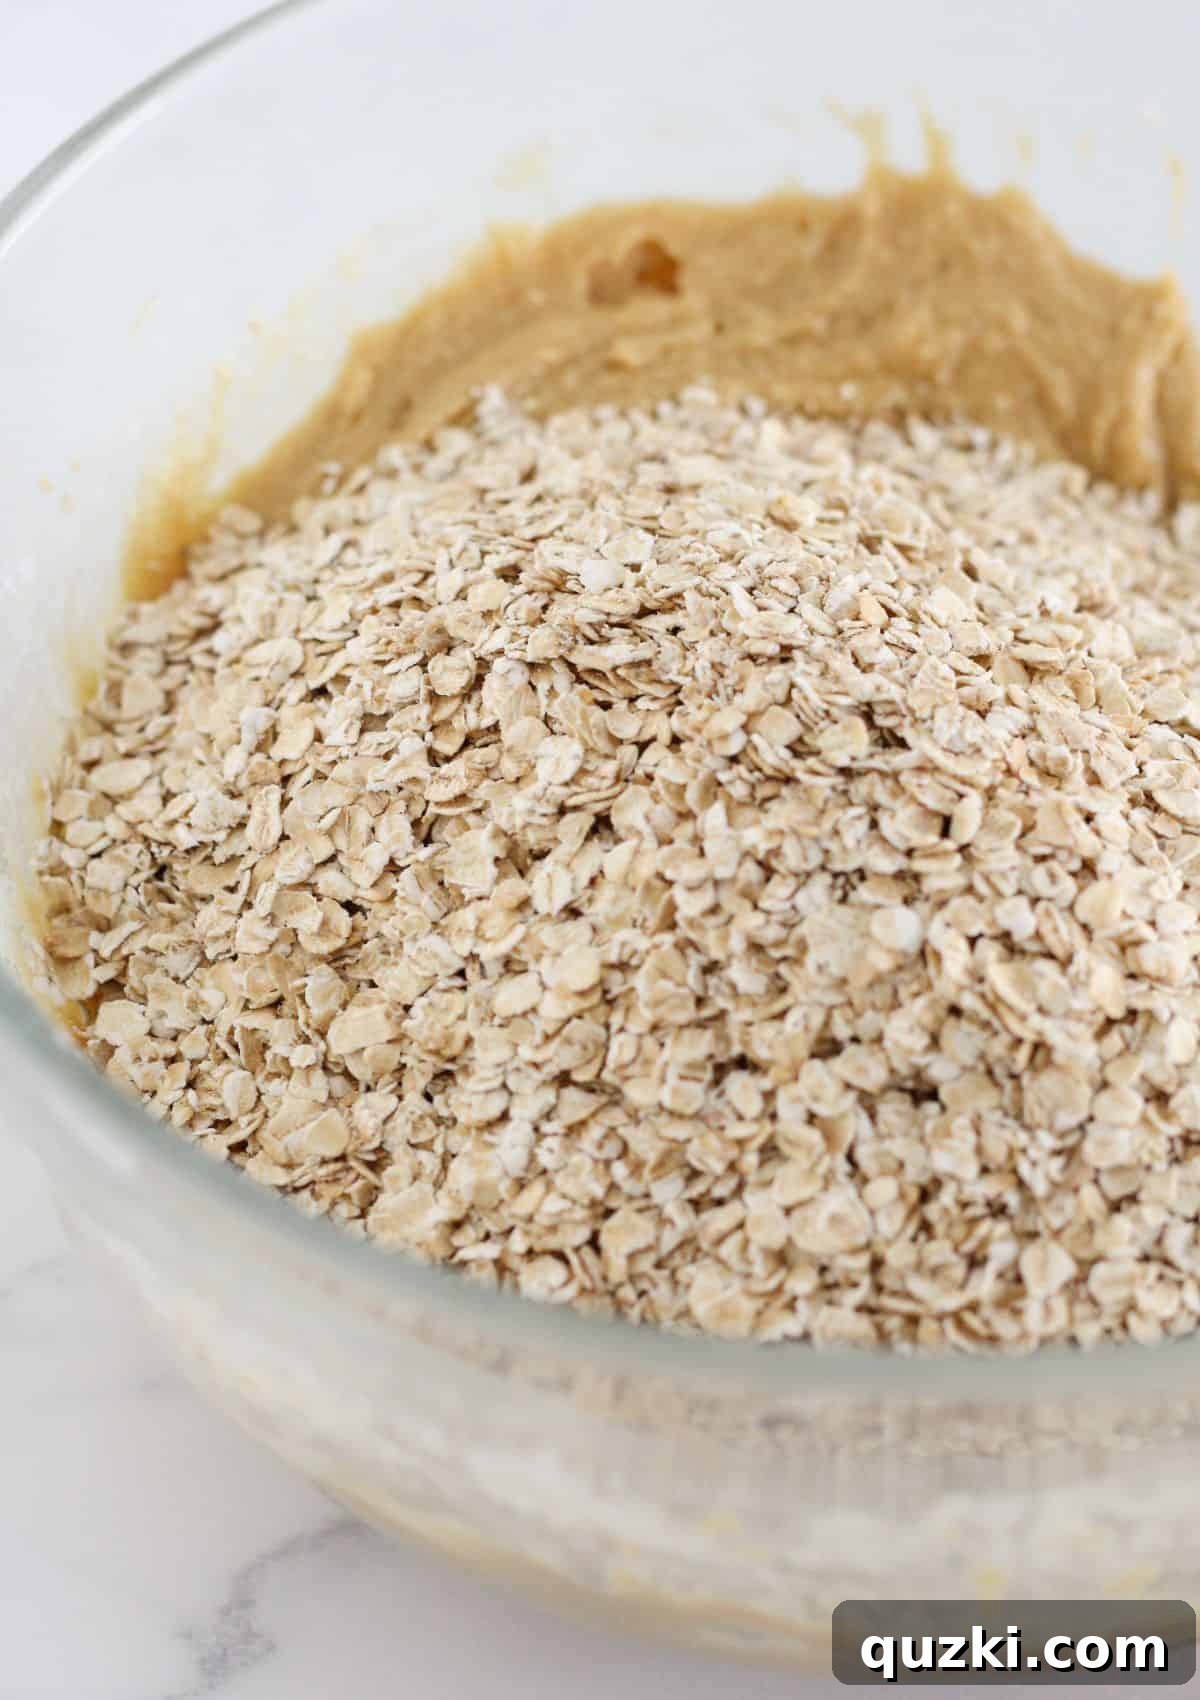
Step 2: Combine Wet Ingredients and Oats. To the dry mixture, add the melted butter, creamy peanut butter, large egg, milk, and vanilla extract. Using an electric mixer (either a hand mixer or a stand mixer with a paddle attachment), beat these ingredients together until they are fully combined and the mixture appears smooth and cohesive. Next, incorporate the quick oats. Mix again until the oats are evenly distributed throughout the dough. At this stage, you’ll notice the dough is quite thick – this is exactly what you want for perfectly chewy bars.
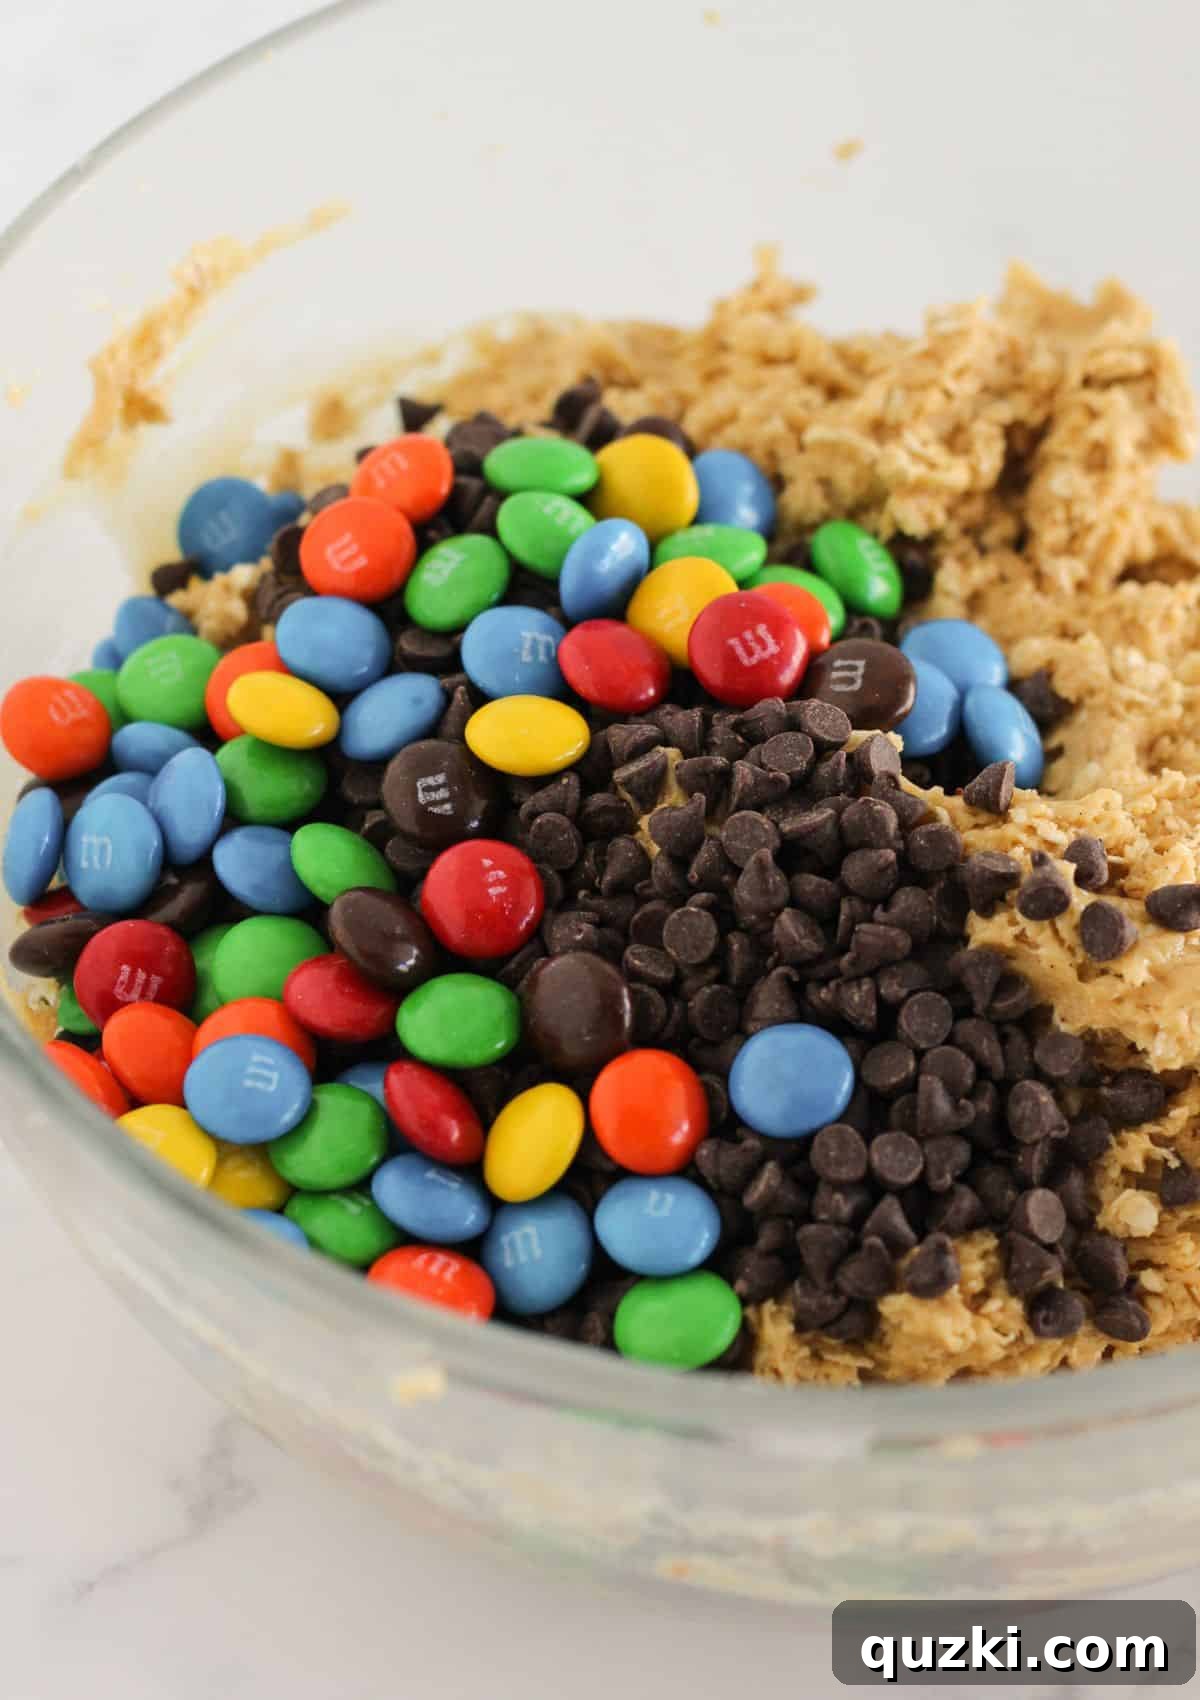
Step 3: Fold in the Fun Mix-Ins. Now for the monster-making magic! Add the mini chocolate chips and M&M’s to the thick dough. Using a sturdy spatula or spoon, gently fold them in until they are thoroughly and evenly spread throughout the dough. Be careful not to overmix, just ensure all those delicious additions are well incorporated.
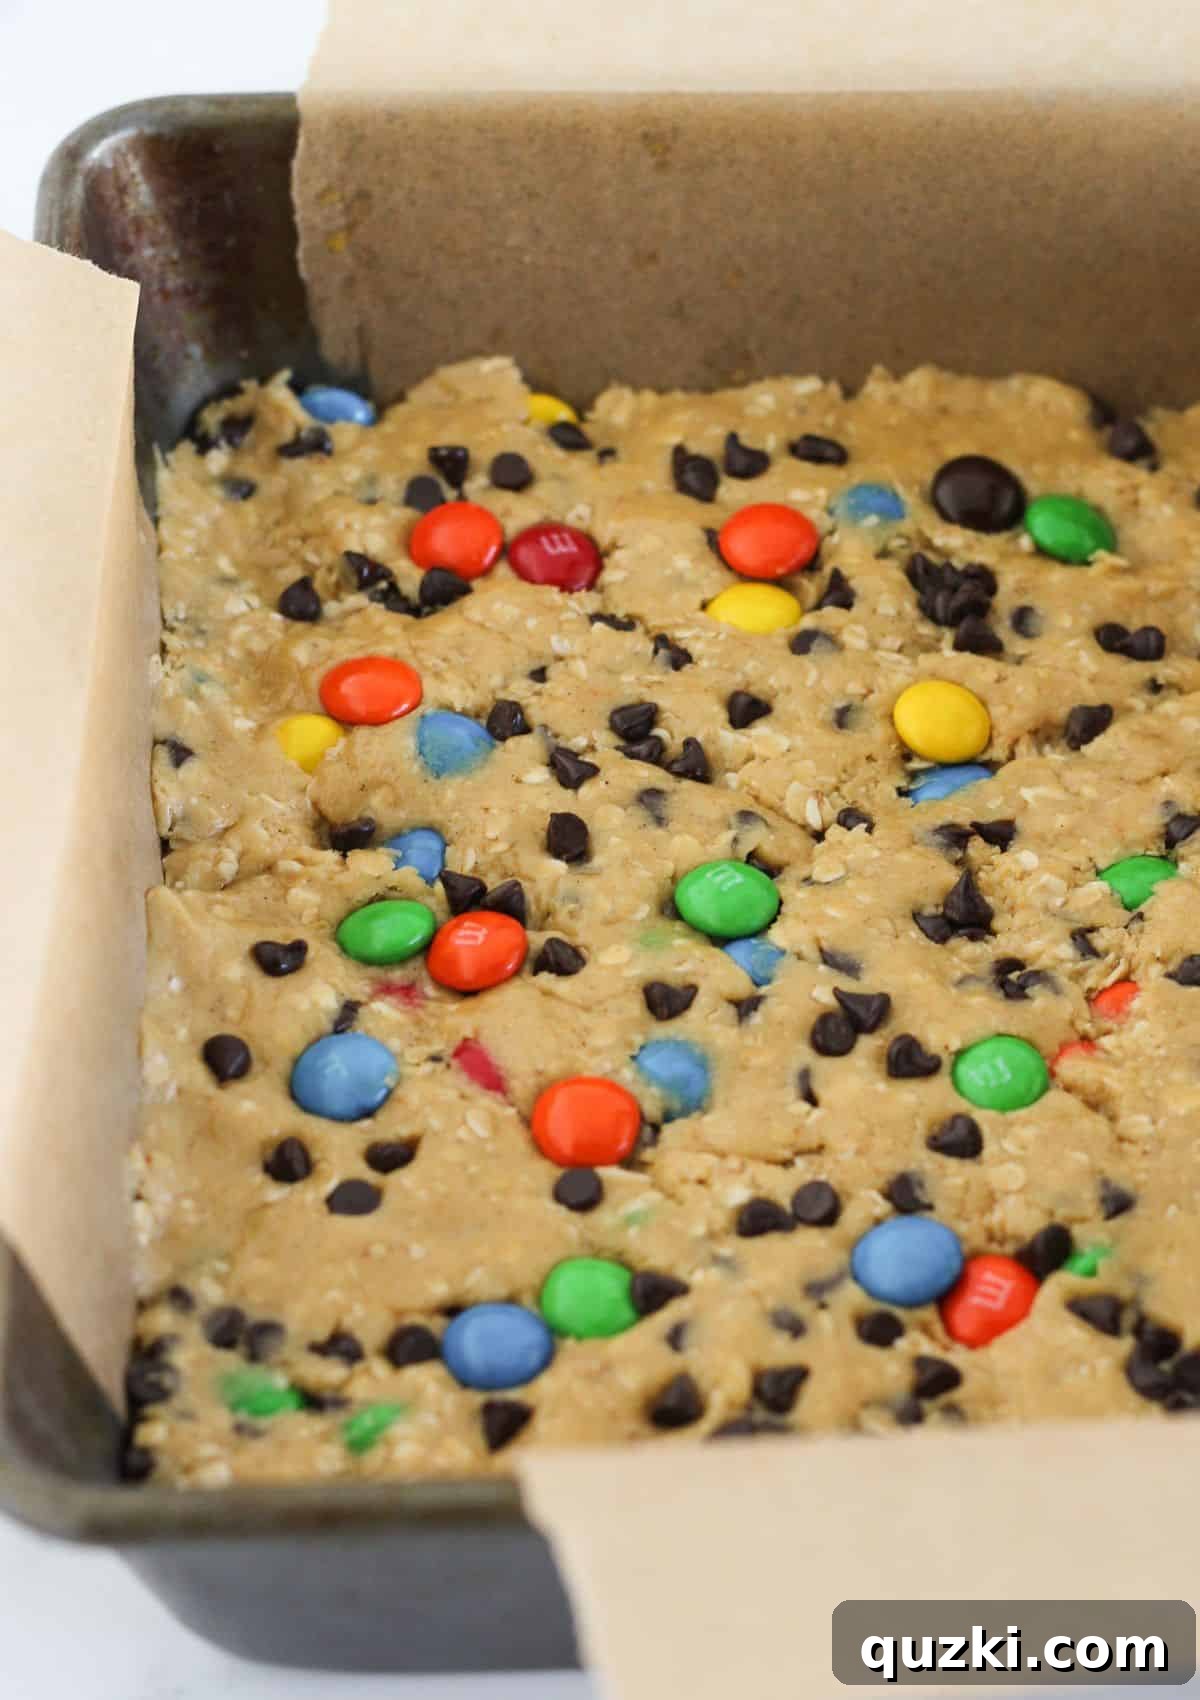
Step 4: Press Dough into the Pan. Transfer the thick cookie dough into your already prepared 9×9 inch baking pan. Using the back of a spoon, your fingers (lightly floured if sticky), or a spatula, press the dough down firmly and evenly into the pan. Make sure it reaches all corners and forms a uniform layer; this will ensure even baking and consistent bar thickness.
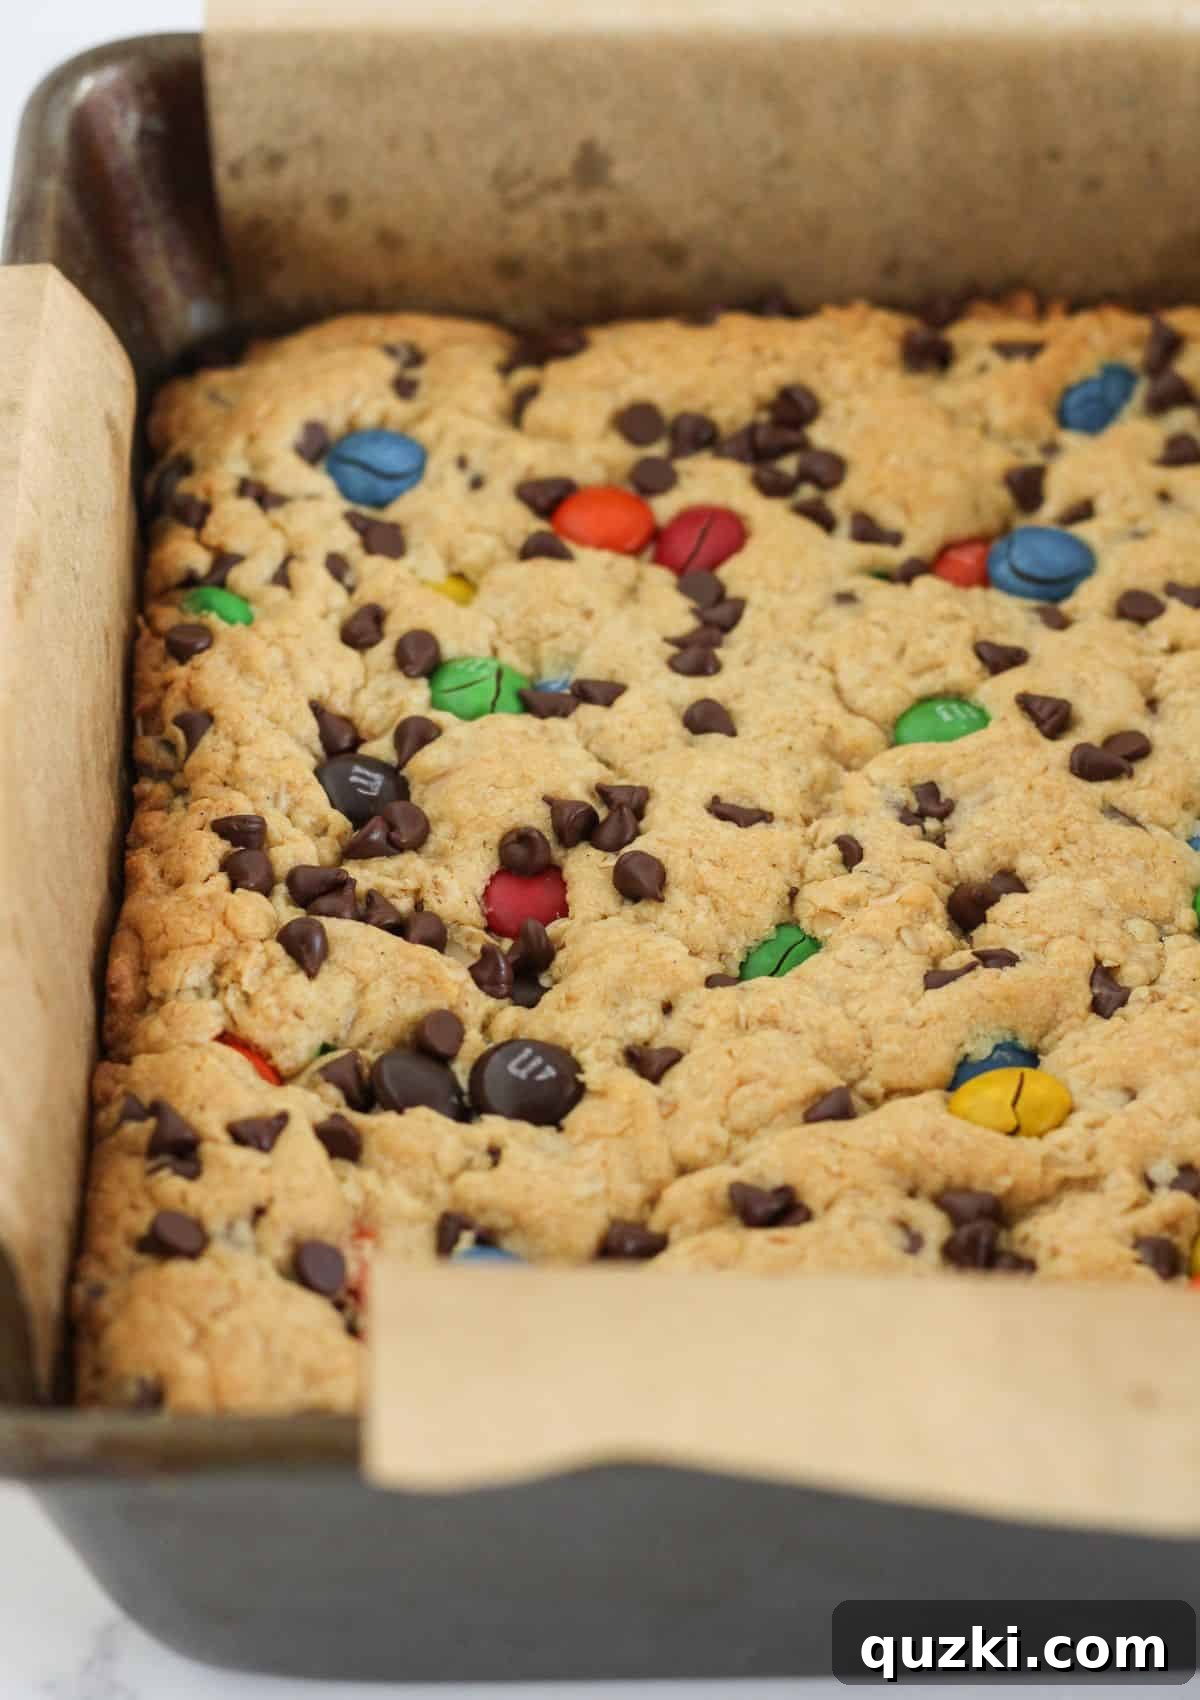
Step 5: Bake to Golden Perfection. Place the pan in your preheated oven and bake for 30-35 minutes. Keep an eye on them; the bars are ready when the top is beautifully golden brown and the edges appear set. The very center might still look slightly soft or underdone – this is perfect! They will continue to firm up as they cool, ensuring a wonderfully chewy texture. Avoid overbaking.
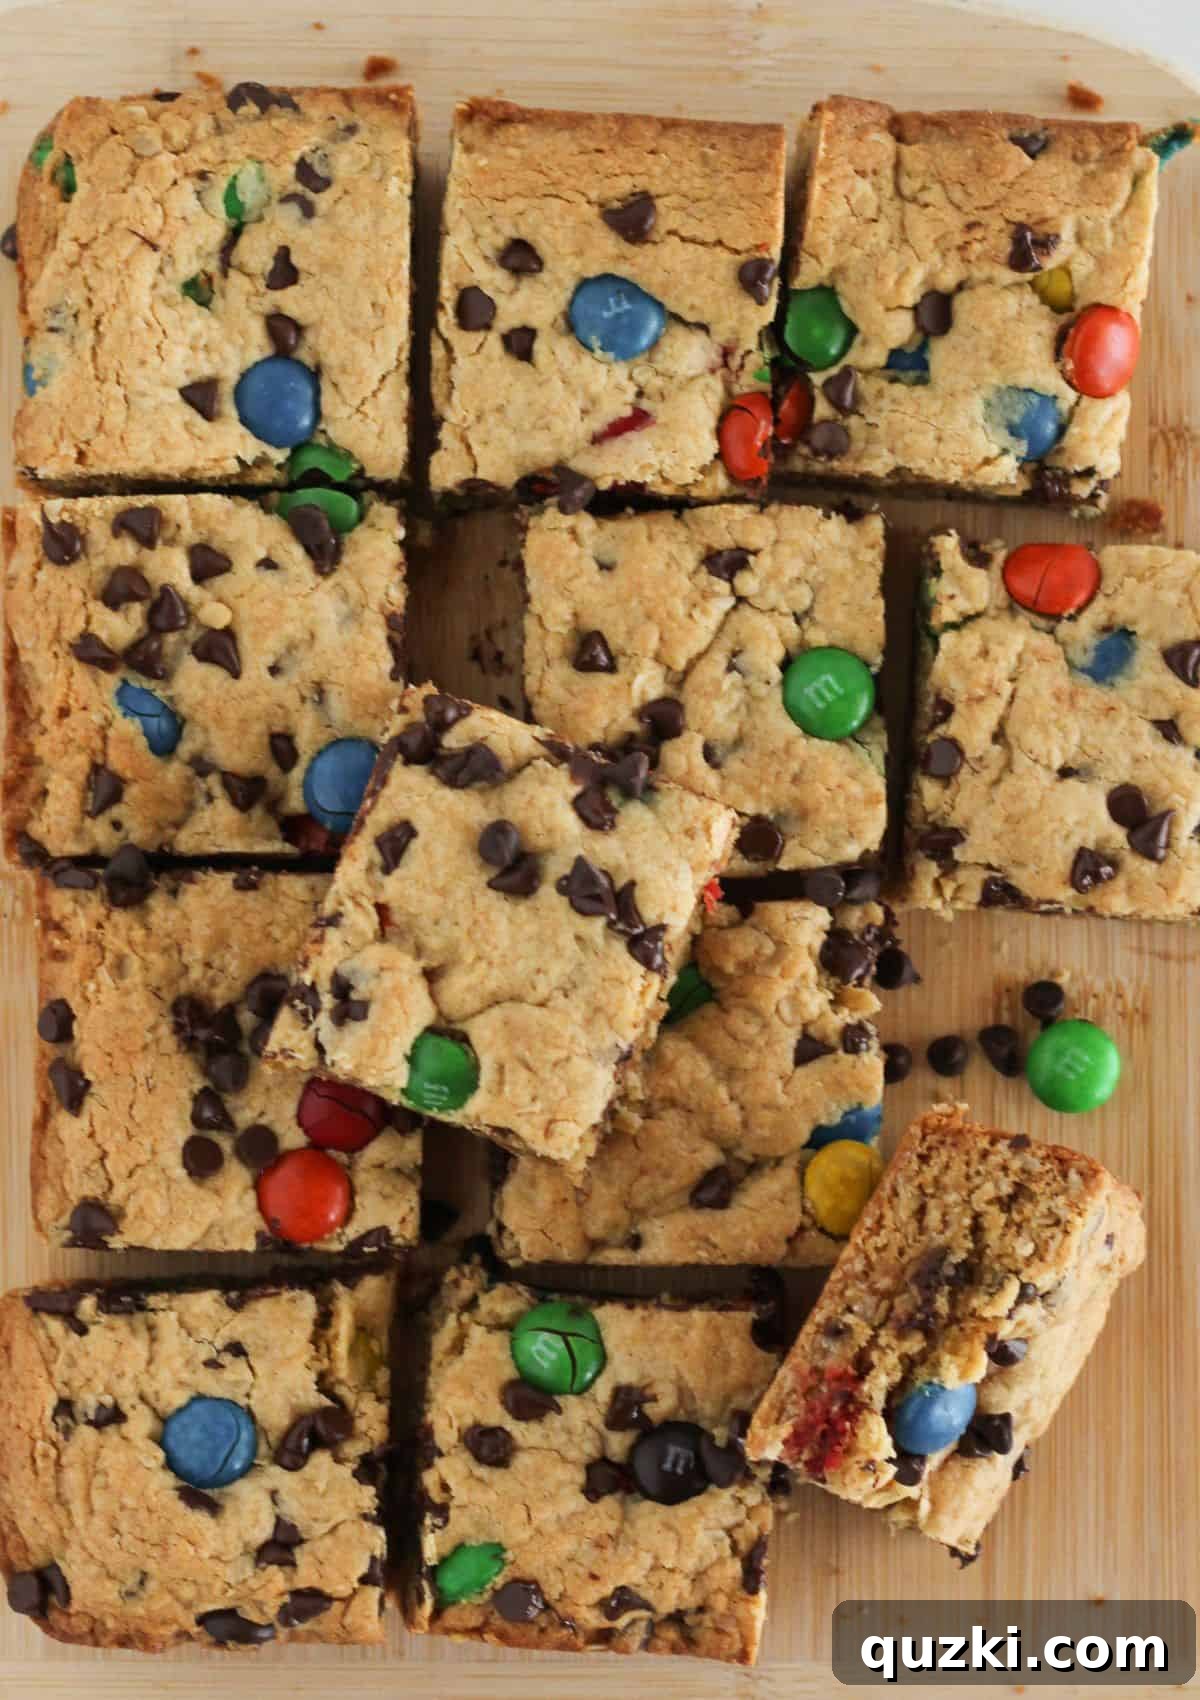
Step 6: Cool Completely Before Slicing. This is perhaps the most crucial step for neat, perfect bars! Once baked, remove the pan from the oven and place it on a wire rack to cool completely. This means letting them sit for at least 1 to 2 hours, or even longer. Resisting the urge to cut them while warm is essential, as they will crumble and fall apart. Once fully cooled, use the parchment paper overhang to lift the entire slab out of the pan, then slice into neat squares. Serve and savor your homemade Monster Cookie Bars!
Expert Tips for Baking Flawless Monster Cookie Bars
Achieving the perfect Monster Cookie Bars every time is easy with a few insider tips. These expert recommendations will help ensure your bars are wonderfully chewy, flavorful, and structurally sound.
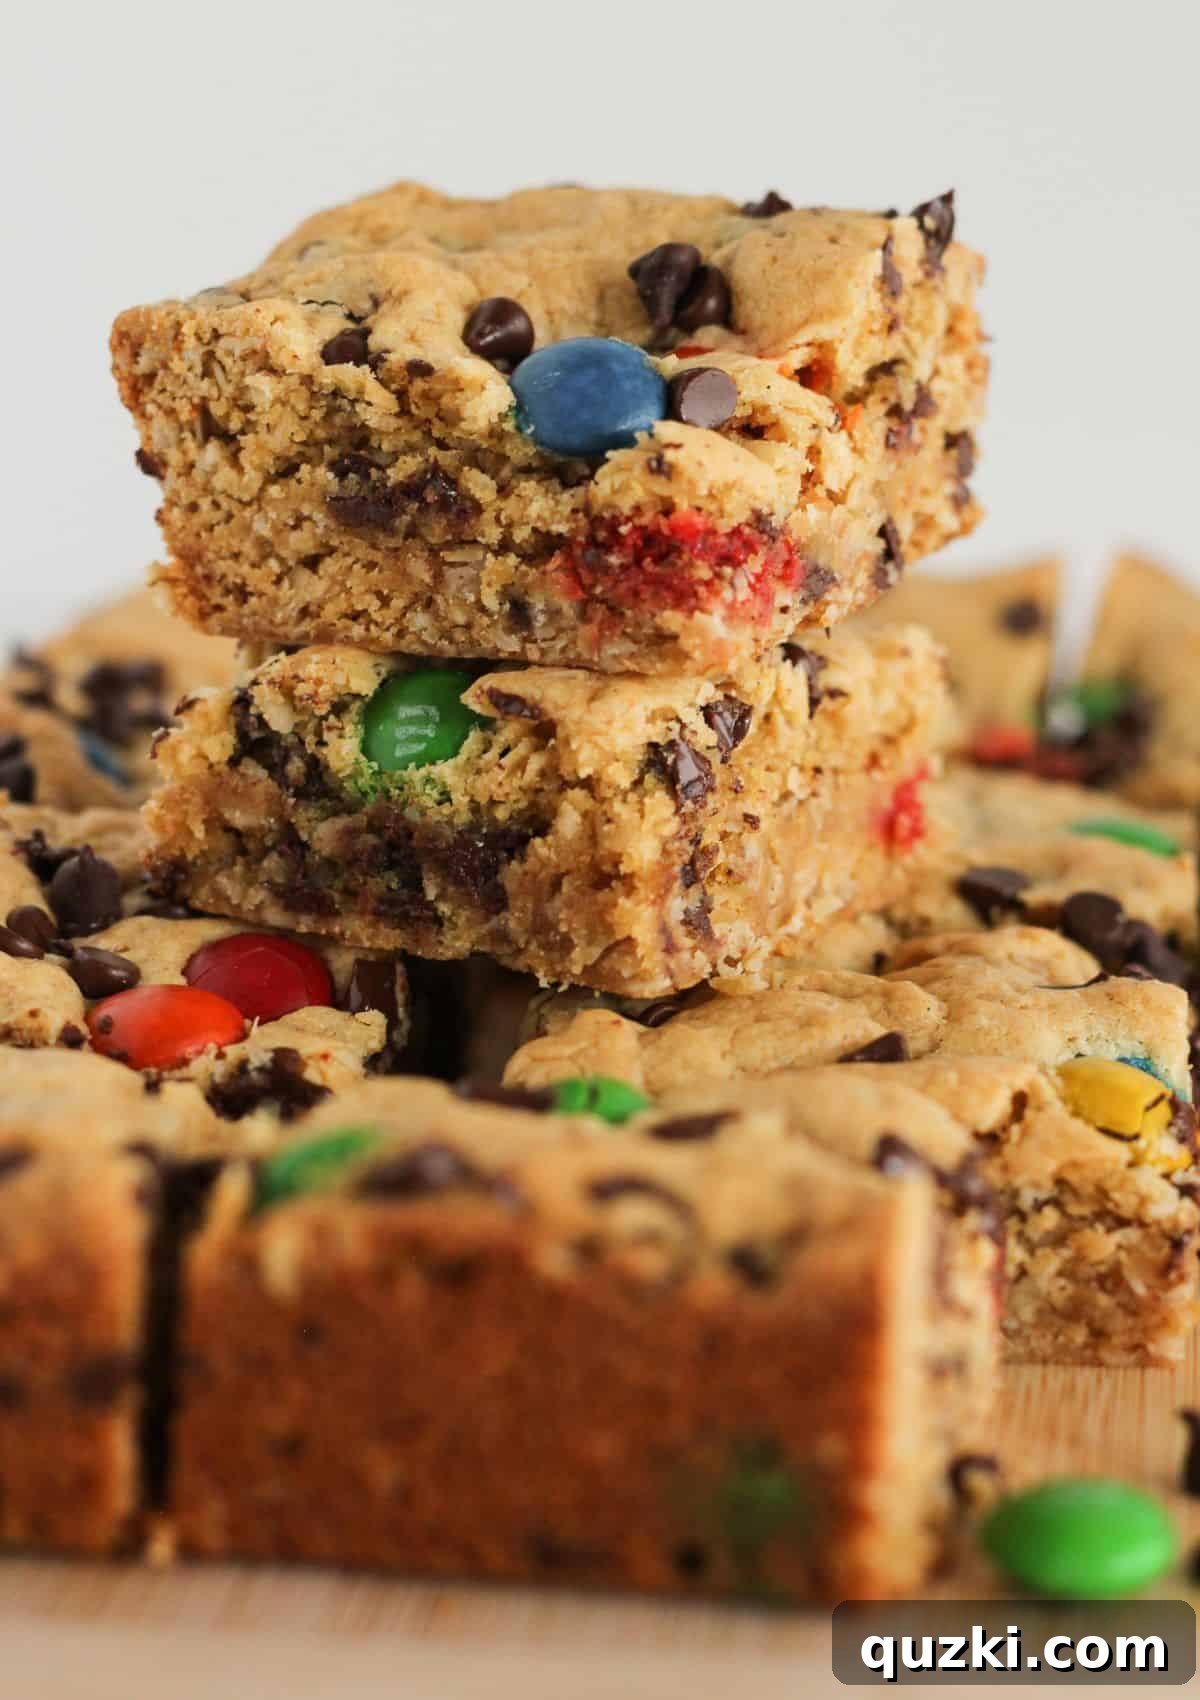
- Do Not Overbake These Bars: This is arguably the most critical tip for achieving a chewy texture. When you pull these cookie bars out of the oven, the center might still appear slightly soft or even a little underdone. Trust the process! They will continue to set and firm up significantly as they cool on the counter. If you bake them until they look completely firm in the oven, you’ll end up with dry, crumbly bars instead of the moist, chewy delight you’re aiming for. Look for golden brown edges and a set top, but a slightly gooey center.
- Cool Completely Before Cutting: Patience is a virtue, especially when it comes to cutting bar cookies. If you attempt to slice these bars while they’re still warm, they will inevitably crumble, fall apart, and make a messy presentation. Allow them to cool in the pan on a wire rack for at least 1 to 2 hours (or even longer) until they are entirely at room temperature. This cooling period allows the butter and sugars to solidify, resulting in clean, neat squares that hold their shape beautifully.
- Use Room Temperature Ingredients: For optimal mixing and a perfectly smooth dough, ensure your egg and milk are at room temperature before you begin. Cold ingredients can cause the melted butter to seize up and clump, leading to a lumpy batter and potentially an inconsistent texture in the final bars. Simply take them out of the refrigerator about 30 minutes before you start baking.
- Line Your Pan for Easy Removal: While spraying your pan with nonstick spray works, lining your baking pan with parchment paper (with an overhang on two sides) is a game-changer. Once the bars are completely cool, you can simply lift the entire slab out of the pan using the parchment paper, making cutting and serving incredibly easy and mess-free.
- Press the Dough Evenly: The dough for these bars is quite thick. Take a moment to press it into an even layer in the prepared pan. This ensures that all parts of the bar bake uniformly, preventing burnt edges or raw centers. You can use the back of a spoon, your hands (lightly floured if sticky), or a flat bottomed glass to achieve an even surface.
- Switch Up the Mix-Ins: The beauty of “monster” cookies is their versatility! While M&M’s and mini chocolate chips are classic, feel free to customize these bars with other additions. Try peanut butter chips, Reese’s Pieces, butterscotch chips, white chocolate chips, chopped nuts (like peanuts or walnuts), or even sprinkles for a festive touch. You can adjust the total quantity of mix-ins to your preference, just be mindful not to overcrowd the dough.
- Don’t Forget the Salt: While not explicitly listed as an added ingredient (as it’s often in cake mix), a tiny pinch of extra salt, especially if using unsalted butter, can help balance the sweetness and enhance the flavors of the peanut butter and chocolate.
Storage and Freezing Instructions
Ensuring your Monster Cookie Bars stay fresh and delicious is simple with these storage guidelines, allowing you to enjoy them for days or even months!
Storing Leftovers: Once your Monster Cookie Bars have completely cooled, transfer them to an airtight container. You can store them at room temperature for up to 4 days. While refrigeration is optional and not strictly required for freshness, it can help extend their shelf life slightly, especially in warmer climates, and keep them firmer. If refrigerating, let them come to room temperature for a few minutes before enjoying for the best texture.
Freezing for Later: Monster Cookie Bars freeze exceptionally well, making them perfect for meal prepping desserts or having a quick treat on hand. First, ensure the bars are cooled completely. Then, for best results, wrap individual bars tightly in plastic wrap. This prevents freezer burn and makes it easy to grab just one serving. Once wrapped, place the individual bars into a freezer-safe bag or an airtight container. They can be frozen for up to 3 months.
To Thaw and Enjoy: When you’re ready to indulge, simply remove a frozen bar from its wrapping and let it thaw at room temperature for about 30 minutes. If you prefer a warm, gooey treat, you can pop it in the microwave for 15-20 seconds. Be careful not to overheat, as this can dry out the edges.
Monster Cookie Bars FAQs
Here are some frequently asked questions about making and enjoying these delightful Monster Cookie Bars:
Can I make these bars in a different size pan?
Absolutely! The pan size will affect the thickness and baking time of your bars. If you opt for a larger 9×13 inch pan, your bars will be thinner and will bake more quickly—start checking for doneness around 20-25 minutes. If you desire even thicker, more substantial bars, you can use an 8×8 inch pan; in this case, you’ll need to add approximately 5-10 minutes to the baking time, as the dough will be denser. Always keep an eye on the edges for golden brown and a set top.
Can I use regular oats instead of quick oats?
While you can substitute regular (old-fashioned) oats for quick oats, be aware that the texture of your Monster Cookie Bars will be noticeably different. Regular oats are thicker and chewier, which might result in bars that are a bit more rustic, less cohesive, and have a more pronounced oat texture. If regular oats are all you have on hand and you still prefer a smoother integration, a handy trick is to pulse them a few times in a food processor or blender. This will break them down into smaller pieces, mimicking the consistency of quick oats more closely before you add them to your dough.
Can I use a different flavor of cake mix?
Yes, you can experiment with different cake mix flavors, though it will alter the classic monster cookie taste. A white or vanilla cake mix would be the most neutral substitute and still work well. Chocolate cake mix could create a double chocolate monster bar, which would be incredibly decadent! Just ensure the cake mix is a standard 15.25-ounce (or similar) box for the right dry ingredient ratio.
How do I know when the bars are done baking?
The key to perfectly chewy bars is to avoid overbaking. Look for the edges to be set and lightly golden brown. The center of the bars might still appear slightly soft or even a little underdone when you remove them from the oven. This is ideal, as they will continue to cook and set as they cool in the pan. A toothpick inserted into the center should come out with moist crumbs, not wet batter, but not completely clean either.
Can I make these bars gluten-free or nut-free?
For a gluten-free version, you would need to find a gluten-free yellow cake mix and ensure all other ingredients (like oats) are certified gluten-free. For a nut-free version, the biggest change would be replacing the peanut butter with a seed butter, such as sunbutter or tahini. Be aware that this will significantly change the flavor profile from a traditional monster cookie bar, but it can be a great alternative for allergy sufferers. Always double-check ingredient labels for hidden allergens.
More Delicious Bar Cookie Recipes to Try
Bars
Luscious Blackberry Crumble Bars
Bars
Soft & Chewy Chocolate Chip Cookie Bars with Cake Mix
Desserts
The 35 Best Recipes Using Yellow Cake Mix
Bars
Easy Toffee Cookie Bars with Chocolate Chips
Did you try this wonderfully easy recipe? We would love to hear from you!
Leave a ⭐ review below and tag @practicallyhomemade on Pinterest to share your creations!
Monster Cookie Oatmeal Bars
June Albertson-Dick
These easy-to-make Monster Cookie bars are loaded with wholesome oats, creamy peanut butter, rich chocolate chips, and colorful M&M’s for a truly irresistible treat.
Print Recipe
Ingredients
- 1 box yellow cake mix, {13.25 ounces}
- ½ cup brown sugar, {packed}
- ½ cup butter, {melted}
- ½ cup peanut butter
- 1 large egg
- ¼ cup milk
- 1 teaspoon vanilla extract
- 1 ½ cups quick oats
- ½ cup mini chocolate chips
- ½ cup M&M’s
Instructions
- Preheat your oven to 350°F (175°C).
- In a large mixing bowl, combine the yellow cake mix and brown sugar, whisking well to break up any lumps. Add the melted butter, peanut butter, egg, milk, and vanilla extract. Mix thoroughly using an electric mixer until smooth. Stir in the quick oats until evenly distributed. Finally, fold in the mini chocolate chips and M&M’s until they are well incorporated into the cookie dough.
- Prepare a 9×9 inch baking pan by spraying it liberally with nonstick cooking spray or lining it with parchment paper for easy removal. Transfer the thick cookie dough to the prepared pan and spread it out into an even layer using a spatula or the back of a spoon.
- Bake for 30-35 minutes, or until the top is golden brown and the edges are set. Remove the pan from the oven and allow the cookie bars to cool completely in the pan on a wire rack before attempting to slice them into squares. Store any leftovers in an airtight container at room temperature for up to 4 days. Serve and enjoy!
Notes
Feel free to customize these bars by replacing the mini chocolate chips and M&M’s with other types of candies, nuts, or chocolate varieties you prefer, such as Reese’s Pieces or butterscotch chips!
Nutrition
Serving: 1 cookie bar, Calories: 454kcal, Carbohydrates: 65g, Protein: 7g, Fat: 19g, Saturated Fat: 9g, Polyunsaturated Fat: 2g, Monounsaturated Fat: 5g, Trans Fat: 0.4g, Cholesterol: 39mg, Sodium: 442mg, Potassium: 145mg, Fiber: 2g, Sugar: 39g, Vitamin A: 303IU, Vitamin C: 0.1mg, Calcium: 138mg, Iron: 2mg
Nutrition information is automatically calculated and should only be used as an approximation.
Enjoyed this recipe? Please leave a comment and rating below!