
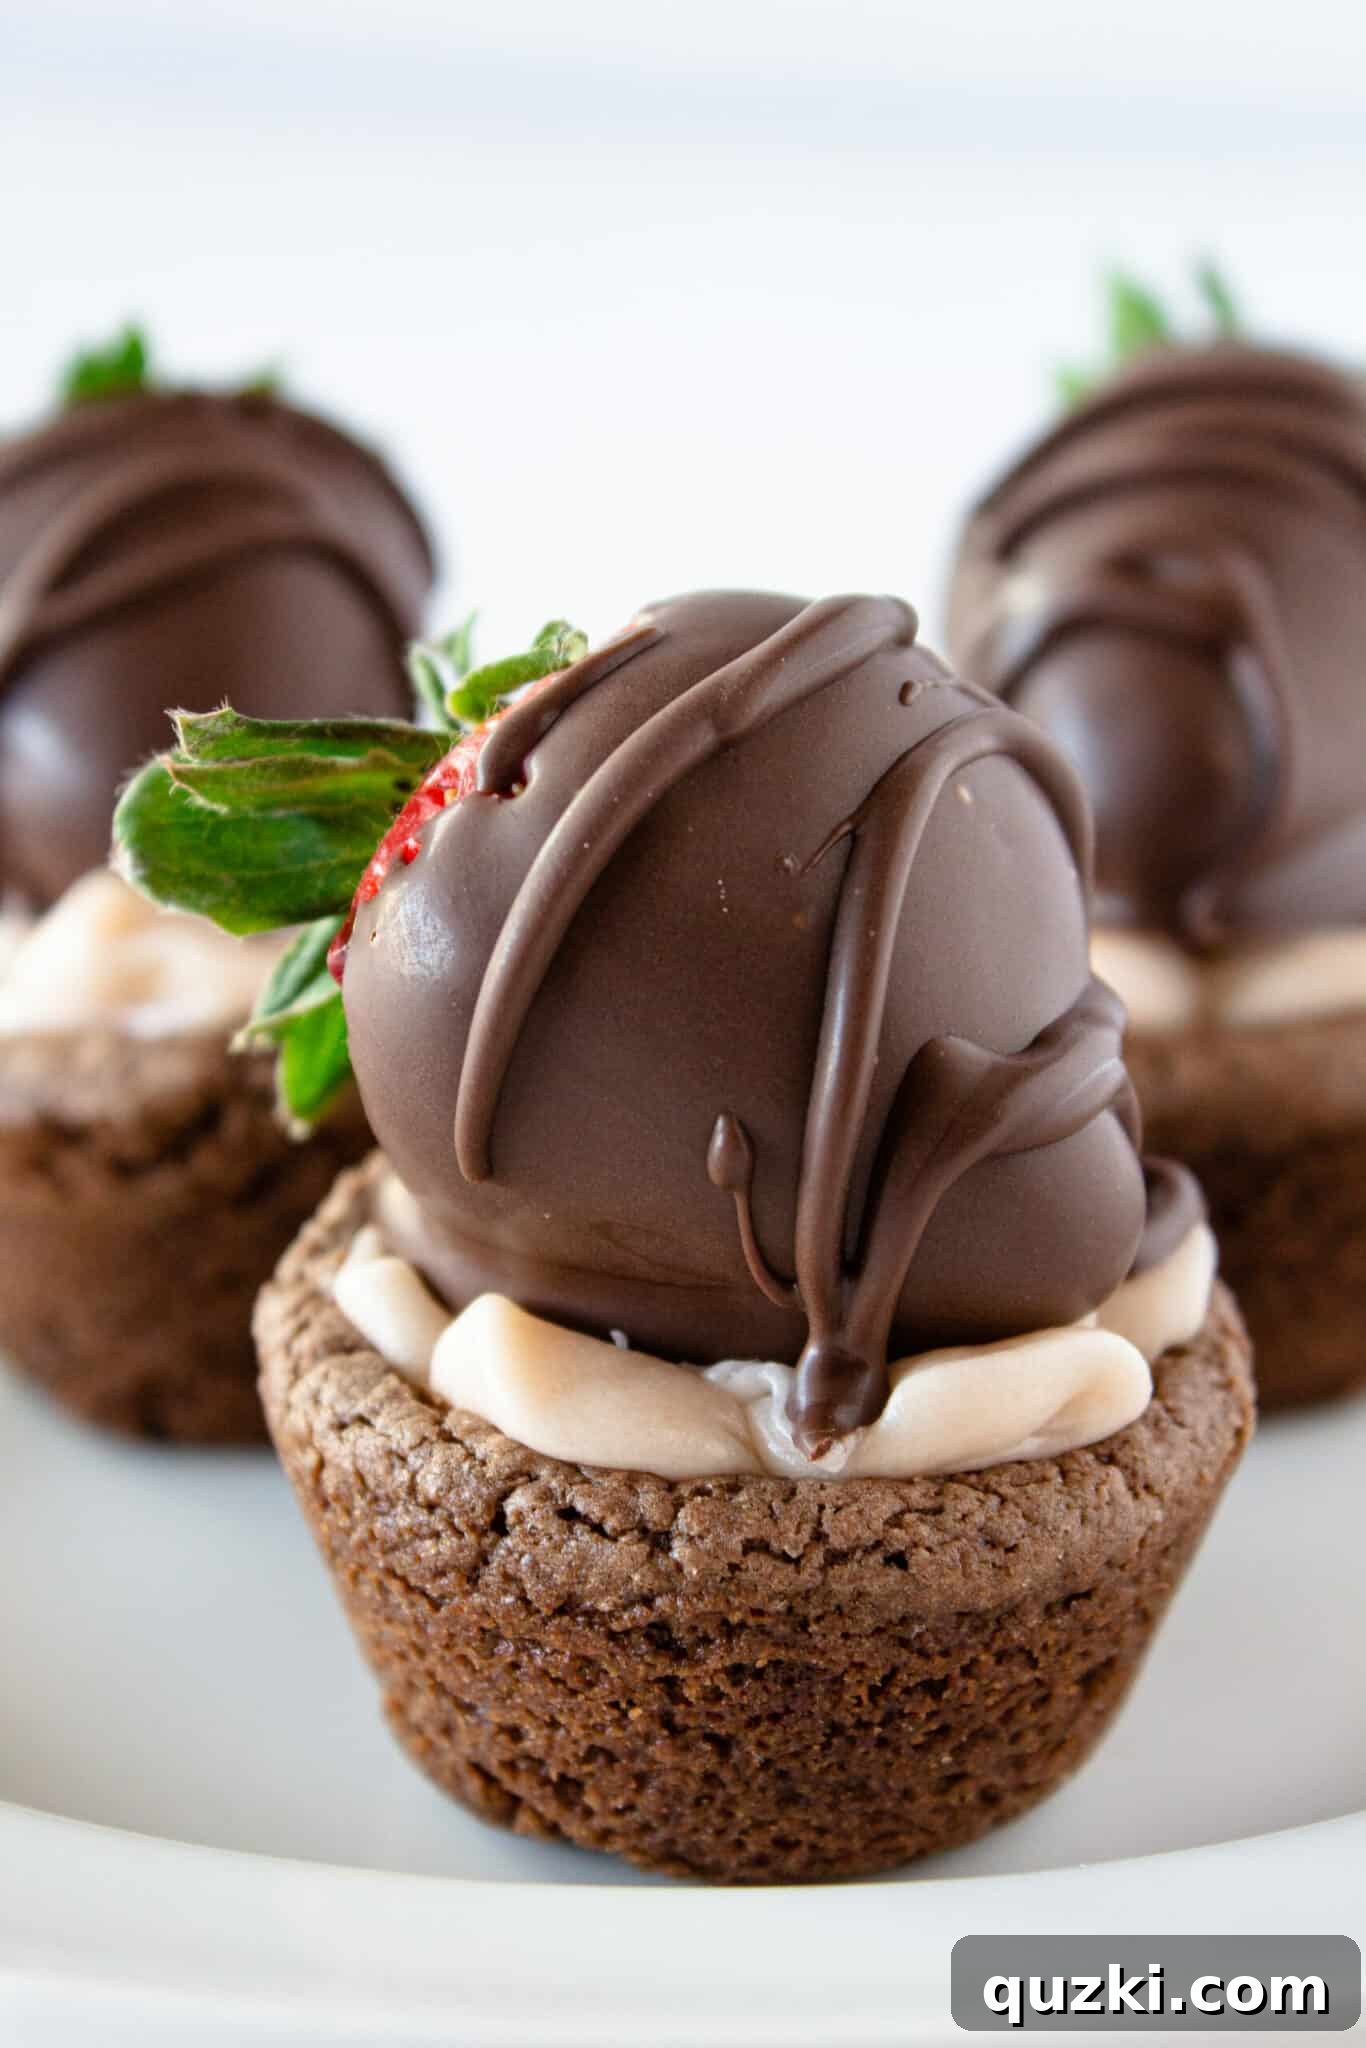
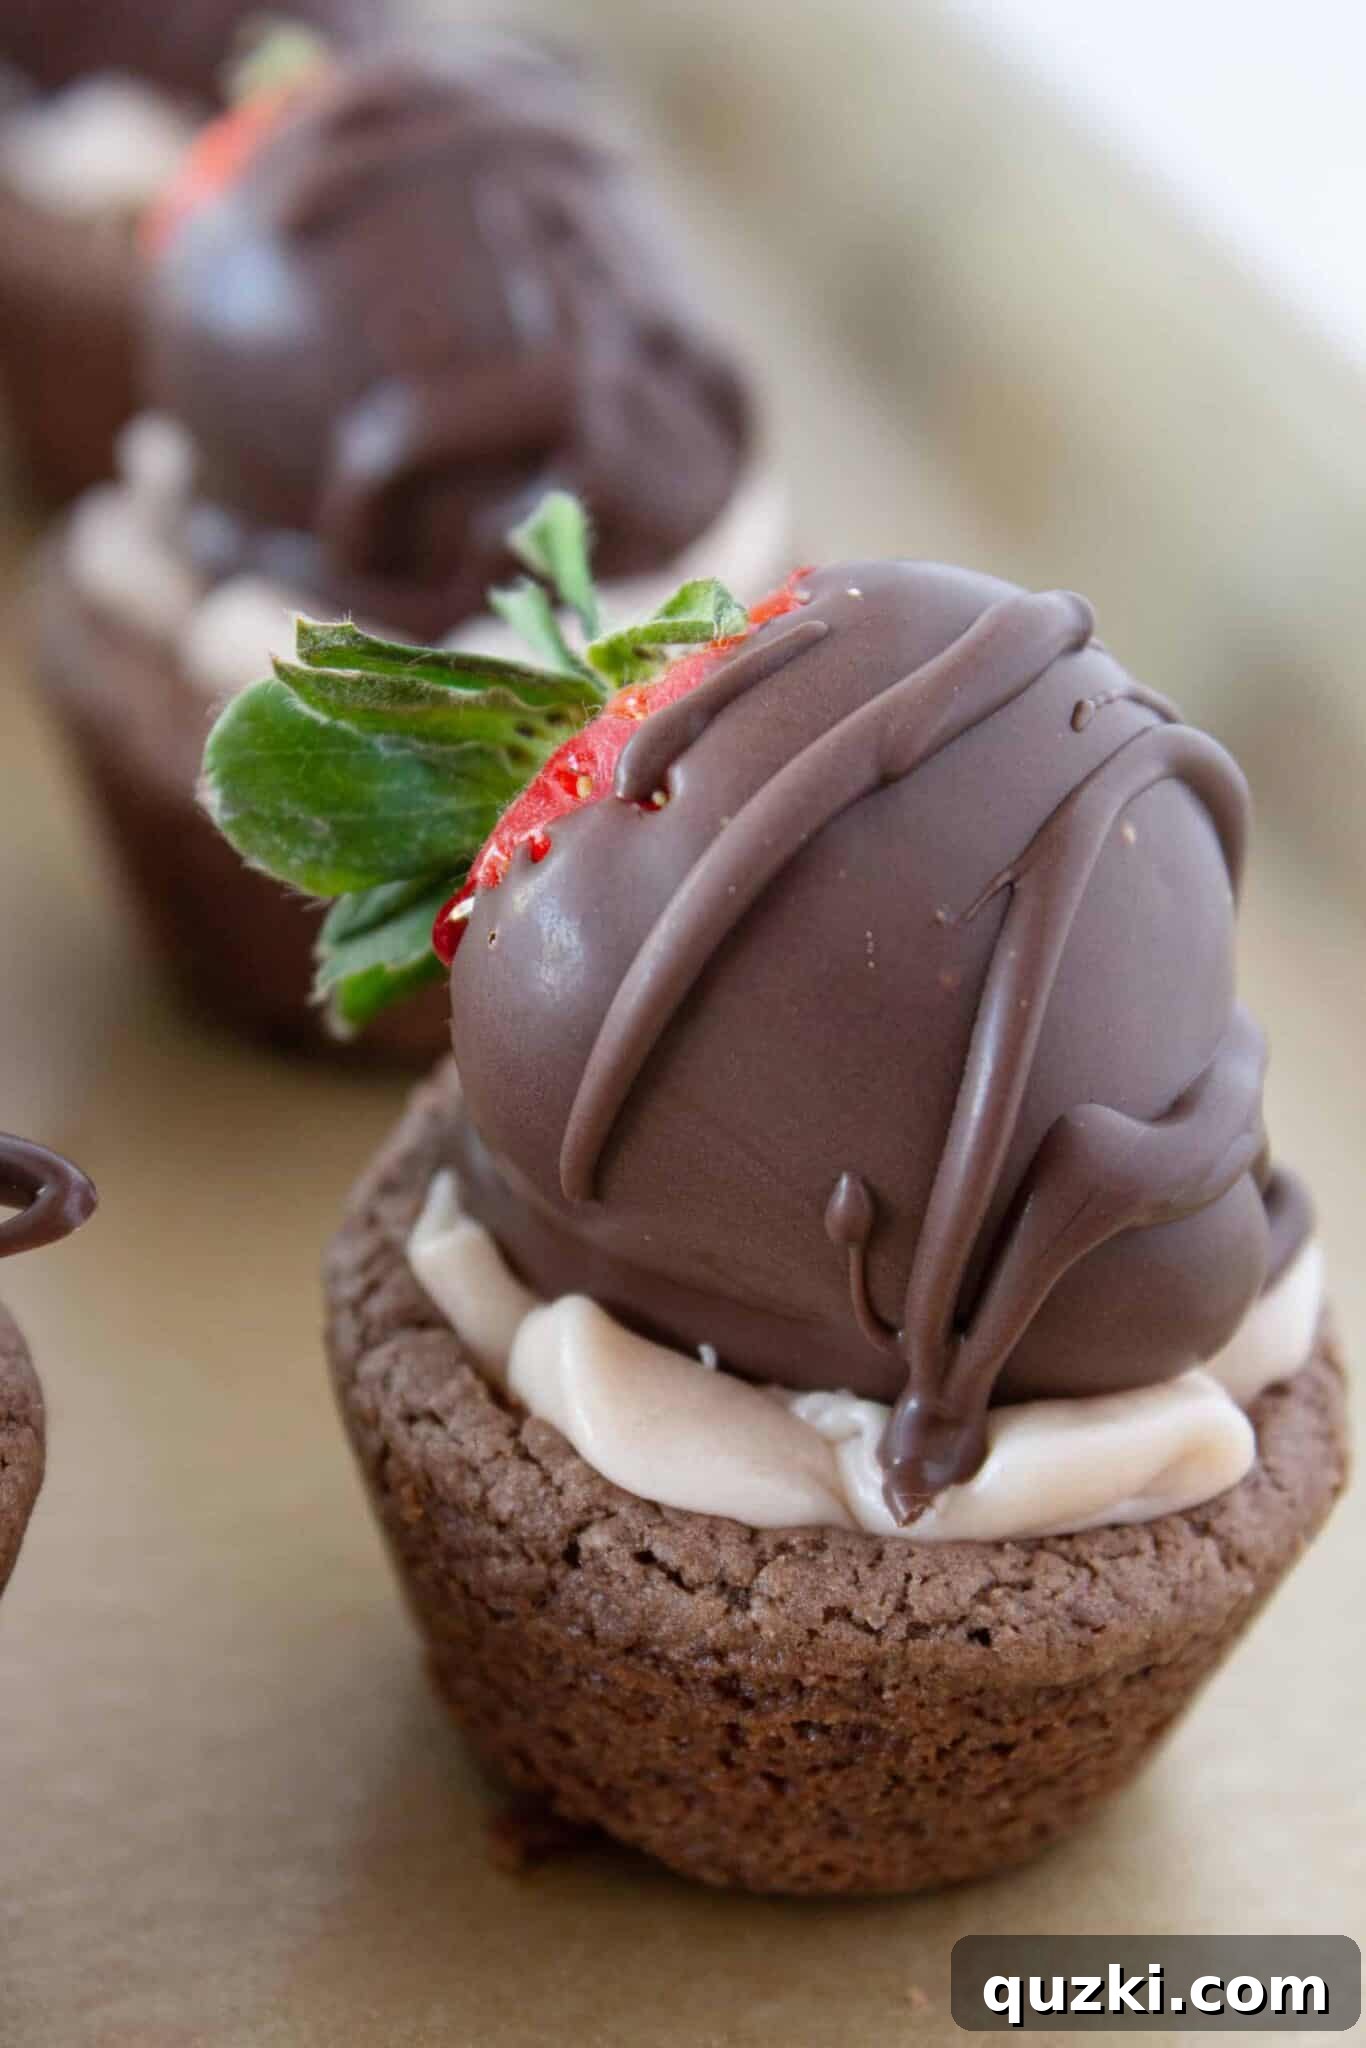
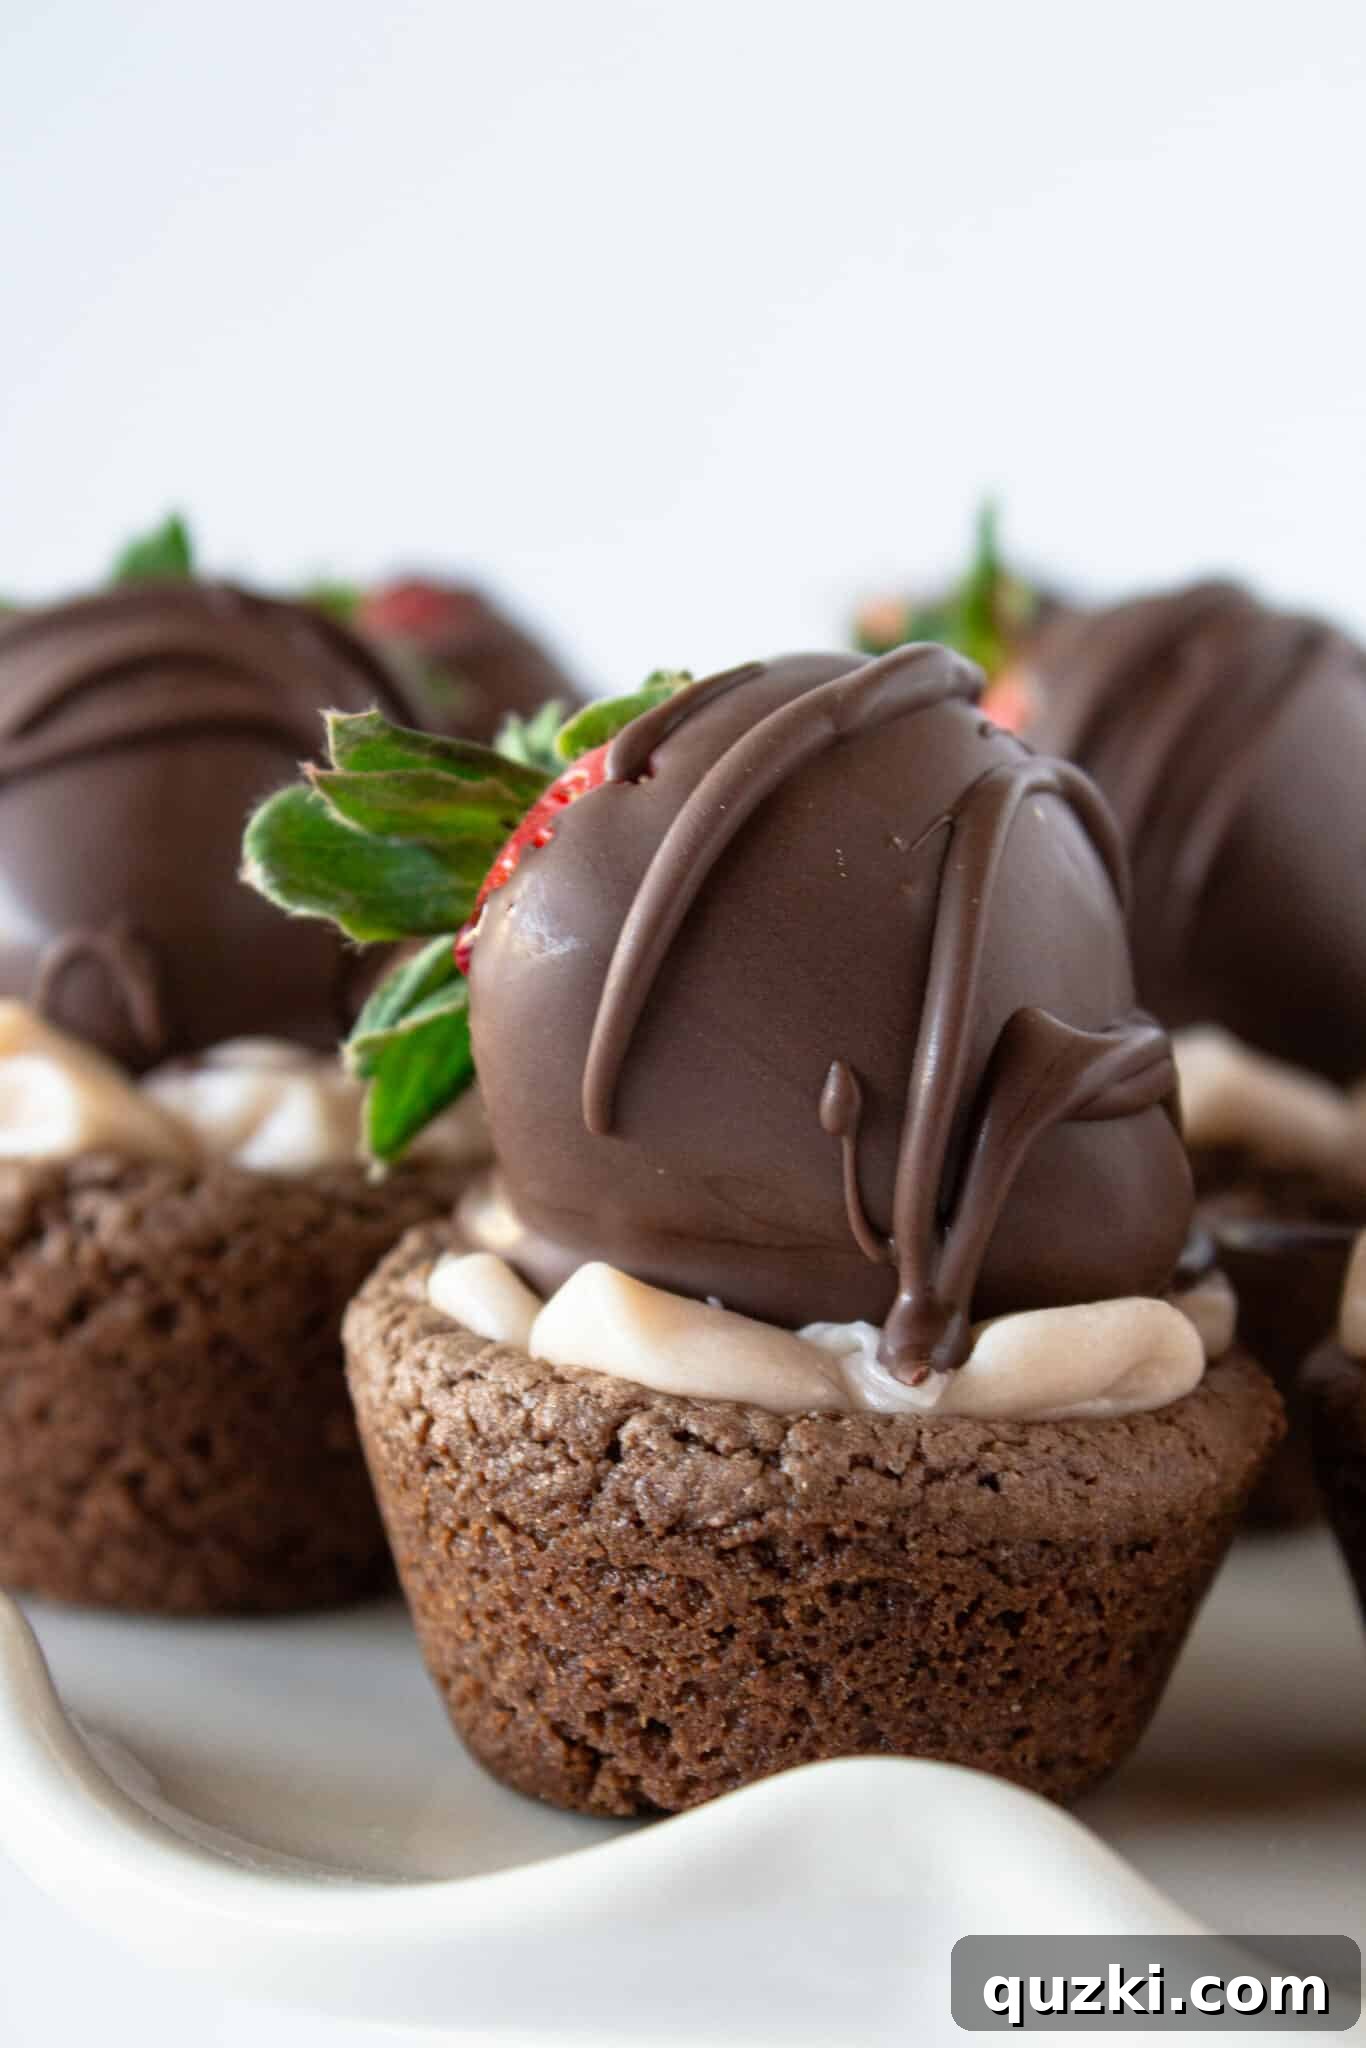
Prepare to fall in love with these absolutely irresistible Chocolate Covered Strawberry Cookie Cups. Crafted from a simple yet decadent chocolate cake mix cookie, each cup is lovingly filled with a cloud of homemade strawberry buttercream and elegantly crowned with a fresh, perfectly chocolate-dipped strawberry. This enchanting combination makes them ideal for Valentine’s Day, anniversaries, birthdays, or truly any occasion where a touch of gourmet sweetness is desired.
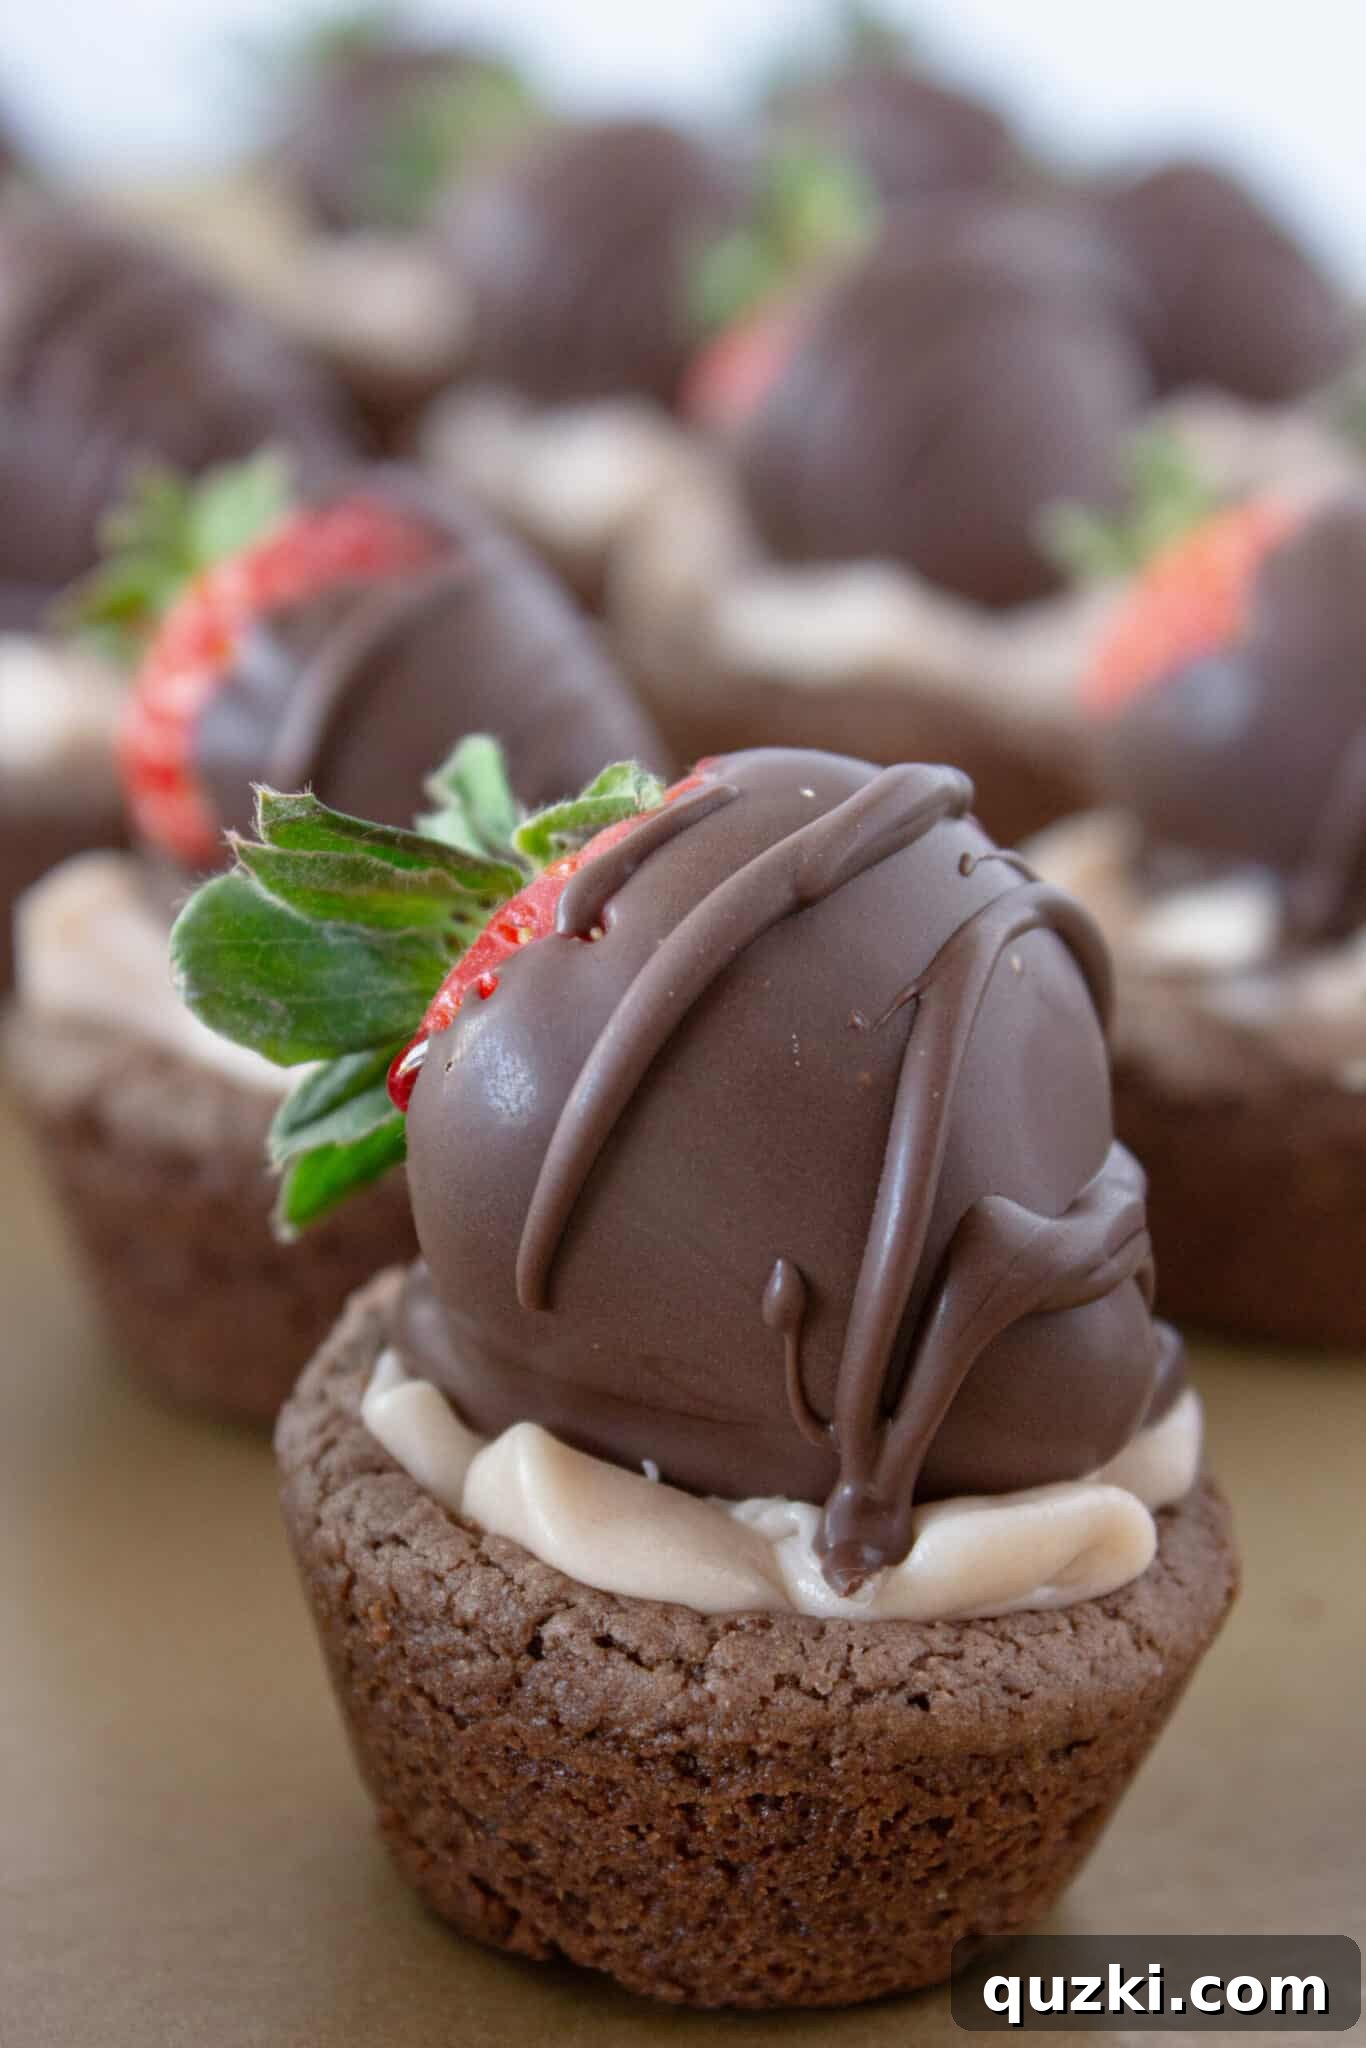
When the thought of a truly romantic or celebratory dessert crosses my mind, chocolate-covered strawberries are invariably the first to appear. Their elegant simplicity and delightful taste are unmatched, requiring merely two ingredients and about fifteen minutes to prepare. Yet, as a passionate baker always seeking new culinary adventures, I couldn’t resist the urge to elevate this classic treat. The question became: how could I incorporate these beloved chocolate-dipped delights into a cookie? The answer, as you’ll soon discover, is an emphatic and delicious ‘why not!’
Creating innovative cookie recipes is one of my greatest joys and a cherished hobby. Cookie cups, in particular, captivate my imagination because they offer the perfect canvas for creative fillings. This versatility allows for an endless array of flavor combinations and textures, transforming a simple cookie into a multi-layered dessert experience.
For these particular cookie cups, I embarked on a mission to craft the perfect accompaniment to chocolate and strawberry. I took a foundational buttercream recipe and infused it with the bright, fruity essence of strawberry jam. The result is a truly remarkable strawberry buttercream that is smooth, intensely flavorful, and utterly addictive. This homemade strawberry buttercream is, quite simply, amazing, adding an unparalleled freshness and creaminess to each cookie cup.
In fact, this very buttercream is so exceptional that I’m already planning to feature it in another exciting Valentine’s treat this coming weekend – a testament to its incredible taste and versatility. Stay tuned, because you won’t want to miss it!
But it’s the grand finale – the addition of a luscious, perfectly formed chocolate-covered strawberry – that truly elevates these cookies to an extraordinary level. This exquisite topping transforms each cookie cup into a miniature work of art and a burst of complementary flavors. I am absolutely confident that you will adore these Chocolate Covered Strawberry Cookie Cups just as much as I do. They are not just a dessert; they are an experience.
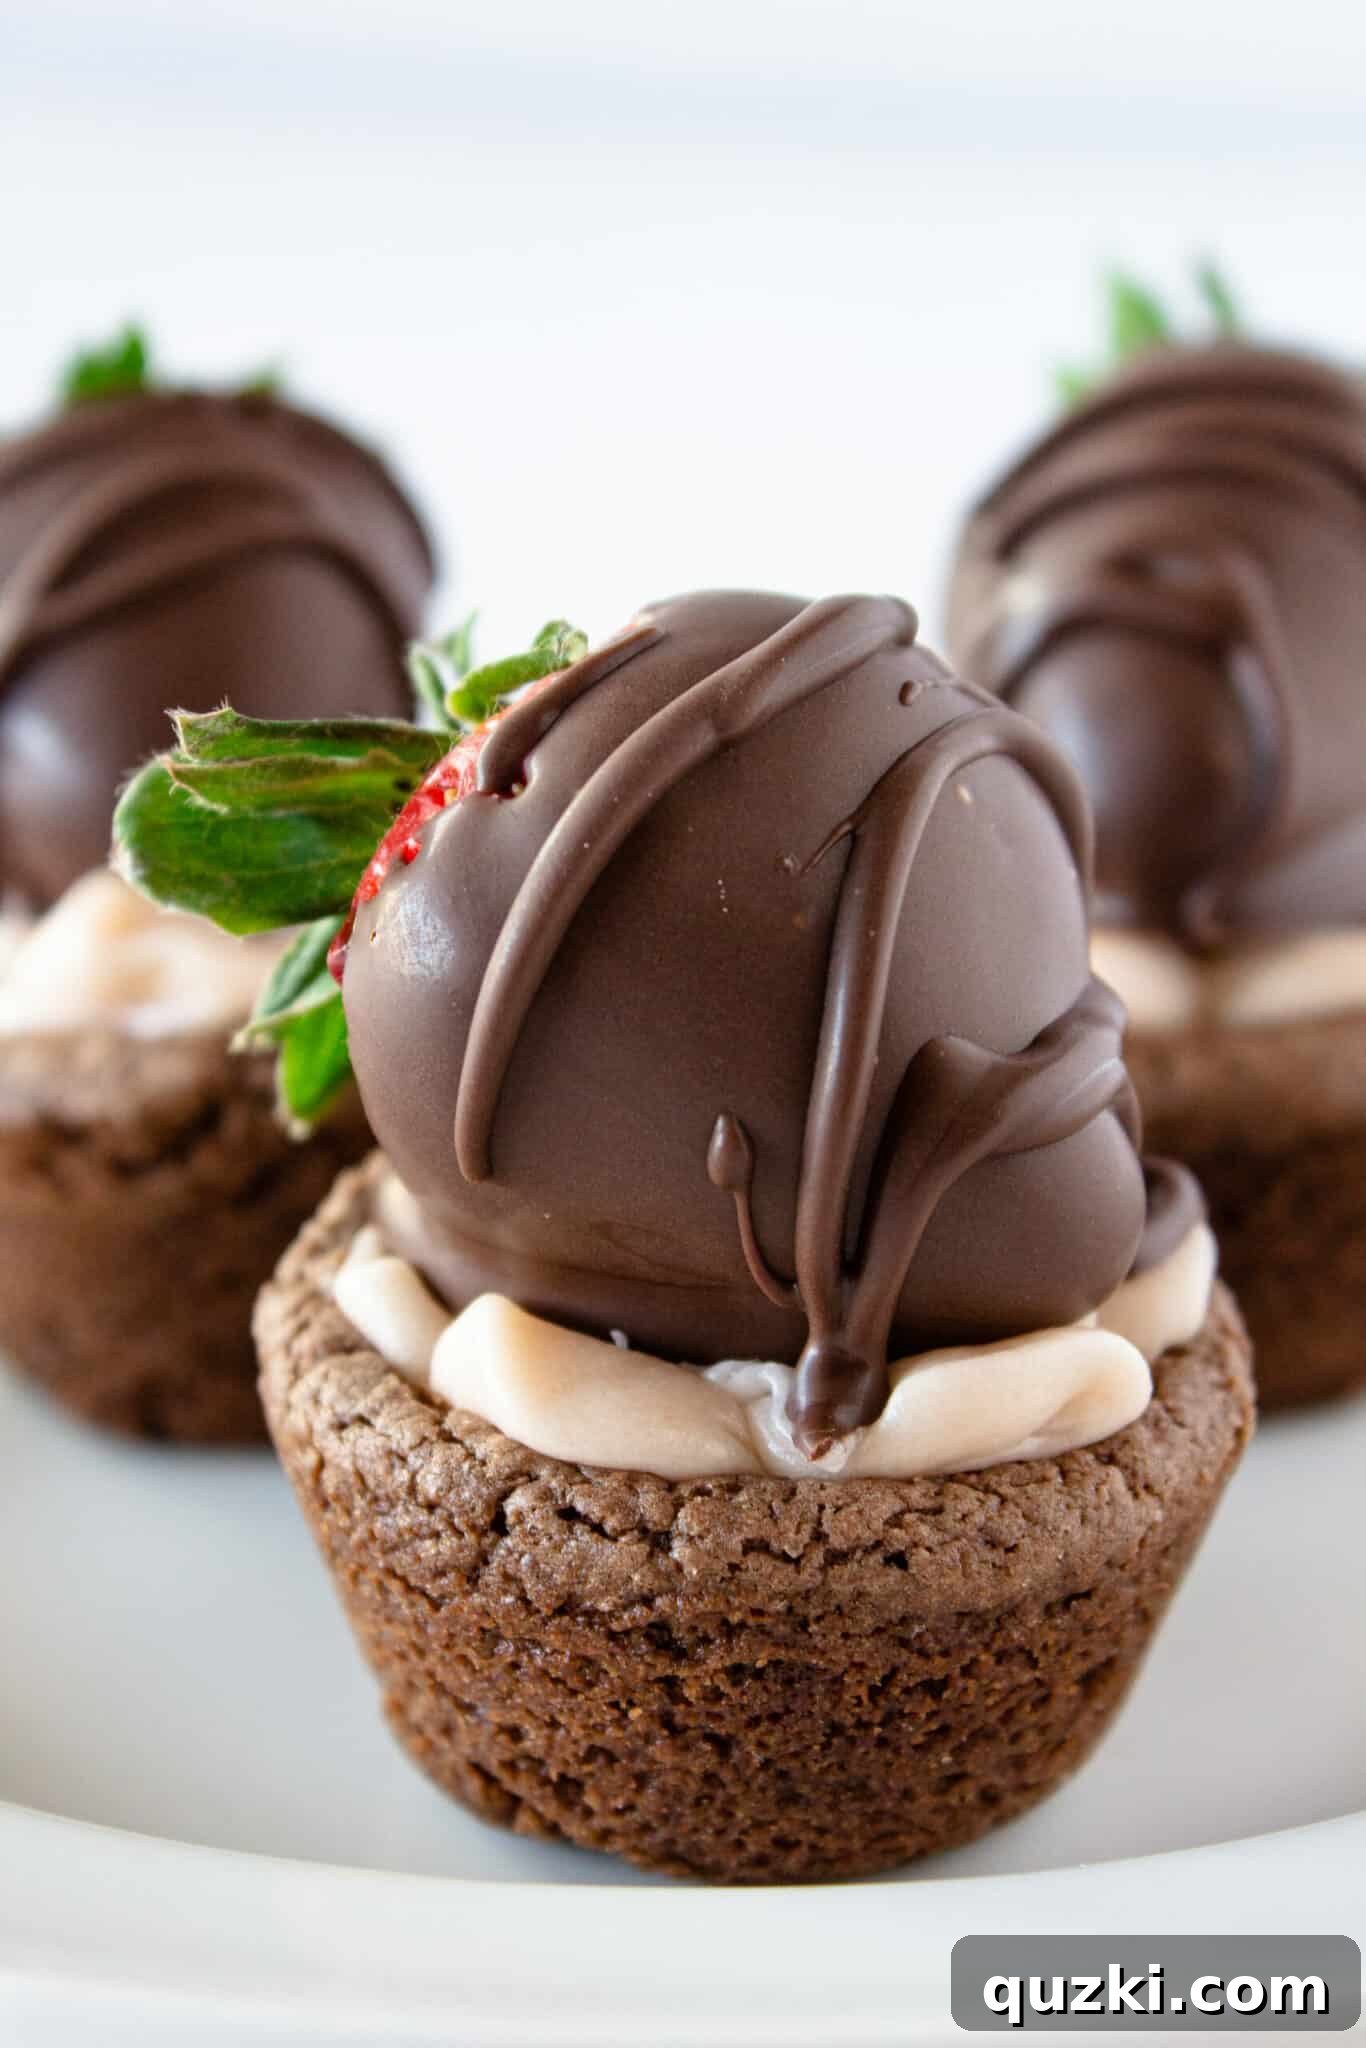
Crafting Your Decadent Chocolate Covered Strawberry Cookie Cups: A Step-by-Step Guide
Creating these delightful cookie cups is a rewarding experience, combining the ease of a cake mix with the elegance of homemade components. Follow these detailed steps to bring this sensational dessert to life in your own kitchen.
Part 1: The Irresistible Chocolate Cookie Cups
- Begin by preheating your oven to 350°F (175°C). Prepare a mini muffin pan by generously coating each cup with non-stick cooking spray. This crucial step ensures your cookie cups release effortlessly after baking.
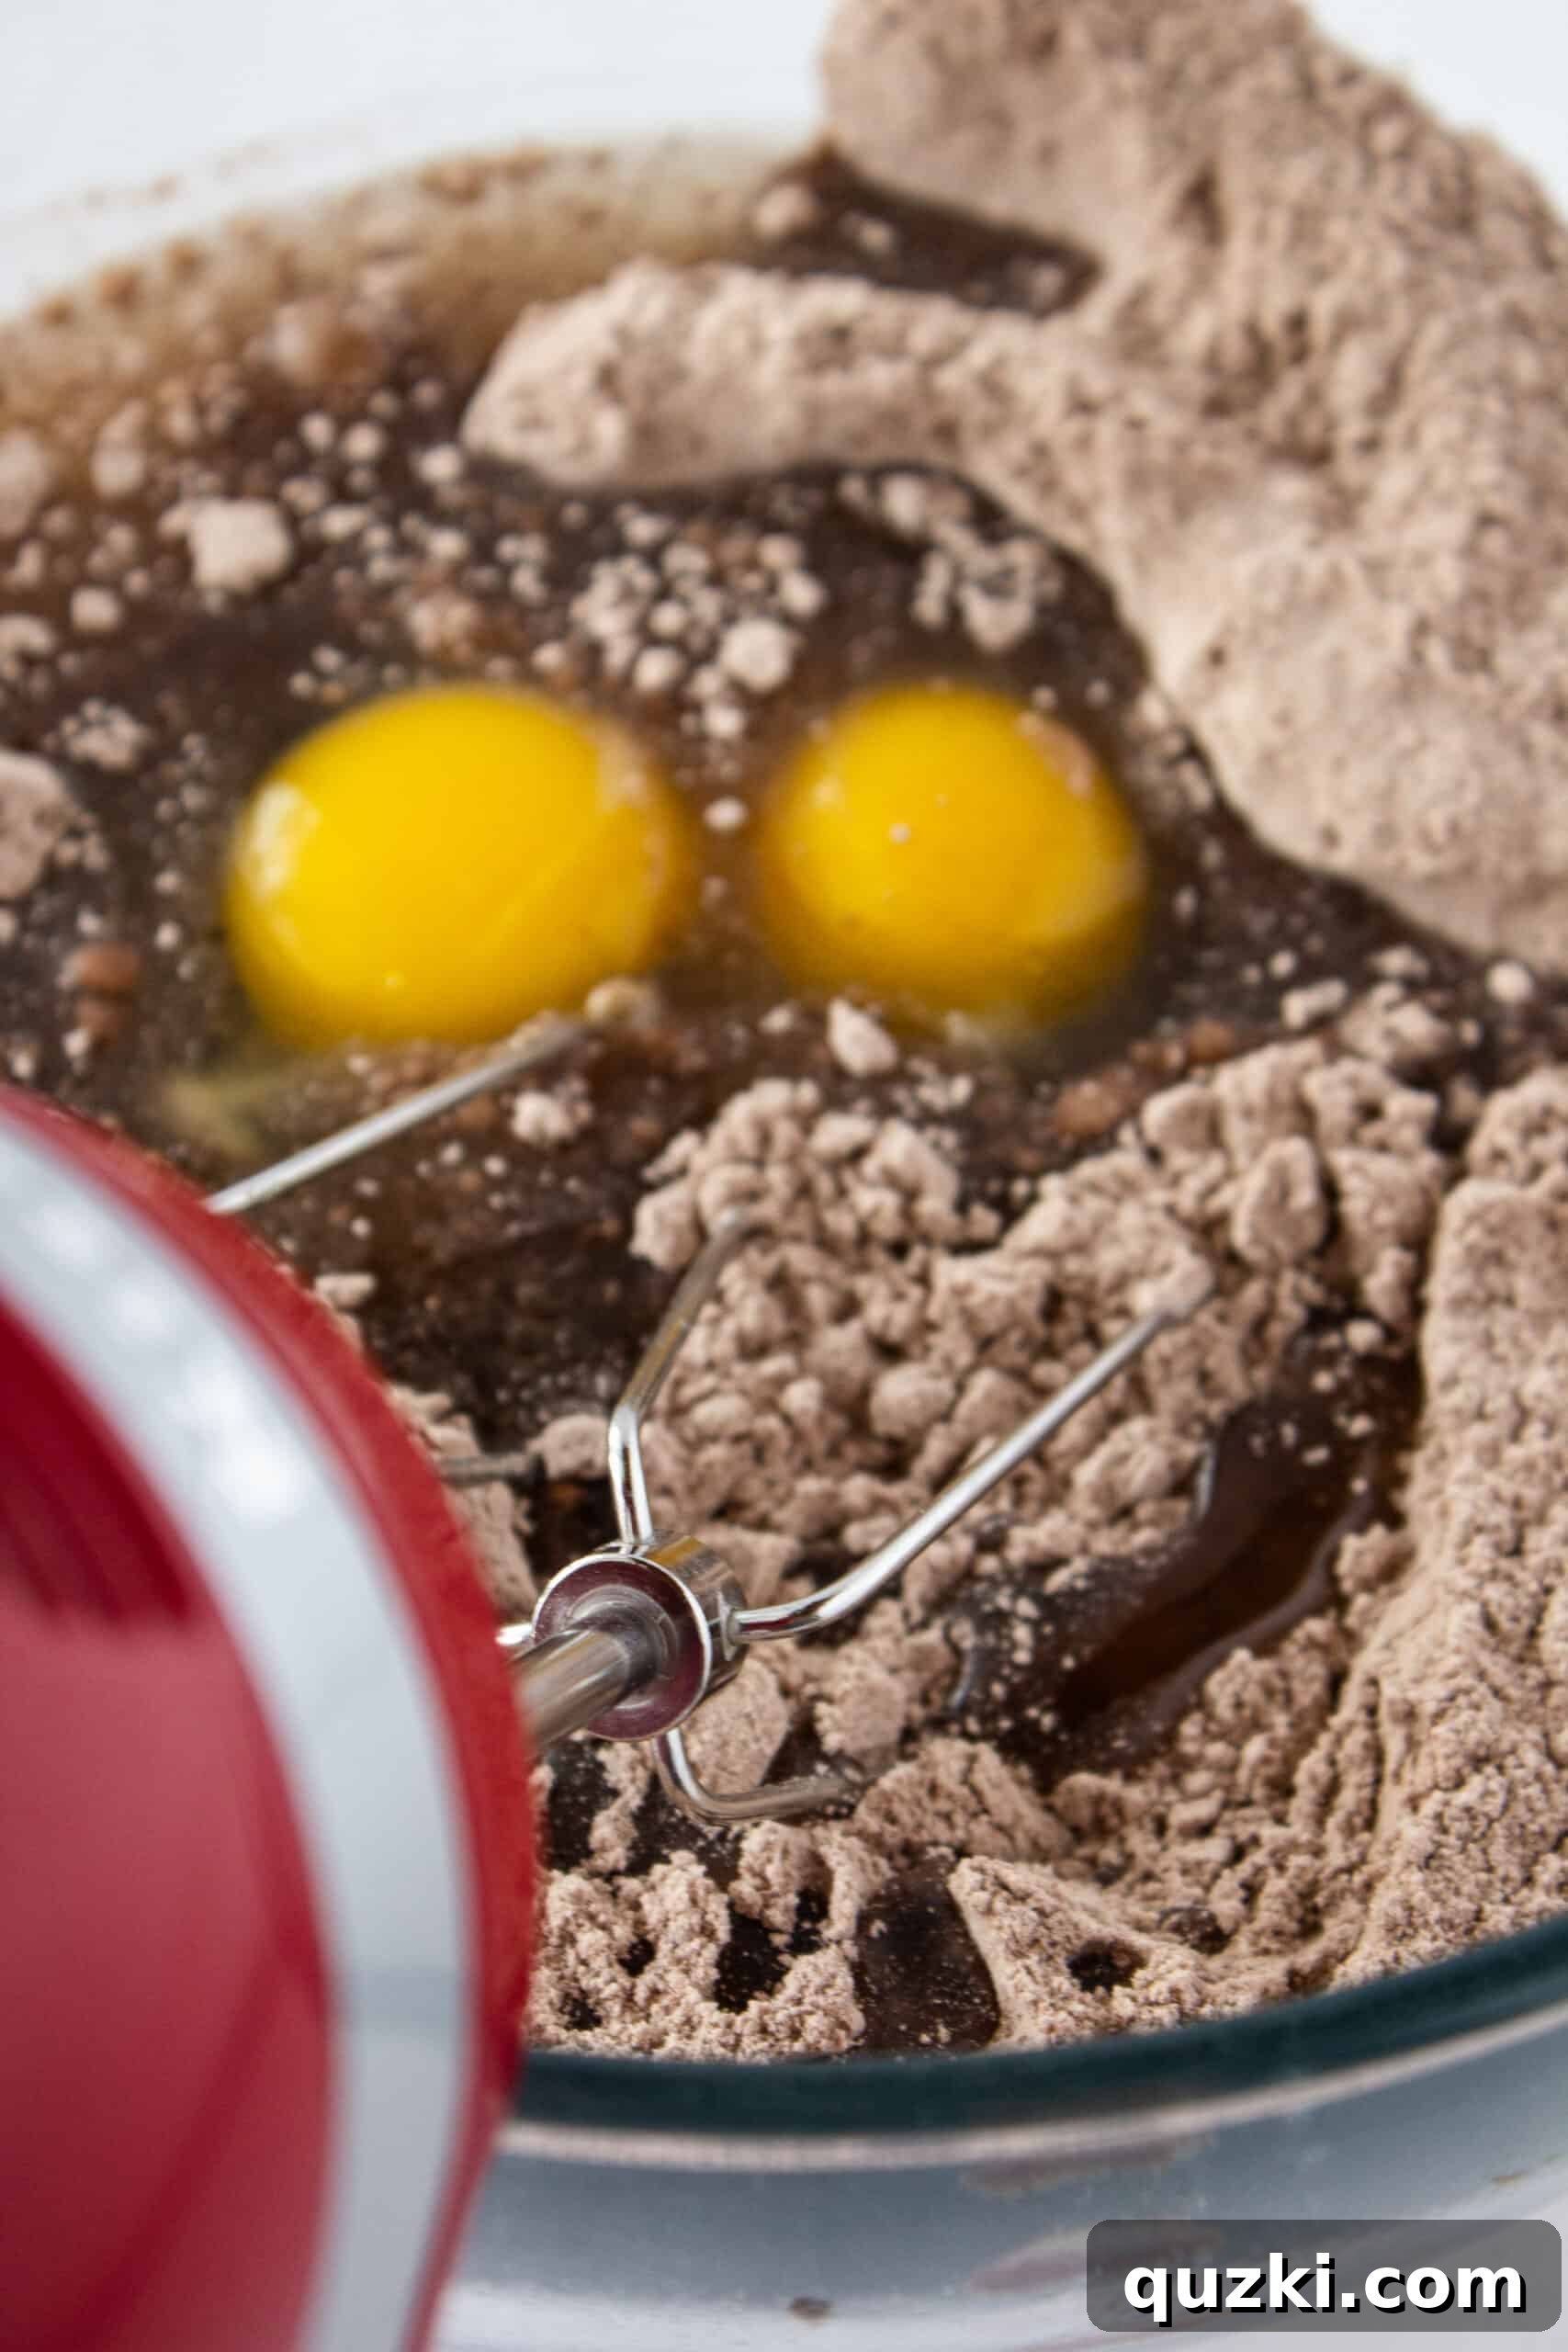
- In a medium-sized mixing bowl, combine the chocolate cake mix, two large eggs, and ⅓ cup of vegetable oil. Using a hand-held mixer or a sturdy spoon, mix these ingredients until a thick, uniform, and slightly sticky dough forms. This rich dough is the perfect base for our cookie cups.
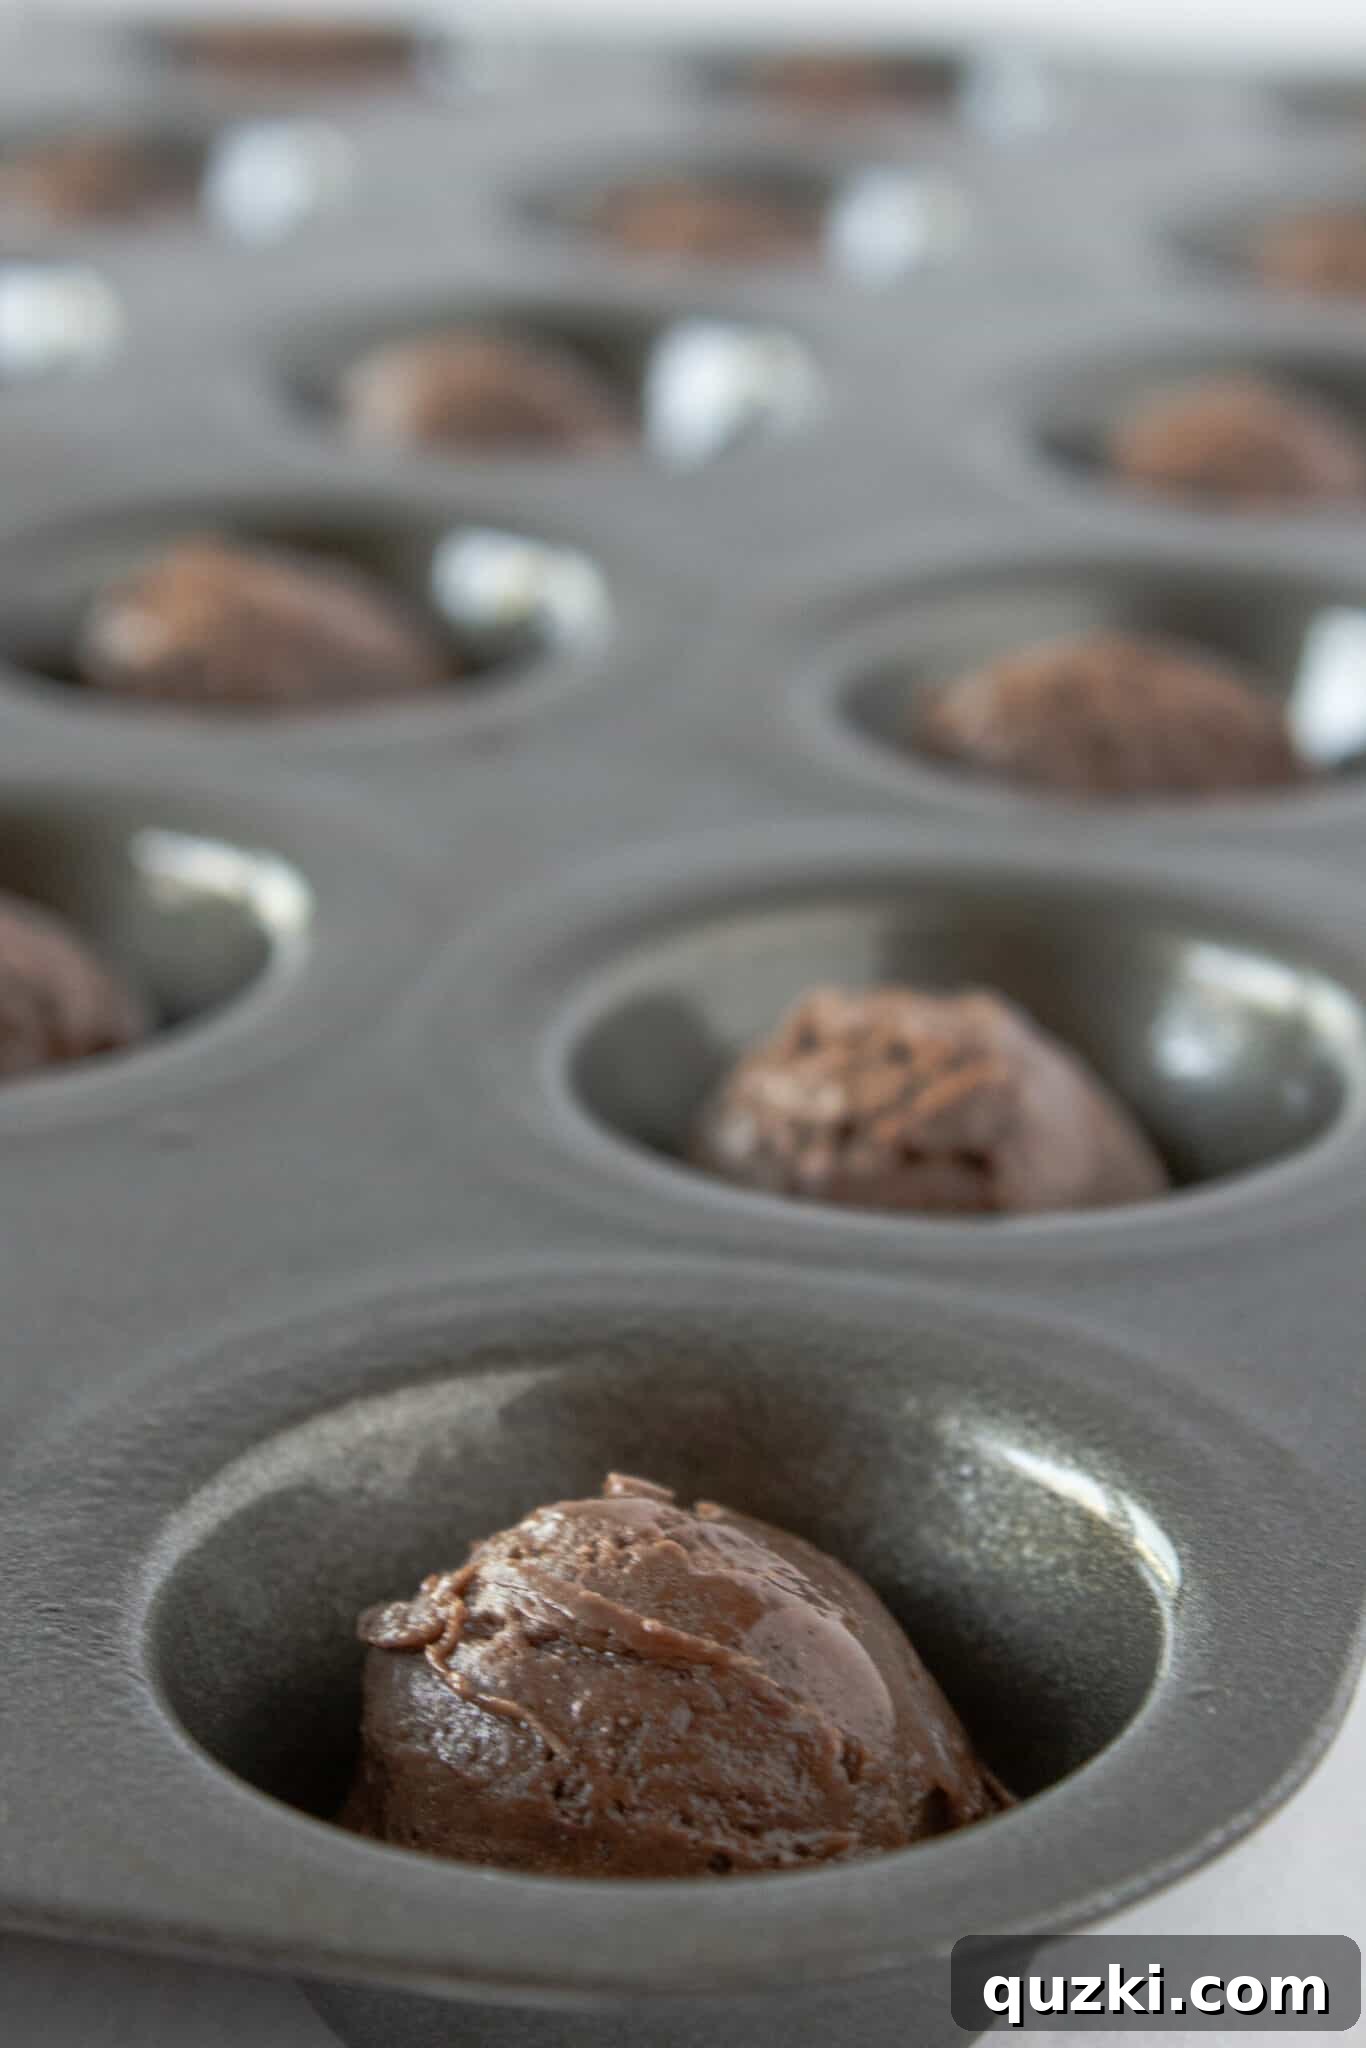
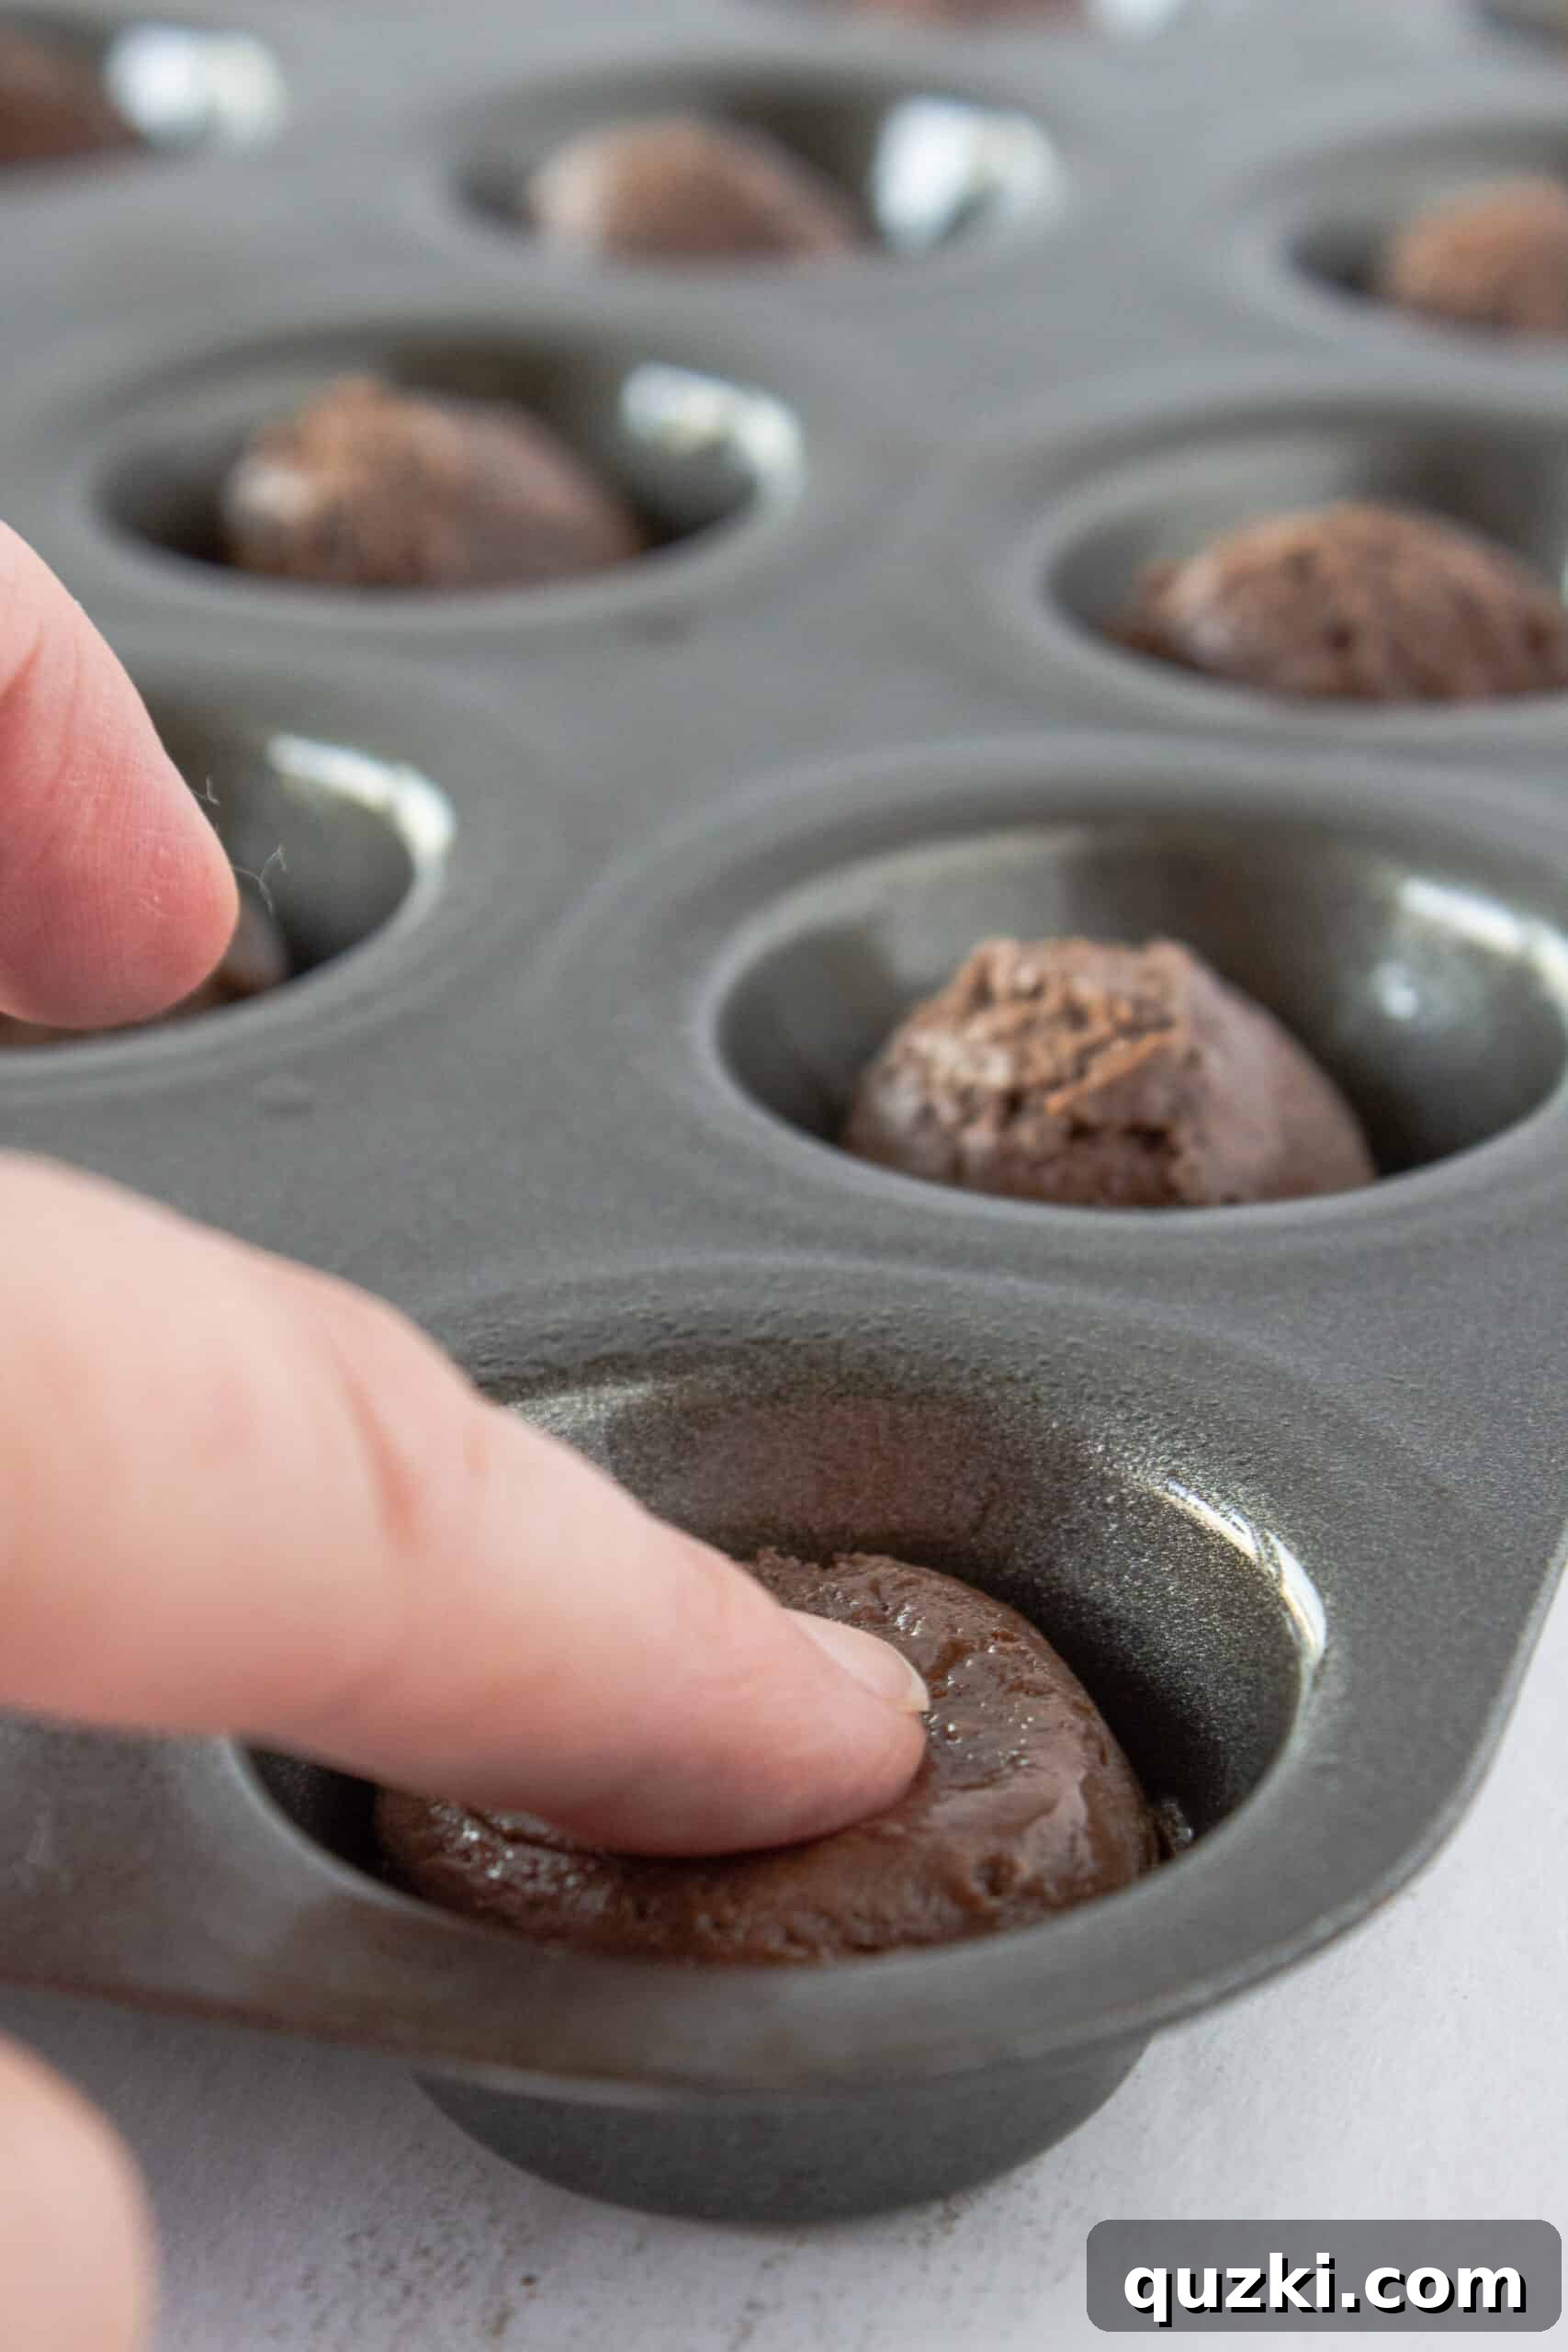
- Using a small cookie scoop (approximately 1.5 tablespoons), place a mound of the chocolate dough into each prepared mini muffin cup. Gently use your fingers to press the dough down, flattening it slightly and ensuring it covers the bottom of the cup evenly. This creates the ideal foundation for your filling.
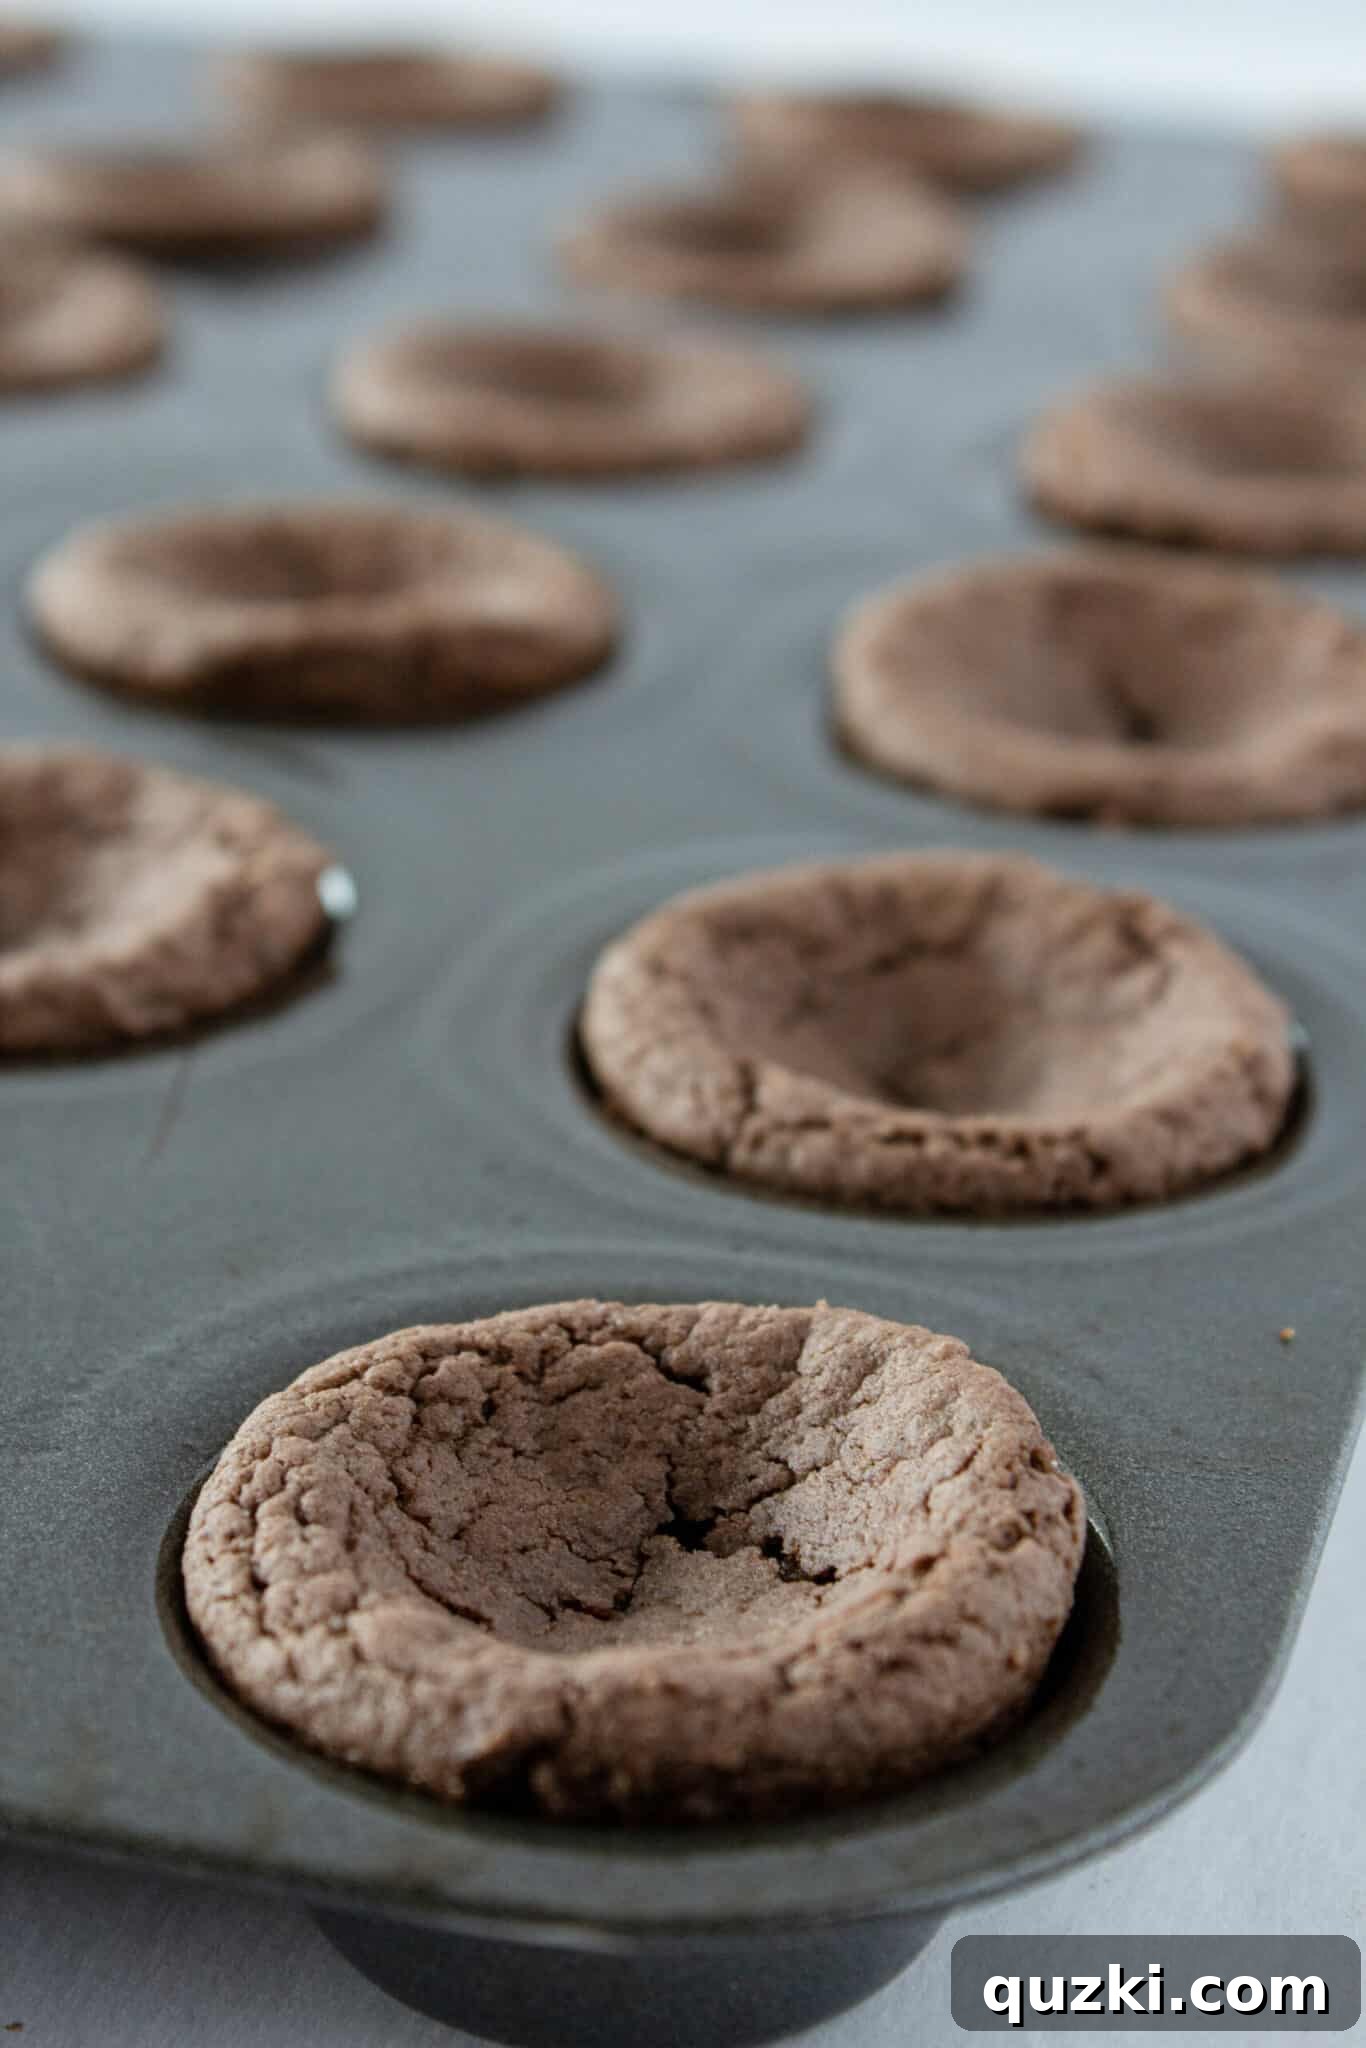
- Bake the cookies in your preheated oven for 9-11 minutes. It’s important not to overbake them, as they will continue to set as they cool, maintaining a soft, pliable texture essential for shaping.
- Immediately upon removing the pan from the oven, take a thin knife or an offset spatula and carefully run it around the edges of each cookie cup. This helps to loosen them from the pan. If you wait too long, the cookies may stick.
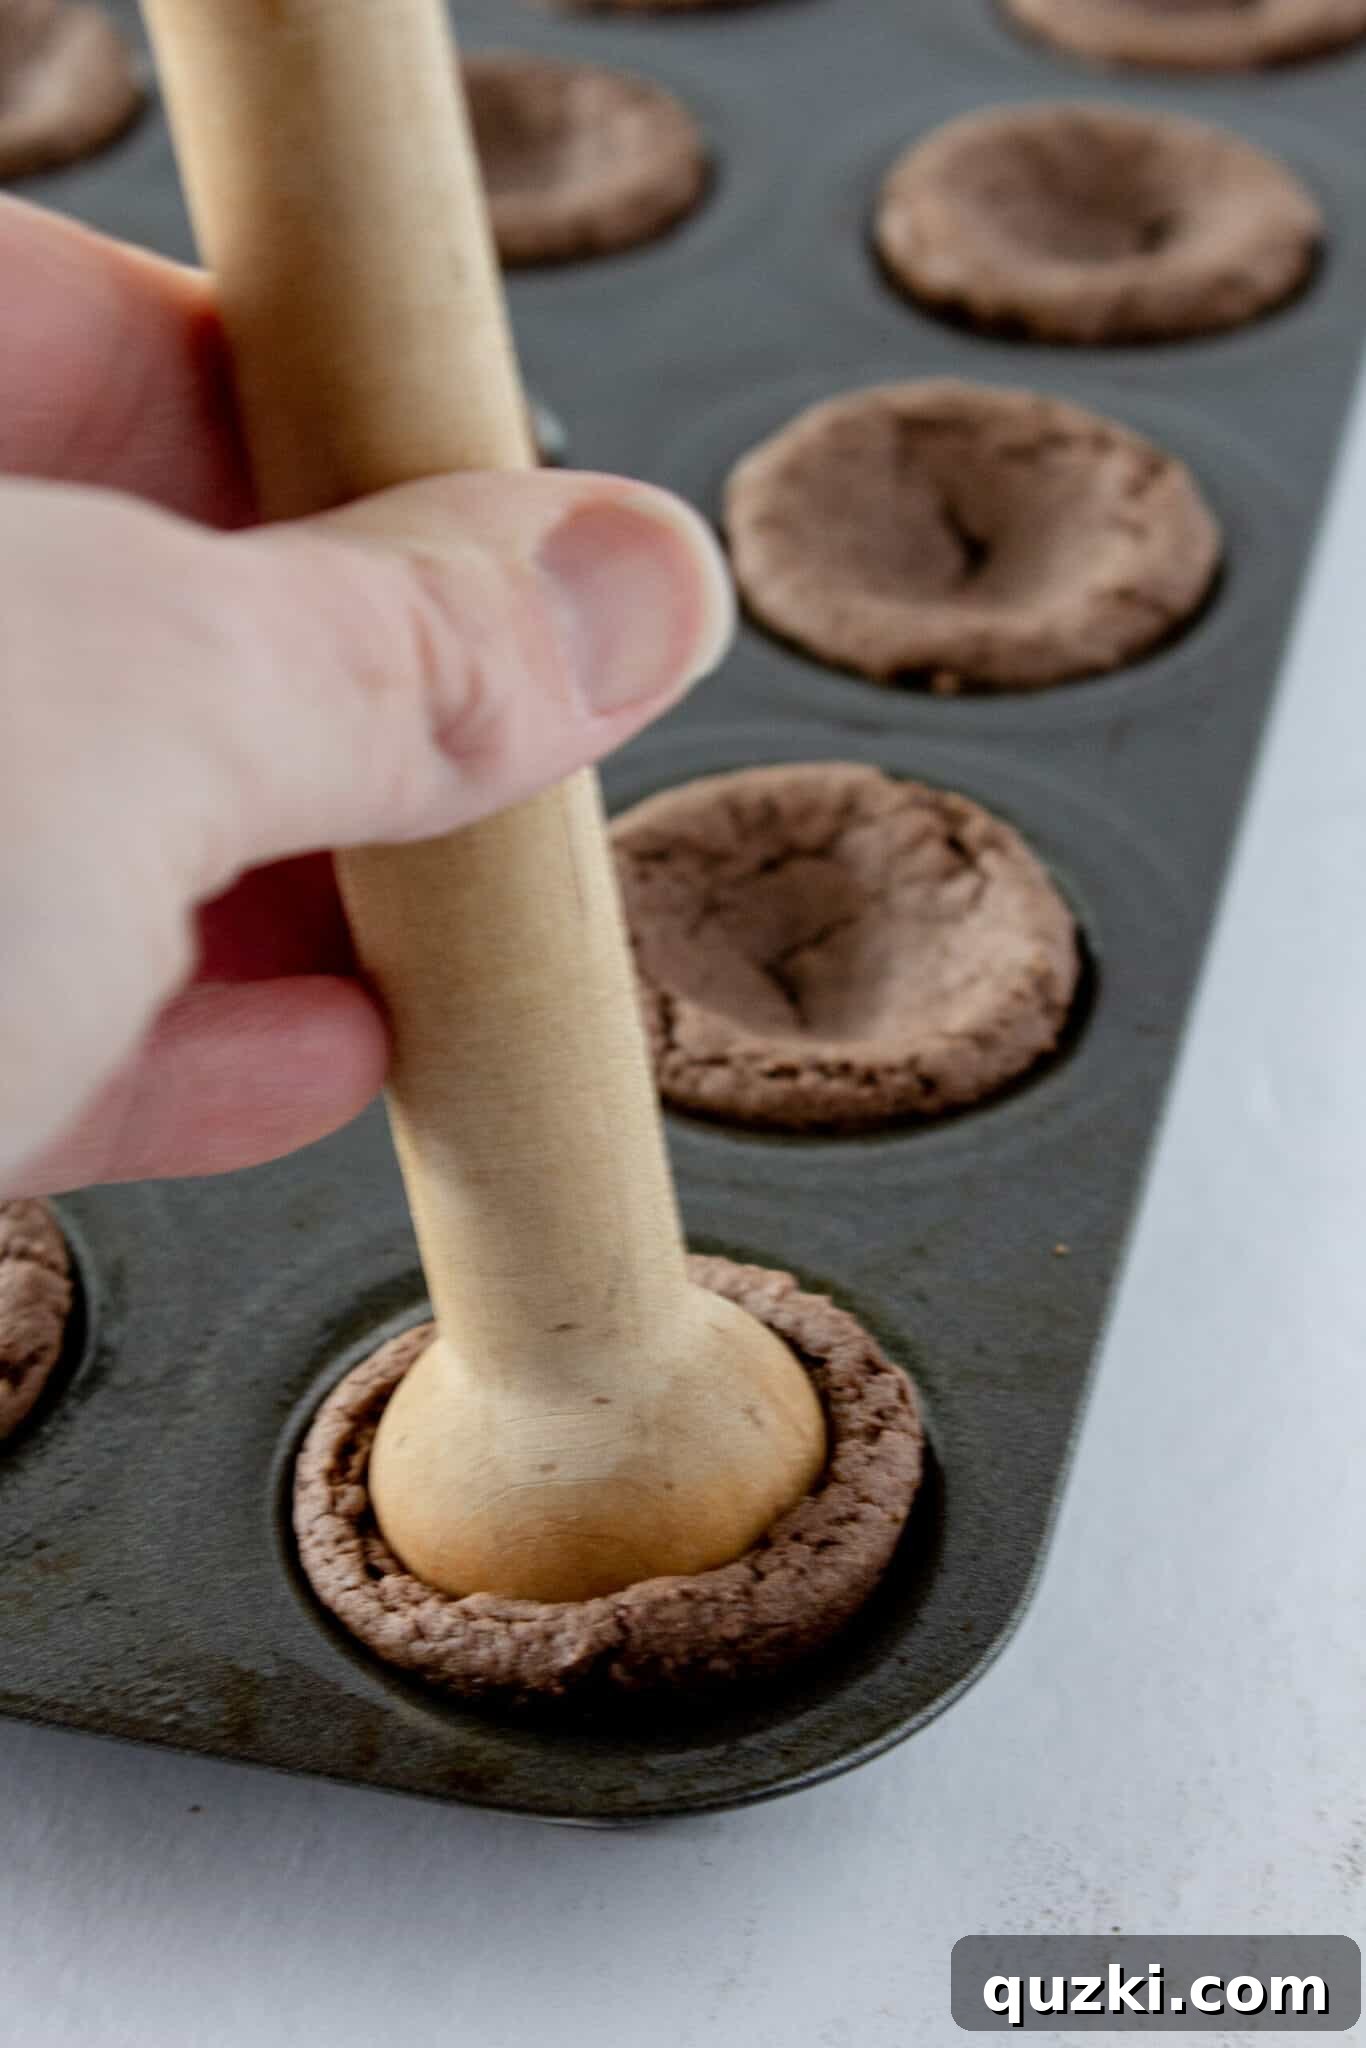
- While the cookies are still warm (after a few minutes of cooling in the pan), use a tart shaper or the rounded end of a spoon to gently press into the center of each cookie, creating a perfect indentation for the strawberry buttercream.
- Transfer the cookie cups to a wire rack and allow them to cool completely. This ensures the structure is firm enough to hold the filling without collapsing.
Part 2: Preparing Exquisite Chocolate Covered Strawberries
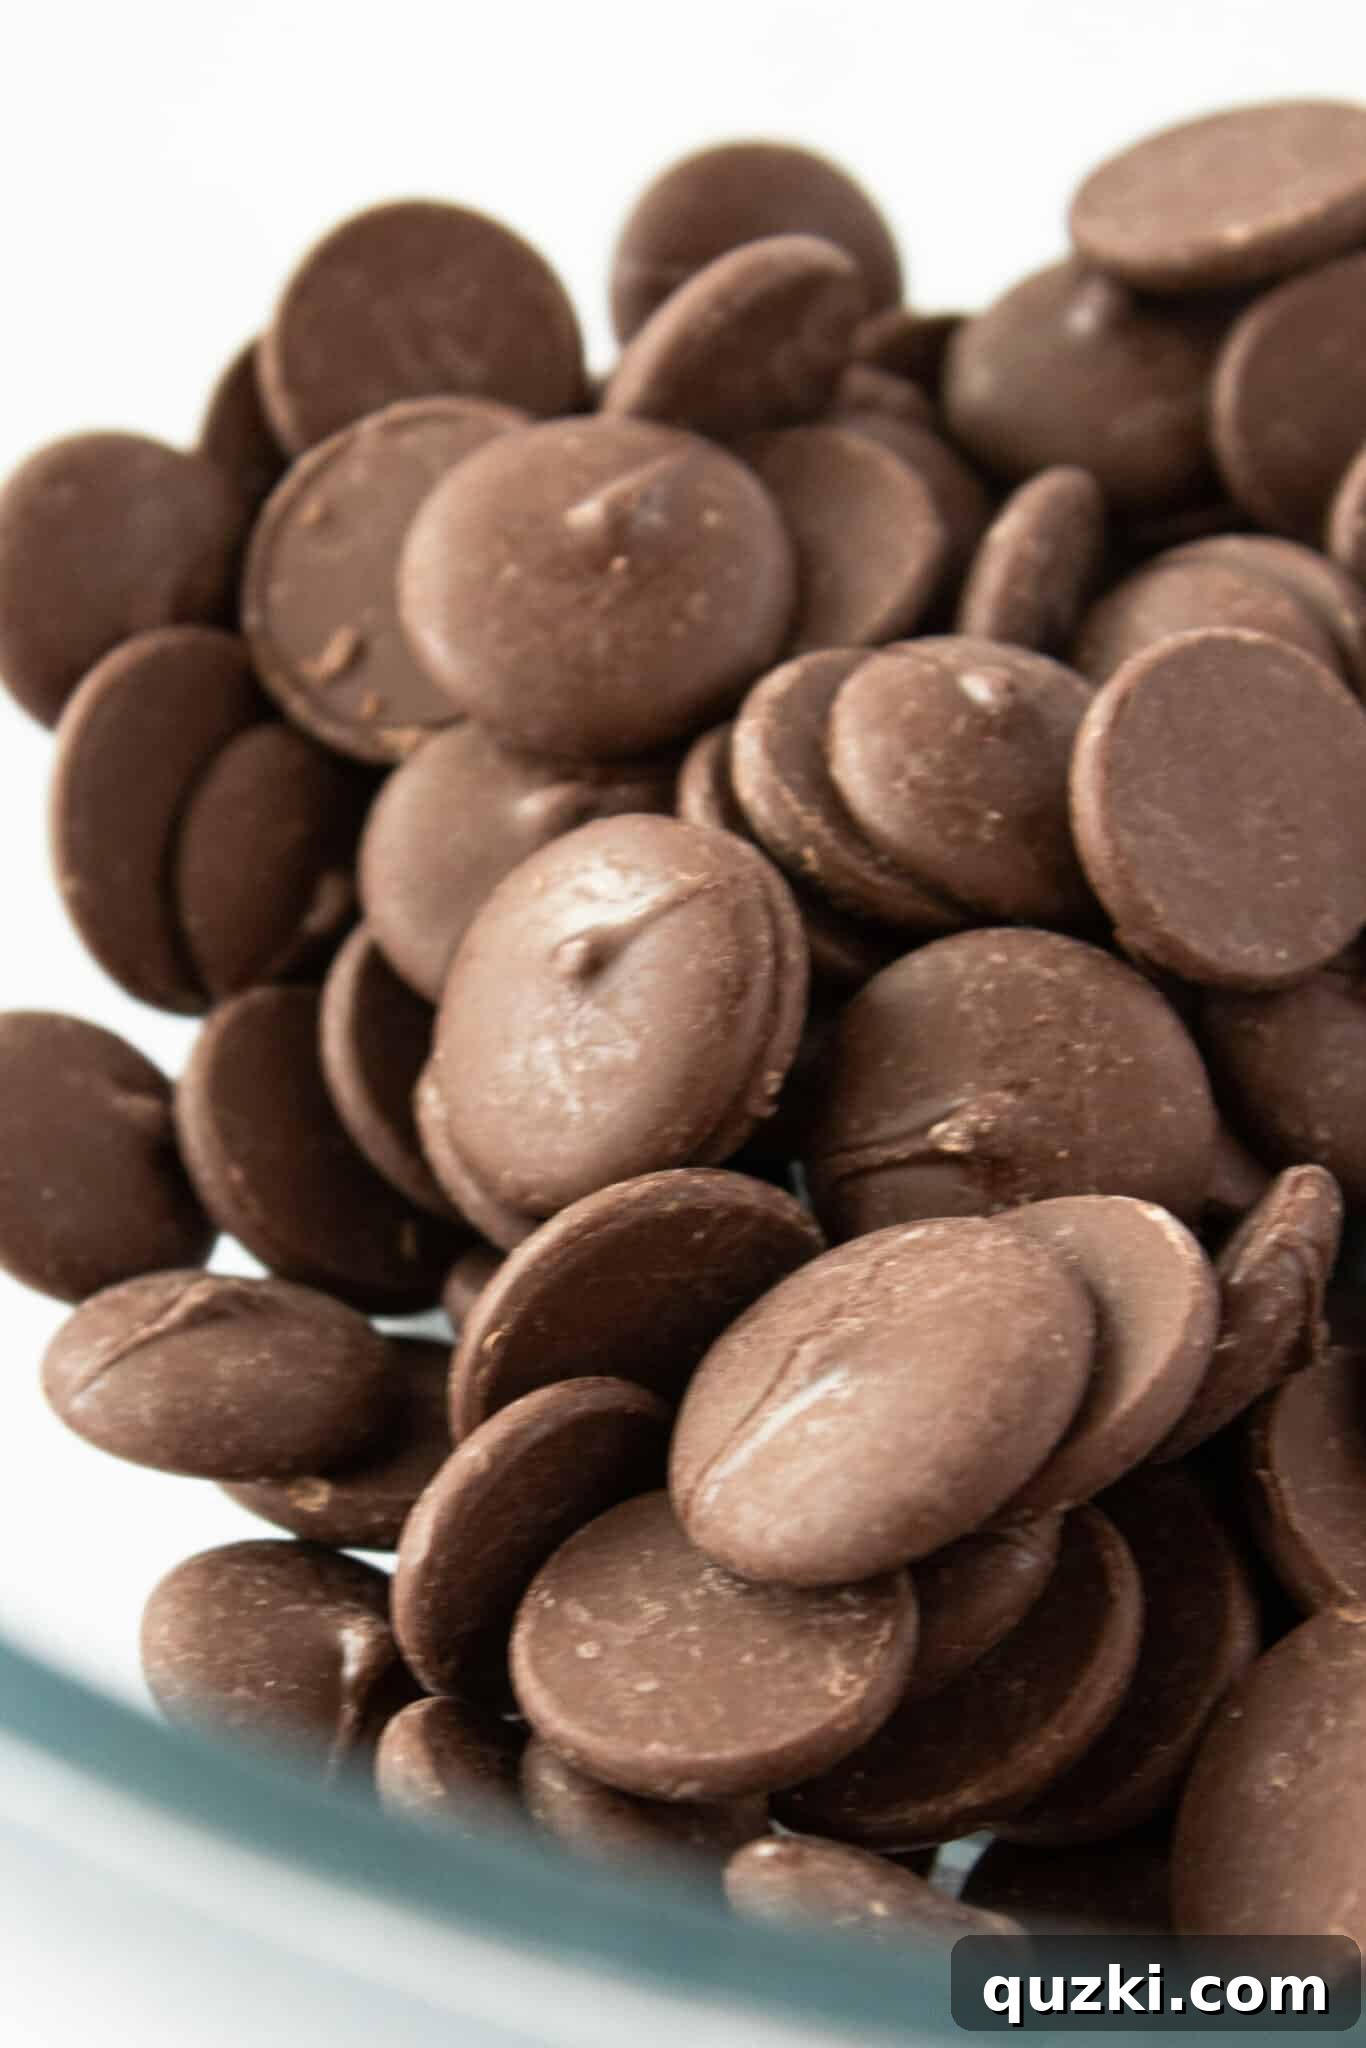
- While your cookie cups are cooling, shift your focus to making the simple yet elegant chocolate covered strawberries. In a microwave-safe bowl, melt the dark chocolate melting wafers. Begin by microwaving for 1 minute, then stir. Continue melting in 30-second intervals, stirring after each, until the chocolate is completely smooth and free of any lumps.
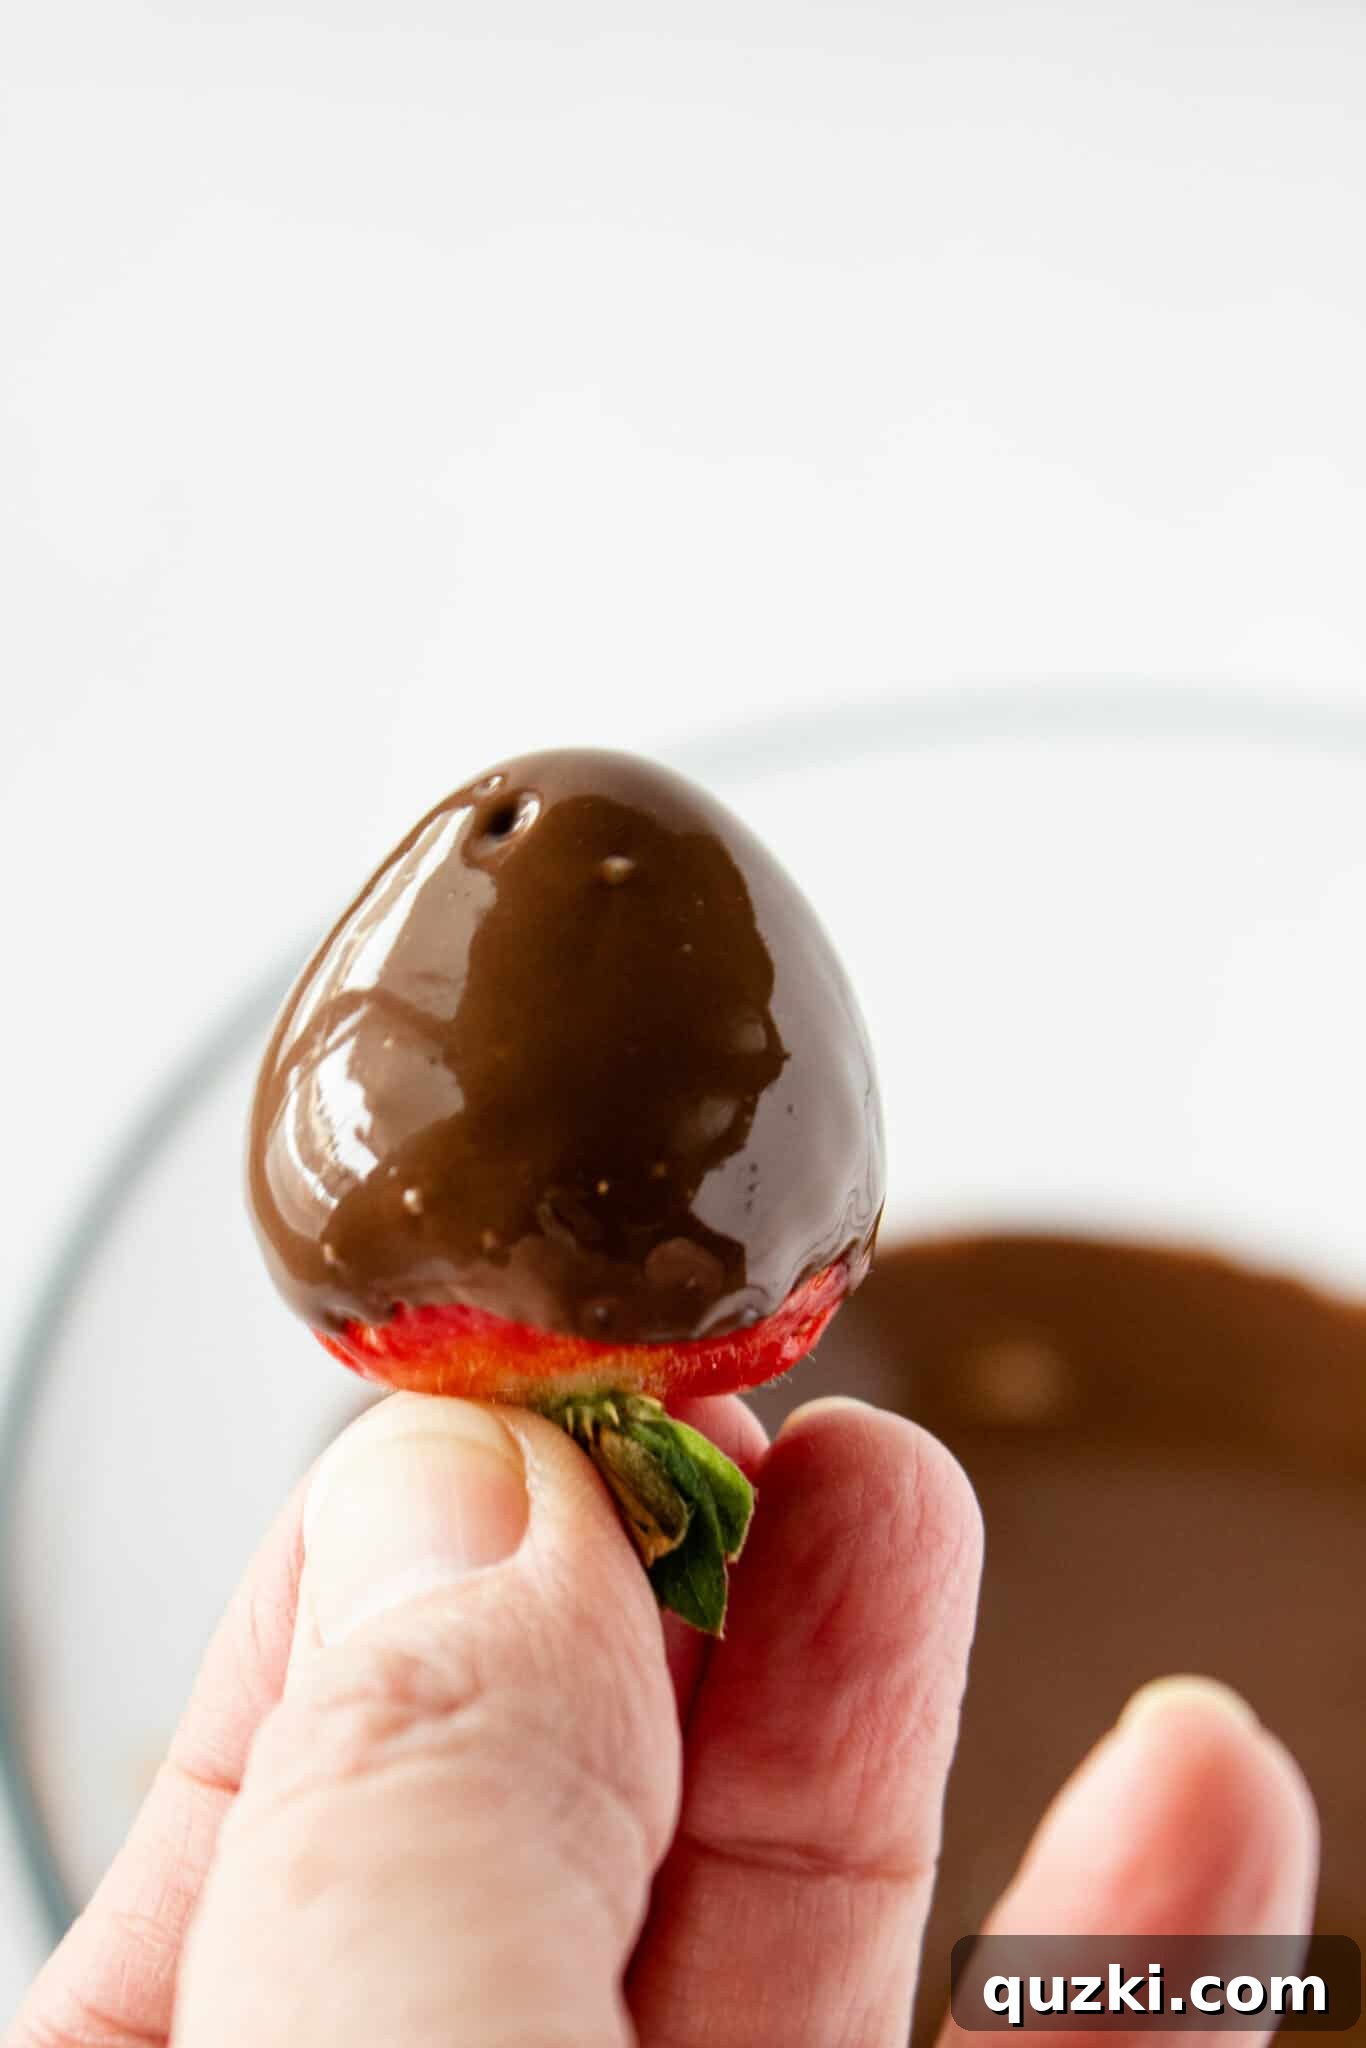
- Carefully hold each strawberry by its green stem or insert a toothpick into the top for easier handling. Dip each strawberry into the melted chocolate, allowing any excess chocolate to drip off by gently shaking it.
- Place the dipped strawberries onto a baking sheet lined with parchment paper or wax paper. This prevents them from sticking as the chocolate sets.
- For an extra touch of artistry, after all strawberries are dipped, you can go back and drizzle additional melted chocolate over the top of each berry using a fork or a piping bag with a very small hole. This step is entirely optional but adds a beautiful decorative flourish.
- Allow the chocolate-covered strawberries to set at room temperature for about 30 minutes, or place them in the refrigerator for a quicker setting process if time is of the essence. Ensure the chocolate is fully firm before proceeding.

Part 3: Crafting the Silky Strawberry Buttercream and Assembling
- Now, prepare the star of the filling: the delightful strawberry buttercream. In a medium bowl, combine the softened butter and powdered sugar. Using a hand-held or stand mixer, beat these ingredients until the butter breaks down into smaller pieces and begins to combine with the sugar.
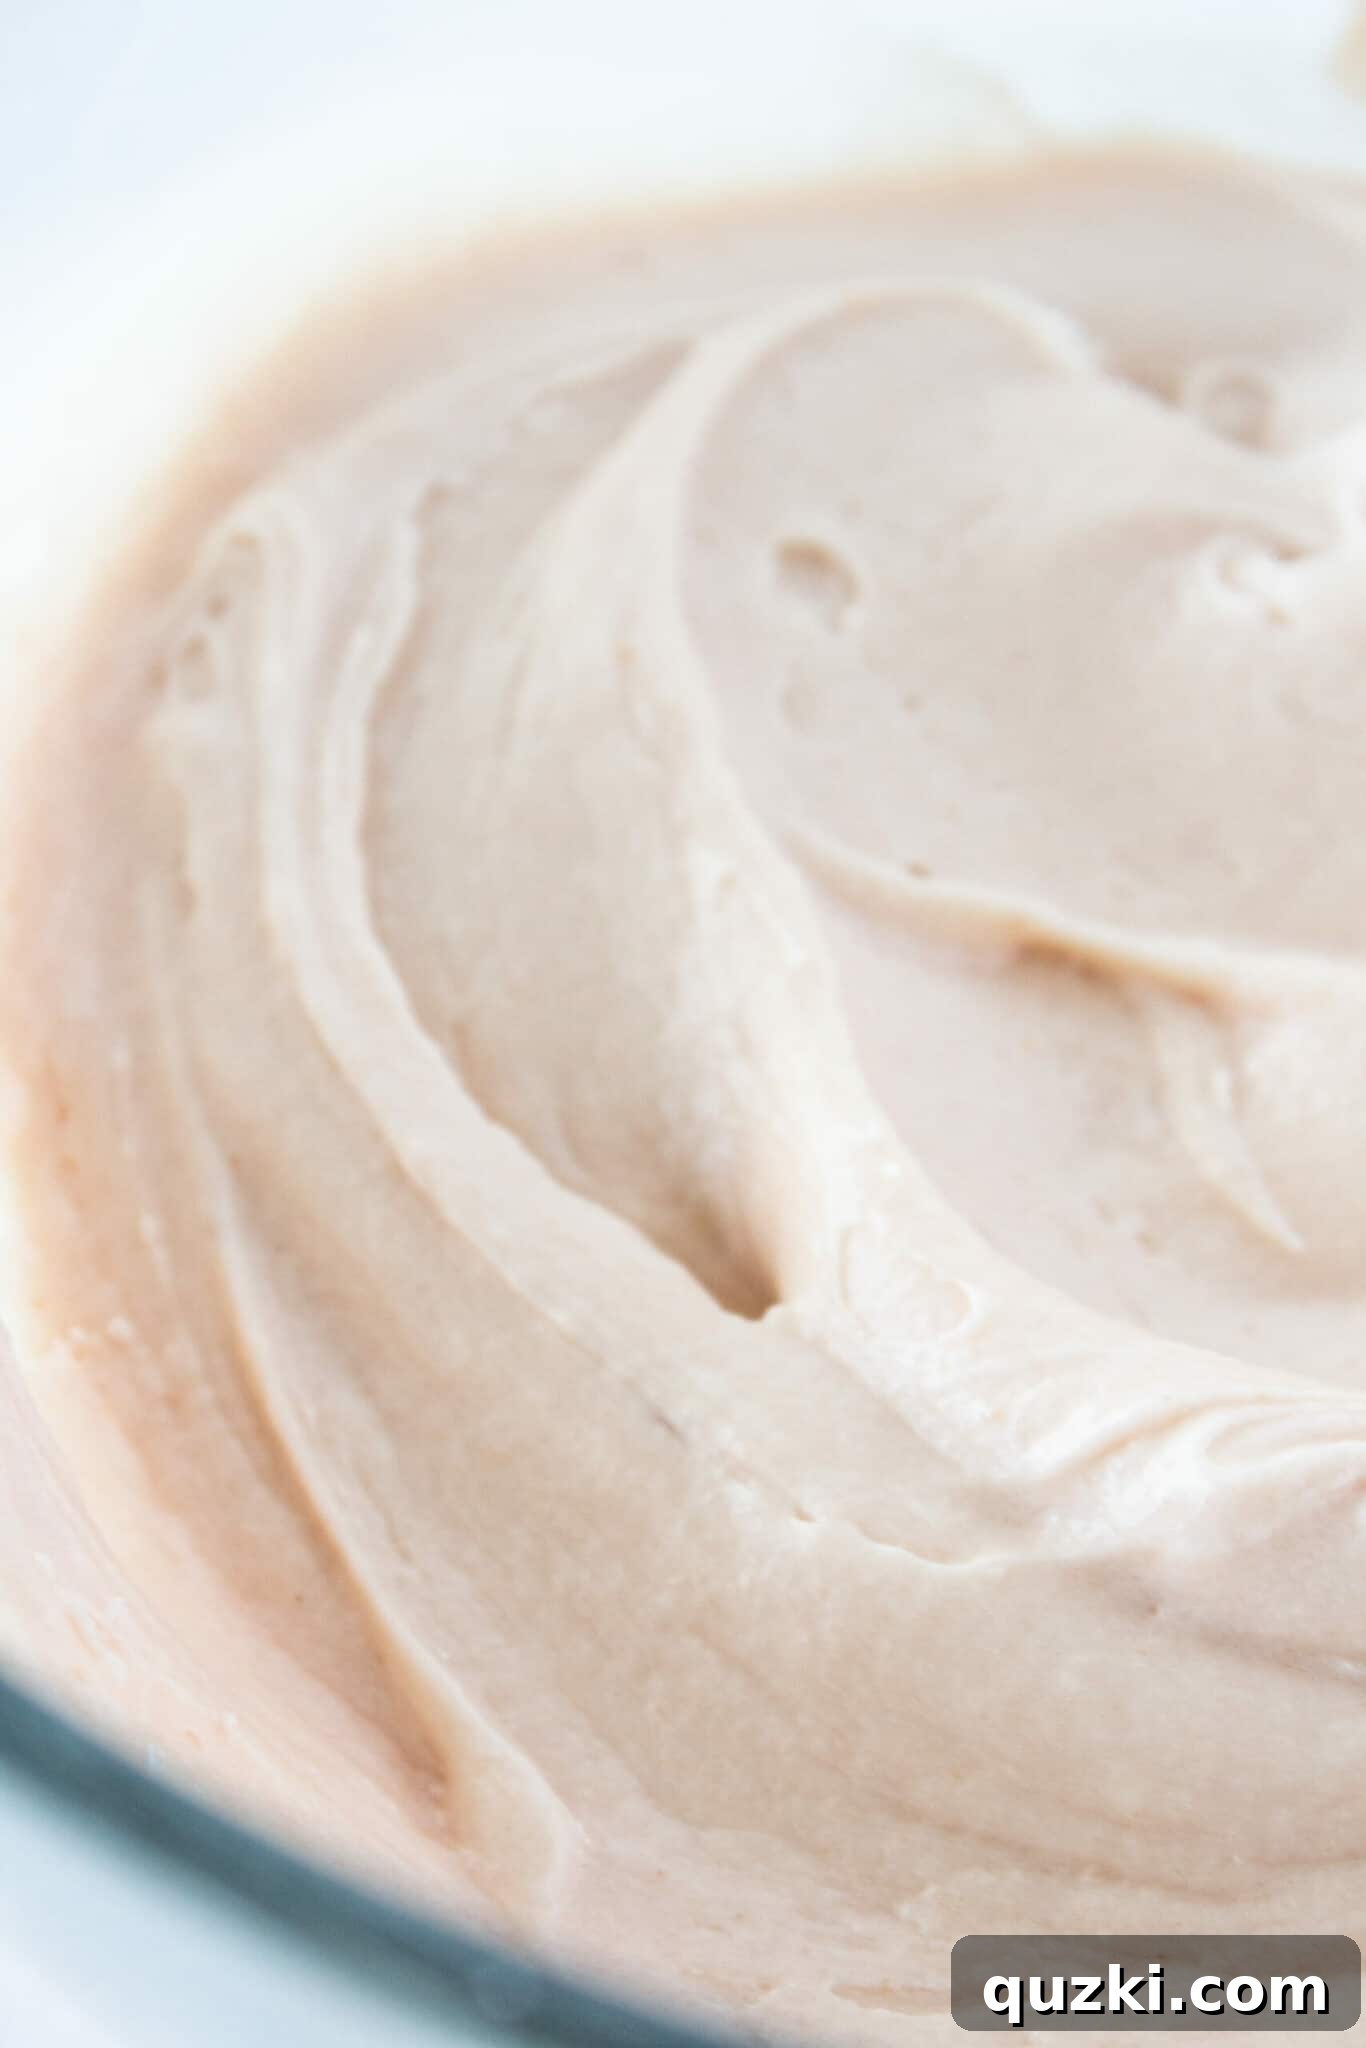
- Once partially combined, add the ⅓ cup of strawberry jam (seedless works wonderfully for a smooth texture) to the mixture. Continue to mix for 30 seconds to a minute, allowing the ingredients to fully incorporate until the buttercream becomes creamy, smooth, and spreadable. If the buttercream feels too stiff, add a tiny bit of milk or cream, a teaspoon at a time, until it reaches a perfect piping consistency. The buttercream will naturally develop a lovely light pink hue; for a deeper shade, a touch of food coloring can be added.
- To assemble your stunning strawberry cookie cups, arrange all of your completely cooled cookie cups onto a baking sheet.
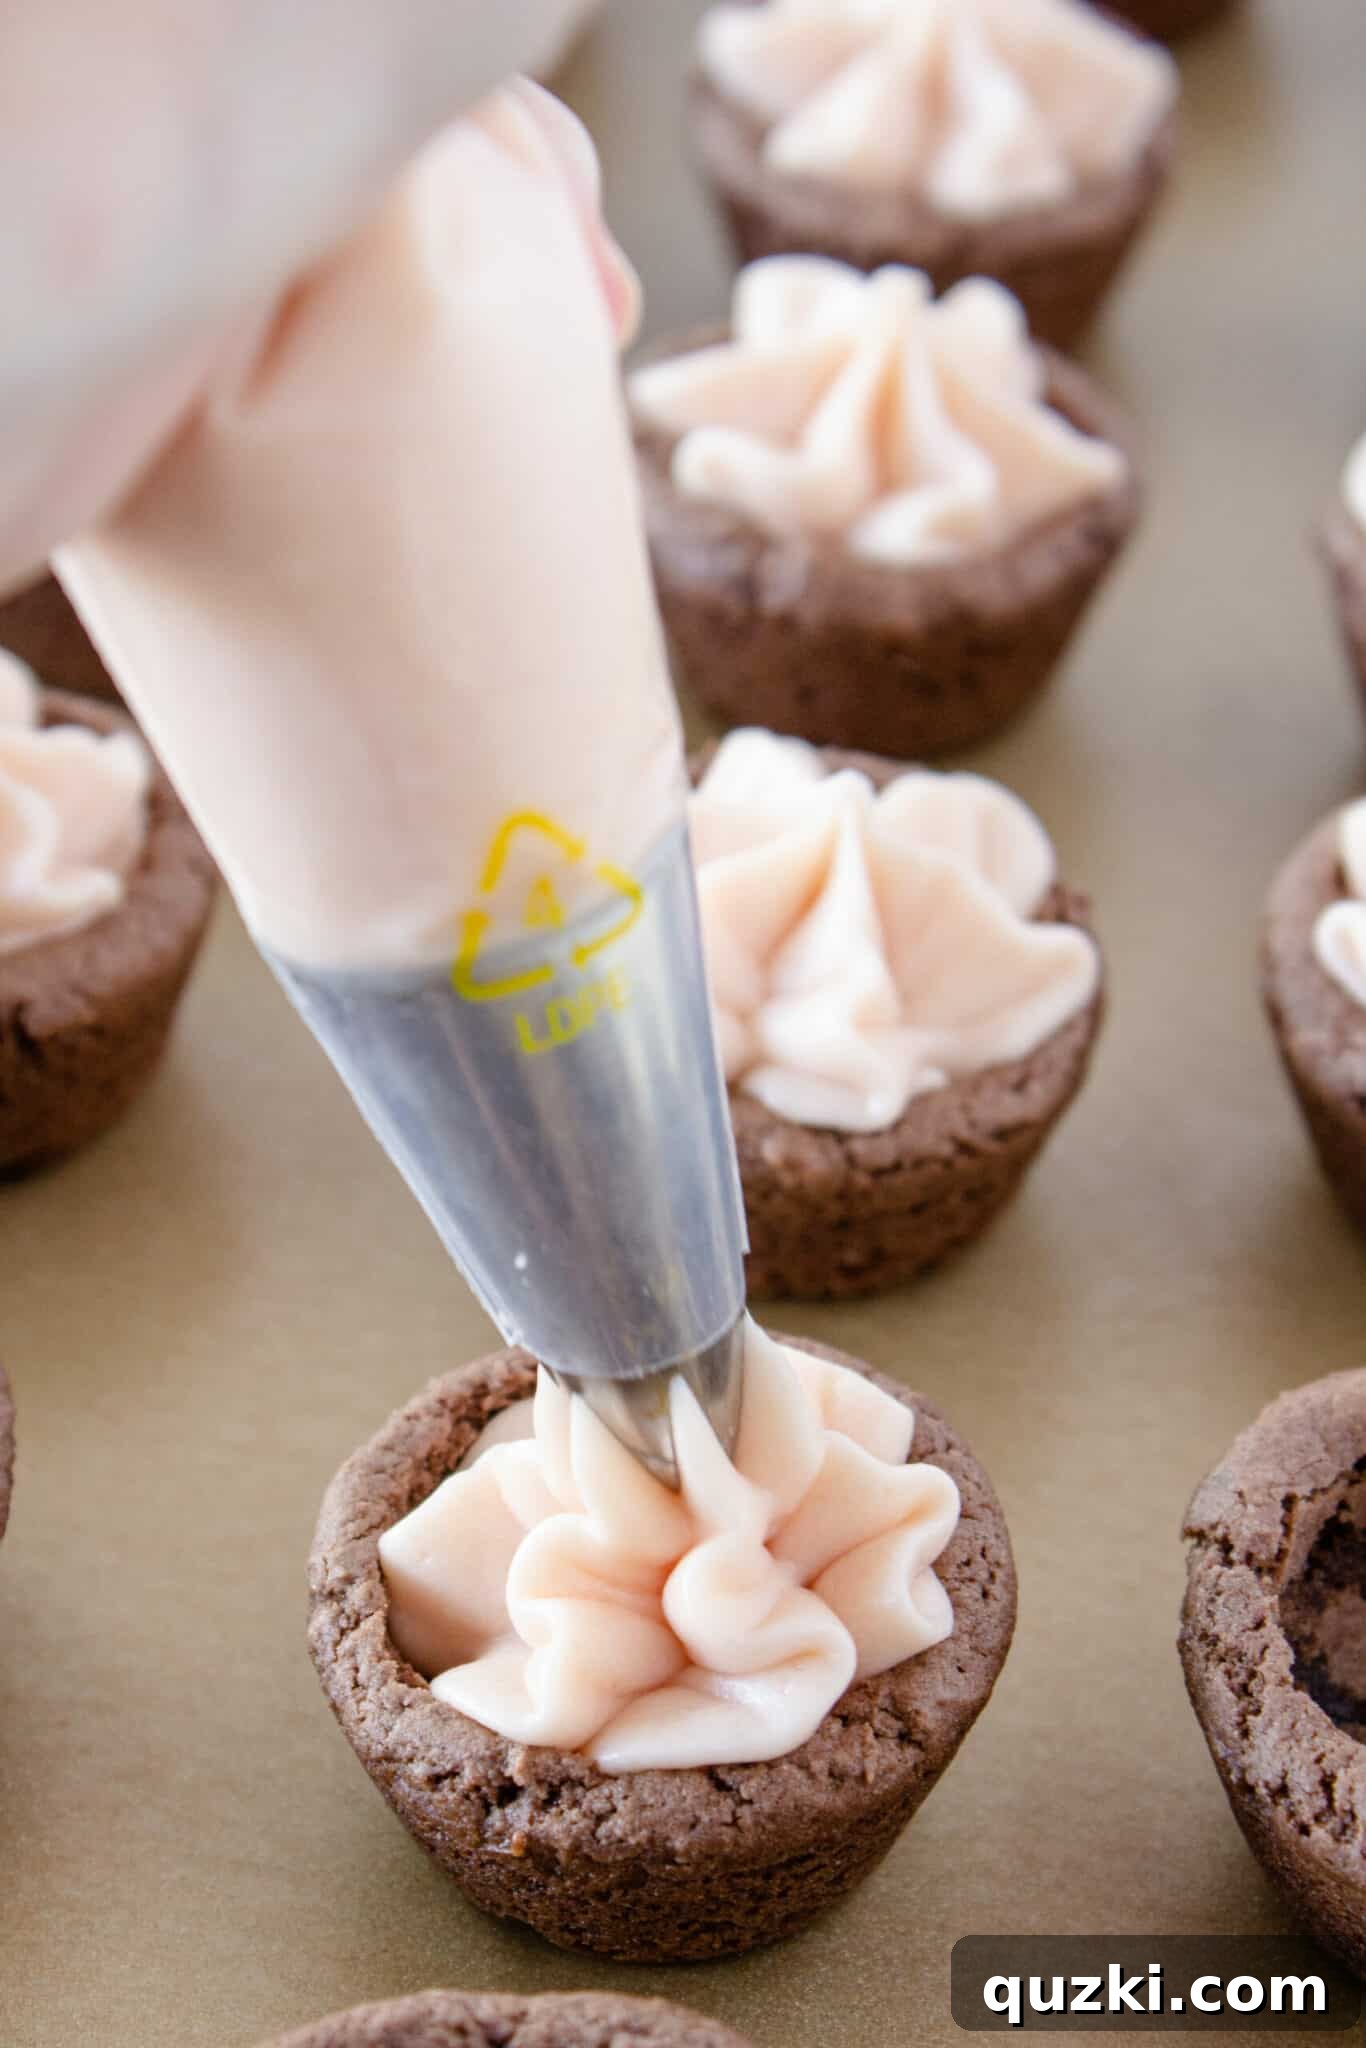
- Transfer the strawberry buttercream into a piping bag fitted with your favorite tip (or simply use a Ziploc bag with a corner snipped off). Pipe the luscious filling generously into the indentation of each cookie cup. If you don’t have a piping bag, a spoon can also be used to carefully dollop the buttercream into each cup.
- The final, magical step is to carefully place one of your prepared chocolate-covered strawberries on top of the strawberry buttercream in each cookie cup. Ensure it sits securely in the creamy filling.
- Your magnificent Chocolate Covered Strawberry Cookie Cups are now ready to be admired and devoured! Serve them immediately to impress your guests, or refrigerate for up to 4 days. These cookie cups are best enjoyed at room temperature, allowing the buttercream to soften slightly.
Expert Tips for Perfect Chocolate Covered Strawberry Cookie Cups
Achieving bakery-quality cookie cups at home is easier than you think with these professional insights and helpful hints:
- Grease Generously: Always liberally spray your mini muffin pan with non-stick cooking spray. This is the secret to ensuring your delicate cookie cups release cleanly and effortlessly, preserving their perfect shape.
- Avoid Overbaking: Be diligent about baking times. Overbaked cookie cups will become too firm and crumbly, making it difficult to create the necessary indentations for the filling. Aim for cookies that are just set around the edges but still slightly soft in the center when removed from the oven.
- Prompt Release: The moment the cookie cups come out of the oven, use a thin knife or an offset spatula to gently run around the circumference of each cookie. This immediate action prevents them from adhering to the pan as they cool.
- Shape While Warm: The indentations for your filling should be made while the cookie cups are still partially warm. This ensures the dough is pliable enough to shape without cracking. A tart shaper or the back of a small spoon works perfectly for this task.
- Cool Completely: Patience is key! Allow the cookie cups to cool completely on a wire rack before adding the strawberry buttercream. Filling warm cookies will cause the buttercream to melt and lose its beautiful texture.
- Buttercream Consistency: If your homemade strawberry buttercream feels too stiff or difficult to pipe, don’t despair! You can easily adjust its consistency by adding a very small amount (half a teaspoon at a time) of milk or heavy cream until it reaches your desired smoothness and piping ability.
- Color Customization: The strawberry jam will naturally tint your buttercream a lovely light pink. If you desire a more vibrant or deeper shade for special occasions, feel free to add a tiny drop of red or pink food coloring to achieve your preferred hue.
- Strawberry Selection: For the most visually appealing and manageable cookie cups, choose small to medium-sized strawberries for dipping. They will fit perfectly atop the buttercream and balance the flavors without being too overwhelming.
- Chocolate Quality: Using good quality dark chocolate melting wafers (or even chocolate chips) will make a noticeable difference in the taste and texture of your chocolate-covered strawberries. Compound chocolate or candy melts are also excellent choices as they melt smoothly and set quickly.
- Storage: Once assembled, these cookie cups are best stored in an airtight container in the refrigerator. Allow them to come to room temperature for about 15-20 minutes before serving to ensure the buttercream is soft and creamy.
Expand Your Baking Horizons: More Delightful Cookie Cup & Bite Recipes
If you’ve enjoyed the charm and convenience of these Chocolate Covered Strawberry Cookie Cups, you’re in for a treat! Cookie cups are a fantastic way to enjoy a wide variety of flavors in a perfectly portioned, easy-to-handle dessert. Dive into these other popular and equally delicious cookie cup and bite recipes that are sure to impress your family and friends. Each recipe offers a unique flavor profile and an exciting baking adventure.
Desserts
Easy Black Forest Cookie Cups Recipe
Indulge in the rich, classic flavors of Black Forest cake, beautifully transformed into convenient cookie cups. These feature a chocolate cookie base, a cherry filling, and a fluffy whipped cream topping, reminiscent of the beloved German dessert.
Desserts
Banana Pudding Cookie Cups Recipe
Experience the comforting taste of homemade banana pudding in a fun, bite-sized cookie cup format. These feature a vanilla wafer crust, creamy banana pudding filling, and a dollop of whipped cream, making them an instant crowd-pleaser.
Cookies
Lemon Bar Cookie Cups Recipe
For those who love a tangy and sweet treat, these Lemon Bar Cookie Cups deliver! A shortbread-like cookie base holds a vibrant, zesty lemon curd, finished with a dusting of powdered sugar. They’re a burst of sunshine in every bite.
Cookies
Cannoli Cookie Cups Recipe
Bring the classic Italian bakery delight into your home with these Cannoli Cookie Cups. A crisp cookie shell is filled with a sweet, creamy ricotta filling, often studded with mini chocolate chips or candied fruit, offering a sophisticated dessert experience.

Rating: 5 out of 5 stars (Based on 1 vote)
Chocolate Covered Strawberry Cookie Cups Recipe
June Albertson-Dick
A delightful cookie cup made from a chocolate cake mix, generously filled with homemade Strawberry Buttercream, and exquisitely topped with a delicious chocolate-covered strawberry. Strawberries and chocolate have never tasted so harmoniously divine.
40 minutes
25 minutes
1 hour 5 minutes
36 servings
Rate Recipe
Print Recipe
Ingredients
For the Chocolate Cookie Cups:
- 1 box chocolate cake mix (13.25 ounces)
- 2 large eggs
- ⅓ cup vegetable oil
For the Strawberry Buttercream:
- ¾ cup butter, softened
- 3 cups powdered sugar
- ⅓ cup strawberry jam (seedless recommended)
- 1-2 teaspoons milk or cream (optional, for consistency)
For the Chocolate Covered Strawberries:
- 36 small strawberries, washed and dried
- 10 ounces dark chocolate melting wafers (or good quality chocolate chips)
Instructions
Chocolate Cookie Cups
- Preheat oven to 350°F (175°C). Liberally spray each cup of a mini muffin pan with non-stick cooking spray.
- In a medium bowl, combine the chocolate cake mix, eggs, and vegetable oil. Mix with a hand-held mixer or by hand until a thick and sticky dough forms.
- Using a small cookie scoop (about 1.5 tbsp), place a mound of dough into each muffin cup. Press the dough down with your fingers to flatten it into a level cookie base.
- Bake for 9-11 minutes. Do not overcook; the cookies will firm up as they cool.
- Immediately upon removing from the oven, run a knife or offset butter knife around the edge of each cookie cup to loosen it from the pan.
- While the cookies are still warm, use a tart shaper or the end of a wooden spoon to press down into the middle of each cookie, creating an indentation for the filling.
- Move the cookie cups to a cooling rack and let them cool completely.
Strawberry Buttercream
- In a medium bowl, combine the softened butter and powdered sugar using a hand-held mixer. The butter will break down into smaller pieces as it mixes with the sugar.
- Once partially combined, add the strawberry jam and continue to mix for 30 seconds to a minute until the mixture becomes creamy and smooth.
- If needed, add 1-2 teaspoons of milk or cream to achieve a desired piping consistency. Transfer the buttercream to a piping bag (or a Ziploc bag with the corner snipped).
Chocolate Covered Strawberries
- In a medium microwave-safe bowl, add the dark chocolate wafers. Microwave for 1 minute, stir, then continue in 30-second intervals, stirring after each, until the chocolate is completely melted and smooth.
- Hold each strawberry by its green stem or with a toothpick inserted into the top. Dip into the melted chocolate, shaking off any excess.
- Place each dipped strawberry onto a parchment or wax paper-lined baking sheet.
- Optional: Drizzle additional melted chocolate over the top of each strawberry for decoration.
- Allow strawberries to set at room temperature for 30 minutes, or refrigerate for faster setting.
Assembly
- Arrange all cooled cookie cups onto a baking sheet.
- Pipe (or spoon) the strawberry buttercream into the indentation of each cookie cup.
- Gently place one chocolate-covered strawberry on top of the buttercream in each cookie cup.
- Serve immediately, or refrigerate for up to 4 days. Best enjoyed at room temperature.
Nutrition Information
Serving: 1 cookie cup
Calories: 201 kcal
Carbohydrates: 26g
Protein: 2g
Fat: 10g
Saturated Fat: 5g
Polyunsaturated Fat: 2g
Monounsaturated Fat: 2g
Trans Fat: 0.2g
Cholesterol: 19mg
Sodium: 143mg
Potassium: 115mg
Fiber: 1g
Sugar: 19g
Vitamin A: 134IU
Vitamin C: 7mg
Calcium: 47mg
Iron: 1mg
Nutrition information is automatically calculated and should only be used as an approximation. Variations may occur based on specific ingredients and brands used.
Enjoyed this recipe? Share your thoughts below!
Your feedback helps us create more delicious content.