
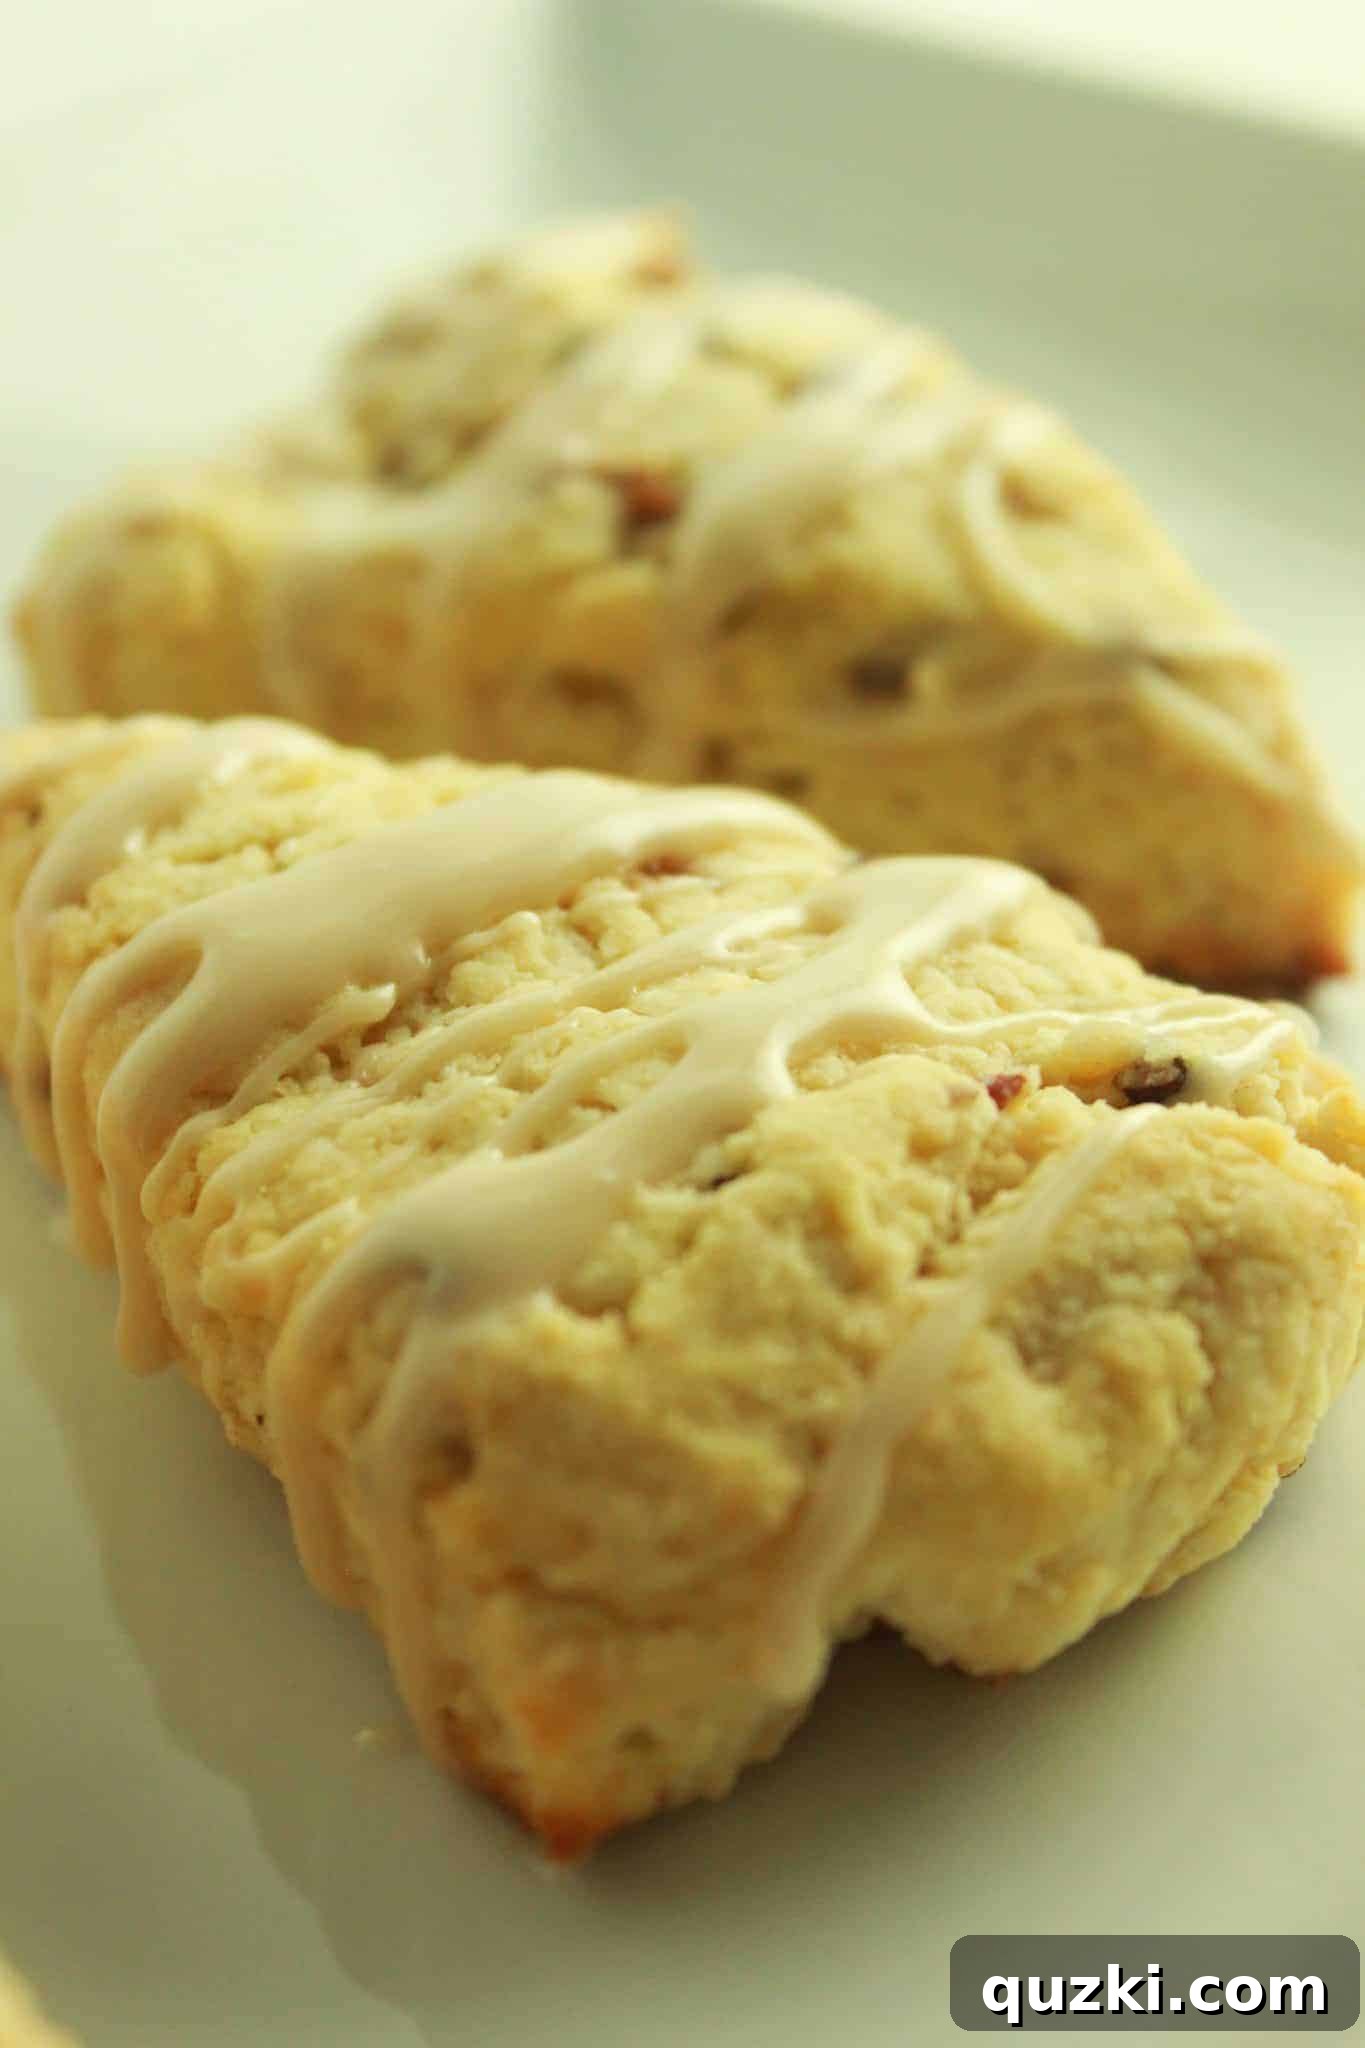
Irresistible Maple Pecan Scones: Your Ultimate Guide to Fluffy Homemade Perfection
Prepare yourself for an extraordinary culinary experience because these Maple Pecan Scones are truly phenomenal. I often describe scones as a “biscuit on steroids,” and once you try them, you’ll understand why! While some scone recipes incorporate an egg and others don’t, they almost always feature delightful mix-ins, and many are crowned with a decadent glaze. These particular Maple Pecan Scones boast a harmonious blend of flavors that will captivate your taste buds. I’ve chosen brown sugar for the dough, as it beautifully enhances the natural nuttiness of the pecans and perfectly complements the rich maple essence.
Frankly, these Maple Pecan Scones are so incredibly good, they might just rival your favorite cookie – and if you’ve been following my culinary adventures for a while, you know that’s a monumental statement coming from me! I absolutely adore cookies, but these scones carve out their own special place.

The Secret to Scone Success: Flaky Layers and Tender Crumb
Achieving light, flaky scones is an art, but it’s an art anyone can master with a few key techniques. For this recipe, I opted to create two smaller rounds, yielding more modest but equally delightful scones. However, you could certainly make one large round for impressively huge scones if you prefer. A crucial tip for exceptional texture is ensuring your butter is very cold. To counteract butter that might not be perfectly chilled, I recommend freezing the prepared scones for at least 30 minutes before baking. Even with perfectly cold butter, this freezing step is a game-changer! The colder the butter, the more pockets of steam it creates during baking, resulting in that coveted soft, flaky texture that defines a perfect scone.
These scones are so inspiring that they literally make me want to create fifty variations of this recipe. But honestly, my jeans button can only take so much! In fact, next week I’ll be sharing one of my favorite low-carb recipes to help balance out all this delicious indulgence. But let me assure you, these Maple Pecan Scones are worth every single bite.
Beyond Scones: Other Breakfast Delights You’ll Love
If you’re a fan of starting your day with something sweet and comforting, be sure to check out some of my other beloved breakfast recipes. Each one is designed to bring joy to your morning:
- Cinnamon Roll French Toast Bake: A delightful casserole combining two breakfast classics.
- Banana Crumb Cake: Moist and flavorful, topped with a sweet, buttery crumb.
- One Rise Cinnamon Rolls: The easiest way to enjoy homemade cinnamon rolls with minimal effort.
Step-by-Step Guide to Crafting Your Maple Pecan Scones
Let’s dive into the process of making these incredible scones. Precision and a little patience will yield the most delightful results.
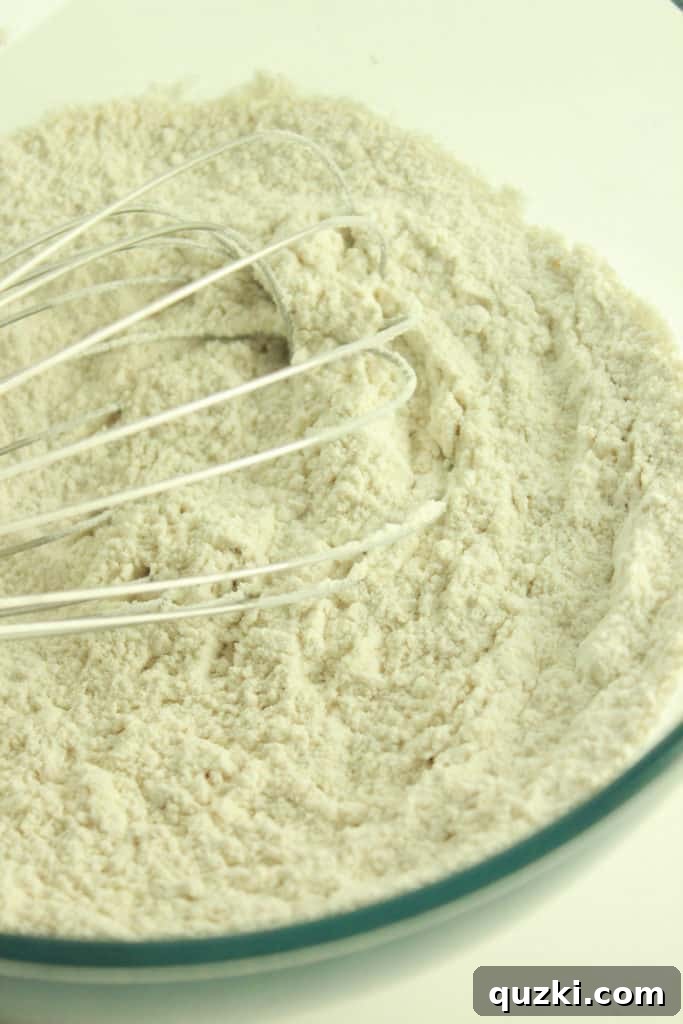
1. Combine Dry Ingredients
Begin by whisking together all your dry ingredients. Due to the brown sugar, you might notice a few small lumps, which is perfectly fine and adds to the rustic charm.
2. Cut in the Cold Butter
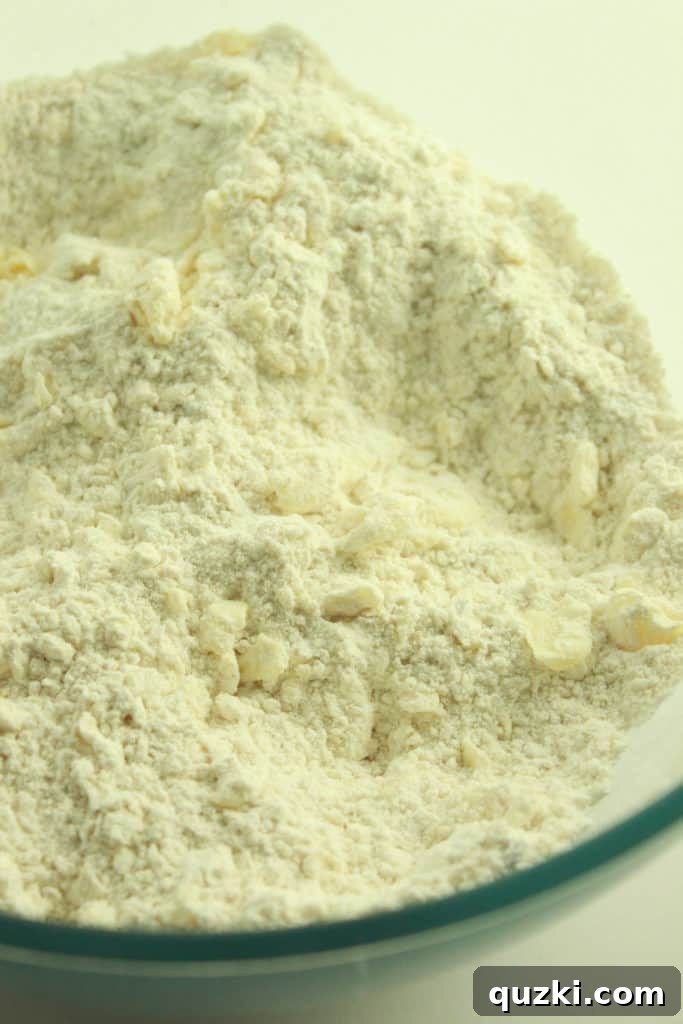
Next, it’s time to incorporate the cold butter into your flour mixture. Using a pastry cutter, a fork, or even your fingertips (working quickly to keep the butter cold), cut the butter into the dry ingredients until the mixture resembles coarse crumbs. Having some larger, pea-sized pieces of butter remaining is actually ideal, as these pockets are what create those wonderful flaky layers.
3. Add Chopped Pecans
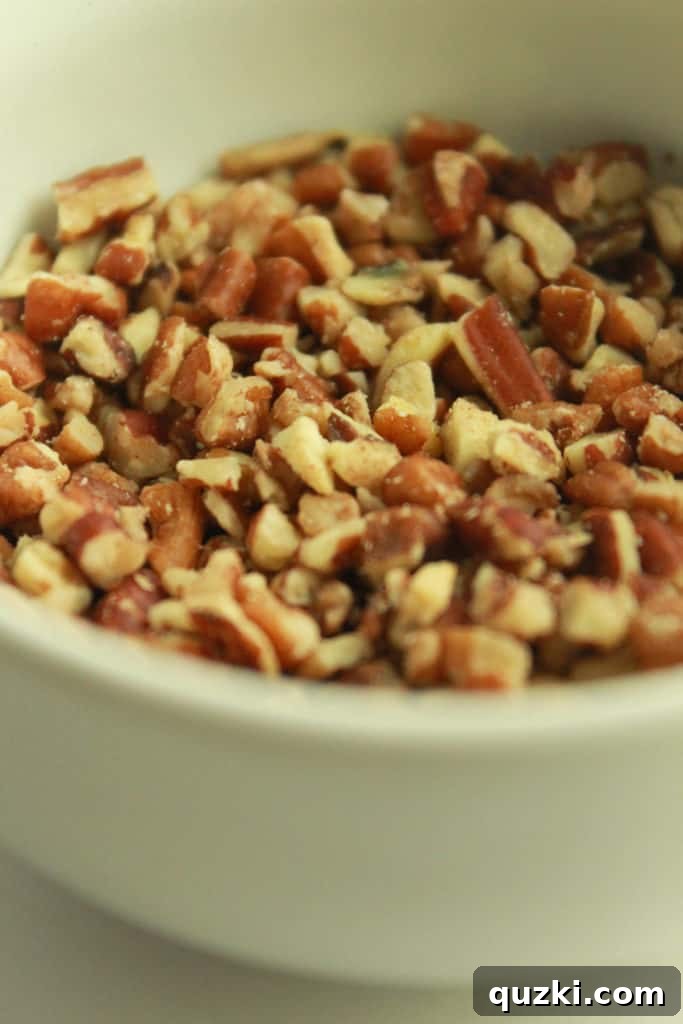
Once your butter is incorporated, stir in the chopped pecans. I absolutely adore the texture and rich flavor they bring to these scones!
4. Whisk Wet Ingredients
In a separate bowl, whisk together your wet ingredients: eggs, vanilla extract, and heavy cream. This ensures they are fully combined before adding them to the dry mixture.
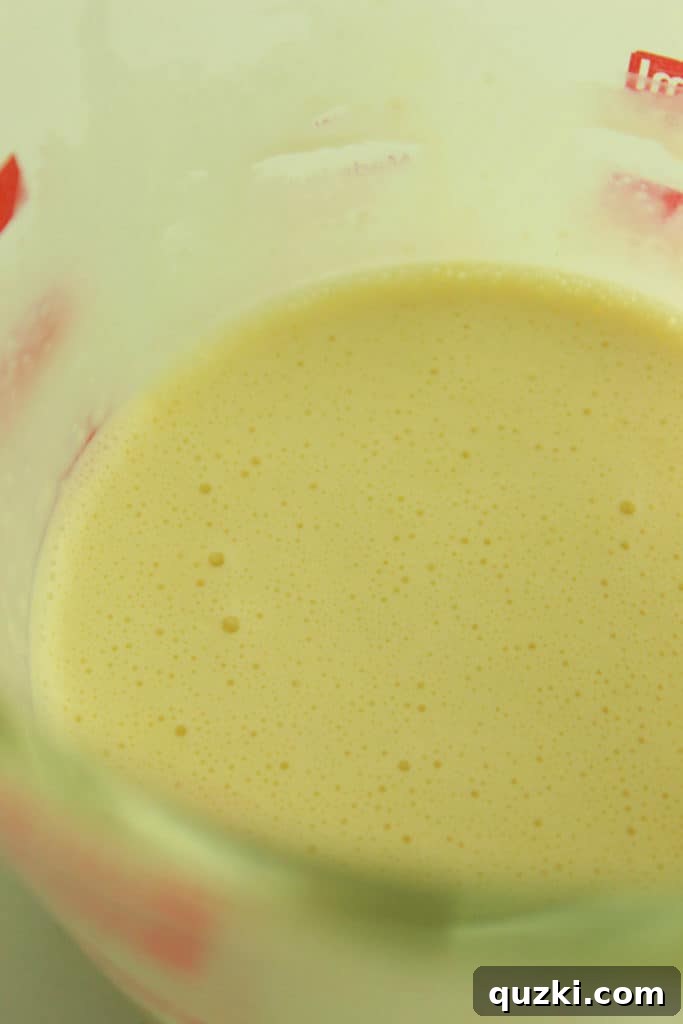
5. Combine Wet and Dry Mixtures
Pour the whisked wet ingredients into the dry ingredients all at once. Mix with a fork until the scone dough just comes together. It might look a little shaggy, but avoid overmixing to keep the scones tender.
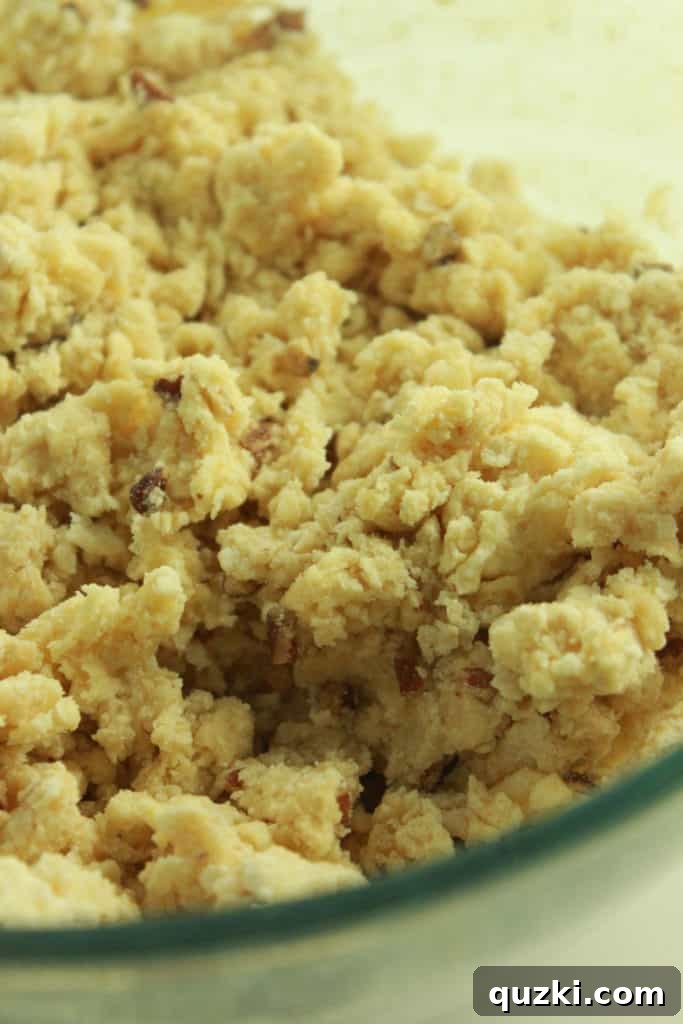
6. Turn Out and Shape the Dough
Turn the dough out onto a clean, lightly floured surface. Gently bring the dough together with your hands, pressing it into a cohesive ball. Divide the dough in half.
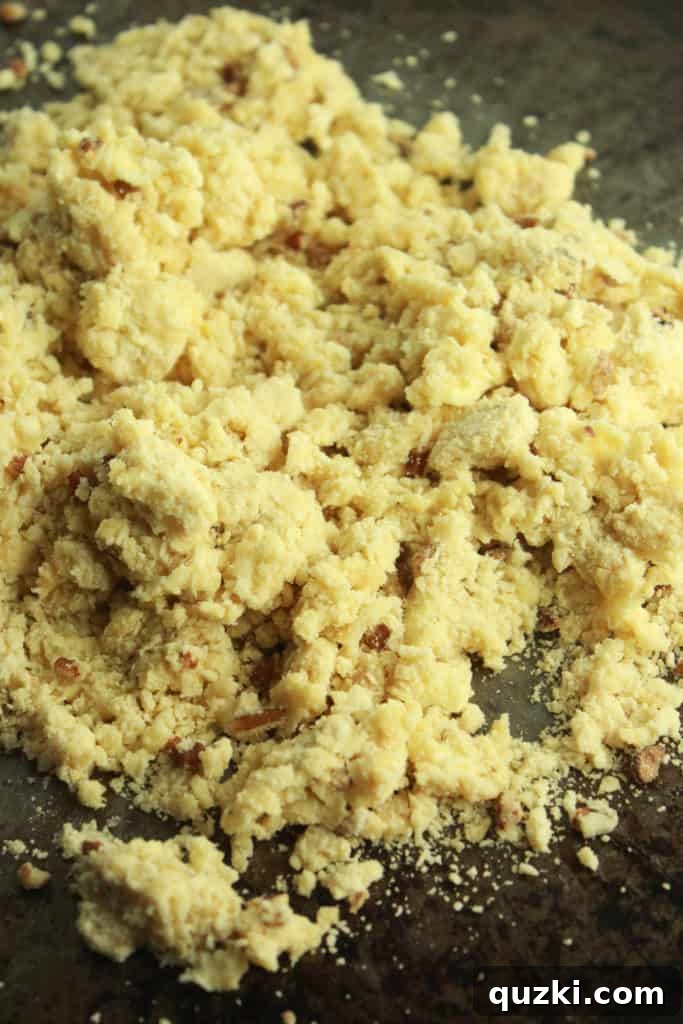
Shape each half into a round, approximately 6 inches in diameter and about 3/4 inch thick. Try to keep the edges neat.
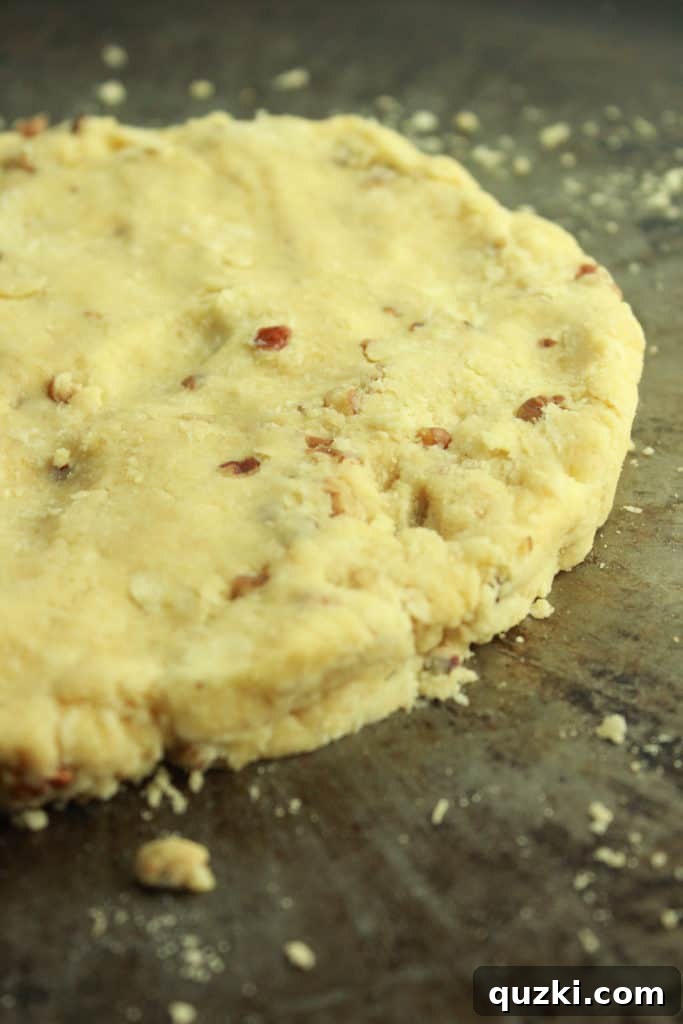
7. Cut and Freeze
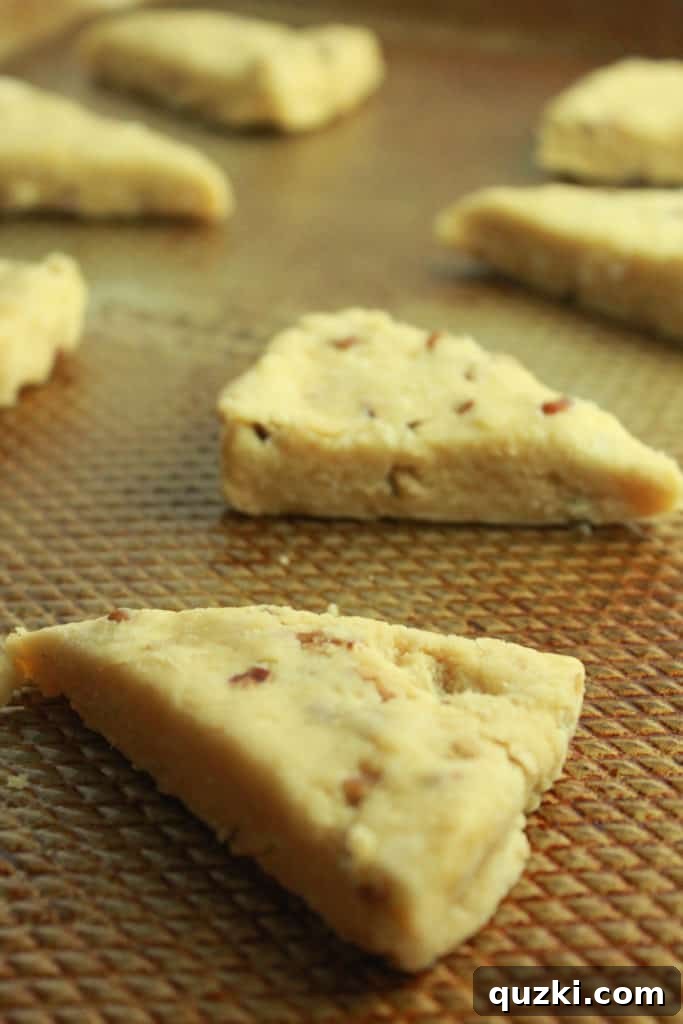
Using a sharp knife, cut each round into 8 triangles, much like you would slice a pizza. Separate the wedges slightly and place them onto a greased or parchment-lined cookie sheet, leaving about 1/2 inch of space between each scone. Now for the crucial step: freeze the prepared scones for 30 minutes. This helps the butter stay cold and relaxes the gluten, ensuring a higher rise and a more tender, flaky scone.
8. Prepare the Maple Glaze
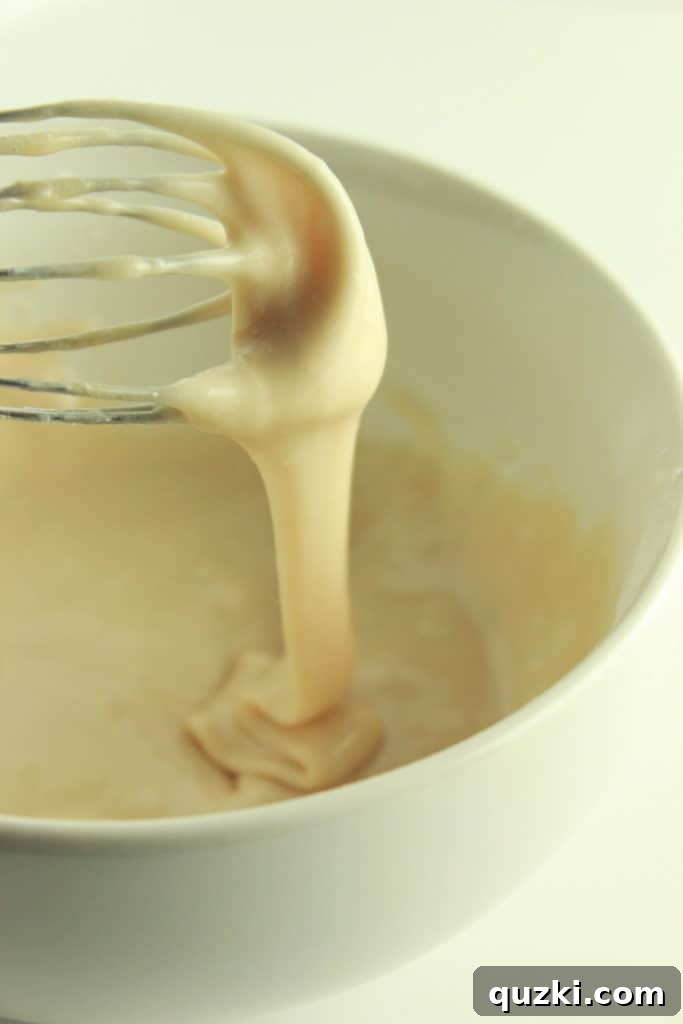
While your scones are baking and cooling slightly, prepare the irresistible maple glaze. In a bowl, combine the powdered sugar and maple syrup. Whisk them together, adding just enough milk (2-3 tablespoons) until you achieve a smooth, drizzly consistency. You want it thick enough to coat, but thin enough to flow.
9. Drizzle and Enjoy!
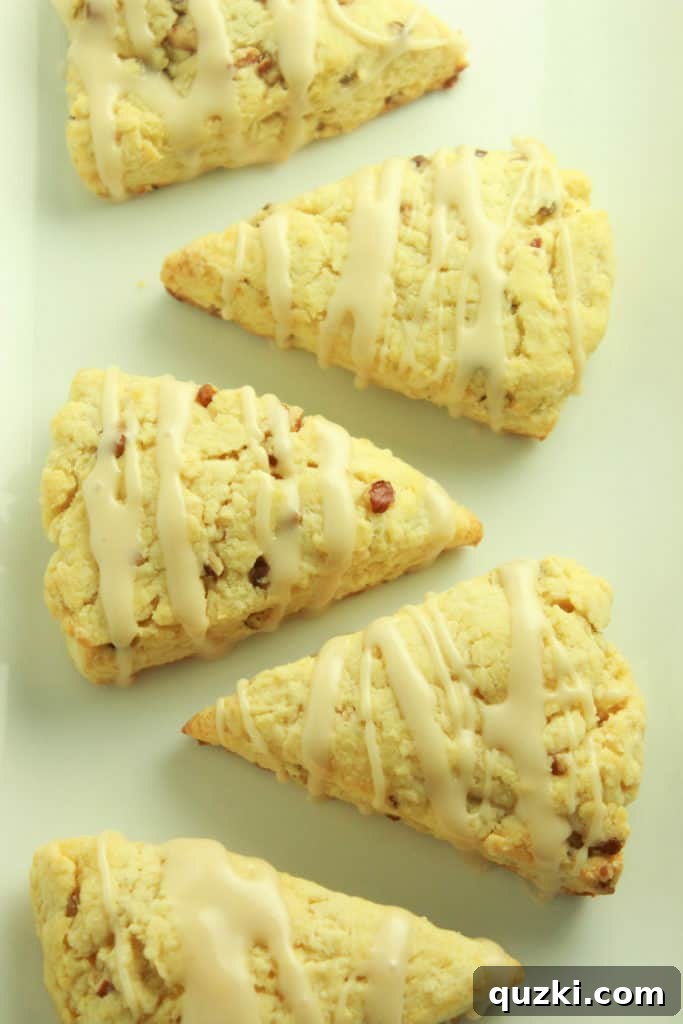
Once the scones have cooled briefly (they should still be warm), drizzle the maple glaze generously over them. Serve immediately and savor the delightful flavors and textures.
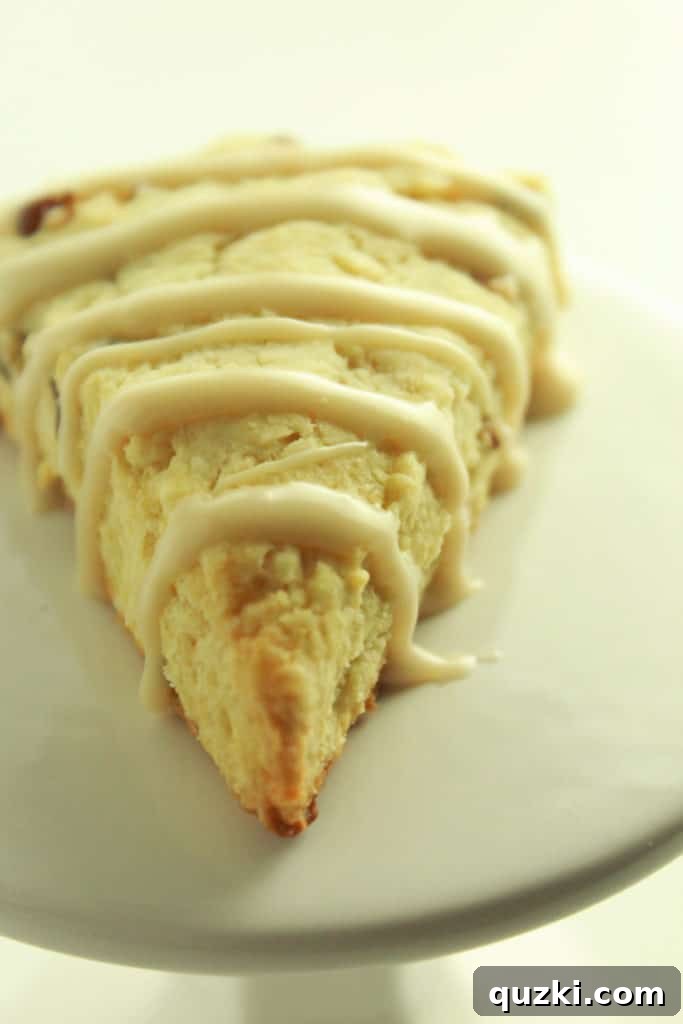
These Maple Pecan Scones are truly the perfect Sunday morning breakfast, a special treat that your entire family will absolutely adore. They’re also fantastic for holiday brunches or any time you need a little sweet indulgence.

Maple Pecan Scones
June Albertson-Dick
10 mins
18 mins
28 mins
16 small scones
Rate Recipe
Print Recipe
Ingredients
Scone Ingredients
- 2 3/4 cups all-purpose flour
- 1/3 cup brown sugar (packed)
- 1/2 tsp salt
- 1 tbsp baking powder
- 1/2 cup cold butter (cut into cubes)
- 1 cup chopped pecans
- 2 large eggs
- 2 tsp vanilla extract
- 1/2 cup heavy cream
Maple Glaze
- 2 cups powdered sugar
- 1/4 cup maple syrup
- 2-3 tbsp milk (as needed for consistency)
Instructions
-
Preheat your oven to 425 degrees Fahrenheit (220 degrees Celsius). Line a baking sheet with parchment paper or lightly grease it.
In a large mixing bowl, whisk together the flour, brown sugar, salt, and baking powder until well combined.
Add the cold butter cubes to the dry ingredients. Using a pastry cutter, a fork, or two knives, cut the butter into the flour mixture until it resembles coarse crumbs, with some pea-sized pieces of butter still visible.
Stir in the chopped pecans.
In a separate medium bowl, whisk together the eggs, vanilla extract, and heavy cream until fully combined.
Pour the liquid ingredients into the dry ingredients. Stir with a fork until just moistened and the dough begins to come together. The dough might seem shaggy, but do not overmix.
Turn the dough out onto a lightly floured clean surface. Gently bring the dough together with your hands and divide it in half.
Shape each half into a 6-inch (15 cm) circle, about 3/4 inch (2 cm) thick.
Using a sharp knife, cut each circle into 8 wedges, similar to slicing a pizza.
Separate the wedges and arrange them on the prepared baking sheet, leaving about 1/2 inch (1.25 cm) of space between each scone.
**Freezing Step:** For the best rise and flakiest texture, place the baking sheet with the scones into the freezer for 30 minutes. This helps the butter remain cold and relaxes the gluten in the dough.
Bake the scones for 15-18 minutes, or until they are golden brown on top and cooked through.
Remove the scones from the oven and let them cool briefly on the baking sheet while you prepare the glaze. -
While the scones are cooling slightly, prepare the maple glaze. In a bowl, combine the powdered sugar and maple syrup. Whisk them together, gradually adding 2-3 tablespoons of milk until you achieve a smooth, drizzly consistency.
Drizzle the maple glaze generously over the slightly cooled scones. Serve warm and enjoy!
Notes
- *The Freezing Trick: Don’t skip the 30-minute freeze before baking! This step is key to achieving that perfect high rise and tender, flaky crumb. The intense cold prevents the butter from melting too quickly, creating more steam pockets that lift the dough. It also helps to relax the gluten, ensuring your scones are delicate and not tough.
- Cold Butter is Crucial: Always use very cold butter. If your kitchen is warm, you can even grate frozen butter into the flour for quicker incorporation and maximum coldness.
- Do Not Overmix: Overmixing develops gluten, leading to tough scones. Mix only until the ingredients are just combined and the dough barely holds together.
- Storage: Store leftover scones in an airtight container at room temperature for up to 2-3 days. Reheat briefly in the microwave or oven for a fresh-baked taste.
- Freezing Unbaked Scones: You can prepare the scone wedges and freeze them solid on a baking sheet. Once frozen, transfer them to a freezer-safe bag for up to 1 month. When ready to bake, place frozen scones on a prepared baking sheet and bake as directed, adding a few extra minutes to the baking time if needed.
Nutrition
Serving: 1 scone
Calories: 302kcal
Carbohydrates: 41g
Protein: 4g
Fat: 14g
Saturated Fat: 6g
Polyunsaturated Fat: 2g
Monounsaturated Fat: 5g
Trans Fat: 0.2g
Cholesterol: 44mg
Sodium: 211mg
Potassium: 89mg
Fiber: 1g
Sugar: 23g
Vitamin A: 323IU
Vitamin C: 0.1mg
Calcium: 74mg
Iron: 1mg
Nutrition information is automatically calculated, so should only be used as an approximation.
Like this recipe? Leave a comment below! Your feedback means the world to us.
Why You’ll Fall in Love with These Scones
These Maple Pecan Scones are more than just a recipe; they’re an experience. Imagine waking up to the aroma of freshly baked goods, then biting into a tender scone bursting with the warm, comforting flavors of maple and toasted pecans, all finished with a sweet, delicate glaze. It’s pure bliss in every bite.
- Unforgettable Flavor: The combination of nutty pecans, rich brown sugar, and aromatic maple syrup creates a uniquely satisfying flavor profile that feels both gourmet and comforting.
- Perfect Texture: Thanks to the cold butter and the special freezing step, these scones achieve an enviable light, fluffy, and ultra-flaky texture that melts in your mouth.
- Versatile Treat: Ideal for a leisurely weekend breakfast, an elegant brunch, an afternoon tea snack, or even a simple dessert.
- Relatively Quick to Make: Despite their impressive appearance and taste, the active prep time for these scones is surprisingly short, making them accessible even for busy mornings.
Tips for Scone Success
To ensure your Maple Pecan Scones turn out perfectly every time, keep these expert tips in mind:
- Keep Ingredients Cold: This is the golden rule for scones. Cold butter creates steam, which lifts the dough and forms those flaky layers. Cold cream and eggs also help maintain the butter’s temperature.
- Measure Flour Correctly: Too much flour can make scones dry. Spoon flour into your measuring cup and level it off with a straight edge, rather than scooping directly from the bag.
- Don’t Overwork the Dough: Mix until just combined. Excessive kneading develops gluten, leading to tough, dense scones instead of light and tender ones. A shaggy dough is a happy dough!
- Use a Sharp Knife: When cutting the dough into wedges, use a sharp knife or a bench scraper. Avoid twisting the knife, which can seal the edges of the scones and prevent a good rise.
- The Freezer is Your Friend: The 30-minute freeze before baking is a game-changer. It ensures the butter stays solid until it hits the hot oven, maximizing steam production and a beautiful rise.
- Bake at High Temperature: Scones benefit from a hot oven. The initial burst of high heat helps them rise quickly and develop a golden crust.
- Cool Briefly Before Glazing: Glaze the scones while they are still warm but not piping hot. This allows the glaze to set slightly without completely melting and running off, creating that lovely sheen.
Serving Suggestions and Variations
These Maple Pecan Scones are delightful on their own, but here are some ways to elevate your experience:
- Classic Pairing: Serve with a hot cup of coffee, tea, or even a glass of cold milk.
- Fruity Companions: A side of fresh berries or sliced apples adds a refreshing contrast.
- Brunch Spread: Incorporate them into a larger brunch spread alongside eggs, bacon, or other pastries.
- Nut Substitutions: If pecans aren’t your favorite, walnuts or even a mix of nuts would work beautifully.
- Add Spices: A pinch of cinnamon or nutmeg in the dry ingredients would enhance the warm flavors.
- Chocolate Lover’s Twist: Fold in some white chocolate chips along with the pecans for an extra layer of sweetness.
- Different Glaze: While the maple glaze is iconic here, a simple vanilla glaze or even a lemon glaze could offer a different twist.
Frequently Asked Questions About Scones
Here are answers to some common questions you might have about making perfect scones:
Q: What is the main difference between a scone and a biscuit?
A: While both are quick breads, scones typically contain eggs and/or heavy cream, making them richer and slightly sweeter, often with added fruits or nuts. Biscuits are usually made with milk or buttermilk and butter, focusing on savory applications or serving with gravy.
Q: Can I make these scones ahead of time?
A: Yes! You can prepare the scone dough, cut the wedges, and freeze them on a baking sheet. Once frozen solid, transfer them to an airtight freezer bag. When you’re ready to bake, place them directly from the freezer onto a prepared baking sheet and bake as directed, adding a few extra minutes to the baking time.
Q: My scones didn’t rise much. What went wrong?
A: The most common culprits are: butter that wasn’t cold enough (it melted too quickly before baking), overmixing the dough (developing too much gluten), or old baking powder. Ensure your butter is very cold and your leavening agent is fresh.
Q: Can I use regular milk instead of heavy cream?
A: You can, but heavy cream contributes significantly to the richness and tenderness of the scones. Using regular milk might result in a slightly less rich and tender texture. For best results, stick with heavy cream.
Q: How do I know when the scones are baked through?
A: Scones are ready when they are golden brown on top and bottom, and a skewer inserted into the center comes out clean. The internal temperature should be around 200-210°F (93-99°C).
Conclusion: Indulge in Homemade Maple Pecan Scones
These Maple Pecan Scones are more than just a breakfast item; they are a delightful escape, a moment of pure culinary pleasure. With their flaky layers, tender crumb, and the perfect harmony of maple and pecan, they are guaranteed to become a cherished addition to your recipe collection. Follow these steps and tips, and you’ll be baking bakery-quality scones right in your own kitchen. Don’t hesitate – treat yourself and your loved ones to this incredibly satisfying homemade delight!
Happy baking!