
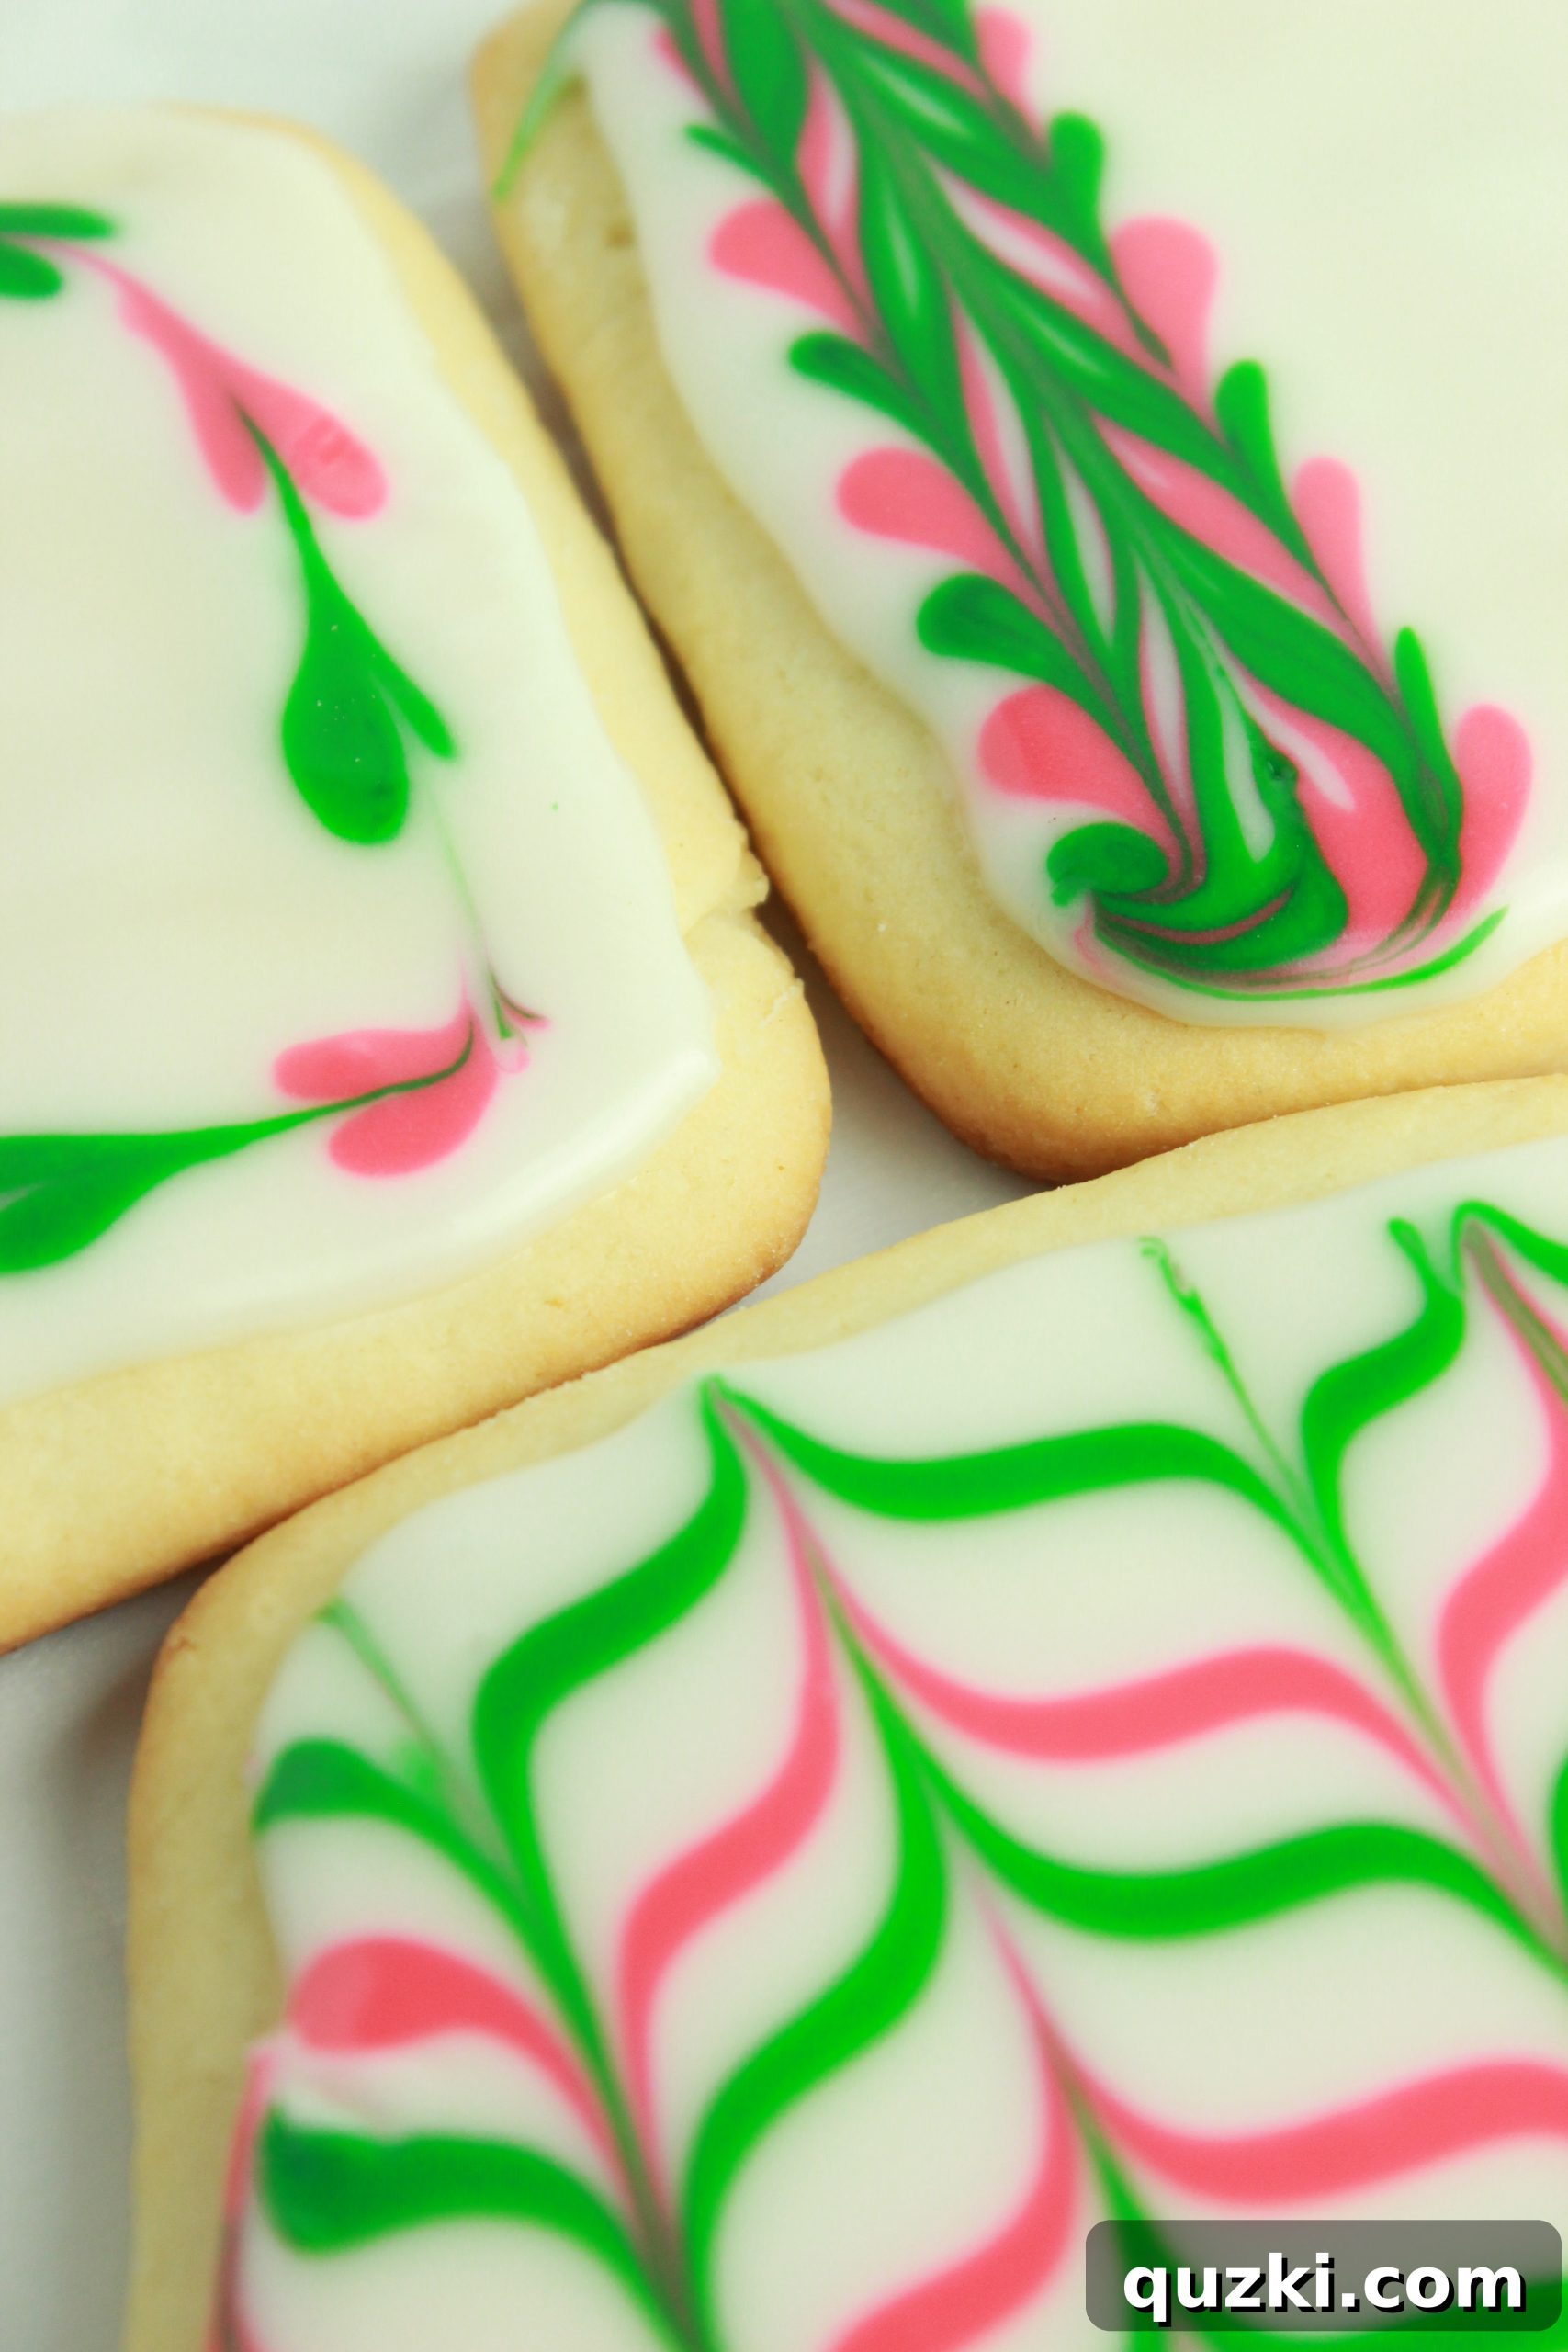
Mastering Glacé Icing: The Ultimate Royal Icing Alternative for Stunning Sugar Cookies
Welcome, fellow bakers and decorating enthusiasts! Today marks a truly exciting moment in our cookie journey. After a delightful week immersed in the art of Cream Cheese Sugar Cookies – perfecting {Stained Glass, Honey Nut Rugelach & Linzer} varieties – we’ve finally reached the grand finale: Glacé Icing. Think of it as the crowning glory, the exquisite finish that elevates a simple cookie into a work of edible art. For years, I embarked on a quest to find the perfect substitute for traditional Royal Icing. While Royal Icing undeniably creates breathtakingly beautiful, intricate designs, I always harbored reservations about consuming raw egg whites. Now, with a confirmed egg allergy, using Royal Icing is simply out of the question. This search led me to Glacé Icing, a revelation in cookie decoration. It’s not only incredibly easy to work with, allowing for smooth application and stunning effects, but it also dries completely, creating a firm, stackable finish that prevents your beautiful designs from getting ruined. This post will guide you through creating this wonderful icing and transforming your sugar cookies into masterpieces.
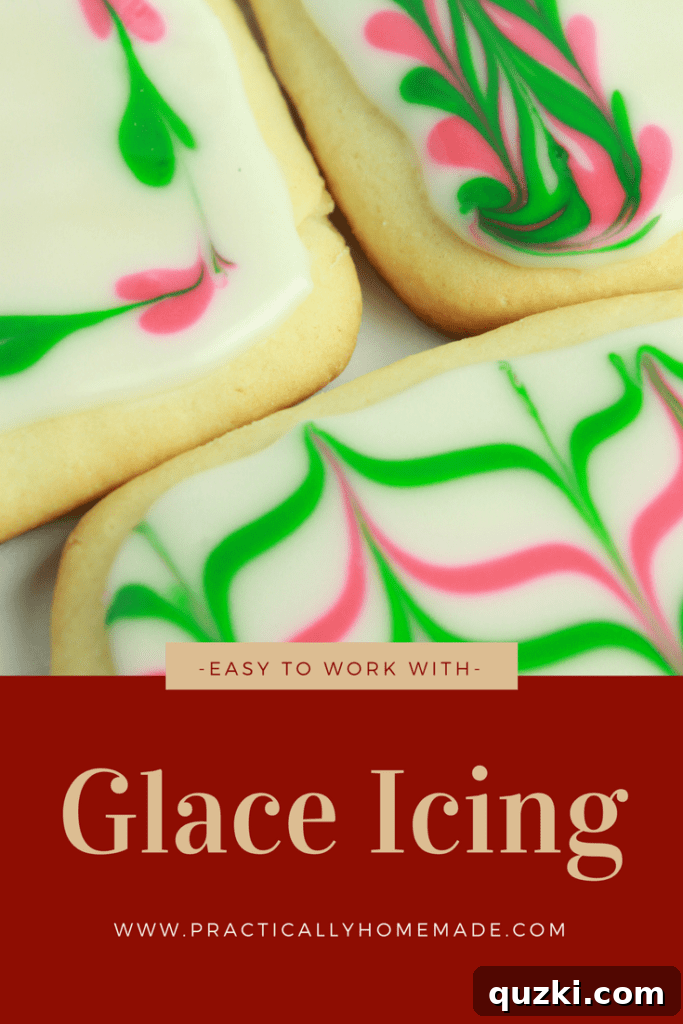
Why Glacé Icing is Your New Go-To for Cookie Decorating
What makes Glacé Icing truly exceptional, especially for home bakers and those new to cookie decorating, is its remarkably forgiving nature. This means you don’t have to stress about achieving absolute perfection on your first try. If your icing turns out a little too thick, a touch more milk or corn syrup will bring it to the ideal consistency. Conversely, if it’s too thin, a spoonful of powdered sugar will quickly thicken it up. This adaptability makes it far less intimidating than other icing types. While cookie decorating can seem daunting, I’m here to demystify the process. With just a few basic tools – your Glacé Icing, a small spoon, two trusty Ziploc bags, and a toothpick – you’ll be able to recreate all the stunning patterns you see pictured in this post and beyond. The key to successful application is a fairly thick consistency, ensuring the icing adheres beautifully and doesn’t run off the cookie edges when applying the base layer. For all the designs we’ll explore, a pristine white base layer serves as our canvas.
Preparing Your Glacé Icing: The Foundation for Flawless Cookies
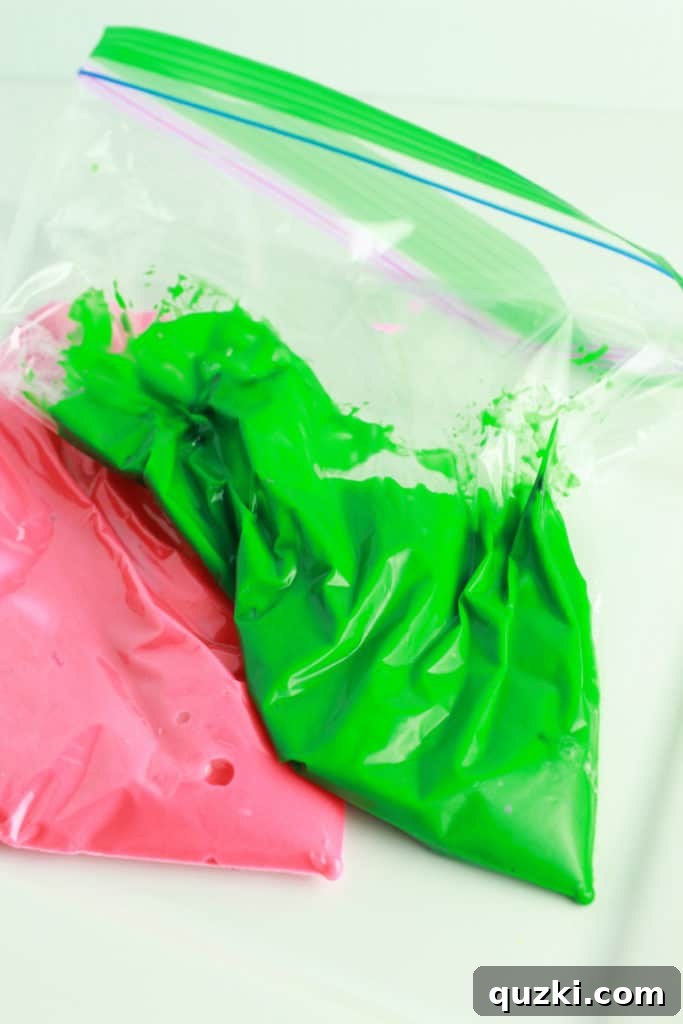
Before diving into the creative fun of decorating, let’s get our Glacé Icing ready. This recipe is straightforward, requiring minimal effort for maximum impact. The goal is a smooth, pourable, yet not watery, consistency. Once your basic white icing is mixed, you’ll want to prepare it for coloring and piping. Take approximately one-third of your freshly made icing and divide it evenly into two separate bowls. These smaller portions will be for your accent colors. Now comes the exciting part: adding color! For vibrant hues, simply add a few drops of liquid food coloring to each bowl, stirring until you achieve your desired shade. Standard liquid food colorings, readily available in most grocery stores next to the spices, work perfectly. Once colored, spoon each batch of tinted icing into its own Ziploc bag. These will serve as your impromptu piping bags. To create a fine piping tip, snip off a very small triangle from one bottom corner of each bag. Remember, you can always make the opening larger, but you can’t make it smaller, so start tiny!
Setting Up Your Decorating Station and Applying the Base Layer
With your colored icings prepped in their makeshift piping bags, it’s time to set up your decorating station. For applying the essential base layer, a small spoon – a baby spoon works exceptionally well due to its size and curve – is your best friend. Use it to carefully spread the white icing across the surface of each cookie, working close to the edges to create a smooth, solid foundation. Precision here lays the groundwork for all your intricate designs. A crucial tip to remember throughout this process: **work on one cookie at a time.** The base layer of icing needs to remain wet and unset for the decorating techniques to seamlessly blend and create the desired effects. If you allow the base layer to dry, your lines and dots won’t merge properly. Once all your artistic touches are complete, allow your decorated cookies to set undisturbed for a minimum of 8 hours, or preferably overnight. This ensures the icing hardens completely, allowing you to stack them safely without any smudging or damage. Now, let’s explore some delightful decorating patterns!
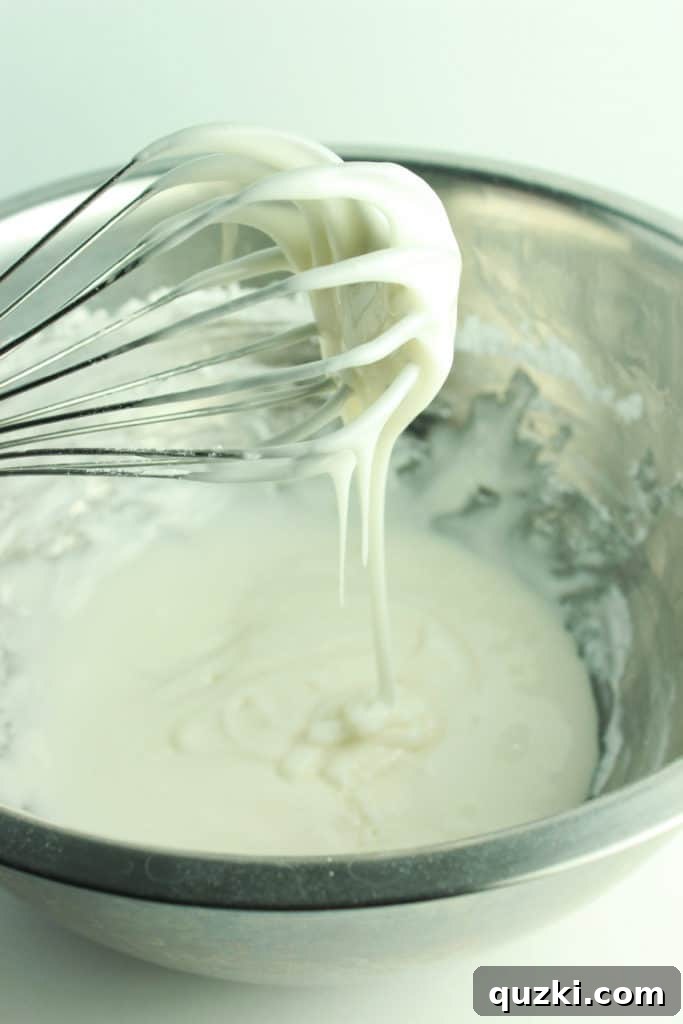
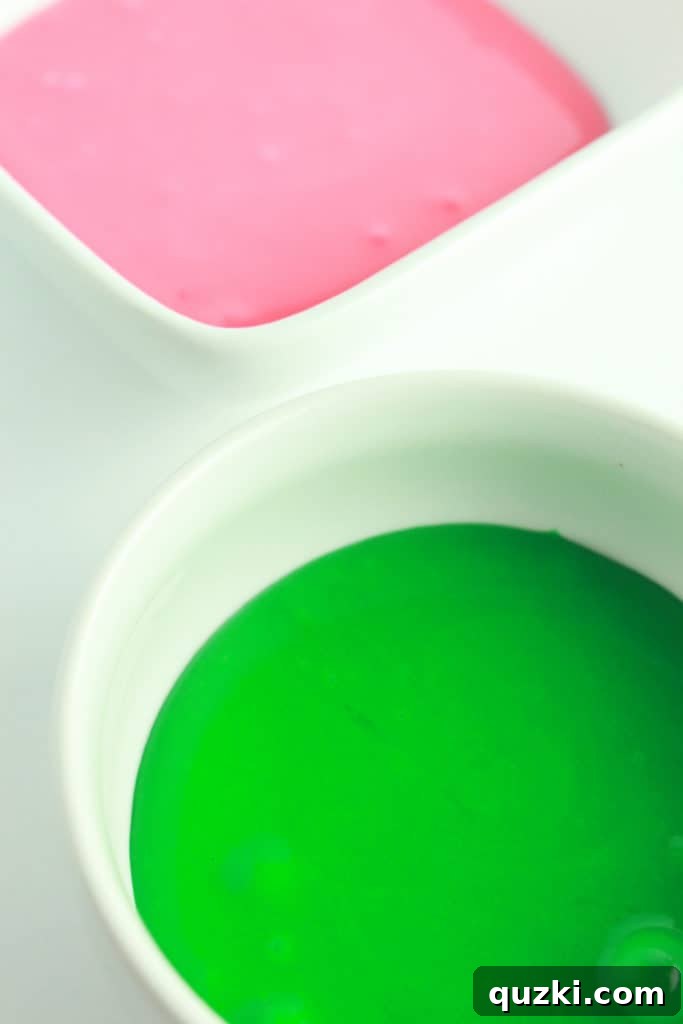
Mastering Cookie Decorating with Glacé Icing: Step-by-Step Designs
1. Elegant Swirl and Feathered Designs
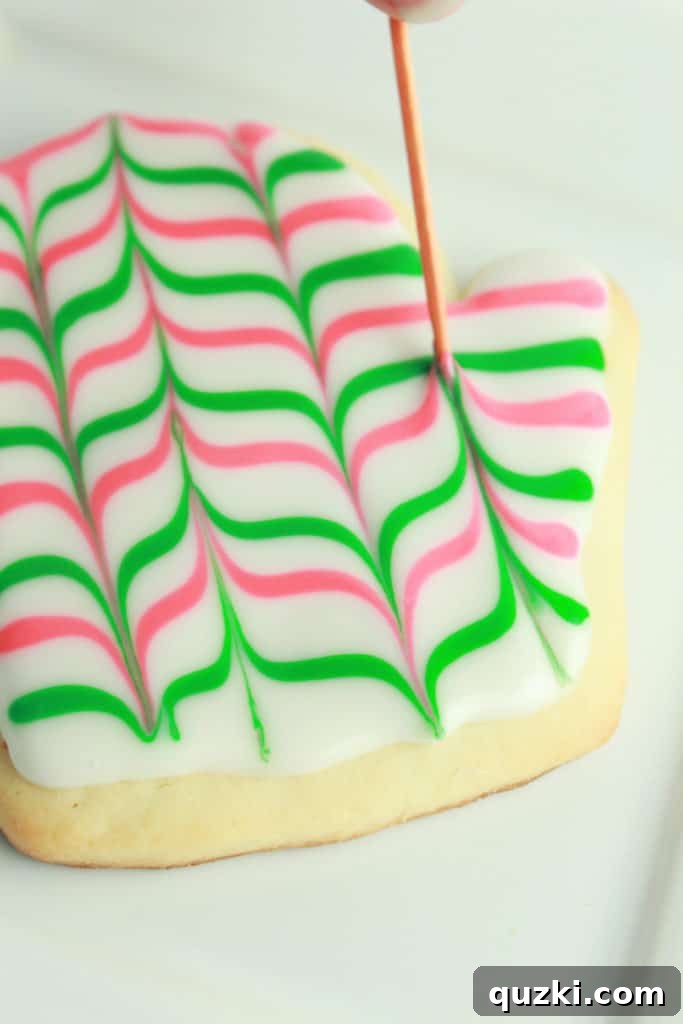
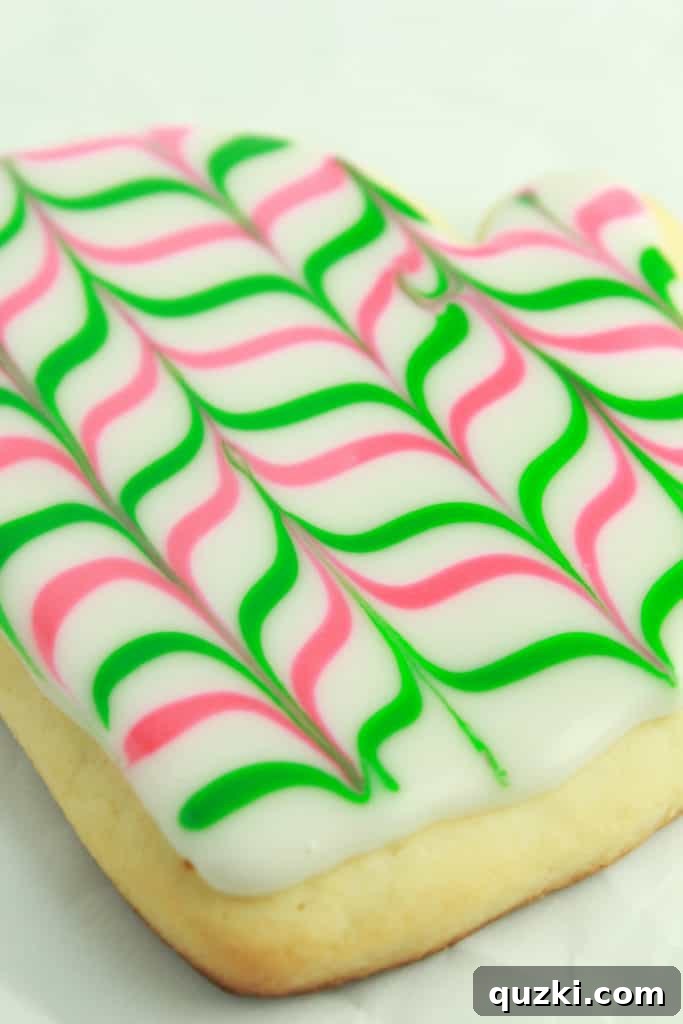
This captivating design is surprisingly simple to achieve and creates a stunning visual effect. Begin by applying your wet white base layer as described above. While the base is still wet, use one of your colored icing bags to pipe horizontal lines across the cookie surface. You can vary the spacing between the lines to create different looks. Immediately after piping the lines, take a clean toothpick and gently drag it through the lines, alternating directions – first pulling upwards, then downwards. This action creates beautiful, feathered swirls that merge the colored lines with the white base, resulting in a sophisticated, marbled appearance. The key is to work quickly before the base layer sets. Experiment with different color combinations for truly unique cookies!
2. Whimsical Dot Patterns
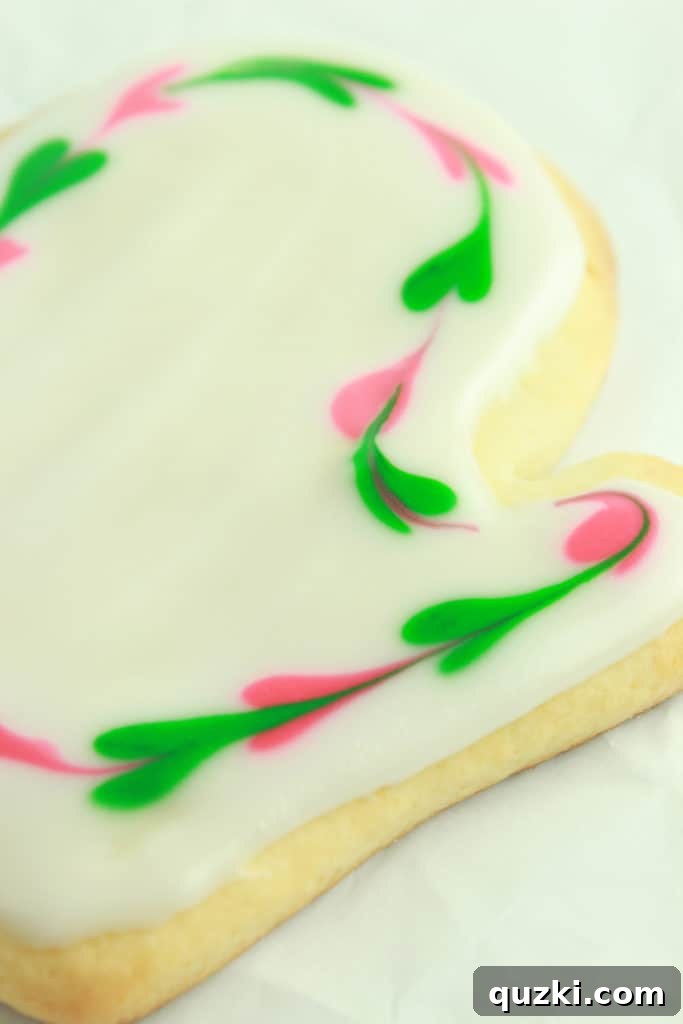
For a playful yet elegant look, try this dot pattern. After establishing your wet white base layer, use your colored icing to pipe small, evenly spaced dots around the edge of the cookie. You can create a single border or multiple rows of dots. Once your dots are in place, while they are still wet, pick up your trusty toothpick. Gently pull the center of each dot towards the center of the cookie, or in a swirling motion to create a charming, heart-like or flower-petal pattern. The wet-on-wet technique allows the colors to blend seamlessly, producing a soft, artistic effect. This design is perfect for adding a touch of whimsy to any occasion.

3. Festive Holly Accents
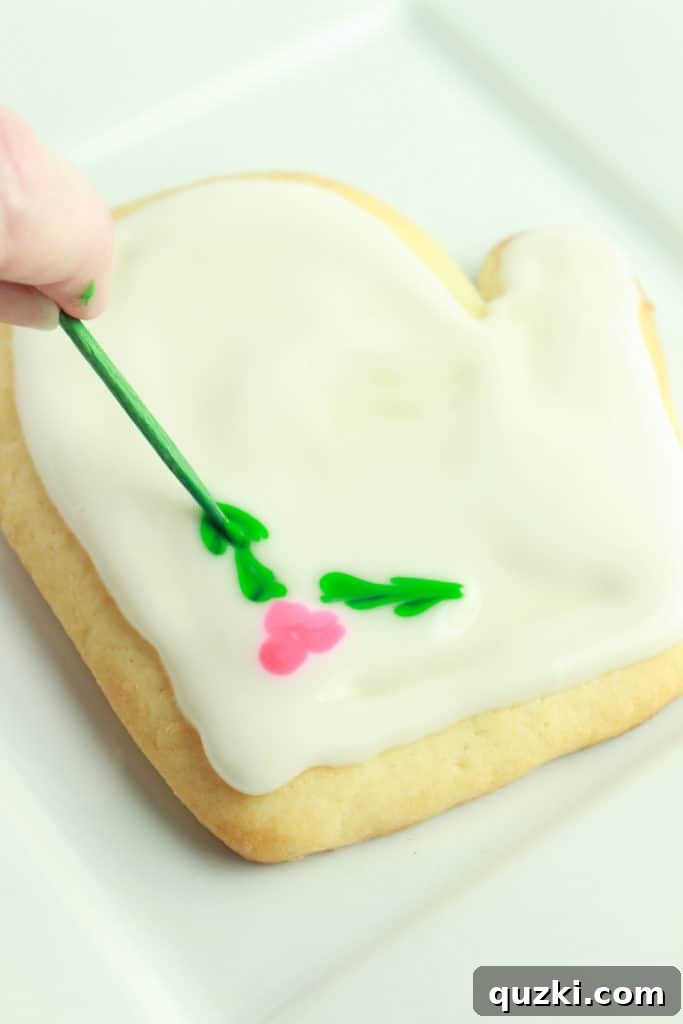
Embrace the holiday spirit with these adorable holly accents! This design builds on the dot technique. First, lay down your wet base layer. Then, using green icing, pipe two small, slightly overlapping dots to form the shape of a holly leaf. Immediately next to these, pipe three tiny red dots for the holly berries. While the icing is still wet, you can slightly shape the “leaves” with a toothpick if desired, or simply let the dots merge for a soft, organic look. This simple yet effective design adds a festive touch to any cookie, making it perfect for winter gatherings or Christmas cookie platters.
4. Charming Mitten Cuff Design
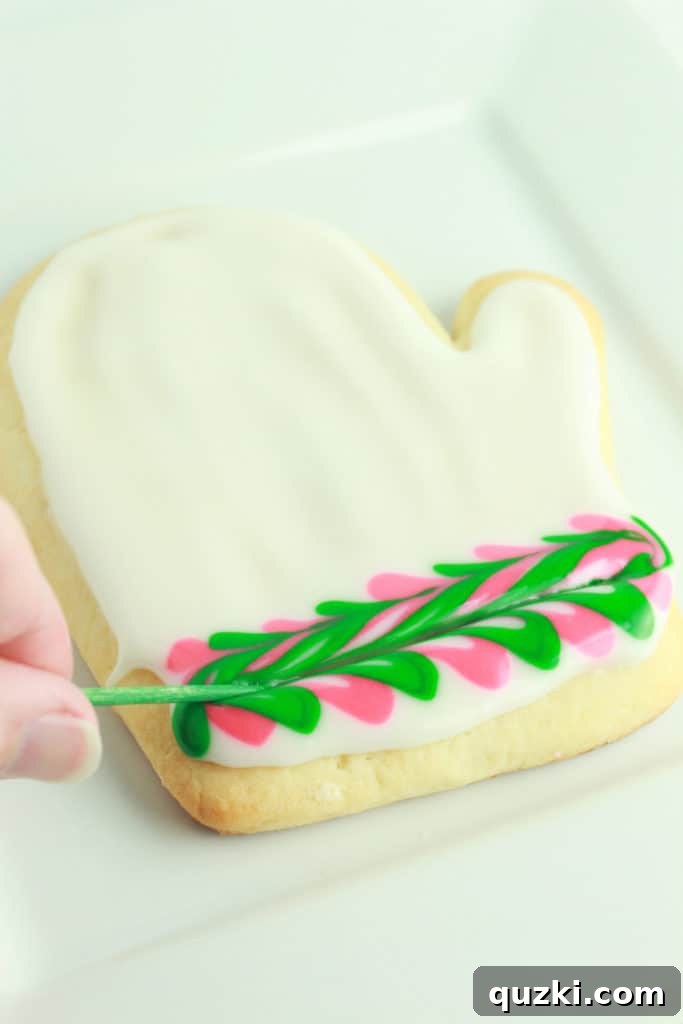
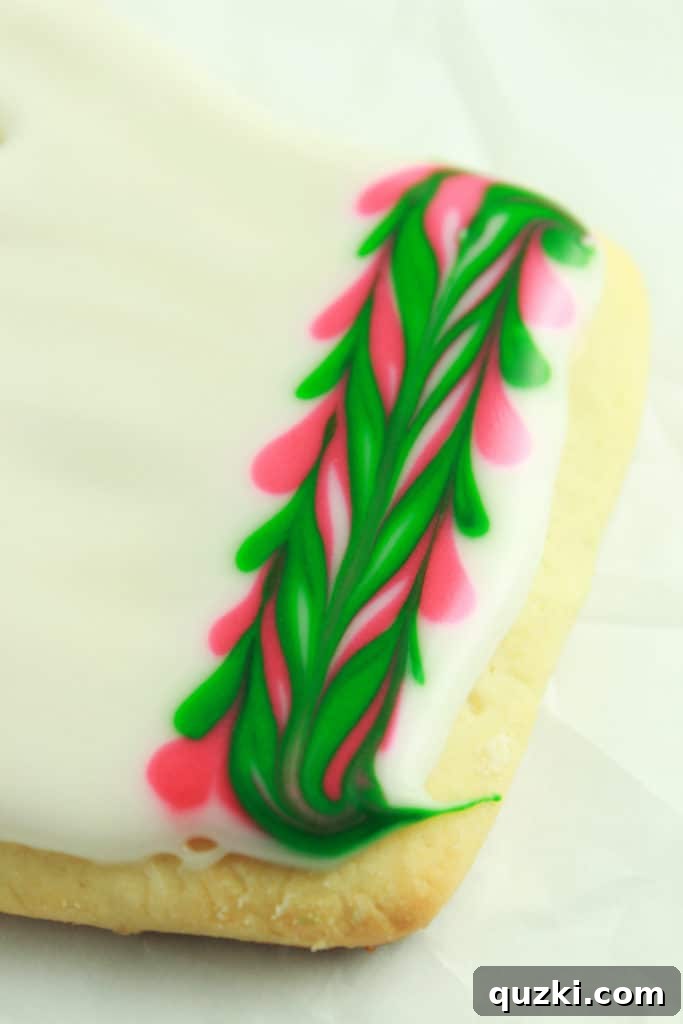
For a truly unique and cozy touch, try decorating a mitten-shaped cookie with a stylish cuff. After applying the base layer to your mitten cookie, grab two different colored icing bags. Along the bottom edge of the mitten, pipe a zigzag pattern using one color, moving up and down. Immediately follow with the second color, piping another zigzag right next to or slightly overlapping the first. While both colors are still wet, take your toothpick and drag it horizontally through both zigzag lines. This action will merge the colors and create a beautiful, textured “knitted” effect, mimicking a warm mitten cuff. This design shows the incredible versatility of Glacé Icing and simple tools.
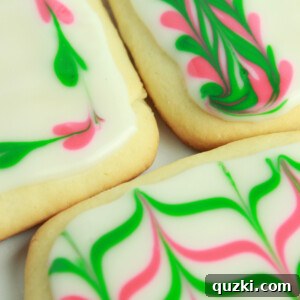
Here are more examples of the beautiful and diverse patterns you can create with Glacé Icing and a little creativity:


Glace’ Icing Recipe
Glace’ icing is a fantastic alternative to royal icing. It’s incredibly easy to work with, tastes wonderful, and dries beautifully, making your decorated cookies perfectly stackable.
By: June Albertson-Dick
Prep Time: 5 mins
Total Time: 5 mins
Servings: 36 cookies
Rating: 5 out of 5 stars (Based on 2 votes)
Ingredients
- 6 cups powdered sugar
- 6 tbsp milk (I used 1% milk for this recipe)
- 6 tbsp light corn syrup
- 2 tsp vanilla extract
Instructions
- Combine all listed ingredients into a medium-sized bowl.
- Whisk them together thoroughly until the mixture is completely smooth and free of lumps.
- **Consistency Check:** The ideal consistency for Glacé Icing is fairly thick, yet still pourable. It should hold its shape when drizzled but slowly melt back into the main batch.
- If the icing is too thick, gradually add additional milk, one teaspoon at a time, whisking well after each addition until the desired consistency is achieved.
- If the icing is too thin, gradually add additional powdered sugar, one tablespoon at a time, whisking well after each addition until it thickens to the right consistency.
Notes
- Always work on one cookie at a time when applying designs over a base layer, as the base layer needs to remain wet for the decorative elements to blend seamlessly.
- For cookies that you intend to stack, allow them to set up completely for at least 8 hours in a cool, dry place. This ensures the icing is fully hardened and prevents smudging.
- Glacé Icing is incredibly versatile and can be flavored with different extracts (e.g., almond, lemon) for varied taste profiles.
- Store leftover Glacé Icing in an airtight container at room temperature for up to 3 days, or in the refrigerator for up to a week. Stir thoroughly before re-using.
Nutrition Information (per 1 cookie serving)
Serving: 1 cookie
Calories: 90 kcal
Carbohydrates: 23g
Protein: 0.1g
Fat: 0.03g
Saturated Fat: 0.01g
Polyunsaturated Fat: 0.001g
Monounsaturated Fat: 0.01g
Cholesterol: 0.1mg
Sodium: 4mg
Potassium: 5mg
Sugar: 23g
Vitamin A: 5 IU
Calcium: 4mg
Iron: 0.01mg
Nutrition information is automatically calculated, so should only be used as an approximation.
Tips for Success and Storage
Achieving beautifully decorated cookies with Glacé Icing is all about technique and patience. Remember to always work with a wet base layer when attempting designs that require blending. A steady hand and good lighting can also make a significant difference in your precision. Don’t be afraid to practice on parchment paper first to get a feel for the consistency and how the icing behaves. For optimal drying, leave your decorated cookies uncovered in a cool, dry place. Avoid placing them in direct sunlight or humid environments, as this can affect drying time and the final hardened finish. Once fully dry (after 8+ hours), your cookies can be stored in an airtight container at room temperature for several days, keeping them fresh and their designs intact.
Why Glacé Icing Shines as a Royal Icing Alternative
Glacé Icing truly stands out as a superior alternative to Royal Icing for several compelling reasons. Its primary advantage is the absence of raw egg whites, making it a safe and delicious option for individuals with egg allergies or those who prefer to avoid raw egg products. Beyond safety, Glacé Icing offers a softer bite and a delightful vanilla flavor that complements sugar cookies perfectly, without the sometimes-crunchy texture of Royal Icing. Its forgiving nature makes it an excellent choice for beginners, allowing for easy adjustments to consistency. Furthermore, the beautiful sheen it imparts to cookies, combined with its ability to harden completely for stackability, makes it ideal for gifting, transporting, and creating professional-looking treats right from your home kitchen. From simple flood coats to intricate wet-on-wet designs, Glacé Icing empowers you to explore a wide range of decorating possibilities with confidence.
Pairing Your Glacé Icing with the Perfect Cookie
While Glacé Icing is incredibly versatile and pairs well with many cookie types, it truly shines when used on classic sugar cookies. Our Cream Cheese Sugar Cookies provide the ideal canvas – a soft, slightly tangy, and wonderfully flavored base that complements the sweet, smooth Glacé Icing. Whether you’re making Stained Glass Cookies that shimmer with light, delightful Honey Nut Rugelach, or elegant Linzer Cookies, a touch of Glacé Icing adds that extra layer of perfection. The smooth finish ensures that your careful cookie cutouts and fillings are beautifully framed and enhanced. This combination ensures every bite is a delightful experience, both visually and gastronomically.
Your Cookie Decorating Adventure Awaits!
We’ve reached the finish line of our Glacé Icing adventure, but for you, it’s just the beginning of countless creative possibilities. This simple, delicious, and forgiving icing will revolutionize your approach to cookie decorating. Say goodbye to the worries of raw eggs and hello to beautifully finished, stackable cookies that are sure to impress. Whether you’re a seasoned baker or just starting your journey, Glacé Icing offers an accessible path to stunning results. So gather your ingredients, unleash your inner artist, and get ready to transform your sugar cookies into edible works of art. We can’t wait to see what you create!
If you’ve enjoyed this guide and recipe, we’d love to hear from you. Leave a comment below and share your Glacé Icing creations!