
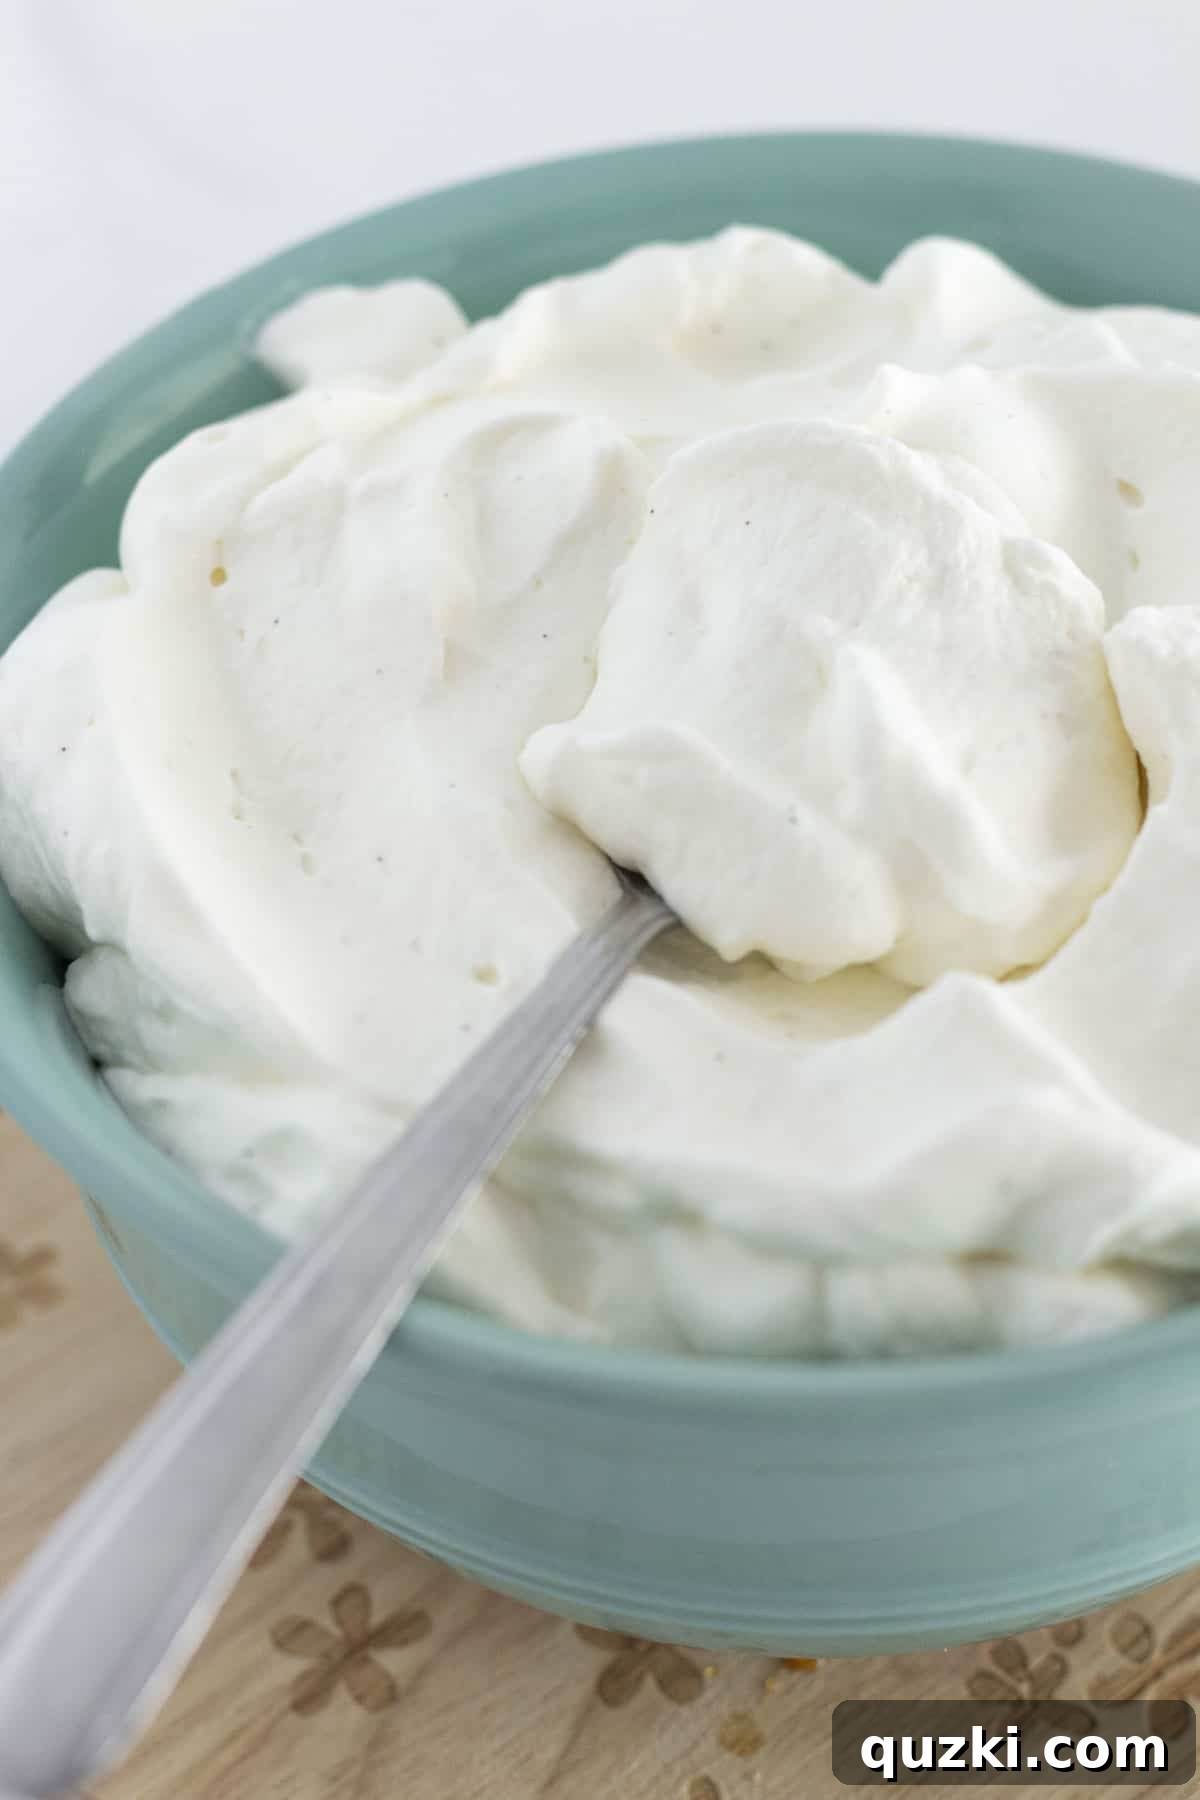
If you’ve ever yearned for the rich, airy texture of homemade whipped topping but appreciate the convenience of quick preparation, this **Homemade Whipped Cream** recipe is your culinary dream come true! Requiring just three simple ingredients and a mere five minutes of your time, it delivers a legendary result. Prepare to say goodbye to those store-bought tubs and cans forever, as you discover the unparalleled delight of real, freshly whipped cream.
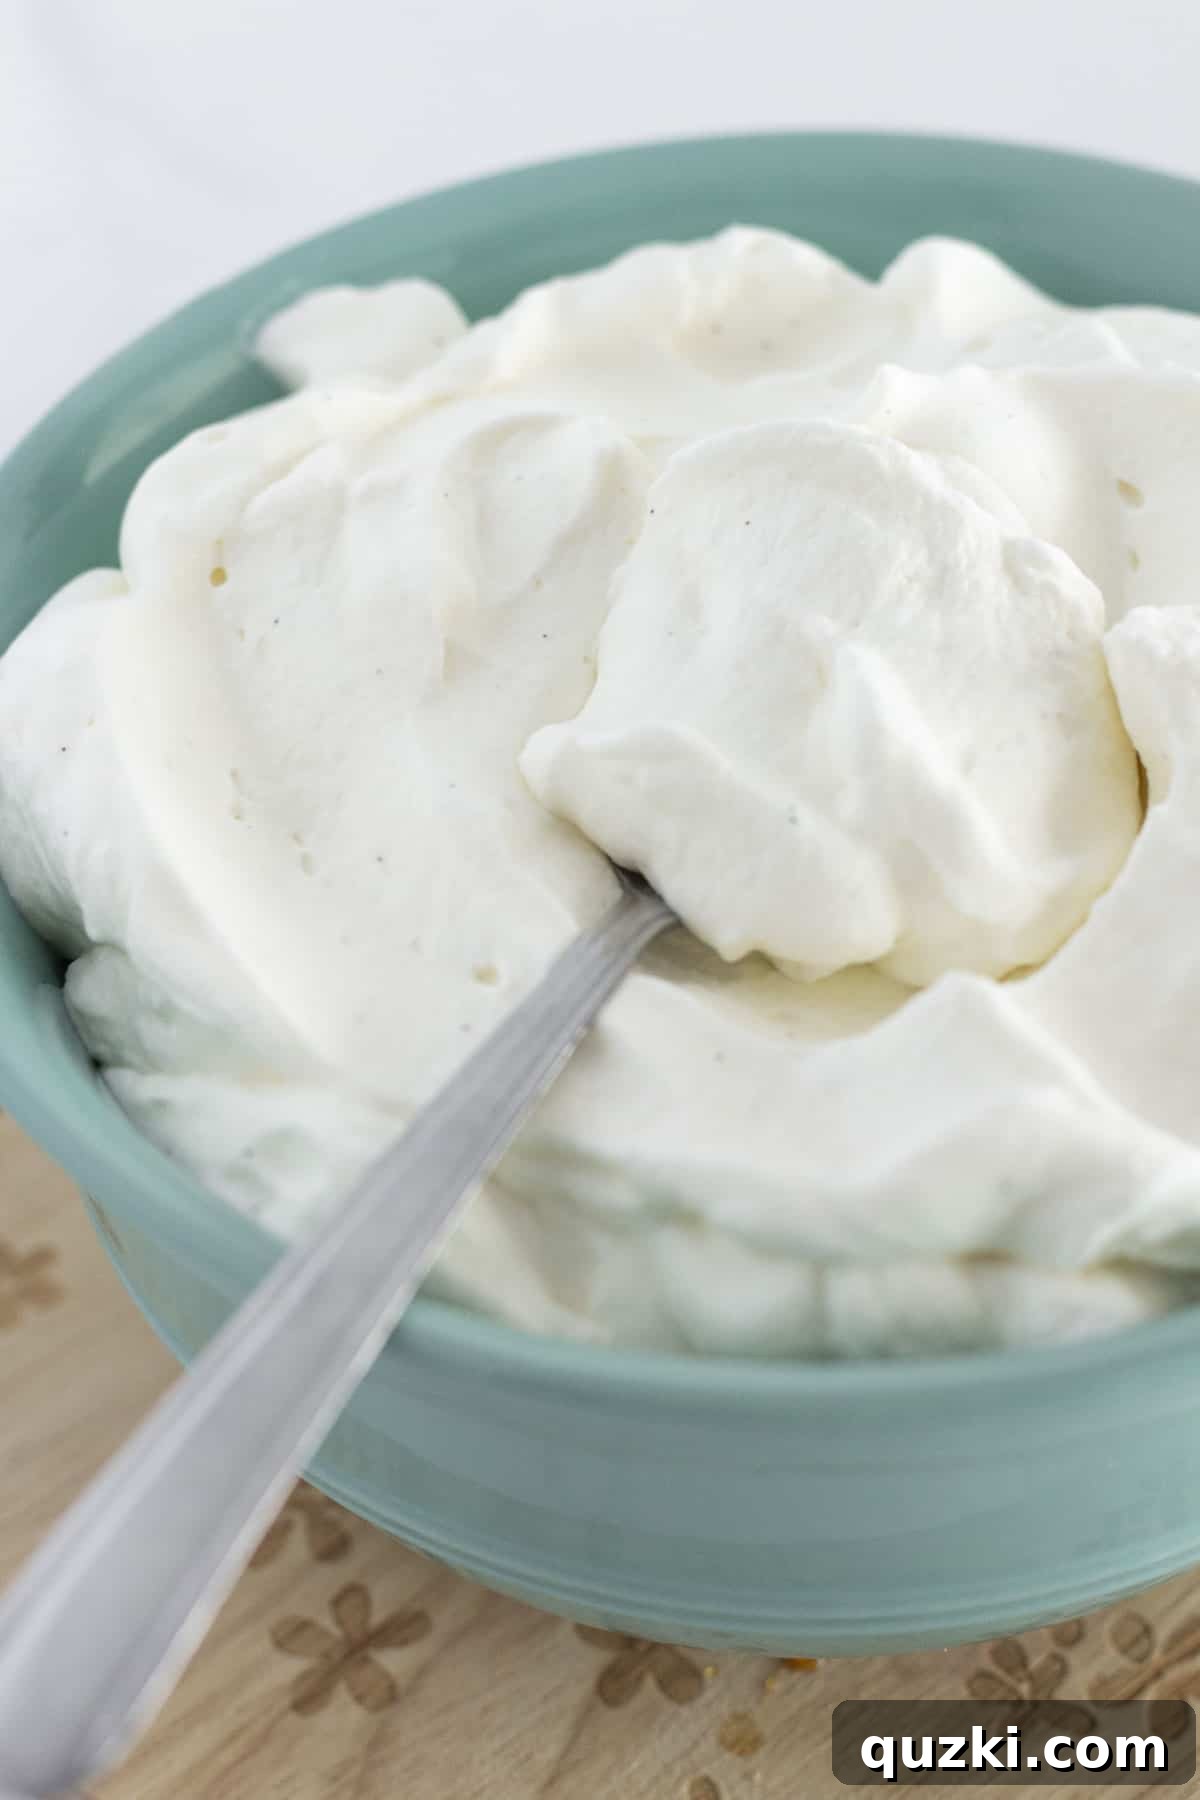
Table of Contents
- The Ultimate Homemade Whipped Cream Experience
- Why Homemade Whipped Cream is Superior
- Essential Ingredients for Perfect Whipped Cream
- How to Make This Easy Homemade Whipped Cream
- Expert Tips for Fluffy and Stable Whipped Cream
- Creative Ways to Enjoy Homemade Whipped Cream
- Storing and Freezing Homemade Whipped Cream
- Homemade Whipped Cream FAQs
- Delicious Dessert Pairings for Homemade Whipped Cream
- Simple Whipped Cream Recipe Card
The Ultimate Homemade Whipped Cream Experience
There’s a reason why homemade whipped cream holds such a special place in the hearts of dessert lovers and home bakers alike. It’s more than just a topping; it’s a testament to how simple, high-quality ingredients can create something truly extraordinary. My Grandma Pearl, a culinary wizard in her own right, embodied this philosophy. Her kitchen was a haven of delicious aromas, and her homemade whipped cream was a staple, gracing everything from pies to fresh fruit. She always insisted that the secret to truly amazing food lay in its simplicity and the love put into its making.
Grandma Pearl’s whipped cream was legendary. Unlike the fleeting, often watery consistency of canned aerosols or the bland, artificial taste of frozen tubs, hers was rich, pure, and held its shape beautifully. It possessed a delicate sweetness and a creamy depth that only real cream can offer, enhancing desserts without overwhelming them. This isn’t just nostalgia; it’s a culinary truth that once you experience the difference, your perception of “whipped topping” will be forever changed.
Why Homemade Whipped Cream is Superior
In a world of convenience foods, it’s easy to reach for a ready-made whipped topping. However, for those who truly appreciate flavor, texture, and natural ingredients, homemade whipped cream stands in a league of its own. Here’s why making it from scratch is always the best choice:
- Unmatched Flavor Profile: Store-bought options often contain artificial flavors, excessive sugar, and a host of preservatives. Homemade whipped cream, on the other hand, boasts a pure, rich dairy flavor that is subtly sweet and wonderfully fresh. The nuanced taste of real cream combined with natural vanilla is simply incomparable.
- Superior Texture and Stability: Have you ever watched canned whipped cream collapse into a sad puddle on your dessert after a few minutes? Homemade whipped cream, when made correctly, has a stable, cloud-like consistency that holds its peaks beautifully, making your desserts look and taste more impressive. Its velvety smoothness melts delightfully in your mouth.
- Control Over Ingredients: Making your own means you control exactly what goes into it. You can adjust the level of sweetness to perfectly complement your dessert, choose high-quality vanilla, and avoid artificial additives, high-fructose corn syrup, or hydrogenated oils often found in commercial products.
- Versatility Beyond Belief: While fantastic on a slice of chocolate brownie bundt cake or transforming pancake mix crepes into a decadent treat, homemade whipped cream enhances almost any sweet dish. It’s the perfect accompaniment to my famous strawberry crunch cake, and don’t even get me started on its necessity for classic pumpkin pie or strawberry shortcake! It also pairs beautifully with fresh fruit, transforming a simple snack into an elegant indulgence.
- Economical and Easy: Despite its luxurious appeal, making whipped cream at home is often more cost-effective than buying premium store-bought versions. Plus, with just three ingredients and minimal effort, it’s surprisingly quick and easy to prepare, debunking the myth that “homemade” always means “difficult.”
Once you’ve tasted the creamy, pure goodness of homemade whipped cream, you’ll understand why products like Cool Whip just don’t measure up. It’s a simple pleasure that delivers huge returns in taste and satisfaction.
Essential Ingredients for Perfect Whipped Cream
The magic of homemade whipped cream lies in its simplicity, relying on just three core ingredients. However, the quality and preparation of each component are crucial for achieving that light, fluffy, and perfectly stable texture you crave.
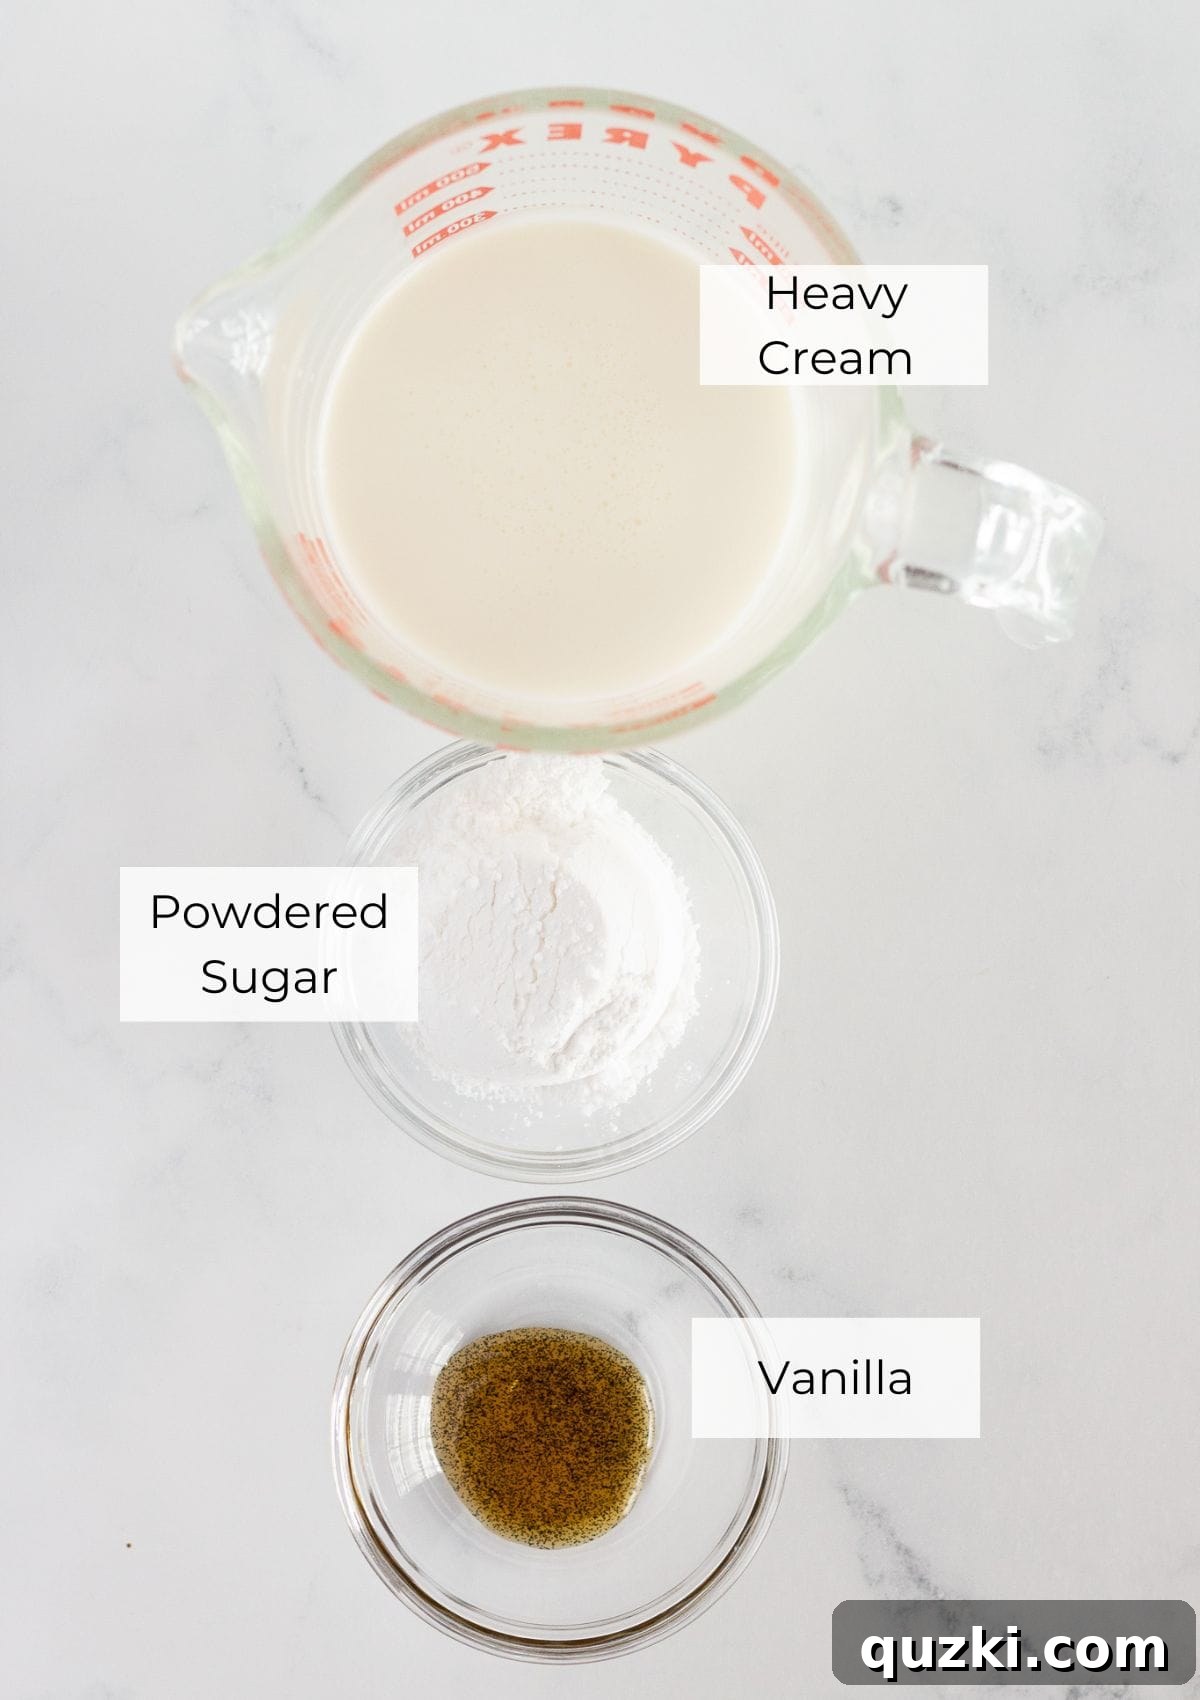
- Heavy Whipping Cream: This is the undeniable star of our recipe, and its temperature is critical. For optimal results, ensure your heavy whipping cream is *very cold* directly from the refrigerator. Cold cream whips up much faster and creates a significantly more stable structure, meaning your whipped cream will hold its shape longer without deflating. Look for heavy whipping cream with a minimum of 36% milk fat (often labeled as “heavy cream” or “heavy whipping cream”). This higher fat content is what allows the cream to properly emulsify and incorporate air, giving you that desired fluffy consistency. Regular “whipping cream” (typically 30-35% milk fat) can work, but may yield softer peaks and less stability.
- Powdered Sugar: Also known as confectioners’ sugar or icing sugar, powdered sugar is the ideal sweetener for whipped cream. Its fine texture dissolves smoothly and instantly into the cold cream, preventing any unpleasant grainy or gritty mouthfeel that granulated sugar might leave. An added benefit is that most powdered sugars contain a small amount of cornstarch, which acts as a natural stabilizer. This helps the whipped cream maintain its volume and structure for a longer period, making it less prone to weeping or separating. You can adjust the amount of powdered sugar to suit your personal sweetness preference.
- Vanilla Bean Paste (or Pure Vanilla Extract): Vanilla is the classic aromatic note that defines delicious whipped cream. While a good quality pure vanilla extract will yield excellent results, vanilla bean paste offers an extra layer of gourmet sophistication. The tiny black specks from the vanilla bean seeds are not only visually appealing but also provide a richer, more complex, and authentic vanilla flavor that truly elevates the whipped cream. If opting for extract, always choose *pure vanilla extract* over imitation vanilla for the best and most natural taste; the difference is genuinely noticeable.
These three ingredients, when carefully selected and prepared, are all you need to create a decadent homemade whipped cream that will outshine any store-bought alternative. Always refer to the recipe card below for precise quantities and any additional notes on ingredients.
How to Make This Easy Homemade Whipped Cream
Don’t be intimidated by the idea of making your own whipped cream; it’s a surprisingly straightforward process that yields incredibly rewarding results. Follow these simple steps to create a perfect batch every time.
- Preparation is Key: Chill Your Tools! Before you even think about pouring that delicious heavy cream, take a crucial preparatory step: place your large mixing bowl (metal or glass bowls retain cold best) and your electric mixer beaters (or the whisk attachment for a stand mixer) into the freezer for about 10-15 minutes. This simple but effective trick ensures your equipment is thoroughly chilled, which helps the cream whip up faster and, most importantly, results in a more stable, longer-lasting whipped cream. Once chilled, retrieve your equipment and pour the *very cold* heavy whipping cream into the bowl. Add the powdered sugar and your chosen vanilla (paste or extract).
- Begin Whipping Gradually: Start your electric mixer on the lowest speed setting. This prevents the liquid cream from splashing out of the bowl and making a mess, especially at the beginning of the process. Allow the ingredients to combine thoroughly on low speed. Once the powdered sugar and vanilla are fully incorporated into the cream and you no longer see any dry pockets, gradually increase the mixer speed to medium-high. Maintain a consistent pace to ensure even aeration and avoid rushing the process, which can lead to inconsistencies.
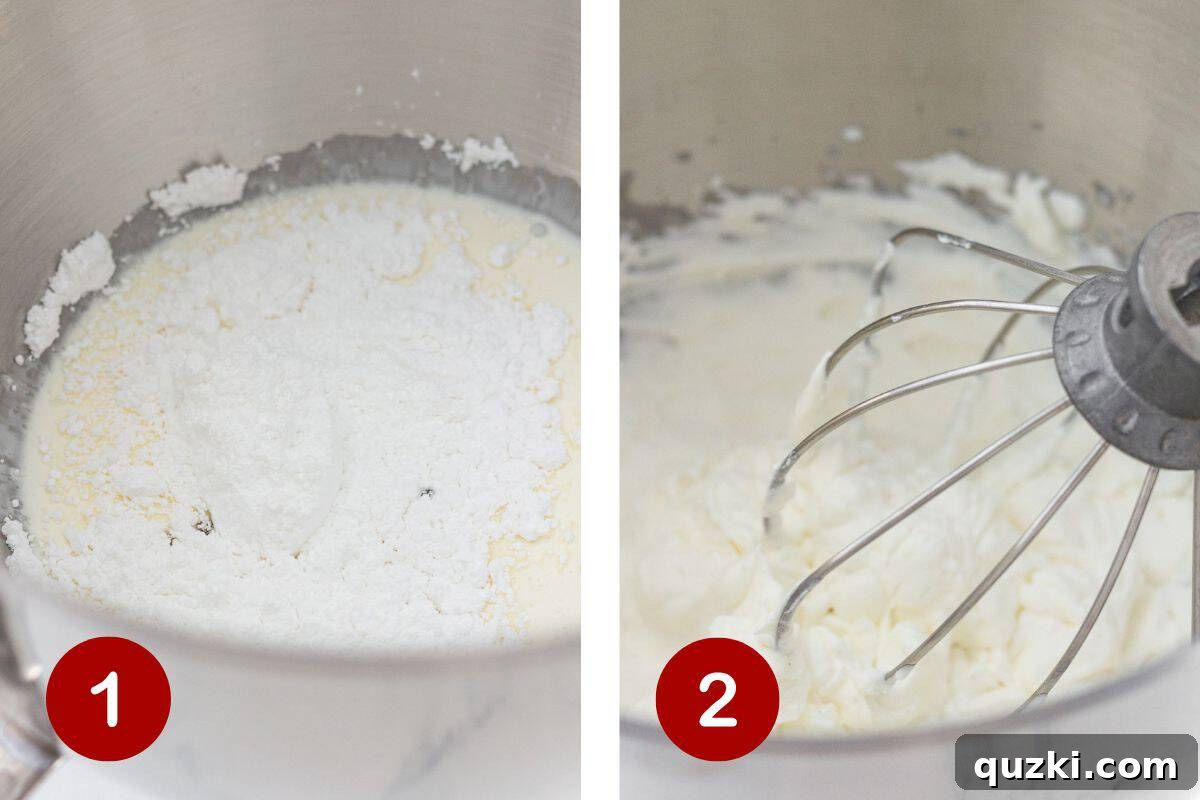
- Observe the Transformation to Perfect Peaks: As the cream whips, it will visibly thicken and go through distinct stages. It’s essential to watch carefully to stop at the right moment:
- Soft Waves: Initially, the cream will become foamy and slightly thicker, forming gentle ripples or “waves” when the mixer is lifted.
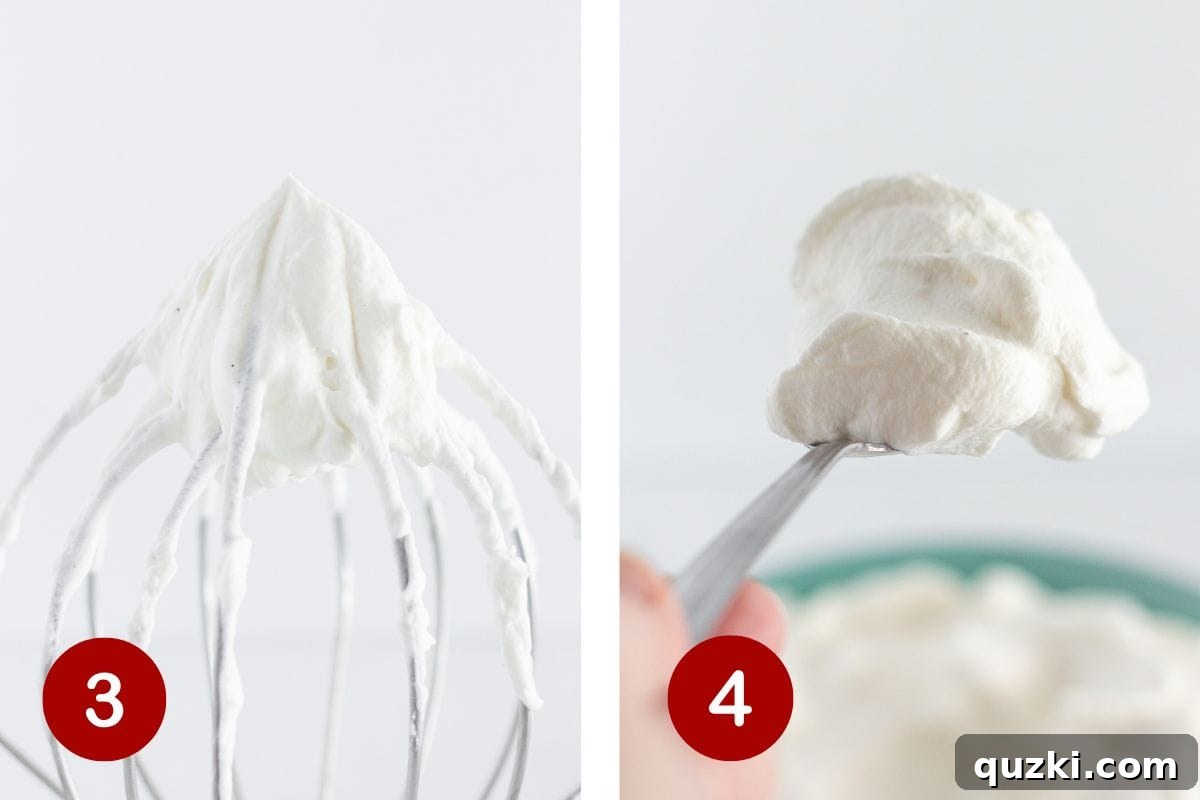
- Soft Peaks: Continue whipping, and the cream will begin to hold its shape a bit more firmly. When you lift the beater, the cream will form a peak that gently curls or flops over at the tip, resembling a soft serve ice cream swirl. This consistency is ideal for delicate toppings or mixing into other desserts.
- Stiff Peaks: For a robust and stable whipped cream that holds its shape beautifully on any dessert, continue whipping until you reach the stiff peak stage. At this point, when you lift the beater, the cream will form a peak that stands straight up without collapsing. This is the desired consistency for most dessert toppings and typically takes only 2-3 minutes of active whipping with well-chilled ingredients and equipment.
- Stop Precisely at Stiff Peaks: This is perhaps the most critical moment in making whipped cream. As *soon as* your cream reaches stiff peaks, turn off your mixer immediately. Over-whipping, even for a few extra seconds, can quickly lead to a grainy, curdled texture (the first step towards making butter!). For the best flavor and texture, use your freshly whipped cream right away. If you need to prepare it in advance, transfer it to an airtight container and refrigerate promptly.
Expert Tips for Fluffy and Stable Whipped Cream
While the basic steps for making whipped cream are simple, these insider tips will help you achieve consistently perfect, light, and wonderfully stable whipped cream every single time, transforming your homemade batches into true masterpieces.
- Invest in a Stand Mixer (or Embrace the Hand Mixer’s Power): While a trusty hand mixer or even a sturdy balloon whisk can certainly do the job, a stand mixer fitted with a whisk attachment is the ultimate tool for whipped cream. It provides powerful, consistent agitation, significantly speeding up the process and allowing for hands-free operation. This consistency often leads to the most stable and evenly aerated results. If using a hand mixer, ensure it’s powerful enough and be prepared to guide it around the bowl for uniform whipping.
- The Cardinal Rule: Temperature Matters! Repeat after me: *cold, cold, cold.* The colder your heavy cream is, the faster it will whip and the more stable its structure will be. For optimal results, go beyond just using refrigerated cream. Place your mixing bowl (preferably metal or glass, as they retain cold better) and your beaters or whisk attachment in the freezer for 10-15 minutes before you start. This extra chill factor makes a remarkable difference in both whipping time and the ultimate stability of your finished product.
- Vanilla Bean Paste: The Secret for a Gourmet Touch: If you’re looking to elevate your whipped cream from excellent to extraordinary, consider using vanilla bean paste instead of extract. Those beautiful tiny black specks are not just for show; they indicate a richer, more complex, and authentic vanilla flavor that truly shines. If you stick with vanilla extract, always ensure it’s *pure vanilla extract* and not an imitation, which can have a less desirable, artificial taste.
- Fear Not the Over-Whip (There’s a Fix!): It happens to the best of us. One minute you have perfect peaks, the next, your cream looks grainy, clumpy, or slightly curdled, hinting that it’s on its way to becoming butter. Don’t despair! Your whipped cream isn’t ruined. Simply add a small splash (start with 1-2 tablespoons per cup of cream) of fresh, *cold* heavy cream to the bowl. Then, using a rubber spatula, gently fold it into the over-whipped mixture until it smooths out and regains its creamy, lighter texture. This easy trick can often save an over-whipped batch.
- Presentation Perfection: Pipe It Up! For a visually stunning dessert, consider transferring your freshly whipped cream into a piping bag fitted with your favorite decorative tip (a star tip is a timeless choice). This allows you to create elegant swirls, beautiful rosettes, or uniform dollops, instantly elevating the appearance of your desserts. Plus, a piping bag makes storage cleaner and more convenient in the refrigerator. No piping bag? No problem! A sturdy zip-top bag with one corner snipped off works perfectly as a makeshift alternative.
- Adjust Sweetness to Taste: The amount of powdered sugar in the recipe is a guideline. Feel free to adjust it based on your personal preference and the sweetness of the dessert you’ll be serving the whipped cream with. For a lighter touch, reduce the sugar; for a sweeter topping, add a bit more. Always taste a small spoonful as you go to find your ideal balance.
- Experiment with Flavor Variations: While vanilla is a classic for a reason, don’t hesitate to get creative! A tiny splash of almond extract, a hint of citrus zest (lemon, orange, or lime), a teaspoon of cocoa powder for chocolate whipped cream, or even a dash of your favorite liqueur (like Kahlúa for coffee desserts or Grand Marnier for fruit tarts) can introduce exciting new flavor dimensions.
Creative Ways to Enjoy Homemade Whipped Cream
Homemade whipped cream is an incredibly versatile ingredient that transcends being merely a garnish. Its light texture and delicate flavor make it an ideal accompaniment for a vast array of sweet treats, transforming ordinary dishes into something truly special.
- The Quintessential Dessert Topping: This is arguably its most famous role, and for good reason. A generous dollop of homemade whipped cream is absolutely essential for:
- Pies: From classic pumpkin, apple, or pecan pie to creamy favorites like French silk or my personal peanut butter pie.
- Cakes: It’s the perfect crown for rich White Forest Sheet Cake, moist carrot cake, decadent chocolate cake, light angel food cake, or any type of bundt cake.
- Brownies & Bars: A scoop on warm brownies or dessert bars adds a delightful contrast in temperature and texture.
- Cheesecakes: Especially on no-bake cheesecakes, fruit-topped cheesecakes, or a simple slice of New York style.
- Puddings & Mousses: Elevates chocolate mousse, vanilla pudding, or fruit fools.
- The Perfect Companion for Fruit: Fresh fruit and whipped cream are a match made in heaven, offering a simple yet elegant dessert.
- Berries: Strawberries, blueberries, raspberries, and blackberries become an instant gourmet treat with a dollop.
- Fruit Salads: A light, creamy binder for any seasonal fruit salad.
- Sliced Fruits: Serve alongside sliced peaches, nectarines, or pears for a rustic dessert.
- Breakfast & Brunch Brilliance: Don’t reserve whipped cream just for after dinner!
- Pancakes & Waffles: A luxurious alternative or addition to maple syrup.
- Crepes: Fill or top sweet crepes with whipped cream and fresh fruit for an indulgent breakfast.
- French Toast: A swirl adds richness to classic French toast.
- Oatmeal or Yogurt: A small dollop can make your morning bowl feel like a special treat.
- Beverage Booster: Elevate your favorite hot or cold drinks to café-quality status.
- Hot Chocolate: The ultimate classic pairing, especially with a sprinkle of cocoa powder or cinnamon.
- Coffee Drinks: Top lattes, cappuccinos, iced coffees, or cold brew.
- Milkshakes & Smoothies: A creamy crown for a decadent treat.
- Floats: A generous scoop on root beer floats or cream soda floats.
- Beyond the Sweet: While uncommon, a *very lightly sweetened* or even unsweetened whipped cream can occasionally be used to balance rich savory dishes, particularly those with natural sweetness, like certain squash soups or sweet potato casseroles.
The possibilities are truly endless. From the simplest fruit cup to the most elaborate trifle, homemade whipped cream adds that perfect touch of elegance, flavor, and luxurious texture that simply cannot be replicated by store-bought options. So, go ahead, get creative, and find your favorite ways to enjoy this delightful creation!
Storing and Freezing Homemade Whipped Cream
One of the great advantages of making your own whipped cream is the ability to prepare it in advance or store leftovers. While fresh is always paramount for peak texture, proper storage techniques ensure you can enjoy its delightful qualities for a few days, or even longer if frozen.
Refrigerating Homemade Whipped Cream:
- Optimal Container: To maintain its freshness and prevent it from absorbing other food odors, store your leftover homemade whipped cream in a truly airtight container. A glass container with a tight-fitting lid is an excellent choice.
- Shelf Life: When properly stored in the refrigerator, homemade whipped cream typically retains its quality for up to 2-3 days. Beyond this, it may begin to lose volume and develop a slightly off-flavor.
- Reviving Refrigerated Whipped Cream: It’s common for whipped cream to lose a bit of its initial volume or for some liquid to separate and pool at the bottom after a day or two in the fridge. This is completely normal! Before serving, simply give it a quick, gentle whisk by hand for about 10-15 seconds, or a very brief whip with an electric mixer on low speed. This action will reincorporate any separated liquid and restore its light, fluffy texture, making it appear freshly made once again.
Freezing Homemade Whipped Cream:
- Freezing Method: Freezing whipped cream is a fantastic way to preserve excess, particularly for specific future uses. The best method involves portioning it first. Line a baking sheet with parchment paper or a silicone mat. Using a spoon, create individual dollops of whipped cream on the lined sheet, or use a piping bag to make decorative swirls. Place the entire baking sheet into the freezer until the whipped cream dollops are completely solid, usually within 1-2 hours.
- Long-Term Storage: Once fully frozen, carefully transfer the solid whipped cream dollops into a freezer-safe, airtight bag or container. Squeeze out as much air as possible before sealing. Frozen dollops can be stored in the freezer for up to 1-2 months. Label and date your container for easy tracking of freshness.
- Creative Uses for Frozen Dollops: These frozen delights are incredibly versatile and convenient! They are perfect for dropping directly into hot beverages like hot chocolate, coffee, or even a mug of warm milk, where they slowly melt into a creamy, luxurious swirl, much like a tiny scoop of ice cream. They can also be blended into smoothies or incorporated into certain baked recipes without needing to thaw completely first.
- Thawing Considerations: If you wish to use frozen whipped cream as a topping, transfer the dollops to the refrigerator overnight to thaw. It’s important to note that the texture of thawed whipped cream will not be quite as light and airy as freshly made cream; it tends to be a bit denser or may have a slightly more crystalline mouthfeel due to ice crystal formation. For this reason, thawed whipped cream is often best utilized in recipes where its texture can be folded into other ingredients (such as mousses, trifles, or certain cake fillings) rather than as a standalone, perfectly fluffy topping. A gentle whisk after thawing can help, but managing expectations for a “fresh-whipped” consistency is key.
Homemade Whipped Cream FAQs
Whipped cream curdles when it has been over-whipped, meaning the fat globules in the cream have clumped together too tightly, beginning the process of turning into butter. If your whipped cream looks grainy, clumpy, or has a slightly yellowish tint, it’s a sign it’s curdled. To fix it, don’t panic! Simply add a small amount (about 1-2 tablespoons per cup of cream) of fresh, *cold* heavy cream to the bowl. Then, using a rubber spatula, gently fold it into the over-whipped cream until the mixture smooths out and regains a lighter, more uniform texture. To prevent curdling, always stop mixing as soon as stiff peaks form – the moment the cream holds its shape firmly when the beaters are lifted.
The primary difference between these two dairy products is their milk fat content. Heavy cream, often labeled as “heavy whipping cream,” contains a minimum of 36% milk fat. Regular “whipping cream” has a slightly lower fat content, typically ranging from 30-35%. The higher fat content in heavy cream is crucial because it allows the cream to whip up more easily, achieve stiffer and more stable peaks, and hold its shape for a longer duration. For the most robust and voluminous homemade whipped cream, always choose heavy whipping cream.
Yes, absolutely! You can easily adapt this recipe to be sugar-free. You have two main options: either omit the powdered sugar entirely for an unsweetened whipped cream, or substitute it with your favorite powdered sugar alternative. It’s important to use a *powdered* version of your sugar substitute (such as powdered erythritol, stevia blends, or monk fruit blends) to ensure it dissolves smoothly into the cream without leaving a gritty or crystalline texture. Granulated sugar substitutes may not dissolve properly and can affect the final consistency. Adjust the amount of sweetener to your personal taste preference.
The time it takes to whip cream to stiff peaks can vary depending on several factors, including the temperature of your cream and equipment, the power of your electric mixer, and even the humidity in your kitchen. However, with very cold heavy cream and chilled mixing bowl and beaters, it typically takes anywhere from 2 to 4 minutes using an electric hand mixer on medium-high speed. With a powerful stand mixer, it can sometimes be even faster, often just 1-3 minutes. The key is to watch the cream closely and stop as soon as it reaches the desired stiff peak stage.
Absolutely! Before electric mixers became commonplace, whipped cream was made exclusively by hand, and it’s still a perfectly viable method today. While it requires more arm strength and takes a bit longer (typically 5-10 minutes of vigorous whisking), it yields equally beautiful and delicious results. For the best outcome, ensure your cream and bowl are thoroughly chilled. You can even place your mixing bowl over a larger bowl filled with ice water to maintain an optimal cold temperature during the whisking process.
Yes, there are several fantastic non-dairy options for making a creamy, homemade whipped topping. The most popular choice is chilled full-fat coconut cream, which is the solid portion that separates from canned full-fat coconut milk after refrigeration. Other excellent alternatives include commercial non-dairy whipping creams, often made from soy, oat, or pea protein, which can be found in the refrigerated section of most grocery stores. Like dairy cream, these alternatives also benefit greatly from being thoroughly chilled, and some may benefit from a small amount of stabilizer like cream of tartar to achieve firmer peaks.
Delicious Dessert Pairings for Homemade Whipped Cream
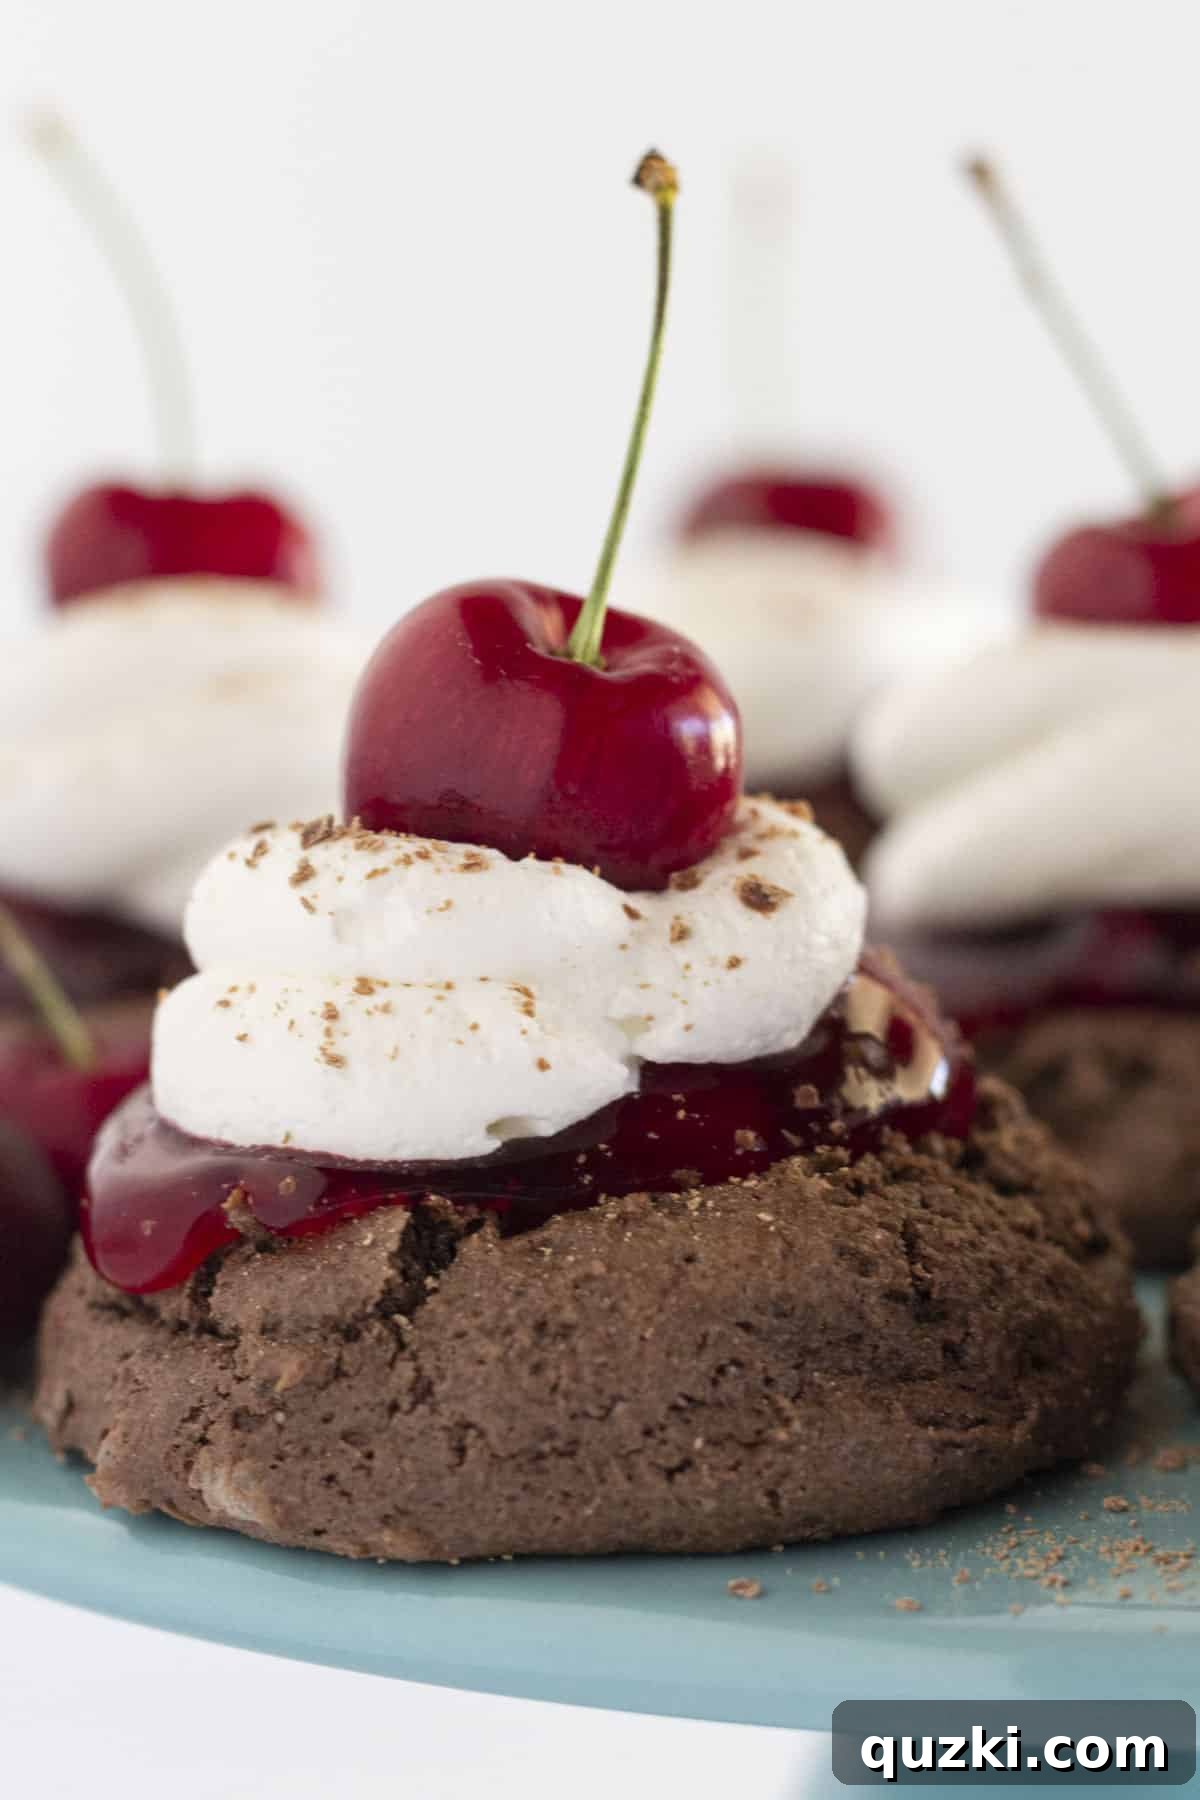
Homemade whipped cream is more than just a finishing touch; it’s a versatile enhancement that elevates and completes countless sweet creations. Its light, airy texture and delicate flavor beautifully complement a vast array of desserts, transforming them into truly memorable culinary experiences. Here are some of our absolute favorite pairings that shine with a dollop of this exquisite treat:
More Recipes You’ll Love with Whipped Cream
Desserts
Cake Mix Peach Cobbler (Only 4 Ingredients)
Brunch
Pumpkin Sheet Pan Pancakes from Mix
Desserts
Easy Fresh Raspberry Galette Recipe
Brownies
Easy Fudgy Condensed Milk Brownies
Did you try this amazing homemade whipped cream recipe? We’d absolutely love to hear about your experience!
Please leave a ⭐ review below and don’t forget to tag @practicallyhomemade on Pinterest and other social media to share your delicious creations!
Average Rating: 5 stars from 1 vote
Simple Whipped Cream Recipe
June Albertson-Dick
10 mins
0 mins
10 mins
10 servings
Rate Recipe
Print Recipe
Ingredients
- 1 cup heavy whipping cream (very cold)
- ¼ cup powdered sugar
- ½ teaspoon vanilla bean paste (or pure vanilla extract)
Instructions
-
Place a large mixing bowl and electric mixer beaters (or stand mixer whisk attachment) in the freezer for 10-15 minutes to chill thoroughly. Once chilled, pour the very cold heavy whipping cream into the bowl, then add the powdered sugar and vanilla.
-
Start mixing with an electric mixer on low speed to combine the ingredients without splashing. Gradually increase the speed to medium-high. Continue beating until stiff peaks form (when the cream holds its shape firmly and stands straight up when the beaters are lifted). Stop immediately to prevent over-whipping.
-
Serve your freshly made whipped cream immediately with your favorite desserts. Store any leftovers in an airtight container in the refrigerator for up to 3 days. If it separates slightly, give it a quick, gentle whisk by hand before serving to restore its fluffiness.
Notes
- For the most stable and fluffiest whipped cream, always use heavy whipping cream with at least 36% milk fat content.
- Ensuring all your equipment (mixing bowl and beaters) and the cream itself are very cold before you begin is crucial for faster whipping and more stable, long-lasting peaks.
- If you accidentally over-whip the cream and it appears grainy or slightly curdled, don’t worry! Simply add a small splash (about 1-2 tablespoons) of cold heavy cream and gently fold it in with a spatula until the mixture smooths out and regains its light consistency.
Nutrition
Serving: 10servings
,
Calories: 94kcal
,
Carbohydrates: 4g
,
Protein: 1g
,
Fat: 9g
,
Saturated Fat: 5g
,
Polyunsaturated Fat: 0.4g
,
Monounsaturated Fat: 2g
,
Cholesterol: 27mg
,
Sodium: 6mg
,
Potassium: 23mg
,
Sugar: 4g
,
Vitamin A: 350IU
,
Vitamin C: 0.1mg
,
Calcium: 16mg
,
Iron: 0.03mg
Nutrition information is automatically calculated and should be used as an approximation only.
Enjoyed this recipe? Please leave a comment below!