
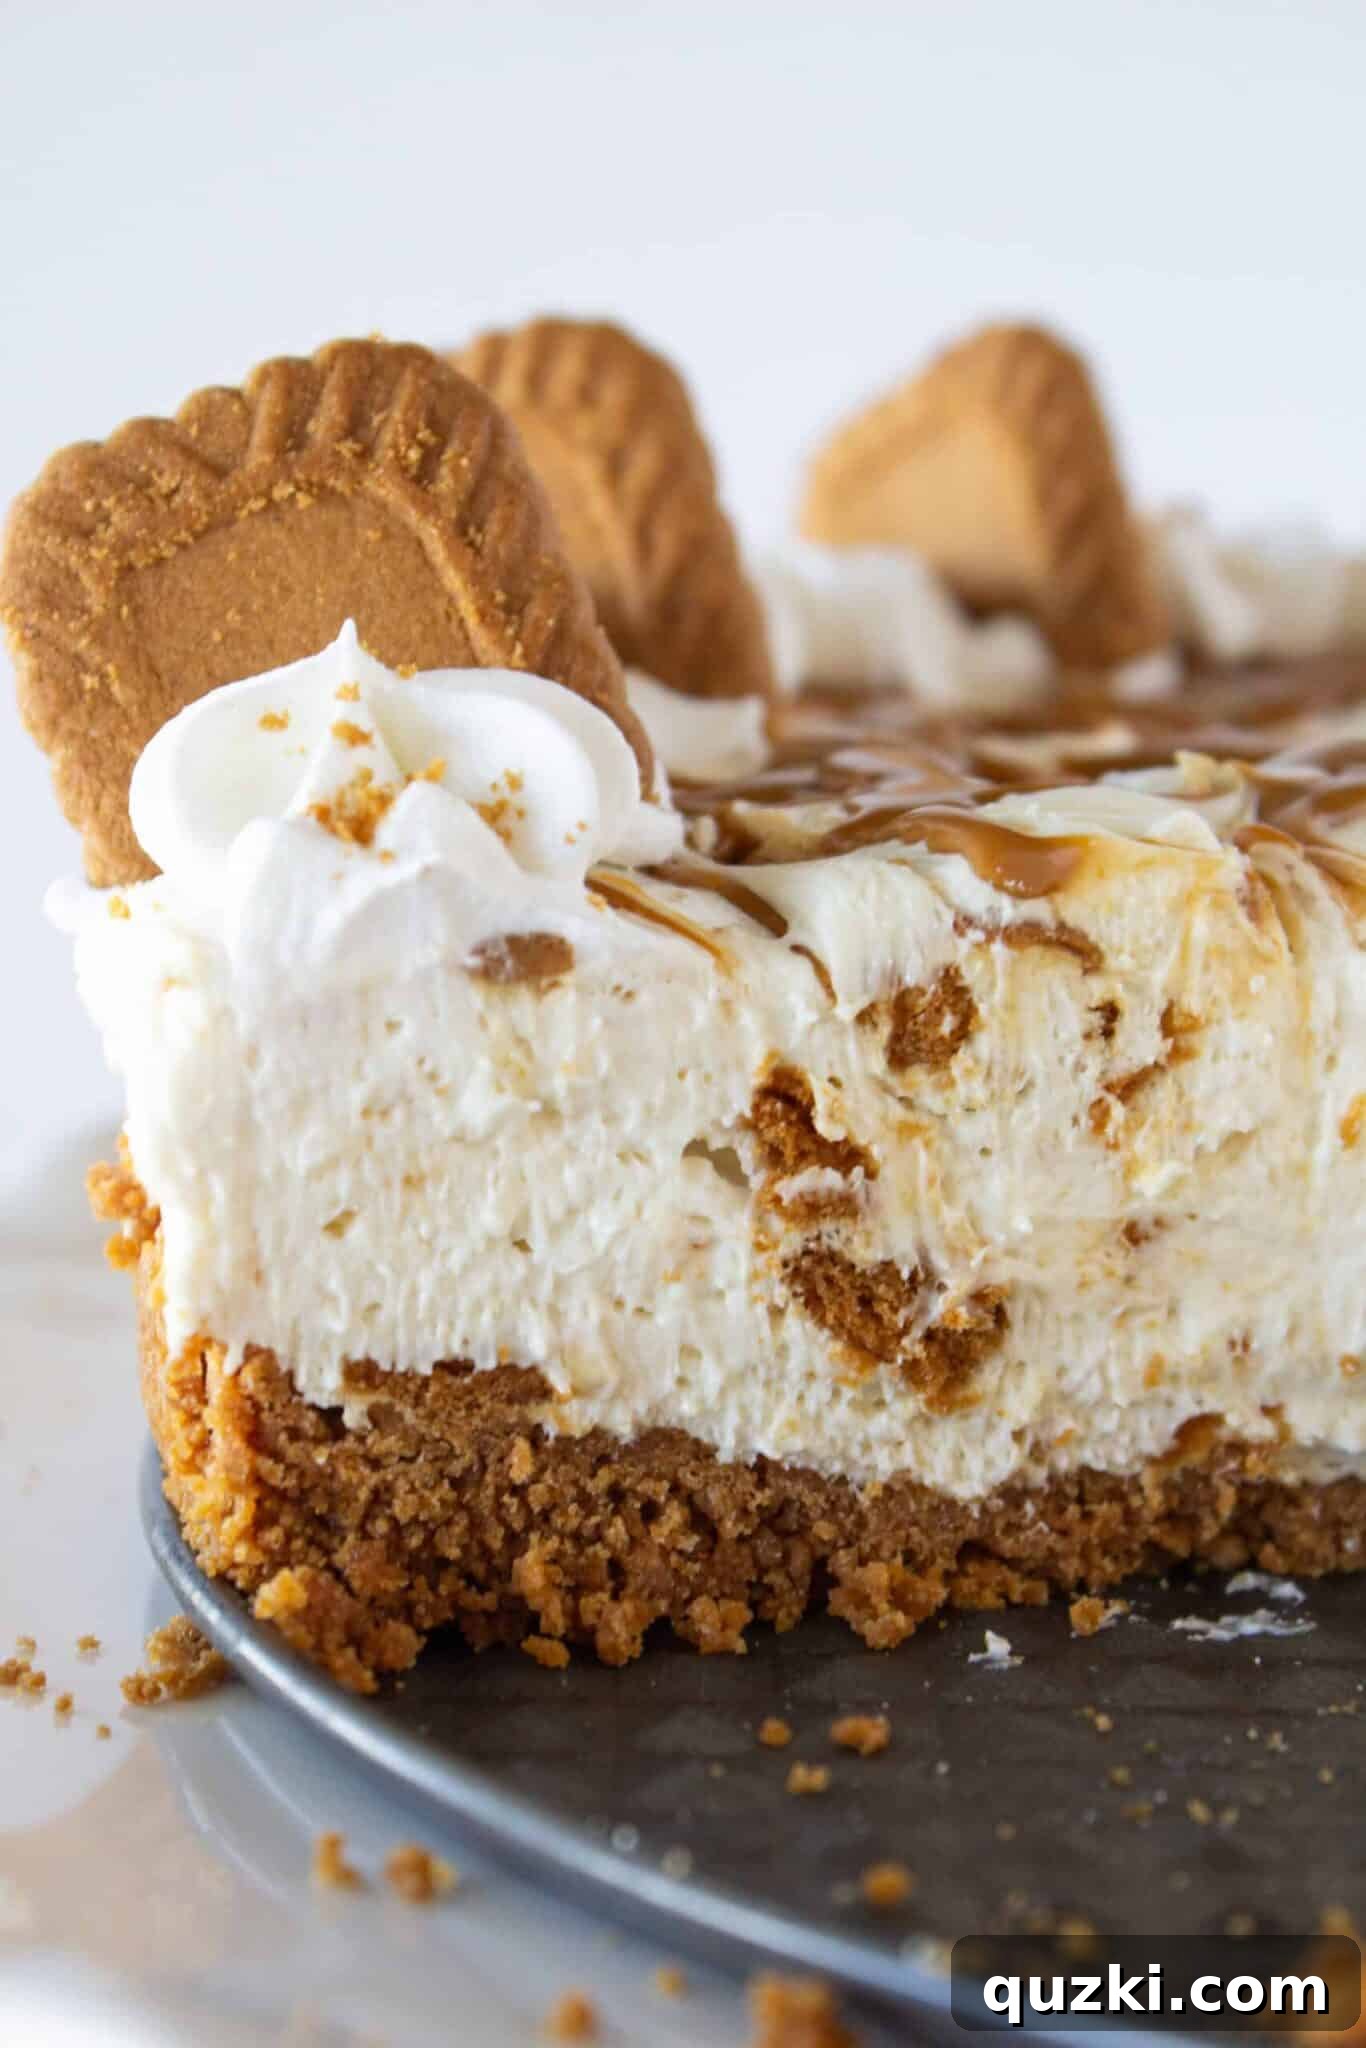
Welcome to your new favorite dessert obsession! If you’re searching for a treat that’s both effortlessly simple to make and outrageously delicious, look no further than this Cookie Butter No Bake Cheesecake. Thursdays, or any day for that matter, call for something special, and a no-bake cheesecake fits the bill perfectly. When infused with the rich, caramelized spice notes of cookie butter and featuring a crunchy Biscoff cookie crust, this dessert transcends ordinary. Prepare yourself, because one piece simply won’t be enough. Get ready to fall head over heels for a dessert that delivers awesome flavor in every single bite.
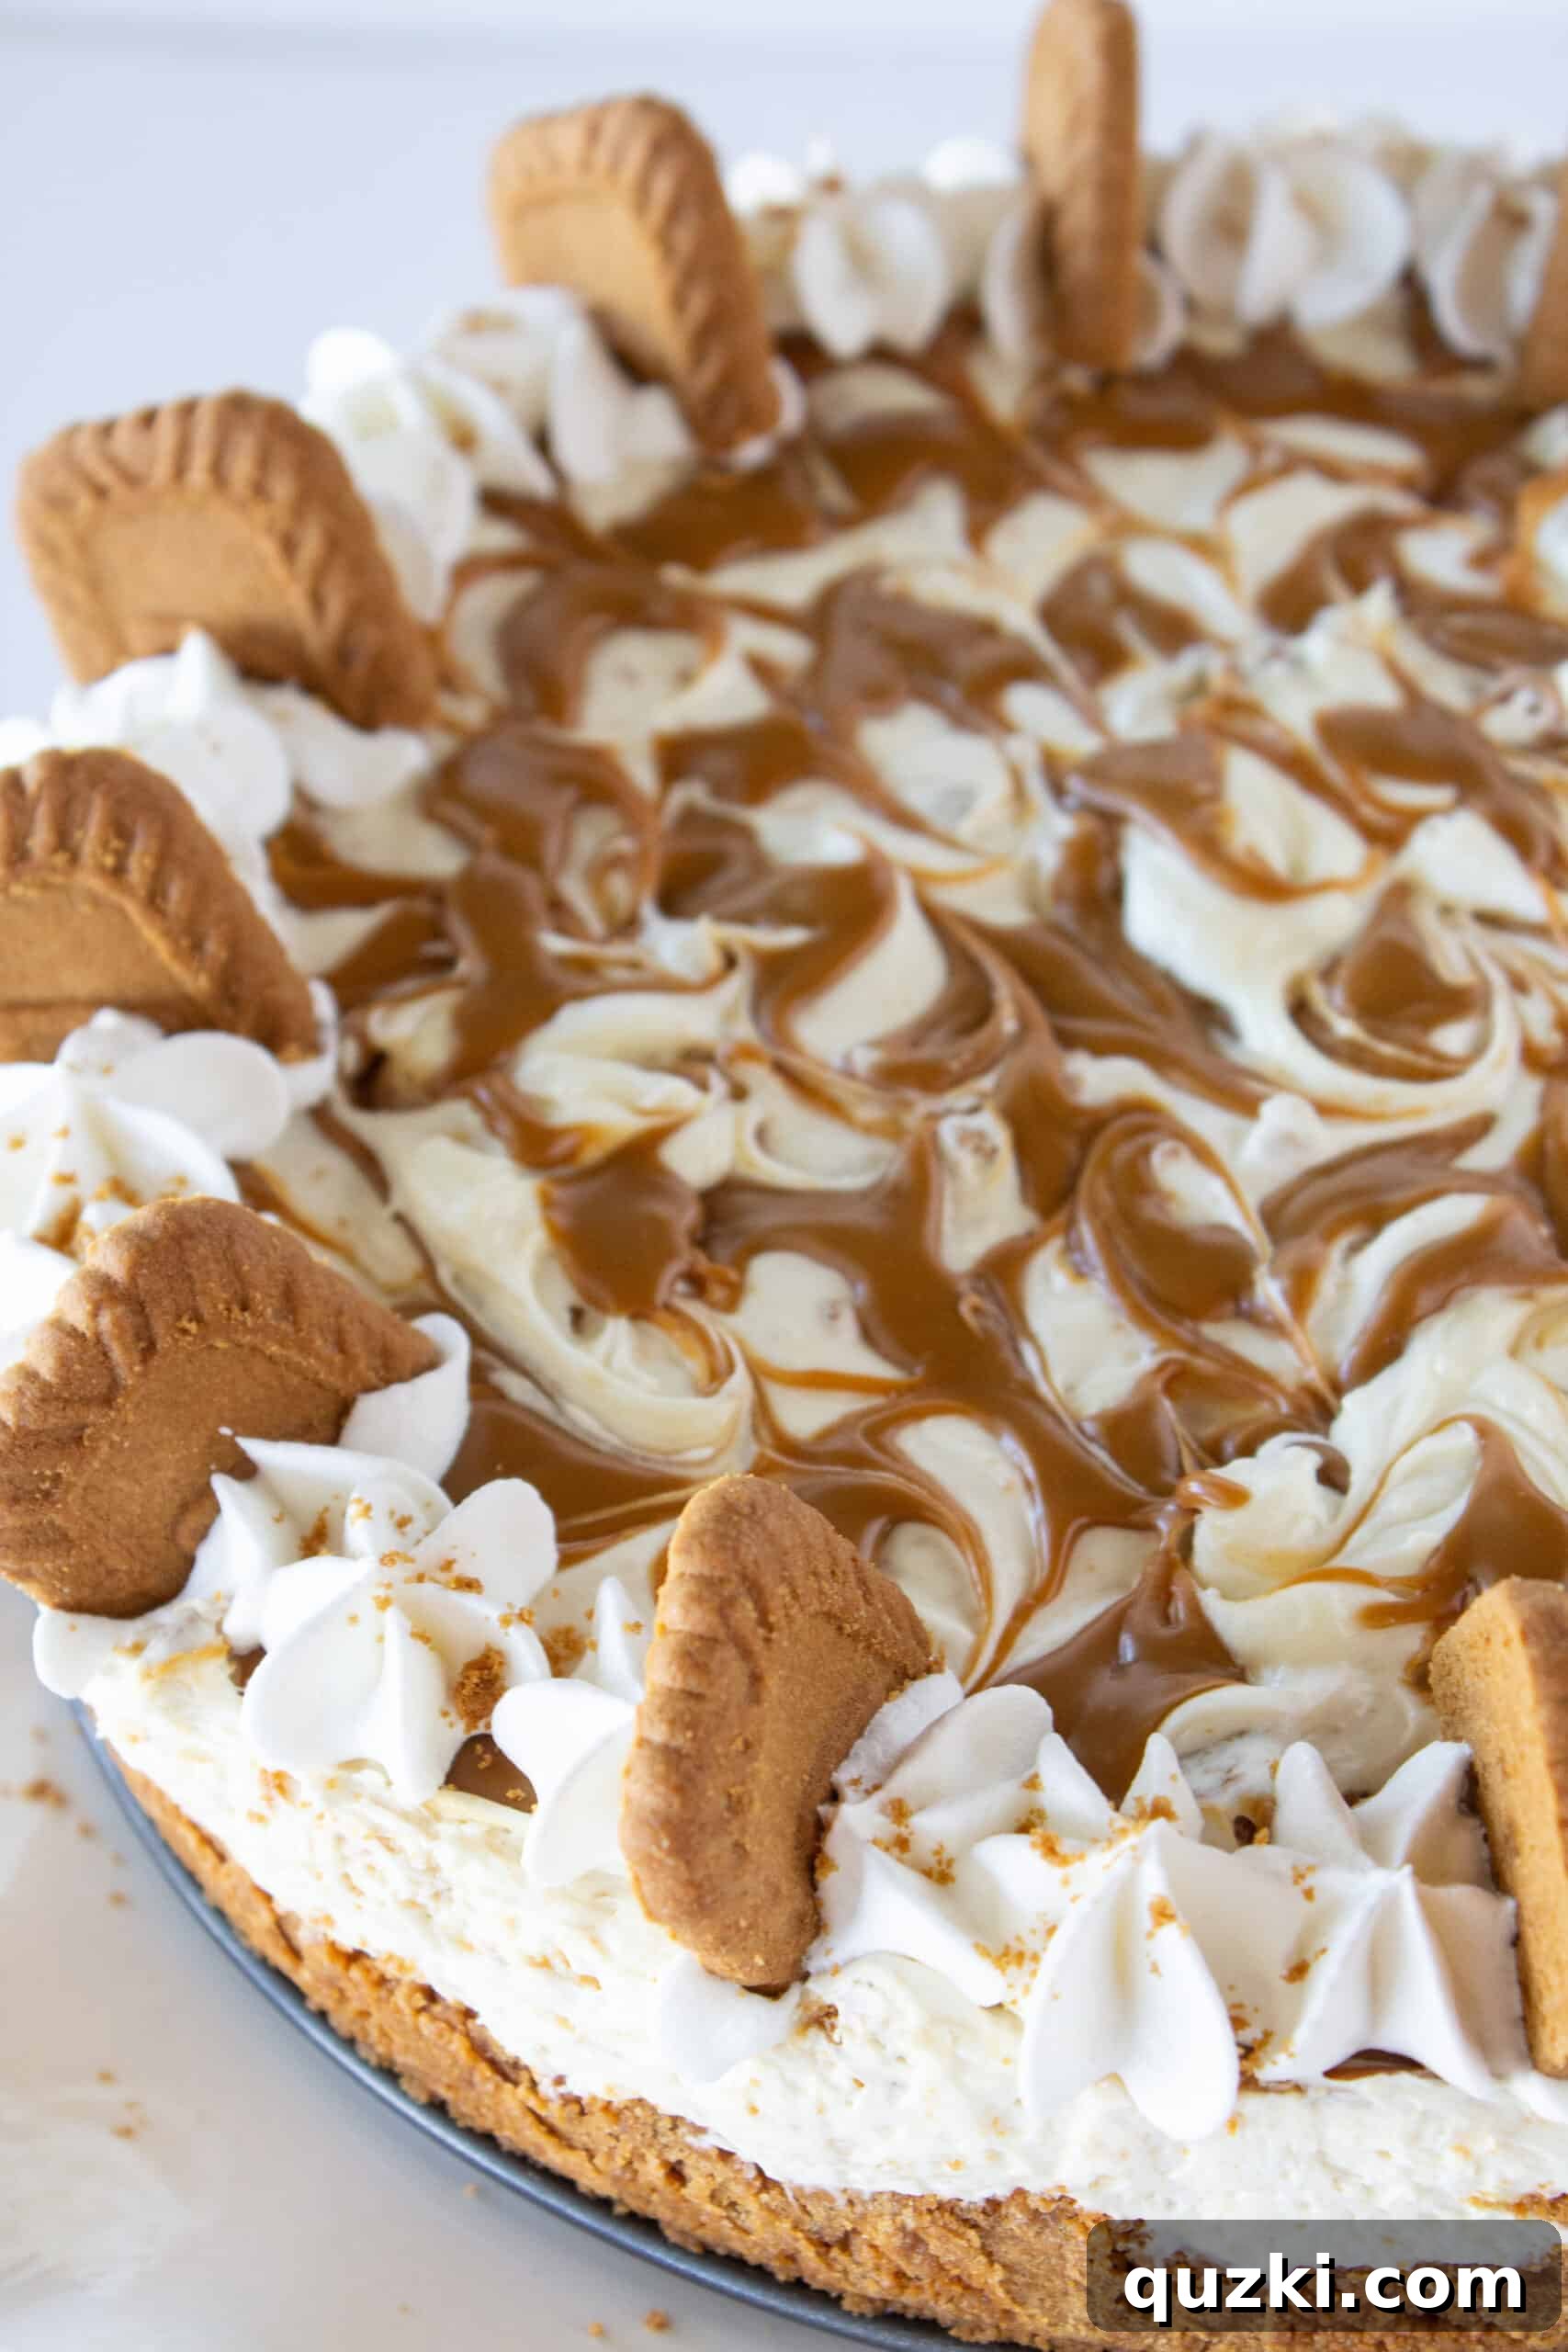
Irresistible Cookie Butter No Bake Cheesecake: Your New Favorite Easy Dessert
The first time I experienced the delightful taste of cookie butter, I was instantly captivated. Seriously! Its unique, spiced, and caramelized flavor profile was unlike anything I had ever tried. What began as a single spoonful quickly escalated to almost devouring an entire jar. Now, I have a strict rule for myself: I can’t buy cookie butter unless I have a specific recipe in mind. Otherwise, it mysteriously disappears, often replacing my lunch!
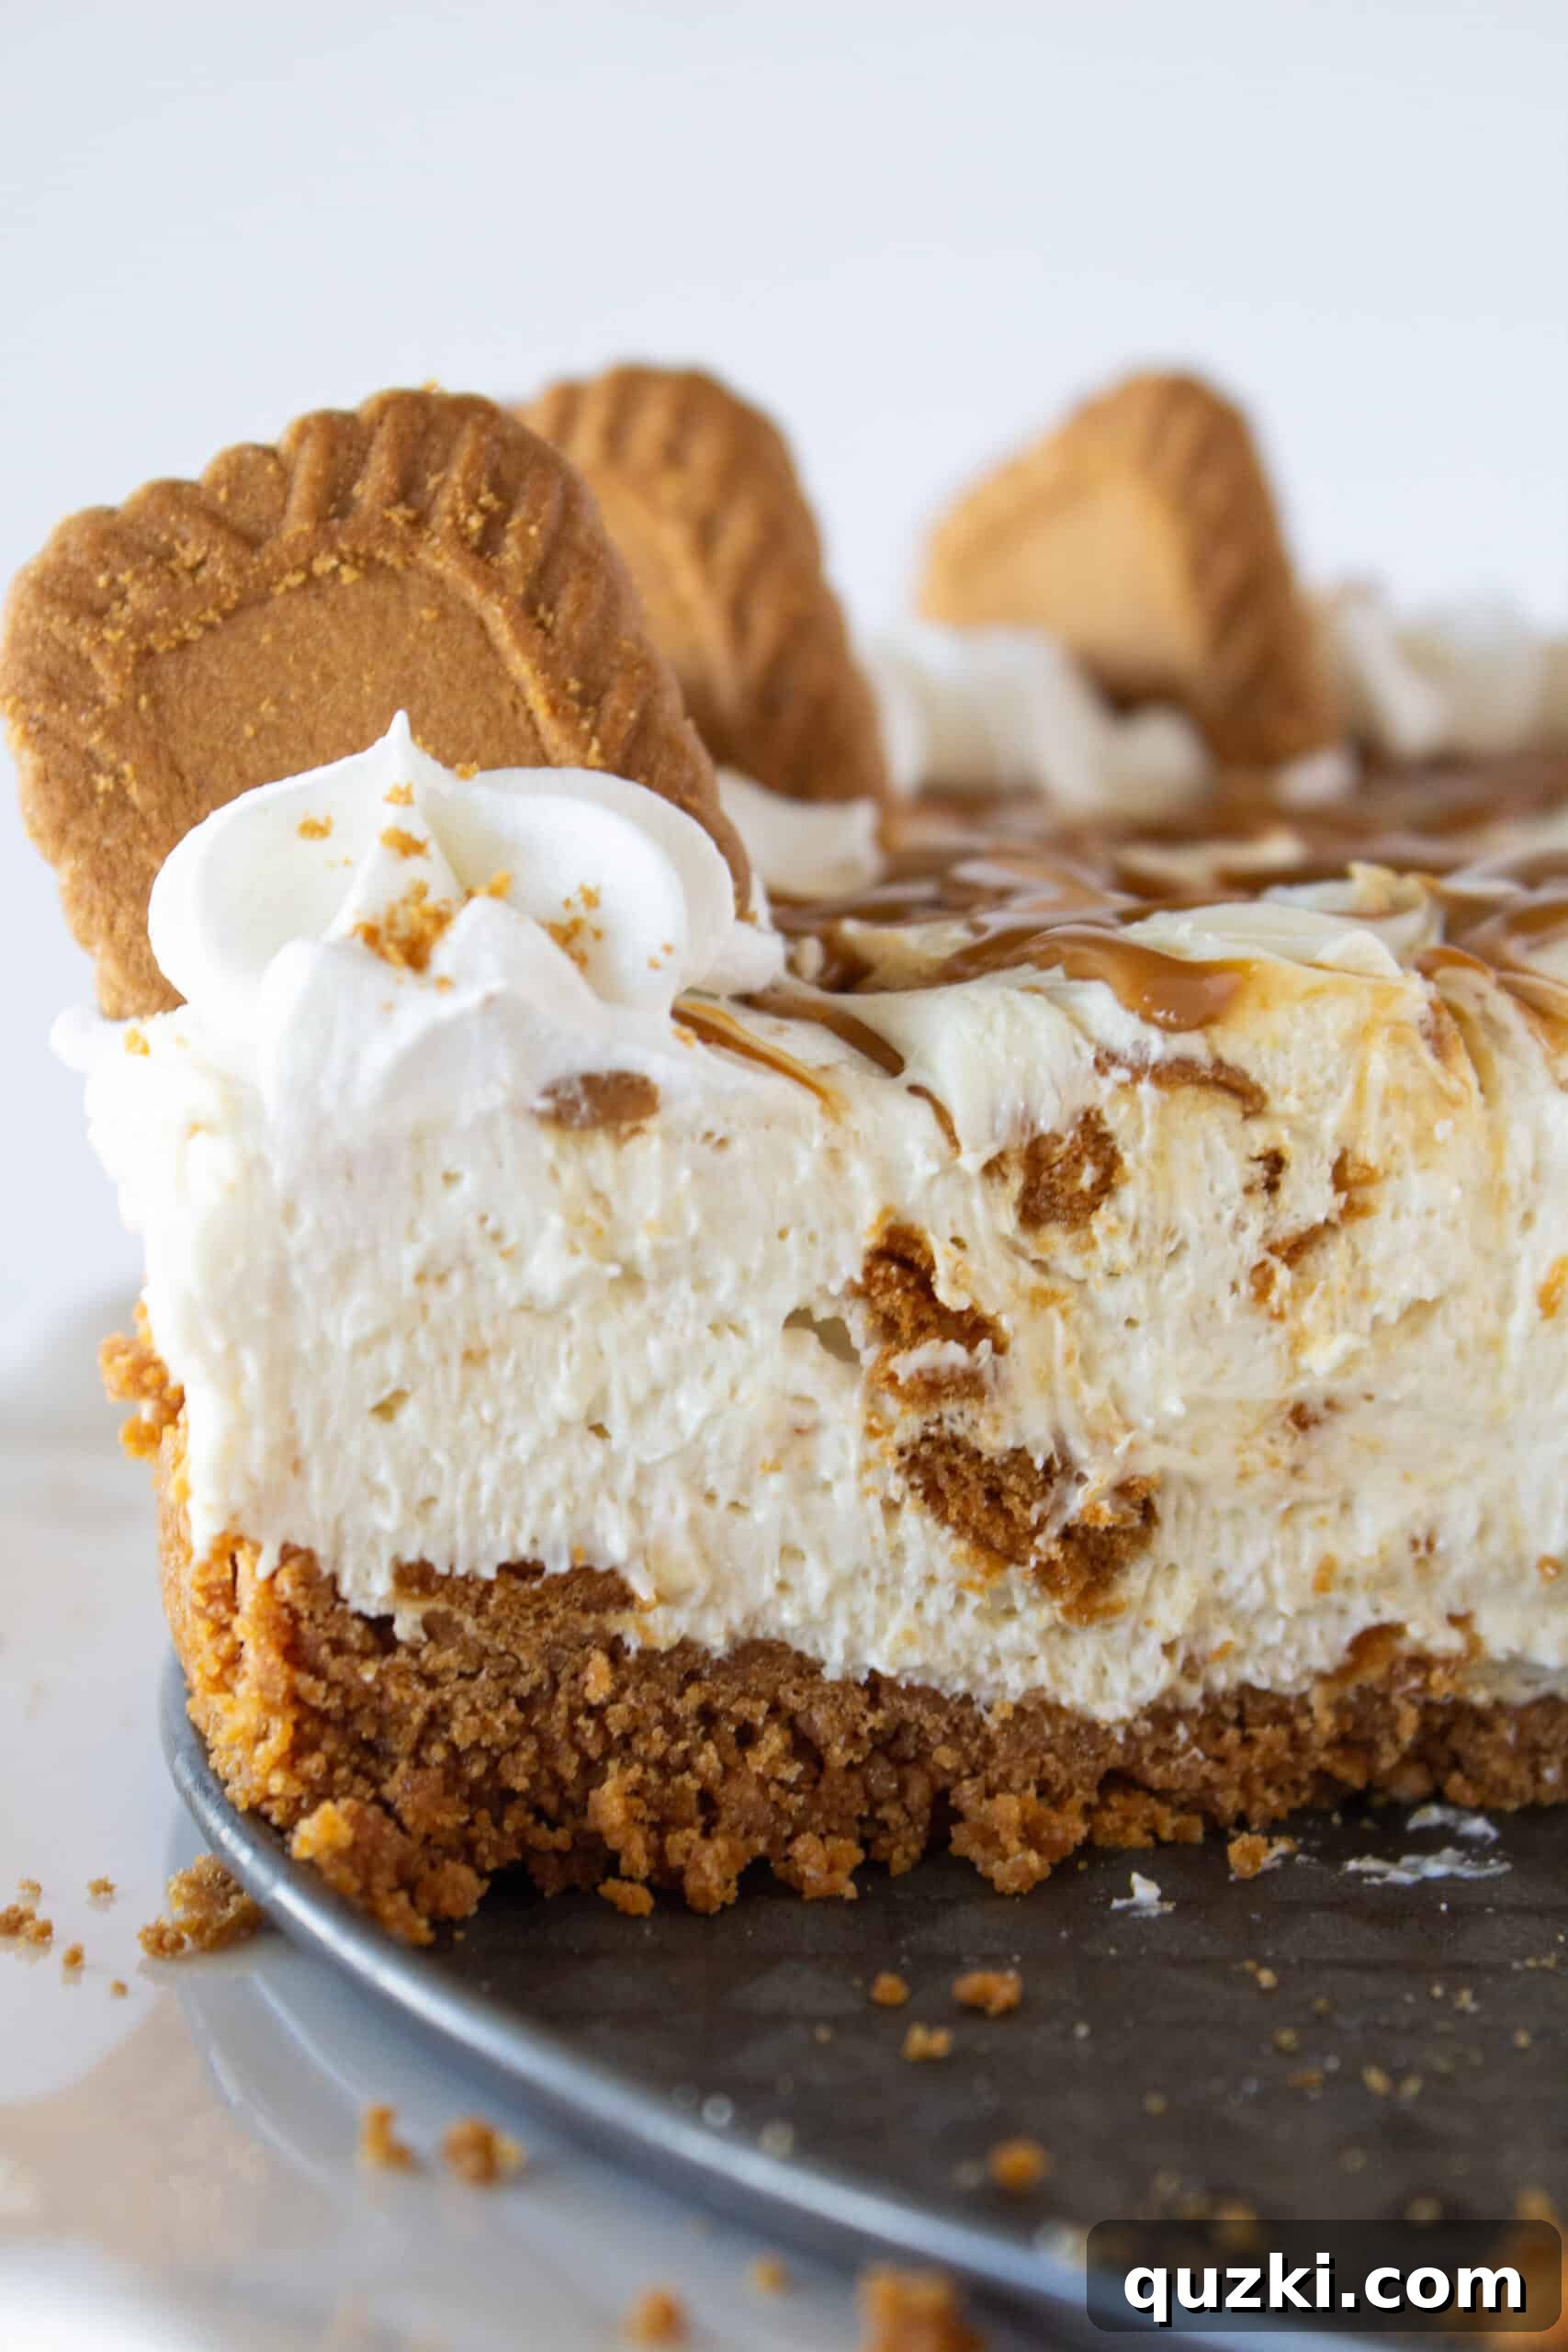
Among all the wonderful no-bake cheesecake recipes on this site, this Cookie Butter No Bake Cheesecake holds a special place as my absolute favorite. It’s more than just a dessert; it’s an experience. The combination of the crisp Biscoff crust, the silky-smooth filling, and the irresistible cookie butter swirl creates a symphony of textures and flavors that will leave everyone asking for more. I genuinely cannot recommend making this enough.
Why You’ll Adore This No-Bake Cheesecake
Beyond its incredible taste, there are numerous reasons why this Cookie Butter No Bake Cheesecake will become a staple in your dessert repertoire:
- Effortless Preparation: No need to turn on the oven! This recipe saves you time and keeps your kitchen cool, making it ideal for warmer months or busy schedules.
- Minimal Skill Required: Whether you’re a seasoned baker or a complete novice, the steps are straightforward and easy to follow. You don’t need fancy techniques to achieve spectacular results.
- Unforgettable Flavor Profile: The distinct taste of Biscoff cookies and luscious cookie butter creates a dessert that’s both comforting and exotic, a perfect balance of sweet and spice.
- Perfect for Any Occasion: From casual family dinners to elegant gatherings, this cheesecake is versatile. It’s impressive enough for special events but simple enough for a weeknight treat.
- Make Ahead Friendly: This cheesecake requires chilling, which means it’s a fantastic dessert to prepare in advance, freeing you up to enjoy your guests or relax before serving.
Crafting Your Perfect Biscoff Cookie Crust
Every great cheesecake starts with an exceptional crust, and for this Cookie Butter No Bake Cheesecake, a Biscoff cookie crust is simply non-negotiable. The rich, spiced caramel notes of Biscoff cookies perfectly complement the cookie butter filling, creating a harmonious flavor experience.
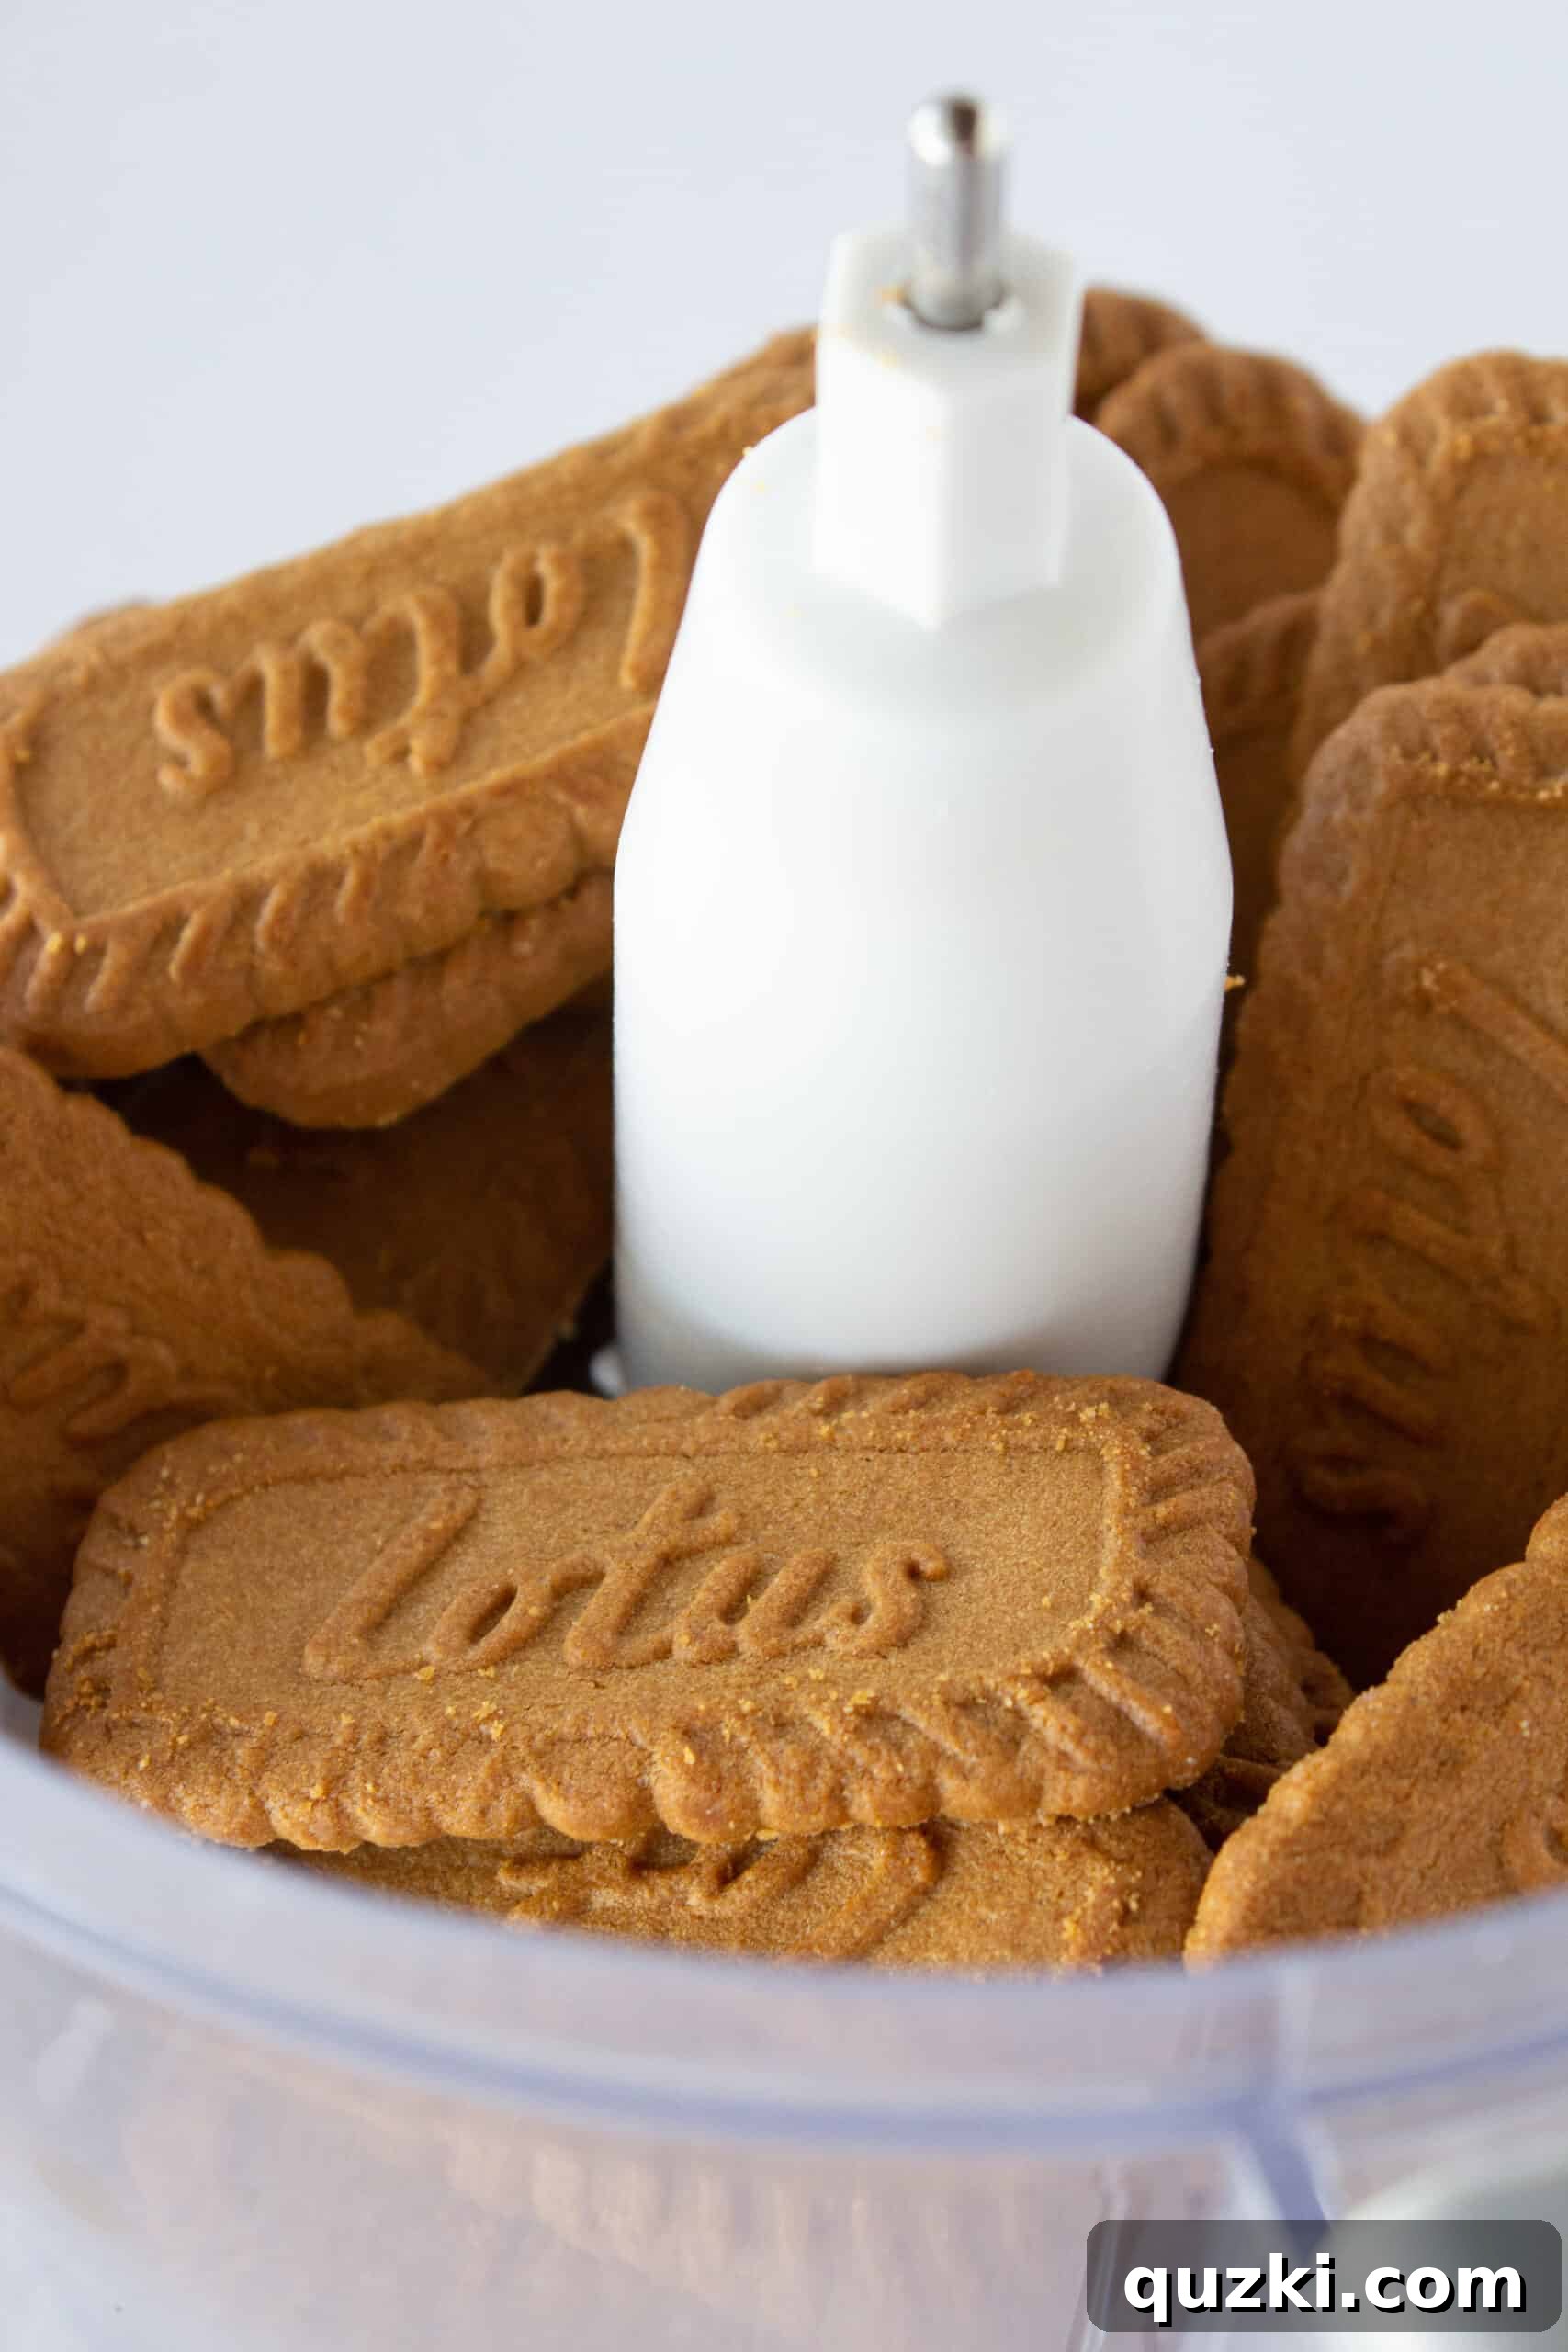
Gathering Your Ingredients for the Crust
You’ll only need two simple ingredients for this incredible crust:
- Biscoff Cookies: A generous package of these iconic speculoos cookies will form the backbone of your crust. Their unique flavor is crucial here.
- Melted Butter: Unsalted butter works best, as it binds the crumbs together and adds a rich, buttery depth without making the crust too salty.
Crushing the Biscoff Cookies: Processor vs. Manual Method
To begin, you’ll need to transform your crisp Biscoff cookies into fine crumbs. The finer the crumbs, the better they will bind together, ensuring a sturdy and delicious crust.
- Using a Food Processor: This is the quickest and easiest method. Simply pulse your Biscoff cookies in a food processor until they resemble fine sand. Be careful not to over-process them into a paste, but ensure there are no large chunks left. If you love Biscoff as much as we do, you might also enjoy this Easy Cookie Butter Bundt Cake!
- No Food Processor? No Problem! Don’t fret if you don’t have a food processor. This is where a little old-fashioned elbow grease comes in handy. Place the cookies into a heavy-duty zipper-lock bag, making sure to double up the bag for extra security. Then, use a rolling pin to smash the cookies until they are finely crushed. Rolling and pounding will work wonders. Trust me on doubling the bag – it prevents a potential mess if one bag tears as the cookies are crushing.
Mixing and Pressing the Crust
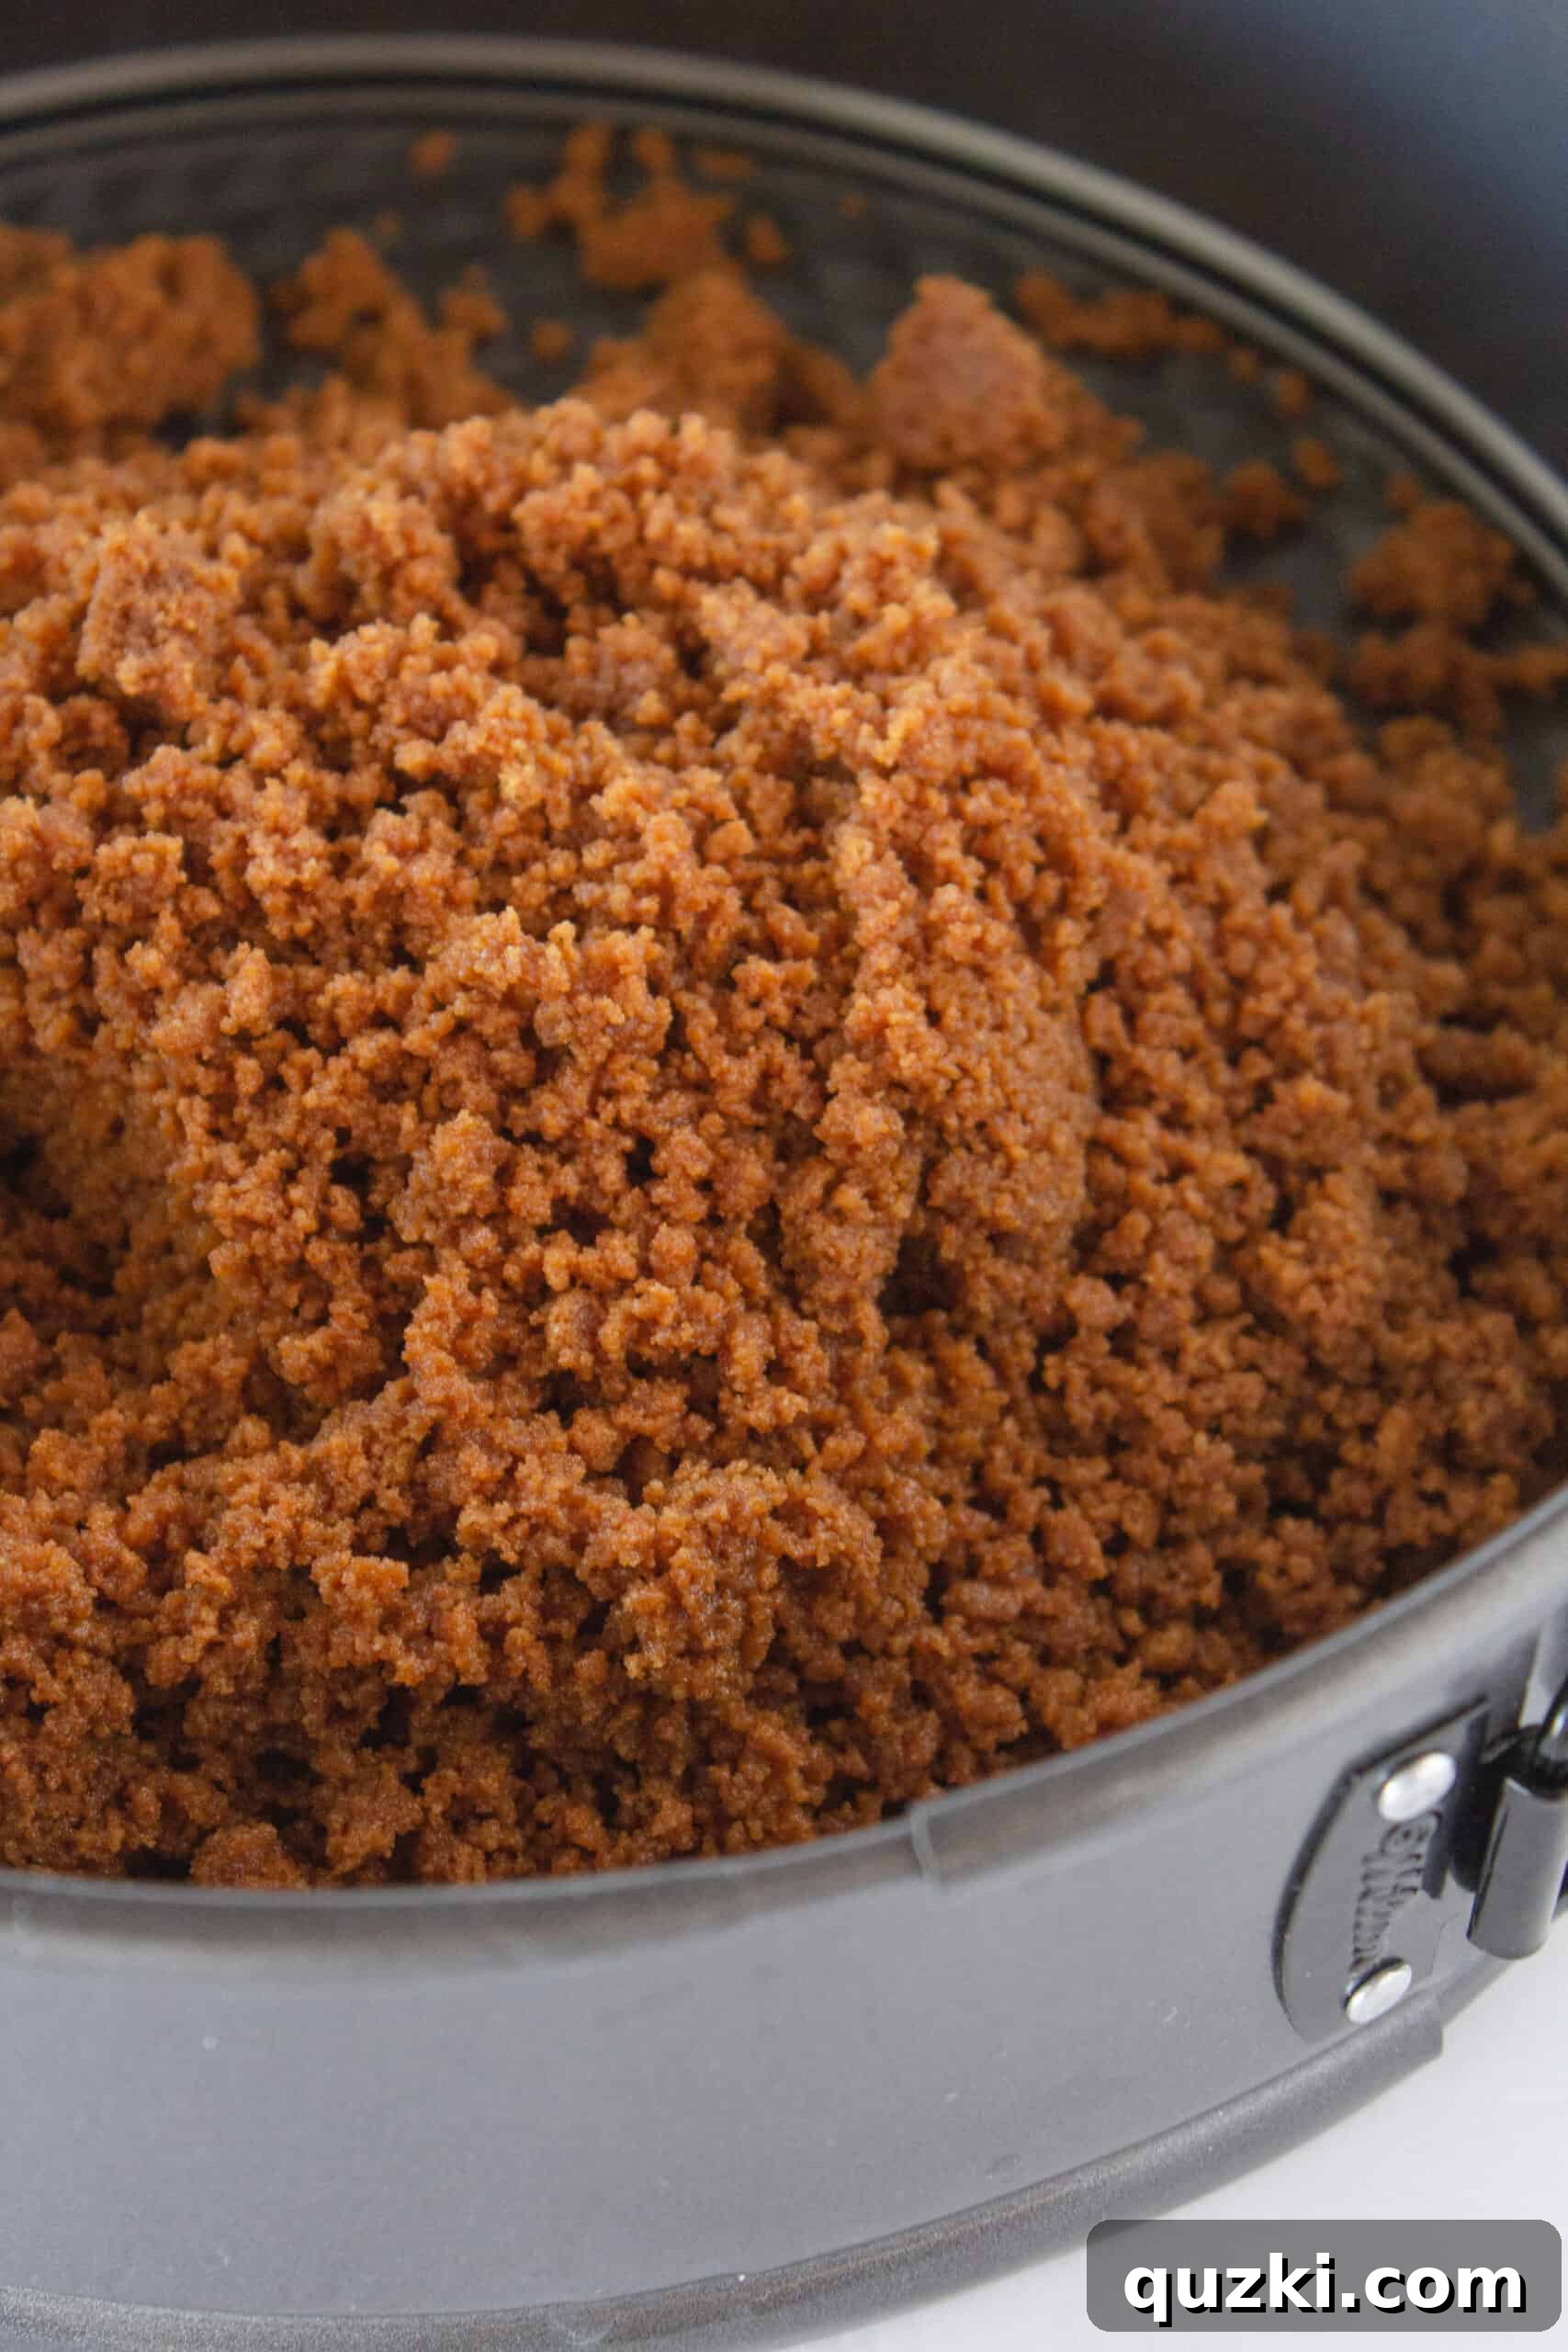
Once your Biscoff cookies are finely crushed, it’s time to bring the crust together. Add your melted butter to the cookie crumbs and mix thoroughly until everything is well combined. The mixture should resemble wet sand.
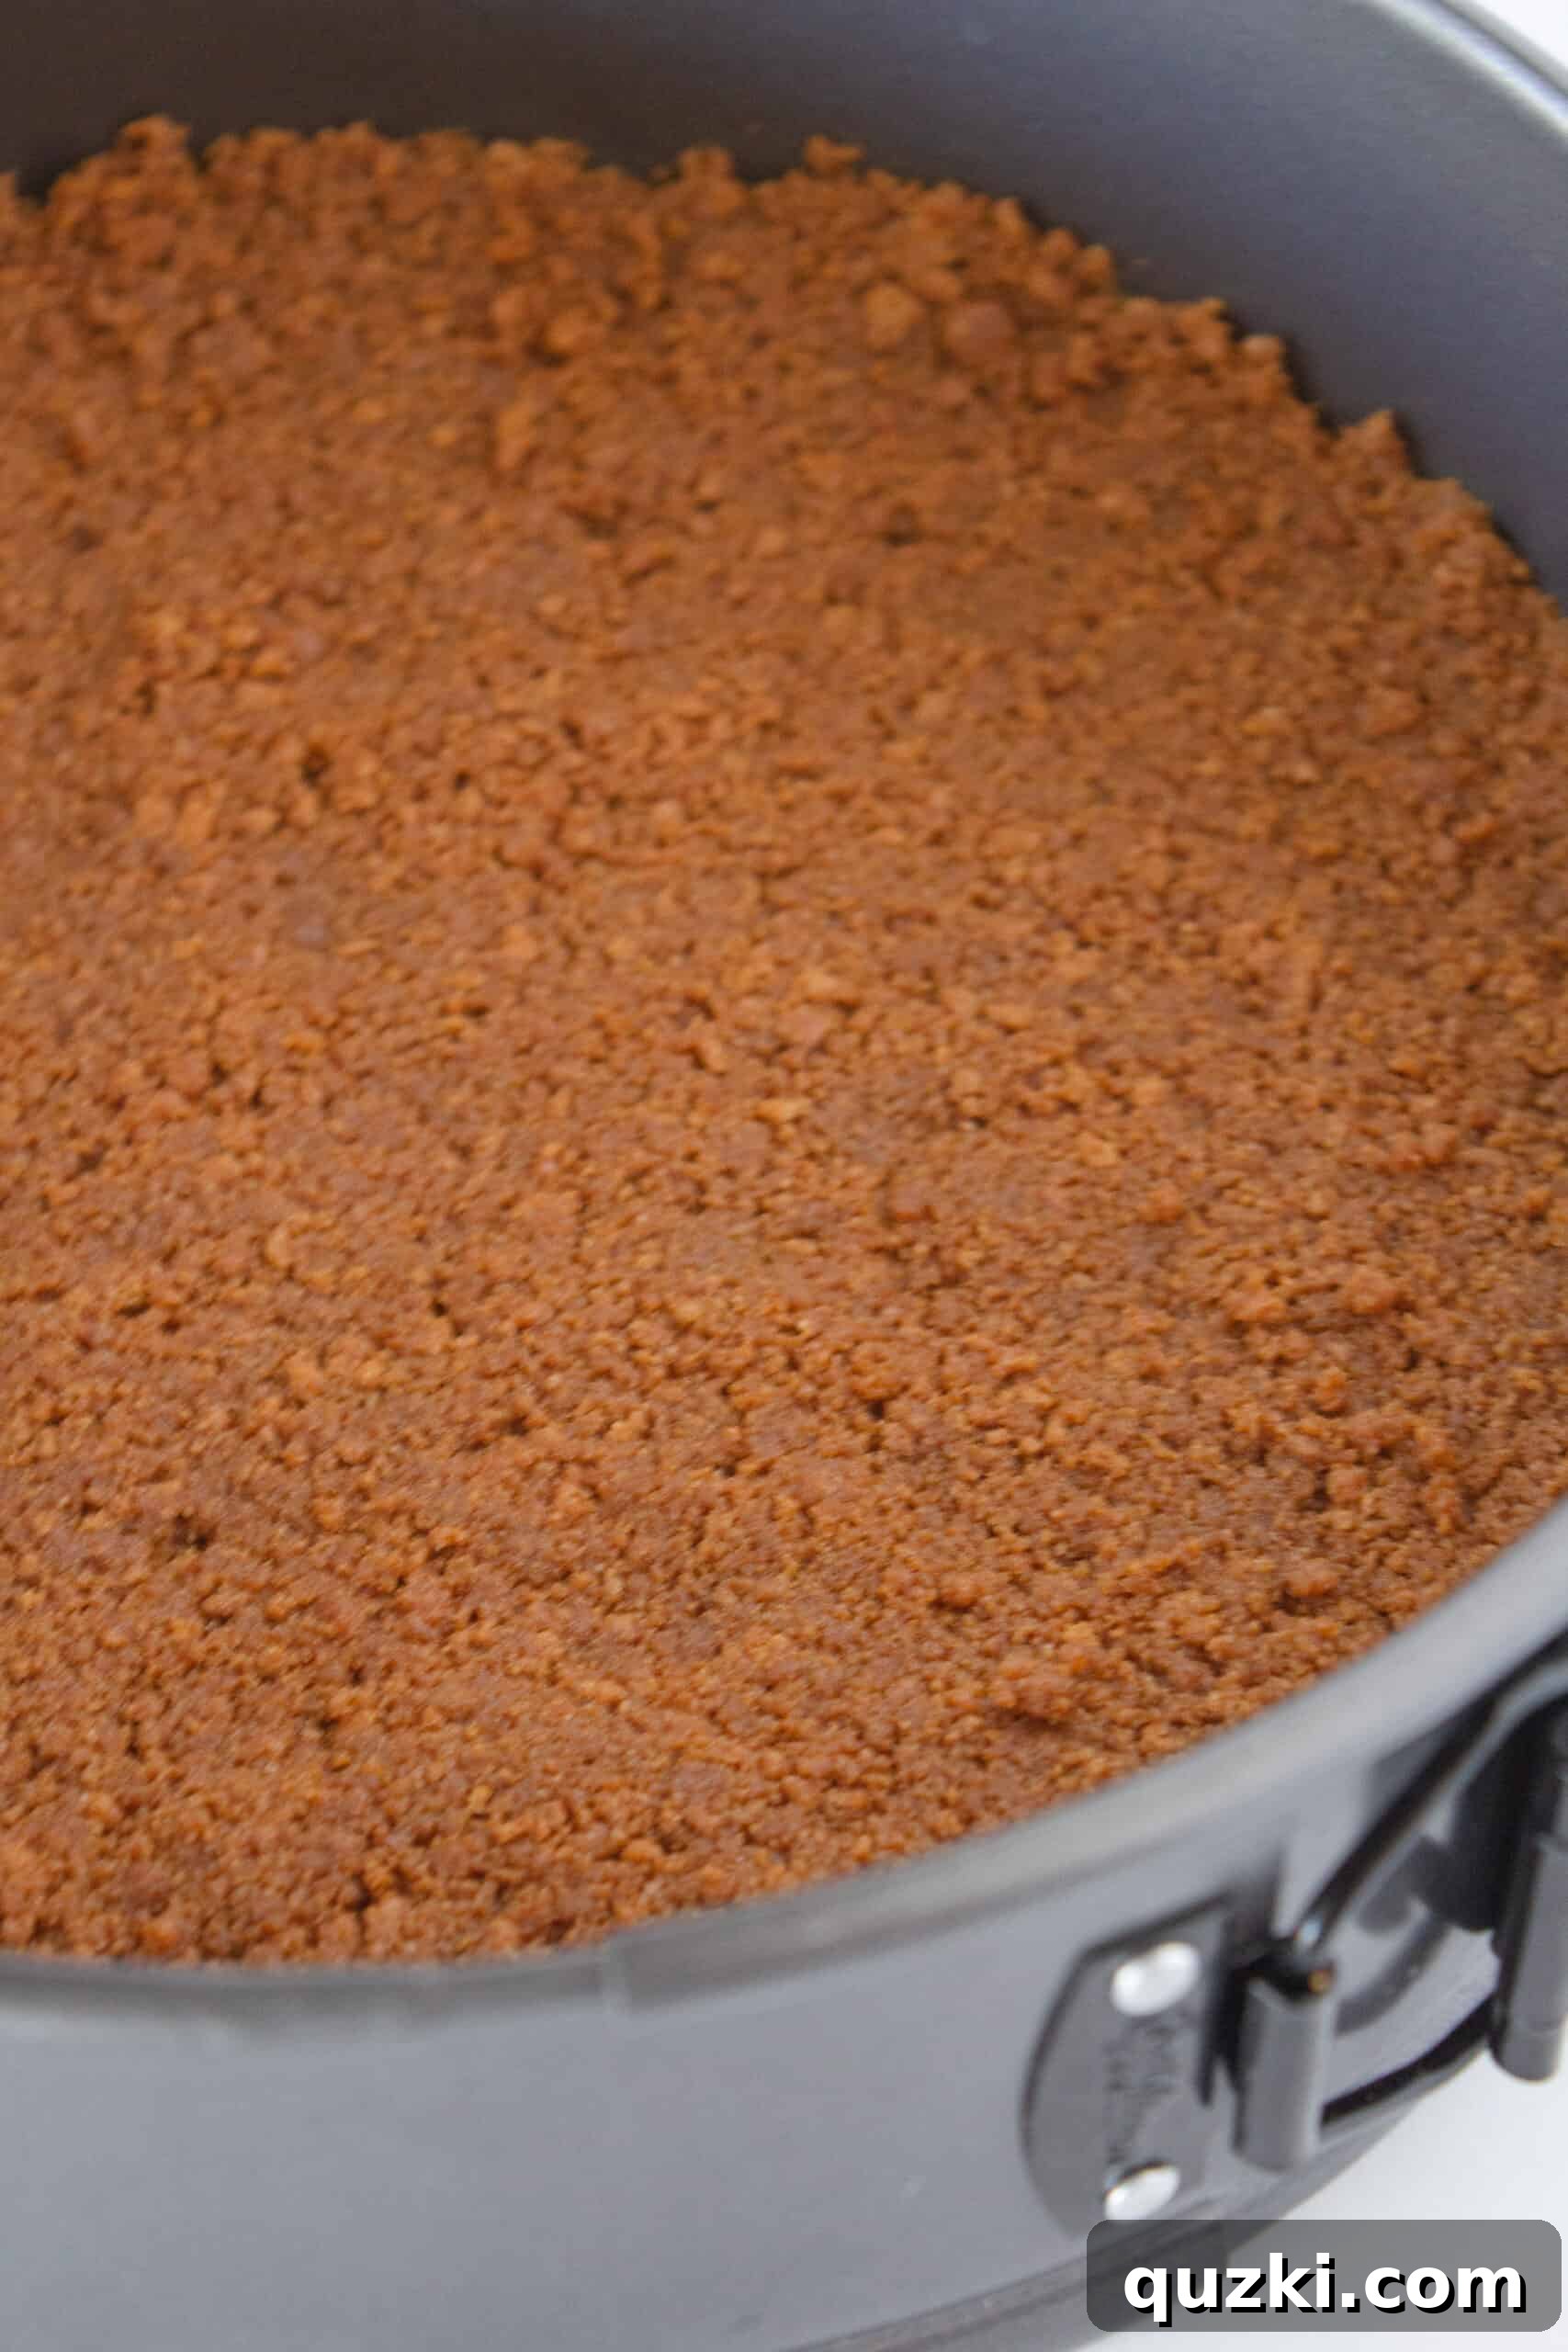
Pour this crumb mixture into your springform pan. Using the back of a spoon or the bottom of a flat-bottomed glass, firmly press the crumbs into an even layer across the bottom and slightly up the sides of the pan. The key here is to pack the crumbs down as tightly as possible. This compression is crucial for the crust to hold its shape beautifully once chilled and sliced.
Chilling for Perfection
Once pressed, refrigerate the crust while you prepare the filling. This initial chill time helps the butter solidify, setting the crumbs and preventing a crumbly crust when you cut into your cheesecake. A well-chilled crust is the foundation of a successful no-bake cheesecake.
Velvety Smooth Cookie Butter Cheesecake Filling
Now for the star of the show: the incredibly rich and creamy cookie butter cheesecake filling. This no-bake wonder comes together quickly and easily, promising a luscious texture and an explosion of spiced caramel flavor.
Incorporating More Biscoff Goodness
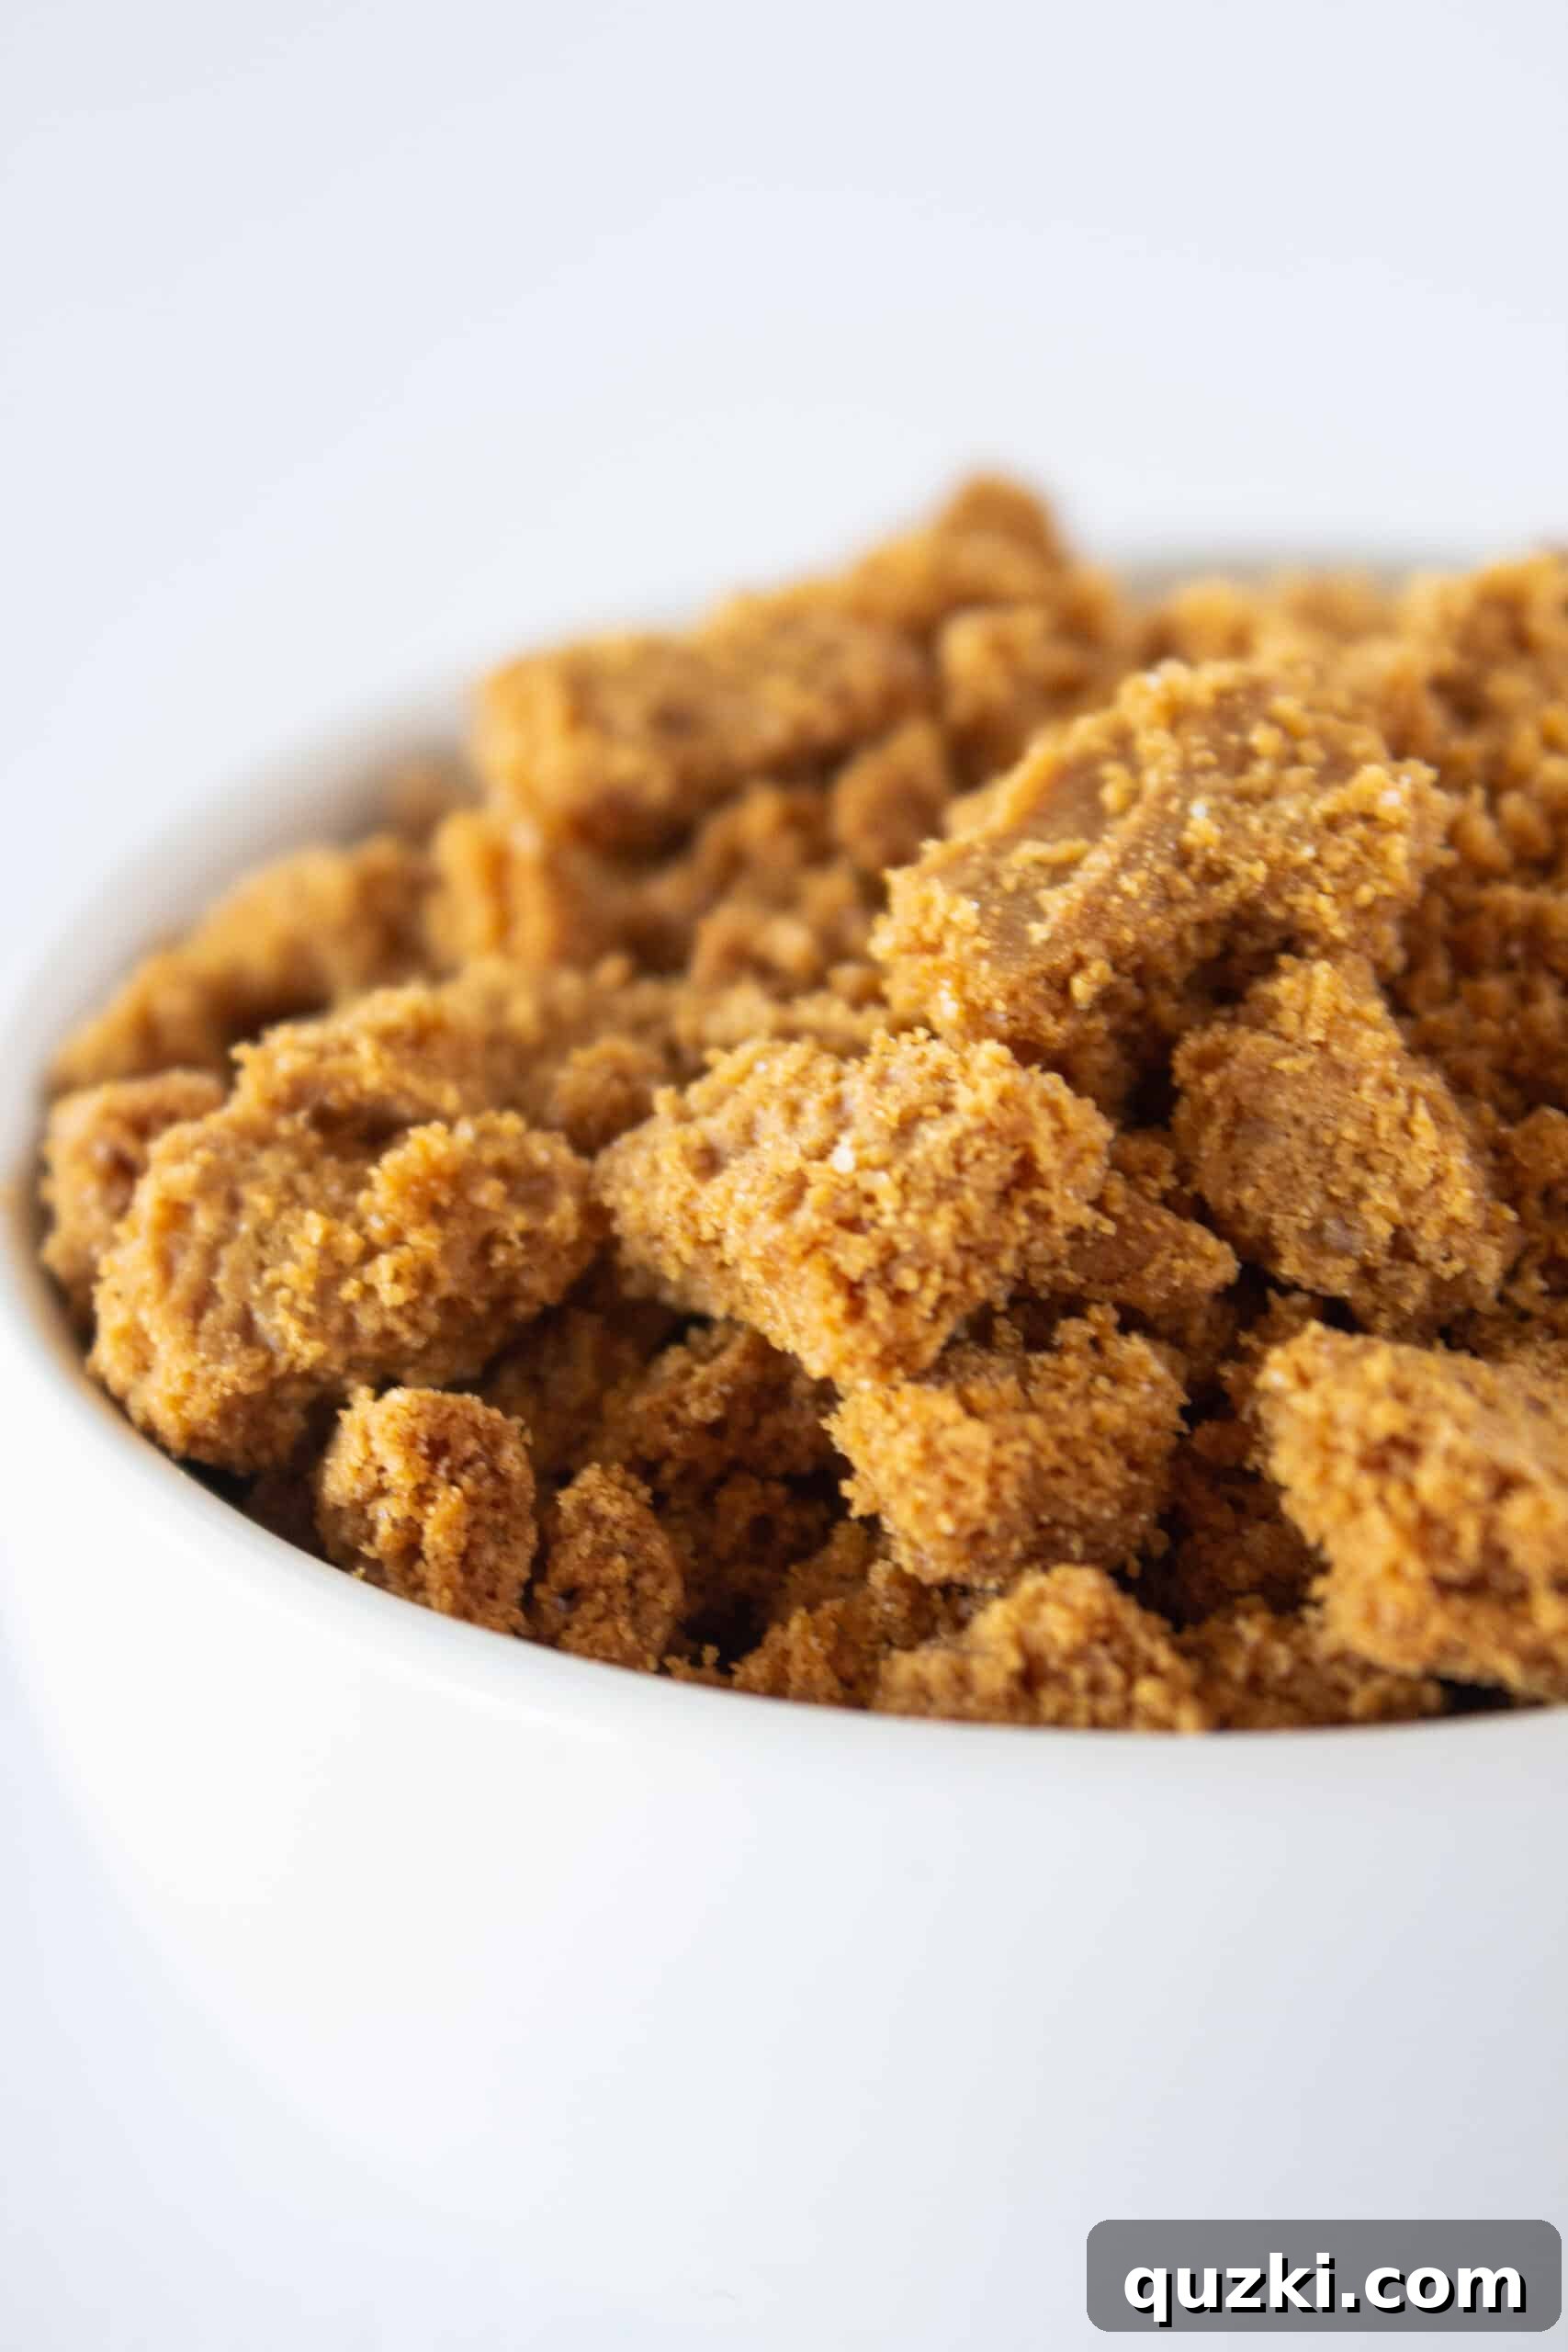
Before you even start with the creamy base, prepare some additional crushed Biscoff cookies. These little bites of goodness will be folded directly into your filling, adding another layer of texture and intensifying that signature Biscoff flavor. You can crush these using the same methods as for the crust – a food processor or a sealed bag and rolling pin.
The Creamy Foundation
Begin by creaming the softened cream cheese until it is completely smooth and free of lumps. This is a crucial step for achieving a velvety texture in your final cheesecake. Using a handheld mixer or a stand mixer with a paddle attachment works wonderfully. Ensure your cream cheese is at room temperature to prevent any lumps.
Next, add the sweetened condensed milk to the cream cheese. Continue mixing until the two ingredients are thoroughly combined and the mixture is silky smooth. Sweetened condensed milk is key in no-bake cheesecakes, providing both sweetness and structure without the need for eggs or baking.
The Whipped Topping Secret
Slowly and gently fold in the thawed whipped topping. This ingredient is what gives the no-bake cheesecake its light, airy, and incredibly creamy consistency. Be careful not to overmix at this stage; overmixing can cause the whipped topping to deflate, resulting in a dense or “flat” filling. Mix just until the whipped topping is fully incorporated and no streaks remain.
Adding the Crushed Cookies
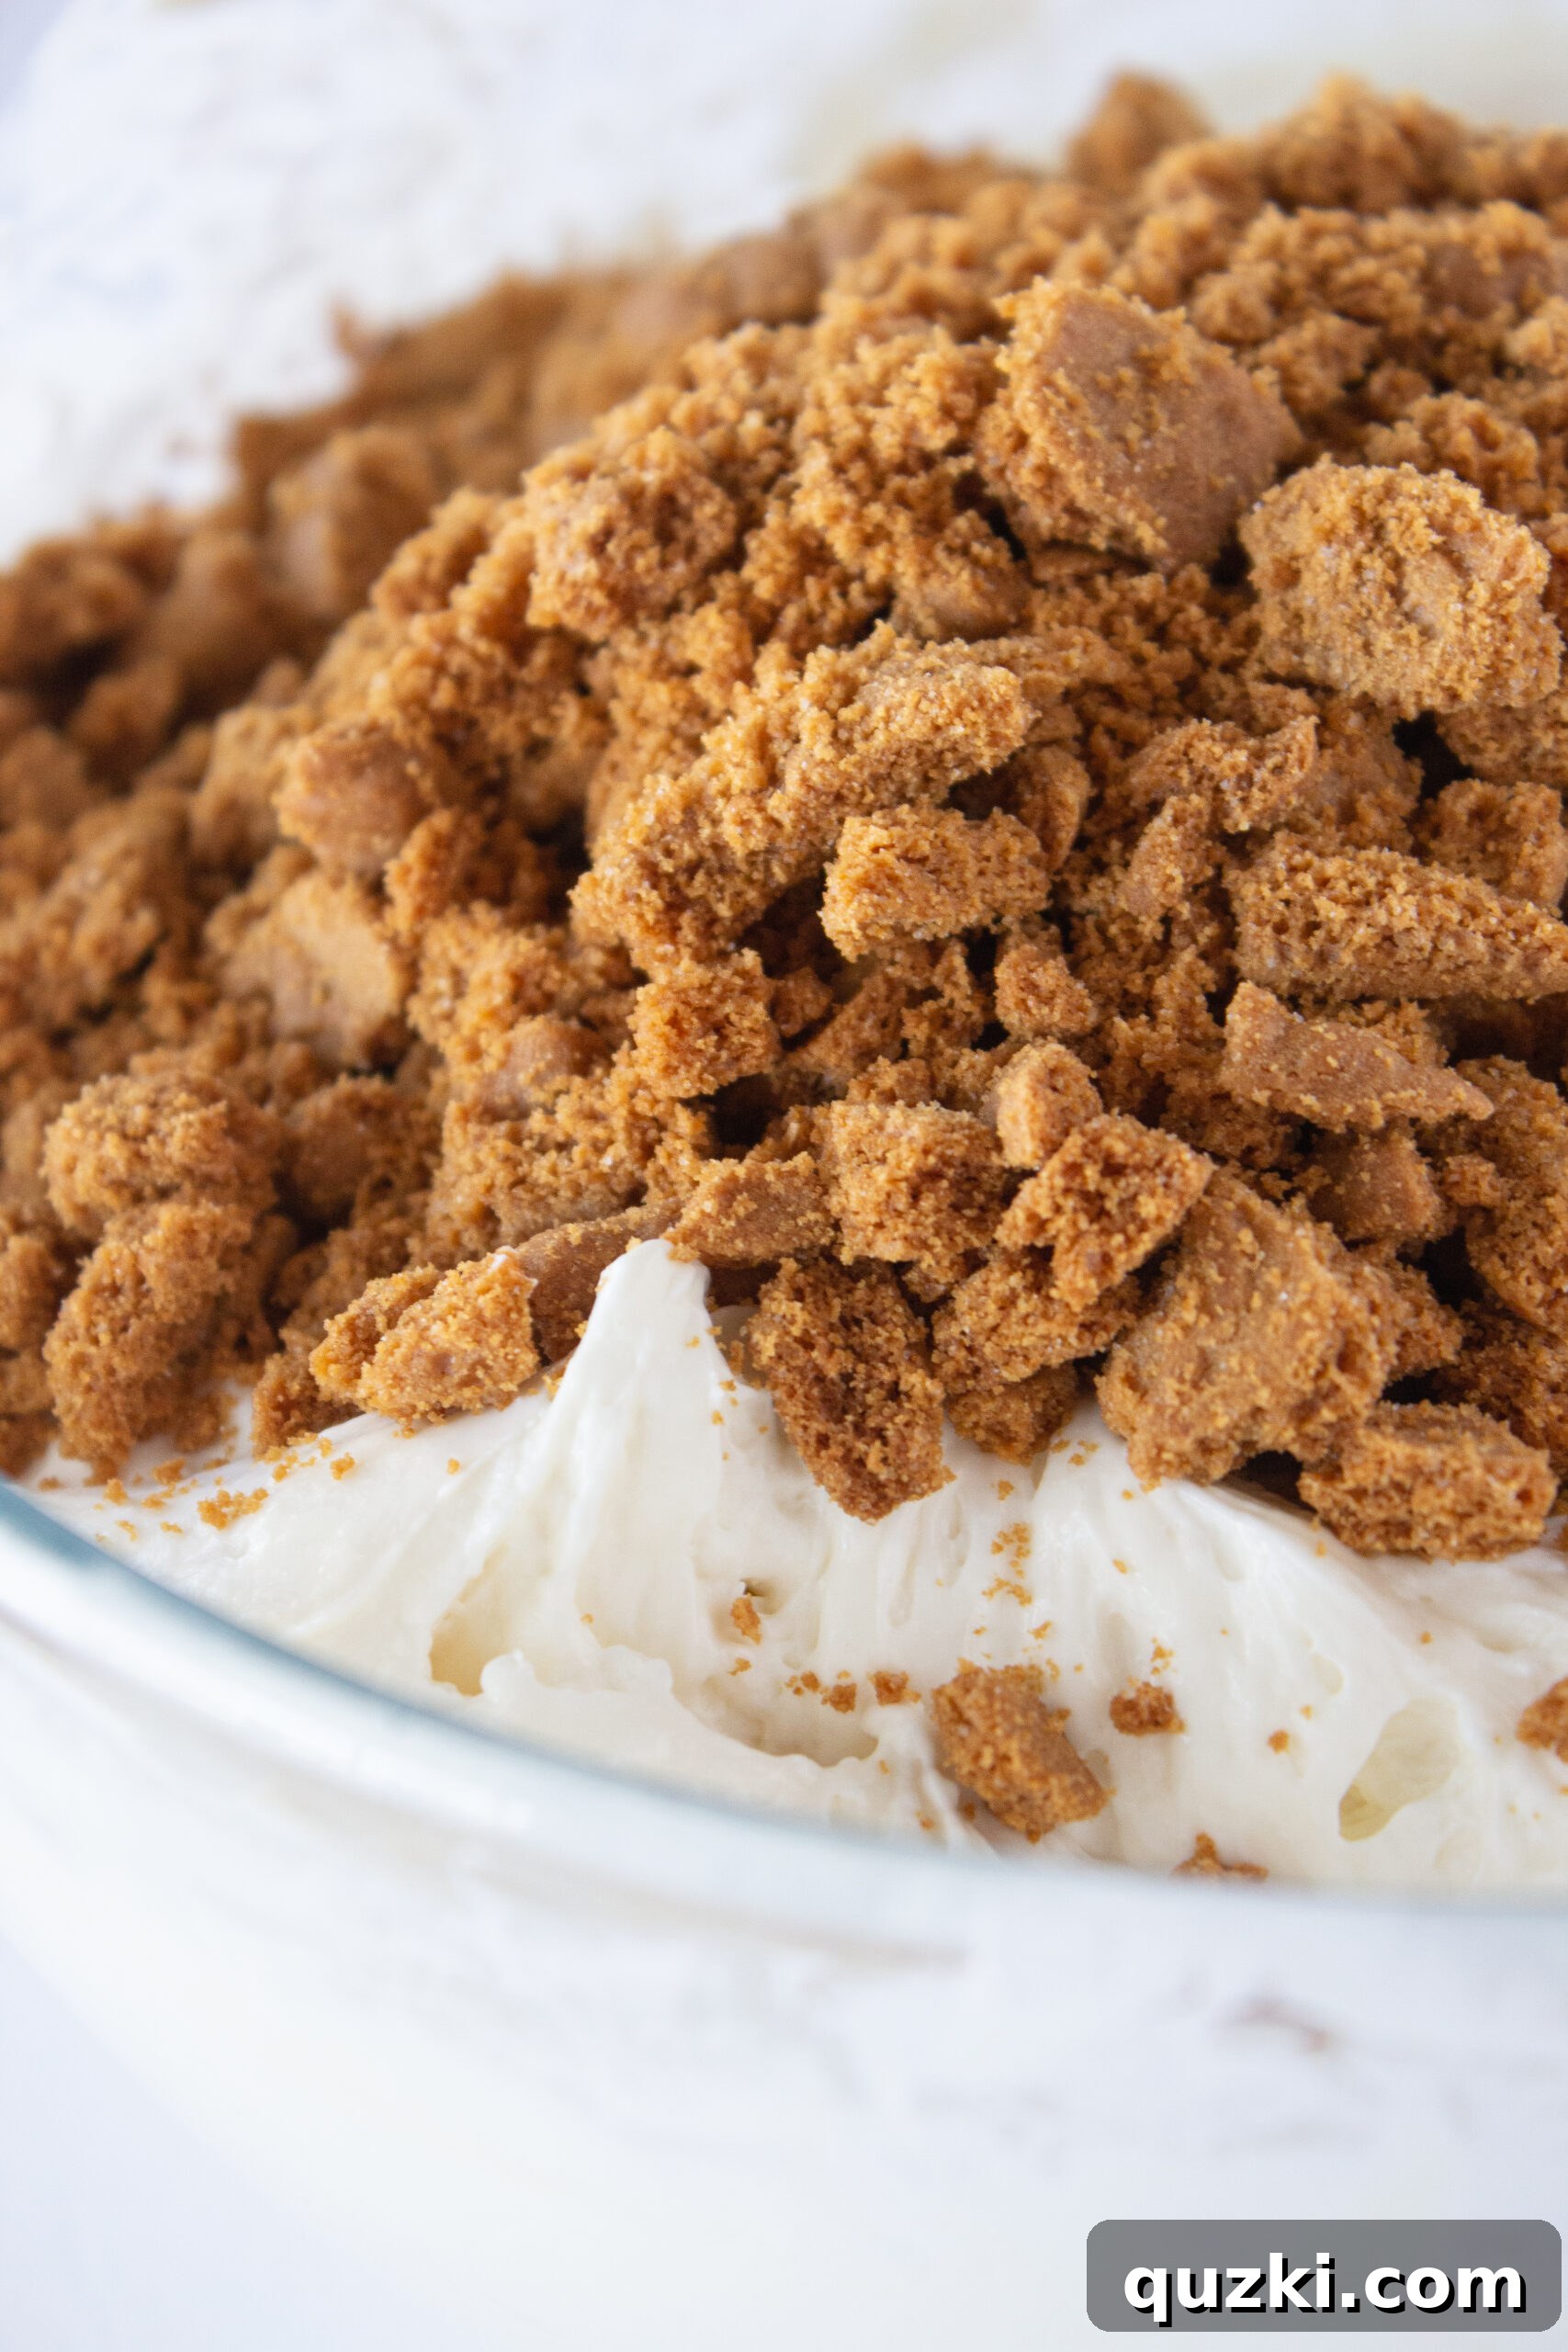
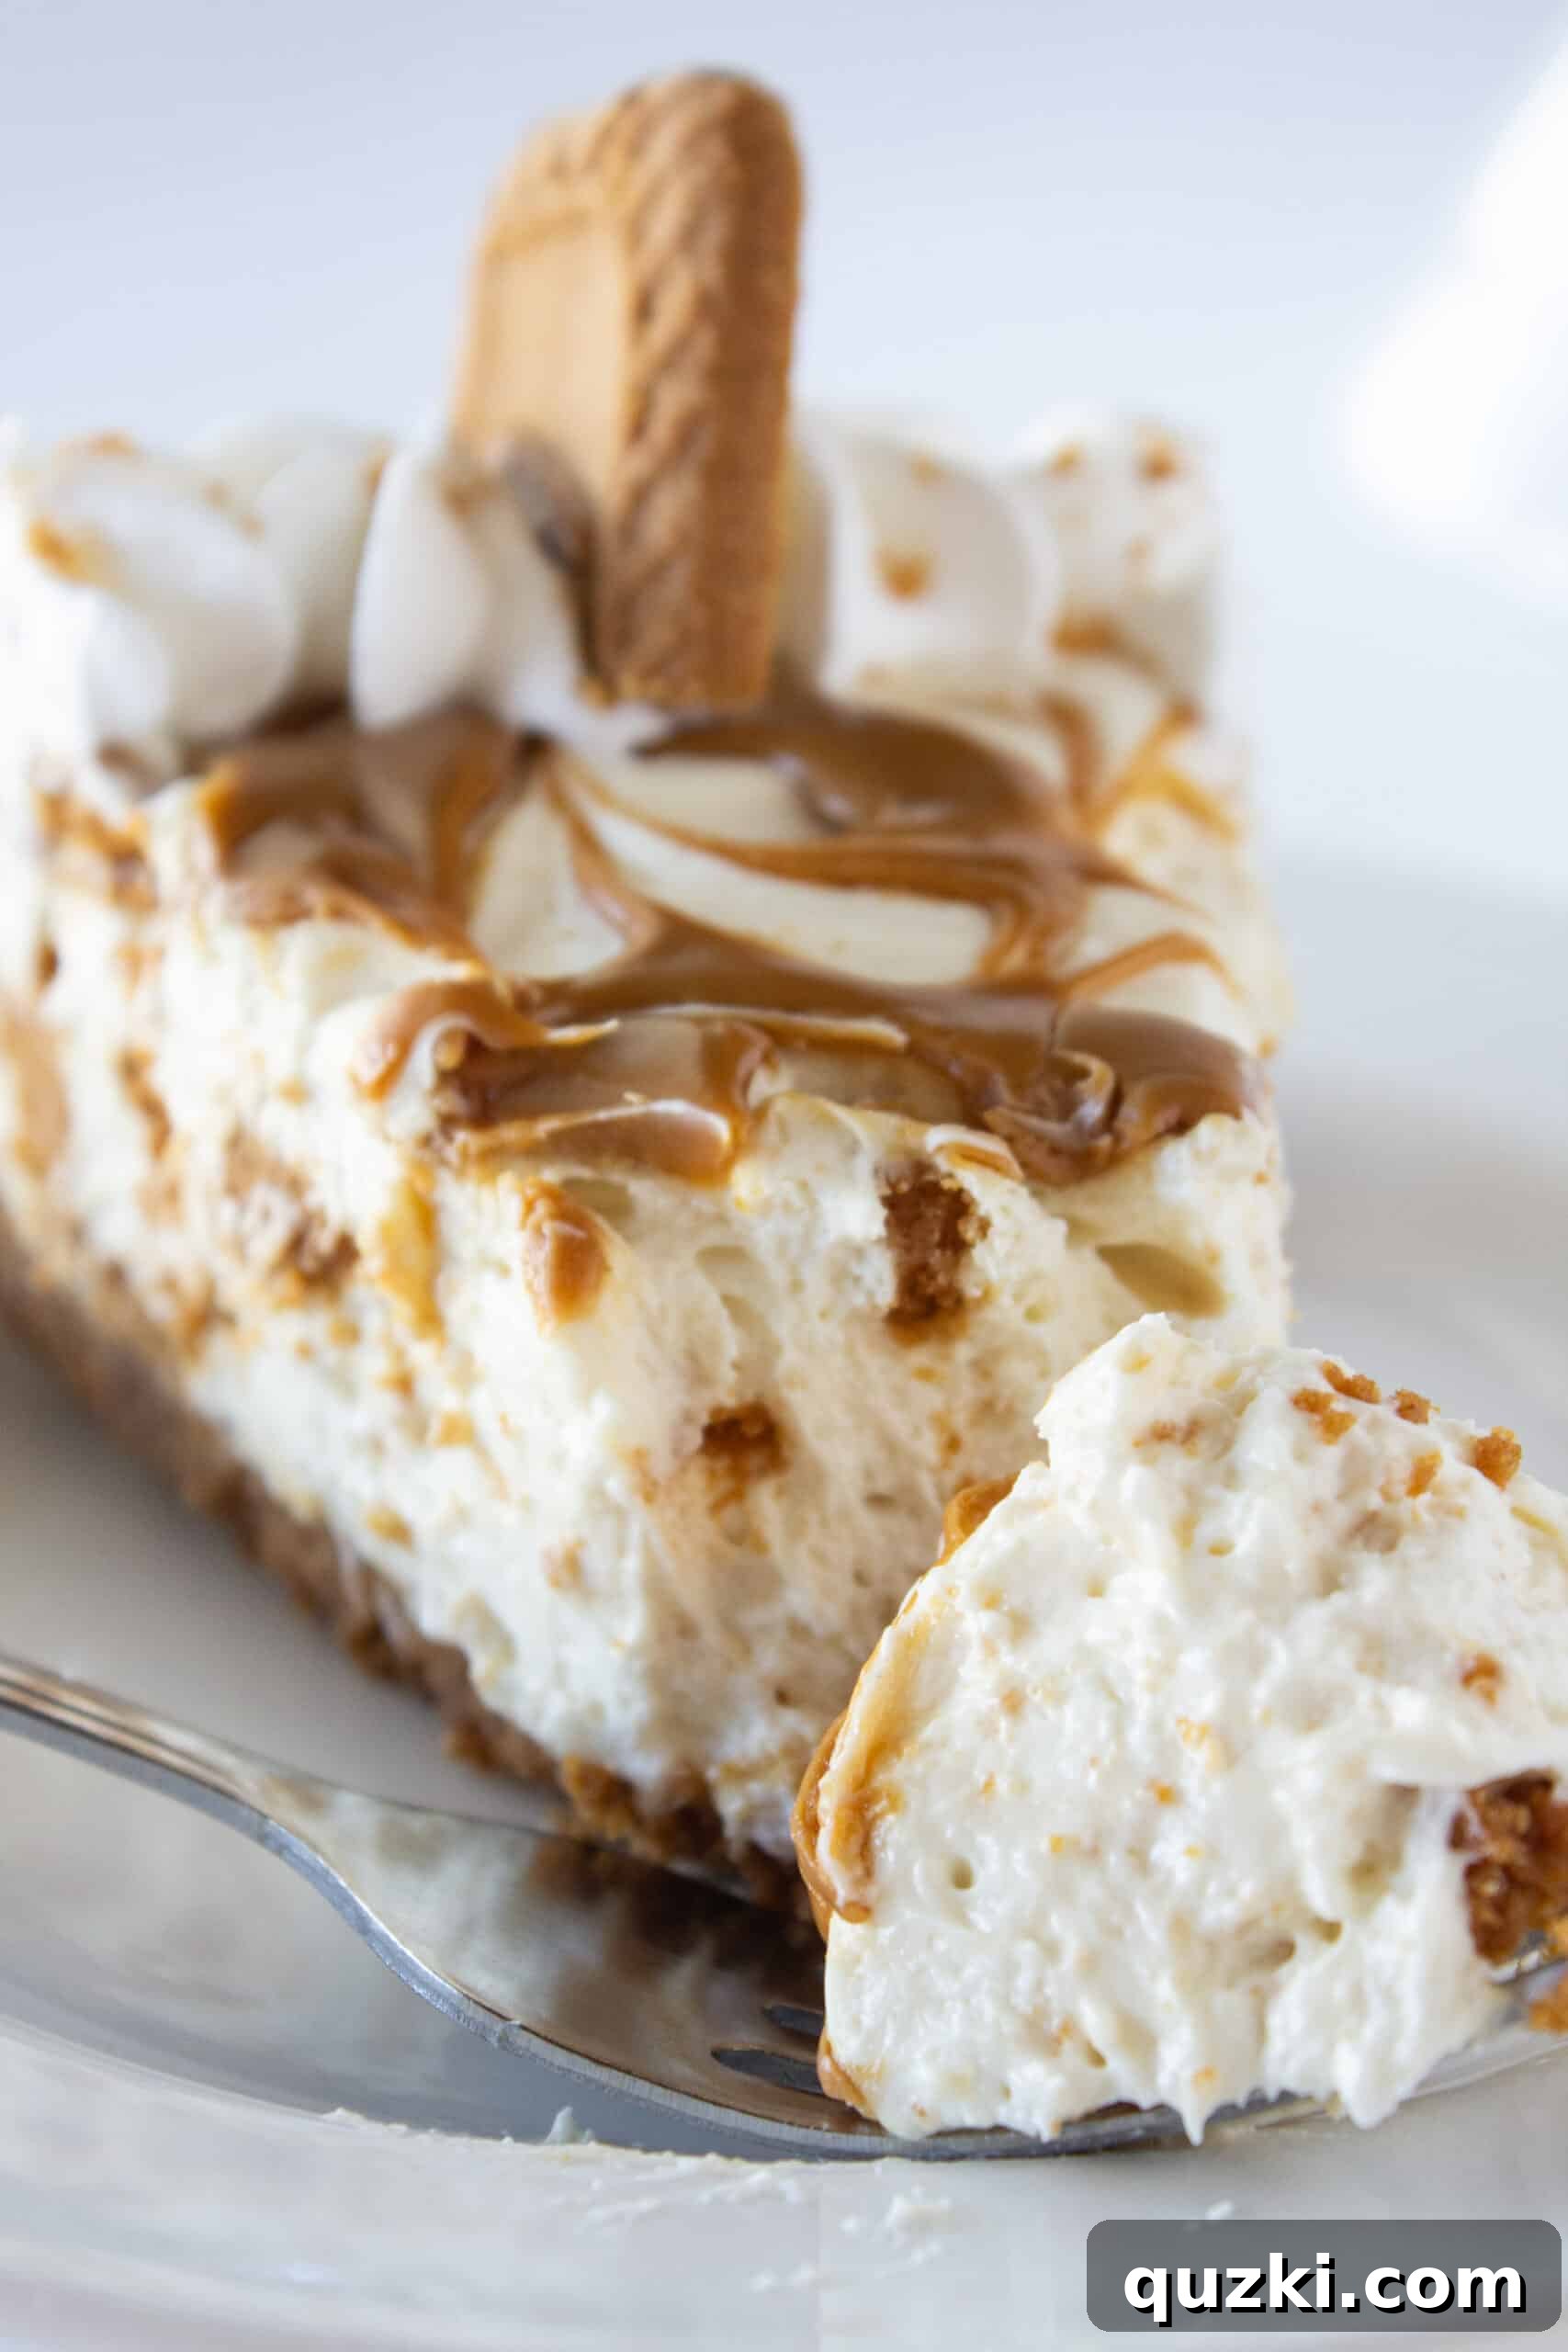
Finally, stir in the reserved crushed Biscoff cookies. Fold them in gently until they are evenly distributed throughout the luscious filling. These hidden pockets of crunchy cookie goodness provide a delightful textural contrast that elevates the entire dessert.
Assembling and Decorating Your No-Bake Masterpiece
With your perfectly chilled crust and exquisite filling ready, it’s time to bring this Cookie Butter No Bake Cheesecake to life. This is where the magic truly happens, culminating in a dessert that’s as beautiful as it is delicious.
Layering the Filling
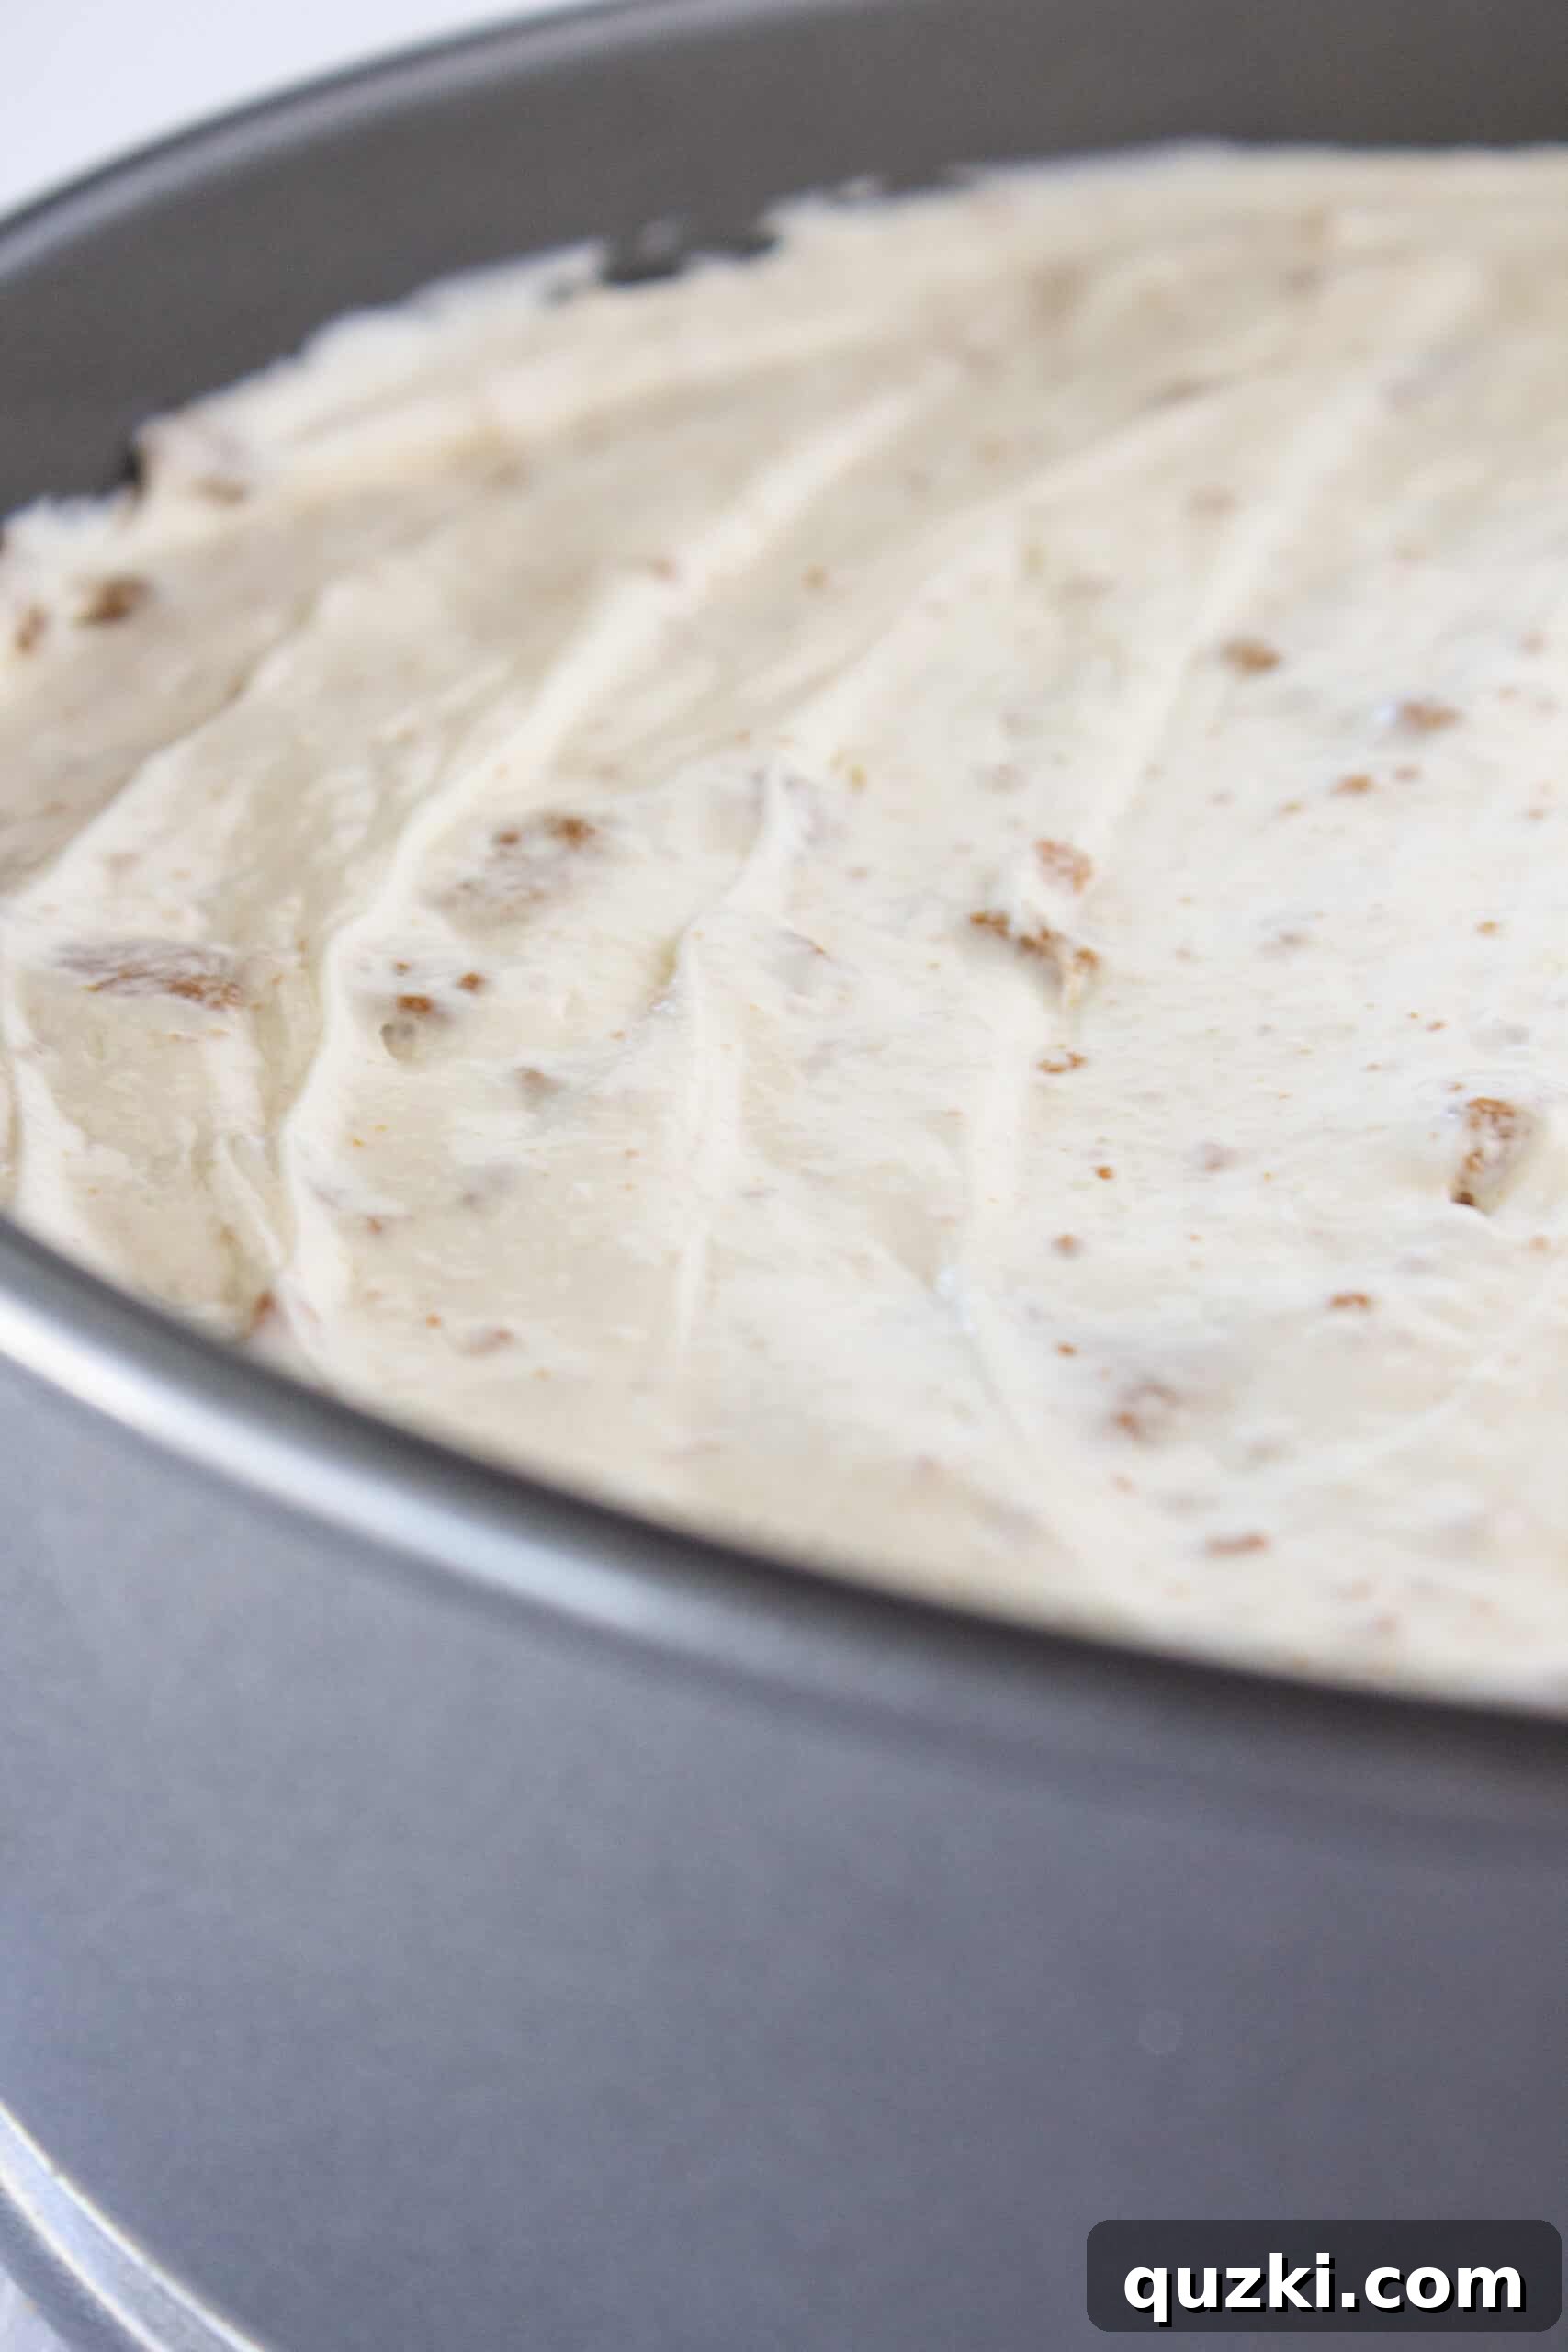
Carefully pour the creamy cookie butter cheesecake filling into your prepared Biscoff cookie crust. Use an offset spatula or the back of a spoon to gently spread the filling out into an even, smooth layer. Take your time to ensure it’s evenly distributed, creating a neat foundation for the next step.
The Signature Cookie Butter Swirl
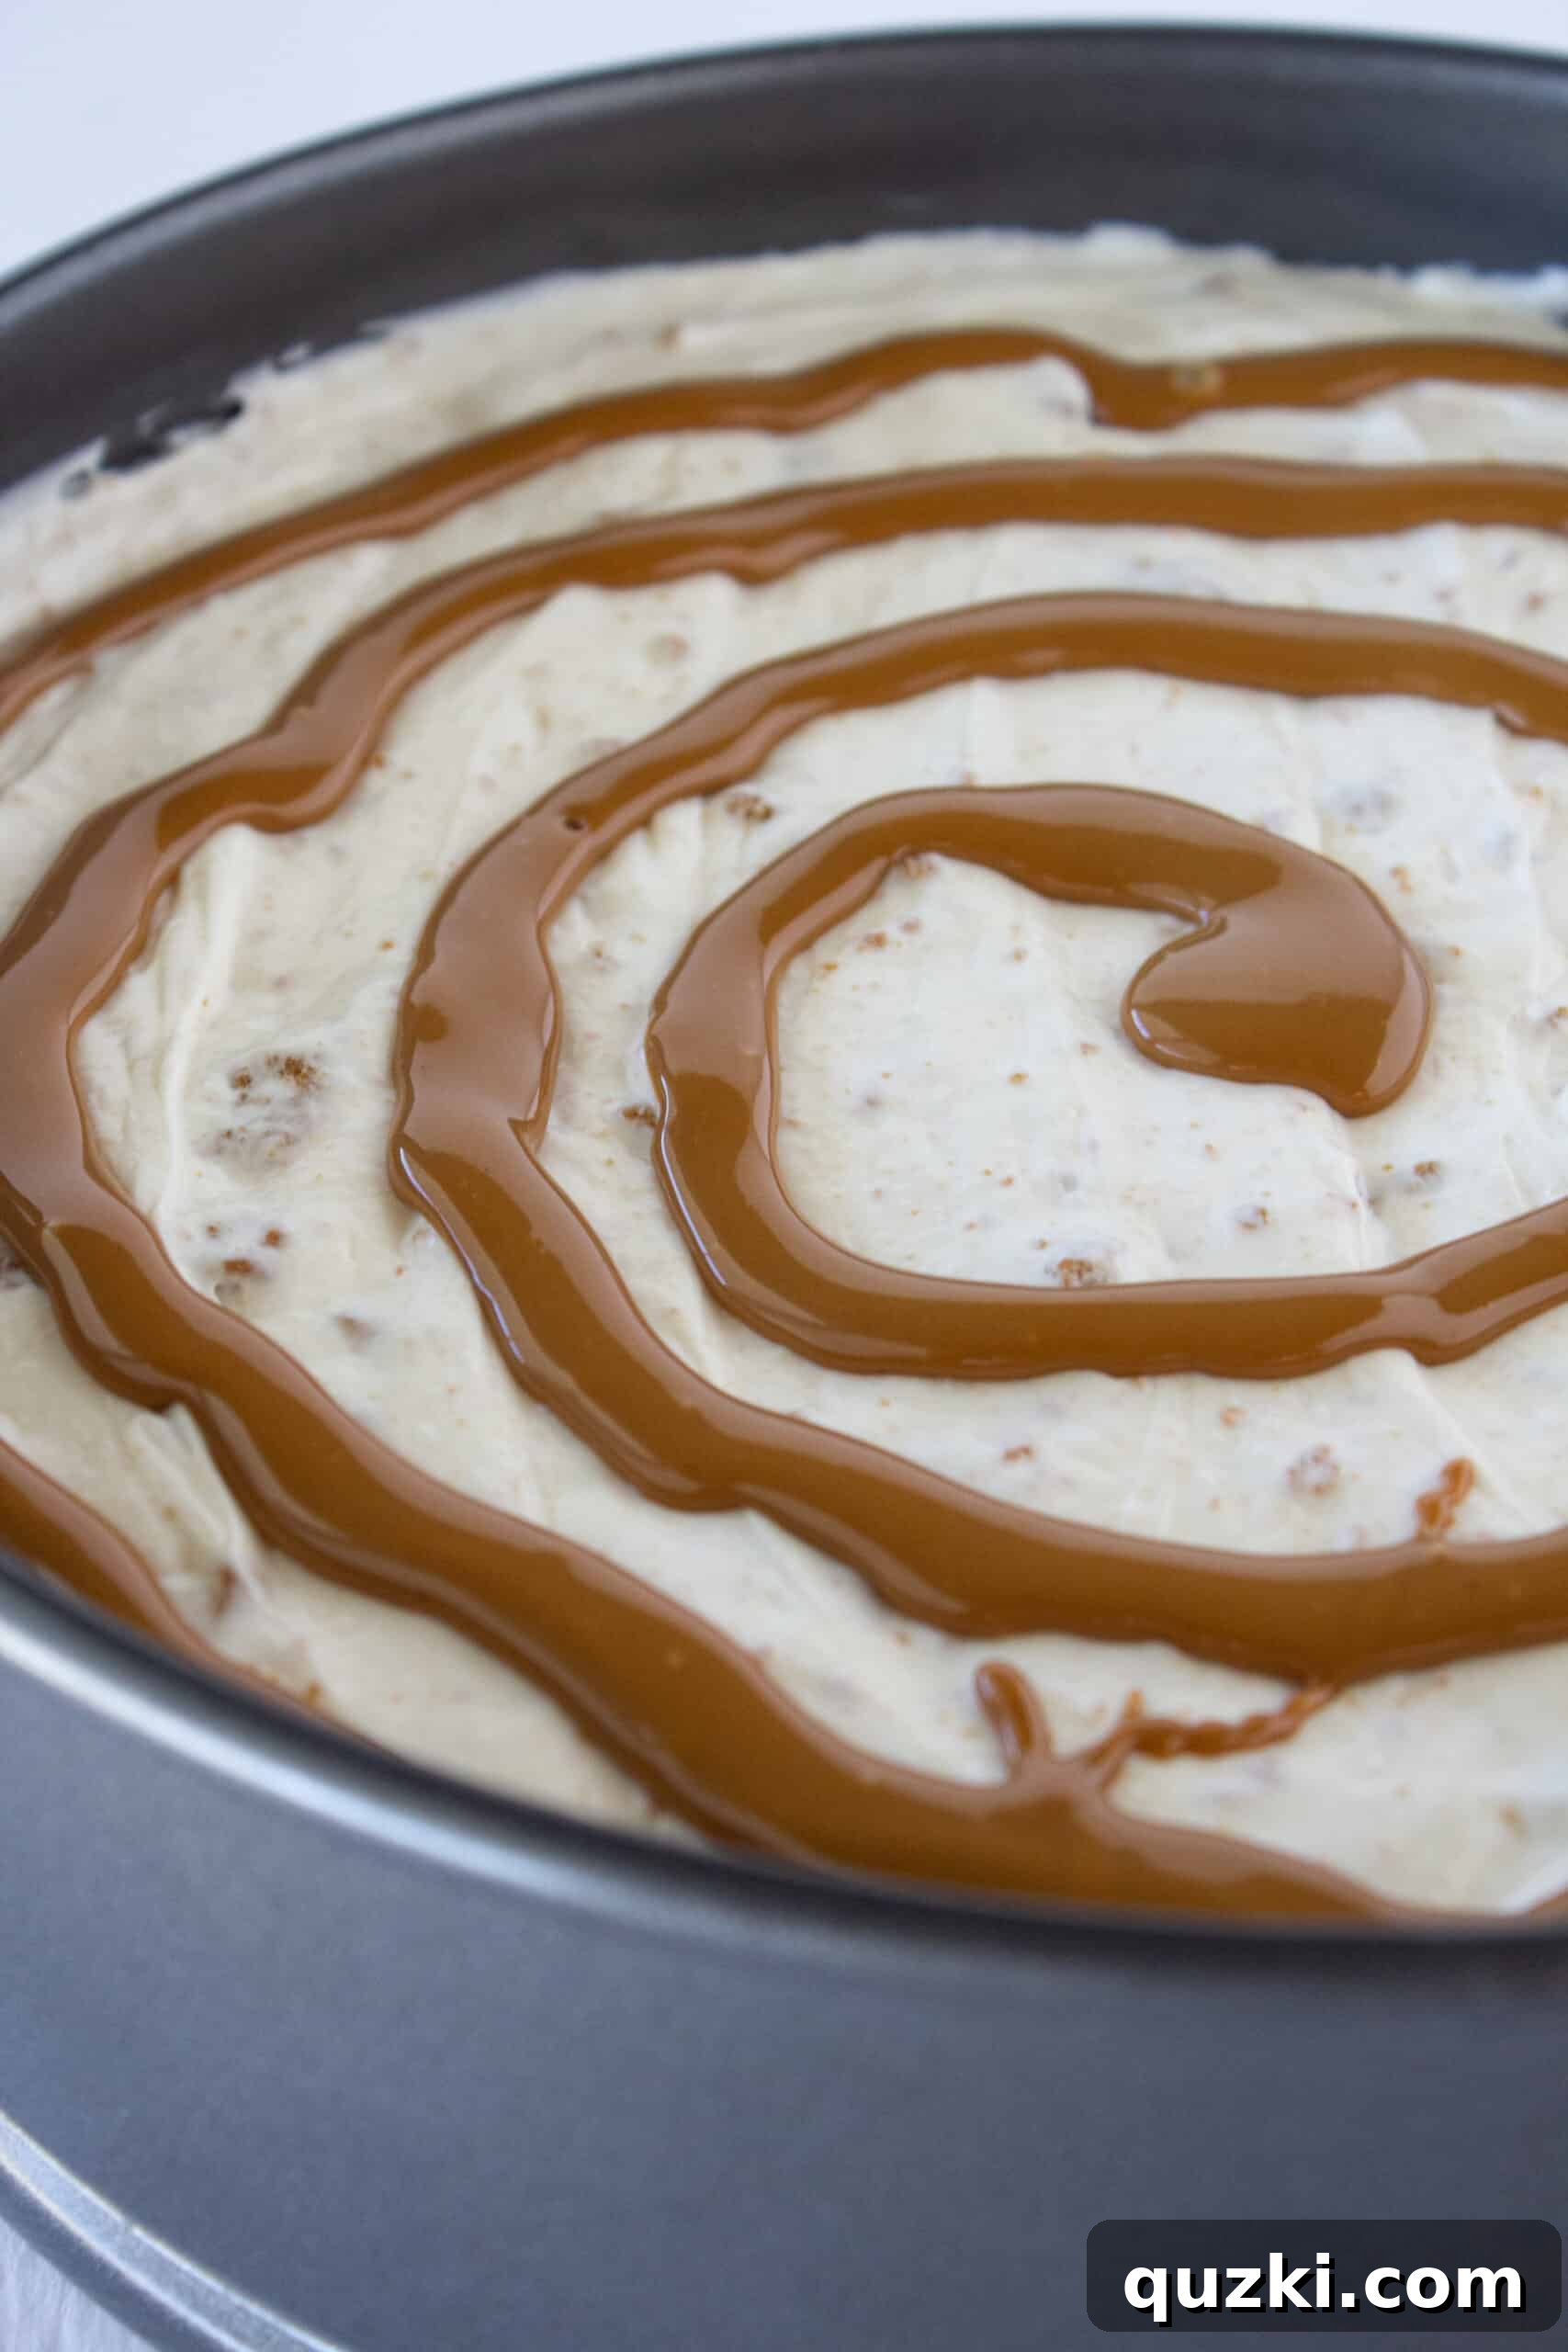
Now for the most exciting part: the melted cookie butter drizzle! Gently melt your cookie butter until it’s pourable, but not hot. Drizzle the melted cookie butter around the top of the cheesecake in a circular motion. You can start in the middle and create concentric circles, or simply wind it around until you have a beautiful ring nearing the edge of the pan.
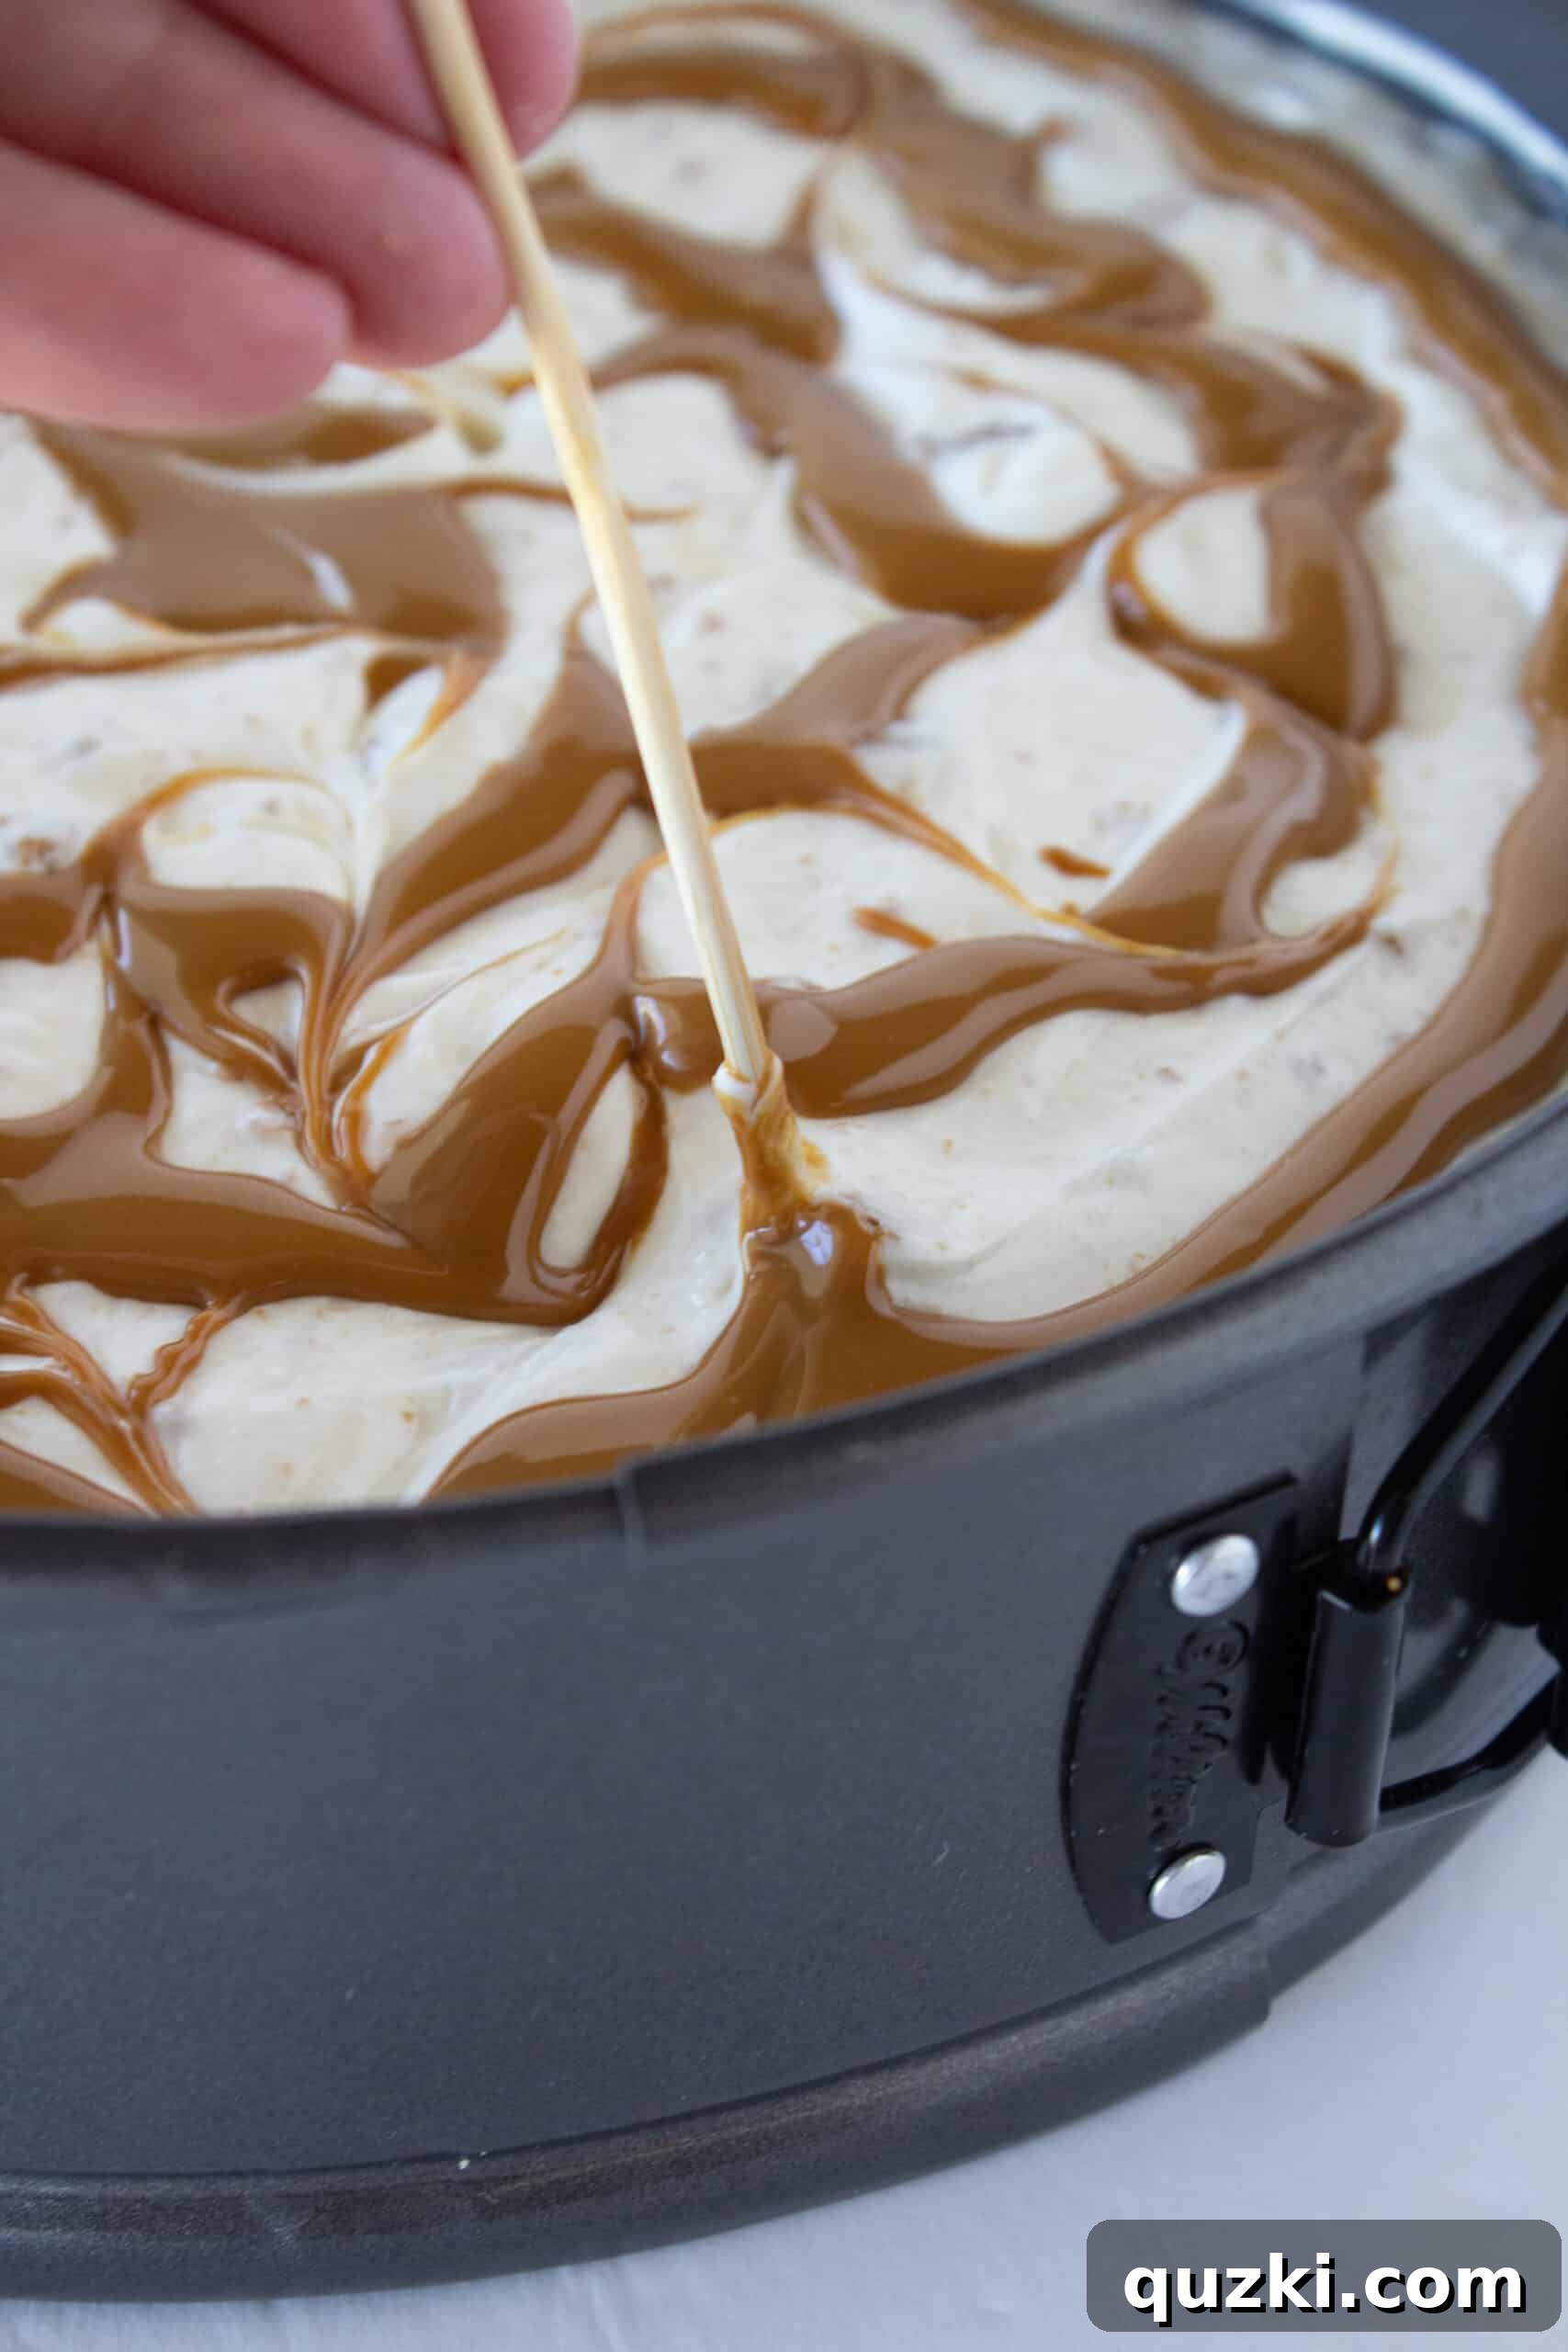
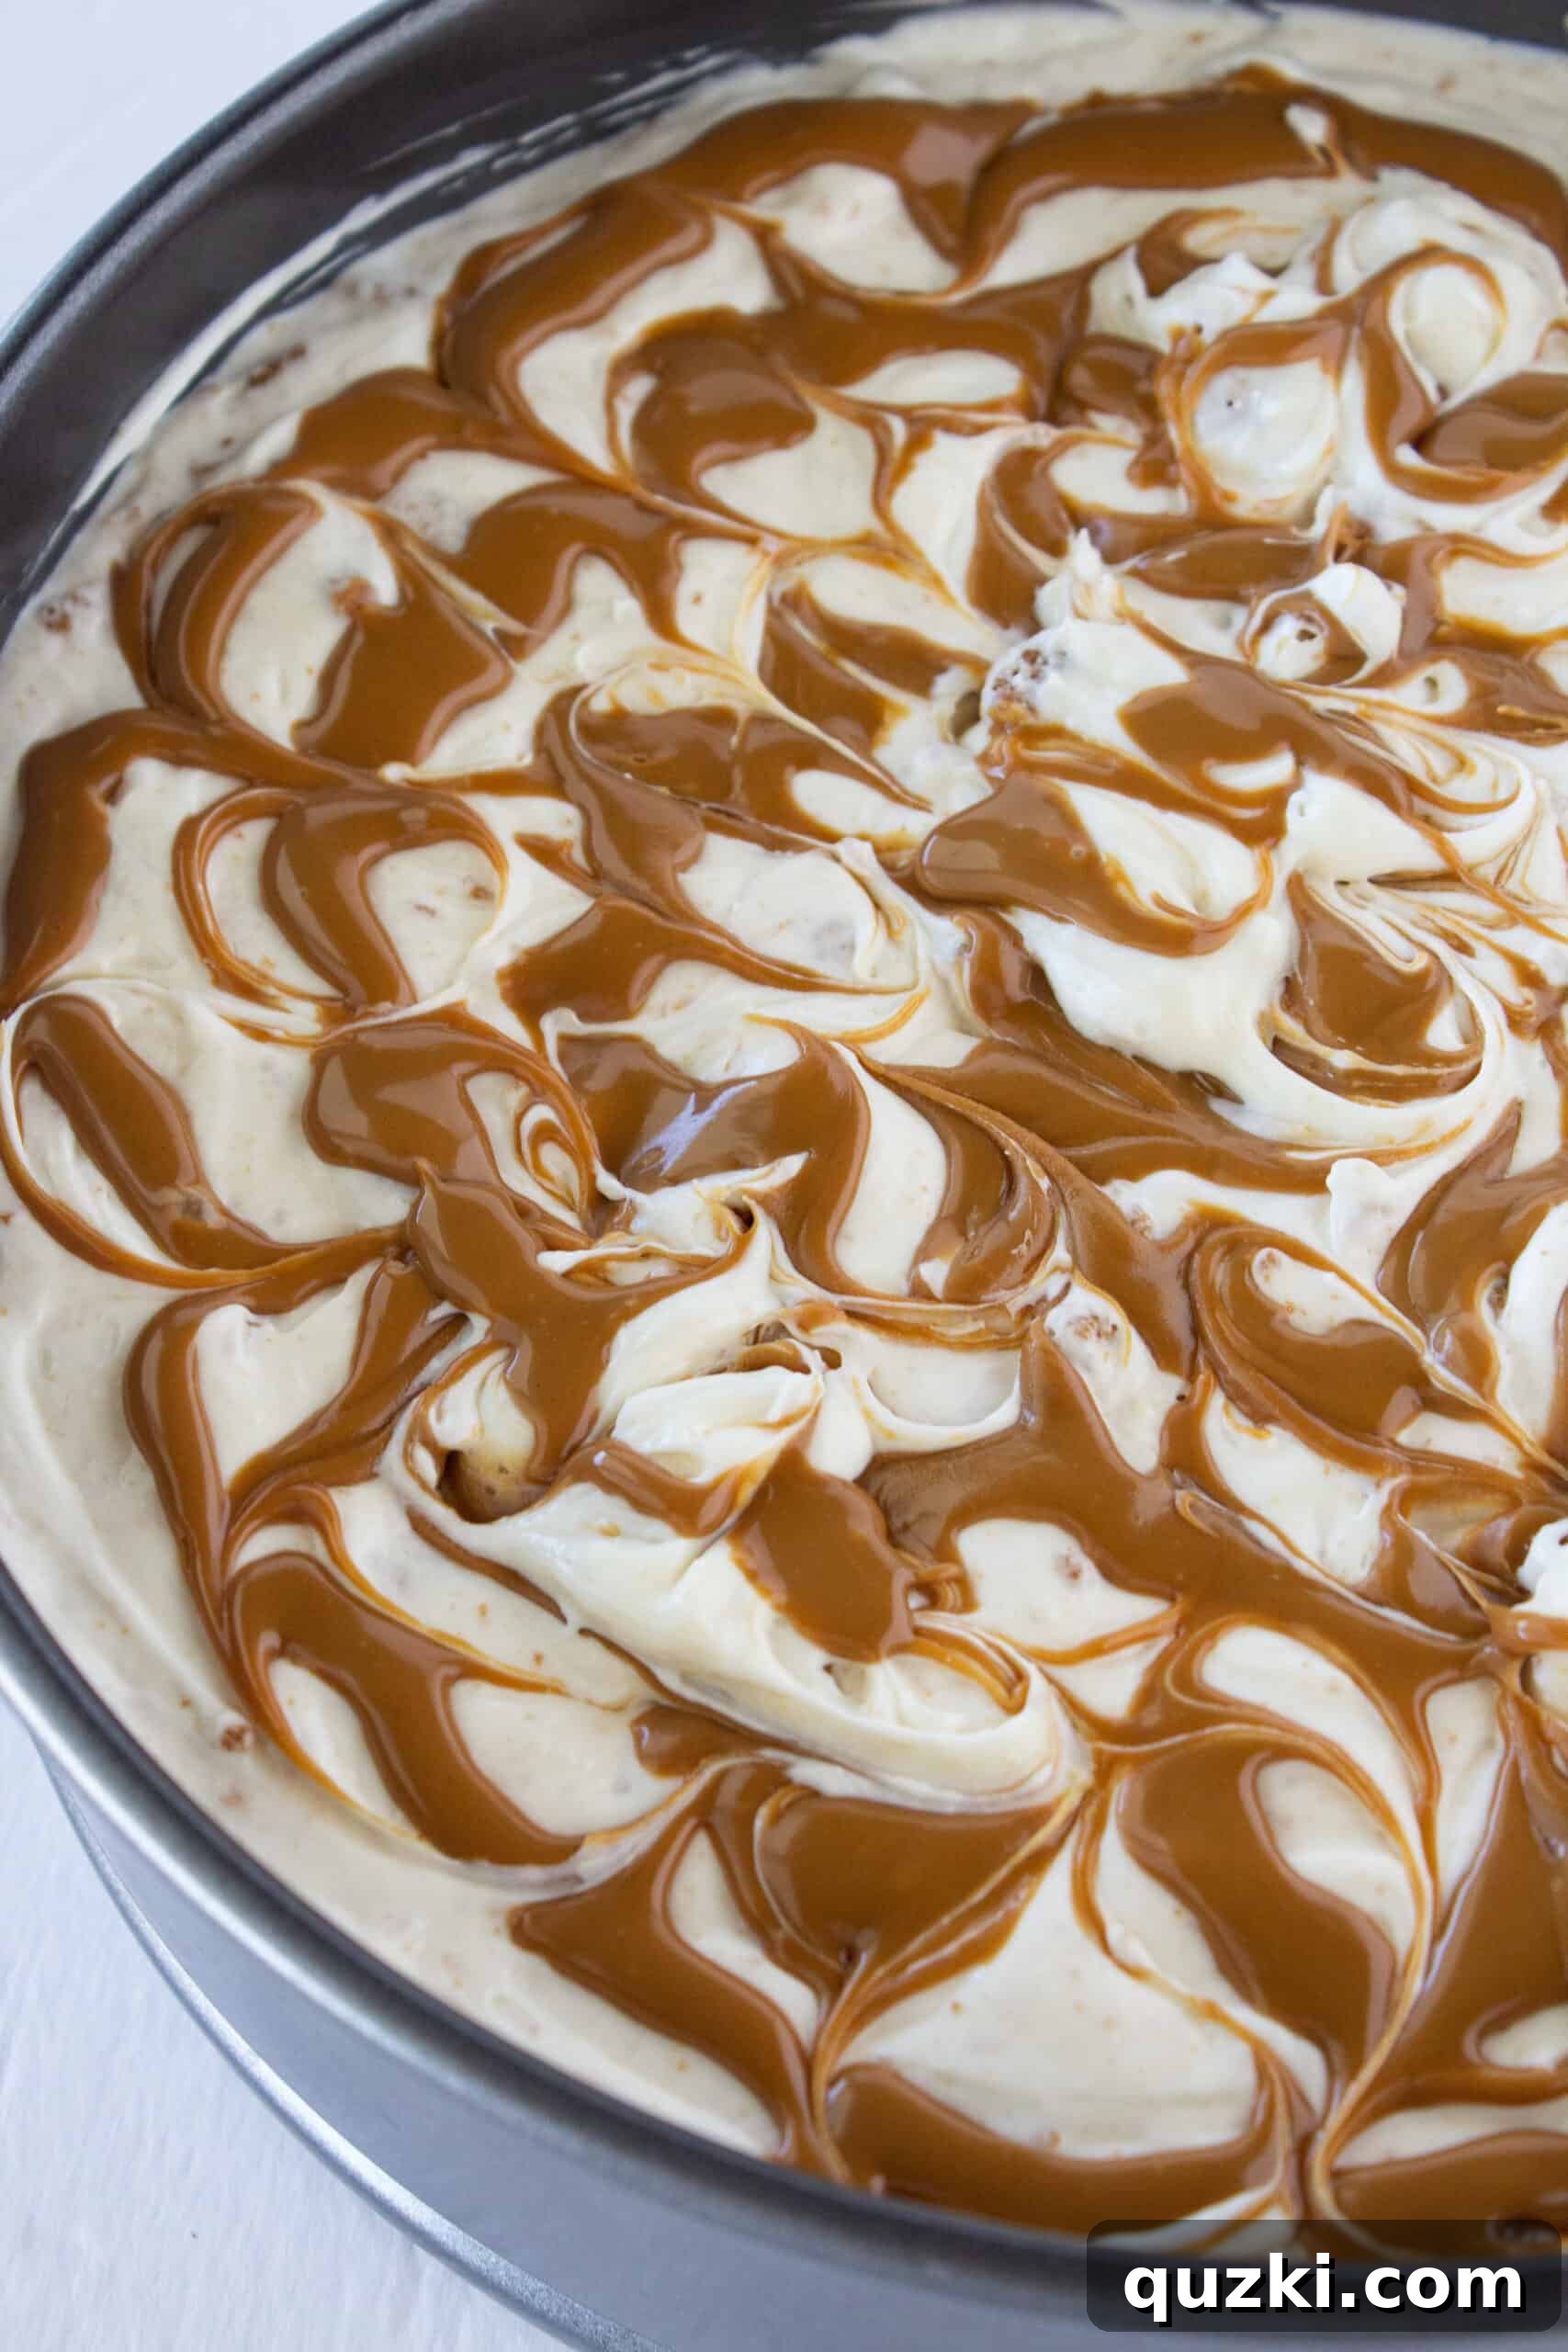
Once drizzled, take a toothpick, a skewer, or even a knife tip, and move it back and forth through the cookie butter and cheesecake filling. This technique creates a stunning, mesmerizing swirl pattern on the top of your cheesecake, adding an artistic touch that makes it look incredibly professional.
Chilling is Crucial
Once assembled and swirled, the cheesecake needs to chill in the refrigerator. This is a non-negotiable step for any no-bake cheesecake. Refrigerate for a minimum of 2-4 hours, or ideally, until the cheesecake is completely set and firm. For the best results, an overnight chill is always recommended. This allows the flavors to meld and the filling to achieve its perfect, sliceable consistency.
Elegant Serving Suggestions
When you’re ready to serve, carefully remove the cheesecake from the refrigerator. Run a thin knife around the edge of the springform pan to loosen it, then gently release and remove the outer ring. This ensures clean edges for your beautiful dessert.
To add a final flourish, use some extra whipped topping to create a beautiful border around the edge of the cheesecake. A piping bag with a star tip makes this easy and elegant, but a spoon works just as well for a rustic look. Then, for a delightful garnish, top with Biscoff cookies that have been cut in half or crumbled.
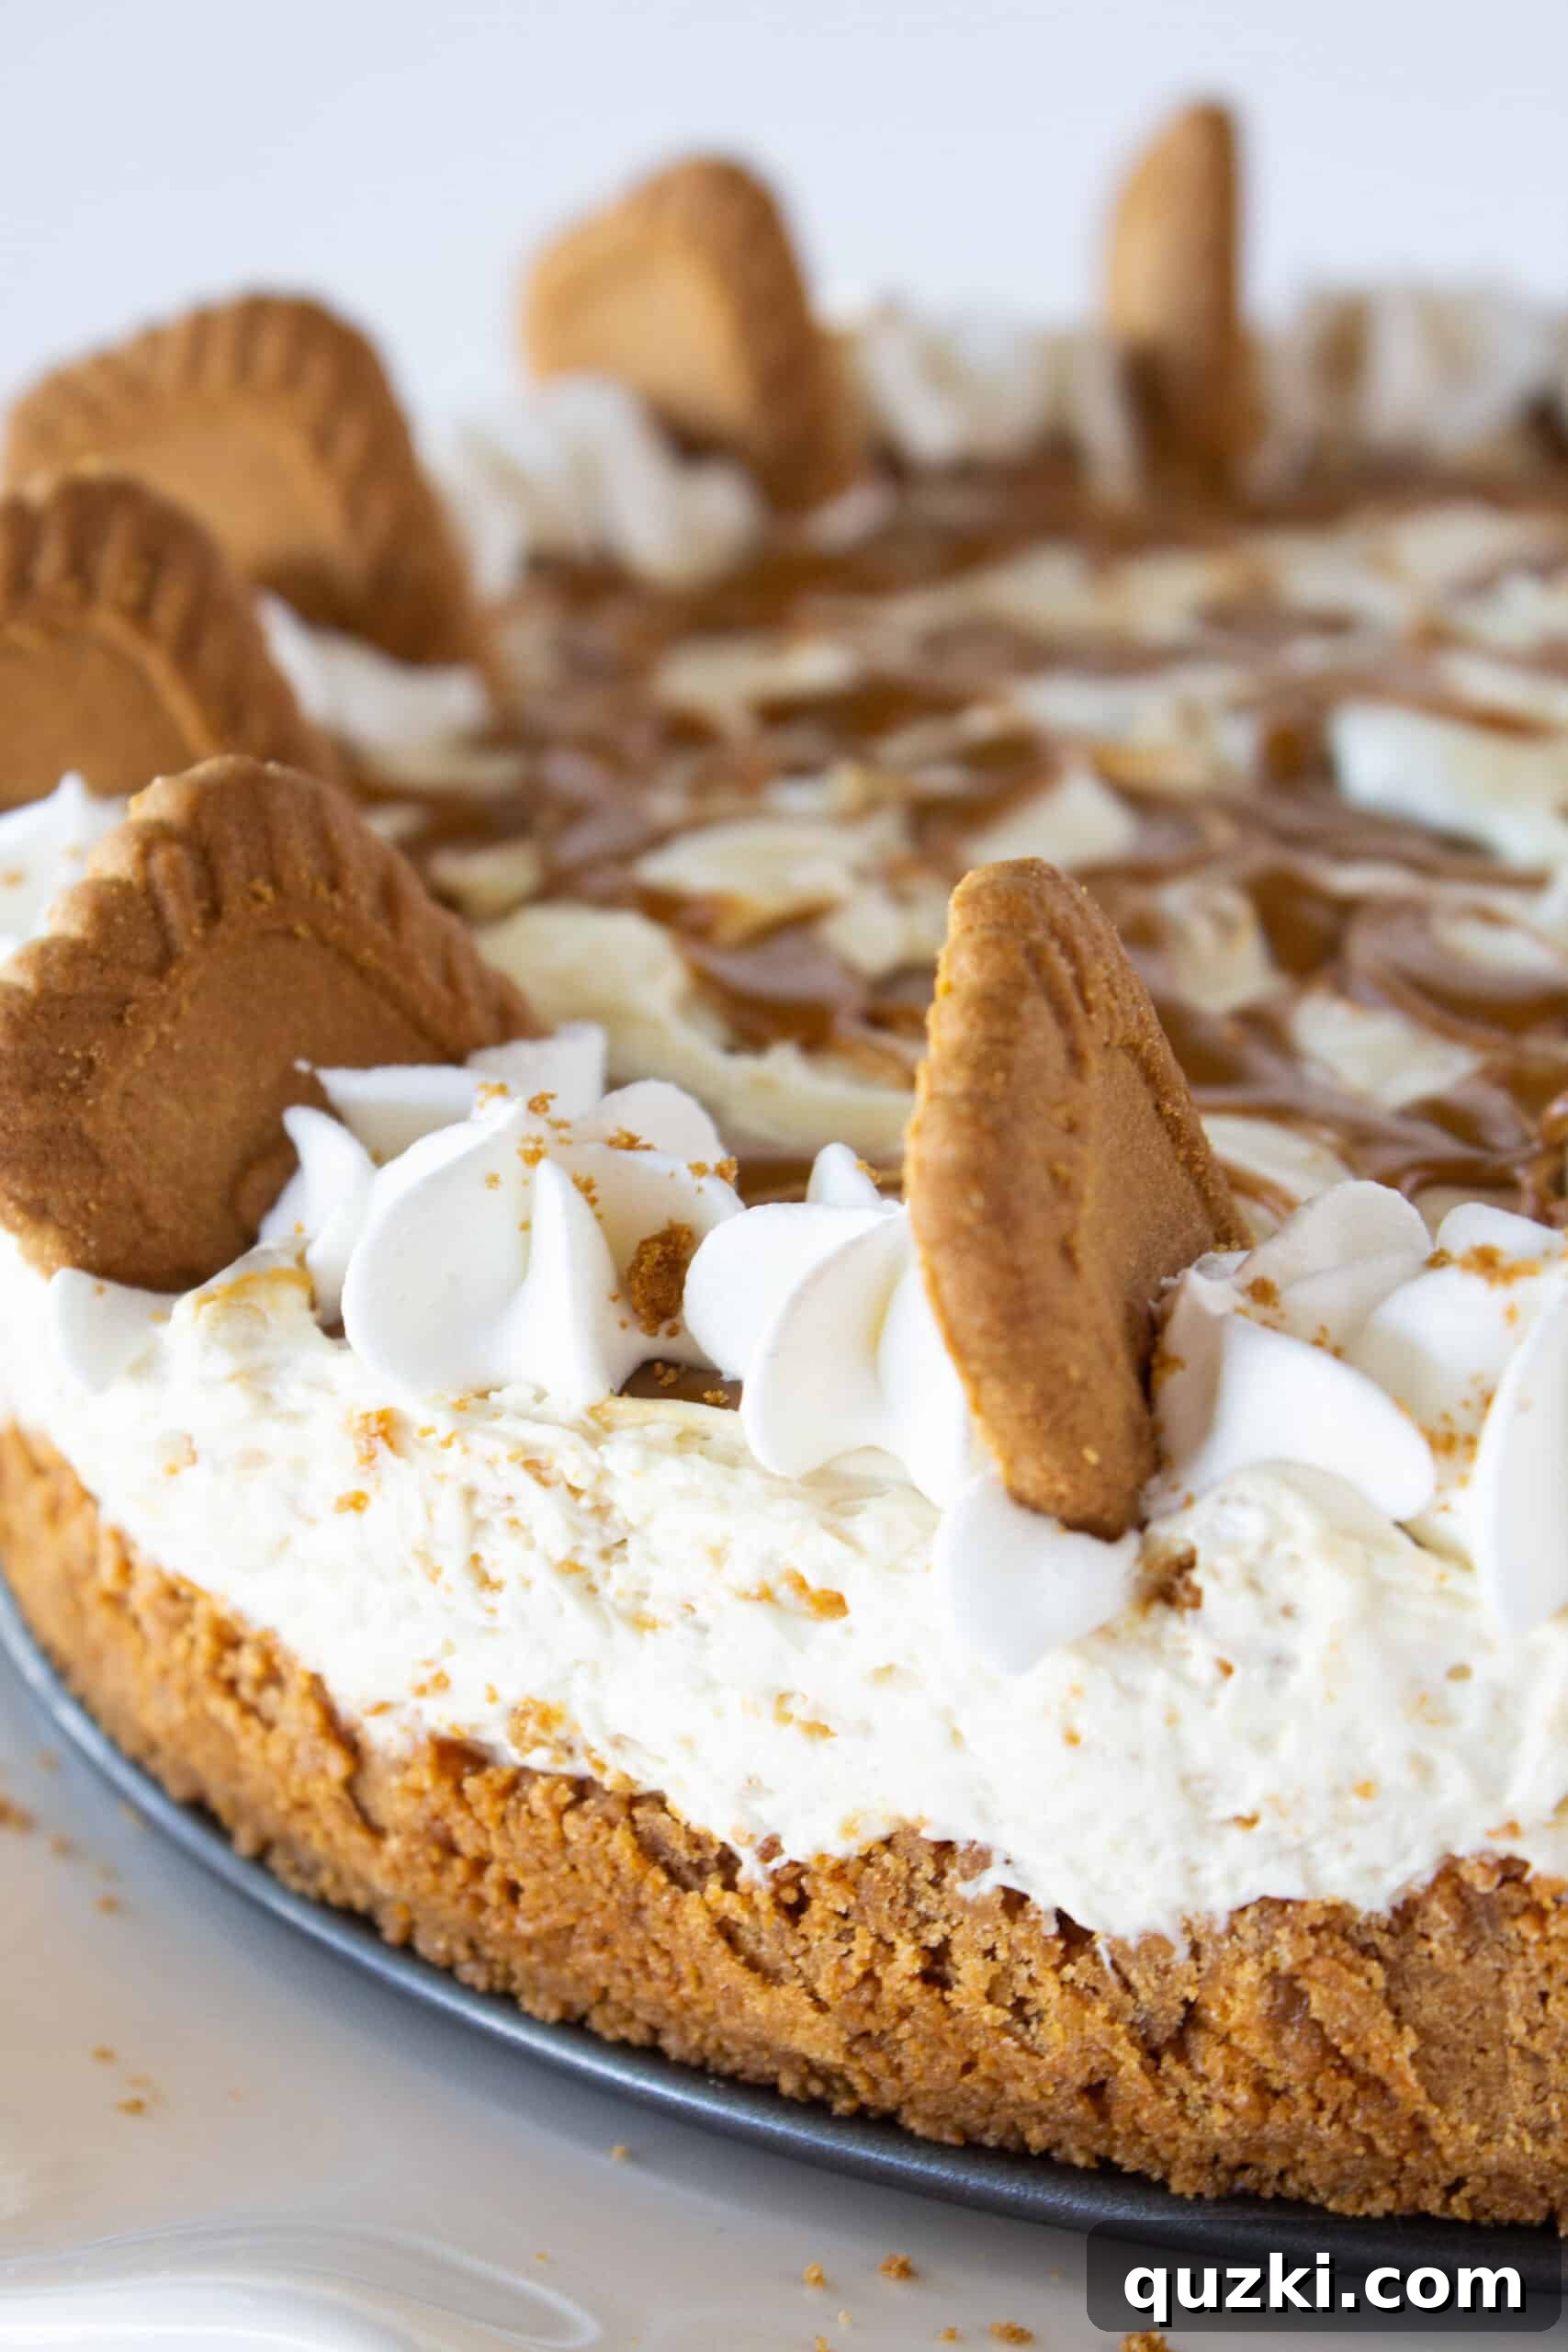
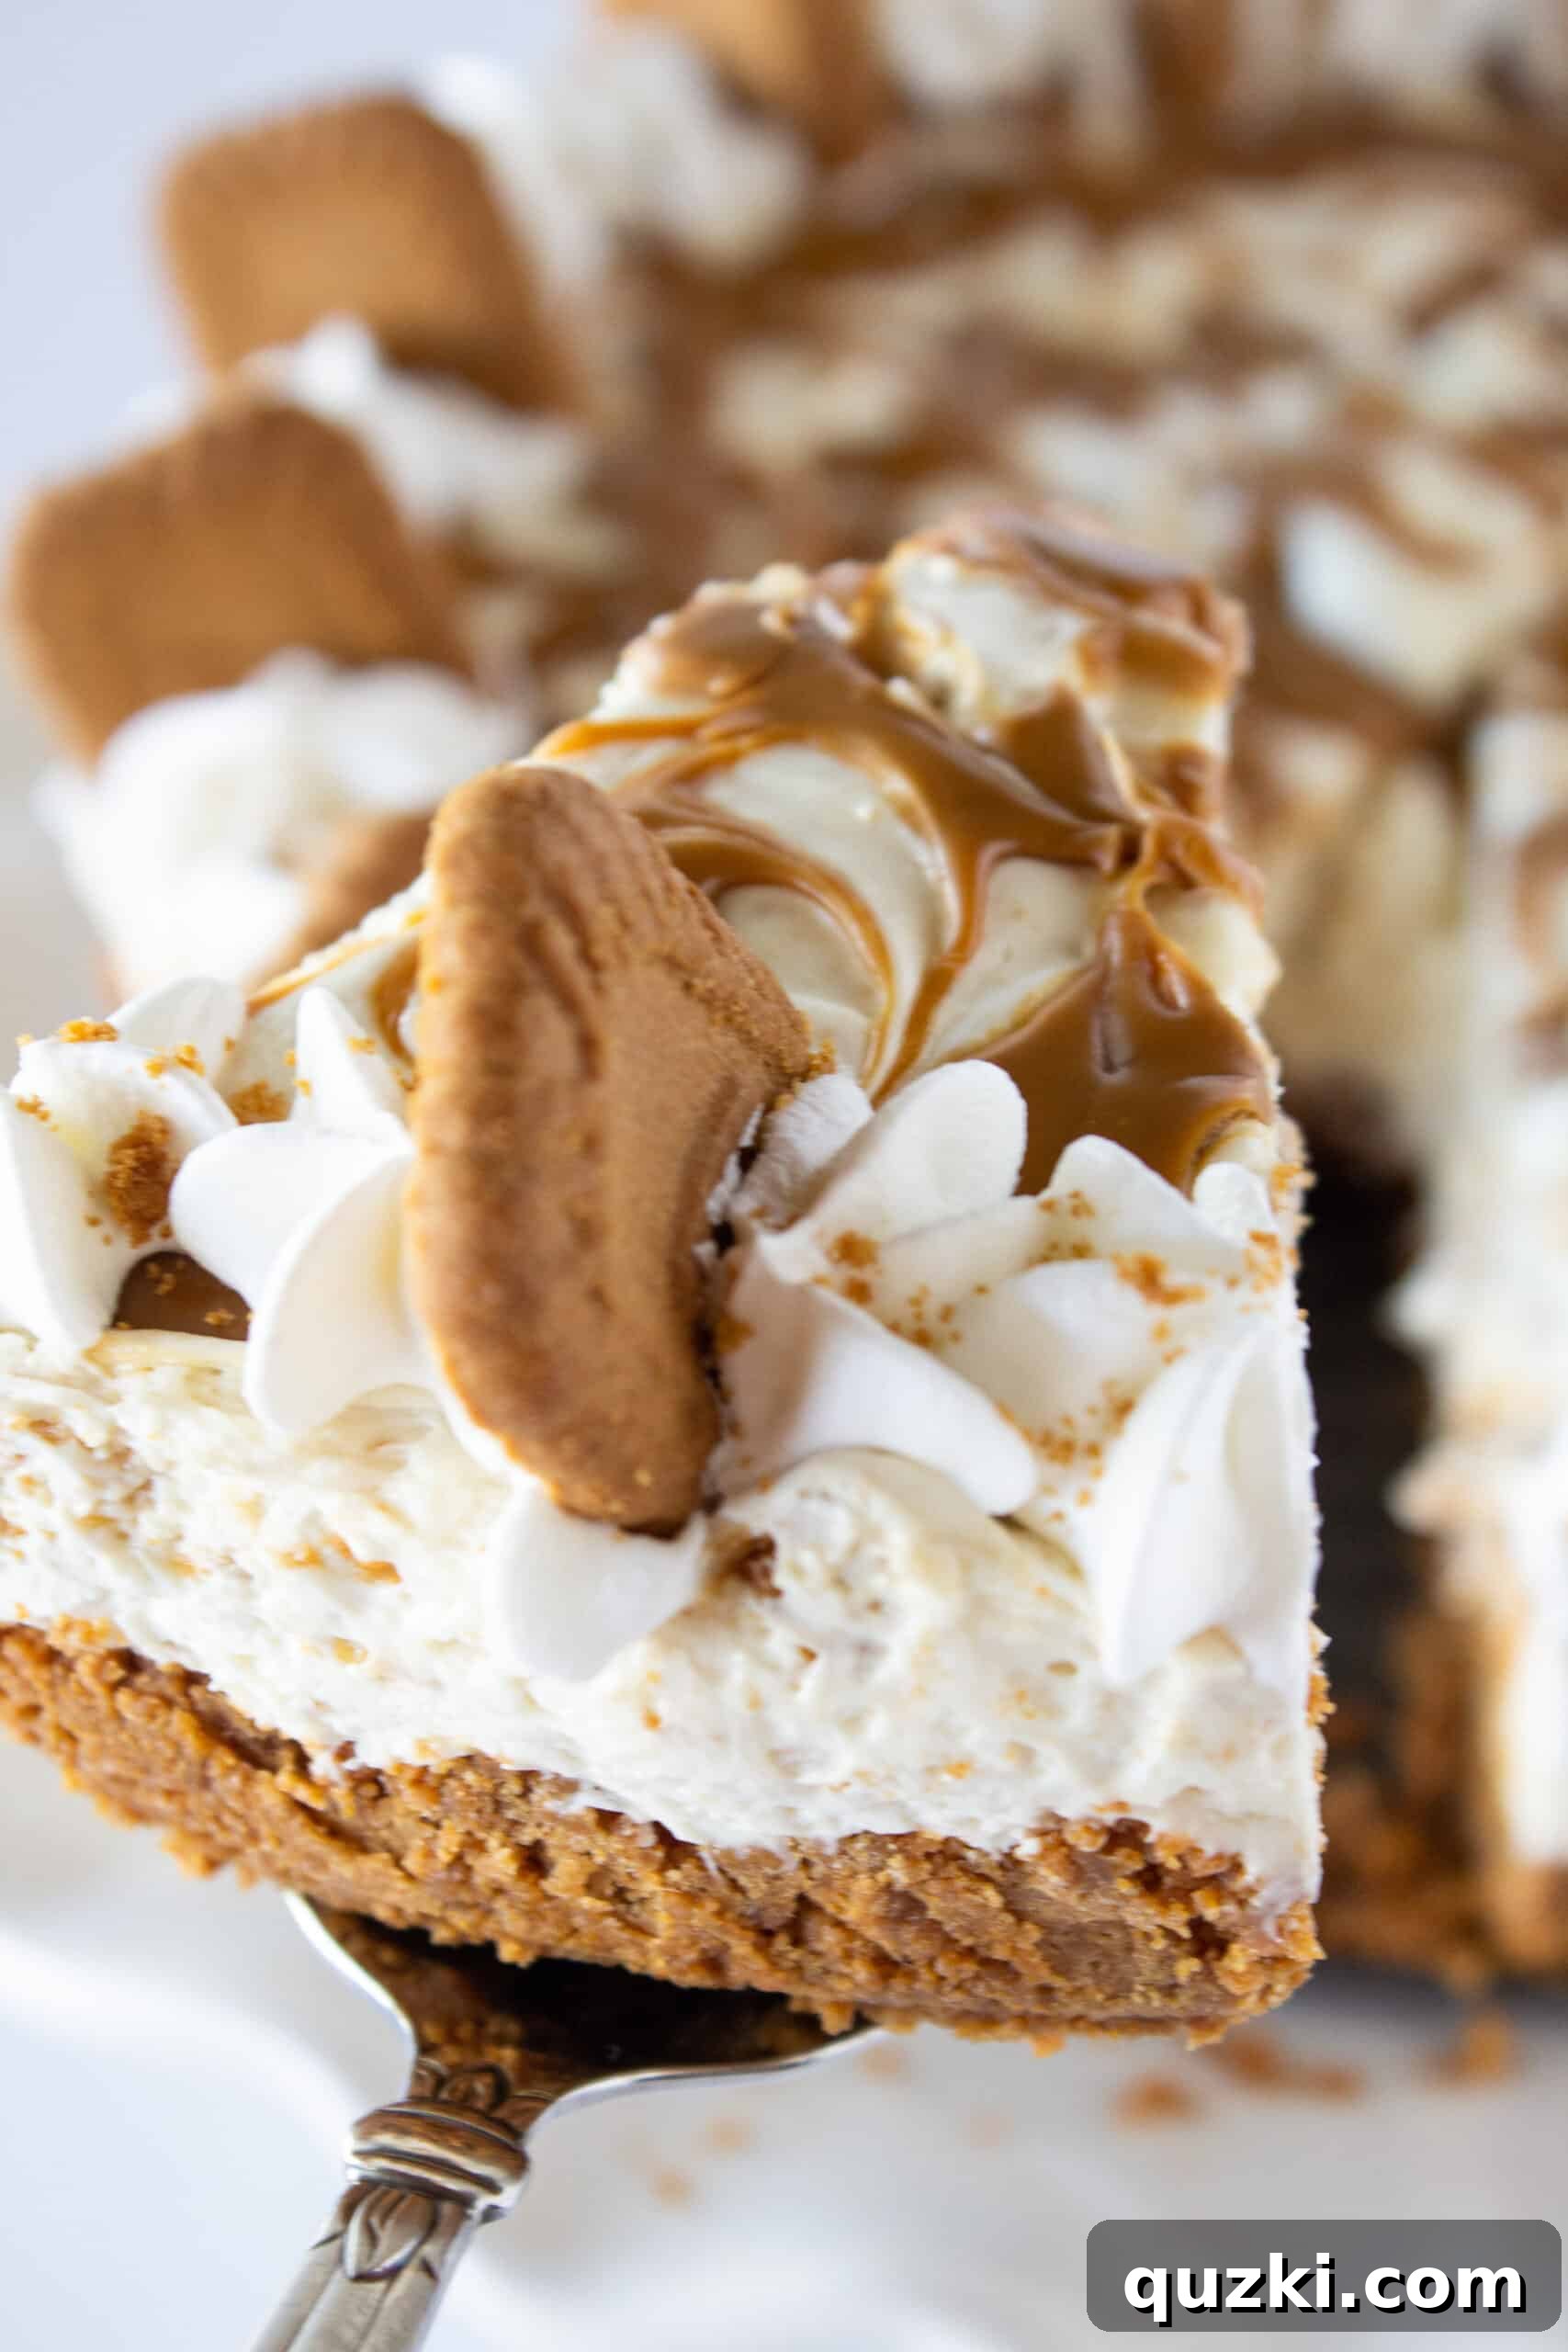
The only thing left to do is to slice into this decadent dessert and dig in. Every single bite is pure magic. From the irresistibly creamy filling to the crispy, spiced crust and the delightful crunch of cookies throughout, it’s a true triumph of flavor and texture. Make it for your friends, make it for your family, make it for your neighbors – the point is, you absolutely must make this cheesecake. You won’t regret it!
Frequently Asked Questions (FAQs)
Can I make this Cookie Butter No Bake Cheesecake ahead of time?
Absolutely! This no-bake cheesecake is an excellent make-ahead dessert. In fact, it often tastes even better the next day as the flavors have more time to meld and deepen. You can prepare it up to 2-3 days in advance. Just be sure to cover it tightly with plastic wrap to prevent it from absorbing any refrigerator odors.
How long does the no-bake cheesecake last?
When stored properly in an airtight container in the refrigerator, this Cookie Butter No Bake Cheesecake will stay fresh for up to 4 days. While it might last a bit longer, the texture and freshness are best enjoyed within this timeframe.
Can I use other cookies for the crust?
While Biscoff cookies are highly recommended for their complementary flavor with cookie butter, you can certainly experiment! Graham crackers, digestive biscuits, or even vanilla wafers would make a good substitute for a classic cheesecake crust. However, for the true “cookie butter” experience, Biscoff is ideal.
What if I don’t have a springform pan?
A springform pan makes serving incredibly easy, but it’s not strictly necessary. You could use a regular 9-inch pie dish or even individual ramekins for single servings. If using a pie dish, you might want to line it with parchment paper with an overhang on the sides, which will help you lift the cheesecake out for easier slicing, though it won’t be as visually neat as a springform pan.
Is cookie butter the same as Biscoff spread?
Yes, “cookie butter” is a general term for a spread made from crushed cookies, and Biscoff Spread is the most well-known brand of cookie butter, made specifically from Lotus Biscoff cookies. So, when a recipe calls for cookie butter, Biscoff Spread is generally what’s implied and works perfectly.
Tips for No-Bake Cheesecake Success
Achieving a flawless no-bake cheesecake is simple when you keep a few key tips in mind:
- Room Temperature Cream Cheese: Always start with softened cream cheese. This is paramount for a smooth, lump-free filling. Cold cream cheese will result in a clumpy mixture that’s hard to incorporate fully.
- Don’t Overmix the Whipped Topping: Once the whipped topping is added, fold it in gently. Overmixing can cause the topping to lose its airy volume, making your cheesecake dense instead of light and fluffy.
- Chill Time is Essential: Resist the urge to cut into your cheesecake too soon! The chilling period allows the gelatin-like properties of the sweetened condensed milk and the fat in the cream cheese to firm up, giving you a perfectly sliceable dessert. An overnight chill truly yields the best results.
- Quality Ingredients Matter: While simple, the quality of your ingredients makes a difference. Use good quality cream cheese and authentic Biscoff cookies and spread for the most authentic and delicious flavor.
More Irresistible No-Bake Cheesecake Recipes
If you’ve fallen in love with the ease and deliciousness of no-bake cheesecakes, then you’re in for a treat! Here are a few more fantastic recipes to satisfy your craving:
- Golden Oreo No Bake Cheesecake
- Strawberry No Bake Cheesecake
- No Bake Chocolate Chip Cookie Cheesecake
- No Bake Lemon Cheesecake
Cookie Butter No Bake Cheesecake
June Albertson-Dick
Cookie butter is elevated to the next level when added to this no bake cheesecake. With a cookie crust and crushed cookies in the filling, this cheesecake can’t be beat.
4 hrs 15 mins
4 hrs 15 mins
10 slices
Print Recipe
Ingredients
Biscoff Cookie Crust
- 1 – 8.8 ounce pkg. Biscoff cookies
- ½ cup butter, {melted}
Cookie Butter Cheesecake Filling
- 2 – 8 ounce pkg. cream cheese, {softened}
- 1 – 14 ounce can sweetened condensed milk
- 1 – 8 ounce tub whipped topping, {thawed}
- 1 cup Biscoff cookies, {crushed}
- 1 cup cookie butter, {melted}
Toppings
- 1 cup whipped topping, {thawed}
- 4-5 Biscoff Cookies, {cut in half}
Instructions
Biscoff Cookie Crust
- Combine Biscoff cookie crumbs (that you have pulsed in a food processor) and melted butter in a bowl. Mix together until everything is nicely incorporated. Pour into an ungreased springform pan. Press crumbs firmly into the bottom and slightly up the sides of the springform pan. Refrigerate until filling is ready.
Cookie Butter No Bake Cheesecake Filling
- Mix together cream cheese and sweetened condensed milk until creamy using a handheld (or stand mixer). Add the whipped topping and fold into the cream cheese mixture until combined. Stir in the crushed Biscoff cookies so that they are evenly distributed.
Cheesecake Assembly
- Pour Biscoff cheesecake filling into the crust and spread it out into an even layer. Drizzle melted cookie butter over the top of the cheesecake in a circular motion. Using a toothpick (or skewer) swirl the cookie butter into the filling. Refrigerate for 2-4 hours or until set up.
- When ready to serve, top with whipped topping around the edge of the cheesecake (a piping bag can be used for a neat finish) and Biscoff Cookies that have been halved. Store leftovers in refrigerator for up to 4 days.
Nutrition
Calories: 844 kcal,
Carbohydrates: 73 g,
Protein: 11 g,
Fat: 57 g,
Saturated Fat: 25 g,
Polyunsaturated Fat: 1 g,
Monounsaturated Fat: 6 g,
Trans Fat: 0.4 g,
Cholesterol: 68 mg,
Sodium: 240 mg,
Potassium: 231 mg,
Sugar: 57 g,
Vitamin A: 802 IU,
Vitamin C: 1 mg,
Calcium: 174 mg,
Iron: 0.1 mg
Nutrition information is automatically calculated, so should only be used as an approximation.
Like this? Leave a comment below!