
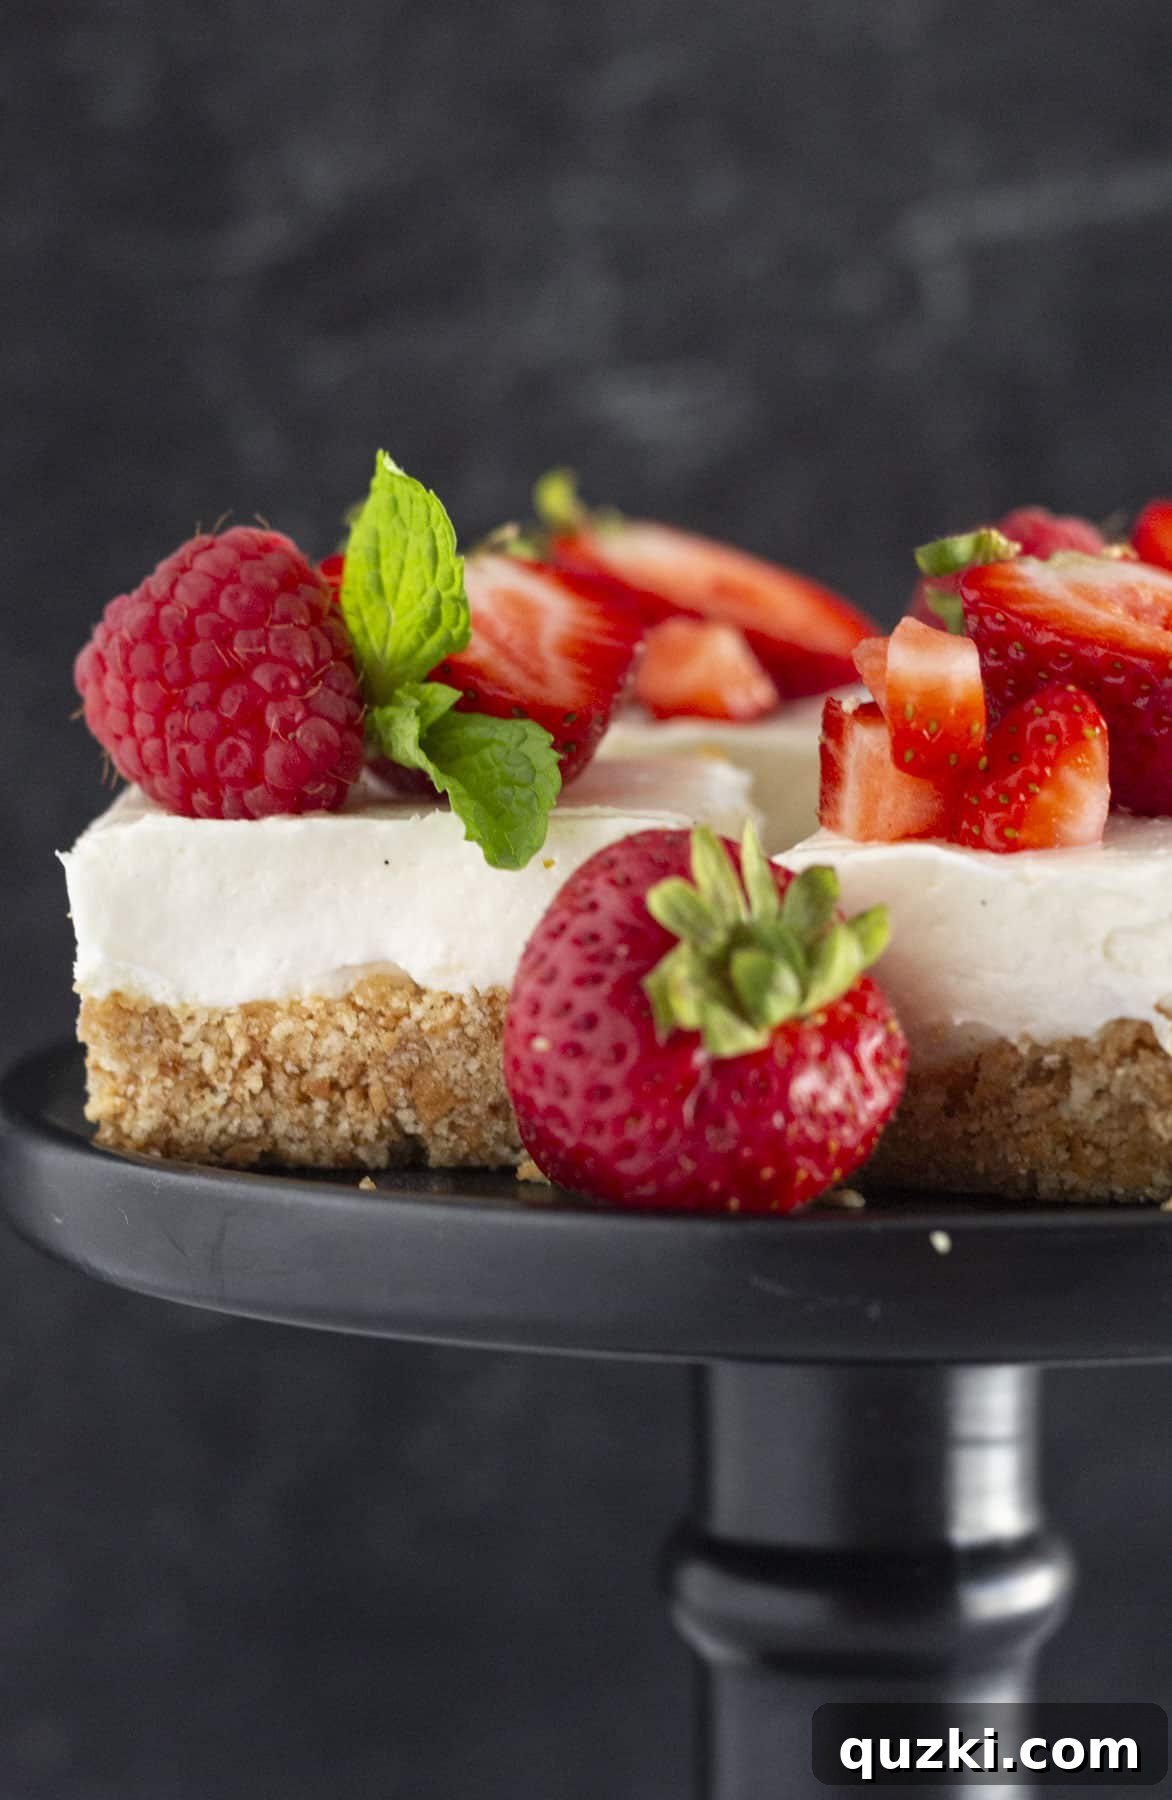
Prepare to delight your taste buds with these incredible No-Bake Cheesecake Bars – a true crowd-pleaser that consistently receives rave reviews! Imagine a perfectly buttery vanilla wafer crust, serving as the foundation for an irresistibly smooth, velvety cheesecake filling. The best part? You won’t even need to turn on your oven, making this the ideal dessert for warm days or when you simply crave a quick and easy treat. Infused with a delicate hint of vanilla, these bars boast a timeless, classic flavor that’s utterly impossible to resist.
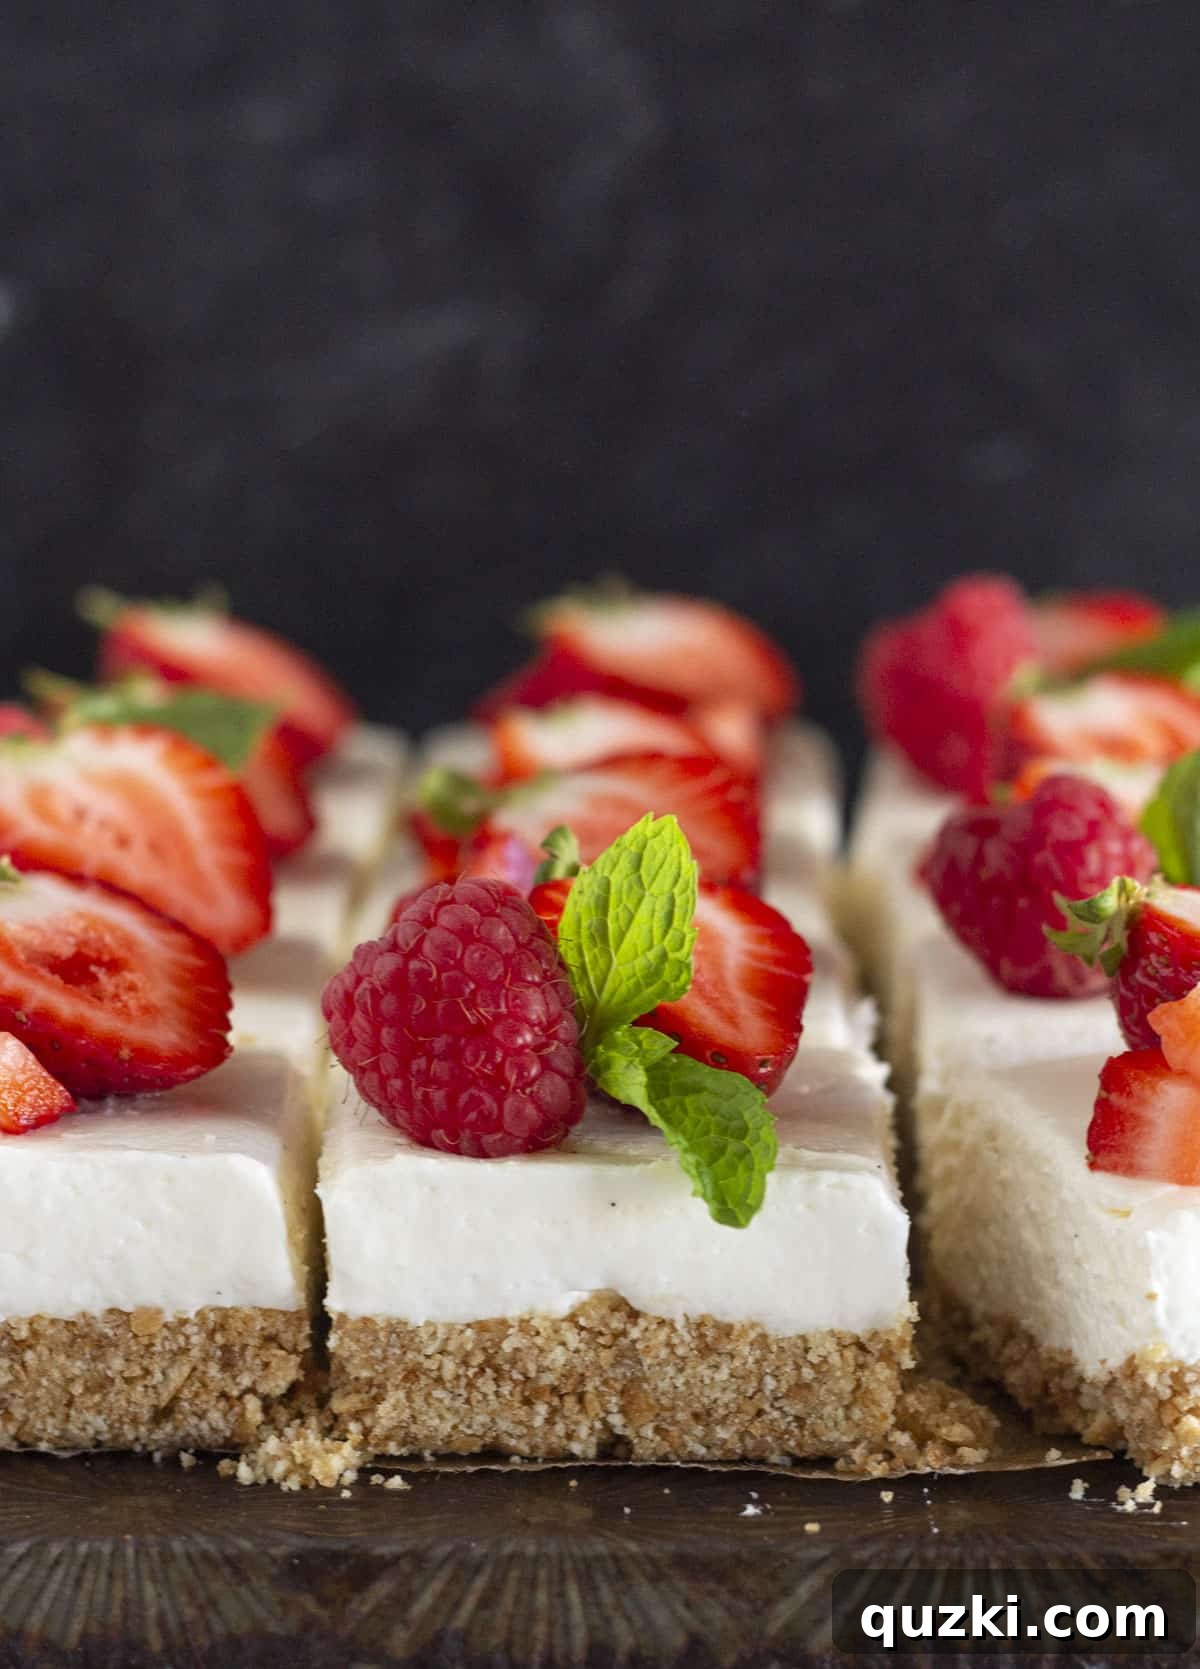
Table of Contents
- Why You’ll Love These No-Bake Cheesecake Bars
- Essential Ingredients for Your No-Bake Masterpiece
- Step-by-Step Guide to Making No-Bake Cheesecake Bars
- Expert Tips for Flawless Cheesecake Bars
- Storage and Freezing Instructions
- Common Questions about No-Bake Cheesecake Bars
- Super Easy No-Bake Cheesecake Bars Recipe Card
- More Cheesecake Delights to Explore
Are you a devoted fan of cheesecake? We certainly are, and this particular no-bake cheesecake bar recipe holds a special place in our hearts as a beloved family favorite. Its charm lies not only in its divine taste but also in its incredible simplicity. From the rich, four-ingredient cheesecake mousse that comes together in mere minutes to the endless array of delightful topping possibilities, this recipe truly stands as the undisputed queen of all no-bake desserts.
The greatest advantage of these bars is their reliance on simple, readily available ingredients, combined with the fact that they demand absolutely no baking. Forget the hassle of preheating ovens or managing tricky hot water baths, which are typically essential for traditional cheesecakes. This recipe liberates you from those time-consuming steps, offering a straightforward path to dessert perfection.
In a matter of minutes, your no-bake dessert creation is complete, requiring only a little patience for it to chill and set. This makes it an absolutely perfect make-ahead dessert, ideal for effortless entertaining. Imagine preparing these beauties the day before a dinner party, summer picnic, or any gathering, and simply pulling them out of the fridge when it’s time to serve. They’re guaranteed to impress your guests with minimal stress on your part, allowing you more time to enjoy the occasion.
Why You’ll Love These No-Bake Cheesecake Bars
There are countless reasons why these no-bake cheesecake bars have become a go-to dessert for so many. Here’s a closer look at what makes them truly special:
- Effortlessly Simple: Say goodbye to complex baking techniques. This recipe is designed for ease, making it perfect for novice bakers and seasoned pros alike.
- No Oven Required: Keep your kitchen cool, especially during hot summer months. The entire process, from crust to filling, is done without ever turning on your oven.
- Quick Preparation: With just a few basic steps, you can have these cheesecake bars assembled and chilling in under 20 minutes, leaving ample time for them to set perfectly.
- Creamy, Dreamy Texture: The filling is unbelievably smooth and light, almost like a mousse, contrasting beautifully with the crisp, buttery crust.
- Versatile for Any Occasion: Whether it’s a casual weeknight treat, a festive holiday gathering, a potluck, or a sophisticated dinner party, these bars always fit the bill. Their individual portion size also makes serving a breeze.
- Make-Ahead Friendly: These bars need time to chill, which means they are the ultimate make-ahead dessert. Prepare them the day before your event, and they’ll be perfectly set and ready when you are.
- Customizable Toppings: While delicious on their own, they serve as a fantastic canvas for a wide variety of toppings, from fresh fruits and berry compotes to chocolate drizzles and caramel sauce.
Essential Ingredients for Your No-Bake Masterpiece
Crafting these delectable no-bake cheesecake bars requires a handful of simple ingredients, each playing a crucial role in achieving that perfect balance of flavor and texture. Pay attention to the quality and temperature of your ingredients for the best results!
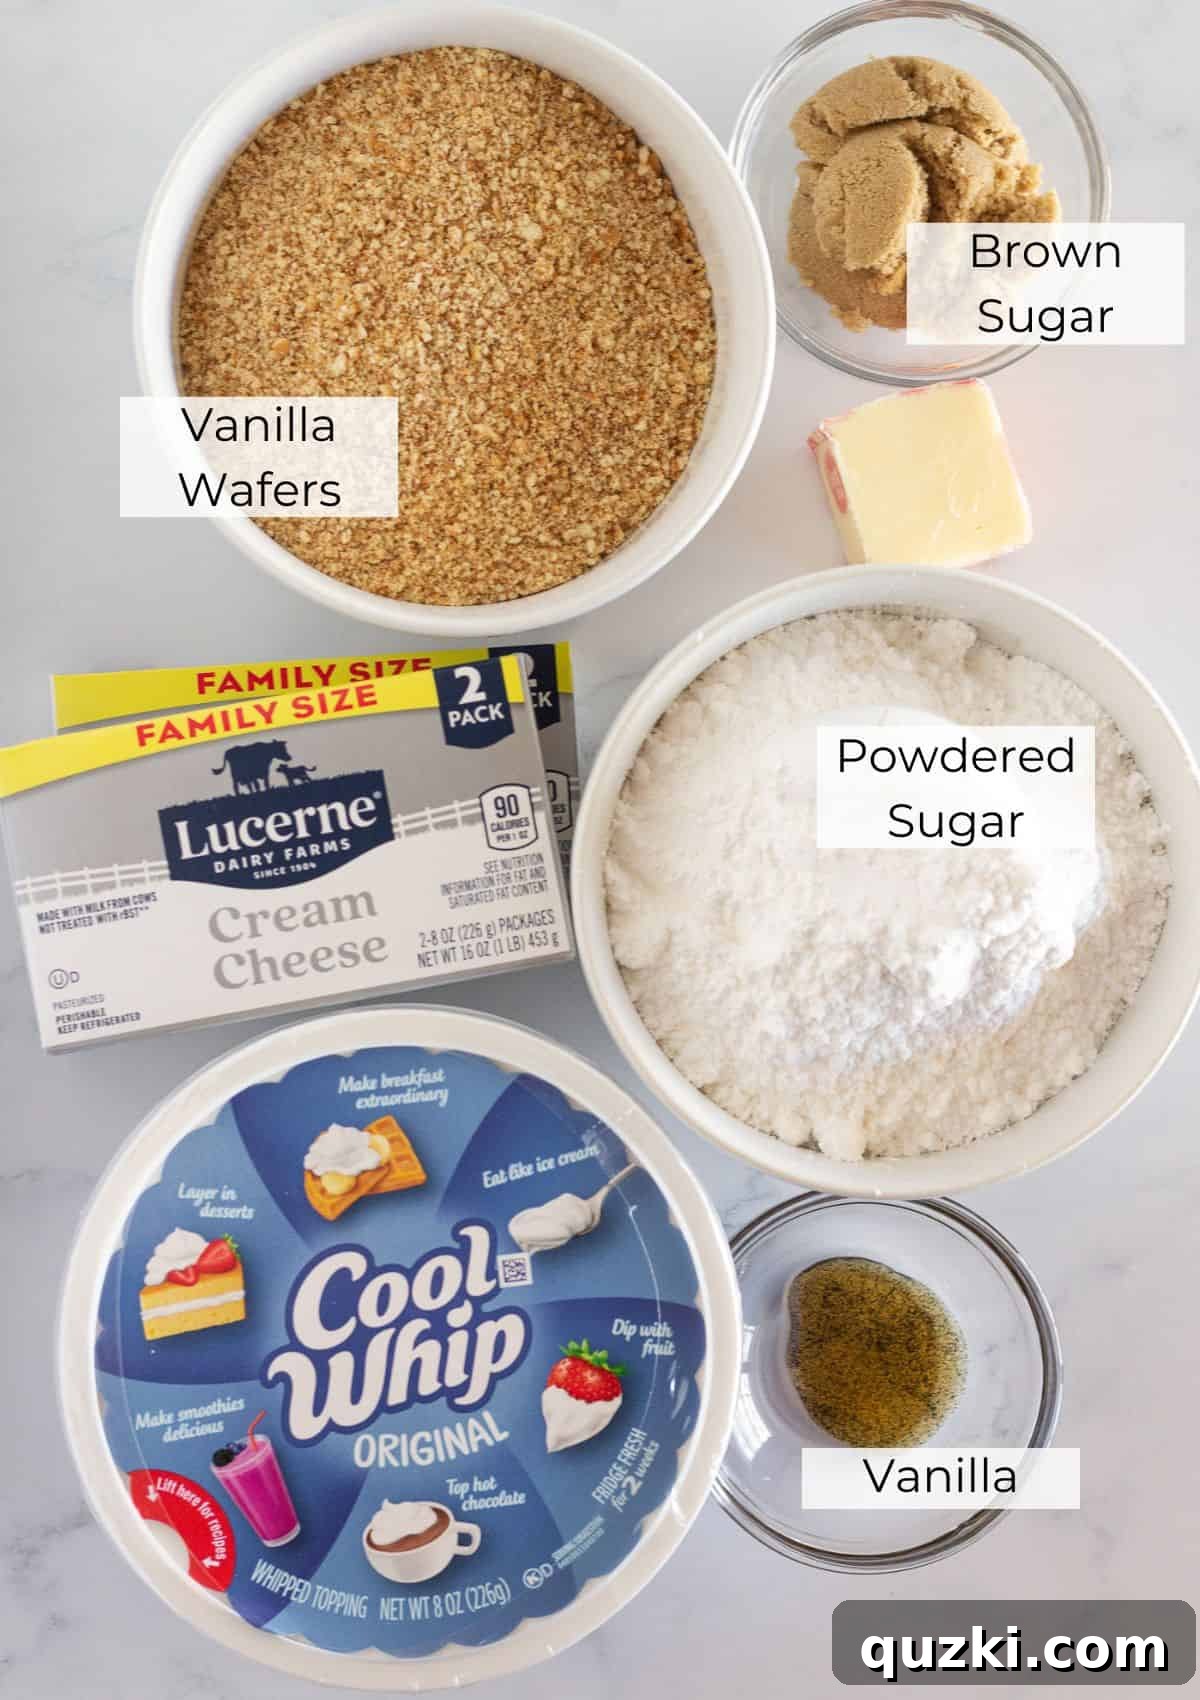
- Vanilla Wafers: These form the delightful base of our buttery, slightly sweet, and perfectly crunchy crust. They provide a classic flavor that complements the creamy filling. For the best consistency, use a food processor to break them down into fine crumbs. Alternatively, place them in a Ziploc bag and crush them with a rolling pin for a more rustic texture.
- Cream Cheese: This is the star of our filling. It’s absolutely crucial to use room temperature, full-fat block cream cheese. Cold cream cheese will result in a lumpy filling that lacks the desired smooth, airy texture. Full-fat cream cheese also provides the best structure and richest flavor. Avoid whipped or low-fat varieties, as they may not set correctly.
- Powdered Sugar (Confectioners’ Sugar): This fine sugar sweetens the filling and is key to achieving that incredibly smooth, melt-in-your-mouth consistency. Unlike granulated sugar, powdered sugar dissolves instantly, preventing any grittiness.
- Vanilla Bean Paste: For a truly rich, warm, and sophisticated vanilla flavor that beautifully complements the tangy cream cheese, vanilla bean paste is our secret weapon. It offers a more intense and complex aroma than traditional vanilla extract, and you’ll even see delightful specks of vanilla bean. If you don’t have paste, high-quality vanilla extract can be used as a substitute.
- Whipped Topping: Folding in a prepared whipped topping, such as Cool Whip, is essential for lightening the cheesecake filling and giving it that signature creamy, mousse-like consistency. It adds volume and ensures a stable, fluffy texture without the need for additional whipping.
- Melted Butter: This binds the vanilla wafer crumbs together to create a firm, delicious crust. Unsalted butter is usually preferred, but salted butter can work if you adjust other salt content in your recipe (though not critical here).
- Light Brown Sugar: A small amount of brown sugar in the crust adds a subtle hint of caramel-like sweetness and helps the crust set with a pleasant chewiness.
For precise measurements and quantities, please refer to the detailed recipe card provided below.
Step-by-Step Guide to Making No-Bake Cheesecake Bars
Crafting these delectable no-bake cheesecake bars is surprisingly straightforward, divided into three main stages: preparing the crust, mixing the luxurious filling, and finally, assembling and chilling. Follow these steps carefully for a perfect dessert every time.
- Prepare Your Pan: Begin by lightly spraying a 9×9-inch baking pan with nonstick spray. Then, line the bottom with parchment paper, ensuring that the paper extends over two opposite sides of the pan. These overhangs will act as convenient handles, allowing you to easily lift the entire slab of cheesecake out once it’s set. This is a simple but crucial step for clean removal and beautiful slices.
- Craft the Buttery Vanilla Wafer Crust: In a medium mixing bowl, combine your finely crushed vanilla wafer crumbs (which you can easily achieve by pulsing vanilla wafers in a food processor), the light brown sugar, and the melted butter. Stir these ingredients together until they are thoroughly combined and the crumbs are evenly moistened. This mixture should resemble wet sand. Pour the crumb mixture into your prepared pan. Using your fingers, or the flat bottom of a drinking glass, firmly press the crumbs into an even layer across the bottom of the pan. Make sure the crust is compact and uniform. Once pressed, place the crust into the refrigerator to chill while you prepare the cheesecake filling. This chilling step helps the crust firm up and prevents it from becoming crumbly.
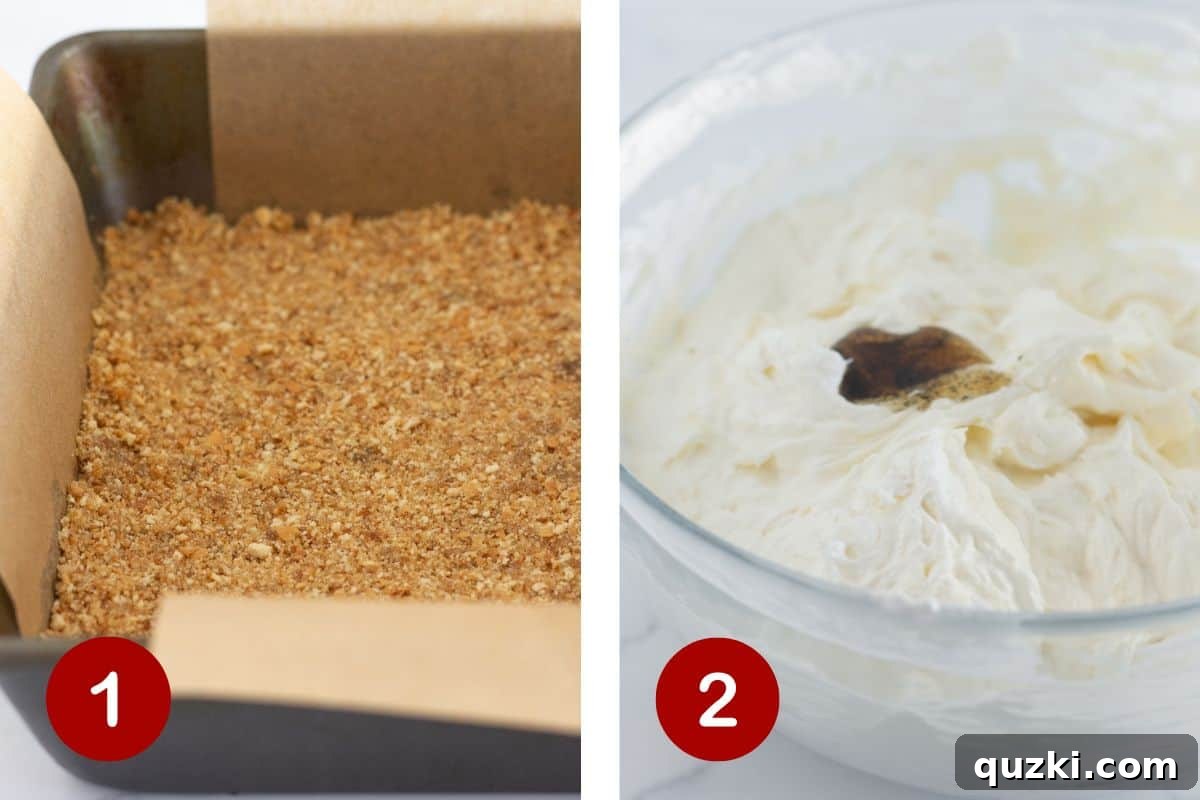
- Whip Up the Creamy Cheesecake Filling: In a separate medium bowl, place your room temperature cream cheese. Using either a hand mixer or a stand mixer fitted with the whisk attachment, beat the cream cheese on medium speed until it’s wonderfully smooth and creamy, with no lumps remaining. This might take 2-3 minutes. Next, gradually add the powdered sugar and vanilla bean paste to the bowl. Continue mixing until all the ingredients are well combined and the mixture is silky smooth. Finally, and this is important, gently fold in the whipped topping using a spatula. Mix until it’s just fully incorporated into the cream cheese mixture, being careful not to overmix, as this can deflate the whipped topping and reduce the lovely light, airy texture of your cheesecake.
- Assemble and Chill to Perfection: Retrieve your chilled crust from the refrigerator. Carefully pour the prepared cheesecake filling onto the crust. Use a spatula to gently spread the filling out into an even, uniform layer, ensuring it reaches all the way to the edges of the pan. Once smoothed, place the pan back into the refrigerator. Allow the cheesecake bars to chill for a minimum of 4 hours, or ideally, overnight. This extended chilling time is crucial for the filling to properly set and firm up, ensuring clean and beautiful slices.
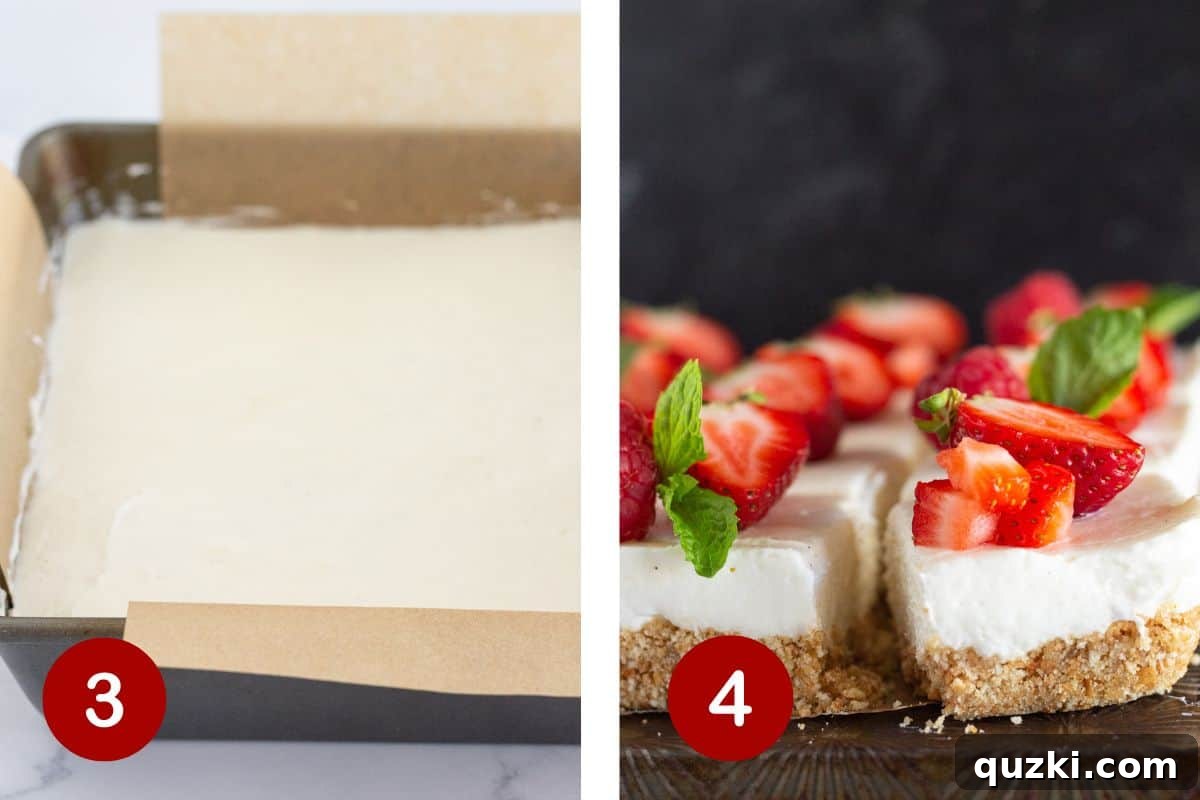
- Serve and Garnish: When your no-bake cheesecake bars are perfectly chilled and firm, it’s time to serve! Use the overhanging parchment paper to gently lift the entire slab of cheesecake out of the pan and transfer it onto a clean cutting board. For neat, even portions, use a sharp knife and wipe it clean between each slice. Cut the cheesecake into 16 even squares. To finish, add a delightful dollop of extra whipped topping to the center of each square and adorn it with a piece of fresh fruit, such as vibrant strawberries or blueberries. Serve the bars chilled, and be ready to watch them disappear quickly!
Expert Tips for Flawless Cheesecake Bars
Achieving perfect no-bake cheesecake bars is easy, but a few expert tips can elevate your dessert from good to absolutely phenomenal. Keep these pointers in mind for a consistently smooth, creamy, and irresistible treat:
- Always Start with Room Temperature Cream Cheese: This is arguably the most critical tip for any cheesecake, baked or no-bake. Cold cream cheese will be difficult to beat smoothly, resulting in a lumpy filling. By allowing it to come to room temperature (usually about 30-60 minutes on the counter), it will blend effortlessly into a super smooth, uniform mixture, free of any unpleasant lumps. This ensures a truly silky cheesecake texture.
- Chill for at Least 4 Hours (or Overnight): Patience is a virtue when it comes to no-bake desserts. While 4 hours is the minimum, chilling your bars overnight is highly recommended. This extended time allows the filling to fully set and firm up, guaranteeing clean, neat slices that hold their shape beautifully. Rushing this step will result in a soft, messy dessert.
- Opt for Full-Fat Cream Cheese: For the best flavor, richest texture, and optimal setting, always use full-fat block cream cheese. Low-fat or non-fat versions contain more water and may not set up as well, leading to a softer, less stable consistency and a less luxurious taste.
- Avoid Overmixing the Filling: Once you’ve added the whipped topping, mix gently until just combined. Overmixing can deflate the whipped topping, causing the cheesecake filling to lose its light, airy, mousse-like texture. Use a spatula to gently fold it in rather than a mixer.
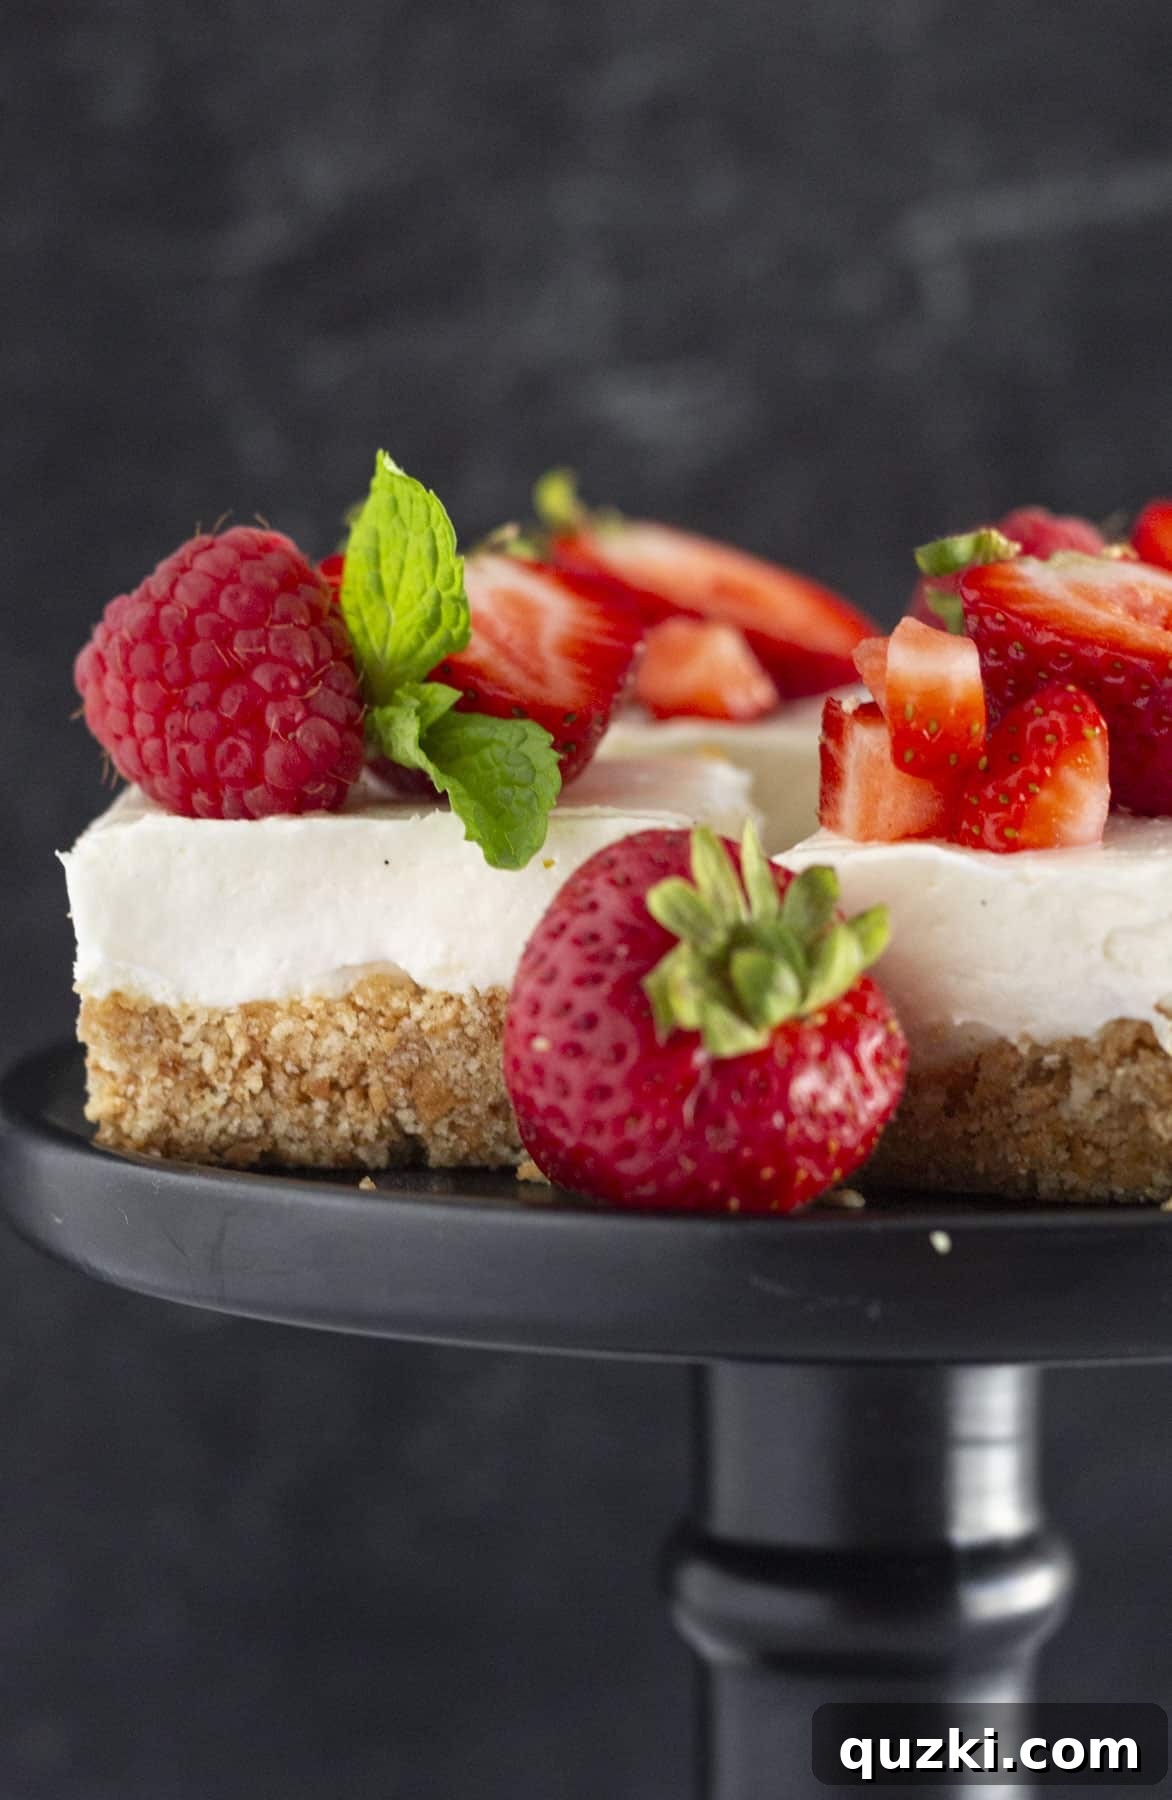
- Get Creative with Toppings: While classic fresh strawberries make for perfect no-bake strawberry cheesecake bars, don’t be afraid to experiment! Consider fresh blueberries, raspberries, or a mix of berries for a colorful burst of flavor. A drizzle of homemade chocolate sauce, salted caramel, or even a store-bought fruit pie filling (like cherry or blueberry) would be amazing. For a decadent twist, try the pecan pie topping from this pecan cheesecake recipe. The possibilities are endless!
- Use Parchment Paper Slings: Lining your pan with parchment paper that overhangs the sides creates a “sling” that makes removing the entire slab of cheesecake incredibly easy. This prevents any sticking and allows you to transfer it cleanly to a cutting board for perfect slicing.
- Clean Knife for Clean Slices: For the tidiest bars, use a sharp knife and wipe it clean with a damp cloth after each slice. This prevents the filling from sticking and creating jagged edges.
Storage and Freezing Instructions
One of the many benefits of these no-bake cheesecake bars is how wonderfully they store, making them an ideal make-ahead dessert. Proper storage ensures they remain fresh, firm, and delicious for days.
To Store: Keep your easy no-bake cheesecake bars in an airtight container in the refrigerator for up to 4 days. When chilled, the bars will maintain their firm structure, and the vanilla wafer crust will remain crisp and flavorful. If you’ve already added fruit toppings, it’s best to consume them within 2-3 days, as some fruits can release moisture over time. For optimal freshness, consider adding fruit garnishes just before serving.
To Freeze: These cheesecake bars freeze exceptionally well, allowing you to enjoy them even longer. You can freeze them for up to 1 month without compromising their taste or texture. Here’s how to do it effectively:
- Slice: After the bars have fully set in the refrigerator, slice them into individual squares. This makes thawing and serving much easier.
- Wrap Individually: Tightly wrap each individual cheesecake square in plastic wrap. This prevents freezer burn and protects the delicate texture.
- Containerize: Place the wrapped squares into a freezer-safe airtight container or a heavy-duty freezer bag. Ensure there’s minimal air inside the container to prevent ice crystals from forming.
- Thaw: When you’re ready to indulge, simply transfer the desired number of frozen bars from the freezer to the refrigerator. Allow them to thaw overnight, or for at least 6-8 hours, until fully softened. Once thawed, you can add fresh toppings and serve them perfectly chilled. Do not refreeze thawed cheesecake bars.
Freezing is a fantastic option for meal prepping desserts or for having a delicious treat on hand for unexpected guests!
Common Questions about No-Bake Cheesecake Bars
Here are some frequently asked questions to help you master this delicious no-bake cheesecake bar recipe and address any potential queries:
Absolutely! Feel free to unleash your creativity and experiment with various types of cookies for the crust. For instance, crushed Oreos would create a wonderfully rich chocolate crust, similar to this cookies and cream cheesecake. A simple graham cracker crust offers a delightful traditional flavor, while Biscoff cookies would impart a perfectly spiced, warm touch. Just be mindful that you might need to slightly adjust the amount of melted butter to achieve the ideal consistency for your chosen cookie crumbs, ensuring the crust holds together well.
Yes, you certainly can adapt this recipe to fit a different size pan, but please keep in mind that doing so will affect the thickness of your cheesecake bars. If you opt for a larger pan (e.g., a 9×13-inch baking dish), your bars will be thinner, and you might consider increasing the recipe by 1.5x to 2x if you prefer thicker slices. Conversely, if you use a smaller pan, the bars will be thicker. You may also need to adjust the chilling time accordingly; thinner bars might set faster, while thicker bars will require more time in the refrigerator.
Yes, you absolutely can use homemade whipped cream for the filling. To do so, whip 1 cup of heavy whipping cream with about 1/4 cup of powdered sugar (and a splash of vanilla extract for extra flavor) until stiff peaks form. However, it’s important to note that homemade whipped cream is generally less stable than commercial whipped topping like Cool Whip. This means your no-bake cheesecake bars might be a bit softer and more susceptible to melting if left at room temperature for extended periods. If using homemade whipped cream, ensure they remain well-chilled until serving.
These no-bake cheesecake bars are an excellent make-ahead dessert! You can comfortably prepare them up to 2-3 days in advance. Simply store them in an airtight container in the refrigerator, and they will remain fresh and delicious. For the best presentation, especially if you’re making them more than a day ahead, we recommend waiting to add any fresh fruit garnishes or additional dollops of whipped topping until just before you are ready to serve them. This prevents fruits from becoming soggy or the whipped cream from losing its peak freshness.
A soft filling is most commonly due to insufficient chilling time. Ensure the bars chill for at least 4 hours, or preferably overnight, to allow the cream cheese mixture to firm up completely. Using low-fat cream cheese or overmixing the whipped topping can also contribute to a softer consistency. Always use full-fat cream cheese for the best structure.
Absolutely! Adding 1-2 teaspoons of fresh lemon zest to the cream cheese mixture along with the vanilla bean paste would introduce a lovely bright, citrusy note that pairs wonderfully with cheesecake. It’s a fantastic way to customize the flavor profile.
Super Easy No-Bake Cheesecake Bars Recipe Card
Get ready to create these utterly delightful no-bake cheesecake bars with this comprehensive recipe card. It’s designed to guide you through every step, ensuring a perfect, creamy, and dreamy dessert every single time.
Super Easy No-Bake Cheesecake Bars
June Albertson-Dick
15 mins
0 mins
4 hrs
4 hrs 15 mins
16 squares
Print Recipe
Want to save this recipe for later? Enter your email below to have it sent straight to your inbox, along with new recipes from us every week!
Ingredients
Vanilla Wafer Crust
- 2 ¼ cups vanilla wafer cookies, crushed into fine crumbs
- ¼ cup light brown sugar, packed
- ⅓ cup unsalted butter, melted
Cheesecake Filling
- 16 ounces cream cheese, full-fat, softened to room temperature
- 2 cups powdered sugar
- 1 teaspoon vanilla bean paste (or 2 tsp vanilla extract)
- 8 ounces whipped topping, thawed (like Cool Whip)
Toppings (Optional)
- ½ cup whipped topping, for garnish
- ½ cup fresh fruit, such as sliced strawberries or blueberries
Instructions
-
1. Prepare the Baking Pan: Lightly grease a 9×9-inch baking pan. Line the bottom with parchment paper, allowing it to hang over two opposite sides of the pan to create a “sling.” This will make removing the bars much easier later.
Vanilla Wafer Crust
-
2. Make the Crust: In a medium bowl, combine the vanilla wafer crumbs, light brown sugar, and melted butter. Mix thoroughly until all crumbs are evenly moistened. Press this mixture firmly into the bottom of the prepared pan in an even layer. Refrigerate the crust for at least 15 minutes while you prepare the filling.
Cheesecake Filling
-
3. Prepare the Filling: In a separate medium bowl, beat the softened room temperature cream cheese until it is smooth and creamy. Add the powdered sugar and vanilla bean paste, continuing to mix until the mixture is well combined and silky. Gently fold in the thawed whipped topping using a spatula until it is just incorporated. Be careful not to overmix, as this can deflate the whipped topping.
Assembly and Serving
-
4. Assemble and Chill: Pour the cheesecake filling onto the chilled crust in the pan. Use a spatula to spread it out into an even layer, ensuring it reaches all edges. Return the pan to the refrigerator and chill for at least 4 hours, or ideally, overnight, to allow the cheesecake to set completely.
-
5. Slice and Serve: Once fully chilled, use the parchment paper overhangs to lift the entire cheesecake slab out of the pan and onto a cutting board. Use a sharp knife to cut the cheesecake into 16 even squares. For best presentation, wipe the knife clean between each cut. Garnish each bar with a dollop of whipped topping and fresh fruit before serving. Store any leftovers in an airtight container in the refrigerator for up to 4 days.
Notes
These cheesecake bars are a perfect make-ahead dessert! You can prepare them up to 2-3 days in advance. Ensure they are stored in an airtight container in the refrigerator. If making ahead, wait to add any additional whipped topping and fresh fruit garnishes until just before serving for the freshest look and taste.
Nutrition Information
Calories: 267 kcal,
Carbohydrates: 28g,
Protein: 3g,
Fat: 16g,
Saturated Fat: 10g,
Polyunsaturated Fat: 1g,
Monounsaturated Fat: 4g,
Trans Fat: 0.2g,
Cholesterol: 39 mg,
Sodium: 176 mg,
Potassium: 76 mg,
Fiber: 0.3g,
Sugar: 24g,
Vitamin A: 534 IU,
Vitamin C: 0.2 mg,
Calcium: 47 mg,
Iron: 0.4 mg
Nutrition information is automatically calculated and should only be used as an approximation.
Did you try this recipe? We’d love to hear from you!
Leave a ⭐️ review in the comments below and tag @practicallyhomemade on Pinterest!
More Cheesecake Delights to Explore
If you’re as passionate about cheesecake as we are, then your culinary adventure doesn’t have to end here! The world of cheesecake is vast and varied, offering countless flavors and styles to discover. From rich baked classics to quick and easy no-bake variations, there’s always a new recipe waiting to become your next favorite. Here are some other tempting cheesecake-inspired recipes you might love to try, perfect for expanding your dessert repertoire:
Indulge in More Sweet Treats
Cheesecakes
Churro Cheesecake Bars
Cookies
The Best Easy Pumpkin Cheesecake Cookies
Cheesecakes
The Best No Bake Cherry Cheesecake
Desserts
Easy No-Bake Mini Cheesecakes