
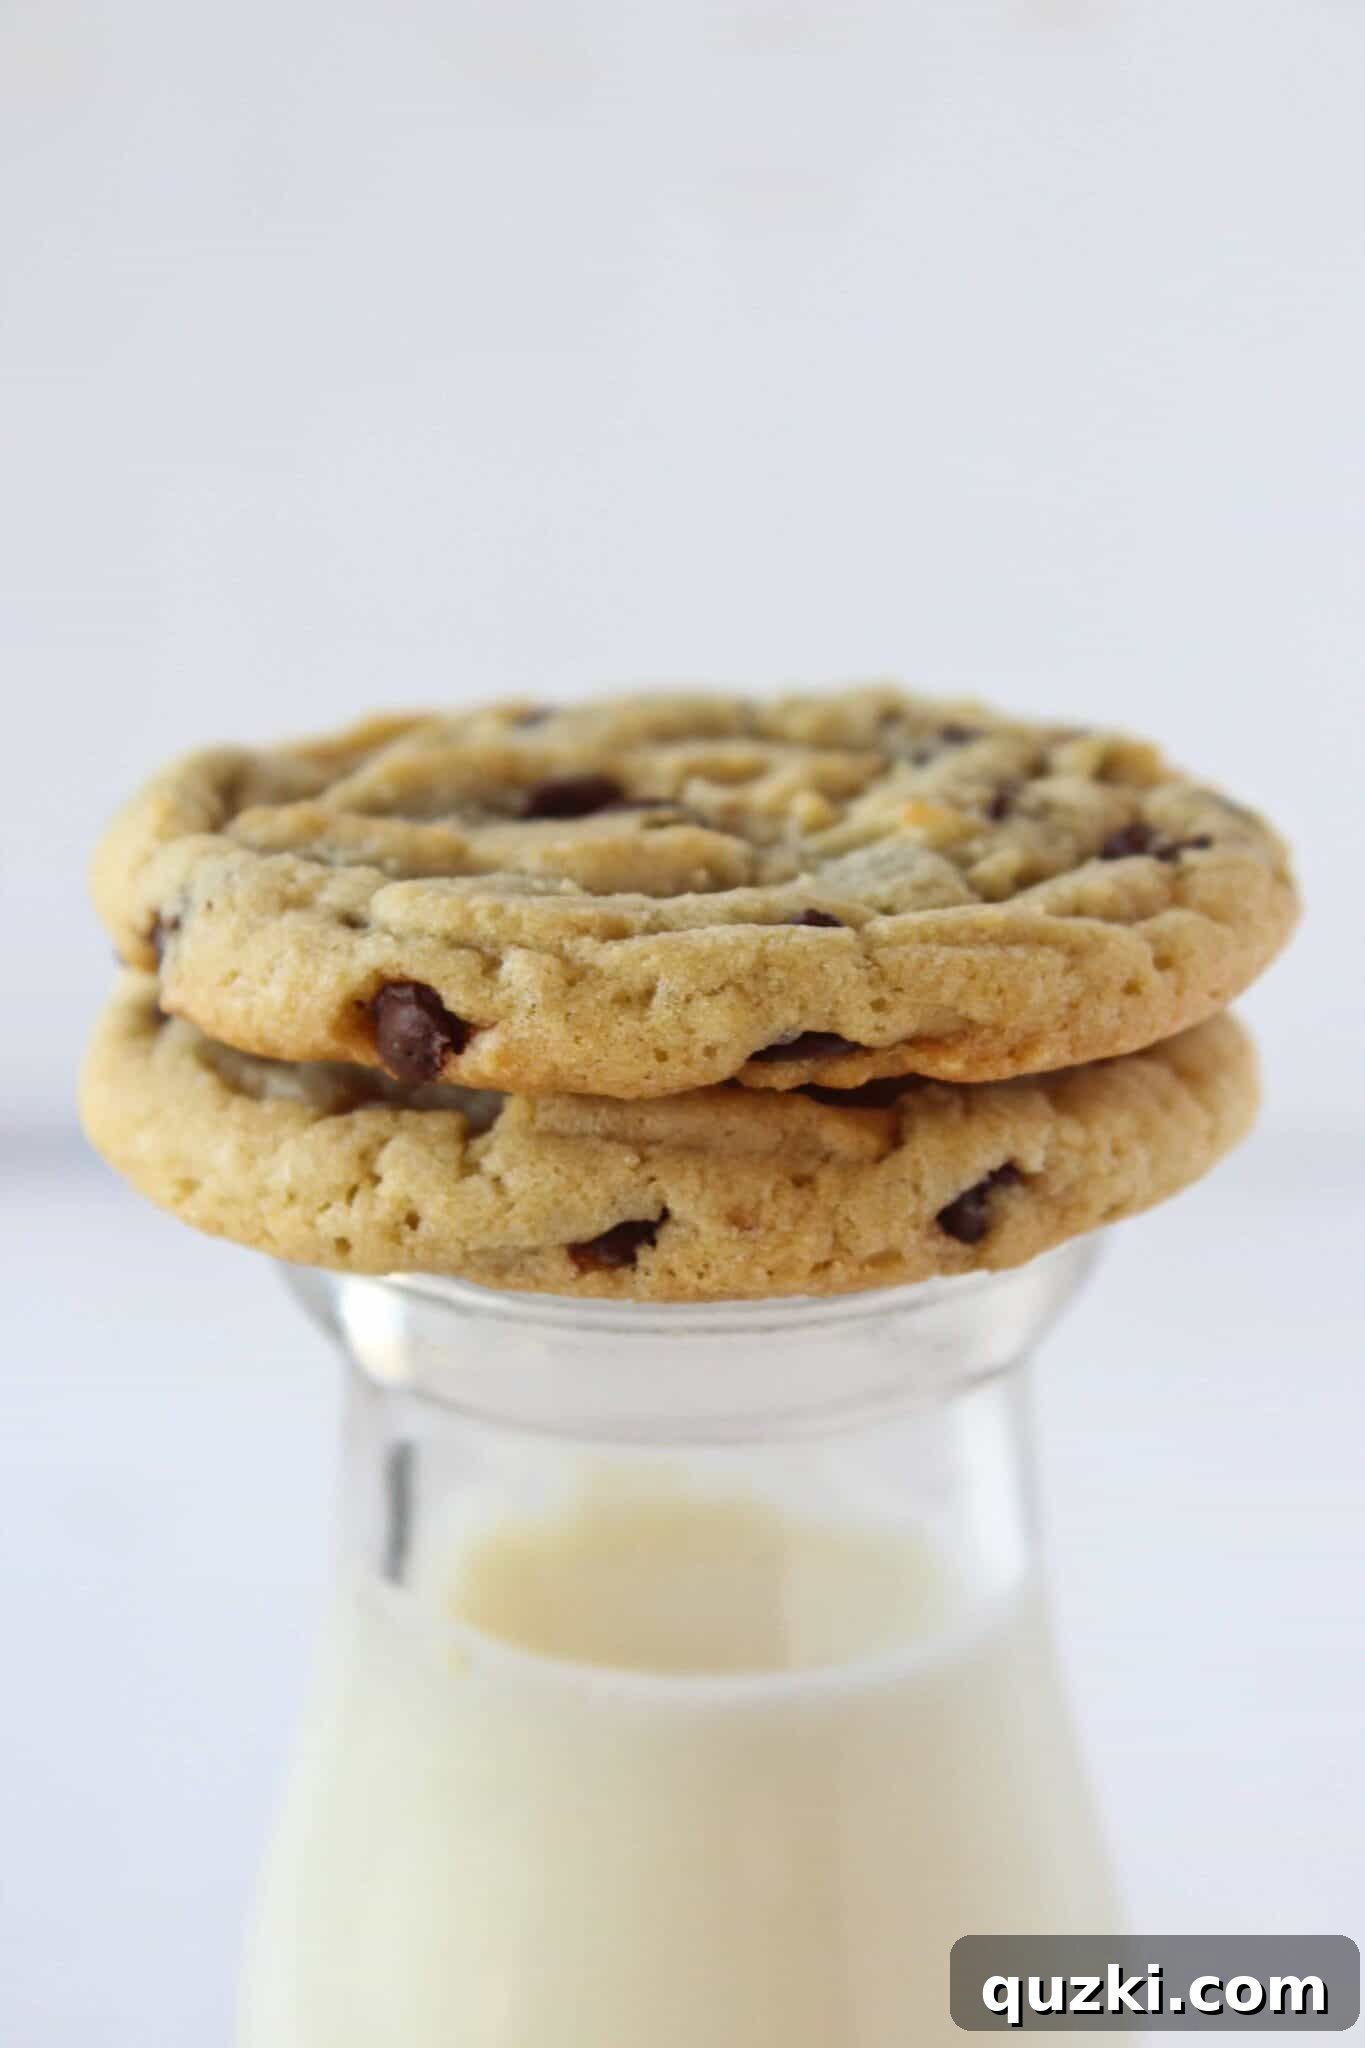
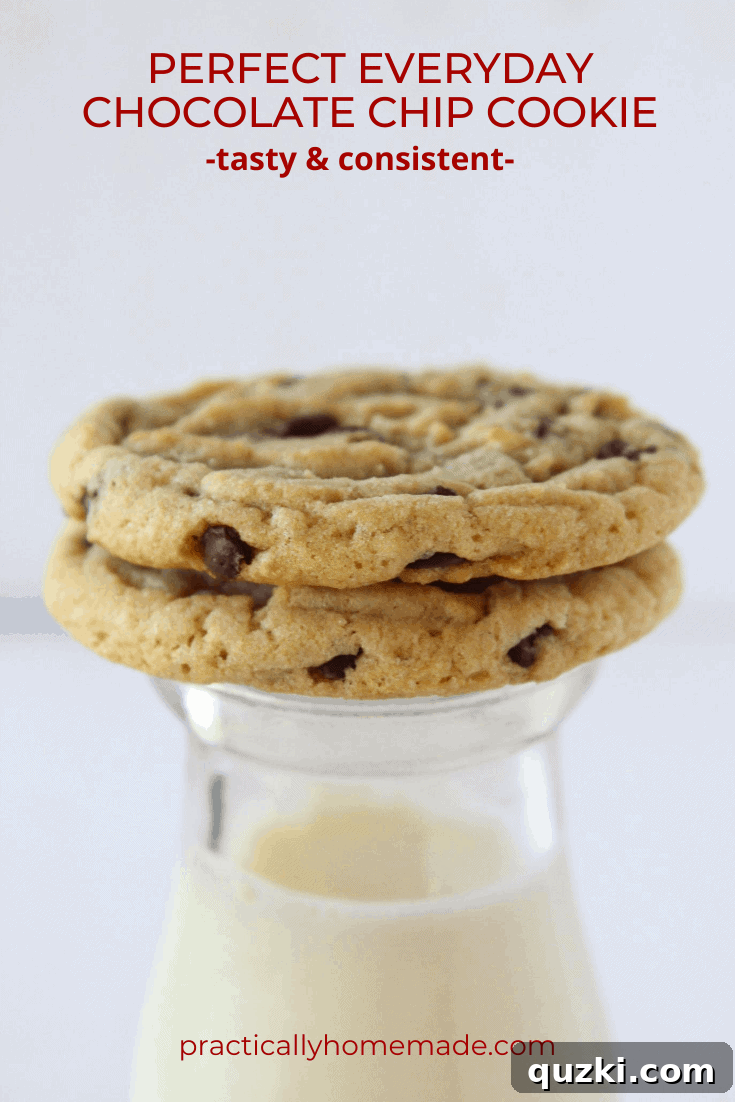
Are you on a quest for the ultimate chocolate chip cookie? One that delivers consistent perfection every single time? Look no further! This **Perfect Everyday Chocolate Chip Cookies** recipe is the culmination of years of baking experience, refined to be foolproof and incredibly delicious. It’s the recipe that has graced countless family gatherings, nurtured growing children, and brought smiles to faces for years. Prepare to bake batches of cookies that are always impressive, boasting a delightful balance of chewiness and softness, loaded with rich chocolate flavor.
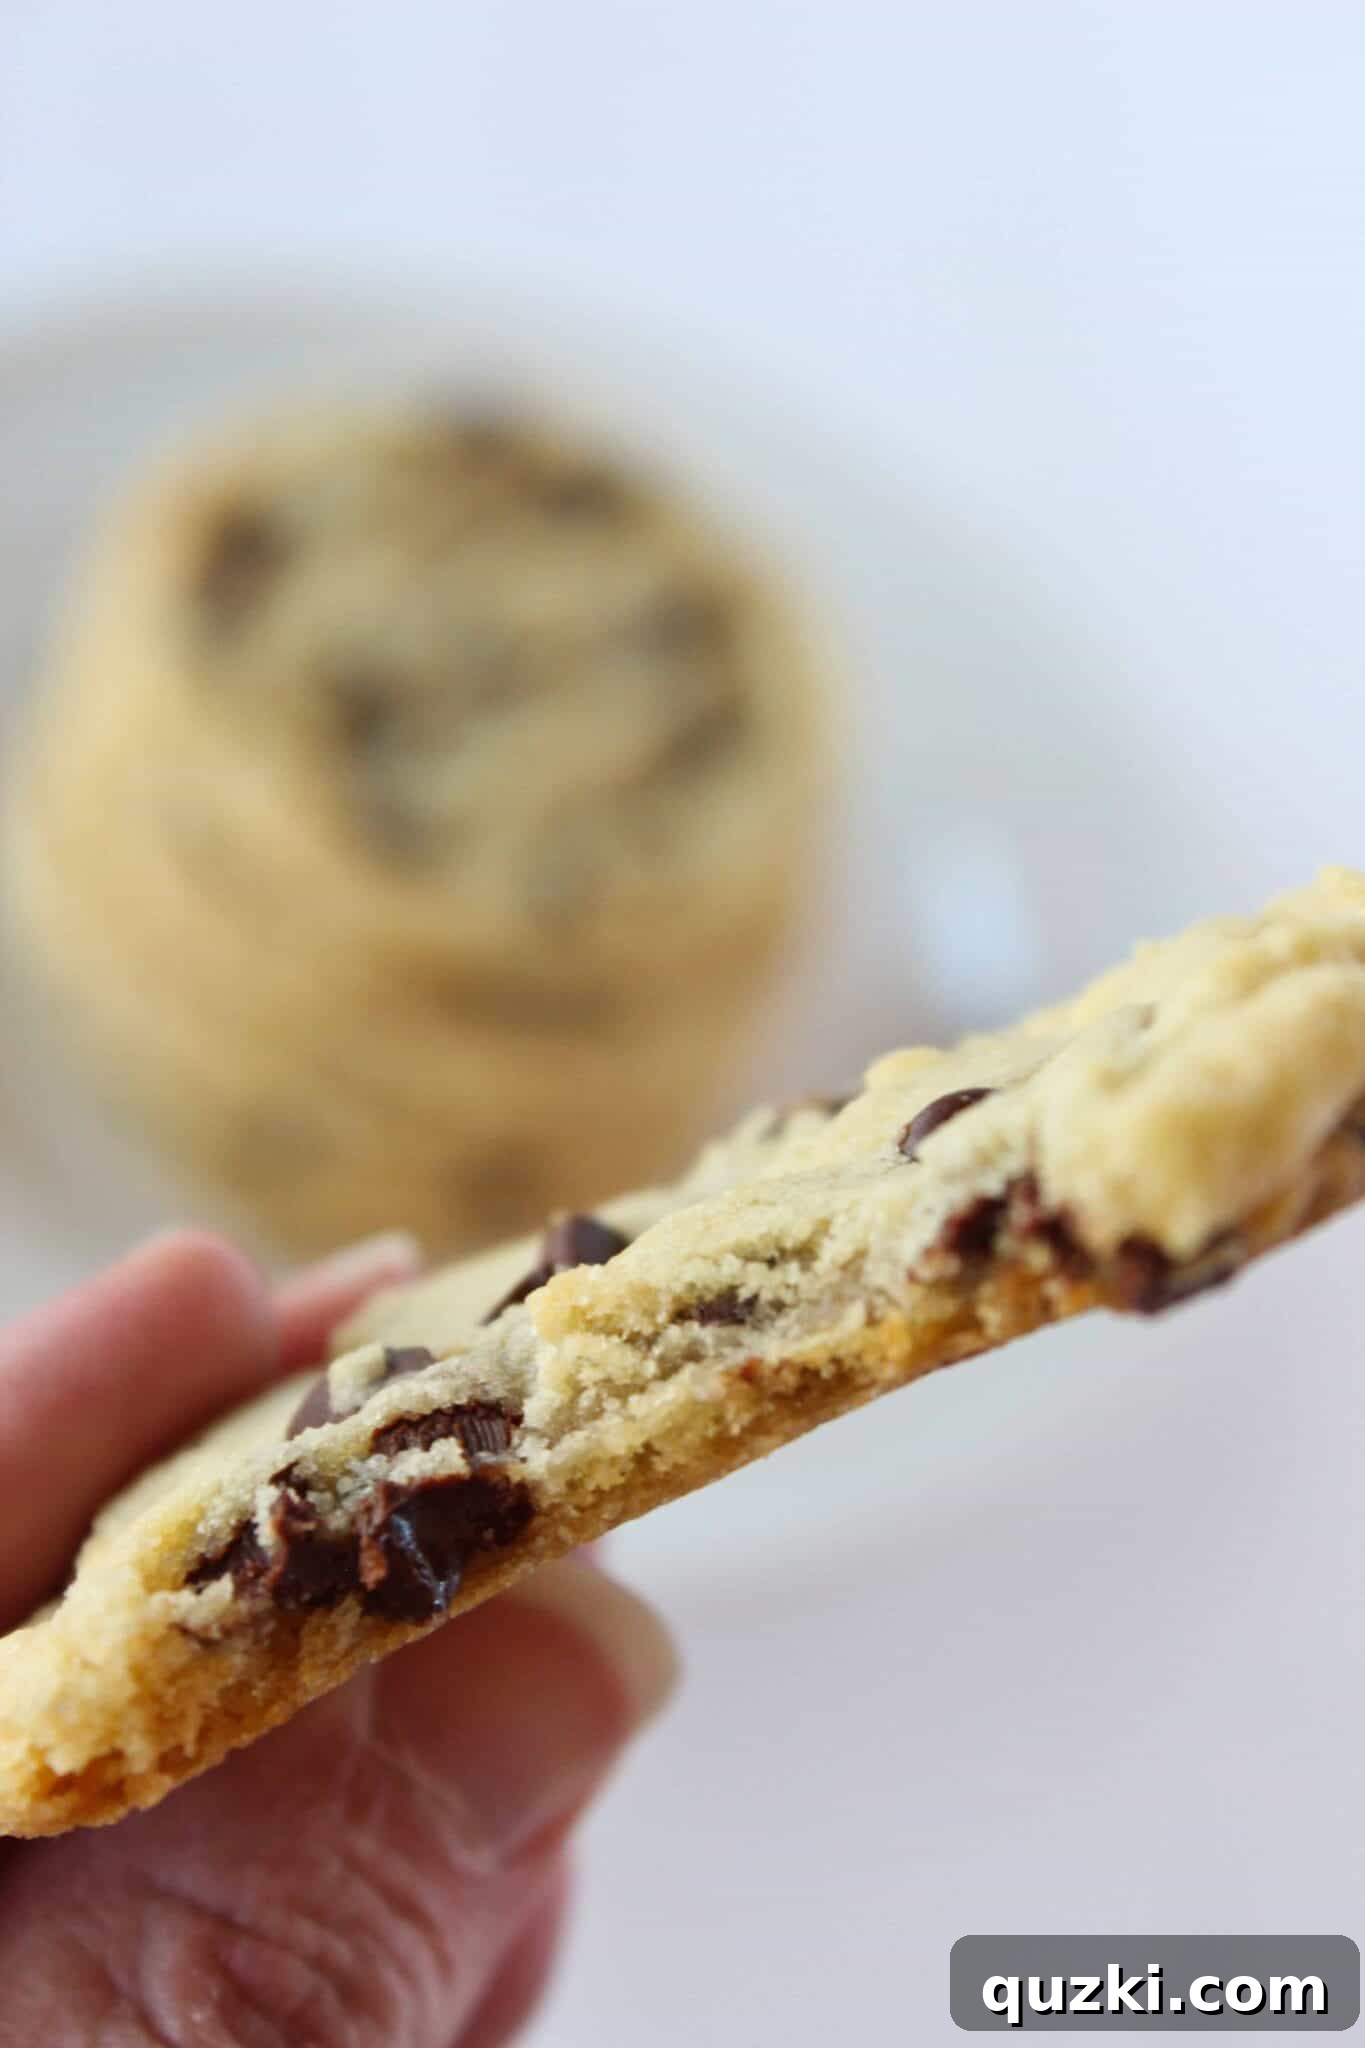
As a culinary teacher, I’ve seen it all in the kitchen. Despite meticulous instruction, things can go awry. Students, eager to finish a tempting recipe like chocolate chip cookies, often overlook crucial details. Ingredients might be forgotten, mixing orders reversed, or dough might mysteriously disappear before it even hits the baking sheet (a common ‘issue’ I confess to experiencing myself!). This real-world experience reinforced my need for a truly reliable recipe – one that consistently yields outstanding results, even when distractions abound. This is precisely what my Perfect Everyday Chocolate Chip Cookies offer: an unwavering standard of quality and flavor, making it ideal for both beginners and seasoned bakers. If you’re keen on exploring other cookie delights, you might also enjoy these Mini Chocolate Chip Cookies, perfect for smaller bites.
Crafting the Perfect Dough: A Deep Dive into Ingredients and Technique
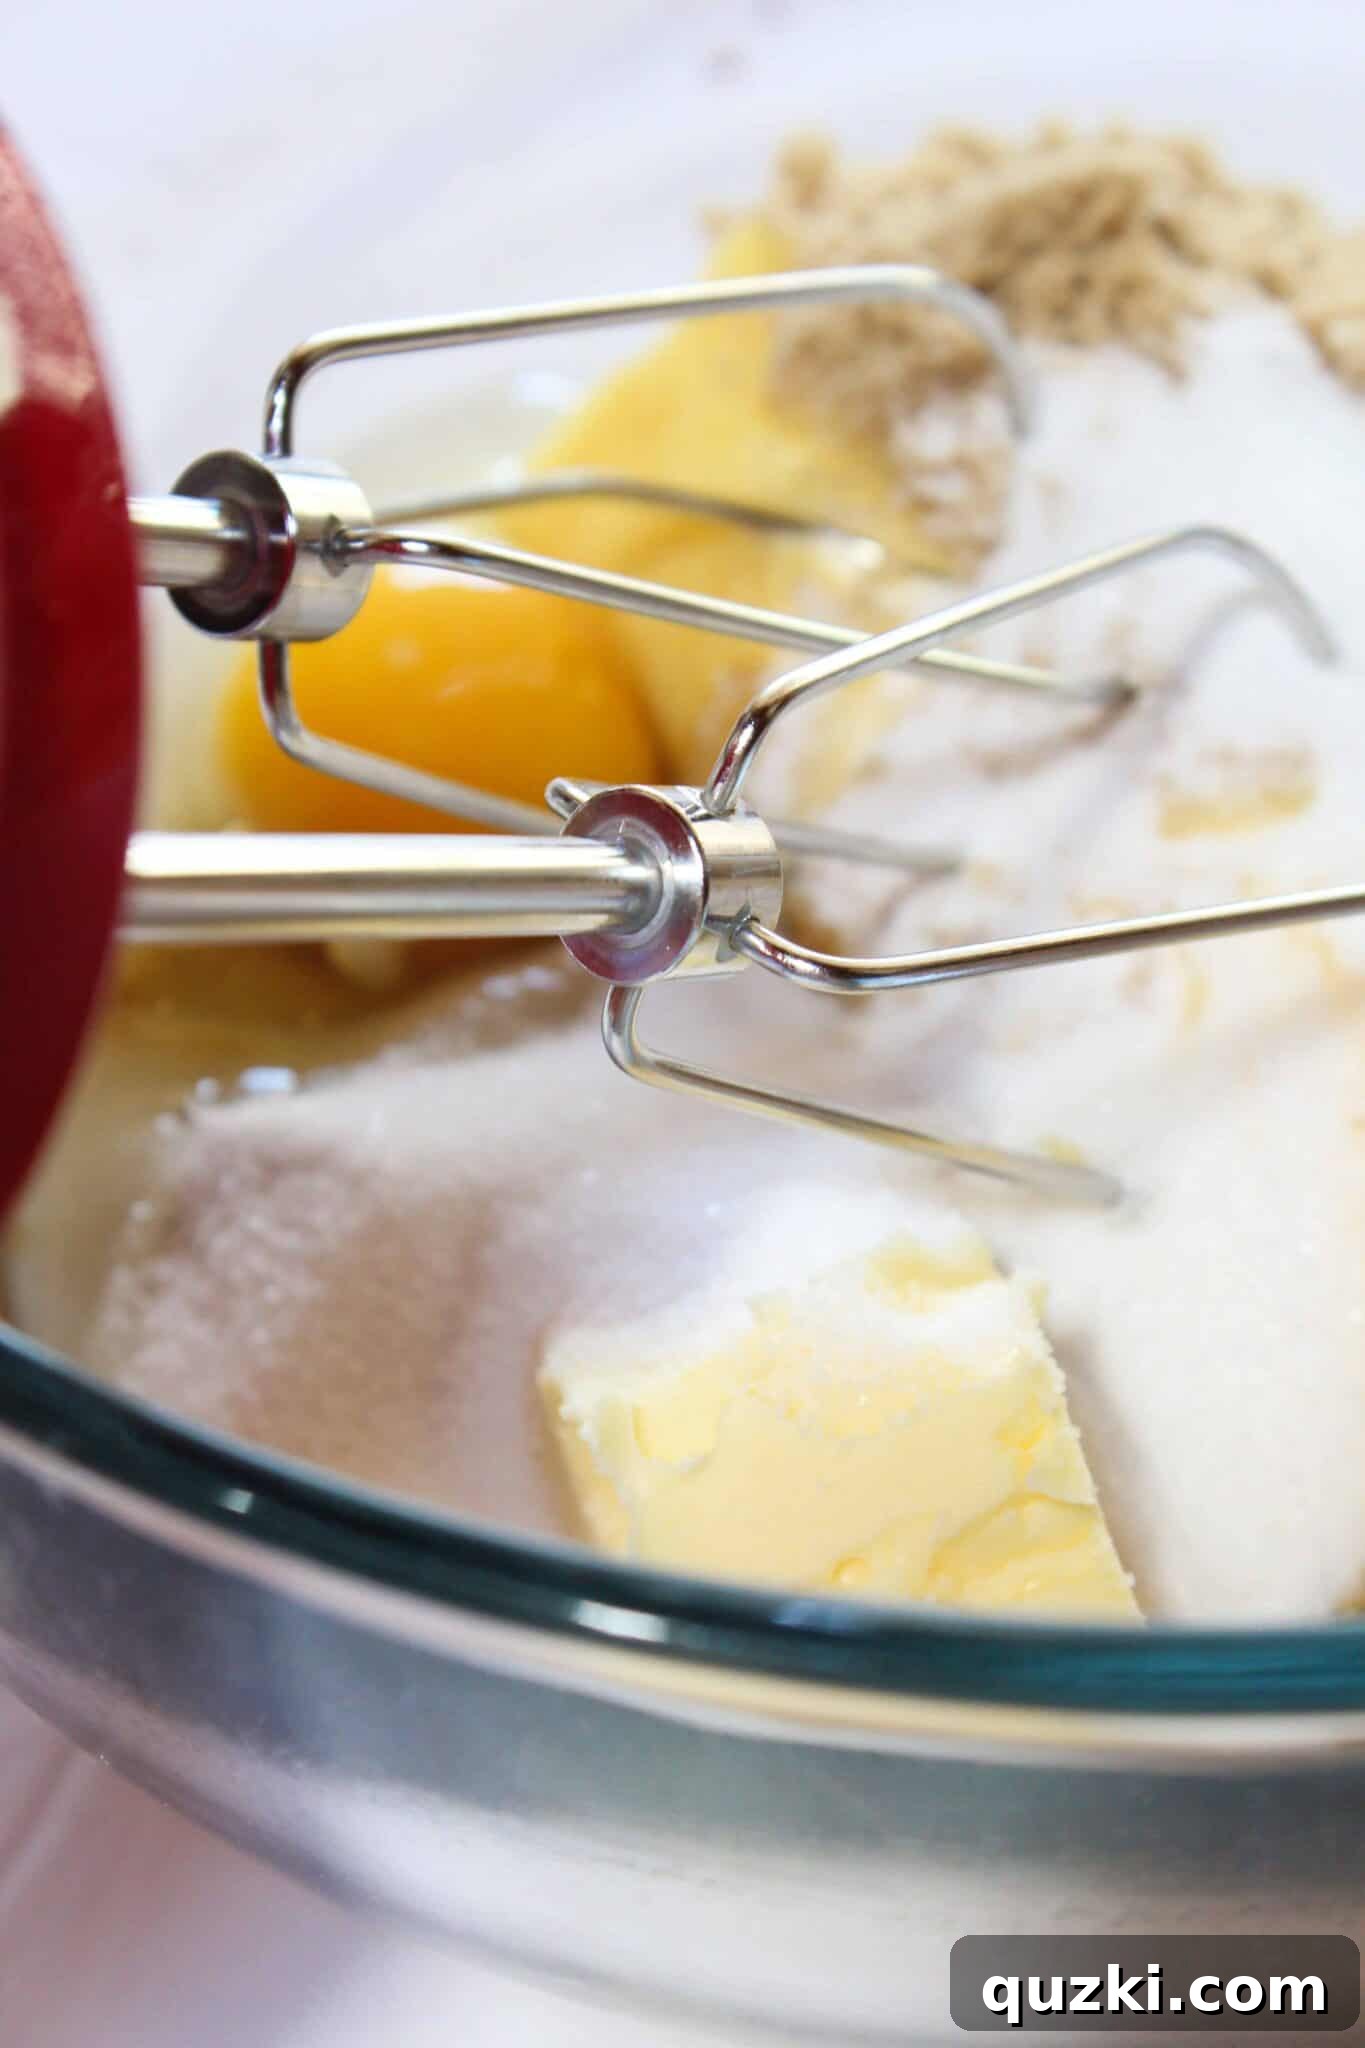
The journey to the perfect chocolate chip cookie begins with understanding the role of each ingredient and the technique behind their combination. For these cookies, we start by creaming together the fats and sugars. In a large mixing bowl, combine softened butter or margarine, butter-flavored shortening, granulated sugar, brown sugar, a large egg, and a generous splash of vanilla extract. Whether you prefer to mix by hand for a rustic touch or with an electric mixer for effortless blending, aim for a light and creamy consistency. This initial creaming process is vital as it incorporates air, contributing to the cookies’ final texture and rise.
The Secret to Consistency: Why Butter-Flavored Shortening is a Game-Changer
Many bakers might shy away from shortening, preferring pure butter, and I understand why. However, when the goal is unparalleled consistency and a cookie that holds its shape beautifully while remaining wonderfully soft, adding shortening is a strategic move. Butter and margarine can vary significantly in their fat content and behavior depending on their temperature – from rock-hard when cold to excessively soft when warm. Shortening, on the other hand, maintains a more stable consistency, making it a reliable foundation for your cookie dough.
Incorporating shortening into this Perfect Everyday Chocolate Chip Cookie recipe ensures a more consistent texture in every batch. It helps prevent excessive spreading and contributes to a wonderfully chewy interior that butter alone might not achieve. But what about flavor? Regular shortening can sometimes lead to a bland cookie. That’s why I strongly advocate for butter-flavored shortening. It provides the structural benefits of shortening without sacrificing the rich, buttery taste that is essential for a truly exceptional chocolate chip cookie. This clever ingredient choice gives you the best of both worlds: structural integrity and delicious flavor in one.
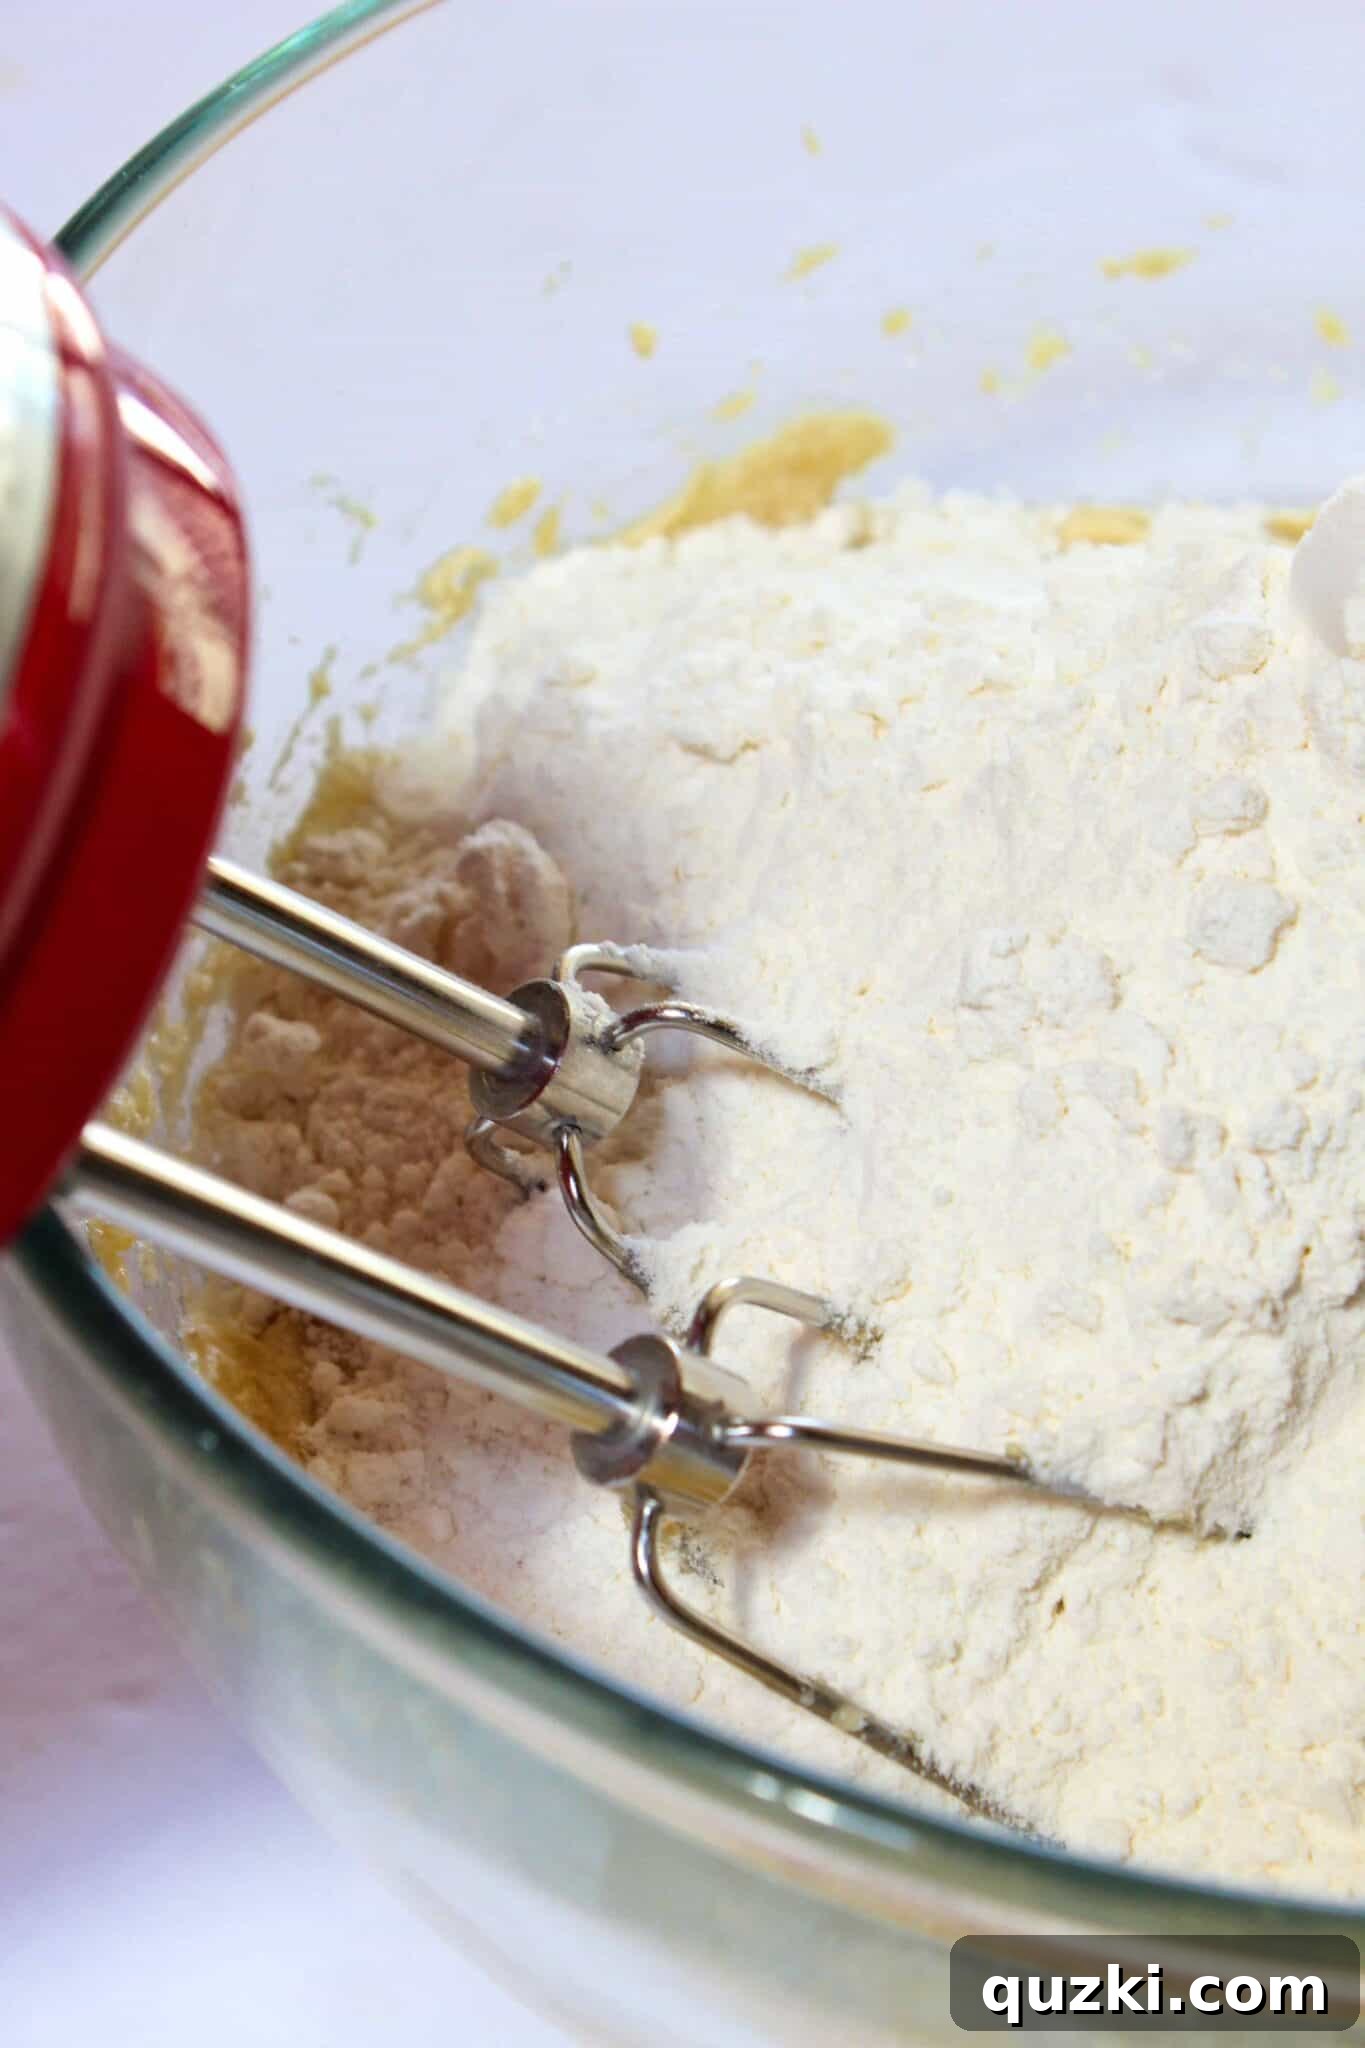
Once your wet ingredients are beautifully creamed, it’s time to introduce the dry components. Add all-purpose flour, baking soda, and salt to the bowl simultaneously. Mix until just combined. The key here is not to overmix, as excessive mixing can develop the gluten in the flour too much, leading to tough rather than tender cookies. The dough will be noticeably thick and wonderfully pliable – a promising sign of the deliciousness to come.
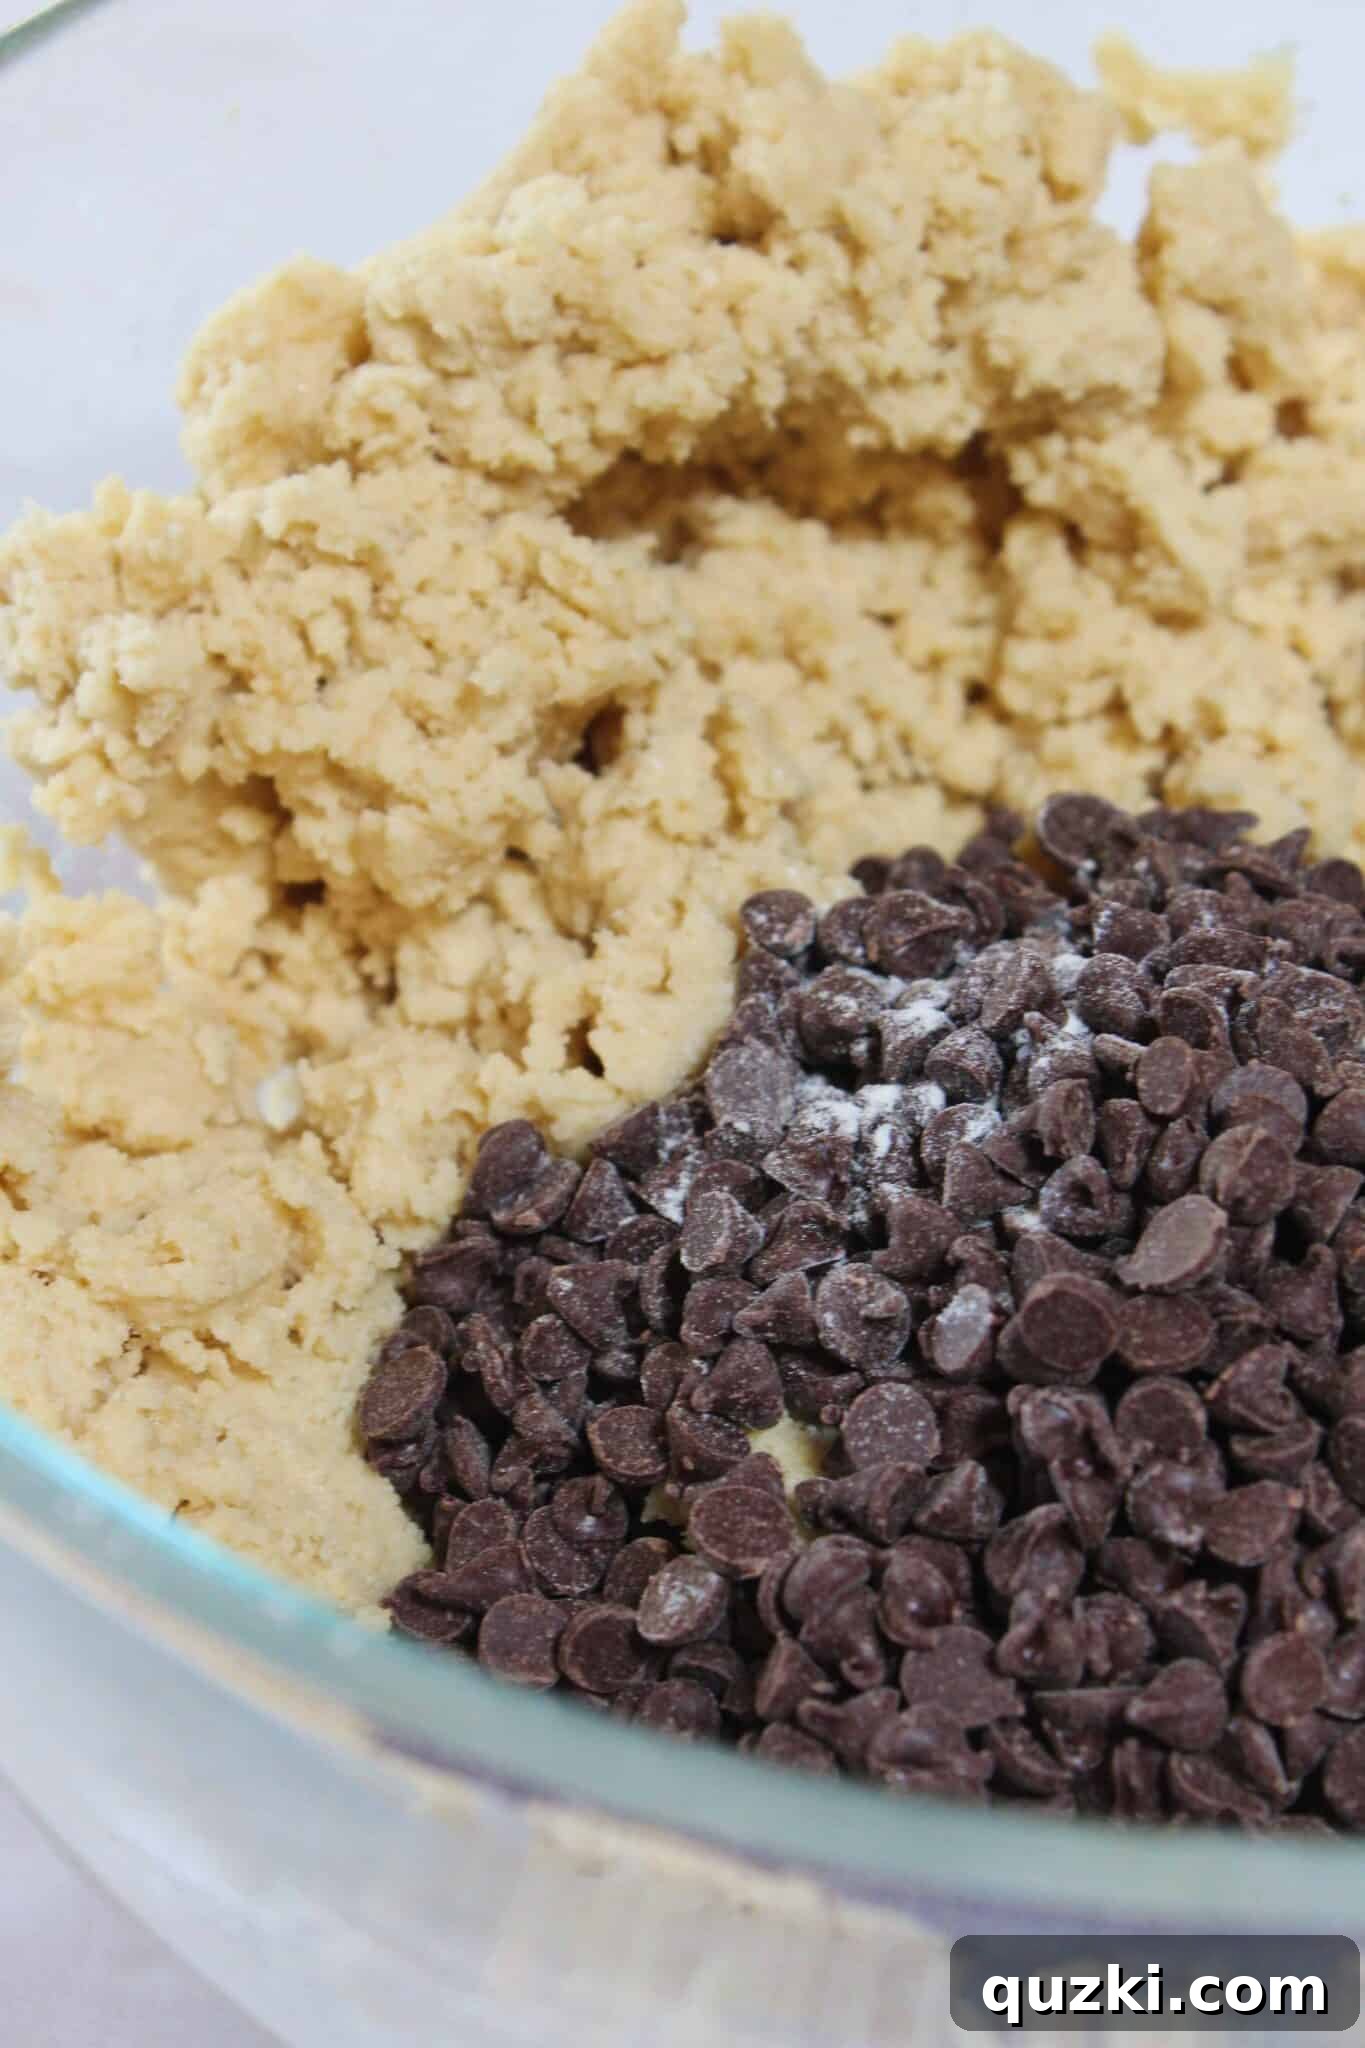
Of course, a chocolate chip cookie wouldn’t be complete without its namesake! For the ultimate chocolate experience, I highly recommend using a combination of mini and regular-sized semi-sweet chocolate chips. This thoughtful blend of sizes ensures that every bite offers a varied and satisfying burst of chocolate. The smaller chips melt more uniformly throughout the dough, creating pockets of creamy chocolate, while the larger chips provide distinct, gooey morsels. This textural contrast elevates the cookie from merely good to truly extraordinary.
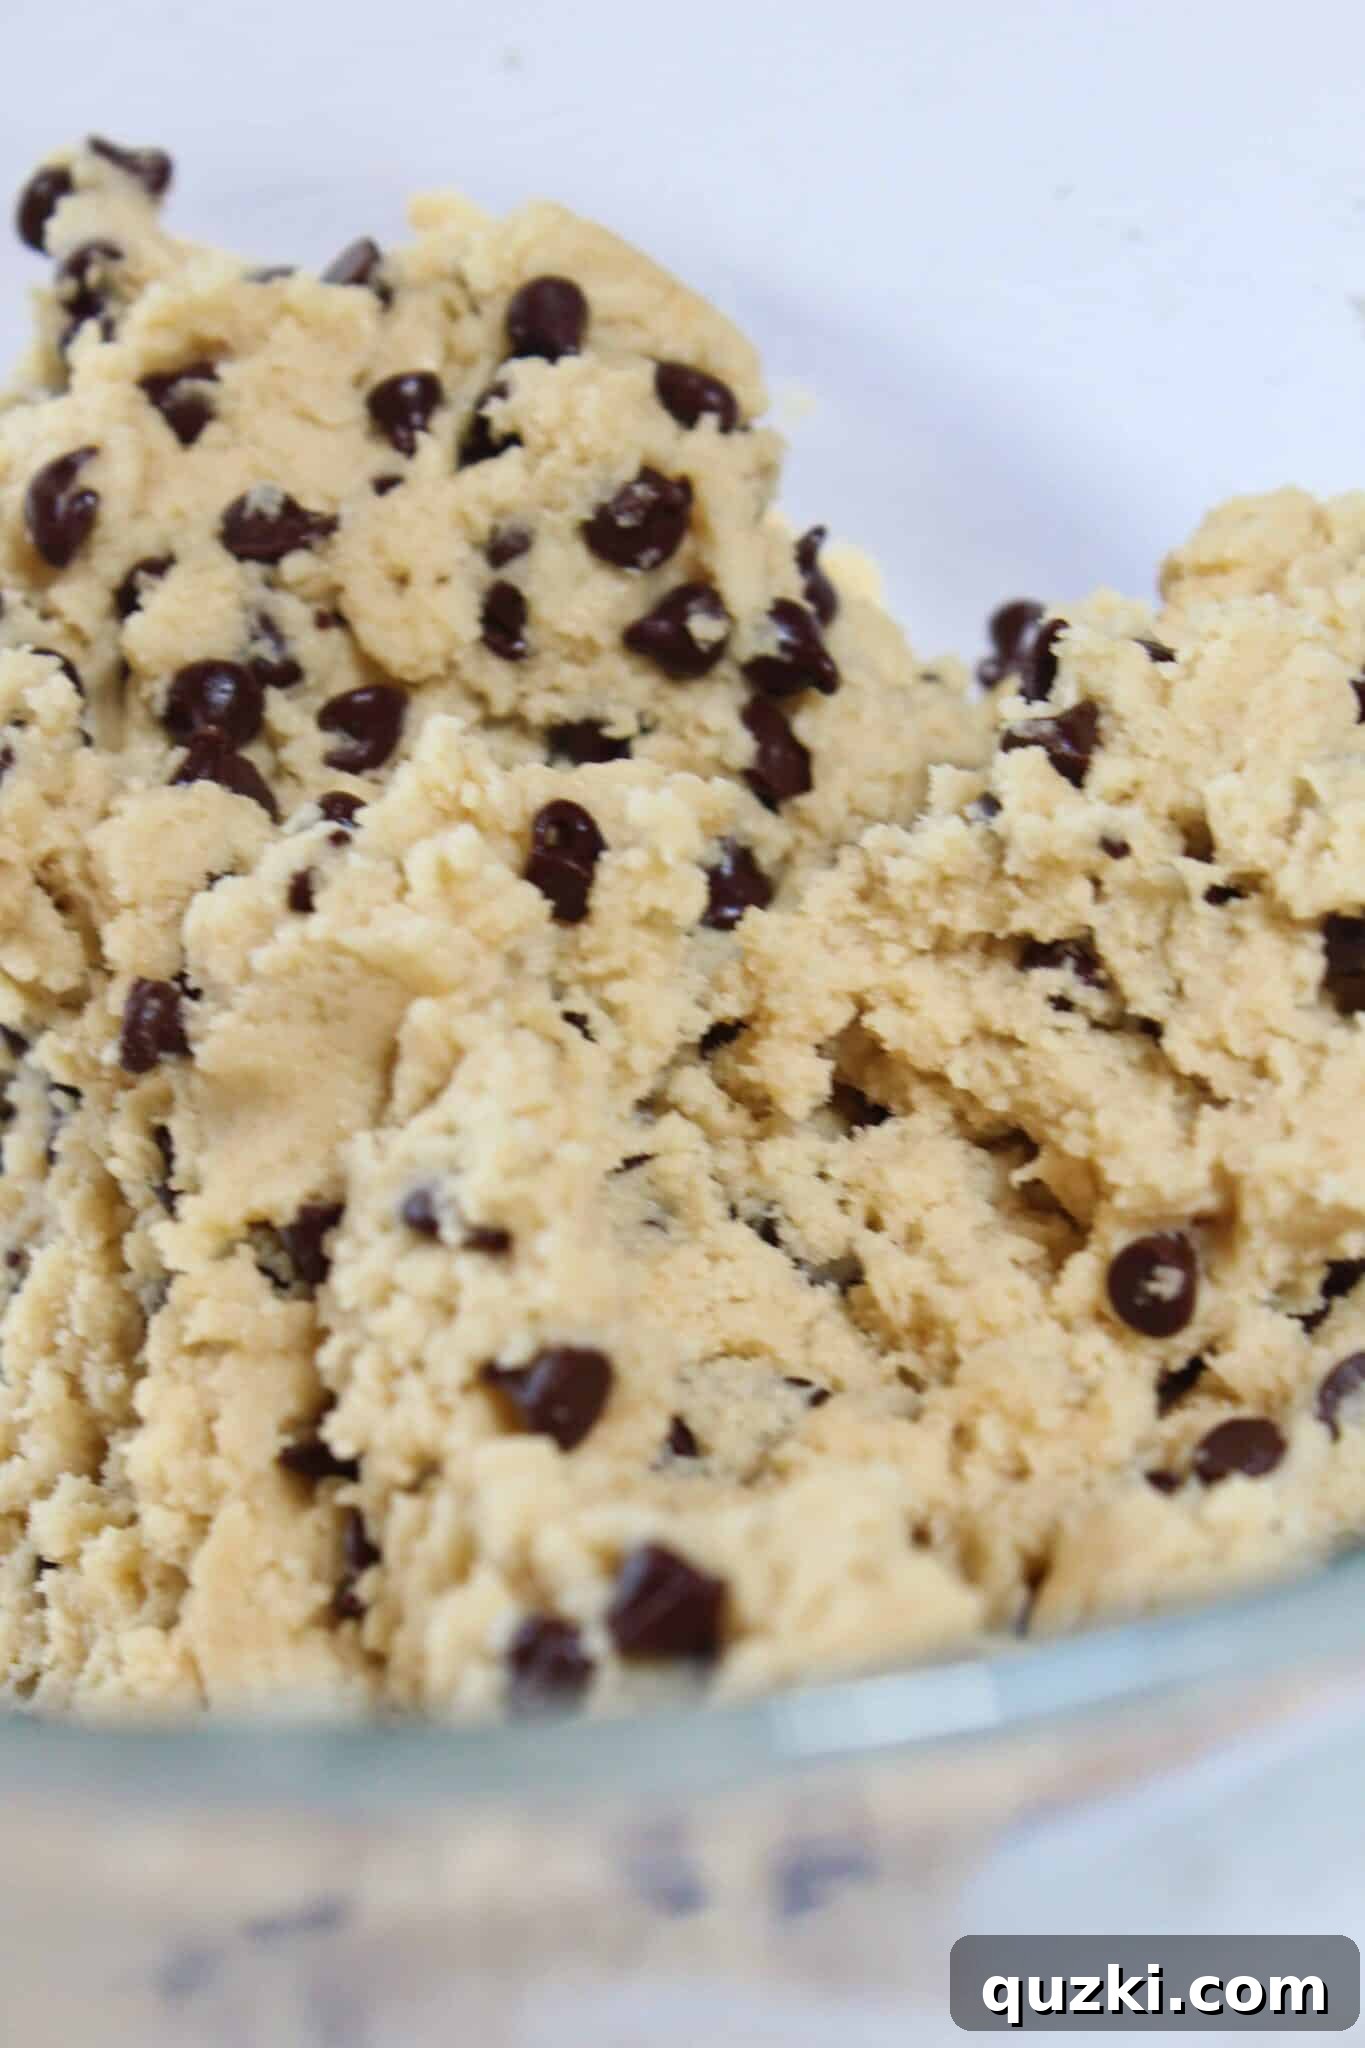
Now, for a step that is perhaps not strictly instructional but undeniably essential: the quality control test! Before any dough makes its way to the oven, it’s absolutely crucial to sample at least a teaspoon (or, let’s be honest, enough for 3-5 cookies) of the raw dough. If enjoying chocolate chip cookie dough is a culinary sin, then I proudly embrace my transgressions! This delightful ritual is a testament to the irresistible nature of this particular dough, hinting at the incredible flavor awaiting you in the baked cookies. It’s a moment of pure, unadulterated baking joy that every home baker deserves.
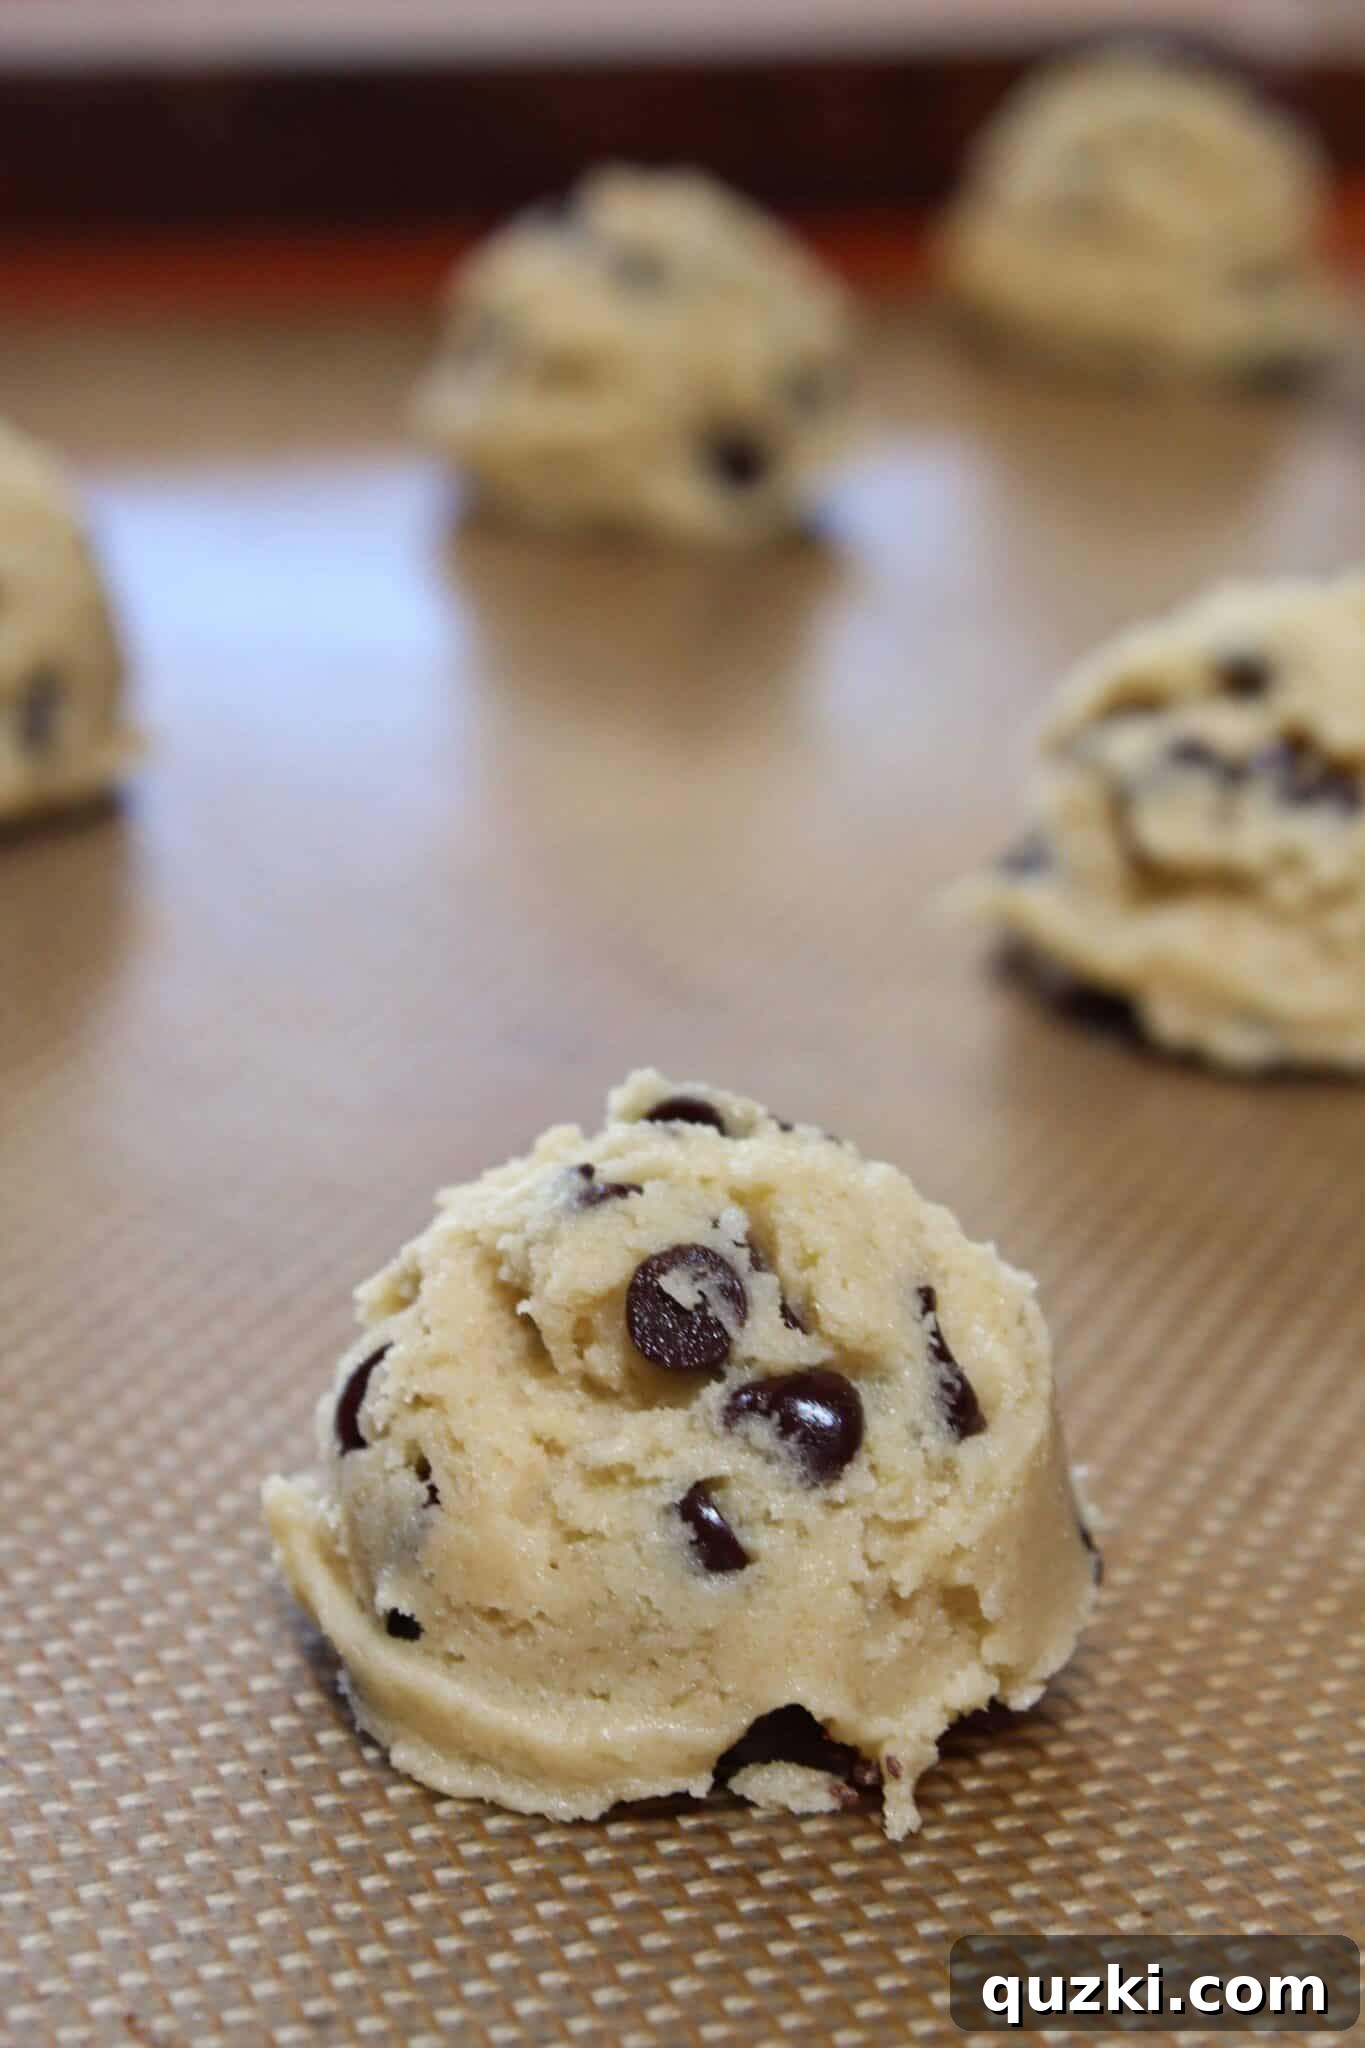
Once your taste buds have been sufficiently tantalized, it’s time to prepare the cookies for baking. Using a medium cookie scoop, portion uniform mounds of dough onto a baking sheet lined with a silicone mat or parchment paper. Using a scoop ensures that each cookie is roughly the same size, promoting even baking. A silicone mat or parchment paper prevents sticking and helps the cookies bake evenly without burnt bottoms, making for an easier cleanup too.
Bake the cookies in a preheated 350-degree Fahrenheit oven for 10-13 minutes, or until the edges are lightly golden brown. The center should still look slightly soft and underbaked – this is the secret to their irresistible chewiness. Immediately remove the baking sheet from the oven and, crucially, allow the cookies to cool on the cookie sheet for 10 minutes. This step is paramount for achieving the desired texture and is a practice I never skip.
The Golden Rule of Baking: Don’t Overbake, and Let Them Cool on the Sheet
My passion for cookies is no secret, and if there’s one piece of advice I find myself repeating constantly, it’s this: do not overbake your cookies! To achieve that sought-after soft, chewy center – my ultimate cookie goal – you must resist the urge to bake them until they are firm. In fact, the true key is to remove them from the oven when they appear slightly underbaked, allowing the residual heat to do the rest of the work.
Leaving the cookies on the hot baking sheet for 10 minutes post-oven allows them to continue cooking gently from the residual heat of the sheet. This process, often referred to as “carryover cooking,” finishes setting the cookies without drying them out. It also provides enough time for their delicate structure to firm up properly, preventing them from falling apart when you transfer them. This combination of slight underbaking and strategic cooling on the baking sheet is the absolute secret to achieving perfection: a cookie that is perfectly set on the outside with a gloriously soft and chewy interior. Trust me, this simple technique will revolutionize your cookie-baking game.

I’ve baked more cookies than I care to count (mostly because admitting the number would reveal just how many I’ve personally eaten!). Through countless trials and delicious experiments, I’ve discovered that once I adopted this specific cooling method, my entire cookie baking experience transformed forever. The difference in texture and overall deliciousness is truly remarkable.
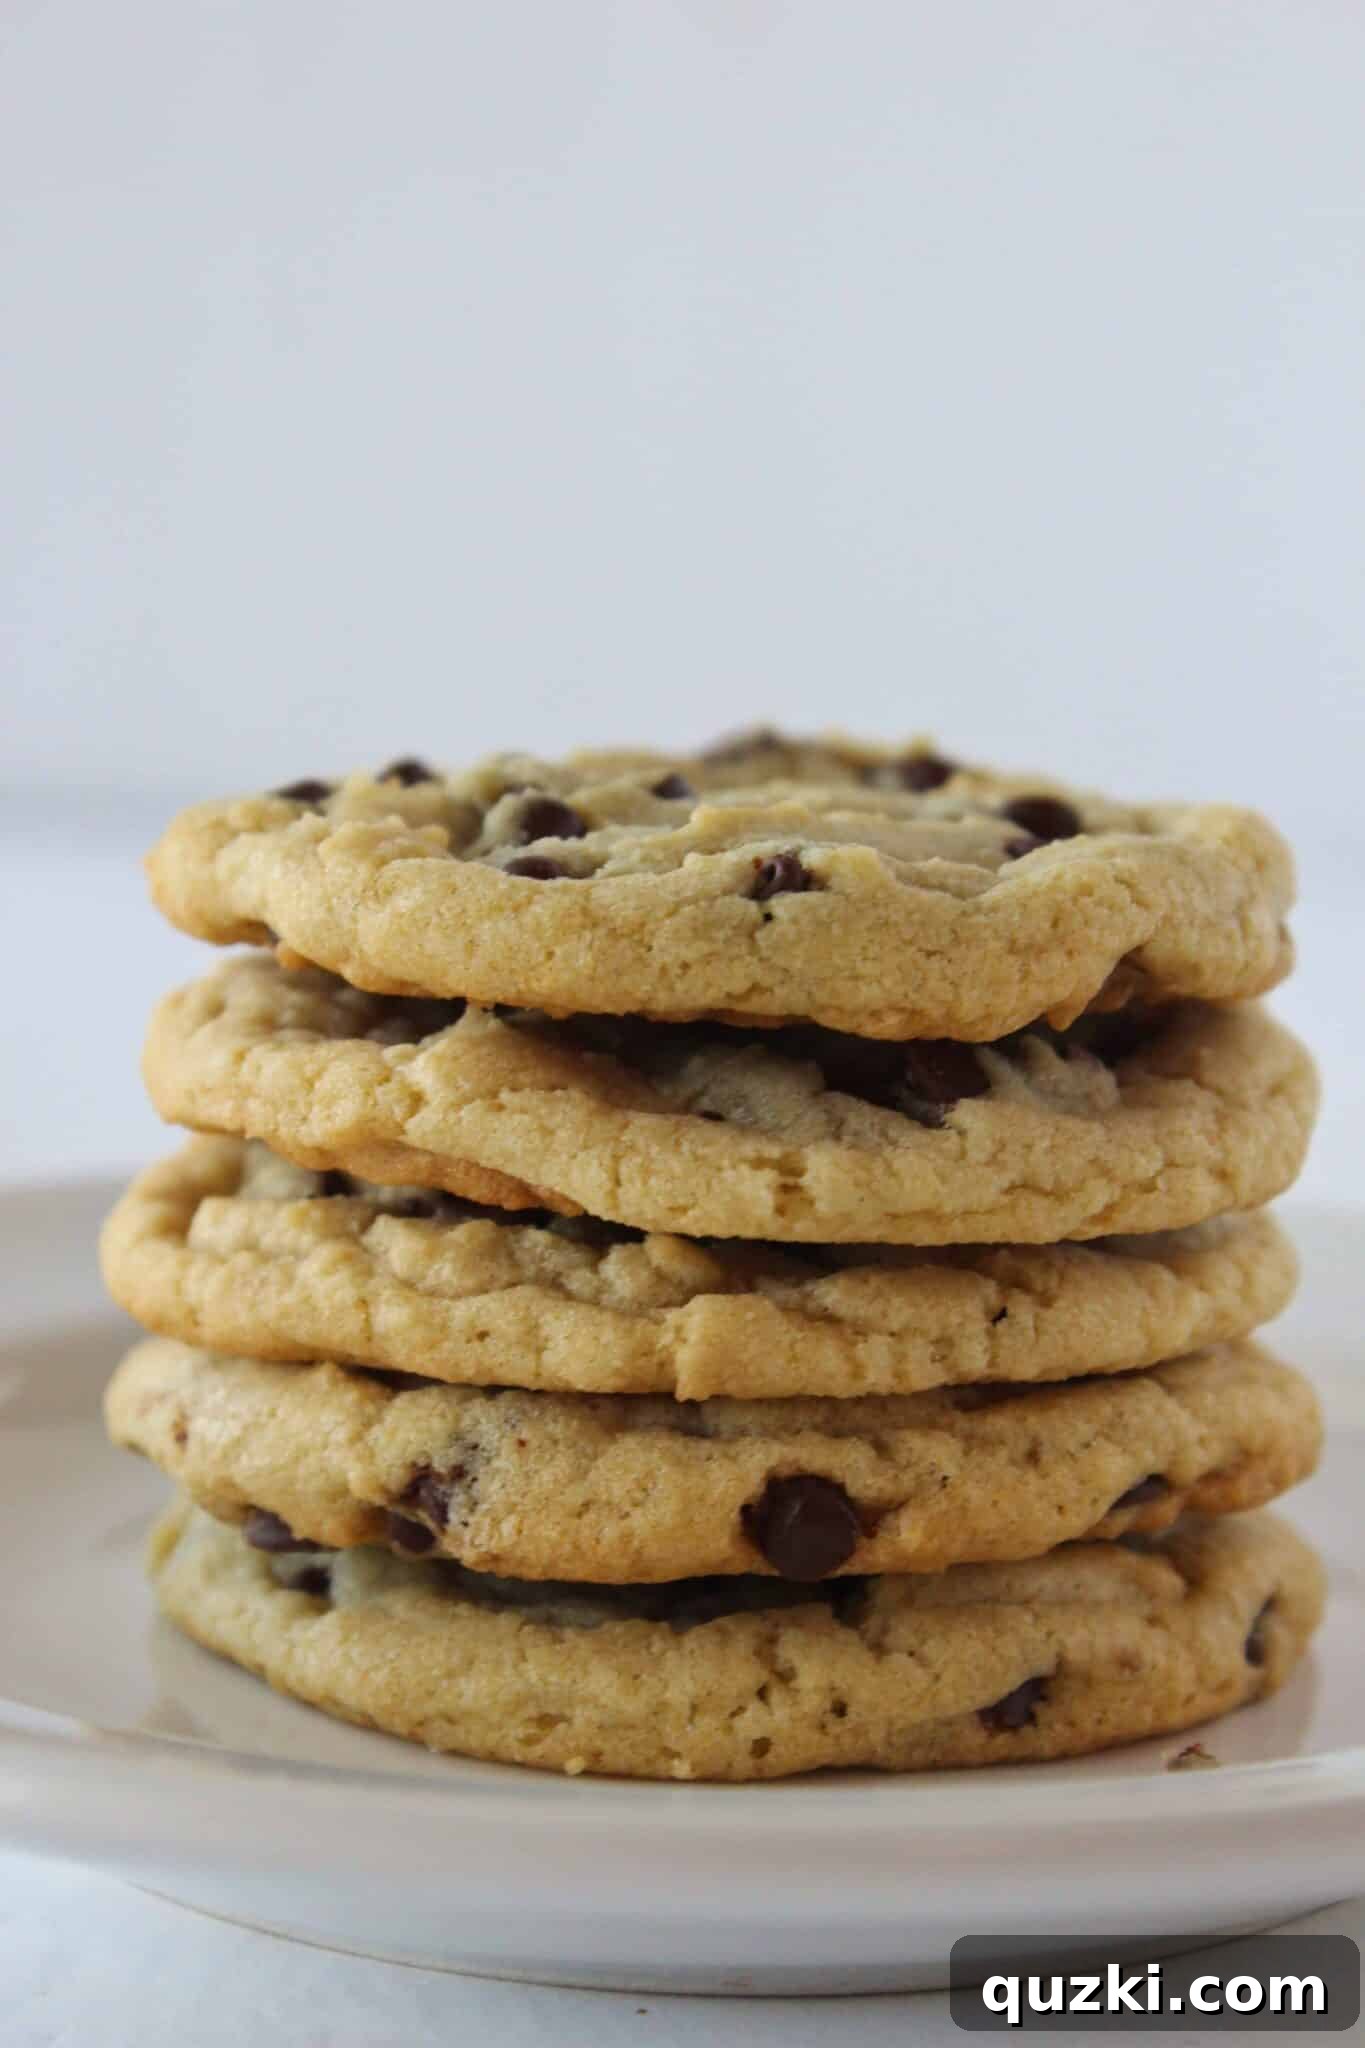
Just look at these beauties! Their golden edges, soft centers, and generous chocolate chunks are simply irresistible. If these aren’t calling your name right now, I don’t know what will. These Perfect Everyday Chocolate Chip Cookies, made with the secret touch of margarine and shortening, are truly the ideal treat for any day of the week. They embody everything you could want in a classic chocolate chip cookie: ease, reliability, and incredible flavor. For those who love a delightful variation, consider trying these Soft White Chocolate Macadamia Nut Cookies.
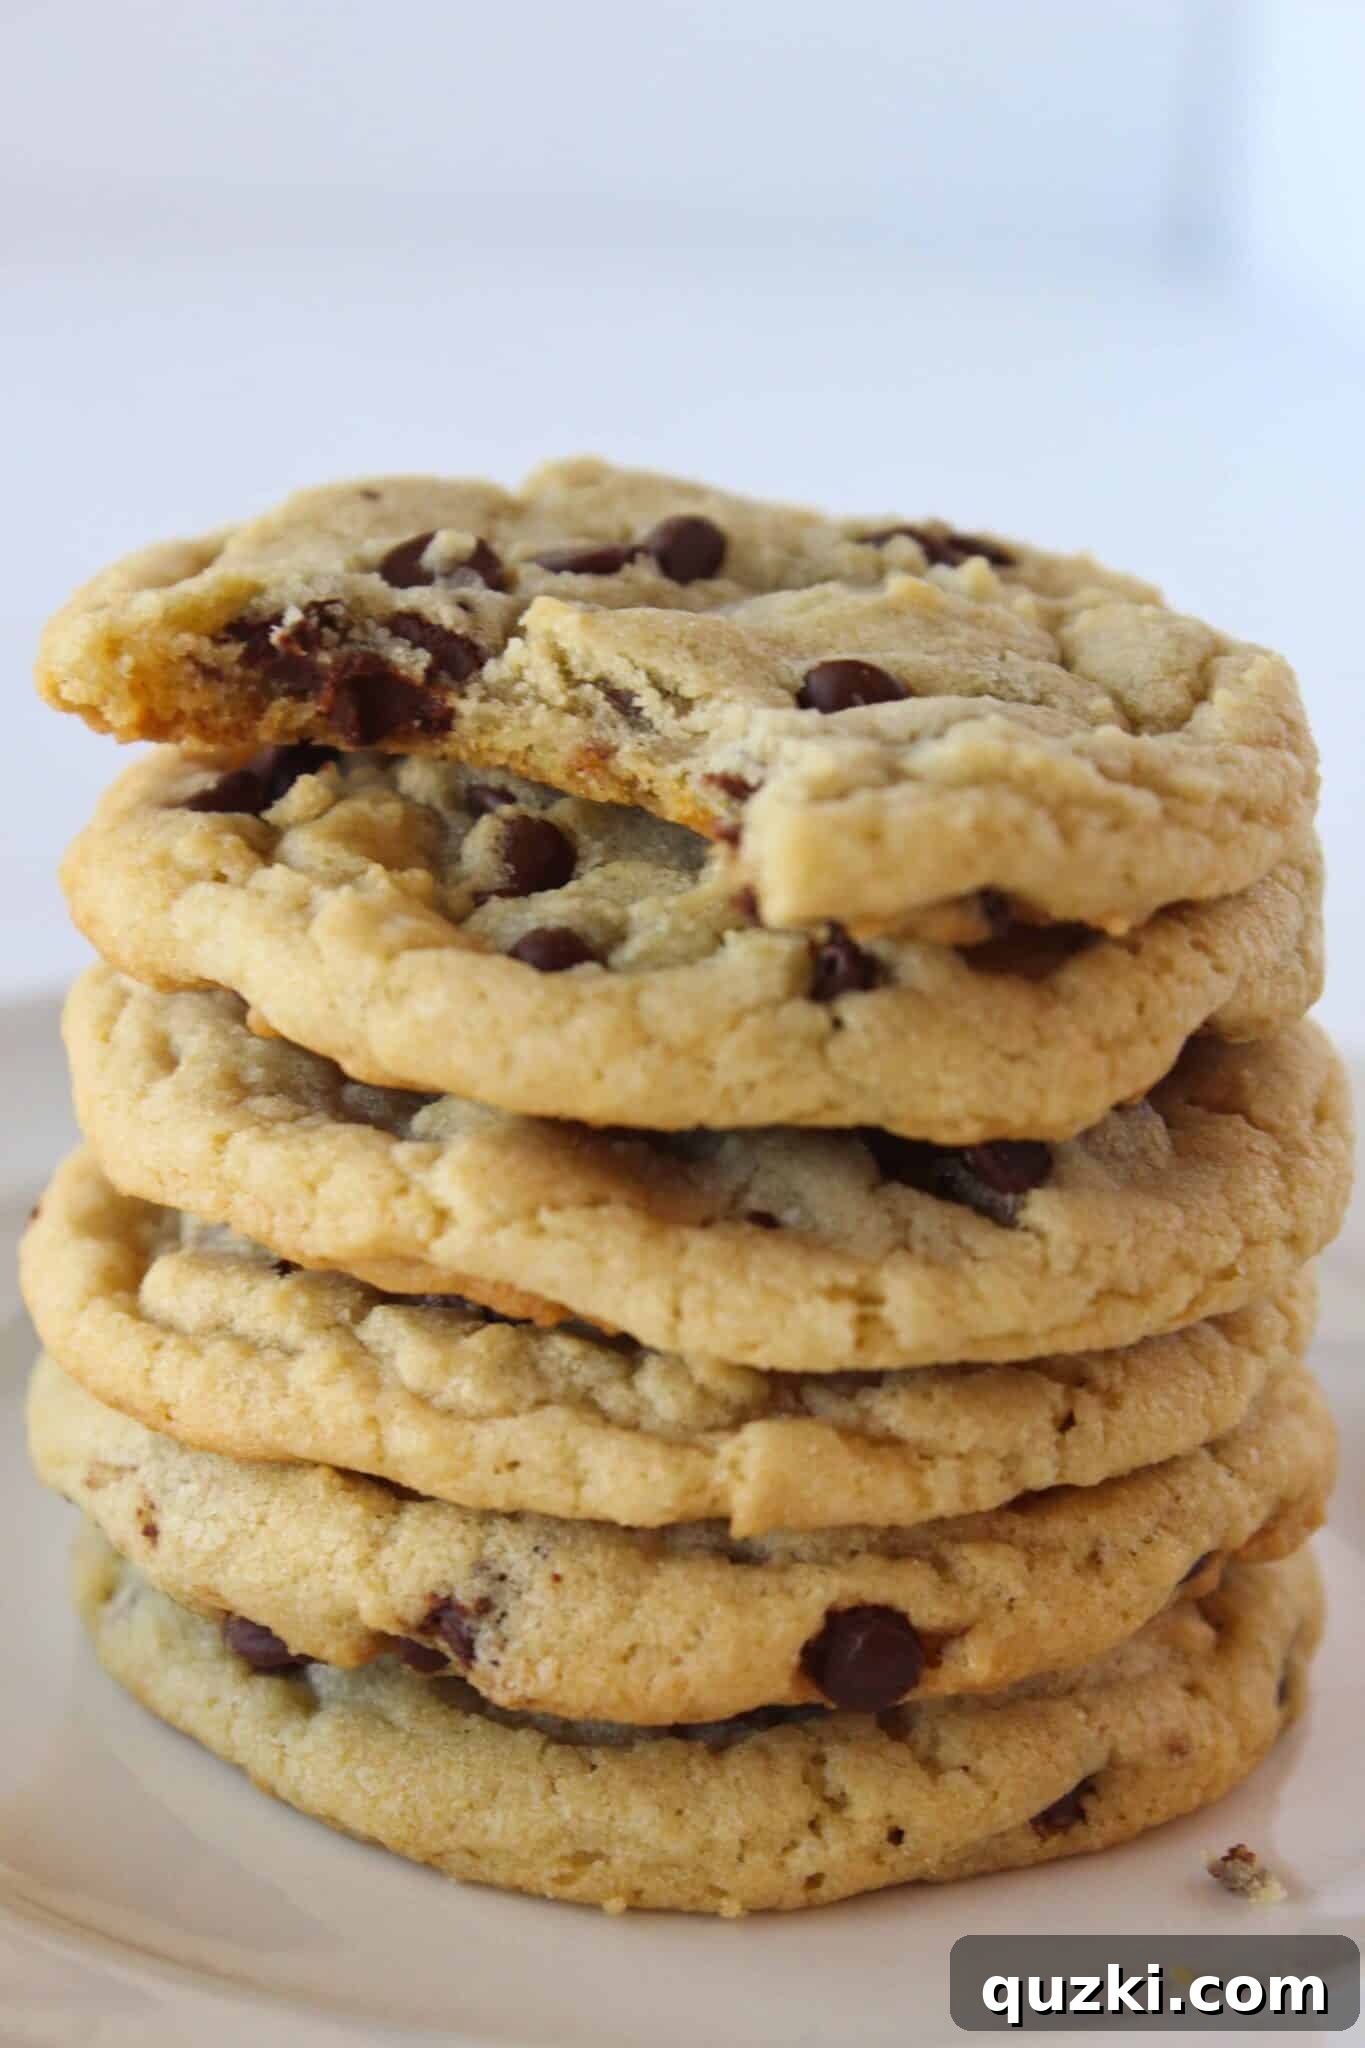
These cookies are not just a recipe; they are an invitation to create lasting memories and enjoy simple, profound deliciousness. Whether you’re baking for family, friends, or simply to treat yourself, this foolproof recipe guarantees a batch of soft, chewy, and utterly delightful chocolate chip cookies every single time. Enjoy the process, savor the aroma, and delight in the taste of homemade perfection.
Craving More Chocolate Chip Cookie Magic? Explore These Related Recipes!
- Super Thick Chocolate Chip Cookies
- Grandma Pearl’s Chocolate Chip Cookies
- Salted Caramel Chocolate Chip Cookie Bars
- The Best Soft Chocolate Chip Cookie
- Chocolate Chunk Cookies
- Chocolate Chip Skillet Pizookie

Perfect Everyday Chocolate Chip Cookies
Rate Recipe
Print Recipe
Ingredients
- ⅔ cup granulated sugar
- ⅔ cup brown sugar
- ½ cup butter or margarine, {softened}
- ¼ cup shortening , {I prefer butter flavored}
- 2 teaspoon vanilla extract
- 1 large egg
- 2 cups all purpose flour
- 1 teaspoon baking soda
- ½ teaspoon salt
- 12 ounces chocolate chips , {I prefer mini chocolate chips, or a mix of mini and regular}
Instructions
-
Preheat your oven to 350°F (175°C). Prepare your baking sheets by lining them with parchment paper or silicone baking mats.
-
In a large bowl, using a spoon or an electric mixer, cream together the granulated sugar, brown sugar, softened butter/margarine, shortening, vanilla extract, and the large egg until the mixture is light and creamy.
-
Add the dry ingredients: all-purpose flour, baking soda, and salt to the wet mixture. Mix until just combined, being careful not to overmix the dough. Gently fold in your preferred chocolate chips until evenly distributed throughout the dough.
-
Using a medium cookie scoop (about 1.5 tablespoons), scoop uniform mounds of dough onto the prepared baking sheets, leaving about 2 inches between each cookie.
-
Bake for 10-13 minutes, or until the edges are lightly golden brown but the centers still look soft and slightly underbaked. Remember, do not overbake for soft and chewy cookies!
-
Remove the cookies from the oven and let them cool on the baking sheet for a crucial 10 minutes. This allows them to continue cooking from residual heat and set properly. After 10 minutes, transfer them to a wire cooling rack to cool completely.
-
Store leftover cookies in an airtight container at room temperature for up to 5 days. For longer storage, baked cookies can be frozen for up to 3 months, or you can freeze the raw cookie dough balls to bake fresh later!
Nutrition
Nutrition information is automatically calculated, so should only be used as an approximation.