
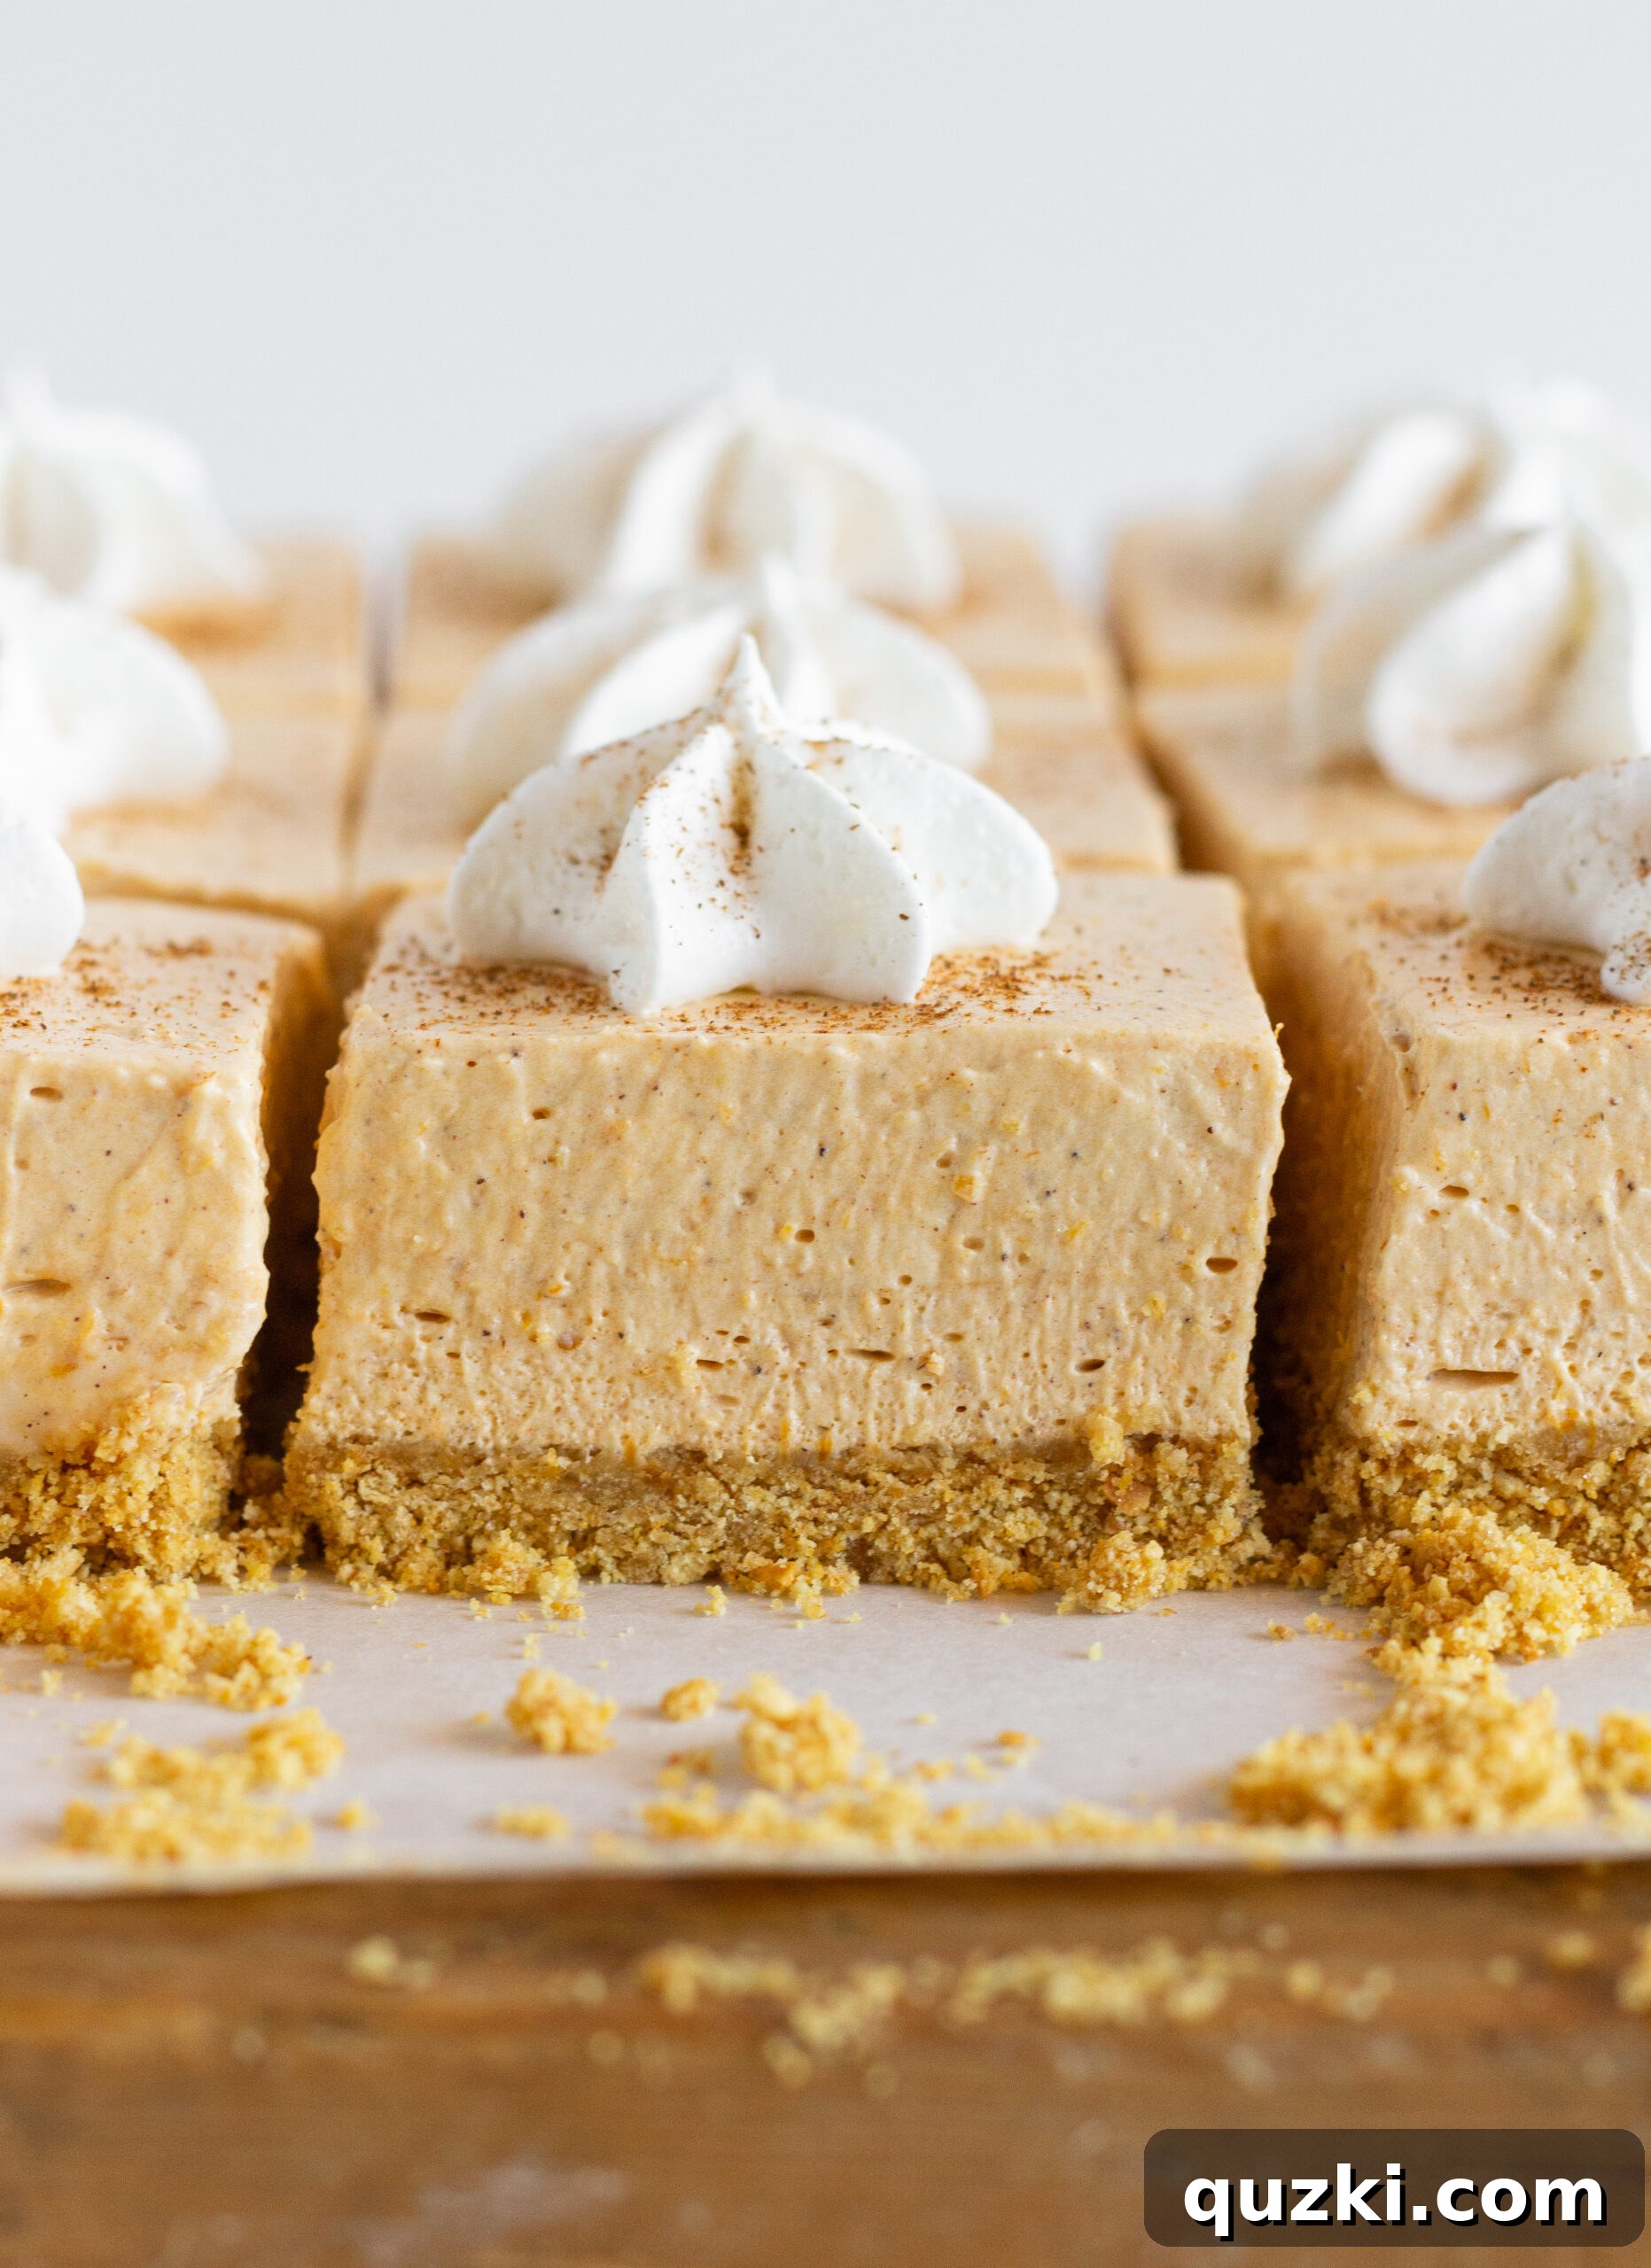
Irresistible No-Bake Pumpkin Cheesecake Bars: Your Go-To Fall Dessert
While many declare “pumpkin season” for a limited time, we believe the rich, comforting flavors of pumpkin should be enjoyed all year long! There’s no reason to restrict yourself when a dessert is this delightful and easy to make. This recipe for **No-Bake Pumpkin Cheesecake Bars** is destined to become a perennial favorite in your household. It masterfully blends the beloved taste of pumpkin with the luxurious texture of cheesecake, creating a treat that truly embodies the essence of comfort and joy.
What makes these bars truly special? Firstly, they are bursting with incredible pumpkin flavor, perfectly spiced to evoke those cozy autumn feelings. Secondly, and perhaps most importantly for busy bakers or hot kitchens, these cheesecake bars are entirely no-bake! From the golden graham cracker crust to the unbelievably creamy pumpkin cheesecake filling, not a single moment in the oven is required. This means less fuss, less heat, and more time to enjoy your culinary creation. Prepare these delectable treats as fast as you can – they won’t last long!
For more delightful pumpkin creations, don’t forget to explore our Pumpkin Snickerdoodle Snack Cake!
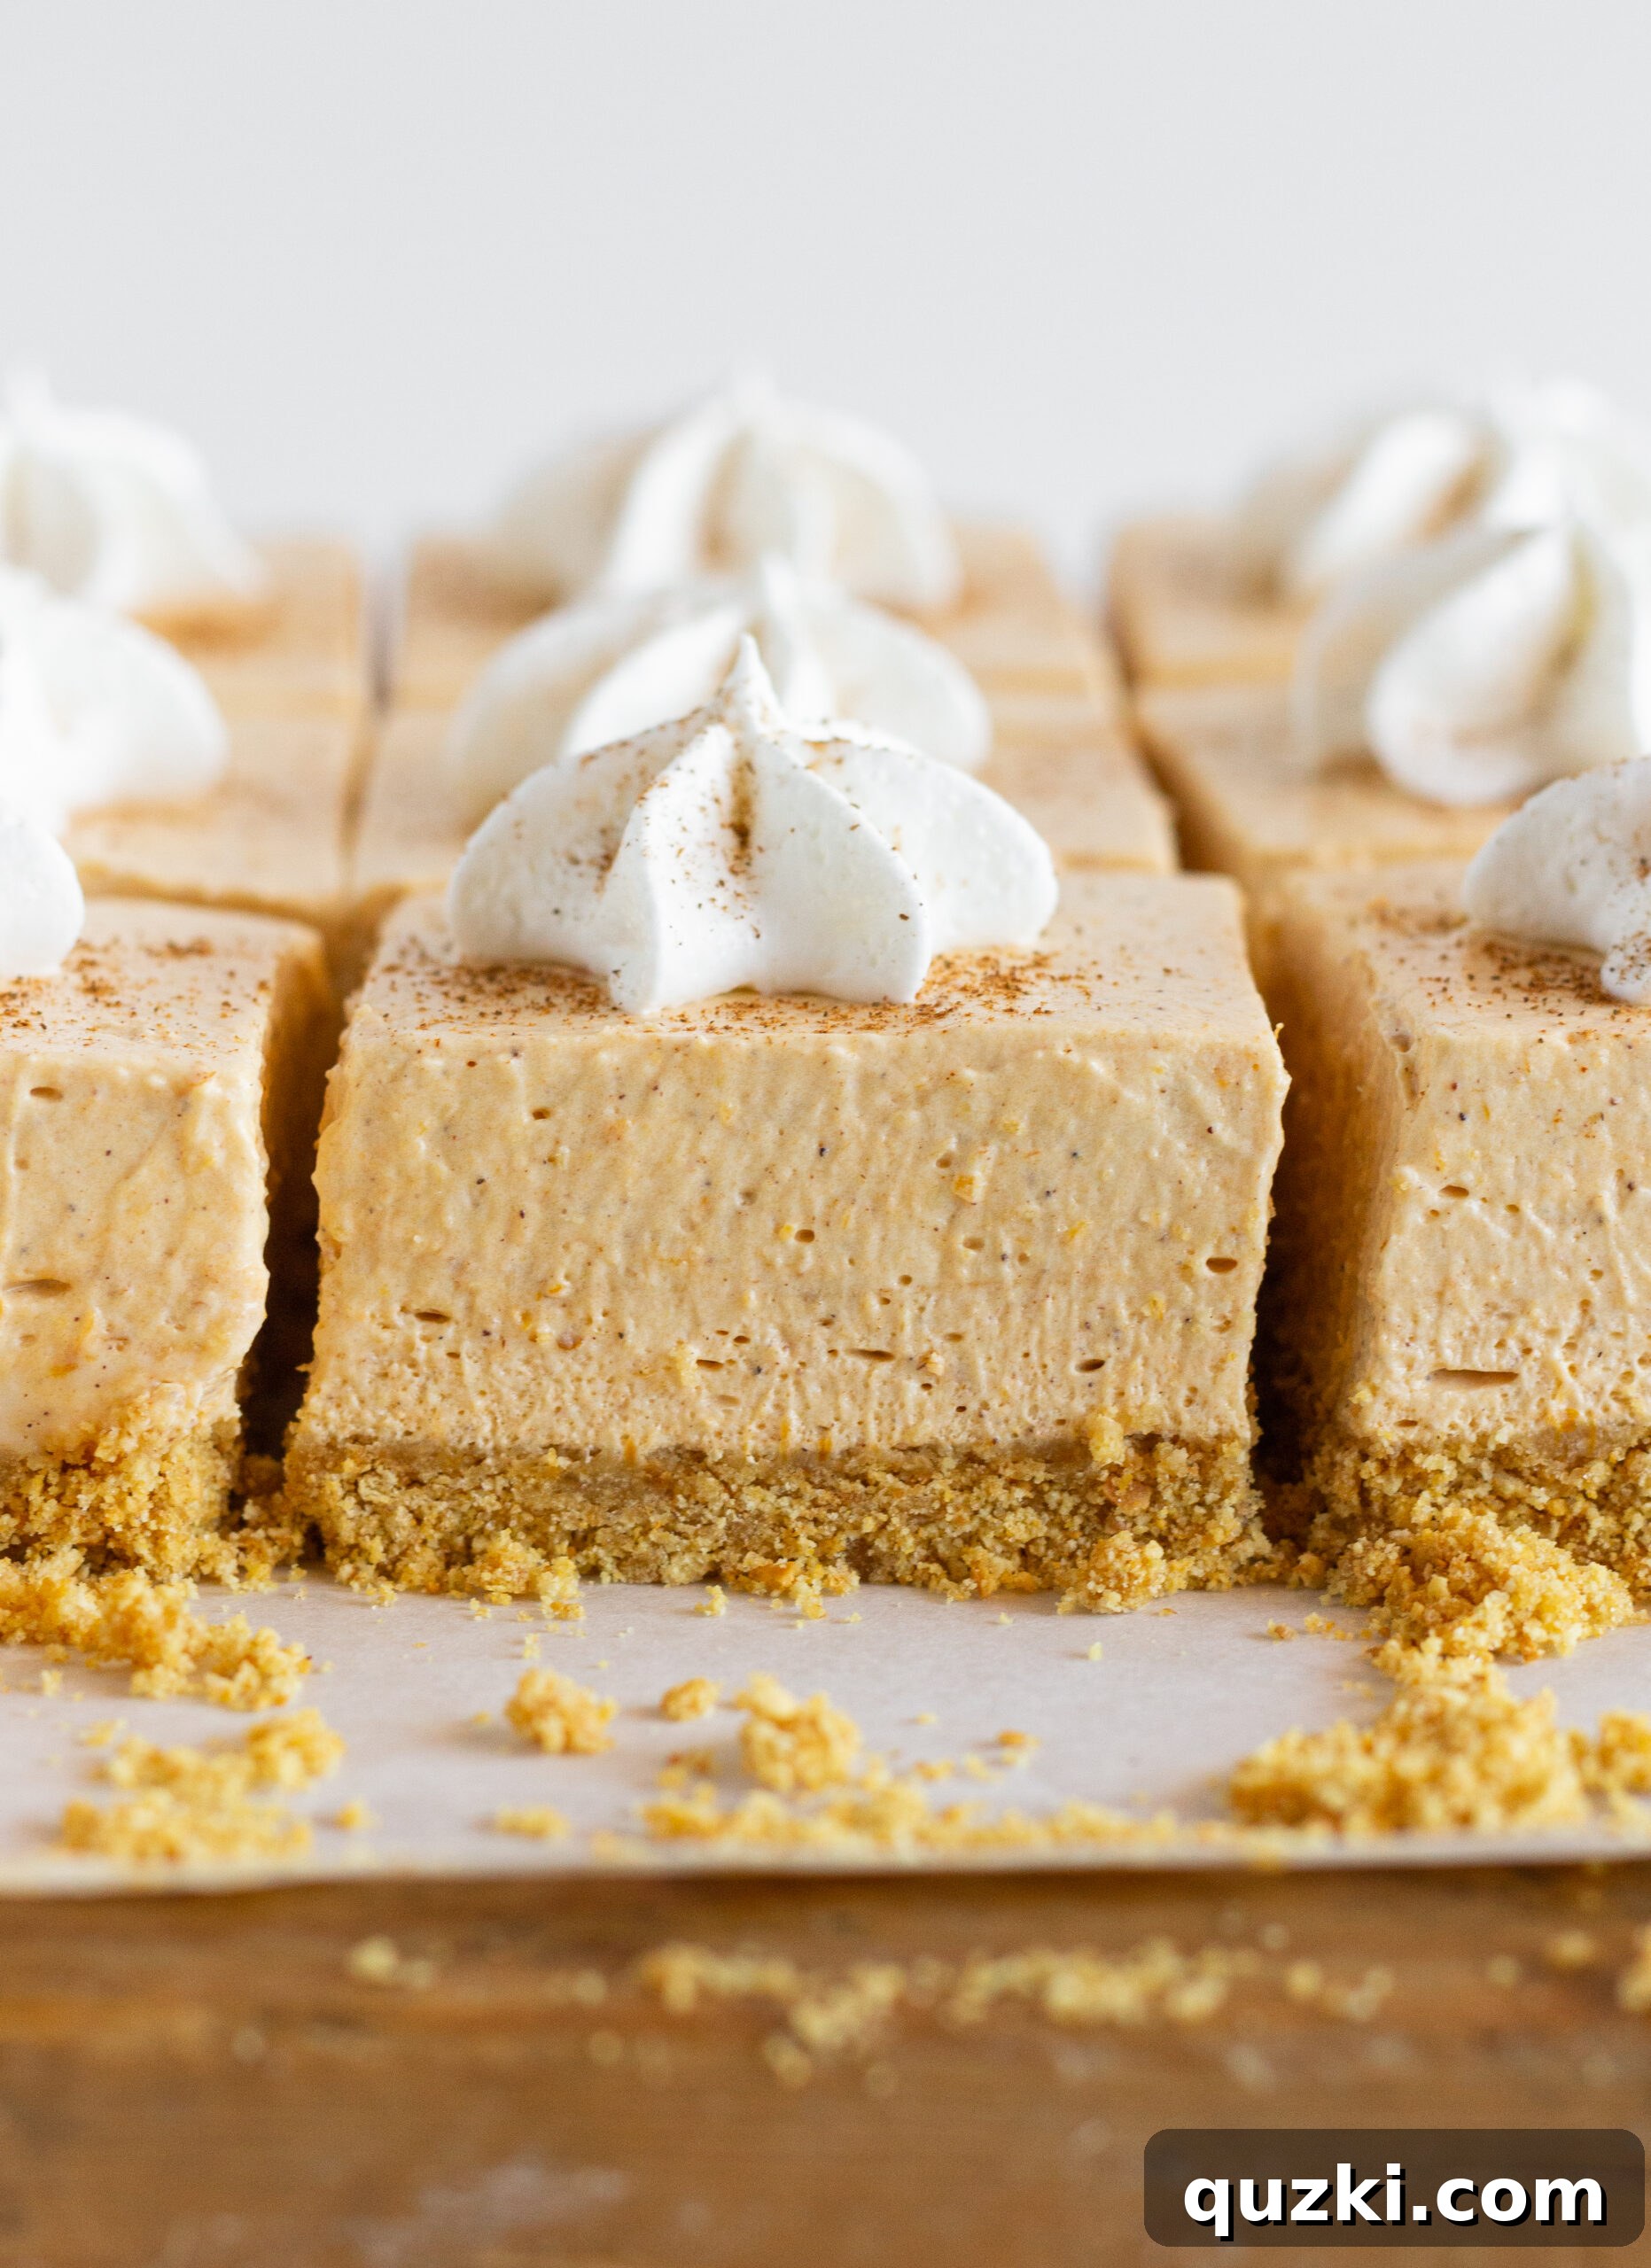
Why These No-Bake Pumpkin Cheesecake Bars Will Be Your New Favorite
These No-Bake Pumpkin Cheesecake Bars aren’t just another dessert; they’re a revelation in simplicity and flavor. Here’s why you absolutely must give this recipe a try:
- Effortlessly Easy: Forget complicated baking techniques and long ingredient lists. This recipe is incredibly straightforward, requiring just a handful of common ingredients and minimal effort. You’ll be amazed at how quickly these come together, making them perfect for impromptu gatherings or when you’re short on time but still want to impress.
- Incredibly Delicious: Prepare your taste buds for an unforgettable experience. The harmonious blend of the buttery, slightly sweet graham cracker crust with the smooth, spiced pumpkin cheesecake filling is pure heaven. Each bite offers a delightful contrast in textures and a symphony of fall flavors that will have everyone reaching for a second piece.
- Truly No-Bake: The biggest advantage! Say goodbye to preheating ovens and worrying about cracks or sunken centers. This entire dessert is assembled and chilled, making it an ideal choice for warm weather, busy holidays, or simply when you want a stress-free dessert. The lack of baking also preserves the fresh, vibrant taste of the pumpkin and spices.
- Perfect for Making Ahead: Planning a party or need a dessert for later? These no-bake bars are your best friend. They actually benefit from an extended chill time, allowing the flavors to meld beautifully and the texture to firm up perfectly. Preparing them the day before ensures they are ready to serve when you need them, freeing up your precious time on the day of your event.
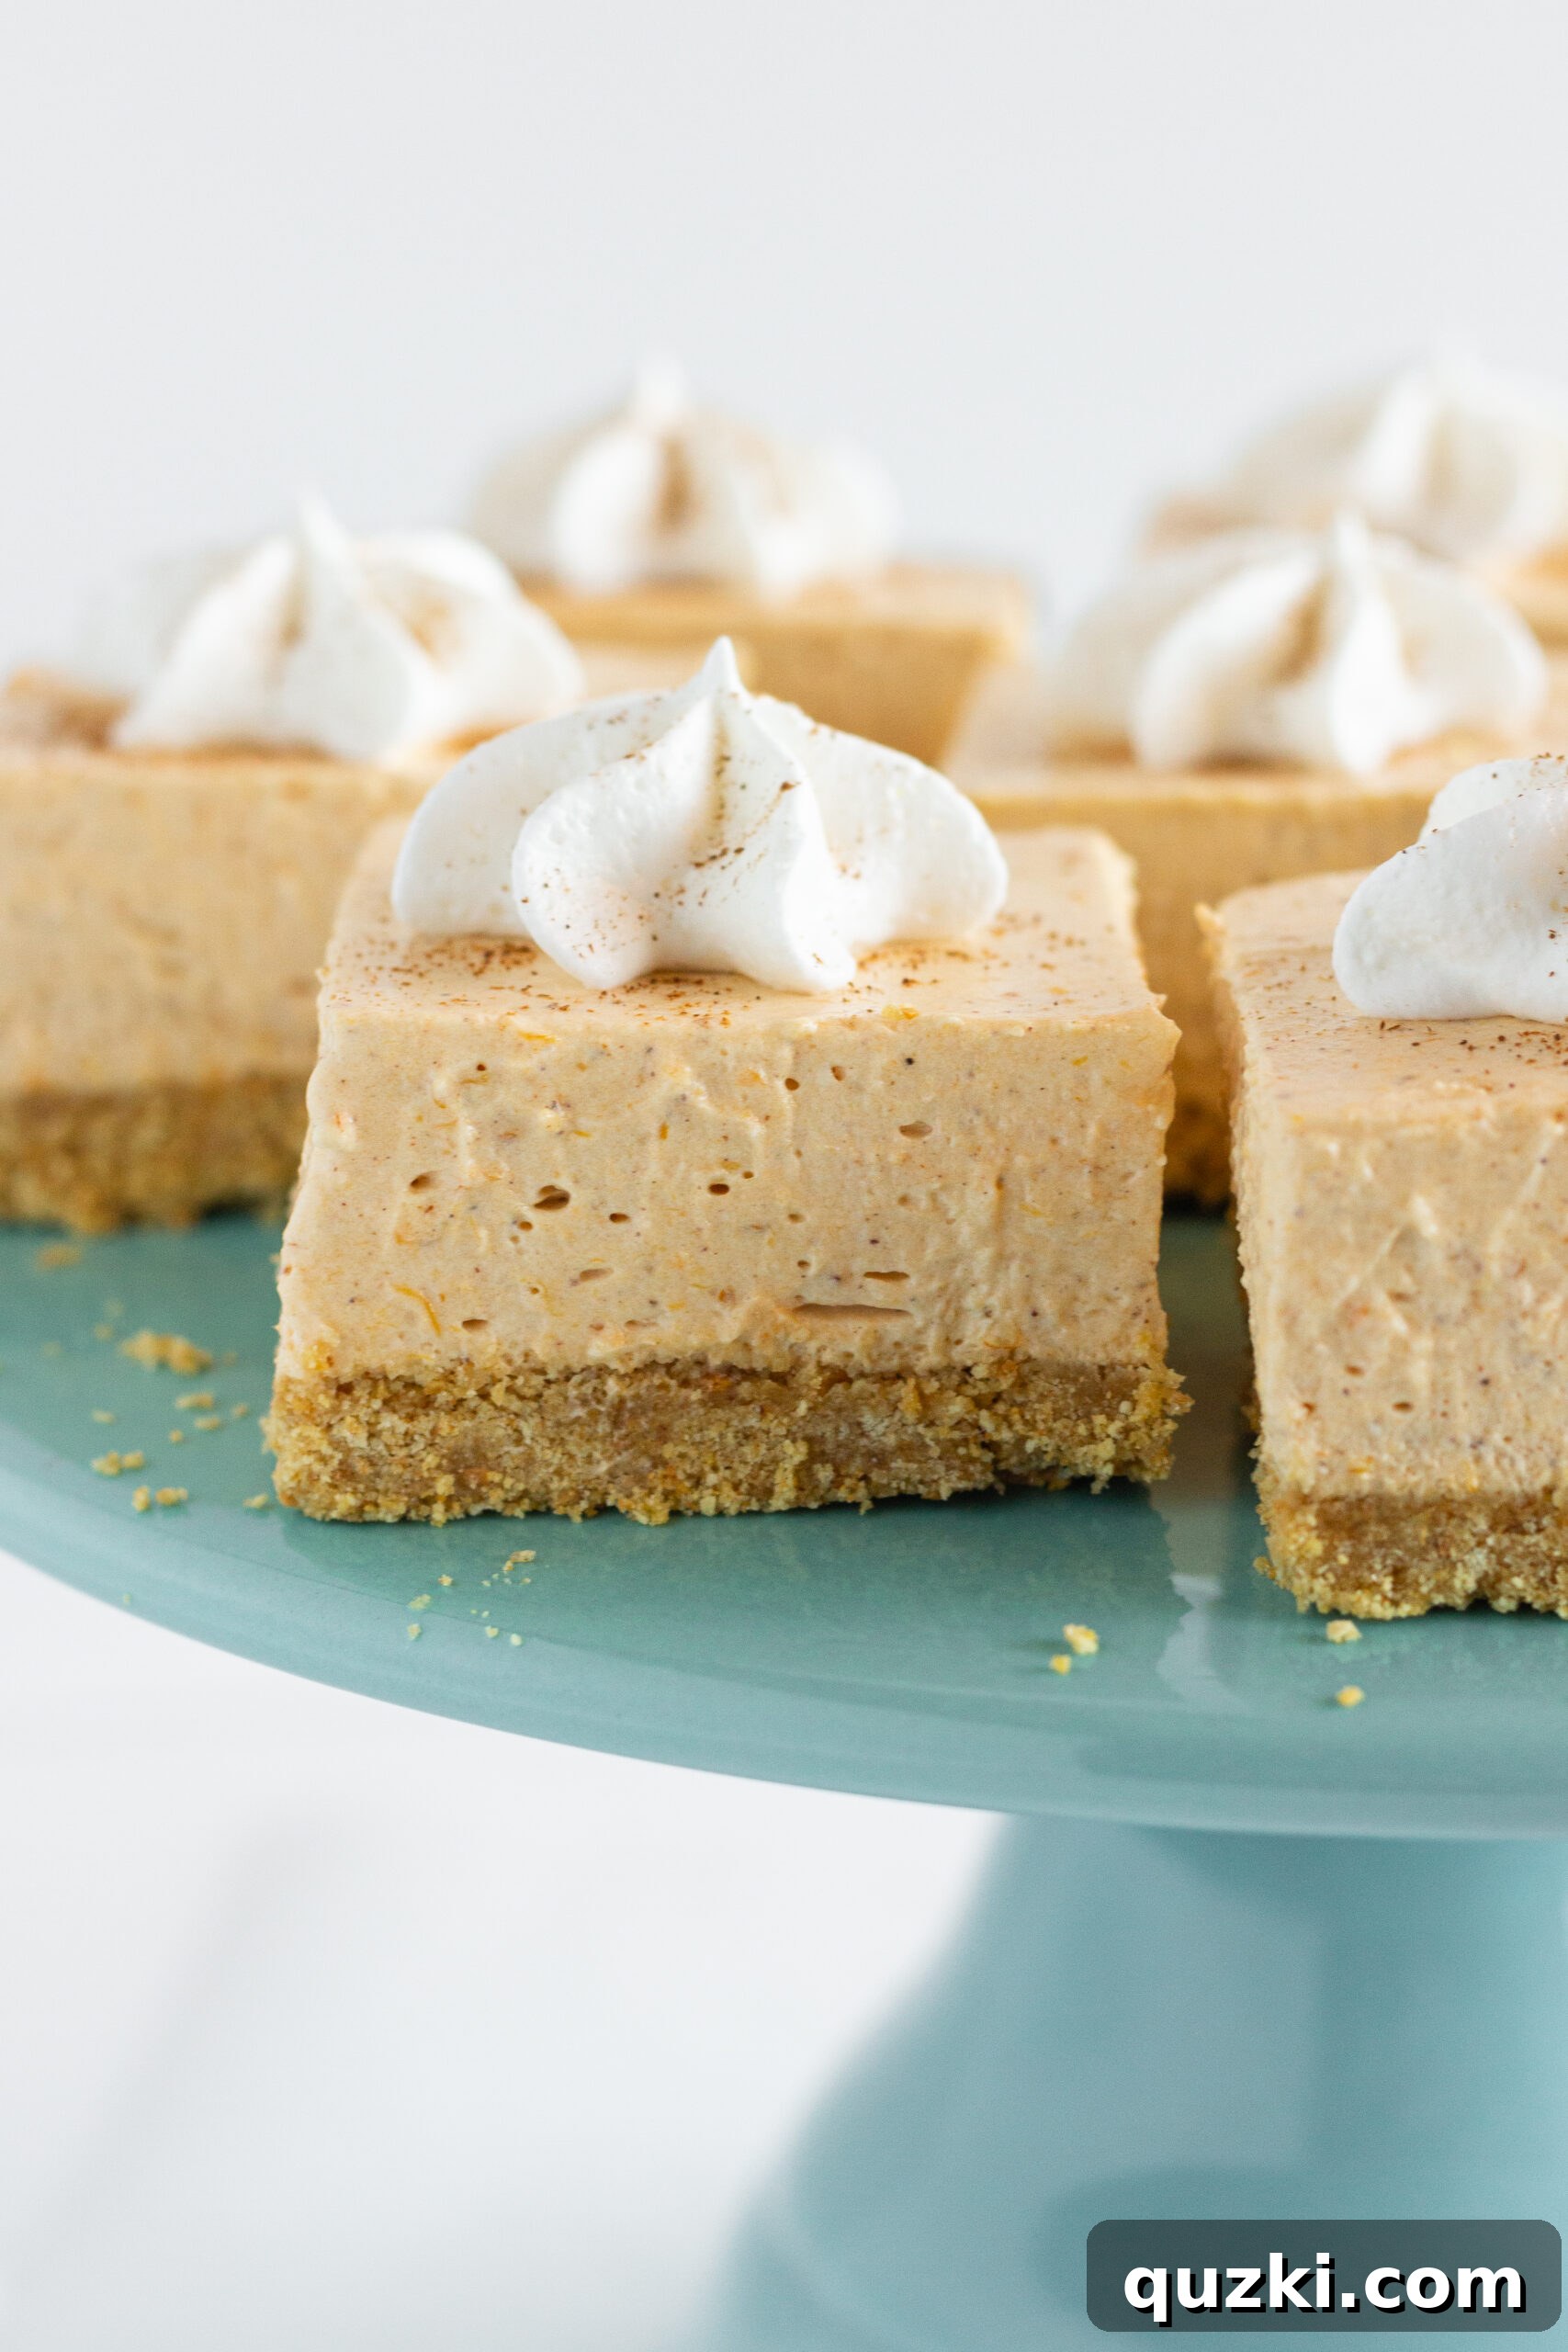
Essential Ingredients for Your Pumpkin Cheesecake Masterpiece
Crafting these delightful No-Bake Pumpkin Cheesecake Bars requires a selection of readily available ingredients. Each component plays a crucial role in achieving the perfect balance of flavor and texture, from the sturdy base to the luscious filling. Here’s a detailed look at what you’ll need:
For the Irresistible Graham Cracker Crust:
- Graham Cracker Crumbs: For ultimate convenience, we highly recommend purchasing pre-crushed graham cracker crumbs, typically found in the baking aisle of your grocery store. If you prefer, you can easily make your own by pulsing whole graham crackers in a food processor until fine crumbs form. The quality of your crumbs will directly impact the texture of your crust.
- Melted Butter: This is the binding agent that transforms the crumbs into a cohesive, flavorful crust. Melted butter ensures the crust holds its shape beautifully and adds a rich, irresistible flavor that complements the sweet filling. Unsalted butter is usually preferred for baking to control the overall saltiness.
- Brown Sugar: While granulated sugar can be used, brown sugar is a secret weapon here. It contributes a deeper, molasses-rich sweetness and helps create a slightly chewier, more complex crust texture. Packed brown sugar will yield the best results.
For the Dreamy Pumpkin Cheesecake Filling:
- Cream Cheese: The cornerstone of any phenomenal cheesecake! Use full-fat brick-style cream cheese for the best results. Ensure it’s completely softened to room temperature before mixing. This is critical for achieving a smooth, lump-free, and creamy filling. Cold cream cheese will result in a clumpy mixture that is difficult to fix.
- Pumpkin Puree: This is where the star flavor comes from! Be absolutely certain you are using pure pumpkin puree, not pumpkin pie filling. Pumpkin pie filling comes pre-sweetened and pre-spiced, which would drastically alter the flavor profile of this recipe. Look for cans labeled “100% Pure Pumpkin” or “Pumpkin Puree.”
- Powdered Sugar (Confectioners’ Sugar): Added for sweetness and to help firm up the cheesecake filling without adding a grainy texture. Its fine consistency dissolves easily, contributing to the silky smooth finish of the cheesecake.
- Whipped Topping: A light and airy ingredient that provides a delicate sweetness and a wonderfully fluffy texture to the filling. It’s also key to making this a “no-bake” cheesecake, providing stability and lift without eggs or heavy whipping cream. Brands like Cool Whip work perfectly.
- Pumpkin Pie Spice: This fragrant blend of cinnamon, nutmeg, ginger, and cloves is what truly makes the pumpkin flavor sing. You can buy pre-made pumpkin pie spice or easily create your own blend at home using individual spices for a fresher, more customized flavor.
Kitchen Equipment You’ll Need
To successfully assemble these No-Bake Pumpkin Cheesecake Bars, having the right tools makes all the difference. Here’s a quick checklist:
- 9×9 Inch Baking Pan: Or an 8×8 inch pan for thicker bars, or a 9×13 inch pan for thinner bars. Ensure it’s square or rectangular for easy slicing into bars.
- Parchment Paper: Essential for lining the pan, allowing for easy removal of the chilled bars.
- Mixing Bowls: At least two, one for the crust and one for the filling.
- Electric Mixer (Handheld or Stand): Crucial for beating the cream cheese until smooth and creamy.
- Spatula: For folding in the whipped topping gently.
- Measuring Cups and Spoons: For accurate ingredient measurements.
- Cutting Board and Sharp Knife: For neat and even slicing once chilled.
How to Make No-Bake Pumpkin Cheesecake Bars: Step-by-Step
Follow these simple instructions to create your perfect no-bake pumpkin cheesecake bars:
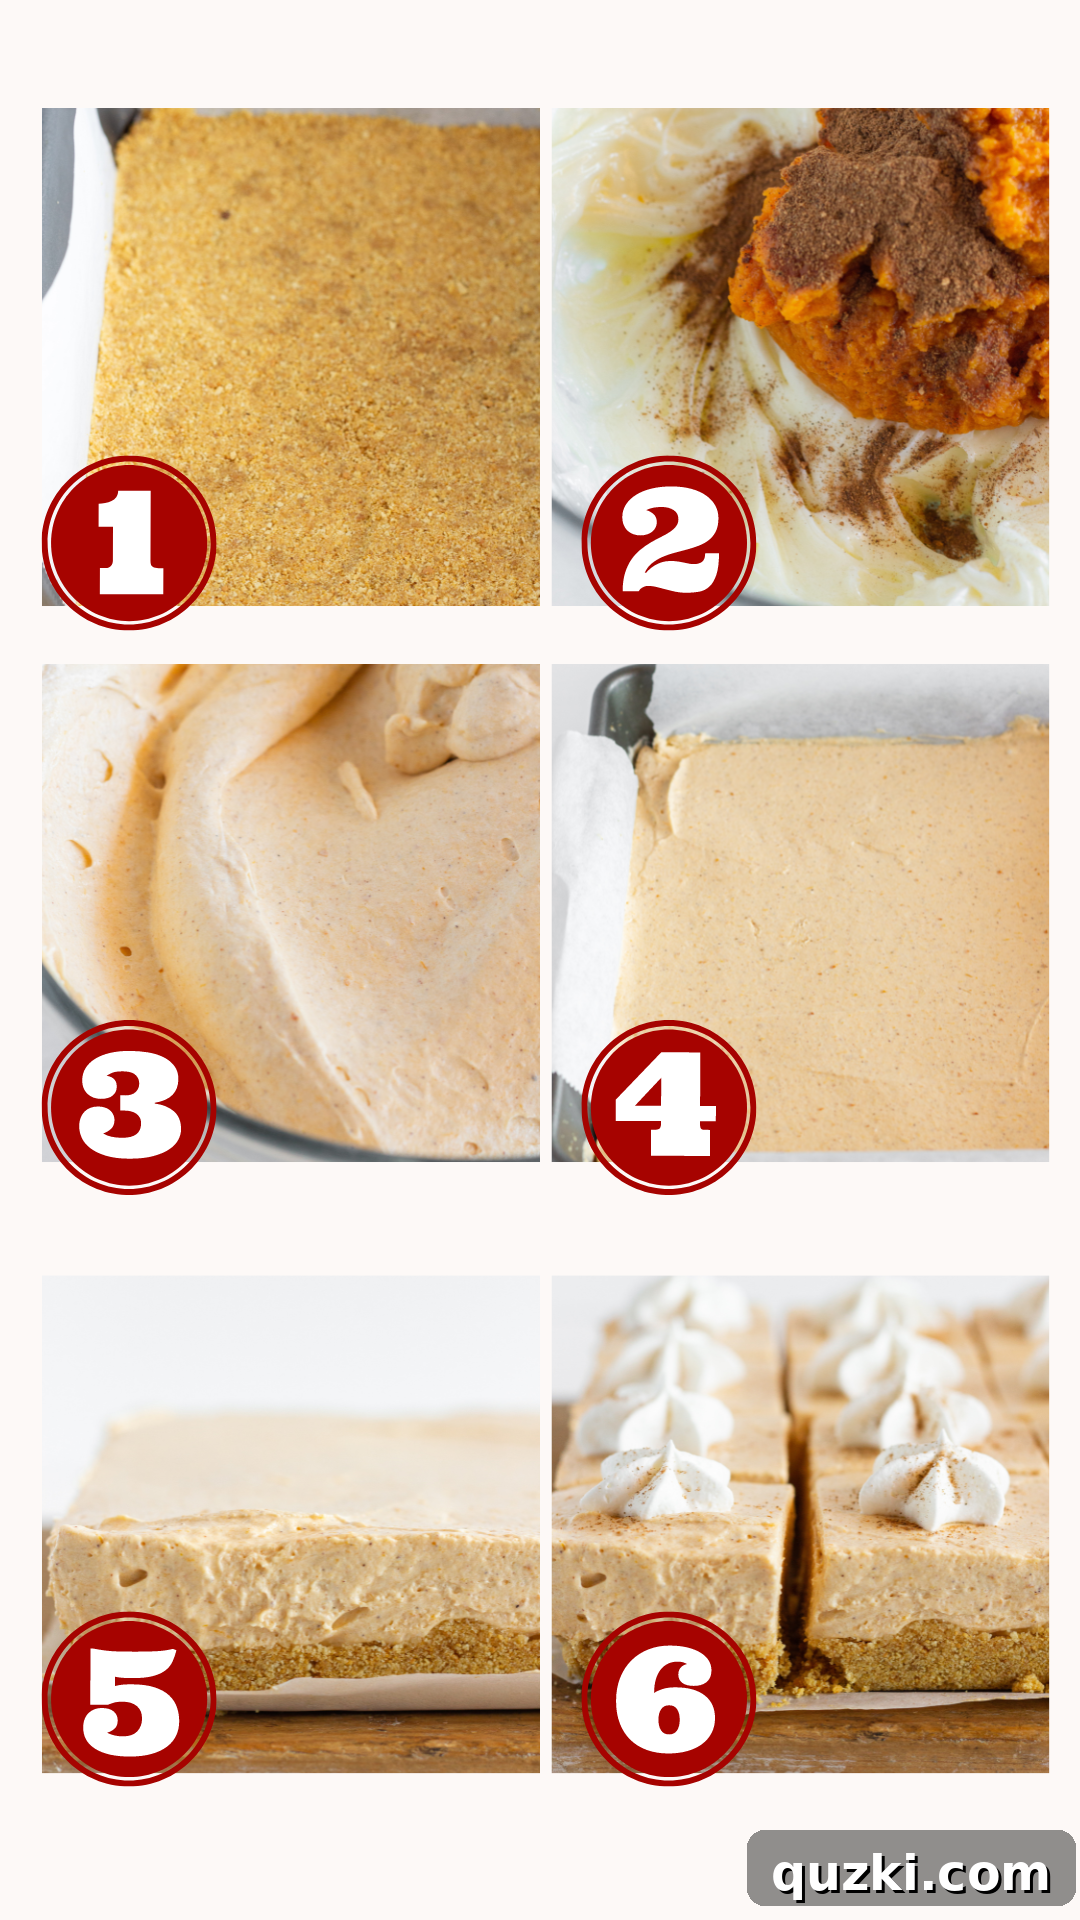
- Prepare Your Pan: Begin by lining a 9×9 inch baking pan with parchment paper. Make sure the parchment paper extends over the sides of the pan, creating “handles.” This will allow you to easily lift the chilled bars out later. Lightly spray the lined pan with nonstick cooking spray to prevent any sticking.
- Craft the Graham Cracker Crust: In a medium-sized bowl, combine the graham cracker crumbs (whether pre-purchased or freshly pulsed in a food processor), the packed brown sugar, and the melted butter. Mix these ingredients thoroughly until the crumbs are uniformly moistened and everything is nicely incorporated. Pour this mixture into your prepared pan. Using the bottom of a glass or your fingers, firmly press the crumbs into an even layer across the bottom of the pan. Place the crust in the refrigerator to chill while you prepare the filling.
- Whip the Cream Cheese: In a separate medium bowl, add the softened cream cheese. Using either a handheld electric mixer or a stand mixer fitted with the paddle attachment, beat the cream cheese on medium speed until it is smooth and creamy, with no lumps remaining. This usually takes about 2-3 minutes.
- Add Sweetness and Pumpkin Flavor: Gradually add the powdered sugar to the creamy cream cheese, mixing on low speed until fully combined and smooth. Next, incorporate the pumpkin puree and pumpkin pie spice into the mixture. Continue to mix until the pumpkin and spices are evenly distributed throughout the filling, ensuring a consistent flavor in every bite.
- Fold in the Whipped Topping: This is a delicate step! Gently add the whipped topping to the pumpkin mixture. Using a rubber spatula, carefully fold the whipped topping into the pumpkin mixture until it is just combined and no streaks remain. Be very careful not to overmix, as this can deflate the whipped topping and result in a less airy, lighter cheesecake filling.
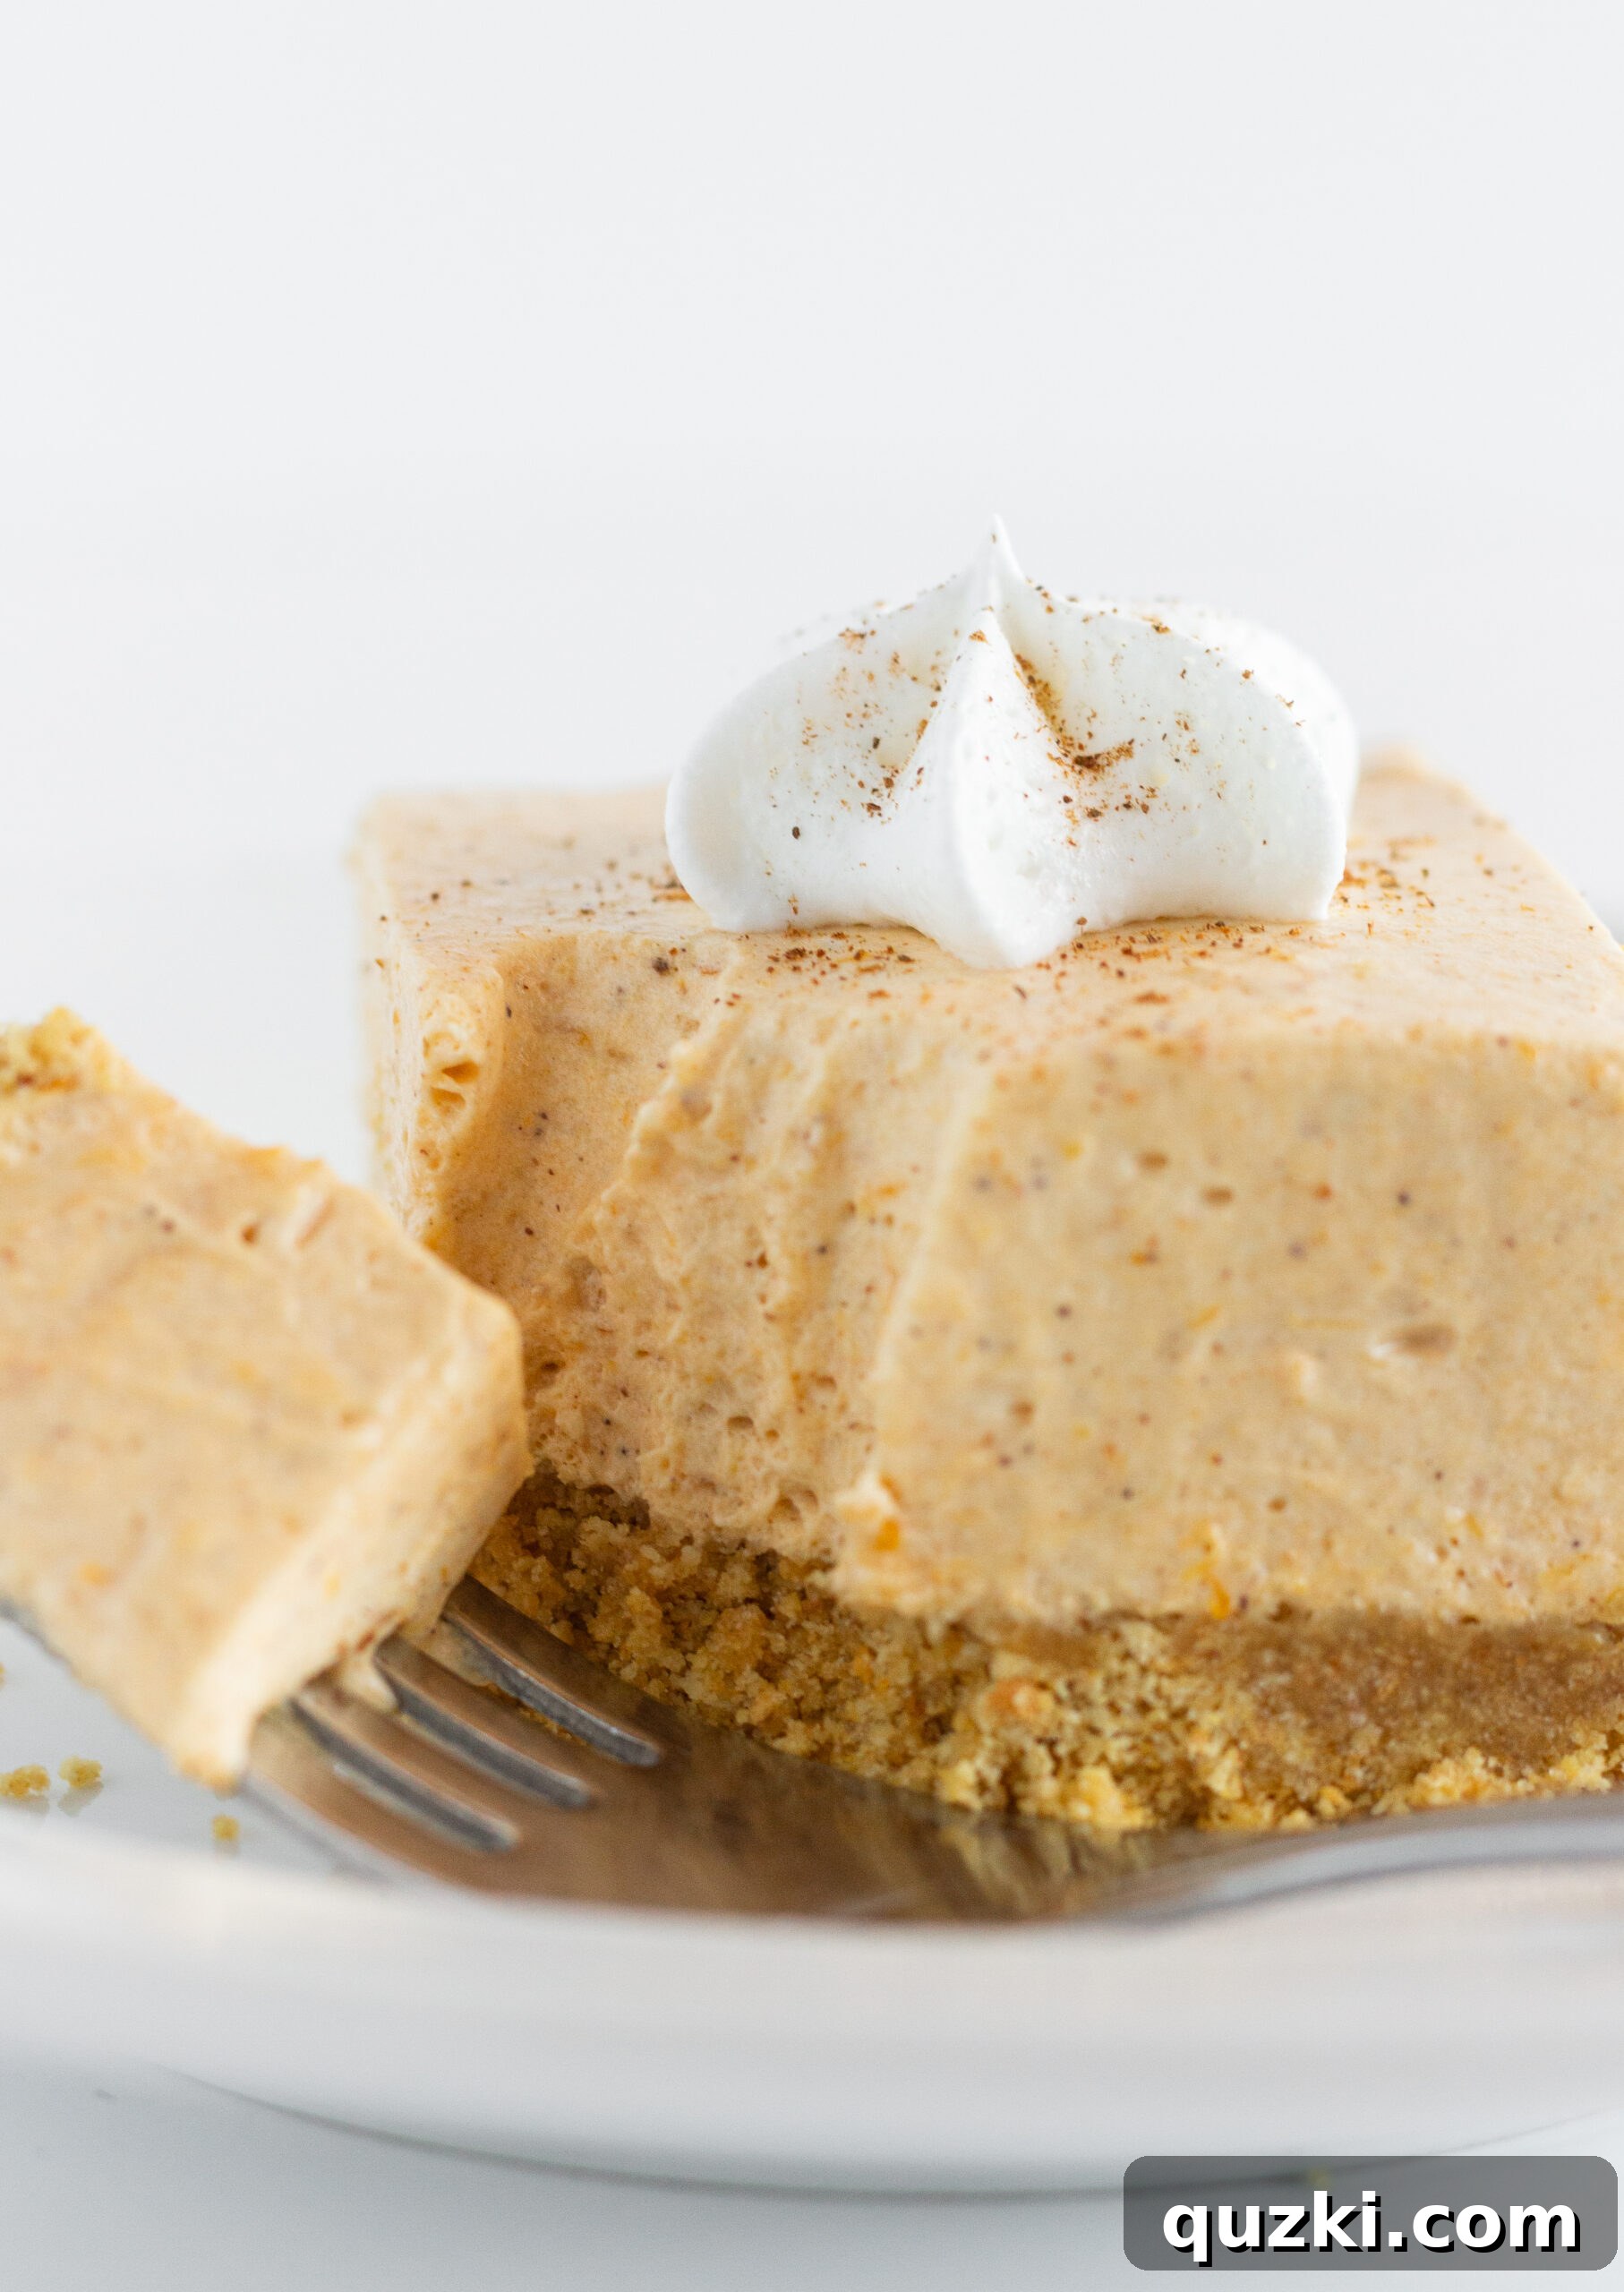
- Assemble and Chill: Pour the luscious pumpkin cheesecake filling over the chilled graham cracker crust in your prepared pan. Using your spatula, spread the filling out into an even, smooth layer across the entire crust. Return the pan to the refrigerator and chill for a minimum of 2 hours. For the best possible set and flavor, we highly recommend chilling them overnight if time allows.
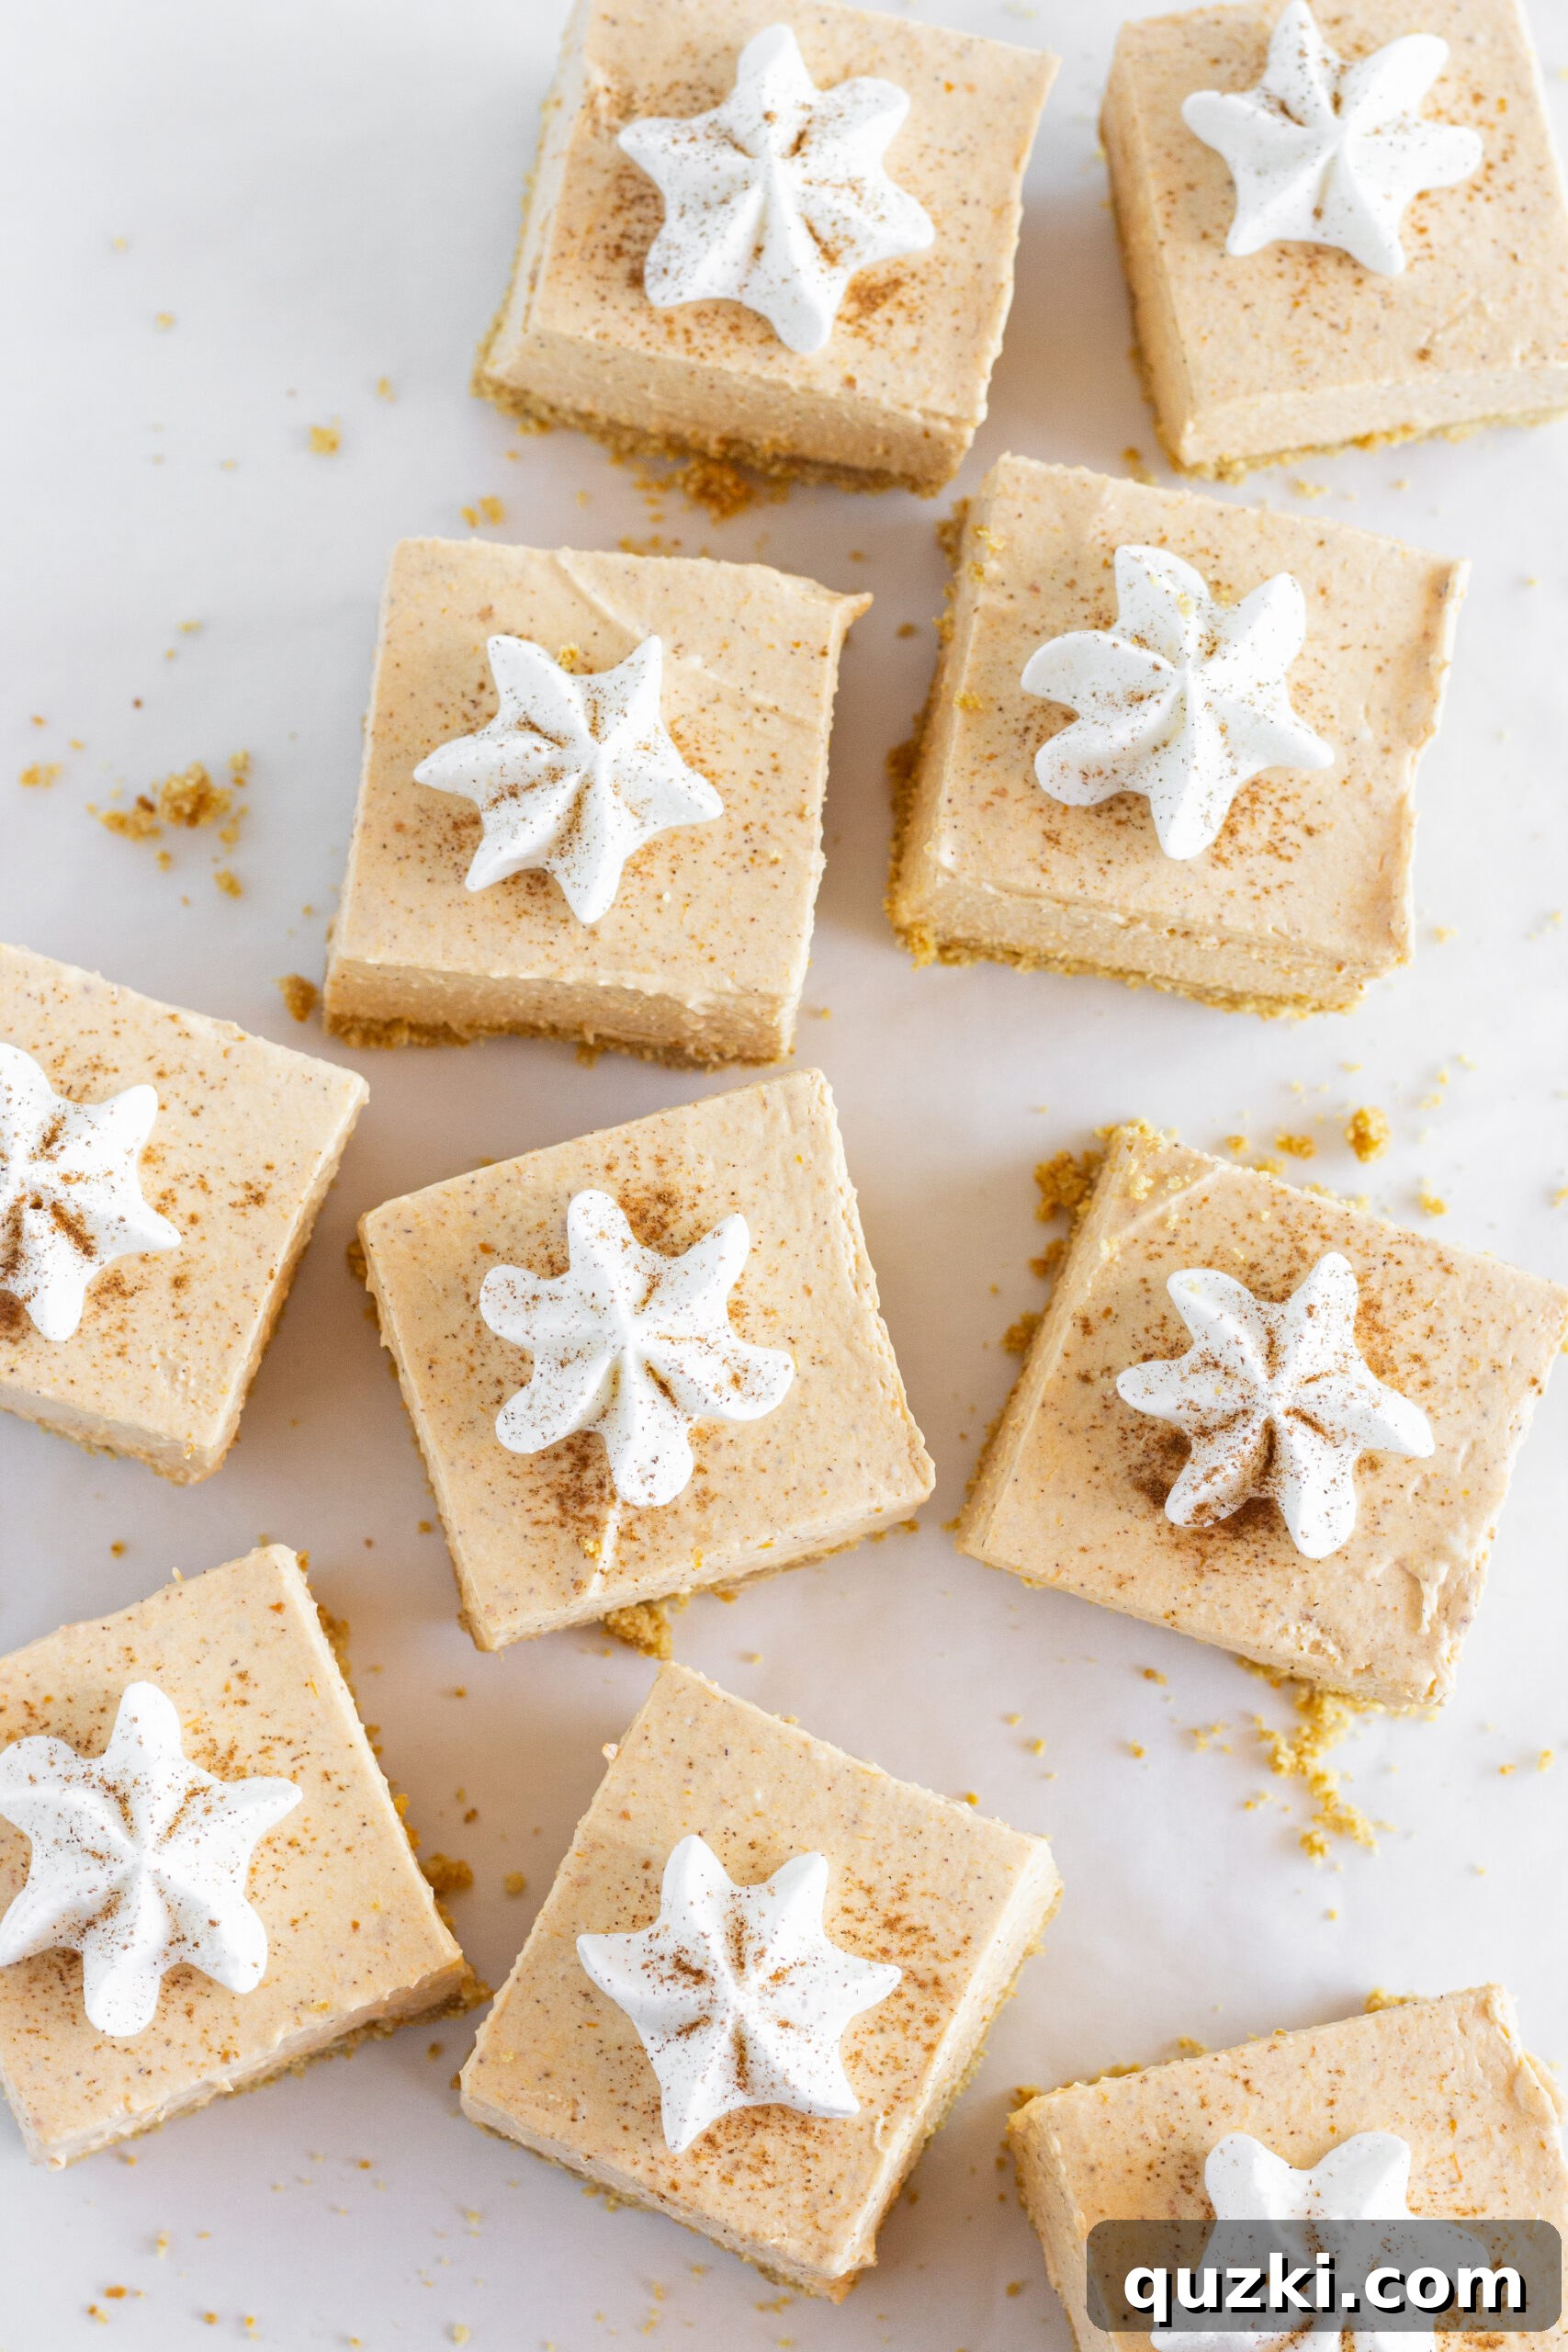
- Slice and Serve: Once the bars are thoroughly chilled and firm, use the parchment paper handles to carefully lift the entire cheesecake slab out of the pan and onto a clean cutting board. Using a sharp knife, cut the cheesecake into 16 even squares. For a beautiful presentation, top each square with an extra dollop of whipped cream and a sprinkle of ground cinnamon before serving.
- Storage: Any leftover bars should be stored in an airtight container in the refrigerator for up to 4 days to maintain their freshness and texture.
Expert Tips for Crafting the Perfect No-Bake Pumpkin Cheesecake
Achieving a flawless no-bake cheesecake is simpler than you might think, especially with a few tried-and-true tips. Follow these guidelines to ensure your pumpkin cheesecake bars turn out perfectly every time:
- Chill the Crust While Preparing the Filling: This step is more important than it seems. Since the graham cracker crust isn’t baked, refrigerating it while you work on the filling helps it firm up and set. A well-chilled crust will be less crumbly and provide a better foundation for your creamy filling.
- Ensure Cream Cheese is at Room Temperature: This cannot be stressed enough! Softened cream cheese is the secret to a silky-smooth, lump-free cheesecake filling. If your cream cheese is still cold, it will be difficult to mix, resulting in small, stubborn lumps that are nearly impossible to remove, compromising the smooth texture of your dessert. Plan ahead and let it sit out for at least 30-60 minutes.
- Gently Fold in the Whipped Topping: The whipped topping is crucial for the light, airy texture of this no-bake cheesecake. When incorporating it into the cream cheese mixture, use a gentle folding motion with a rubber spatula. Overmixing can cause the whipped topping to deflate, leading to a denser, heavier filling that lacks its signature lightness.
- Adequate Refrigeration Time is Key: Patience is a virtue when it comes to no-bake desserts. Refrigerate your bars for at least 2 hours, but preferably overnight. This extended chilling period allows the filling to fully set and firm up, making the bars easier to slice cleanly and ensuring they hold their shape beautifully. If you attempt to cut them too soon, they may be too soft and messy.
- Use Good Quality Ingredients: While this recipe is simple, the quality of your ingredients matters. Fresh, full-fat cream cheese, pure pumpkin puree, and fragrant pumpkin pie spice will elevate the flavor of your bars significantly.
Frequently Asked Questions About No-Bake Pumpkin Cheesecake
What do I serve with pumpkin cheesecake?
The classic and most delightful way to serve these pumpkin cheesecake bars is with a generous dollop of whipped topping (or freshly whipped cream) and a delicate sprinkle of ground cinnamon. For an extra special touch, consider adding a light meringue swirl, a scoop of vanilla bean ice cream, a drizzle of caramel sauce, or even a few candied pecans for added crunch and flavor.
How do I store No-Bake Pumpkin Cheesecake Bars?
Proper storage is essential to maintain the quality and safety of your no-bake pumpkin cheesecake bars. Since the filling contains perishable ingredients like cream cheese and whipped topping, it’s crucial to keep them refrigerated at all times. Once the bars are cut, arrange them in a single layer within an airtight container. This will protect them from absorbing other refrigerator odors and keep them fresh. Stored correctly, they will remain delicious for up to 4 days.
Can I use homemade whipped cream instead of store-bought whipped topping?
Absolutely! If you have a fantastic homemade whipped cream recipe you love, feel free to use it. The key is to ensure your homemade whipped cream has stiff peaks when whipped. This sturdy texture is important so that it holds up well when folded into the cream cheese mixture and contributes to the stable structure of the cheesecake filling. Our preferred recipe for homemade whipped cream is 1 cup of heavy cream, 3 tablespoons of powdered sugar, and 1 teaspoon of vanilla extract. Beat using a stand mixer with a whisk attachment until stiff peaks form.
Can I make this recipe in a springform pan or pie plate?
Yes, this recipe is quite versatile! You can certainly make these no-bake pumpkin cheesecake bars in a springform pan for a more traditional cheesecake presentation, or in a regular pie plate. Both options will work wonderfully. Simply follow the recipe directions as written. When using a round pan, your end product will typically yield about 10 nice, wedge-shaped servings rather than squares.
What type of pumpkin do I use for this recipe?
It’s very important to use **pure pumpkin puree** for this recipe. This can sometimes be a point of confusion, as many grocery stores also stock canned pumpkin pie filling. These two products are not interchangeable. Pumpkin pie filling already contains added sugars and spices, which would make your cheesecake overly sweet and alter the carefully balanced spice profile of this recipe. Always check the label to ensure you’re grabbing a can that says “100% Pure Pumpkin” or “Pumpkin Puree” with no other ingredients.
Can these bars be frozen?
While you could technically freeze these no-bake bars, we generally don’t recommend it for optimal texture. Freezing no-bake pumpkin desserts, especially those with whipped topping and cream cheese, can sometimes result in a slightly soggy or watery texture once they defrost. The dairy components may separate or lose their creamy consistency. If you intend to eat them completely frozen, then by all means, try it! Frozen no-bake pumpkin cheesecake bars can be a refreshing treat on their own, similar to an ice cream cake texture.
Craving More Pumpkin Goodness? Explore These Awesome Recipes!
If these No-Bake Pumpkin Cheesecake Bars have sparked your love for all things pumpkin, you’re in luck! We have a treasure trove of other fantastic pumpkin recipes that are just waiting to be discovered. From quick breakfast ideas to indulgent desserts, there’s a pumpkin recipe for every occasion. Satisfy your autumn cravings any time of year with these delightful options:
- Pumpkin Sheet Pan Pancakes from Mix
- Pumpkin Roll Cookies Recipe
- Easy No Bake Pumpkin Mousse Pie Recipe
- Pumpkin Cinnamon Roll Crumb Cake Recipe
- Pumpkin Chocolate Chip Cookies Recipe with a Cake Mix
- Fall Desserts: Pumpkin Spice Bundt Cake with Cream Cheese Frosting Recipe
No Bake Pumpkin Cheesecake Bars
June Albertson-Dick
15
0
2
2
11
16
squares
Rate Recipe
Print Recipe
Ingredients
Graham Cracker Crust
-
1 ½
cup
graham cracker crumbs -
⅓
cup
butter,
{melted} -
2
Tablespoons
brown sugar,
{packed}
Pumpkin Cheesecake Filling
-
8
ounces
cream cheese,
{softened} -
1
cup
powdered sugar -
1
cup
pumpkin puree -
1 ¼
teaspoons
pumpkin pie spice -
8
ounces
whipped topping
Toppings
-
½
cup
whipped topping -
1
teaspoon
cinnamon
Instructions
-
Prep a 9×9 baking pan by lining the bottom with parchment paper that is long enough to hang over the sides of the pan. Spray lightly with nonstick spray.
Graham Cracker Crust
-
Combine graham cracker crumbs {that you have either purchased in crumbs or pulsed in a food processor}, brown sugar and melted butter in a bowl. Mix together until everything is nicely incorporated. Pour into the prepared pan. Press crumbs firmly into the bottom of the pan. Refrigerate until filling is ready.
Pumpkin Cheesecake Filling
-
Add softened cream cheese to a medium bowl and mix until creamy {using a hand held or stand mixer}. Add powdered sugar and continue to mix until combined. Next, add the pumpkin puree and pumpkin pie spice, mix until it is evenly distributed throughout the filling. Finally, add the whipped topping and fold it into the pumpkin mixture until it is completely incorporated {being careful to not deflate the topping as you mix}.
Assembly & Serving
-
Pour the pumpkin filling onto the graham cracker crust and spread out into an even layer. Refrigerate for at least 2 hours {overnight if able}. To serve, use the parchment paper hanging over the sides of the pan and lift the pumpkin cheesecake bars from the pan and onto a cutting board. Cut into 16 even squares. Top with a dollop of whipped cream and a sprinkle of cinnamon and serve. Leftovers should be stored in an airtight container in the refrigerator for up to 4 days.
Nutrition
Serving:
1
square
,
Calories:
195
kcal
,
Carbohydrates:
21
g
,
Protein:
2
g
,
Fat:
12
g
,
Saturated Fat:
7
g
,
Polyunsaturated Fat:
0.4
g
,
Monounsaturated Fat:
3
g
,
Trans Fat:
0.2
g
,
Cholesterol:
25
mg
,
Sodium:
140
mg
,
Potassium:
86
mg
,
Fiber:
1
g
,
Sugar:
16
g
,
Vitamin A:
2705
IU
,
Vitamin C:
1
mg
,
Calcium:
40
mg
,
Iron:
1
mg
Nutrition information is automatically calculated, so should only be used as an approximation.
Like this? Leave a comment below!