
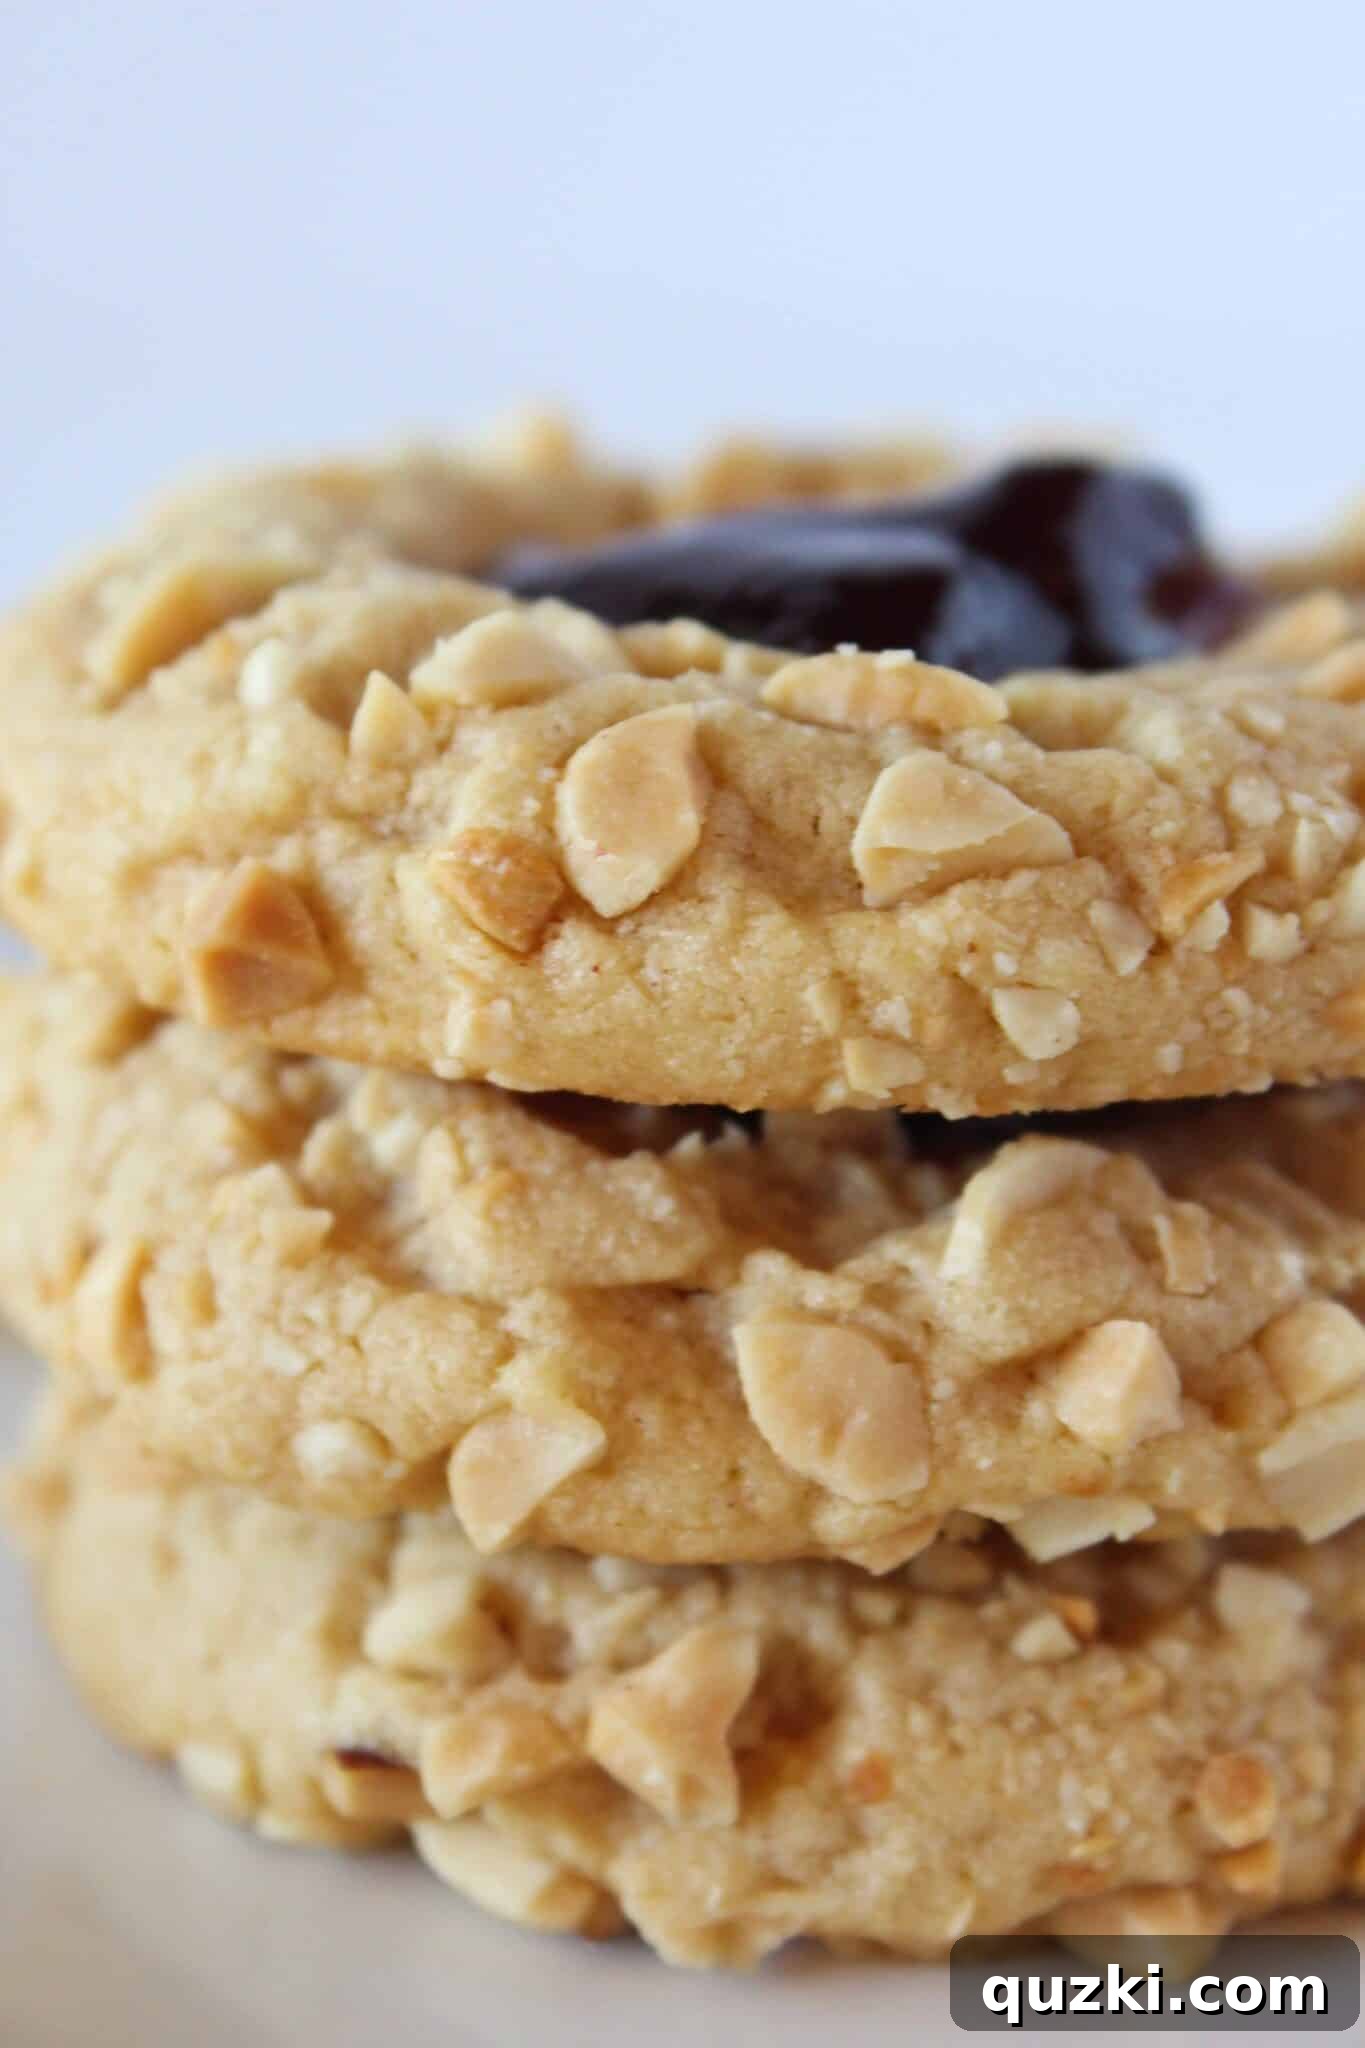
Irresistible PB&J Cookies: A Nostalgic Treat Made Easy with Cake Mix
The timeless combination of peanut butter and jelly is deeply ingrained in our collective memory, a duo as iconic and inseparable as any. Just thinking about a classic PB&J sandwich evokes feelings of comfort and childhood nostalgia. But what if you could capture that beloved flavor profile in a melt-in-your-mouth cookie? Enter these phenomenal PB&J Cookies. Crafted from a simple 5-ingredient peanut butter cookie base, elevated by a luscious raspberry jam filling, these cookies are not just delicious – they’re a journey back in time, promising a taste that will have you reaching for just one more.
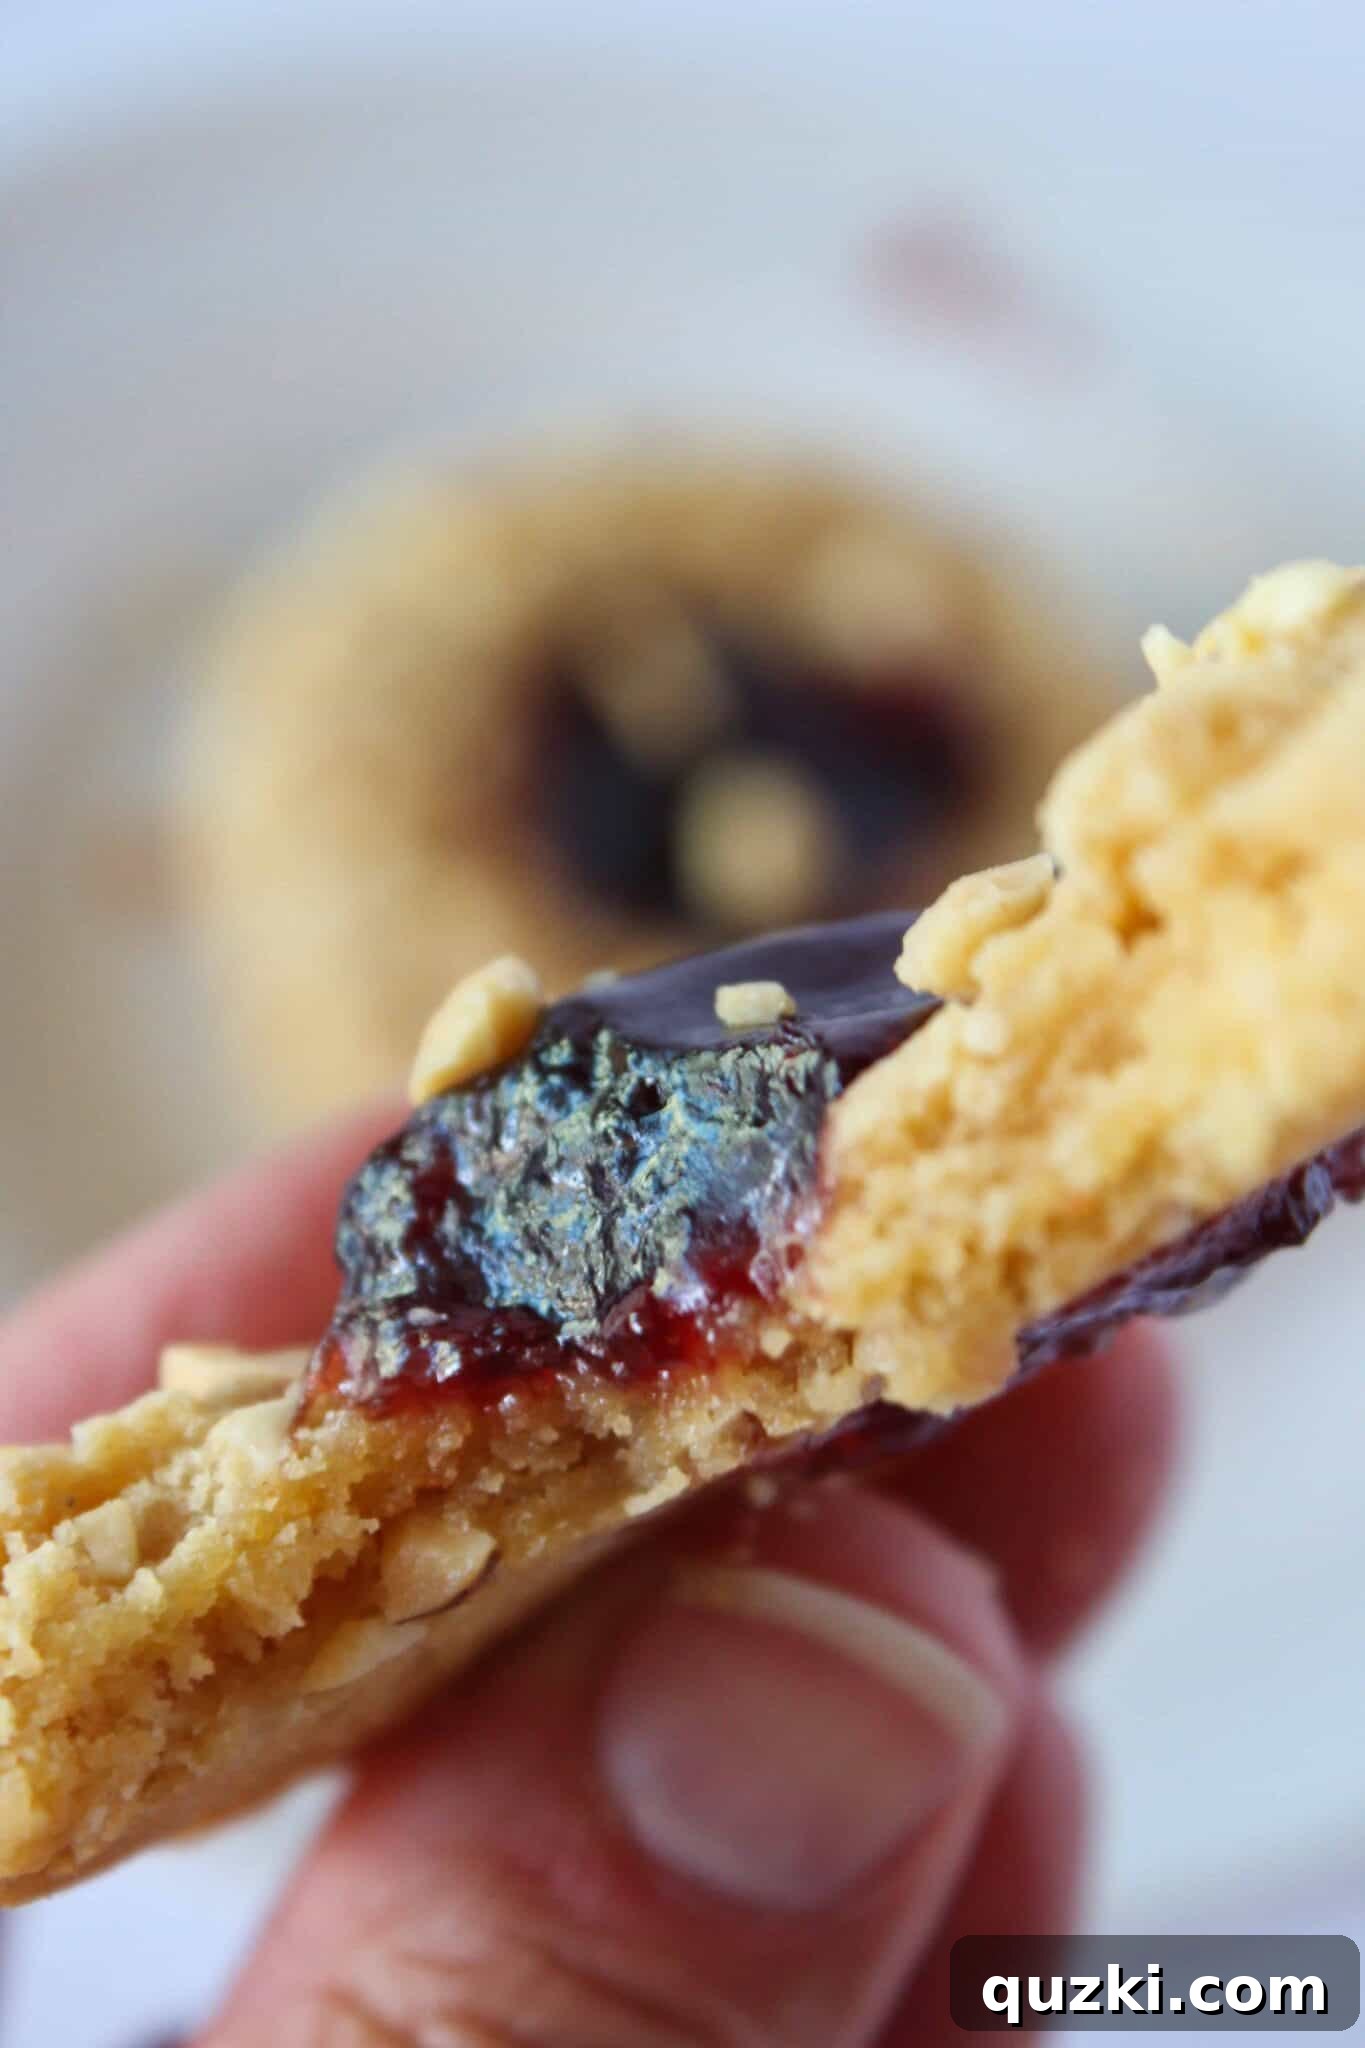
I distinctly remember my childhood days, where a perfectly crafted peanut butter and jelly sandwich (crusts meticulously removed, of course!) was a highlight. While adult palates often drift towards more complex flavors, the simple charm of PB&J remains an unparalleled comfort food. It’s a taste that transcends generations, a true culinary classic that brings a smile to almost everyone’s face.
But let’s be honest, nothing quite compares to the magic of transforming those cherished flavors into a delightful, handheld cookie. Cookies, for many, are more than just a dessert; they are edible moments of joy, a small indulgence that can brighten any day. And this particular cookie, the peanut butter and jelly masterpiece, does more than just satisfy a sweet craving – it transports you directly to the “good old days” with every single bite. Food possesses this incredible power, acting as a sensory time machine, and these Peanut Butter and Jelly Cookies are a testament to that magic, offering a sweet escape to simpler times.
Why These Peanut Butter and Jelly Cookies Are Truly Special
Beyond their nostalgic appeal, these PB&J cookies stand out for several fantastic reasons, making them a must-try for any cookie enthusiast, from novice bakers to seasoned pros:
- Effortless Preparation with a Cake Mix Base: The foundation of this recipe is a yellow cake mix, which dramatically simplifies the baking process. This ingenious shortcut means less measuring, fewer ingredients to buy, and a consistently tender, flavorful cookie dough every single time. It’s perfect for beginner bakers, busy parents, or anyone looking for a quick yet impressive dessert that comes together with minimal fuss.
- Enhanced Peanut Flavor and Texture: Unlike traditional peanut butter cookies that are often rolled in granulated sugar, these delightful gems are generously coated in finely chopped peanuts. This clever addition not only amplifies the rich, nutty peanut flavor but also introduces a delightful crunch. This satisfying textural contrast elevates the cookie from merely soft to a multi-sensory experience, making each bite more engaging.
- Integrated Jam for a Harmonious Bite: By baking the jam directly into the center of each cookie, you achieve a wonderfully cohesive and perfectly balanced flavor experience. The warmth of the oven gently caramelizes the jam, allowing its fruity sweetness to meld seamlessly with the savory peanut butter. This creates a balanced profile that isn’t overly sweet and provides a delightful burst of fruit in every single bite.
- Customizable to Your Family’s Favorites: While raspberry jam is a classic and highly recommended choice due to its delightful tartness that cuts through the richness of the peanut butter, this recipe is incredibly versatile. Feel free to experiment with your family’s absolute favorite jam or jelly – strawberry, grape, apricot, or even a spicy pepper jelly for an adventurous and unexpected twist. Each variation offers a unique spin on the beloved classic, allowing you to personalize the cookies to your taste.
- Soft, Delicious, and Deeply Nostalgic: These cookies bake up incredibly soft and wonderfully chewy, with just the right amount of sweetness that isn’t overpowering. Every bite is designed to evoke fond memories of childhood lunches, lazy afternoons, and carefree days. They are more than just a dessert; they are a comforting trip down memory lane, designed to bring warmth and happiness with every delicious mouthful.
How to Make Easy PB&J Cookies from a Cake Mix
Creating these delightful Peanut Butter and Jelly Cookies is surprisingly simple, especially when you leverage the convenience of a cake mix. This recipe comes together in mere minutes, requiring just a handful of basic ingredients and a few straightforward steps.
Gathering Your Ingredients:
Before you embark on your baking adventure, ensure you have all your ingredients measured and ready. For these simple cake mix cookies, you’ll need one box of yellow cake mix, creamy peanut butter, melted butter, two large eggs, finely chopped lightly salted peanuts, and about ½ cup of your favorite jam (raspberry works wonderfully for a classic tart-sweet balance!). Having everything prepped makes the baking process smooth, efficient, and enjoyable.
Step-by-Step Baking Instructions:
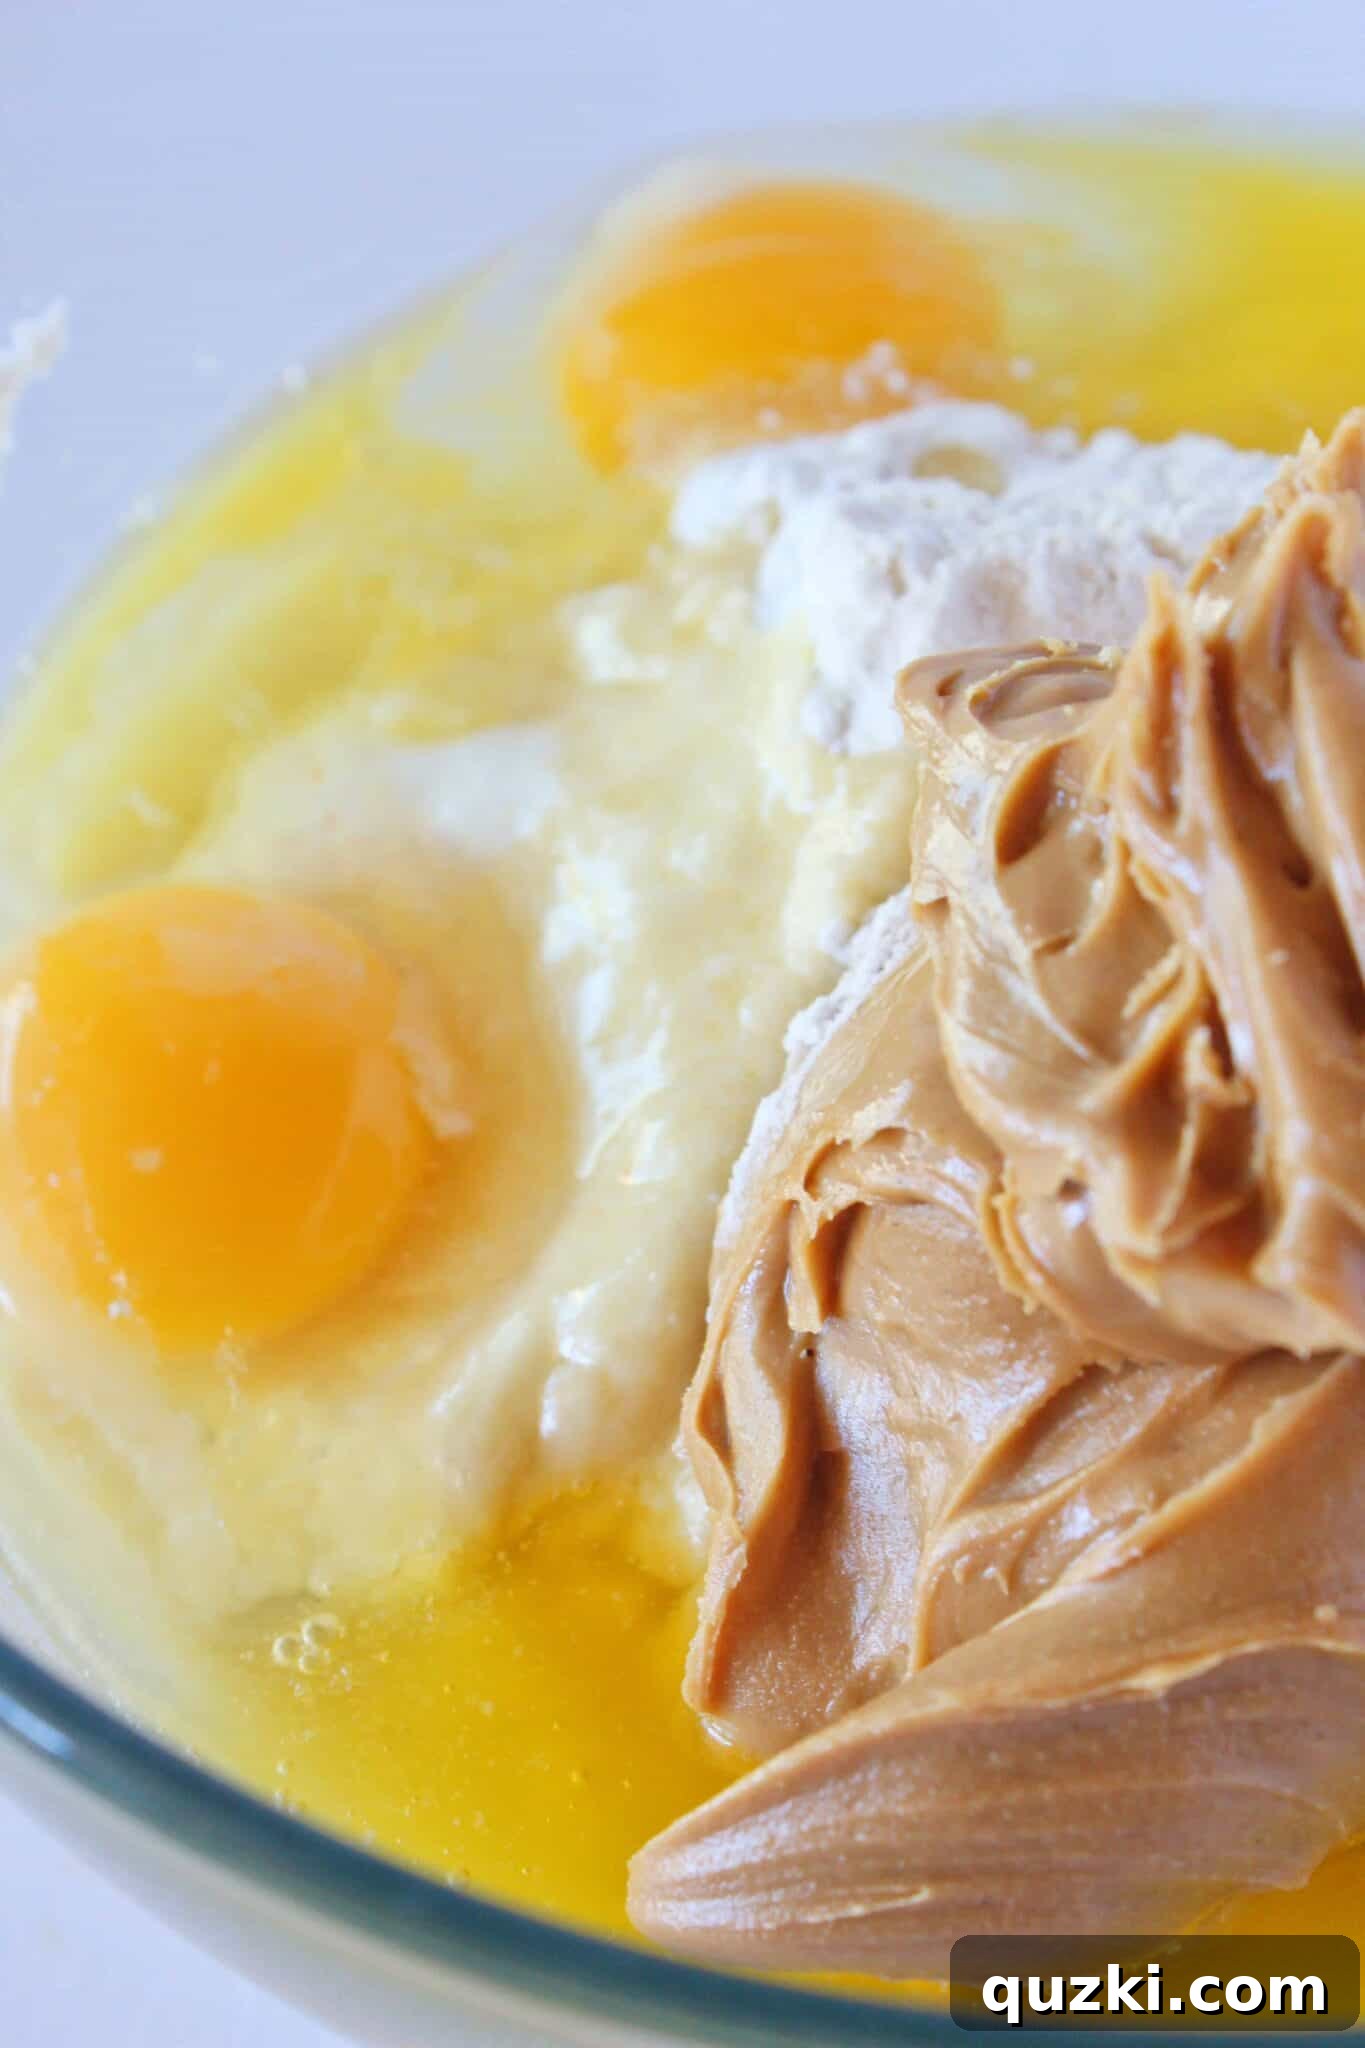
- Prepare the Dough: In a large mixing bowl, combine the entire box of yellow cake mix with the melted butter, the creamy peanut butter, and the two large eggs. Using either a hand-held mixer on low speed (or vigorously by hand with a sturdy spoon), blend these ingredients thoroughly until a thick, uniform, and wonderfully pliable cookie dough forms. It’s crucial to ensure there are no dry pockets of cake mix remaining, so scrape down the sides of the bowl as needed.
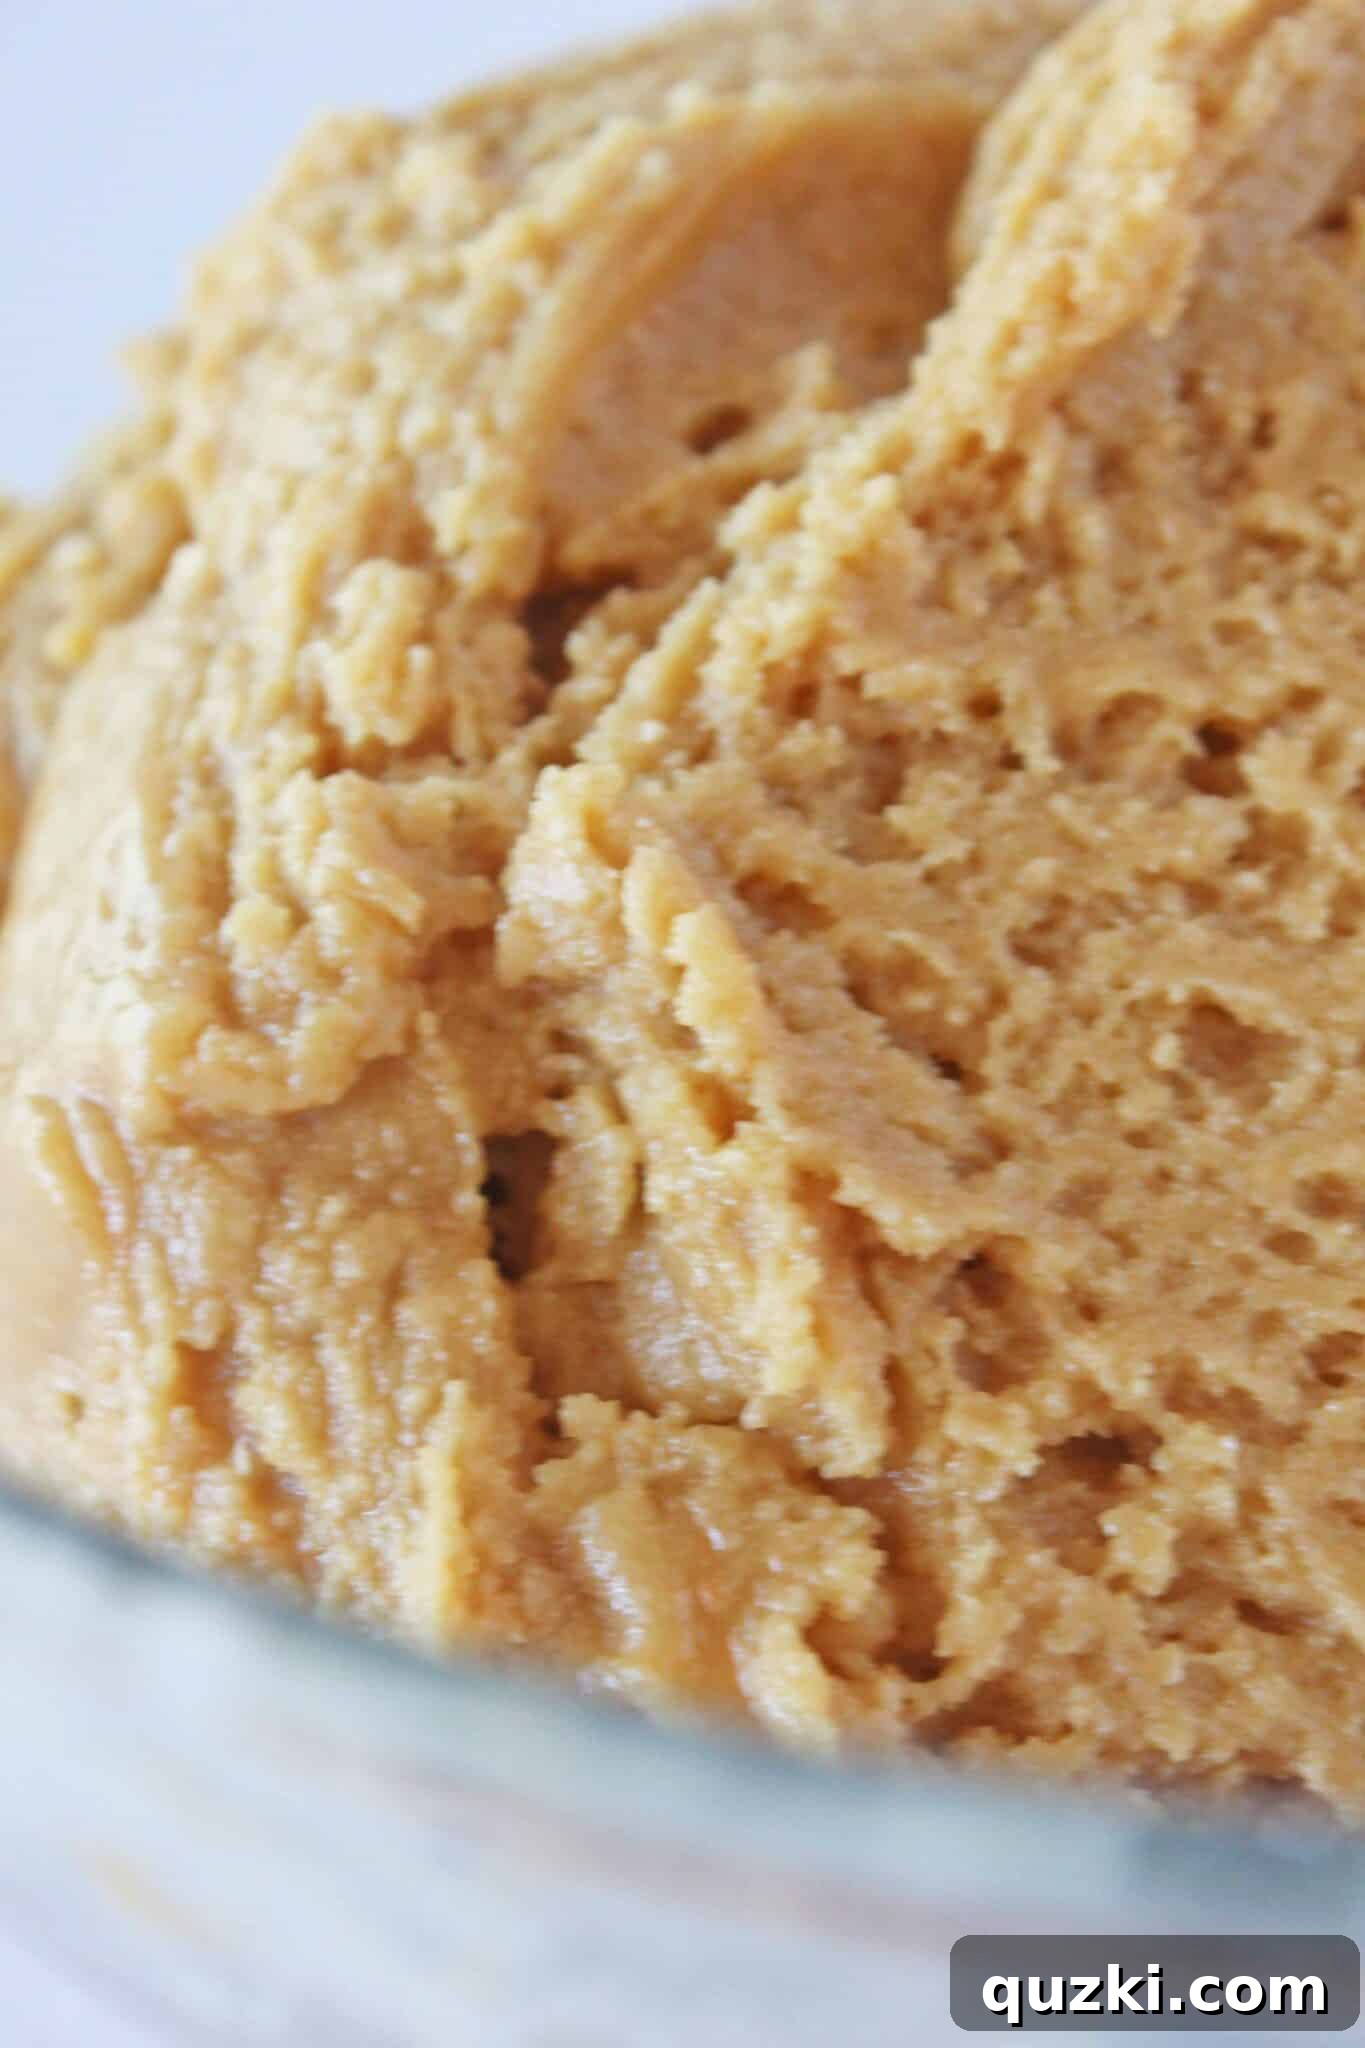
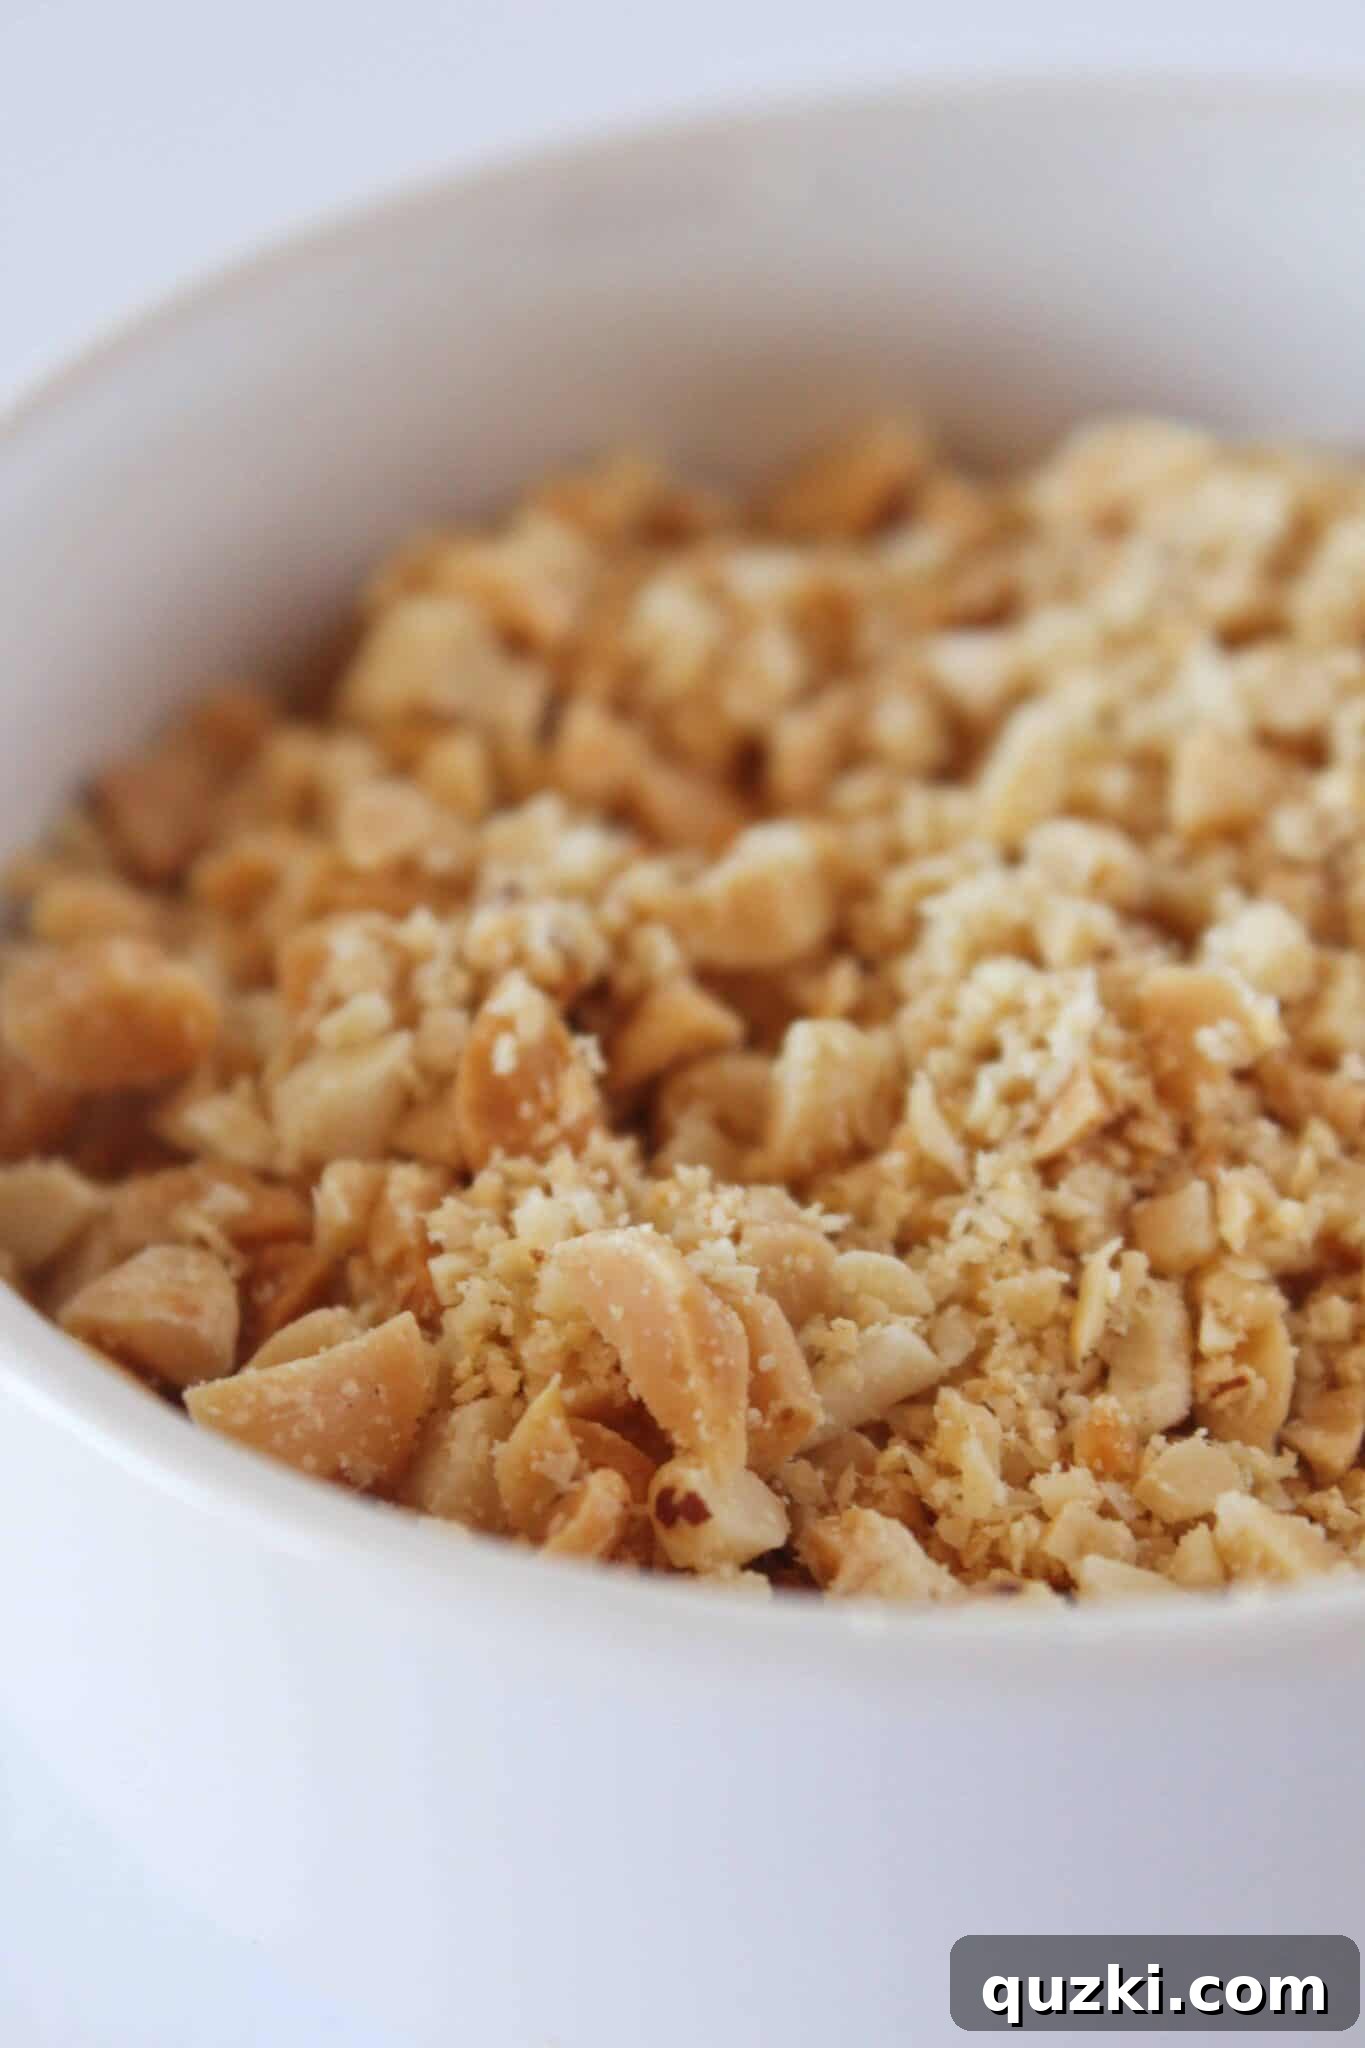
- Coat the Cookies with Peanuts: Instead of the usual sugar coating found on many peanut butter cookies, we’re opting for an extra layer of nutty goodness! Pour your finely chopped peanuts into a shallow bowl. While I recommend chopping them fairly fine for optimal adherence to the dough, leaving a few larger chunks will add a truly delightful and satisfying textural crunch to the finished cookie.
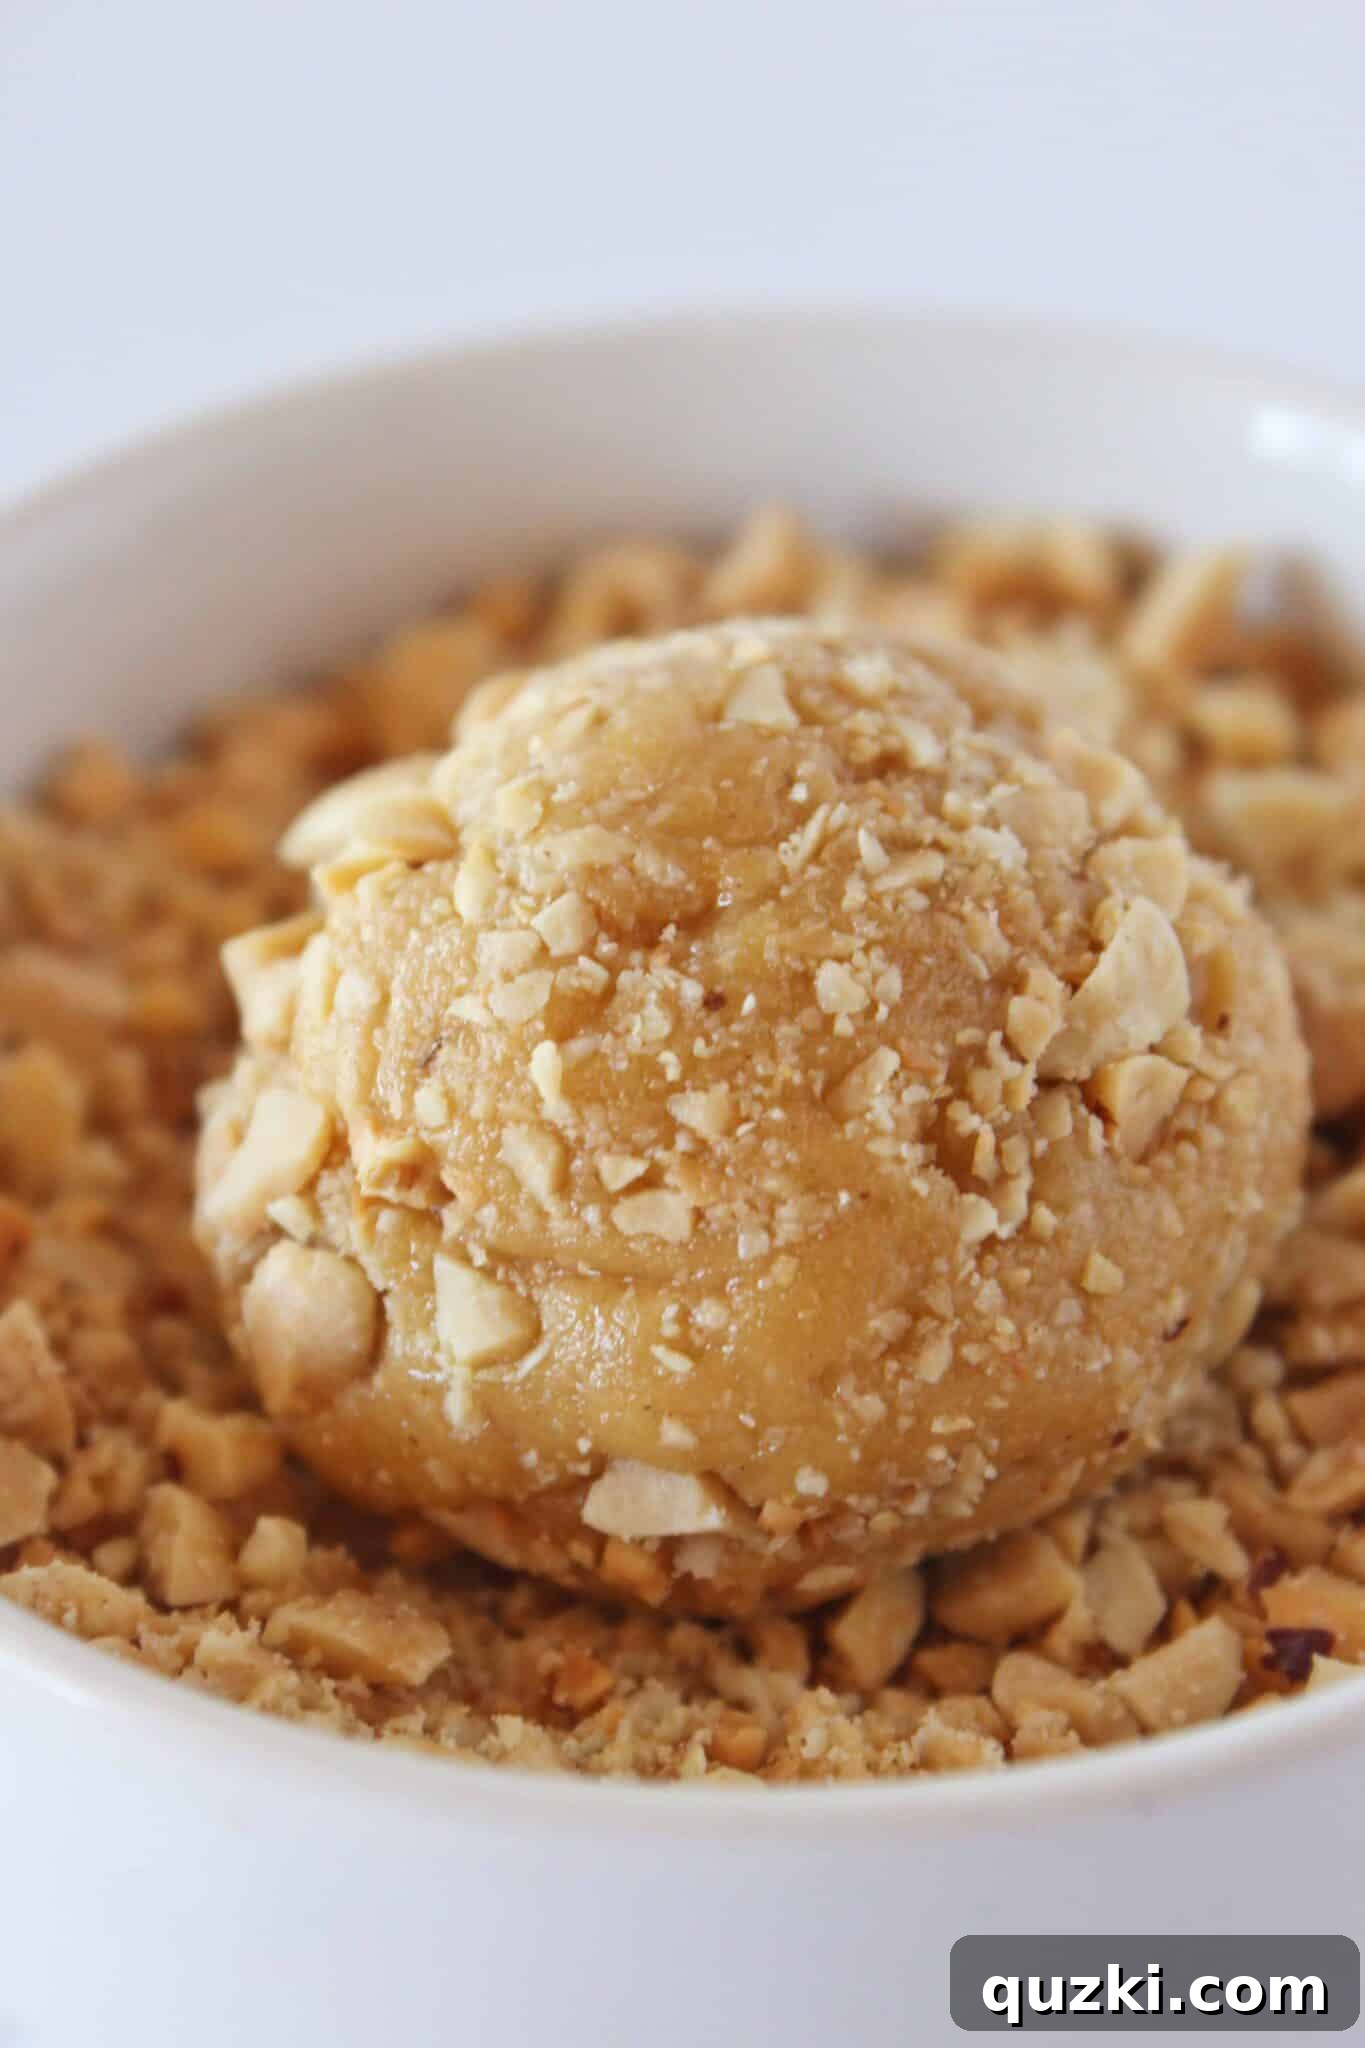
- Form and Roll the Dough: Using a medium cookie scoop (approximately 1.5 tablespoons for a good-sized cookie), scoop generous mounds of the prepared cookie dough. Gently roll each dough ball completely into the chopped peanuts until it’s thoroughly coated on all sides. The peanuts should adhere quite easily to the soft dough, but don’t hesitate to press them gently if needed to ensure a good, even coating.
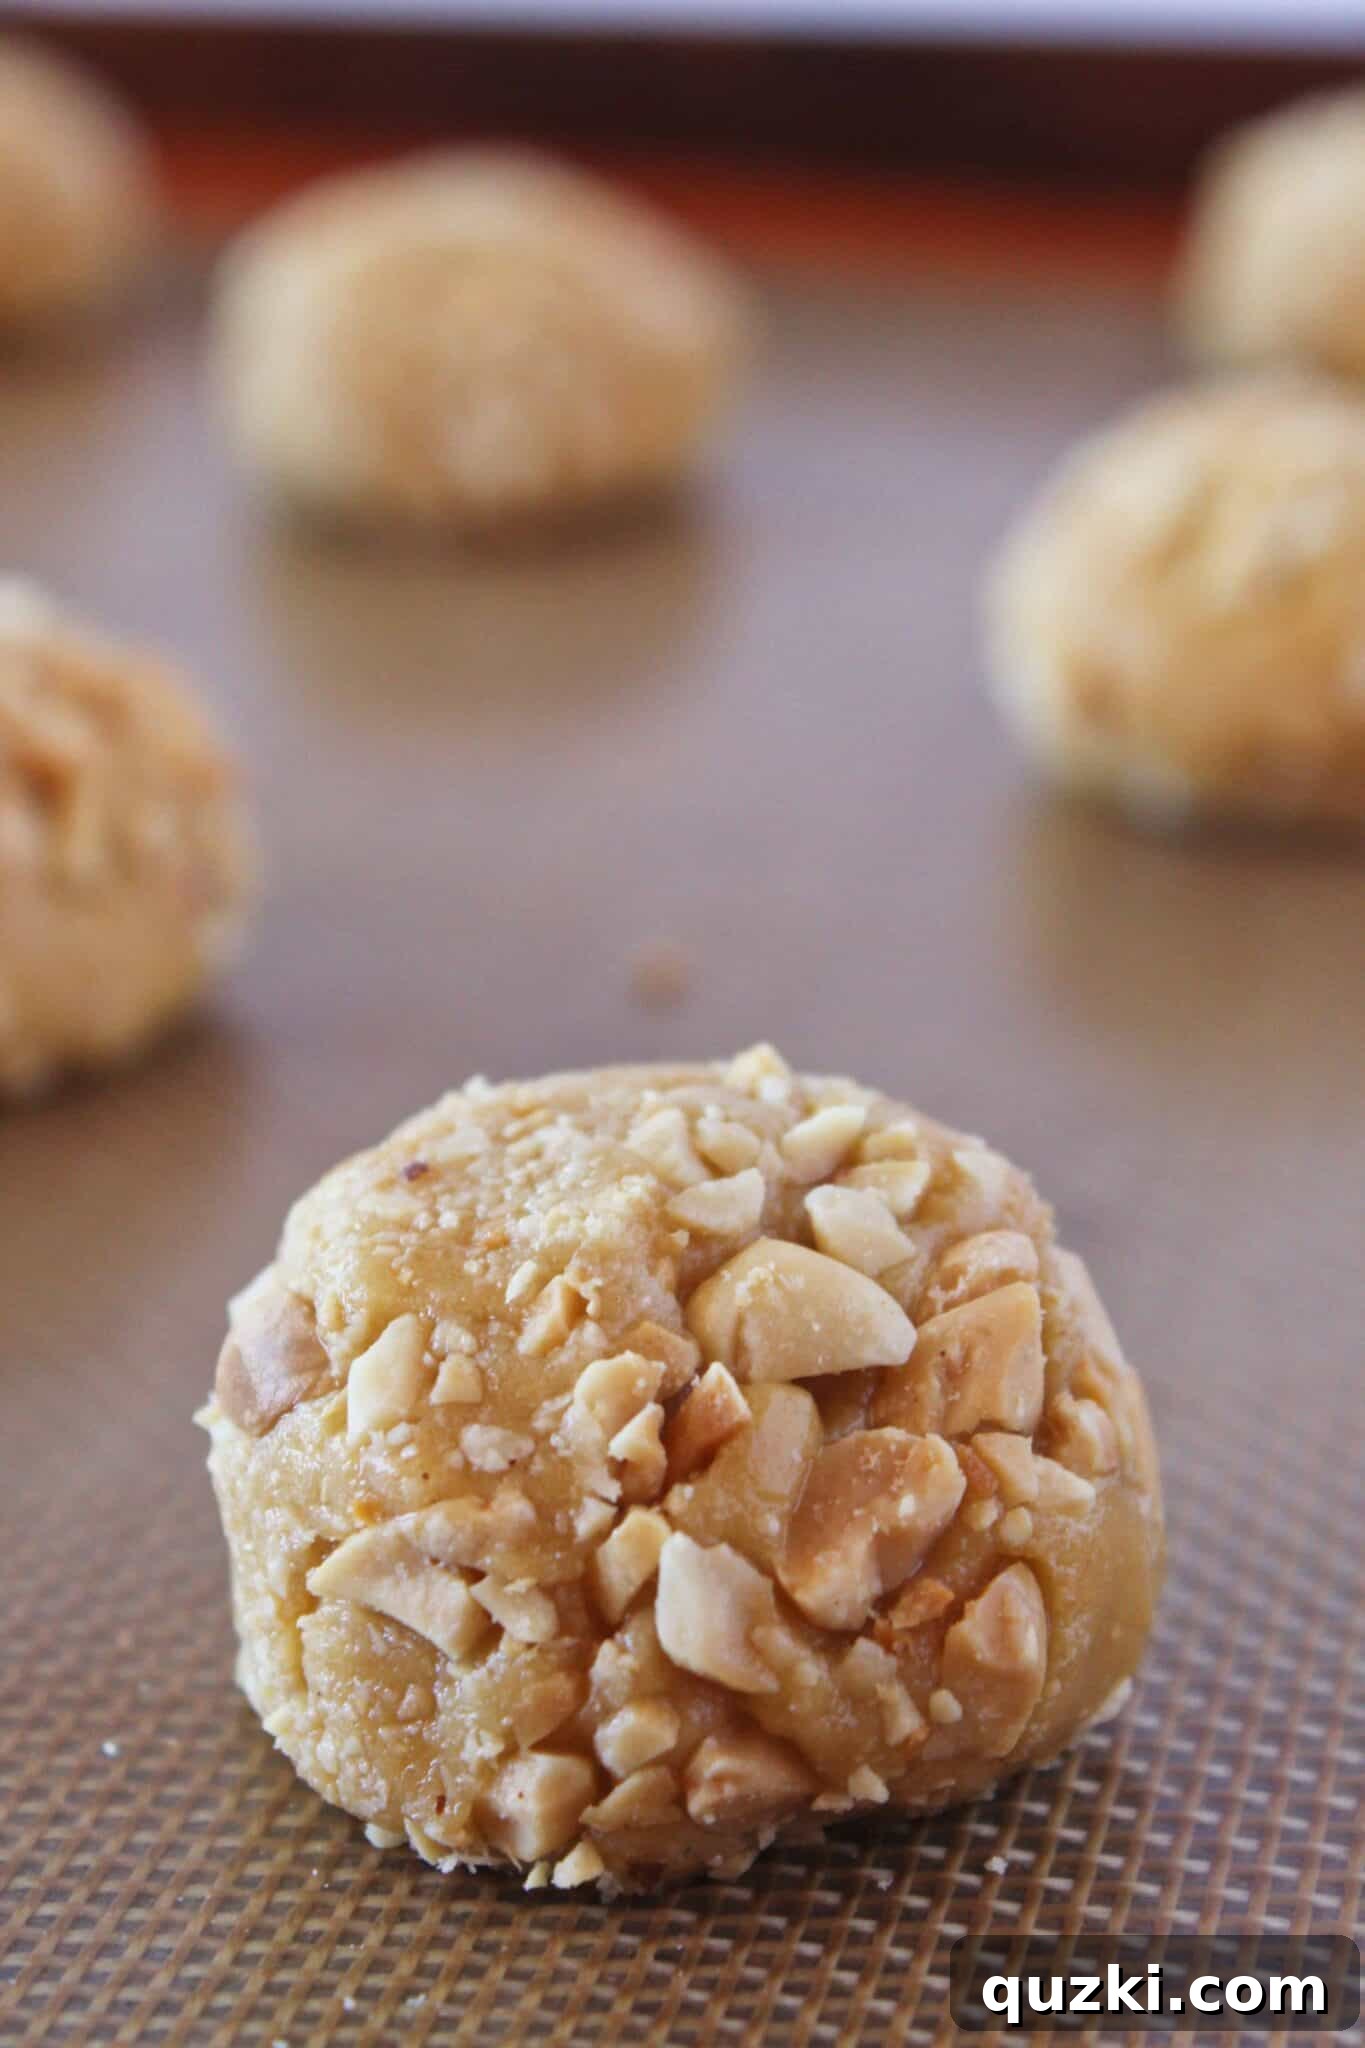
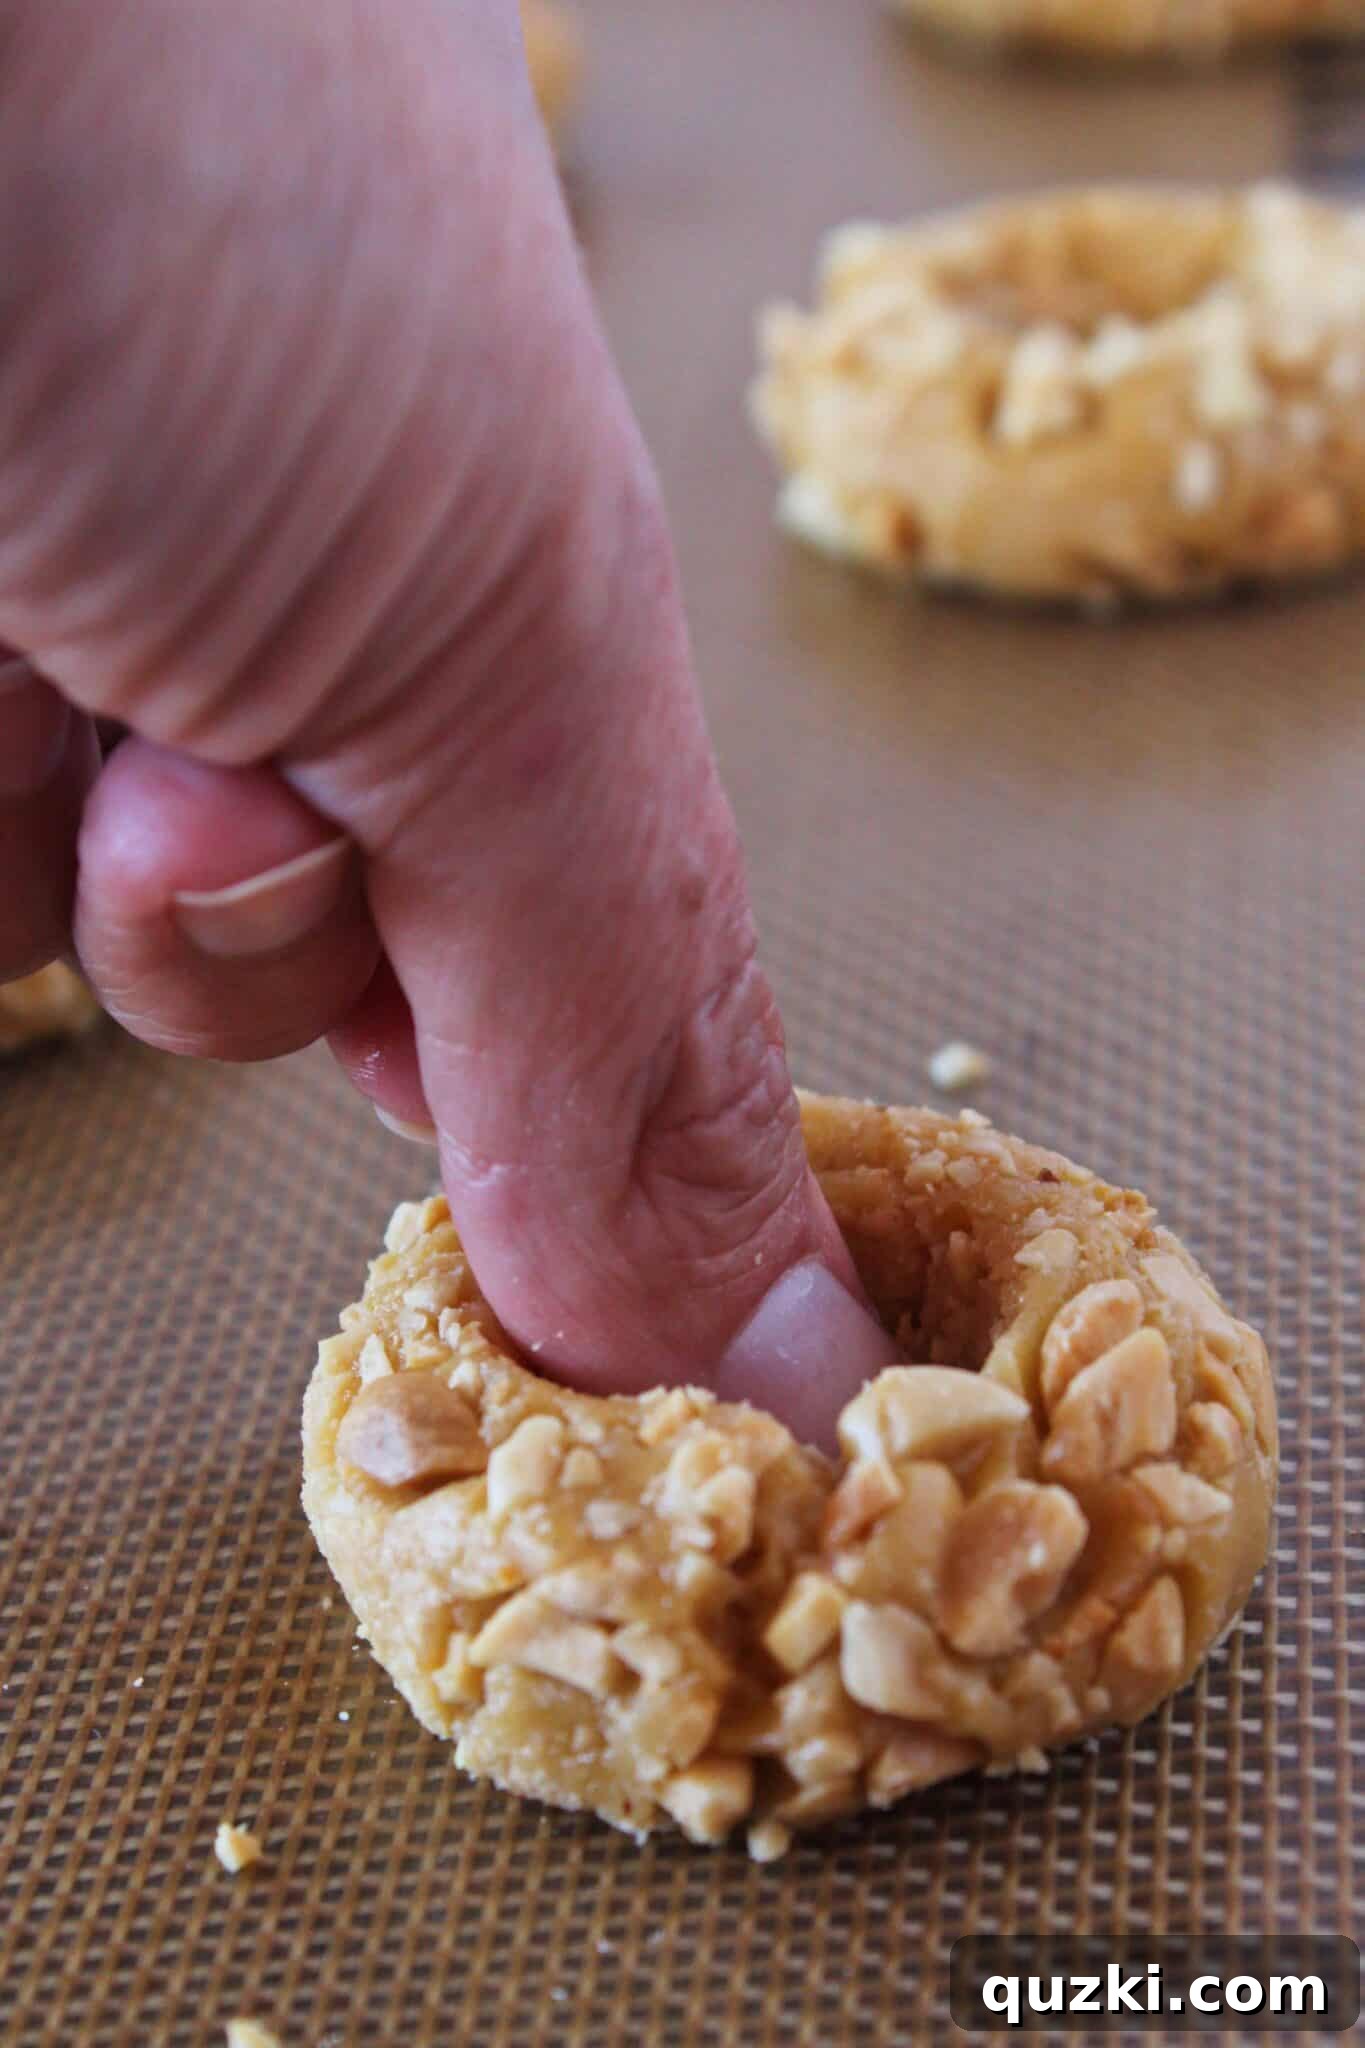
- Prepare for Baking & Indent: Arrange the peanut-coated cookie dough balls onto a baking sheet that has been lined with a silicone mat or parchment paper. Make sure to leave enough space between each cookie (about 2 inches) to allow for some spreading during baking. Once placed, use your thumb or the back of a small, rounded spoon to create a distinct and well-defined indentation in the center of each cookie. This perfect little pocket will beautifully hold your jam.
- Fill with Jam: Carefully spoon approximately 1/2 tablespoon of your chosen jam into each indentation. It’s important not to overfill, as the jam can bubble over and spill onto the baking sheet during the baking process, potentially causing it to burn or making the cookies stick. Raspberry jam offers a delightful tartness that beautifully complements the sweet peanut butter, but feel free to use your personal favorite for a customized treat.
- Bake to Perfection: Preheat your oven to 350°F (175°C). Bake the cookies for approximately 9-11 minutes, or until the edges are just beginning to turn a light golden brown. The cookies should appear set but still look soft in the center – this is key to achieving that perfect melt-in-your-mouth, chewy texture. Over-baking will result in drier, less tender cookies.
- Cool and Enjoy: Once baked, carefully remove the cookie sheet from the oven. This next step is crucial: allow the cookies to cool on the baking sheet for at least 10 minutes. This period allows them to set properly and firm up, preventing them from breaking apart when transferred. After 10 minutes, carefully move them to a wire cooling rack to cool completely.
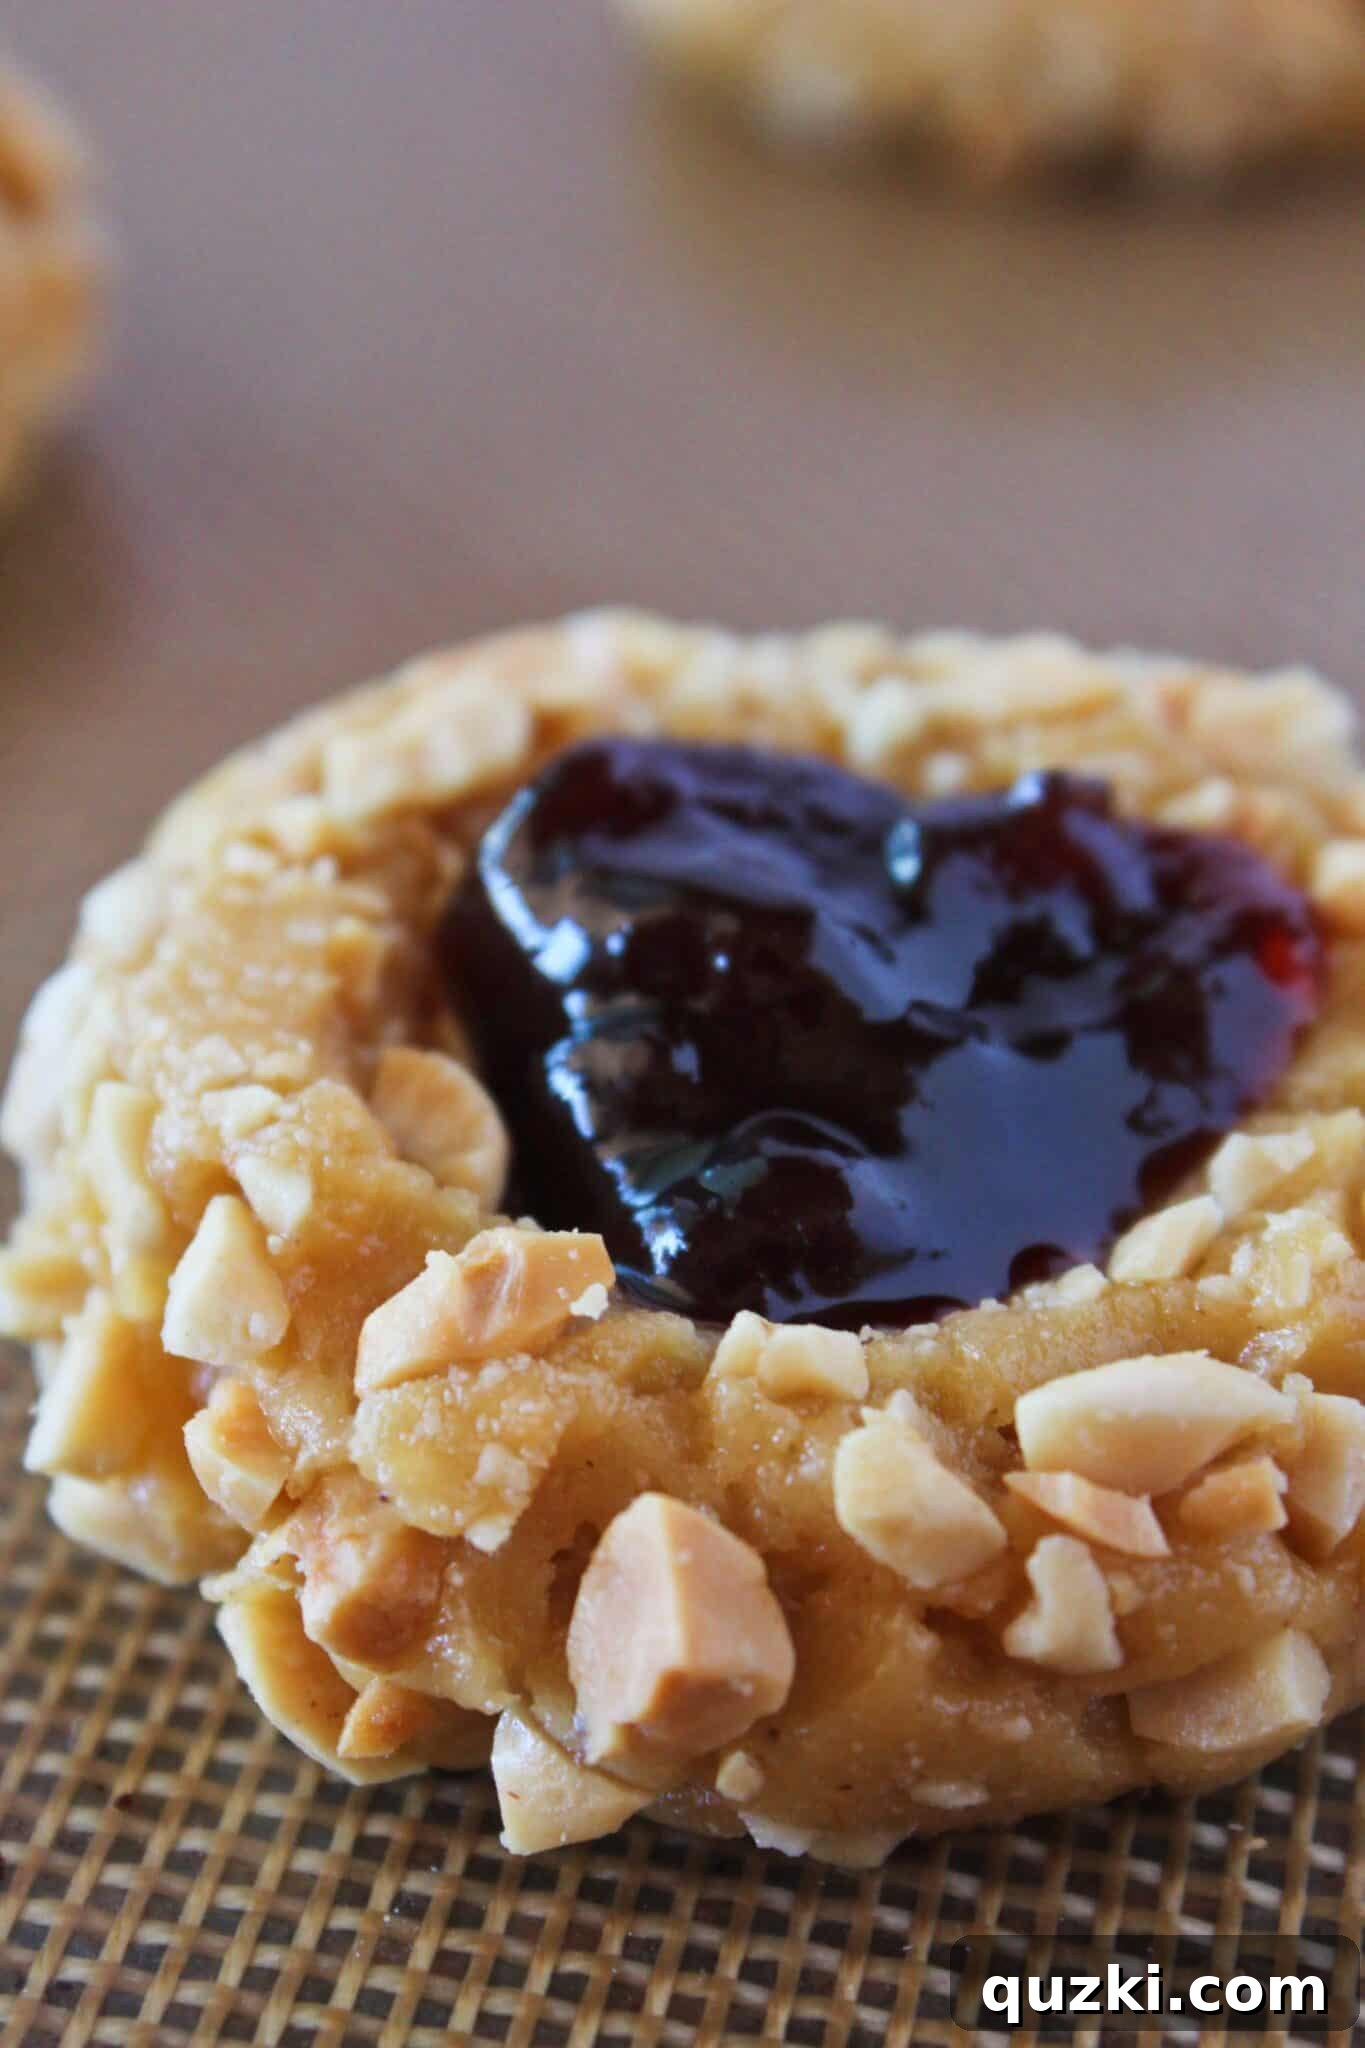
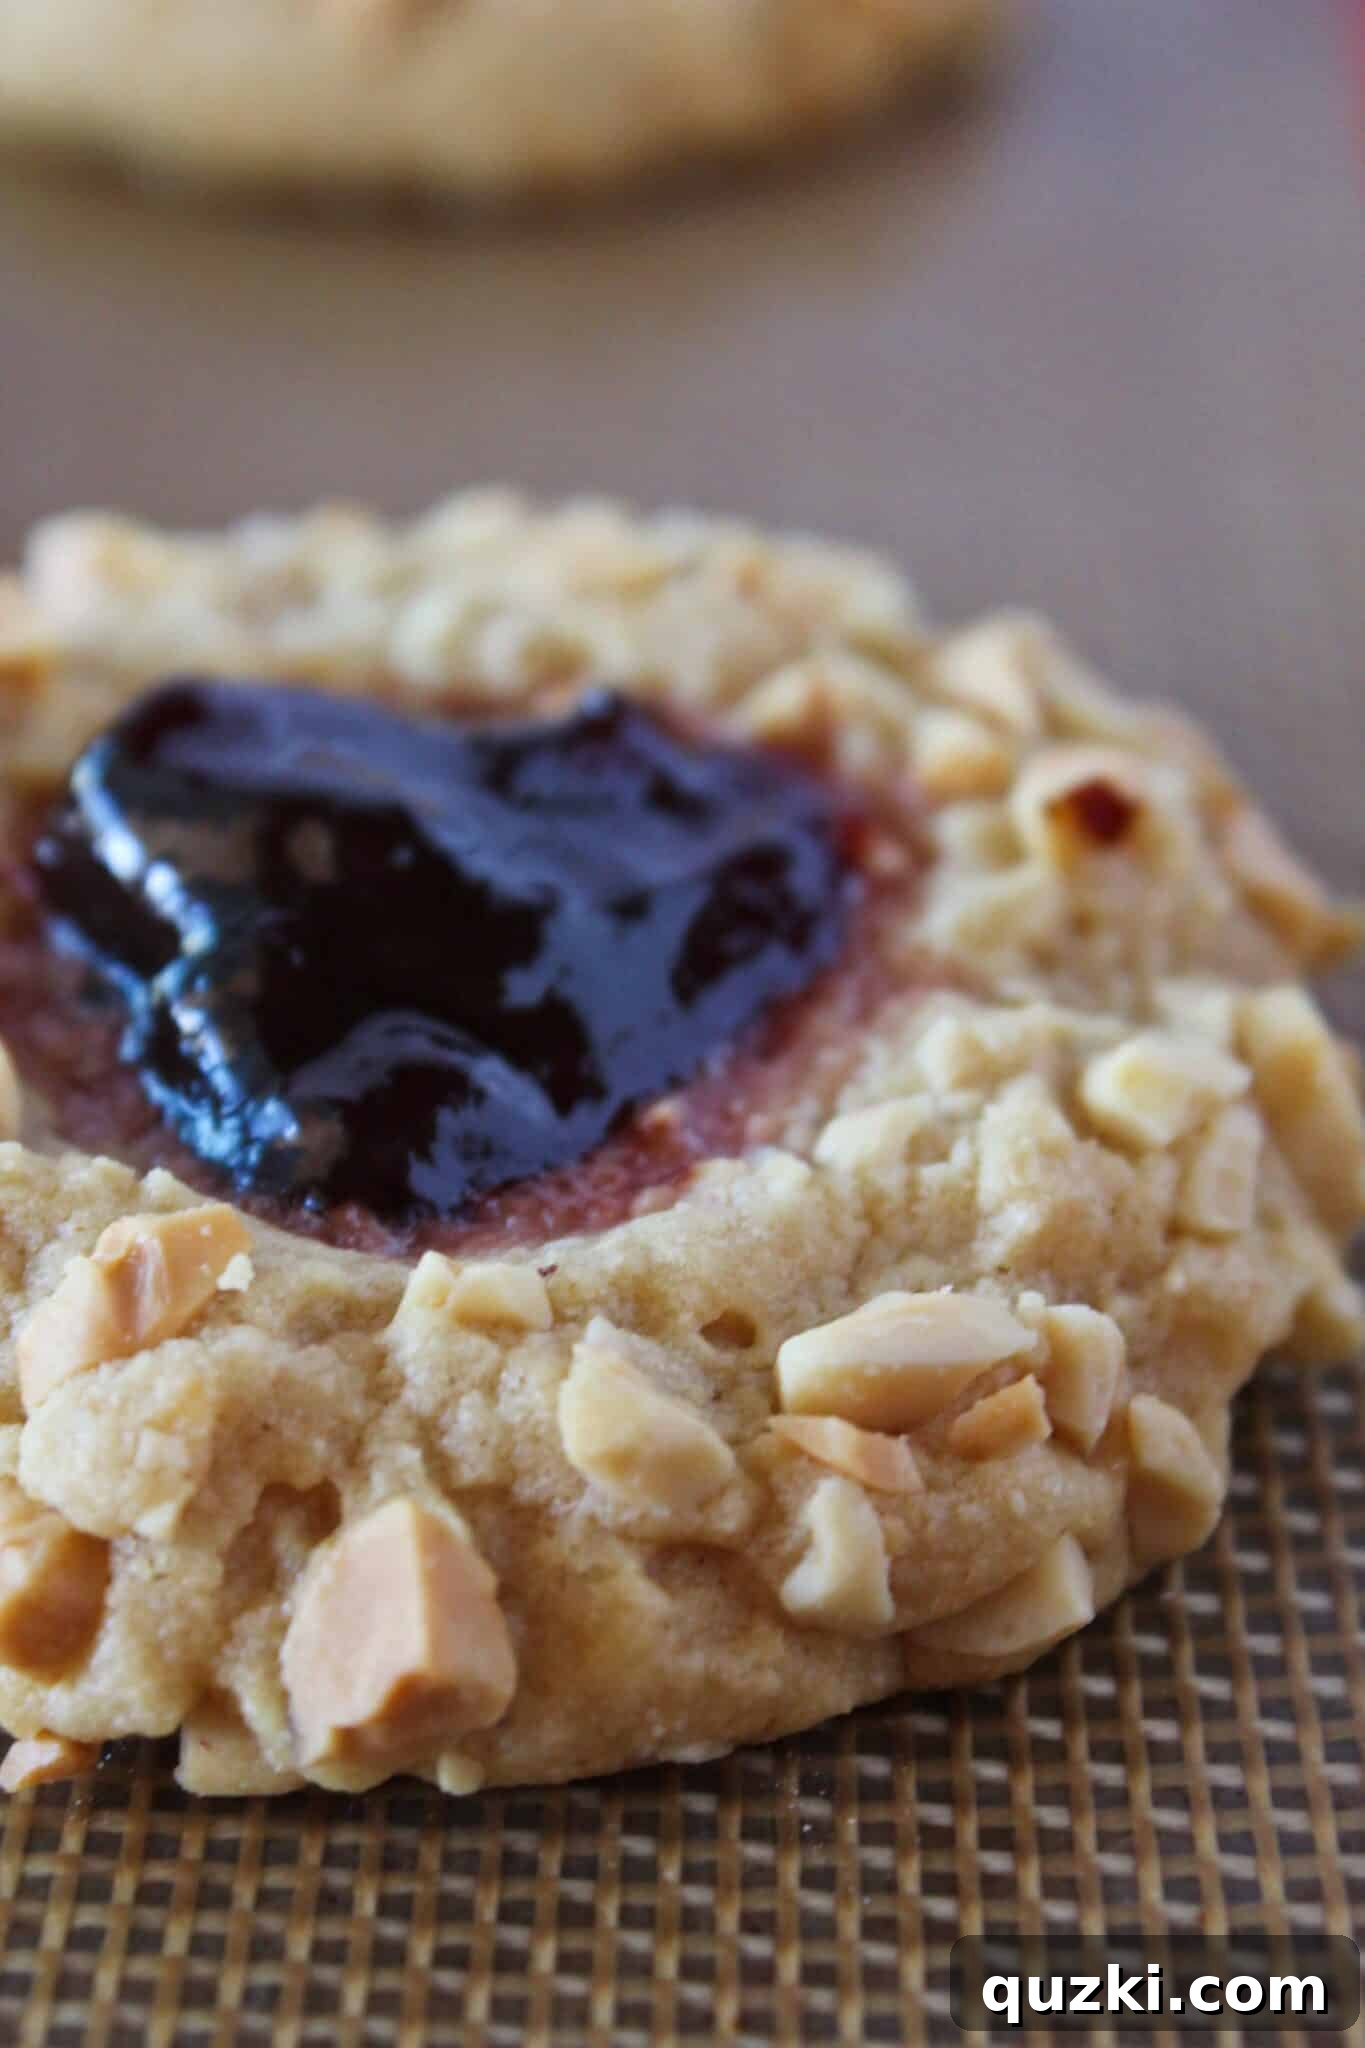
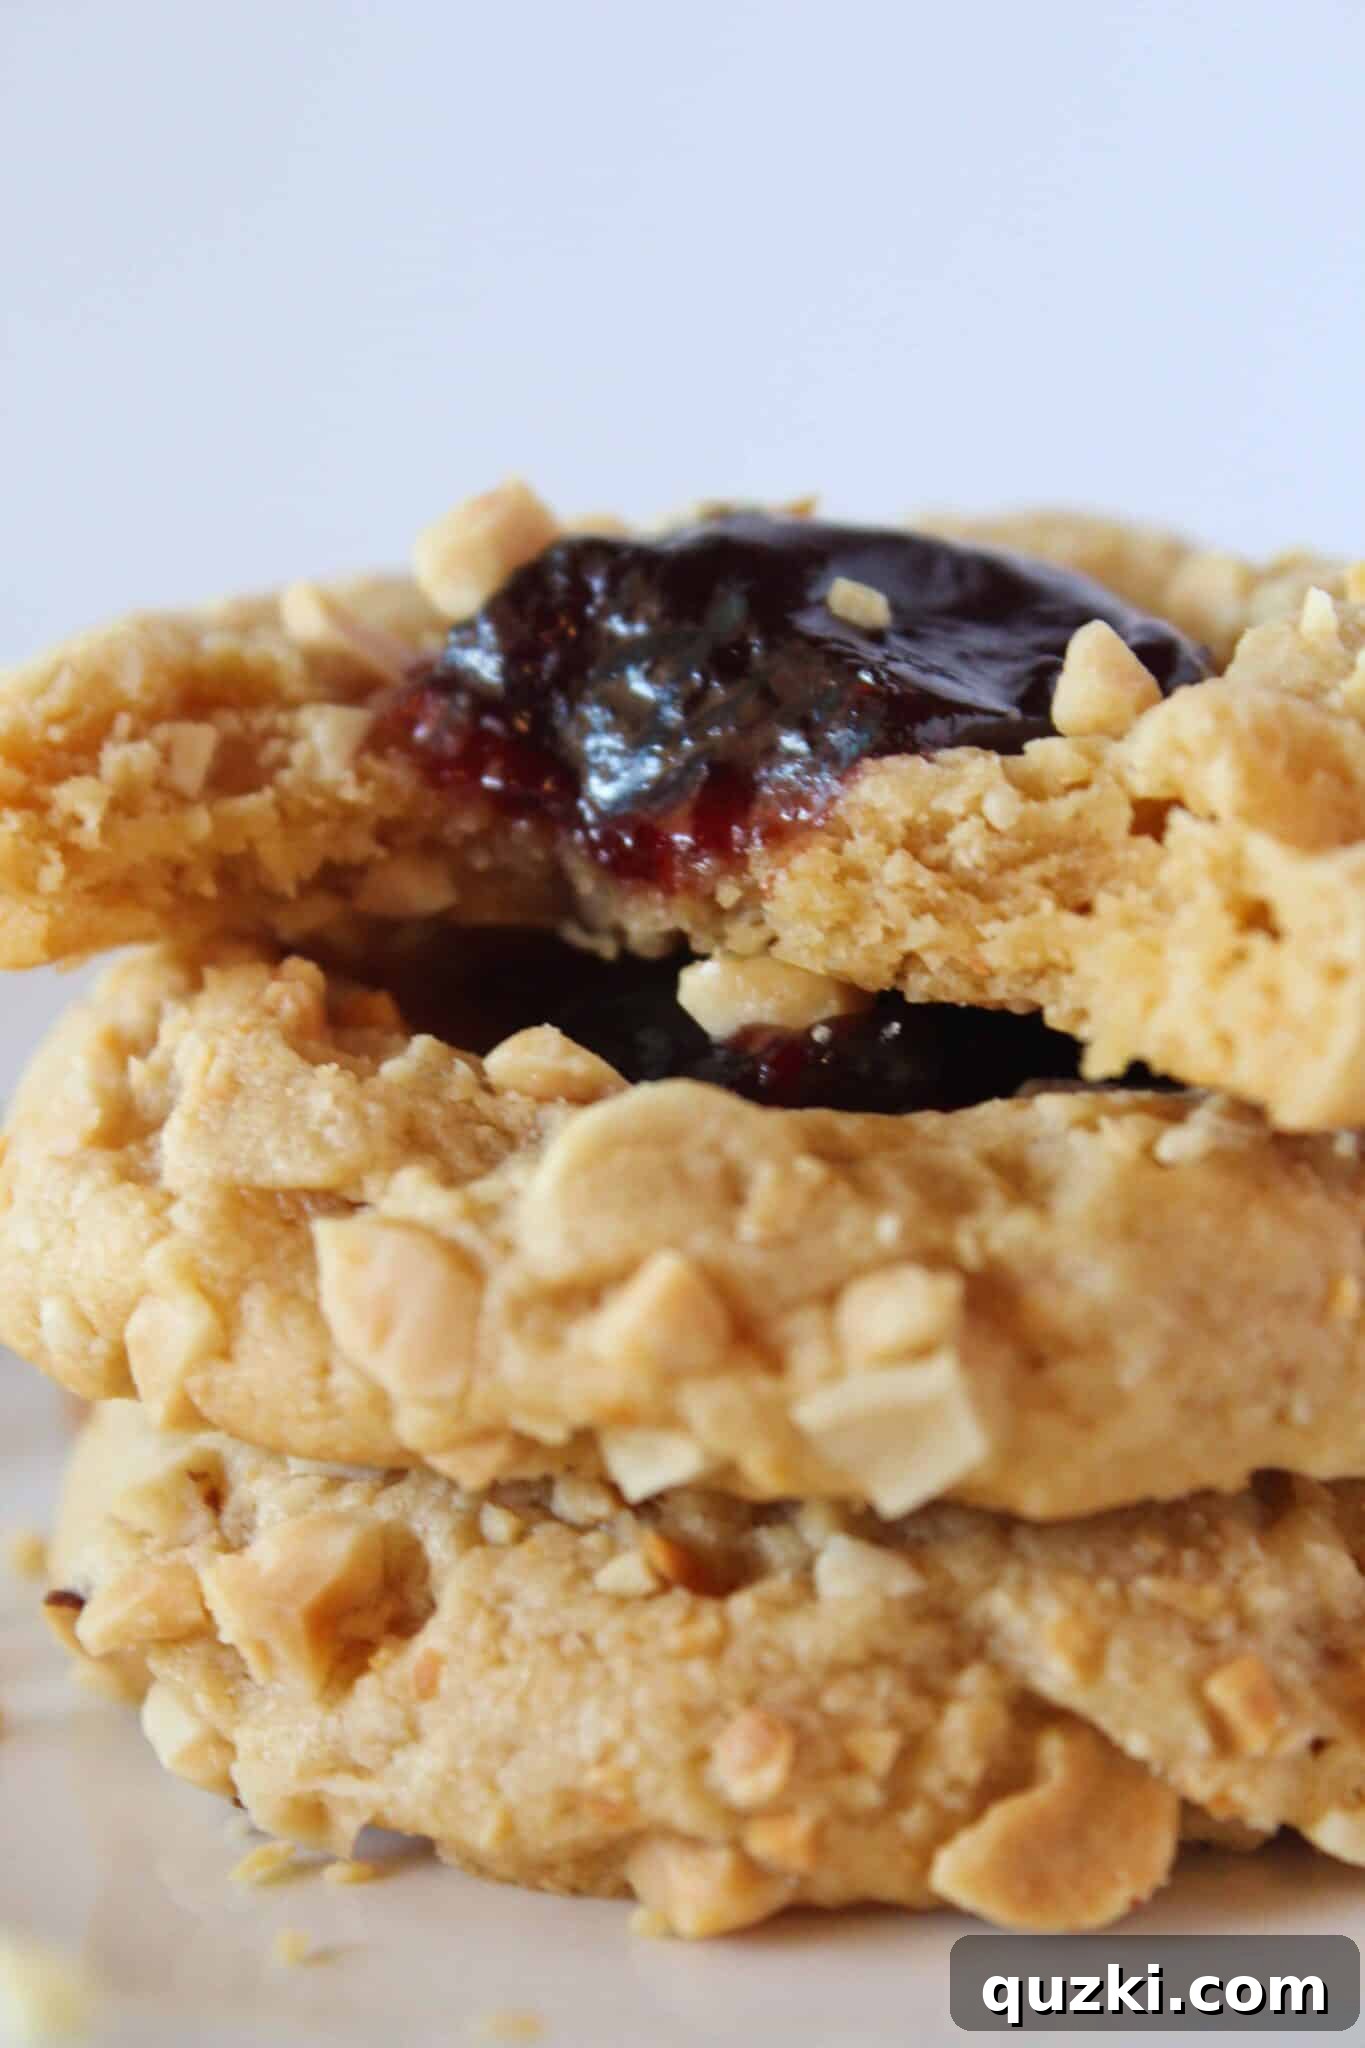
And there you have it! Take a bite of one of these amazing PB&J cookies, and prepare for a moment of pure bliss. It’s a taste sensation that combines everything you love about the classic sandwich in a perfect, portable cookie form. Whether you’re looking for an easy after-school snack, a delightful treat for a party, or just a comforting indulgence to enjoy with a cup of coffee or a cold glass of milk, these cookies are ideal for any day of the year. Their simplicity and deliciousness make them a perfect choice. I genuinely can’t wait for you to experience the joy of making and tasting them!
Tips for Perfect PB&J Cookies Every Time
Even the simplest recipes benefit from a few expert tips to ensure consistent, delicious results. Here are some pointers for making your PB&J cookies absolutely perfect:
- Don’t Overmix the Dough: Once the ingredients are just combined and a uniform dough forms, stop mixing. Overmixing can develop the gluten in the cake mix more than desired, leading to tougher, less tender cookies. Mix until barely combined for the softest texture.
- Chill the Dough (Optional but Recommended): If your kitchen is particularly warm, or if the dough seems too soft or sticky to handle easily, chilling it in the refrigerator for 15-30 minutes can work wonders. This firms up the dough, making it much easier to scoop, roll, and shape, and can also help prevent excessive spreading during baking.
- Choose Your Peanut Butter Wisely: Creamy peanut butter is generally recommended for this recipe as it creates a smoother, more consistent dough texture. If you opt for natural peanut butter, be sure to stir it very well to combine the separated oils before measuring, as its consistency can vary greatly. For an extra layer of texture and peanut flavor, you could even try a blend of half creamy and half crunchy peanut butter.
- Jam Consistency Matters: Thicker jams or preserves tend to work best in this recipe as they are less likely to spread too much or become overly runny during baking. If your chosen jam is very liquidy, you might want to drain off some of the excess liquid, or gently warm it and stir in a tiny bit (about 1/4 teaspoon) of cornstarch to slightly thicken it before adding it to the cookie indentations.
- Uniform Cookie Size: Using a cookie scoop is not just for convenience; it ensures that all your cookies are roughly the same size. This consistency is crucial for even baking, preventing some cookies from being underbaked while others are overbaked.
- Don’t Skip the Cooling Time: This step is more important than you might think! Allowing the cookies to cool on the baking sheet for at least 10 minutes helps them to set and firm up properly. Moving them too soon, while they are still hot and delicate, can cause them to break apart or lose their shape. Patience here leads to perfectly intact cookies.
Delicious Variations to Try
While the classic raspberry jam in these PB&J cookies is undeniably fantastic, the beauty of this recipe lies in its versatility. Don’t hesitate to get creative and experiment with different flavors to suit your preferences:
- Strawberry Swirl: A classic and universally loved pairing with peanut butter, strawberry jam offers a sweet and familiar flavor that will appeal to almost everyone. It’s a guaranteed crowd-pleaser.
- Grape Jelly Delight: For those who cherish the iconic grape jelly sandwich, substituting raspberry with grape jelly in this cookie recipe is an absolute must. It perfectly captures that beloved childhood taste in cookie form.
- Apricot or Peach Preserve: For a slightly more sophisticated or gourmet twist, try a subtly tart apricot preserve or a wonderfully sweet peach preserve. These options offer a delicate fruitiness that beautifully complements the richness of the peanut butter.
- White Chocolate Drizzle: Once your PB&J cookies have completely cooled, melt some white chocolate chips and drizzle them artfully over the top. This adds an extra layer of sweetness, a beautiful visual appeal, and a delightful textural contrast.
- Mini Chocolate Chips: For the ultimate sweet and savory indulgence, fold a handful (about 1/2 cup) of mini chocolate chips directly into the cookie dough. This creates a delightful peanut butter, chocolate, and jam combination that is truly irresistible.
Storage and Freezing Instructions
These Peanut Butter and Jelly Cookies are absolutely best enjoyed fresh, but they also store remarkably well, making them perfect for meal prep or enjoying throughout the week:
- Room Temperature Storage: Once the cookies have cooled completely, store them in an airtight container at room temperature. They will remain wonderfully fresh and delicious for up to 3-4 days. For optimal freshness, you can place a slice of bread in the container to help keep them soft.
- Freezing Cookie Dough: You can easily prepare the dough in advance and freeze it! Scoop and roll the dough balls (without making the jam indentation or filling them) and place them in a single layer on a parchment-lined baking sheet. Freeze until solid (about 1-2 hours), then transfer the frozen dough balls to a freezer-safe zip-top bag or airtight container. They can be stored for up to 3 months. When you’re ready to bake, simply place the frozen dough balls on a prepared baking sheet, make the indentation, fill with jam, and bake as directed, adding a couple of extra minutes (2-4 minutes) to the baking time since they are frozen.
- Freezing Baked Cookies: Fully baked and completely cooled cookies can also be frozen for later enjoyment. Arrange them in a single layer on a baking sheet and freeze until firm. Once frozen, transfer them to an airtight freezer-safe container or bag, placing parchment paper between layers to prevent sticking. They will keep well for up to 2-3 months. To enjoy, thaw them at room temperature for an hour or two, or gently warm them in the microwave for a few seconds for that freshly baked feel.
Do You Love Nostalgic Desserts? Try These Recipes…
Pies
Easy Drumstick Pie Recipe
Cookies
Easy Cosmic Brownie Cookies
Cookies
Hostess Cupcake Cookies
Desserts
Apple Crisp Skillet
PB & J Cookies Recipe
By: June Albertson-Dick
The perfect combination of sweet and savory, these Peanut Butter and Jelly Cookies start with a simple cake mix base and are finished with a crunchy coating of chopped peanuts and a sweet dollop of raspberry jam. They are absolutely awesome and bring back all the best childhood memories!
Prep Time: 5 mins
Cook Time: 9-11 mins
Total Time: 14-16 mins (plus cooling time)
Servings: 22 cookies
Ingredients
- 1 box yellow cake mix (13.25 ounces)
- 1 cup creamy peanut butter
- ½ cup butter, melted
- 2 large eggs
- ¼ cup lightly salted peanuts, finely chopped
- ½ cup raspberry jam (or your favorite jam)
Instructions
- Preheat oven to 350°F (175°C). Line a baking sheet with parchment paper or a silicone mat.
- In a large bowl, combine the yellow cake mix, creamy peanut butter, melted butter, and two large eggs. Mix with a hand-held mixer or a sturdy spoon until all ingredients are completely incorporated and a thick, uniform cookie dough forms.
- Place the finely chopped peanuts in a shallow dish. Using a medium cookie scoop (about 1.5 tablespoons), scoop out portions of dough. Roll each dough ball thoroughly in the chopped peanuts until well coated, pressing gently if needed.
- Place the coated cookie dough balls onto the prepared baking sheet, ensuring some space between them. Using your thumb or the back of a small spoon, create a clear indentation in the center of each cookie.
- Fill each indentation with about 1/2 tablespoon of your preferred jam.
- Bake for 9-11 minutes, or until the edges of the cookies are lightly browned and the centers are set but still soft. Do not overbake.
- Remove the baking sheet from the oven and let the cookies cool on the sheet for at least 10 minutes to firm up before transferring them to a wire cooling rack to cool completely. Repeat with any remaining dough.
- Store cooled cookies in an airtight container at room temperature for up to 4 days, or freeze for up to 3 months.
Nutrition Information (Approximate Per Cookie)
- Serving: 1 cookie
- Calories: 216 kcal
- Carbohydrates: 24g
- Protein: 4g
- Fat: 12g
- Saturated Fat: 4g
- Polyunsaturated Fat: 2g
- Monounsaturated Fat: 5g
- Trans Fat: 0.2g
- Cholesterol: 26mg
- Sodium: 235mg
- Potassium: 100mg
- Fiber: 1g
- Sugar: 14g
- Vitamin A: 151IU
- Vitamin C: 1mg
- Calcium: 54mg
- Iron: 1mg
Nutrition information is automatically calculated, so should only be used as an approximation.
Love this recipe? We’d love to hear your thoughts! Leave a comment below and share your experience.