
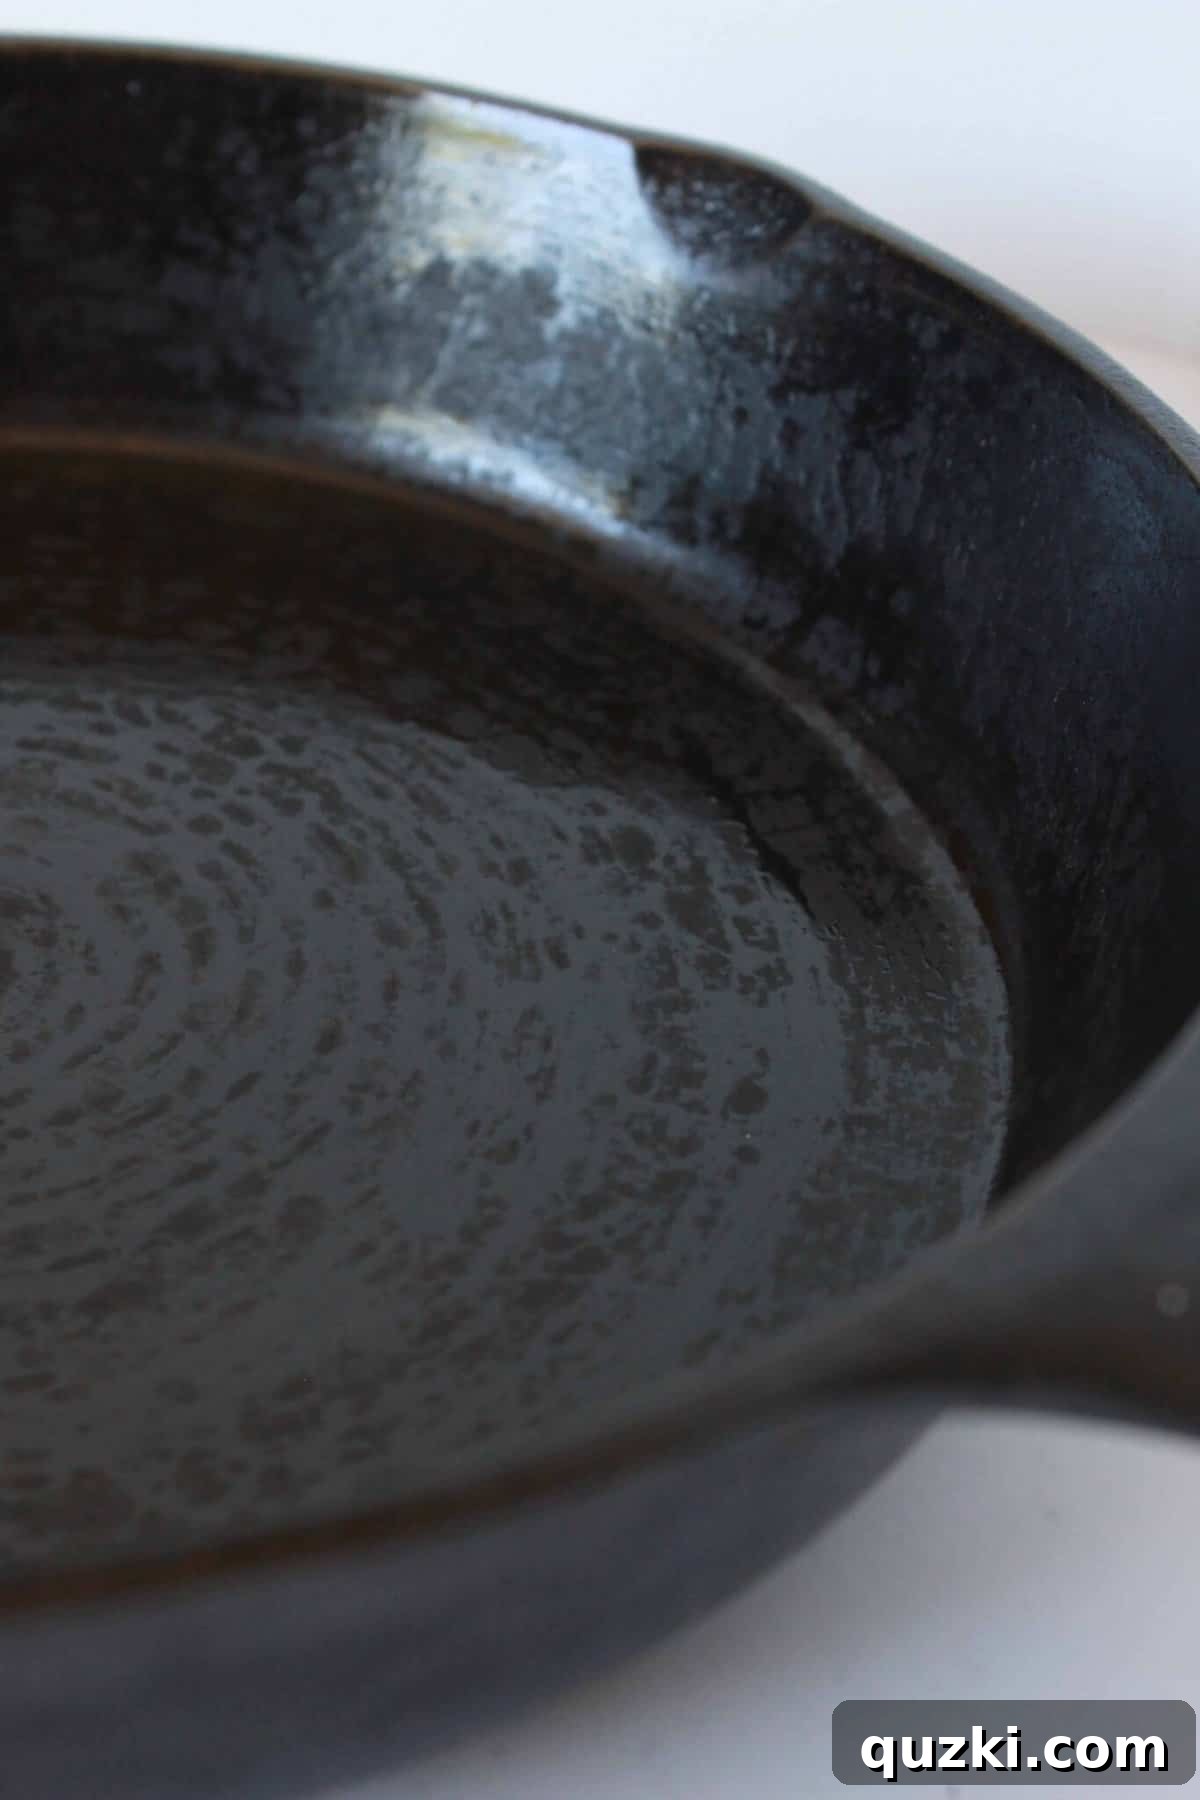
Revive Your Cast Iron Skillet: A Step-by-Step Guide to Perfect Seasoning
The humble cast iron skillet holds a special place in the hearts and kitchens of many, myself included. Growing up, the comforting sizzle of breakfast staples and savory dinner dishes often originated from our trusty cast iron pan. It was a constant in our family home, a symbol of hearty, home-cooked meals. As I embarked on my own culinary journey, I drifted towards modern cookware, often opting for whatever non-stick sets were readily available. However, a quiet longing for the robust simplicity and exceptional performance of cast iron began to grow. Over the past few months, I’ve found myself increasingly drawn back to the enduring charm of cast iron, delving deep into its history, care, and the myriad of delicious possibilities it offers. My Pinterest boards became a treasure trove of cast iron recipes, fueling a renewed passion. Serendipitously, my parents, recognizing my burgeoning interest, gifted me an unused skillet that had been patiently waiting for its second act.
The Enduring Appeal of Cast Iron: More Than Just a Pan
Before diving into the restoration process, it’s worth appreciating why cast iron has stood the test of time and continues to be a cherished item in kitchens worldwide. Its remarkable ability to retain and distribute heat evenly is unparalleled, ensuring perfectly cooked food every time. From searing steaks to baking cornbread, cast iron handles high temperatures with grace, developing rich, caramelized crusts and consistent results. Furthermore, with proper care and seasoning, a cast iron skillet becomes naturally non-stick, eliminating the need for synthetic coatings and offering a healthier cooking alternative. It’s incredibly versatile, transitioning seamlessly from stovetop to oven to even a campfire. Most importantly, a well-cared-for cast iron skillet is an investment that lasts generations, becoming an heirloom piece that tells a story with every meal prepared. This longevity and durability are what truly capture the imagination of home cooks like myself, making the effort to revive an old skillet entirely worthwhile.
The Challenge: Restoring a Rusty or Dry Cast Iron Skillet
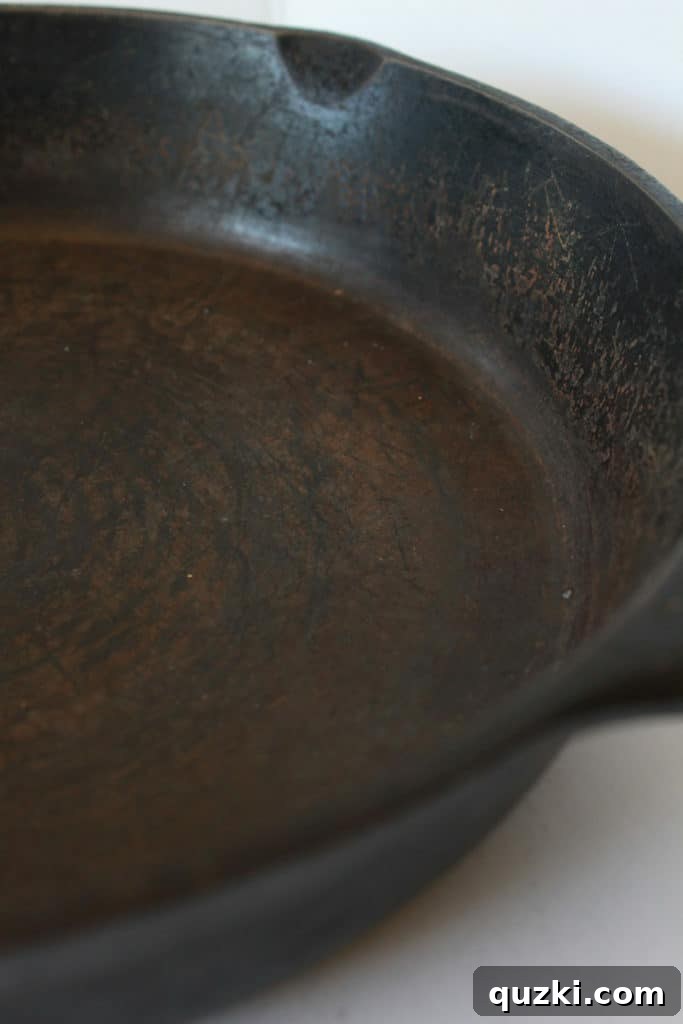
The skillet my parents passed down, while a thoughtful gesture, bore the marks of its time in storage. An unused cast iron pan, especially one neglected for a while, can often appear dry, develop minor scratches, and even show signs of surface rust. This condition isn’t uncommon, and it’s precisely why understanding the art of “seasoning” is so crucial. Seasoning is the process of baking thin layers of oil onto the cast iron surface, which polymerizes and creates a natural, protective, and non-stick coating. Without this essential layer, the pan is vulnerable to rust and food sticking. My inherited skillet was no exception; it clearly needed to be seasoned, and seasoned well, to bring it back to its former glory. This prompted me to thoroughly research the best practices for restoring and seasoning cast iron. What I discovered was a surprisingly straightforward process, and one I’m excited to share with you, hoping it inspires you to rejuvenate any dormant cast iron treasures you might have tucked away.
Initial Assessment: Before the Transformation Begins
Upon receiving my skillet, its condition was clear. It was indeed dry, showing visible scratches from previous use or storage, and had a noticeable, though minor, layer of surface rust in places. This sight might deter some, but for cast iron enthusiasts, it’s merely an invitation for revival. This initial appearance is a critical baseline; it highlights the importance of the cleaning and seasoning steps that follow. It’s a testament to the resilience of cast iron that even in this state, it can be fully restored to a functional, beautiful, and highly effective cooking tool with a little care and attention.
The Step-by-Step Guide to Perfect Cast Iron Seasoning
Transforming a neglected cast iron skillet into a culinary powerhouse is a rewarding process. Here’s how you can achieve a beautifully seasoned, non-stick surface, ready for countless delicious meals.
Step 1: Gentle Cleaning and Preparation
Before any oil is applied, it’s vital to ensure your cast iron skillet is clean. For a pan that is rusty or has built-up residue, a more thorough cleaning might be necessary. You can use a mild soap and water with a stiff brush or a non-abrasive scrubber to remove any loose rust, grime, or old, flaky seasoning. If the rust is severe, you might need to use a steel wool pad or even a chemical rust remover for tougher cases, ensuring you rinse thoroughly afterward. For my skillet, a gentle scrub with a dish brush and warm water was sufficient to remove the surface rust and any lingering dry bits. The most critical step after cleaning is to dry the skillet immediately and completely. Moisture is cast iron’s enemy, leading to flash rust. You can place it on the stovetop over low heat for a few minutes to evaporate all residual water, ensuring it’s bone dry before proceeding.
Step 2: Applying the Right Oil – Thin Layers are Key
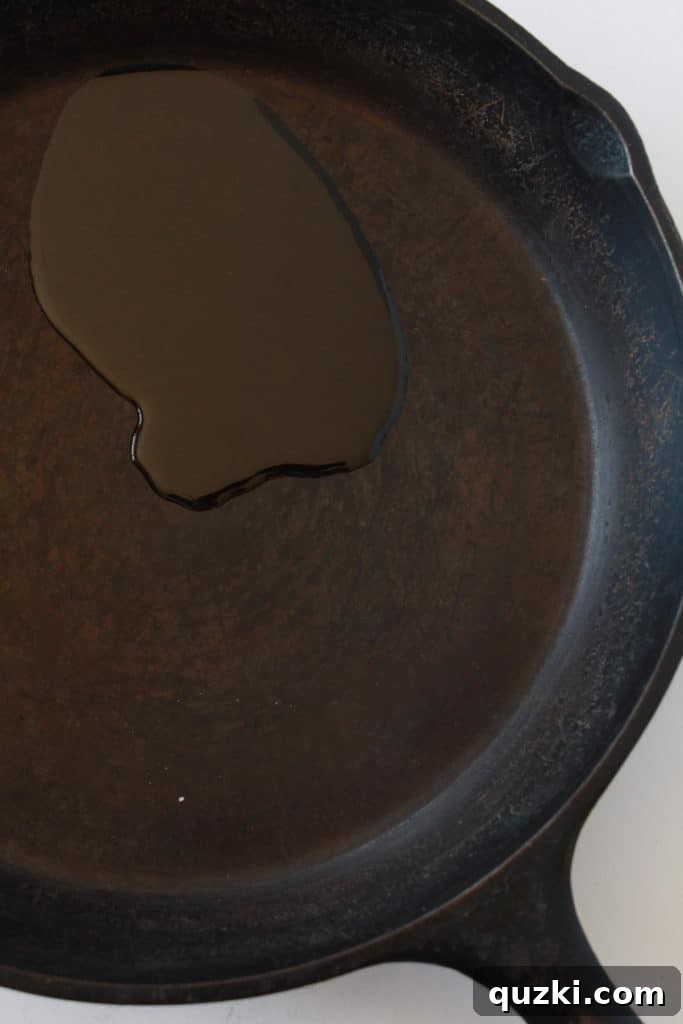
Once your skillet is perfectly dry and cool enough to handle, it’s time to introduce the oil. The choice of oil is important, as certain oils polymerize better than others. Common choices include vegetable oil, canola oil, flaxseed oil, or even solid vegetable shortening like Crisco. Each has its proponents, but the key is to use an oil with a relatively high smoke point. For my skillet, I opted for a healthy tablespoon of standard vegetable oil, which is readily available and works exceptionally well. The crucial factor here is the amount: less is more. You want a very thin, almost imperceptible layer of oil, not a thick coating. Too much oil will result in a sticky, gummy seasoning that can easily flake off.
Step 3: Ensuring Even Coverage
With the oil in the pan, grab a clean paper towel or a lint-free cloth. Using firm, circular motions, spread the oil evenly across every surface of the skillet – the bottom, the sides, the rim, and don’t forget the handle and the underside. Imagine you are trying to wipe *off* all the oil you just put on. You should wipe until the skillet looks dry, but you know there’s a microscopic film of oil still adhering to the metal. This thin, uniform coating is essential for a smooth, durable, and even seasoning layer. A common mistake is leaving too much oil, which will create a sticky mess rather than a hard, protective layer. Take your time with this step, ensuring every part of the cast iron receives a minimal, yet complete, application of oil.
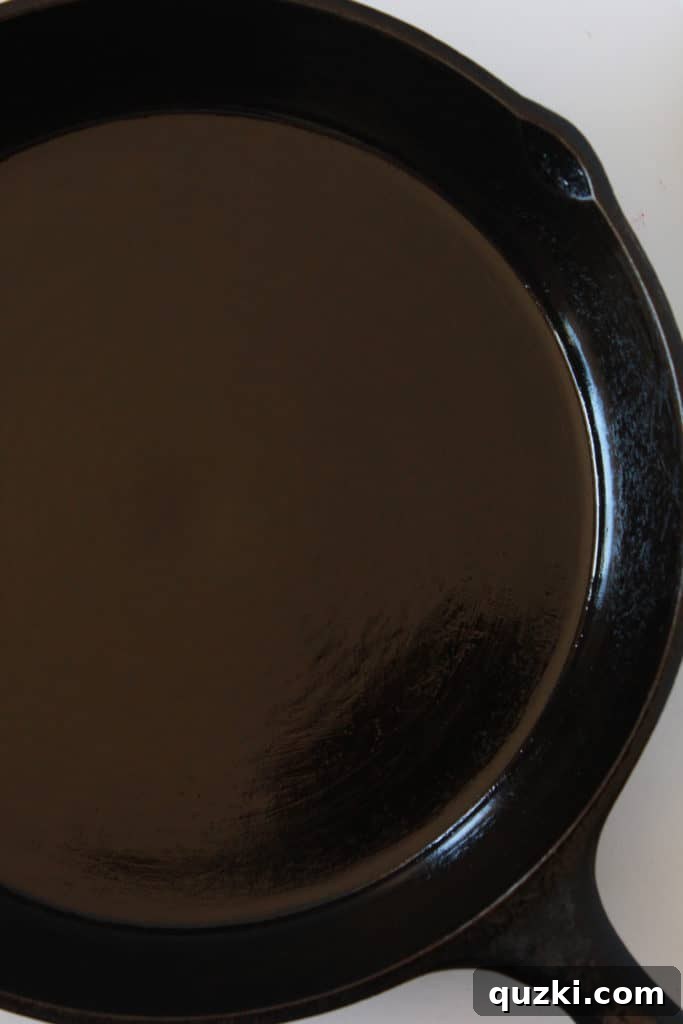
Step 4: The Baking Process – Polymerization at Work
Now, it’s time for the magic of polymerization to occur. Preheat your oven to 375 degrees Fahrenheit (approximately 190 degrees Celsius). While it preheats, it’s highly recommended to line the bottom rack of your oven with aluminum foil. This simple precaution will catch any minuscule drips of oil that might escape during the baking process, preventing messy smoke and potential fires on your oven floor. Once the oven reaches temperature, place your oiled cast iron skillet upside down on the middle rack. Baking it upside down prevents oil from pooling in the bottom of the pan, which could lead to a sticky, uneven finish. Let the skillet bake for one full hour. During this time, the oil will polymerize, transforming into a hard, plastic-like coating that bonds with the iron, creating your seasoning layer.
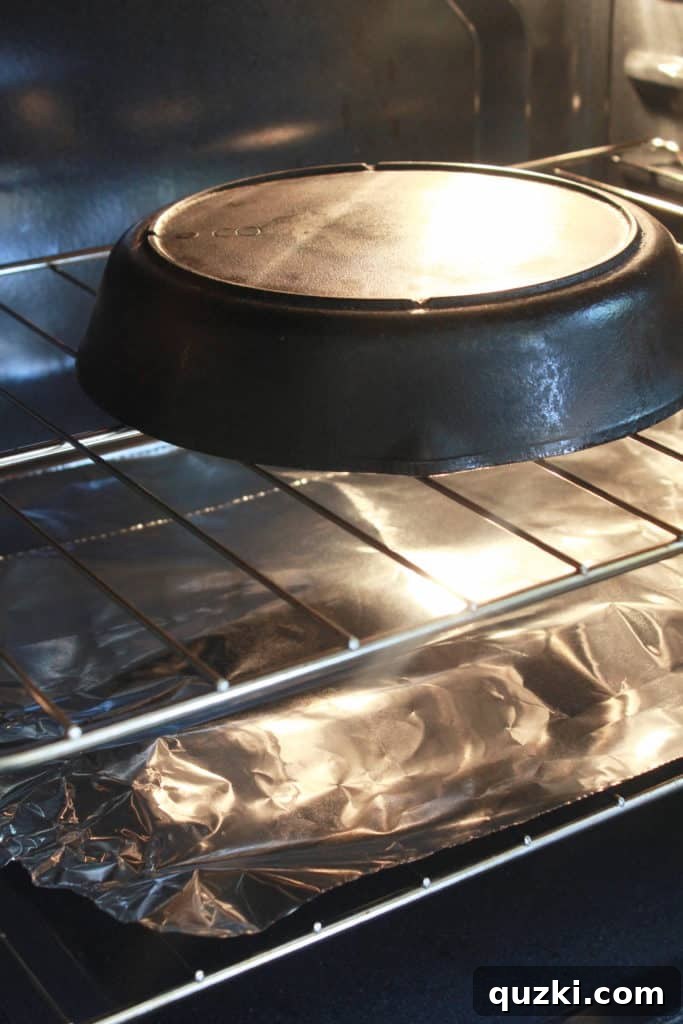
Step 5: Cooling and the Reveal
After one hour, turn off the oven but leave the skillet inside to cool down gradually with the oven. This slow cooling process is important as it allows the seasoning layer to fully set and harden. Rapid temperature changes can sometimes cause the seasoning to become brittle or even crack. Once the skillet is cool enough to handle, you’ll notice a significant difference. It will have a deeper, richer, and more uniform dark sheen compared to its initial dry and dull appearance. This is the first protective layer of your newly formed seasoning, and it looks beautiful. However, a single layer, while a great start, is rarely enough to create a truly durable and non-stick surface.
Step 6: The Power of Repetition – Building Robust Seasoning
For optimal results and a truly resilient, non-stick surface, the secret lies in repetition. One seasoning cycle provides a good foundation, but multiple layers build up a stronger, more effective seasoning. I highly recommend repeating steps 2 through 5 at least three to four times. Each additional layer adds to the depth, durability, and non-stick properties of your skillet. With each cycle, you’ll notice the pan getting progressively darker, smoother, and developing that signature slick feel. This cumulative layering is what gives cast iron its legendary performance and ensures it will last for decades, providing incredible cooking experiences.
Enjoying Your Newly Seasoned Skillet: A World of Culinary Possibilities
Once your cast iron skillet has undergone its transformative seasoning process, it’s ready for its culinary debut! The sight of a perfectly seasoned pan, dark and smooth, is incredibly satisfying. Since seasoning my skillet, it has quickly become my go-to for a vast array of dishes. It brings a unique flavor and texture to food that modern pans simply can’t replicate. I’ve already put mine to good use crafting comforting meals like a hearty Shepherd’s Pie Skillet, a vibrant Mexican Street Corn Skillet, and a robust Cowboy Hash (recipe coming soon!). These are just a few examples of the endless possibilities. From perfectly seared meats and crispy fried chicken to fluffy pancakes and even baked desserts, a well-seasoned cast iron skillet is an indispensable tool in any kitchen, offering incredible versatility and delivering consistently delicious results.
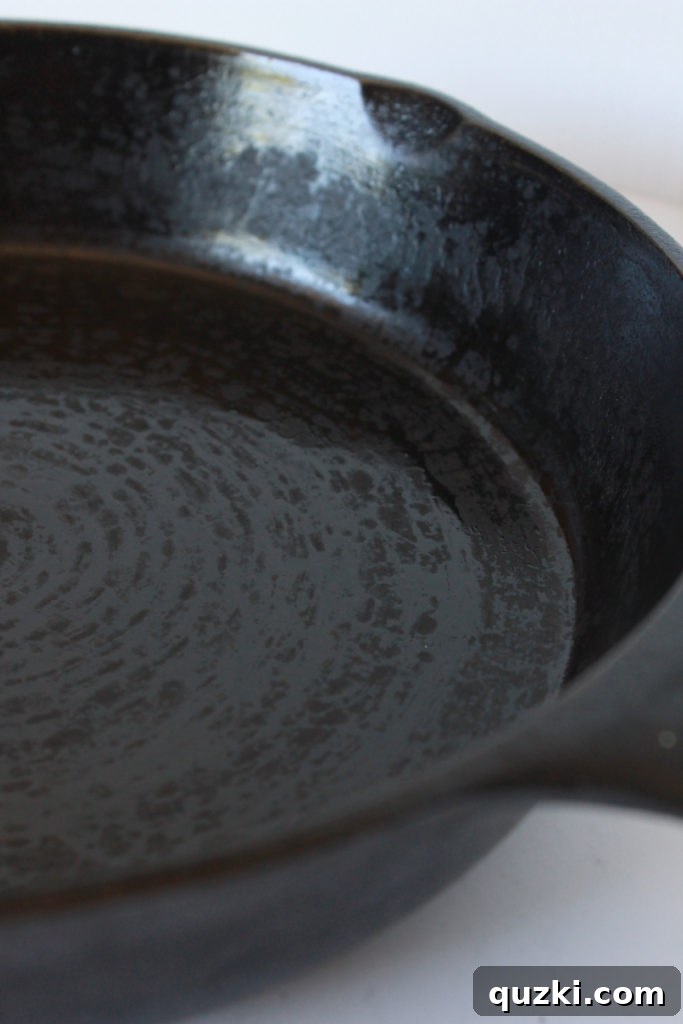
Beyond Seasoning: Ongoing Cast Iron Care for Lasting Performance
The journey with your cast iron skillet doesn’t end with initial seasoning; proper ongoing care is key to maintaining its performance and longevity. After each use, it’s best to clean your skillet gently. Avoid harsh soaps or abrasive scrubbers, as these can strip away the seasoning. Warm water and a stiff brush or a chainmail scrubber are usually sufficient to remove food residue. For stubborn bits, you can deglaze with water while the pan is still warm. Always dry your cast iron skillet immediately and thoroughly after washing. A quick wipe with a paper towel and then placing it over low heat on the stovetop for a minute or two will ensure it’s completely dry. After drying, apply a very thin coat of cooking oil (like vegetable or canola) to the entire surface, wiping off any excess. This light re-oiling protects against rust and helps reinforce the seasoning with every use. Stored in a dry place, your cast iron will be ready for its next culinary adventure.
Conclusion: Embrace the Cast Iron Lifestyle
There’s something deeply satisfying about transforming a neglected, rusty cast iron skillet into a beautiful, functional cooking tool. It’s a testament to the timeless design and enduring quality of this iconic piece of cookware. My personal journey back to cast iron has been incredibly rewarding, opening up new culinary avenues and bringing a sense of heritage to my kitchen. I sincerely hope this detailed guide inspires you to dig out any cast iron pieces you might have languishing in your cupboards or even to invest in a new one. With just a little effort, you can season it up, embark on your own cast iron culinary journey, and discover the unparalleled joy of cooking with this magnificent, durable, and truly versatile pan. Happy cooking!
More Kitchen Tips & Culinary Inspiration
For more great advice and delicious ideas to enhance your kitchen skills, check out these helpful posts:
- Meal Planning Basics: Organize Your Kitchen & Save Time
- Cookie Baking Basics: Tips for Perfect Homemade Cookies Every Time
- Everything Spice Rub & 5 Essential Grilling Tips