
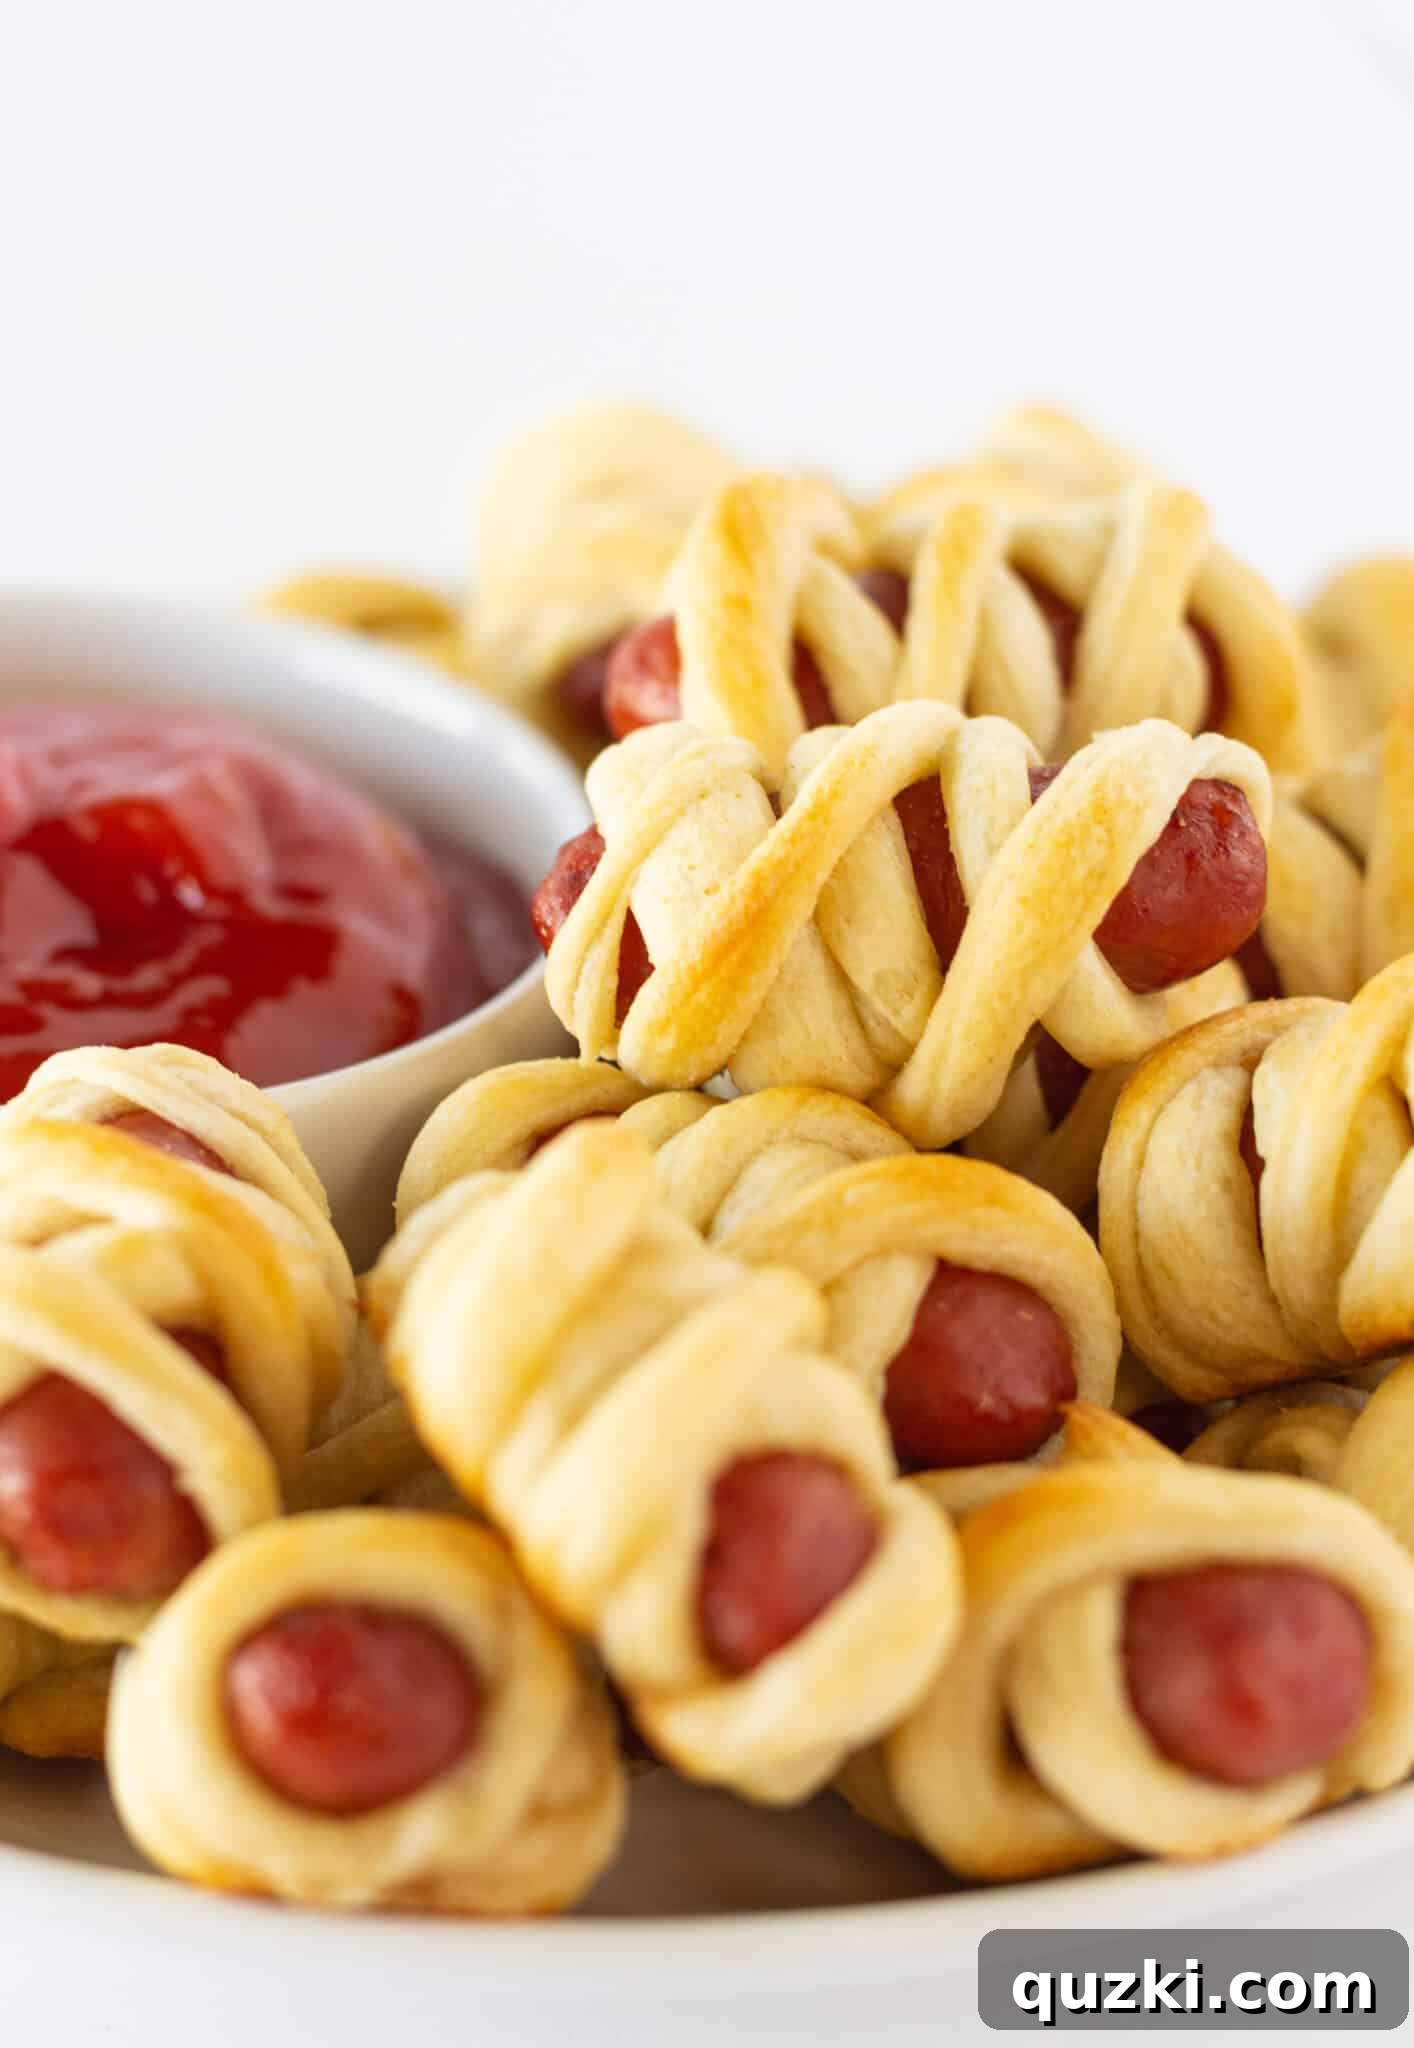
Halloween is a magical time, not just for costumes and candy, but also for creating unforgettable memories with festive food. When my children were young, preparing a fun Halloween dinner before we headed out for trick-or-treating became a cherished tradition. For several years, this dinner grew into a lively event, bringing together family and friends to share in the spooky spirit. Crafting dishes that perfectly captured the Halloween theme was always a joy, and while I experimented with many recipes, this Mini Mummy Hot Dog recipe consistently stole the show. It’s a remarkably simple yet incredibly popular treat, transforming humble little smokies and crescent dough into an adorable, delicious, and undeniably spooky appetizer that everyone, from toddlers to adults, adores.
Are you searching for more delightful Halloween treats? Be sure to explore this no-bake Halloween Brownie Bites recipe for another easy and festive option!
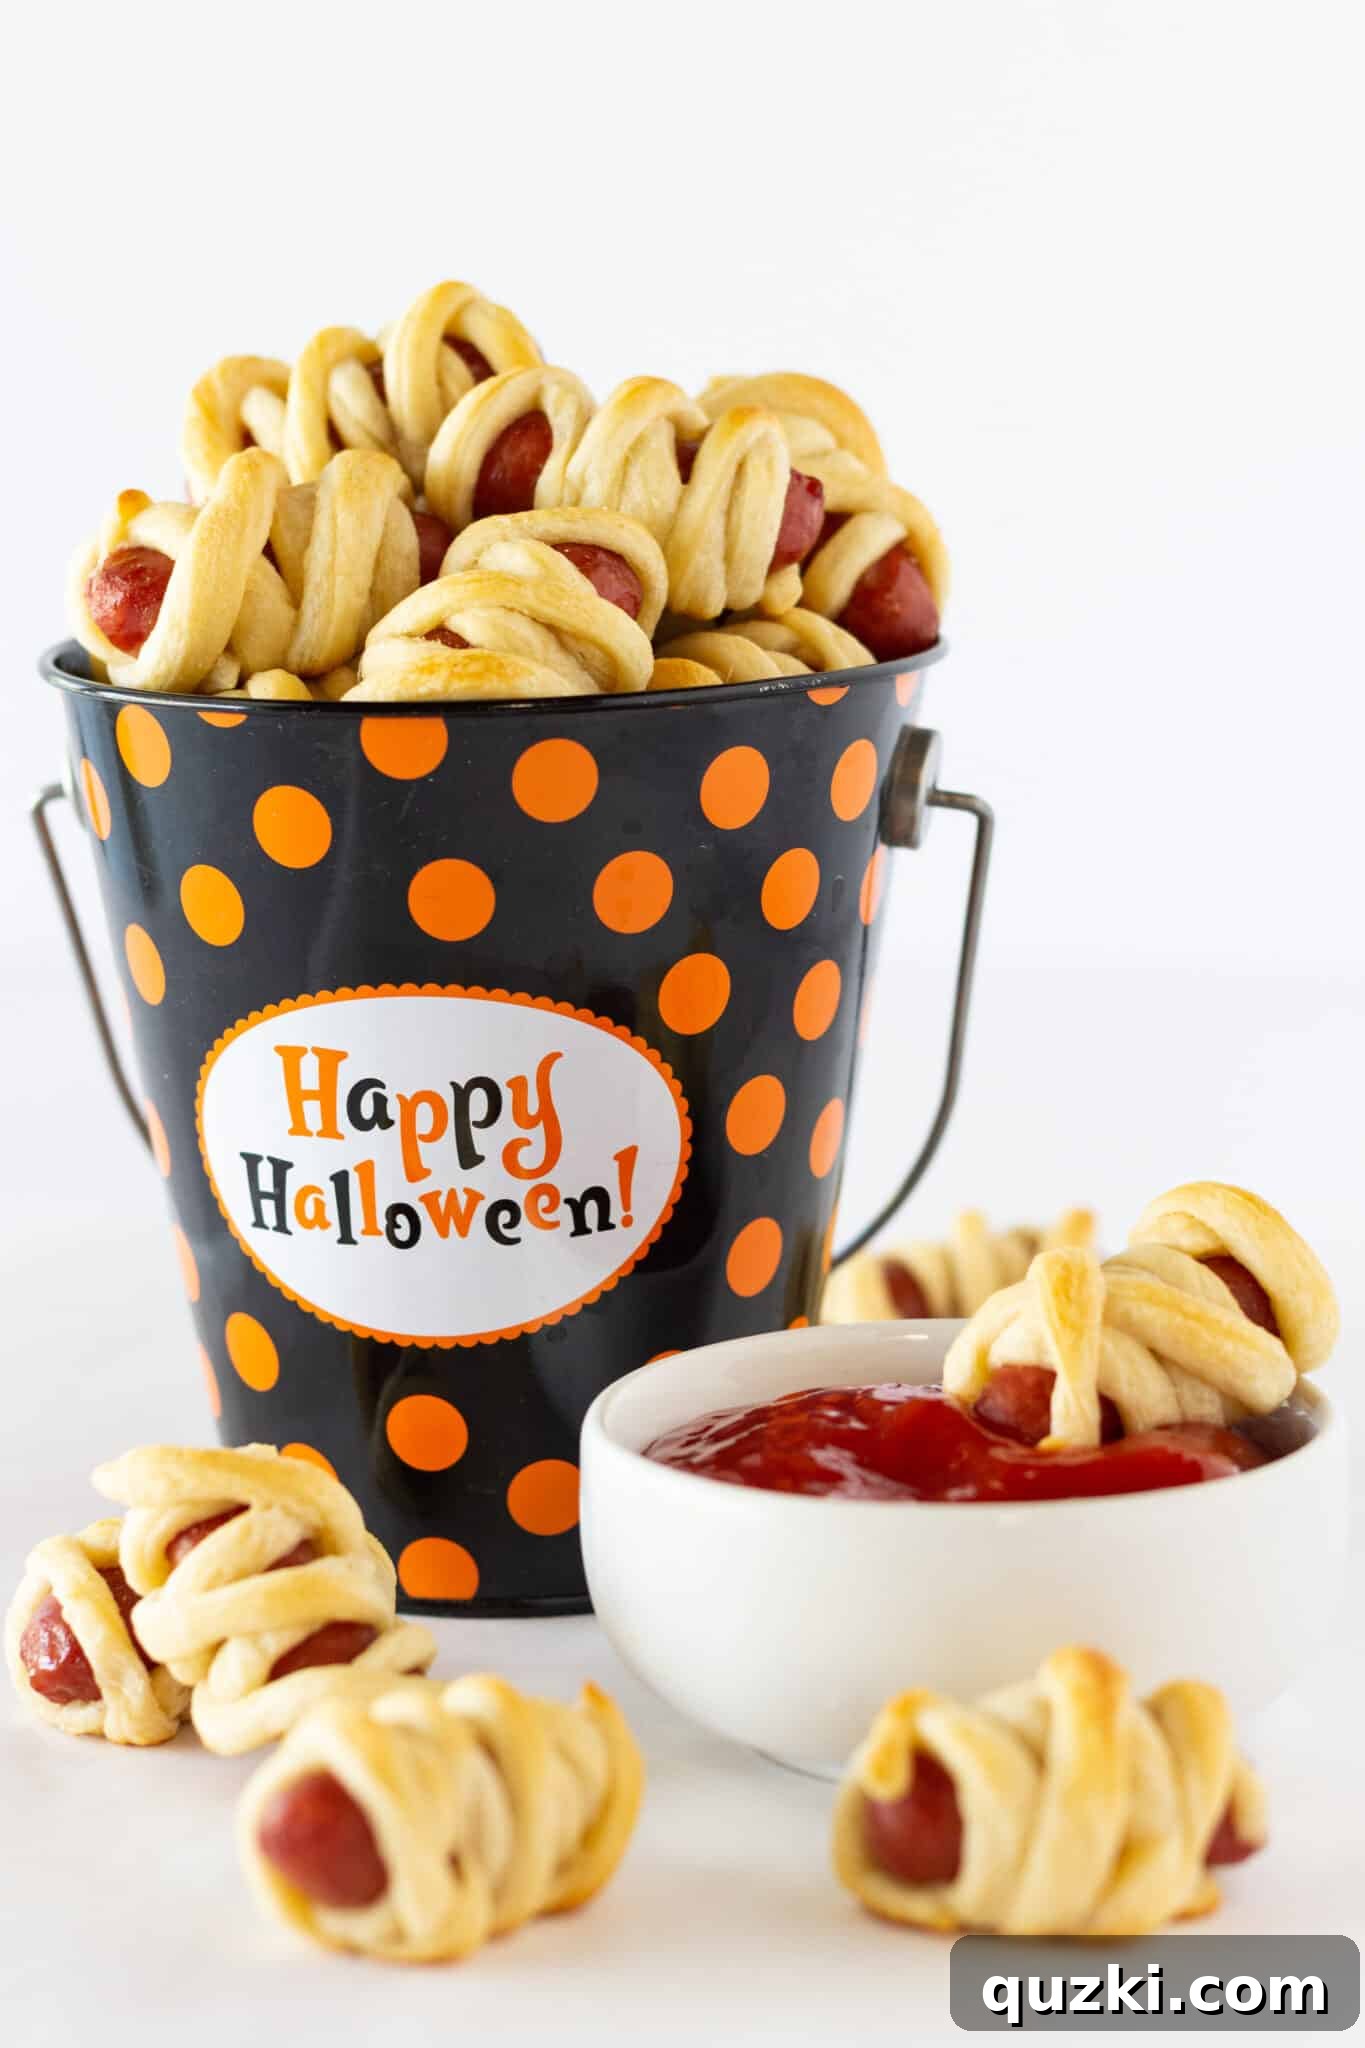
Spooky & Delicious Mini Mummy Hot Dogs: The Ultimate Easy Halloween Treat!
There’s something uniquely charming about Halloween food – it brings out the playful creativity in all of us. Among the myriad of spooky snacks, the Mini Mummy Hot Dog stands out as a timeless classic. It’s a delightful blend of simplicity and festive fun, guaranteed to be a hit at any Halloween gathering, whether it’s a casual family dinner or a bustling costume party. These mini marvels are not only incredibly easy to prepare but also offer that perfect balance of savory goodness wrapped in flaky, golden dough, making them irresistible to all ages. Their adorable “mummy” appearance makes them an instant conversation starter and a visual highlight on any Halloween spread.
Why These Mini Mummy Hot Dogs Are a Halloween Party Must-Have
If you’re looking for a crowd-pleasing Halloween appetizer that requires minimal effort but delivers maximum impact, look no further. Mini Mummy Hot Dogs check all the boxes for a stress-free and spectacular spooky season snack:
- Effortlessly Easy: With only two main ingredients and a straightforward wrapping process, even novice cooks can master this recipe.
- Kid-Friendly Fun: The simple steps make it an ideal recipe for getting children involved in the kitchen, fostering their creativity and excitement for Halloween.
- Universally Loved Flavor: The combination of savory mini sausages and buttery crescent dough is a classic comfort food pairing that appeals to everyone.
- Perfect for Parties: These bite-sized treats are excellent finger foods, making them ideal for Halloween parties, school events, or pre-trick-or-treating dinners.
- Customization Galore: From a variety of dipping sauces to different dough options and added fillings, these mummies are incredibly versatile.
- Make-Ahead Convenience: Prepare and bake them in advance, then simply reheat when your guests arrive, allowing you more time to enjoy the festivities.
These benefits solidify Mini Mummy Hot Dogs as an essential part of your Halloween culinary traditions, promising smiles, delicious bites, and a touch of spooky charm.
Gather Your Simple Ingredients for Spooktacular Mummies
The beauty of this recipe lies in its incredibly short ingredient list. You won’t need a trip to a specialty store or any complex items; everything required can be found at your local grocery store, simplifying your Halloween preparations considerably. This simplicity ensures that you can whip up a batch (or several!) of these festive treats without any fuss.
Essential Mummy Dog Ingredients:
- Little Smokie Sausages: These petite, flavorful sausages are the heart of our mini mummies. Their perfect bite-size makes them ideal for appetizers and ensures they cook quickly and evenly. Whether you prefer pork, beef, or chicken varieties, any brand of little smokies will work beautifully. Their inherent savory taste pairs wonderfully with the soft, flaky dough.
- Refrigerated Crescent Roll Dough: This is your magical “bandage” for the mummies. Known for its convenience and delicious buttery flavor, refrigerated crescent dough bakes up golden brown and wonderfully flaky. One standard 8-ounce can typically yields enough strips for a batch of mini mummies, providing ease and consistent results every time. Its versatility is truly unmatched in quick snack preparations.
And that’s it! Just these two humble ingredients are all you need to create a platter of adorable, edible mummies that will captivate and delight your Halloween guests.
Crafting Your Ghoulish Delights: A Step-by-Step Wrapping Guide
The fun truly begins when you transform the simple crescent dough and sausages into charming little mummies. This process is surprisingly easy and can even be a delightful activity to share with children, letting them get creative with their “bandaging” techniques. Follow these steps for perfectly wrapped mummy hot dogs:
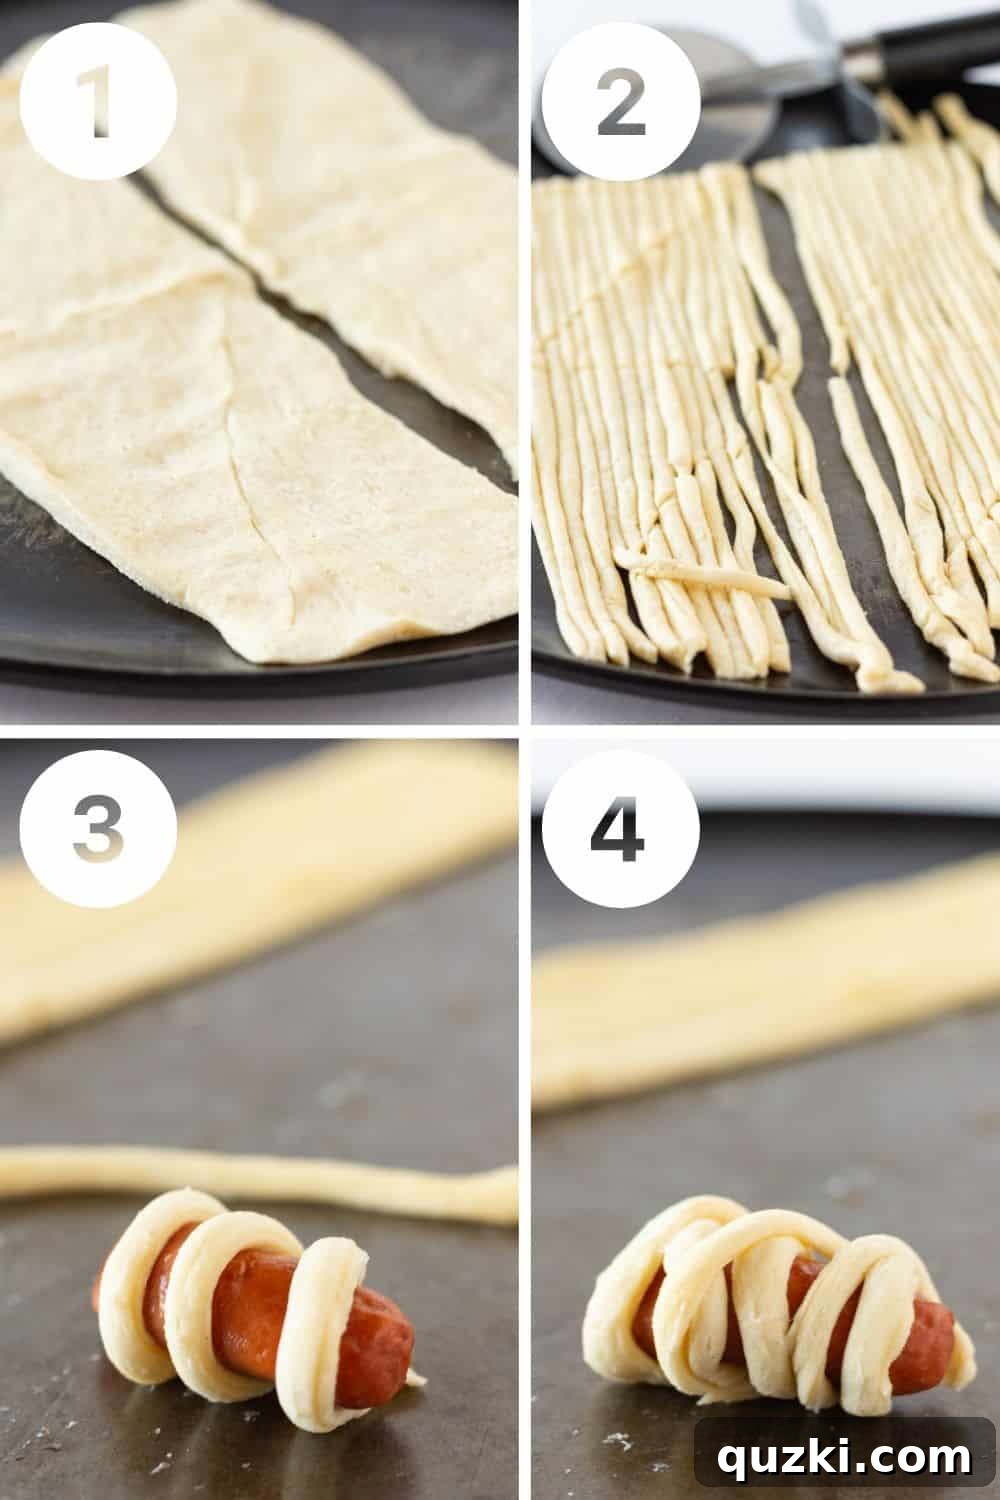
- Prepare Your Dough: Begin by carefully unrolling your can of refrigerated crescent roll dough onto a clean, flat surface, such as a large cutting board or a lightly floured countertop. Exercise caution to keep the dough in one piece as you unroll it. Once fully extended, use your fingertips to gently but firmly press together all of the perforated edges where the dough is typically separated into triangles. The goal is to create two solid, long rectangular sheets of dough from the entire package. This prevents the strips from breaking apart prematurely during wrapping.
- Cut the Strips: With your dough now in rectangular form, it’s time to create the “bandages.” Take a pizza cutter or a sharp knife and slice the dough into long, thin strips. Aim for a thickness of about 1/4 to 1/2 inch. You should be able to get approximately 15-16 strips from each rectangle, totaling 30-32 strips. Thinner strips will give your mummies a more detailed, bandage-like appearance, while slightly wider strips will offer more dough per bite.
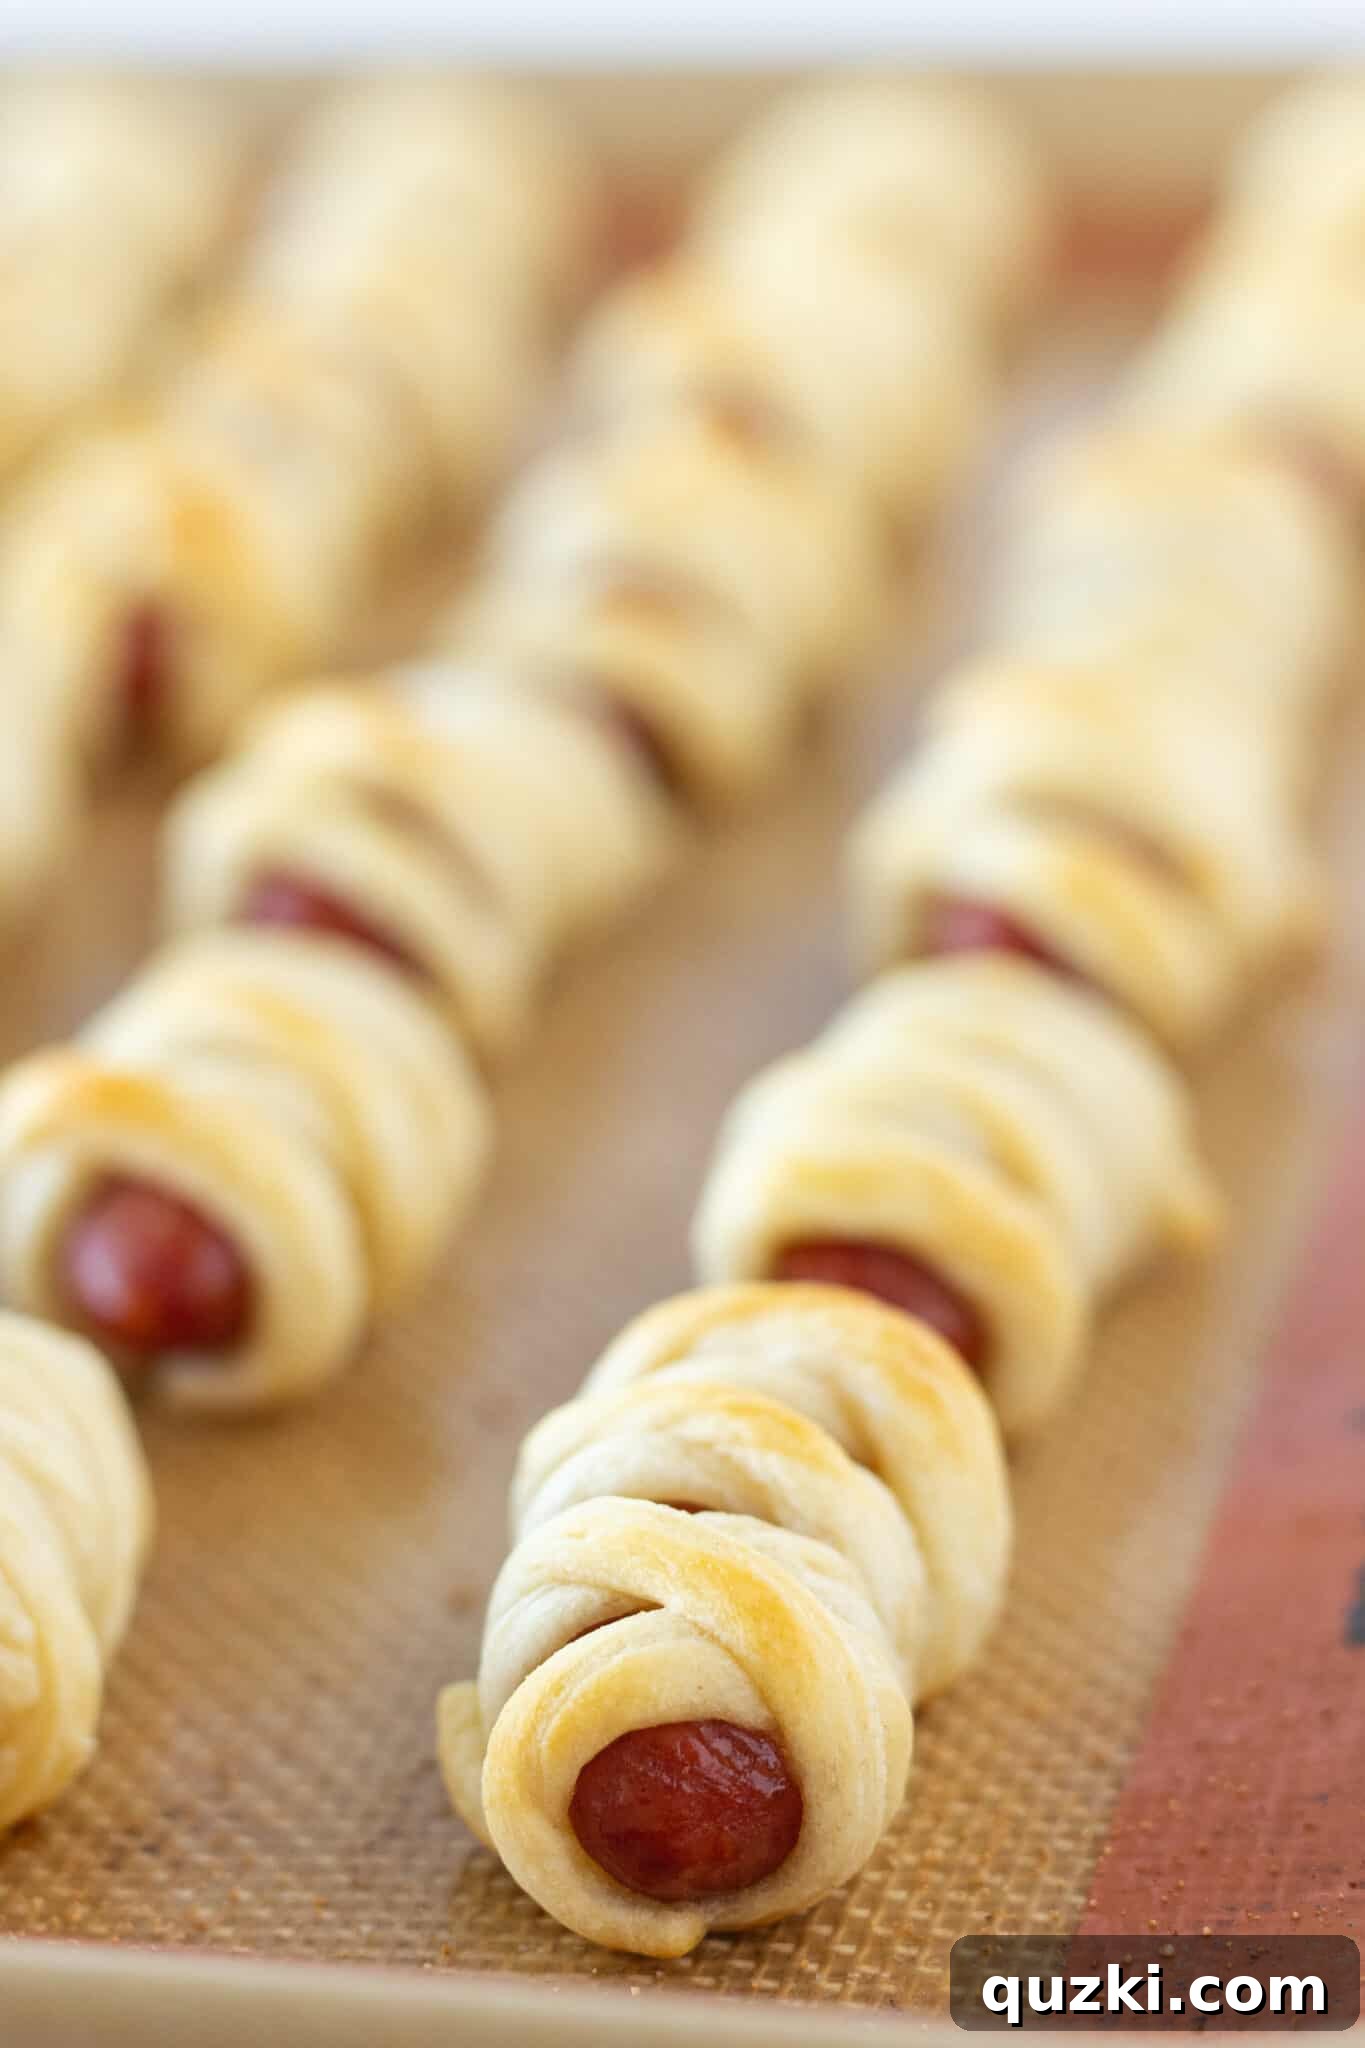
- First Wrap – The Foundation: Pick up one little smokie sausage. Take one of your dough strips and begin wrapping it around the sausage. Start at one end of the sausage and spirally wrap about half of the strip down its length, covering the sausage somewhat evenly. This initial layer provides a secure base for the mummy’s “bandages.”
- Second Wrap – Crisscross & Secure: Now, using the remaining half of the same dough strip (or a new one if your strips are very short), continue wrapping the sausage. This time, deliberately crisscross the dough as you go, mimicking the look of ancient mummy bandages. Don’t worry about perfection; uneven wraps add to the rustic, spooky charm. Make sure to leave a small gap at one end of the sausage to represent the mummy’s “face.” This space will be perfect for adding eyes later on. Ensure the ends of the dough are lightly pressed onto themselves to prevent unraveling during baking.
Continue this wrapping process until all of your little smokies have been transformed into mini mummies. As you work, you’ll see your spooky army grow, ready for the oven!
Baking & Serving Your Ghoulish Delights
Once your army of mini mummies is fully assembled, the final step is to bake them to golden-brown perfection. The aroma of freshly baked crescent dough will fill your kitchen, signaling that a delicious Halloween treat is on its way!
Baking Instructions:
- Prepare for Baking: Carefully arrange your wrapped mini mummy hot dogs onto a cookie sheet. For optimal baking and hassle-free cleanup, it’s highly recommended to line your baking sheet with a silicone baking mat or parchment paper. Ensure that each mummy has adequate space, leaving about 1/2 to 1 inch between them. This spacing allows the crescent dough to expand and crisp up properly without sticking to its neighbors.
- Preheat and Bake: Preheat your oven to 375°F (190°C). Once hot, place the baking sheet in the oven and bake for approximately 10-13 minutes. Baking times can vary slightly depending on your specific oven, so keep a watchful eye. The mummies are perfectly cooked when the crescent dough achieves a beautiful, golden-brown hue and appears flaky and puffed.
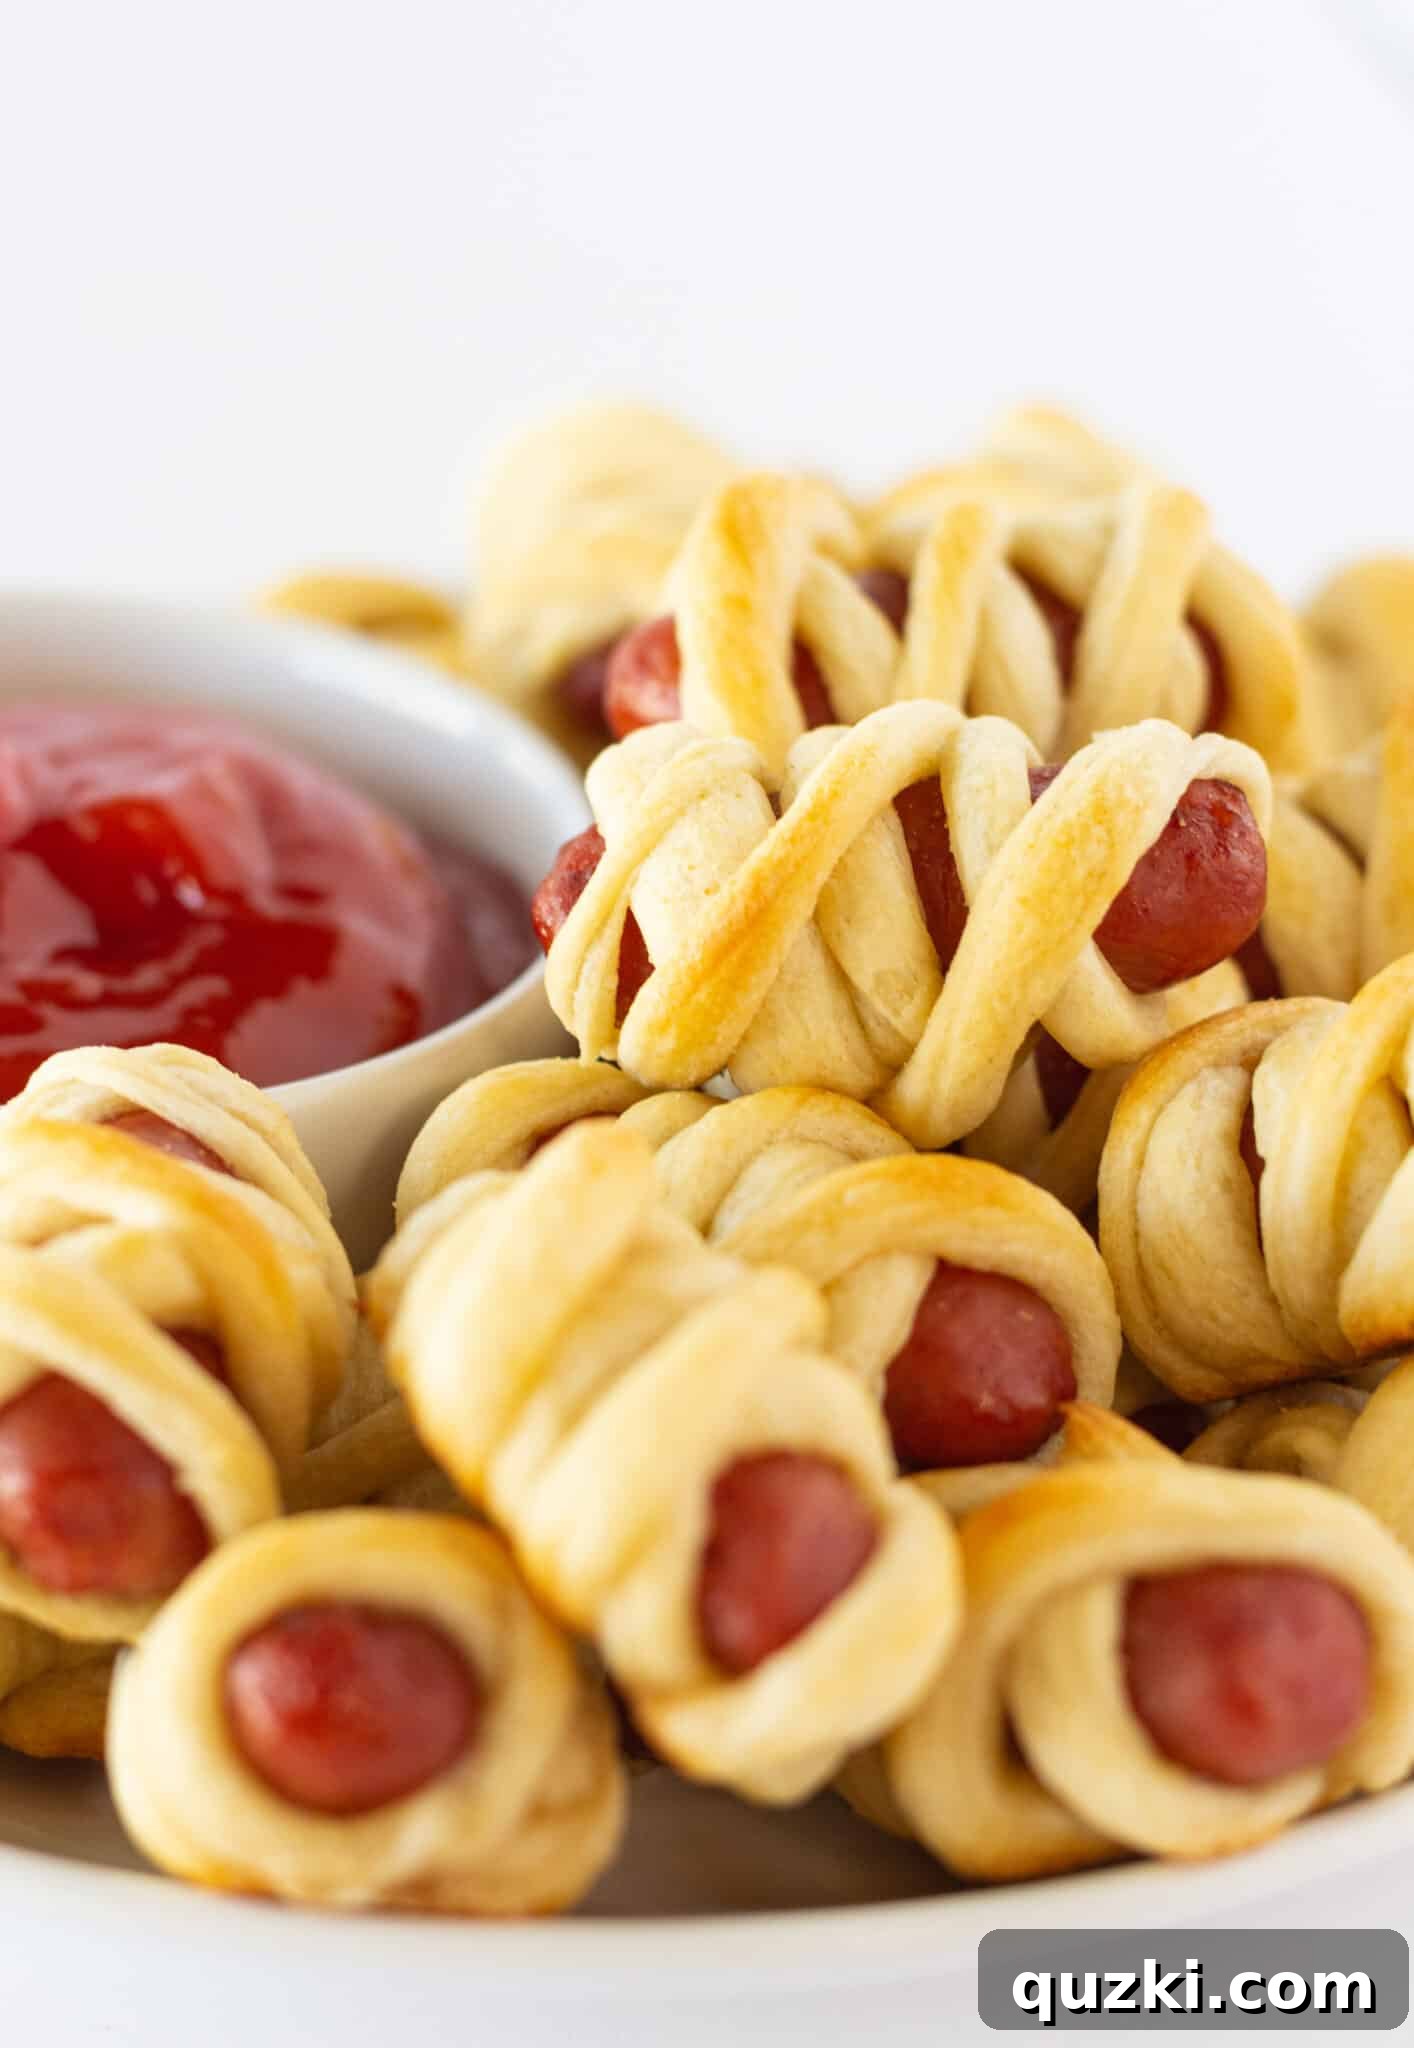
- Cool and Serve: As soon as the mummies are golden and bubbly, remove the baking sheet from the oven. Allow them to cool on the tray for a few minutes before transferring them to a serving platter. These Mini Mummy Hot Dogs are best enjoyed warm, fresh from the oven, when their outer layer is wonderfully crisp and the sausage inside is perfectly heated.
Creative Dipping Sauces for Your Mini Mummy Hot Dogs
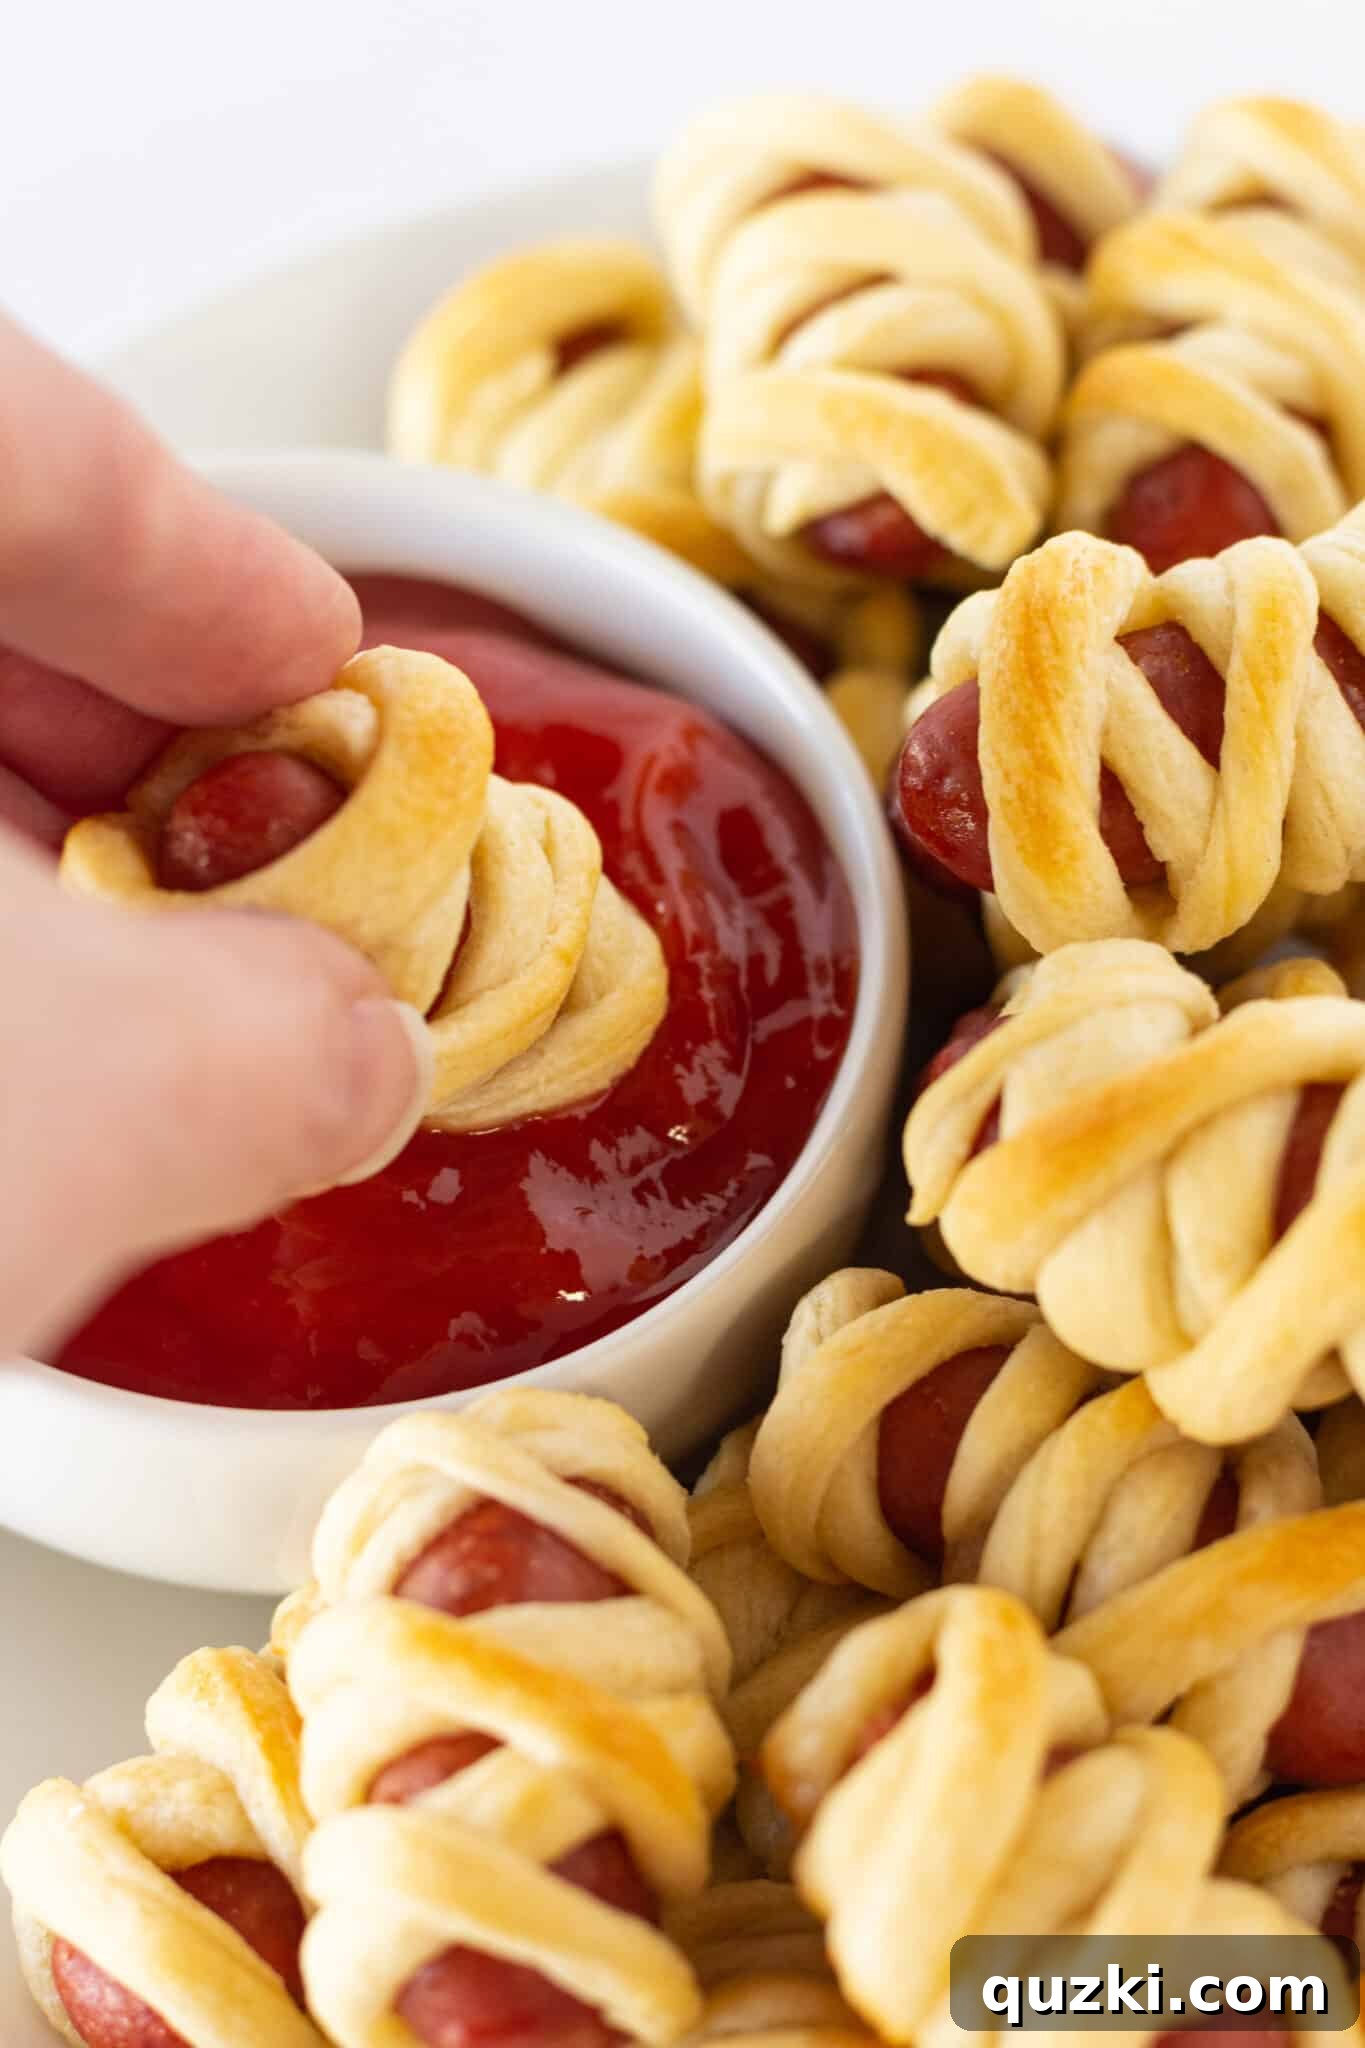
While delicious straight from the oven, Mini Mummy Hot Dogs are elevated to another level with the right dipping sauces. This is your chance to get creative and offer a variety of flavors, adding an interactive and fun element to your Halloween spread. Think about spooky names for your dips to enhance the theme!
- “Blood” Ketchup: The quintessential choice! Ketchup’s vibrant red color makes it the perfect “blood” for your mummies, especially for younger guests. A simple yet effective thematic addition.
- Monster Mustard: Classic yellow mustard is a no-brainer for hot dogs. You can also offer Dijon or honey mustard for varied flavor profiles, perhaps labeling them “Ghoul’s Gold” or “Frankenstein’s Favorite.”
- Ranch Dressing: Creamy, cool, and tangy, ranch dressing is a universal favorite that beautifully complements the savory hot dogs and flaky dough. It can be playfully renamed “Ghostly Goo.”
- Tangy BBQ Sauce: A sweet and smoky barbecue sauce adds a robust, hearty flavor that pairs wonderfully with the little smokies. Offer a range from mild to spicy to suit all tastes.
- Nacho Cheese Dip: For a decadent and comforting option, a warm, gooey nacho cheese dip is absolutely irresistible. Serve it warm in a small slow cooker or fondue pot to keep it perfectly dippable.
- Thousand Island Dressing: This creamy, slightly sweet, and tangy dressing provides a unique and delicious alternative, reminiscent of a classic deli favorite.
- Spooky Green Dips: Consider vibrant green options like guacamole (christened “Swamp Slime”) or even a creamy avocado ranch for a truly ghoulish presentation.
Presentation Tip: Arrange several small bowls of different dipping sauces around your platter of mummies. For extra flair, use a food-safe marker to draw small eyes on the “face” part of each mummy after they’ve cooled slightly, or use edible googly eyes secured with a tiny dab of cream cheese or mustard. This simple touch adds immense cuteness and personality!
Storing & Making Ahead: Your Party Planning Secret Weapon
The convenience of Mini Mummy Hot Dogs extends beyond their simple preparation. They are excellent candidates for making ahead, which is a huge advantage when planning for busy Halloween festivities. This flexibility means less last-minute stress and more time to enjoy the celebration.
- Storing Leftovers: Should you have any of these delightful mummies remaining (a rare occurrence!), ensure they are completely cooled to room temperature. Then, transfer them to an airtight container and store them in the refrigerator. They will maintain their freshness and deliciousness for up to 3 days.
- Effortless Reheating: One of the best features of this recipe is how well the mummies reheat, allowing you to enjoy them days after they were first baked.
- Oven Reheating (Recommended): For optimal texture, preheat your oven to 300°F (150°C). Place the mummies on a baking sheet and heat for about 5-10 minutes, or until they are warmed through and the dough becomes slightly crispy again. This method helps restore their freshly baked quality.
- Microwave Reheating (Quick Option): If time is of the essence, you can reheat them in the microwave for 30-60 seconds. Be aware that microwaving may result in a softer dough texture, but they will still be tasty.
- Make-Ahead Party Strategy: For stress-free hosting, consider baking a large batch of Mini Mummy Hot Dogs a day before your Halloween event. Allow them to cool fully, store them correctly in the refrigerator, and then simply reheat them in the oven just before your guests arrive. This ensures you can serve hot, fresh, and perfectly spooky snacks without being tied to the kitchen during the party.
Recipe Change-Up Ideas & Delicious Variations
While the classic Mini Mummy Hot Dog recipe is undeniably a winning combination, its simple structure lends itself beautifully to various creative adaptations. Don’t hesitate to experiment with these ideas to tailor the recipe to your preferences, dietary needs, or to simply add more variety to your Halloween spread.
- Bigger, Bolder Mummies: If you’re looking for a more substantial snack or want to cater to a larger appetite, swap the little smokies for standard-sized hot dogs. For this variation, you’ll likely need an additional package of crescent dough to ensure you have enough strips for adequate wrapping. The baking time will also need a slight adjustment, typically 12-14 minutes at 375°F (190°C), or until the dough is uniformly golden brown.
- Alternative Dough Wraps:
- Pizza Dough: For a chewier, bread-like mummy, use pre-made pizza dough. Roll it out very thinly before cutting into strips to avoid an overly thick crust. Pizza dough will likely require a slightly longer baking time than crescent rolls, so monitor for doneness.
- Puff Pastry: For an elegant, extra-flaky, and buttery mummy, puff pastry is an excellent choice. Thaw it according to package instructions, then roll and cut into strips. Puff pastry mummies will be wonderfully light and crisp, offering a gourmet twist.
- Cheesy Mummies: Elevate your mummies with a gooey center! Before wrapping the hot dogs with crescent dough, wrap a thin strip of cheddar, mozzarella, or your favorite cheese around each sausage. The cheese will melt beautifully during baking, creating an irresistible treat.
- Spicy Kick: For adult guests or those who enjoy a bit of heat, infuse your mummies with some spice. You can opt for spicy little smokies or lightly sprinkle a tiny pinch of red pepper flakes or a dash of cayenne pepper onto the dough strips before wrapping.
- Vegetarian & Vegan Options: This recipe is easily adaptable for vegetarian and vegan diets. Simply substitute the little smokies with plant-based sausages or veggie hot dogs. For a vegan version, ensure your crescent roll dough is certified vegan, as some brands contain dairy.
Feel free to mix and match these variations to discover new favorites and make your Halloween spread truly unique!
More Spooktacular Halloween Treat Ideas
If you’ve enjoyed the fun and festive spirit of creating these Mini Mummy Hot Dogs, you’re undoubtedly in the mood for more Halloween culinary adventures! Here are some other fantastic, easy-to-make recipes that will perfectly complement your spooky feast and delight all your guests:
- Easy Candy Corn Sugar Cookie Bites
- Spooky Brownie Bites
- Dirt Cup Cookie Bites
- Candy Corn Bundt Cake
- Halloween Brownie Bites
- Halloween Candy No Bake Cheesecake
Mini Mummy Hot Dog Bites Recipe
By: June Albertson-Dick
Little smokies and refrigerated crescent dough are combined in a fun and unique way to create the cutest Mini Mummy Hot Dog Bites that are perfect for Halloween.
Prep Time: 15 minutes
Cook Time: 10-13 minutes
Total Time: 25-28 minutes
Yields: 8 servings (approximately 4 mummies per serving)
Ingredients
- 32 small hot dogs/sausages (e.g., Little Smokies)
- 1 can refrigerated crescent roll dough (8 oz or similar)
Instructions
- Preheat your oven to 375°F (190°C). Line a baking sheet with a silicone mat or parchment paper.
- Open the can of refrigerated crescent rolls. Unroll the dough carefully and firmly press all perforated edges together to create two long, solid rectangles of dough.
- Using a pizza cutter or a sharp knife, cut 15-16 thin strips from each rectangle, aiming for a total of 30-32 strips.
- Take one little smokie sausage. Wrap about half of a dough strip around it, starting at one end and spiraling to the other. Then, continue wrapping with the remaining half of the strip (or a new one if needed), crisscrossing the dough to create a mummy-like appearance. Leave a small opening at one end for the “face.”
- Place the wrapped mummies onto your prepared baking sheet, ensuring about 1/2 to 1 inch of space between each mummy to allow for even baking and expansion.
- Bake for 10-13 minutes, or until the crescent dough is golden brown and cooked through.
- Remove from the oven and let cool for a few minutes before serving warm with your favorite dips. A great Halloween dip is Barbecue Ranch (combine 1/2 cup prepared ranch dressing with 1/4 cup of your favorite barbecue sauce).
- Leftovers can be stored in an airtight container in the refrigerator for up to 3 days and reheated in the oven or microwave.
Notes
- For Bigger Mummy Dogs: Use standard-sized hot dogs and 2 cans of crescent dough. Bake in a 375°F (190°C) oven for 12-14 minutes, or until the dough is golden brown.
- Adding Cheese: For a cheesy twist, wrap a thin strip of cheese (like cheddar or mozzarella) around the hot dog before wrapping it with crescent dough.
- Make Ahead: These mummies can be baked a day in advance and reheated in the oven for parties.
Nutrition (Approximate per 4 mummies)
Serving Size: 4 mummies
Calories: 207 kcal
Carbohydrates: 12g
Protein: 5g
Fat: 16g
Saturated Fat: 6g
Polyunsaturated Fat: 3g
Monounsaturated Fat: 6g
Cholesterol: 23mg
Sodium: 590mg
Potassium: 62mg
Sugar: 3g
Calcium: 4mg
Iron: 1mg
Nutrition information is automatically calculated and should only be used as an approximation. It may vary based on specific brands and exact preparation.
We truly hope you enjoy making and sharing these delightful Mini Mummy Hot Dogs as much as we do. They are more than just a snack; they are a timeless Halloween classic that brings smiles, laughter, and a touch of spooky fun to any gathering. Their ease of preparation combined with their irresistible appeal makes them a perfect addition to your holiday traditions. Happy Halloween and happy cooking!
Engage with Us!
Did you try this frightfully fun recipe? We’d absolutely love to hear about your experience! Share your thoughts, any creative dipping sauce ideas, or tips you discovered in the comments below. Your feedback and personal touches not only inspire us but also help other home cooks create their own memorable Halloween moments.