

If there’s one cookie that reigns supreme in our household, it’s undoubtedly the Golden Oreo. From delightful cheesecakes to decadent truffles, these golden-hued sandwich cookies disappear almost as quickly as they’re unwrapped. Their sweet vanilla flavor is simply irresistible, making them the ultimate base for an array of desserts.
So, it should come as no surprise that when I whipped up a batch of these **Golden Oreo Cookies and Cream Whoopie Pies**, they vanished in mere minutes! These aren’t just any whoopie pies; they’re a celebration of that beloved Golden Oreo flavor, reimagined into a soft, cake-like sandwich cookie generously filled with a luscious cream cheese frosting bursting with crushed Golden Oreos. Get ready to indulge in this unbelievably easy and incredibly delicious recipe that’s guaranteed to become a family favorite.

My Golden Oreo Journey: From Skeptic to Superfan
It’s funny how life introduces you to new culinary delights. Before I met my husband, Darb, my loyalty lay firmly with the classic, original Oreo. Its iconic chocolate wafers and sweet cream filling were my go-to, and I rarely strayed from tradition.
Darb, however, was a staunch advocate for the Golden Oreo, often packing them in his lunch every single day. His unwavering dedication eventually piqued my curiosity. It wasn’t long before I succumbed to the allure of those vanilla-flavored cookies. One bite was all it took – I was converted! While I still appreciate an original Oreo now and then, if given a choice, I’d reach for a Golden Oreo any day of the week. Their subtle sweetness and distinct vanilla notes are simply unbeatable, and they truly shine in this whoopie pie recipe.

What Exactly is a Whoopie Pie?
For those unfamiliar, a whoopie pie is a delightful dessert that blurs the line between a cookie and a cake. Originating in New England, these treats consist of two soft, cake-like cookies sandwiched together with a creamy, usually marshmallow-based or buttercream, filling. Unlike traditional cookies that are crisp or chewy, whoopie pies boast a tender, fluffy, and slightly dense texture, much like a miniature cake. Their unique consistency makes them incredibly satisfying and a perfect canvas for a variety of flavors. In this recipe, we’re harnessing the convenience of a cake mix to achieve that quintessential soft whoopie pie texture with minimal effort.
Crafting the Perfect Cake Mix Whoopie Pie Cookies
Using a cake mix as the foundation for whoopie pie cookies is a brilliant shortcut that doesn’t compromise on flavor or texture. In fact, it’s an ideal option because a truly great whoopie pie should possess a soft, cake-like crumb. The cake mix provides an excellent base, ensuring your cookies are consistently moist and tender, perfectly complementing the rich filling.
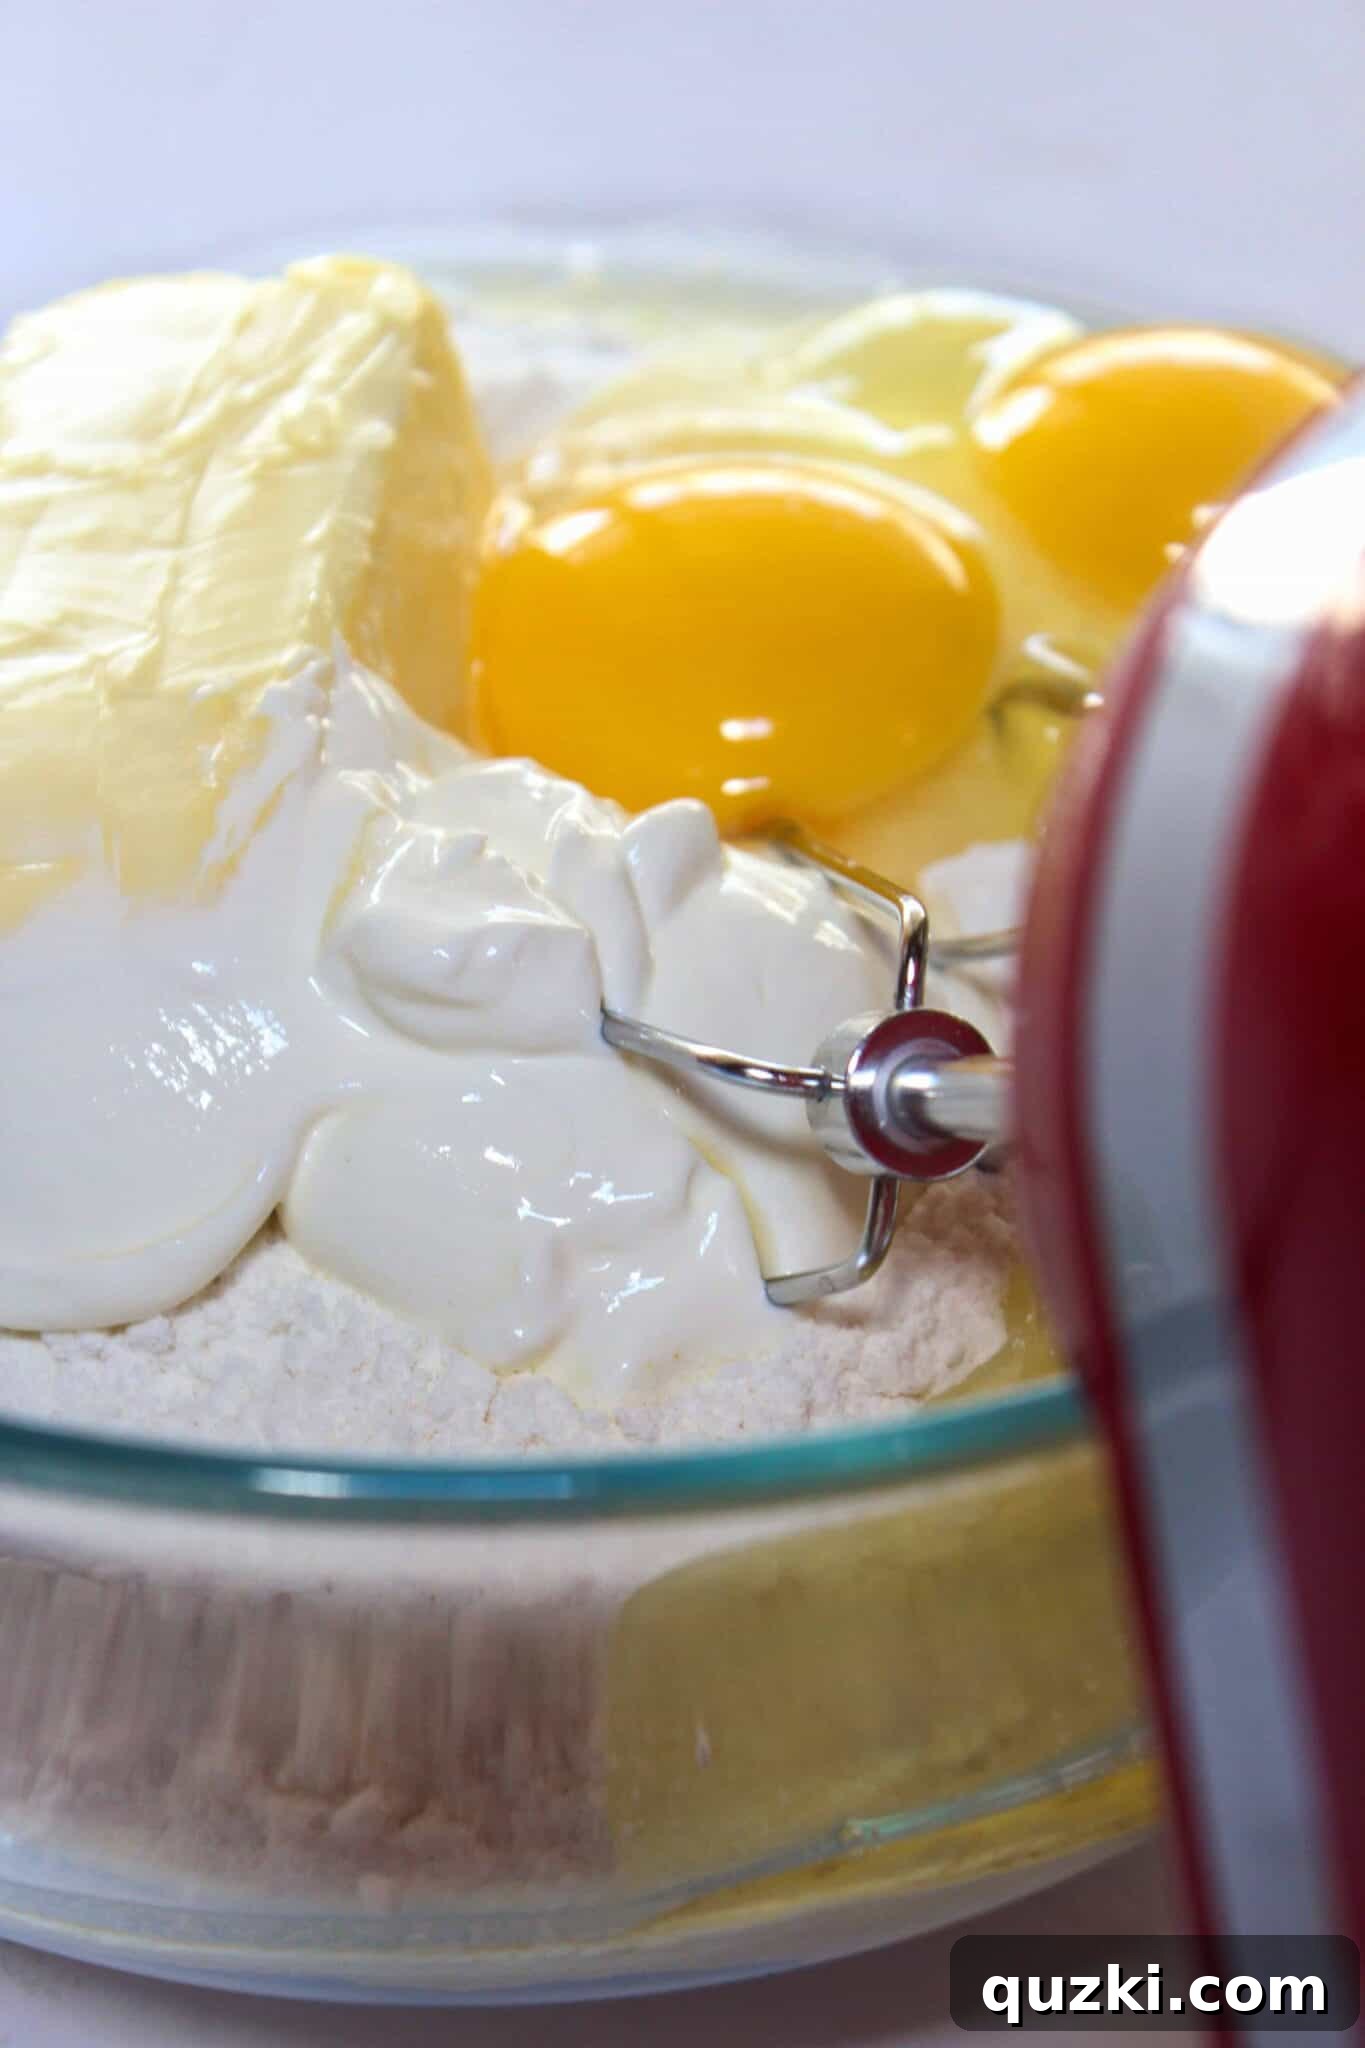
Our cookie dough comes together quickly with just a few key ingredients: yellow butter cake mix (or a plain yellow cake mix works just as well), all-purpose flour, softened butter, sour cream, and eggs. The addition of softened butter, rather than melted butter or oil, is crucial for achieving a thicker, more stable dough. The extra flour also plays a vital role in thickening the batter, which is exactly what we want for whoopie pie cookies that hold their shape and bake up beautifully cakey. The sour cream adds an incredible moisture and tenderness, elevating the cake mix to a bakery-quality cookie.
Combine these simple ingredients in a bowl. You can use a handheld mixer for ease, or mix by hand if you prefer. Mix until just combined, being careful not to overmix. A few small bits of butter remaining in the dough are perfectly fine; they will melt and contribute to the cookie’s tender texture during baking.
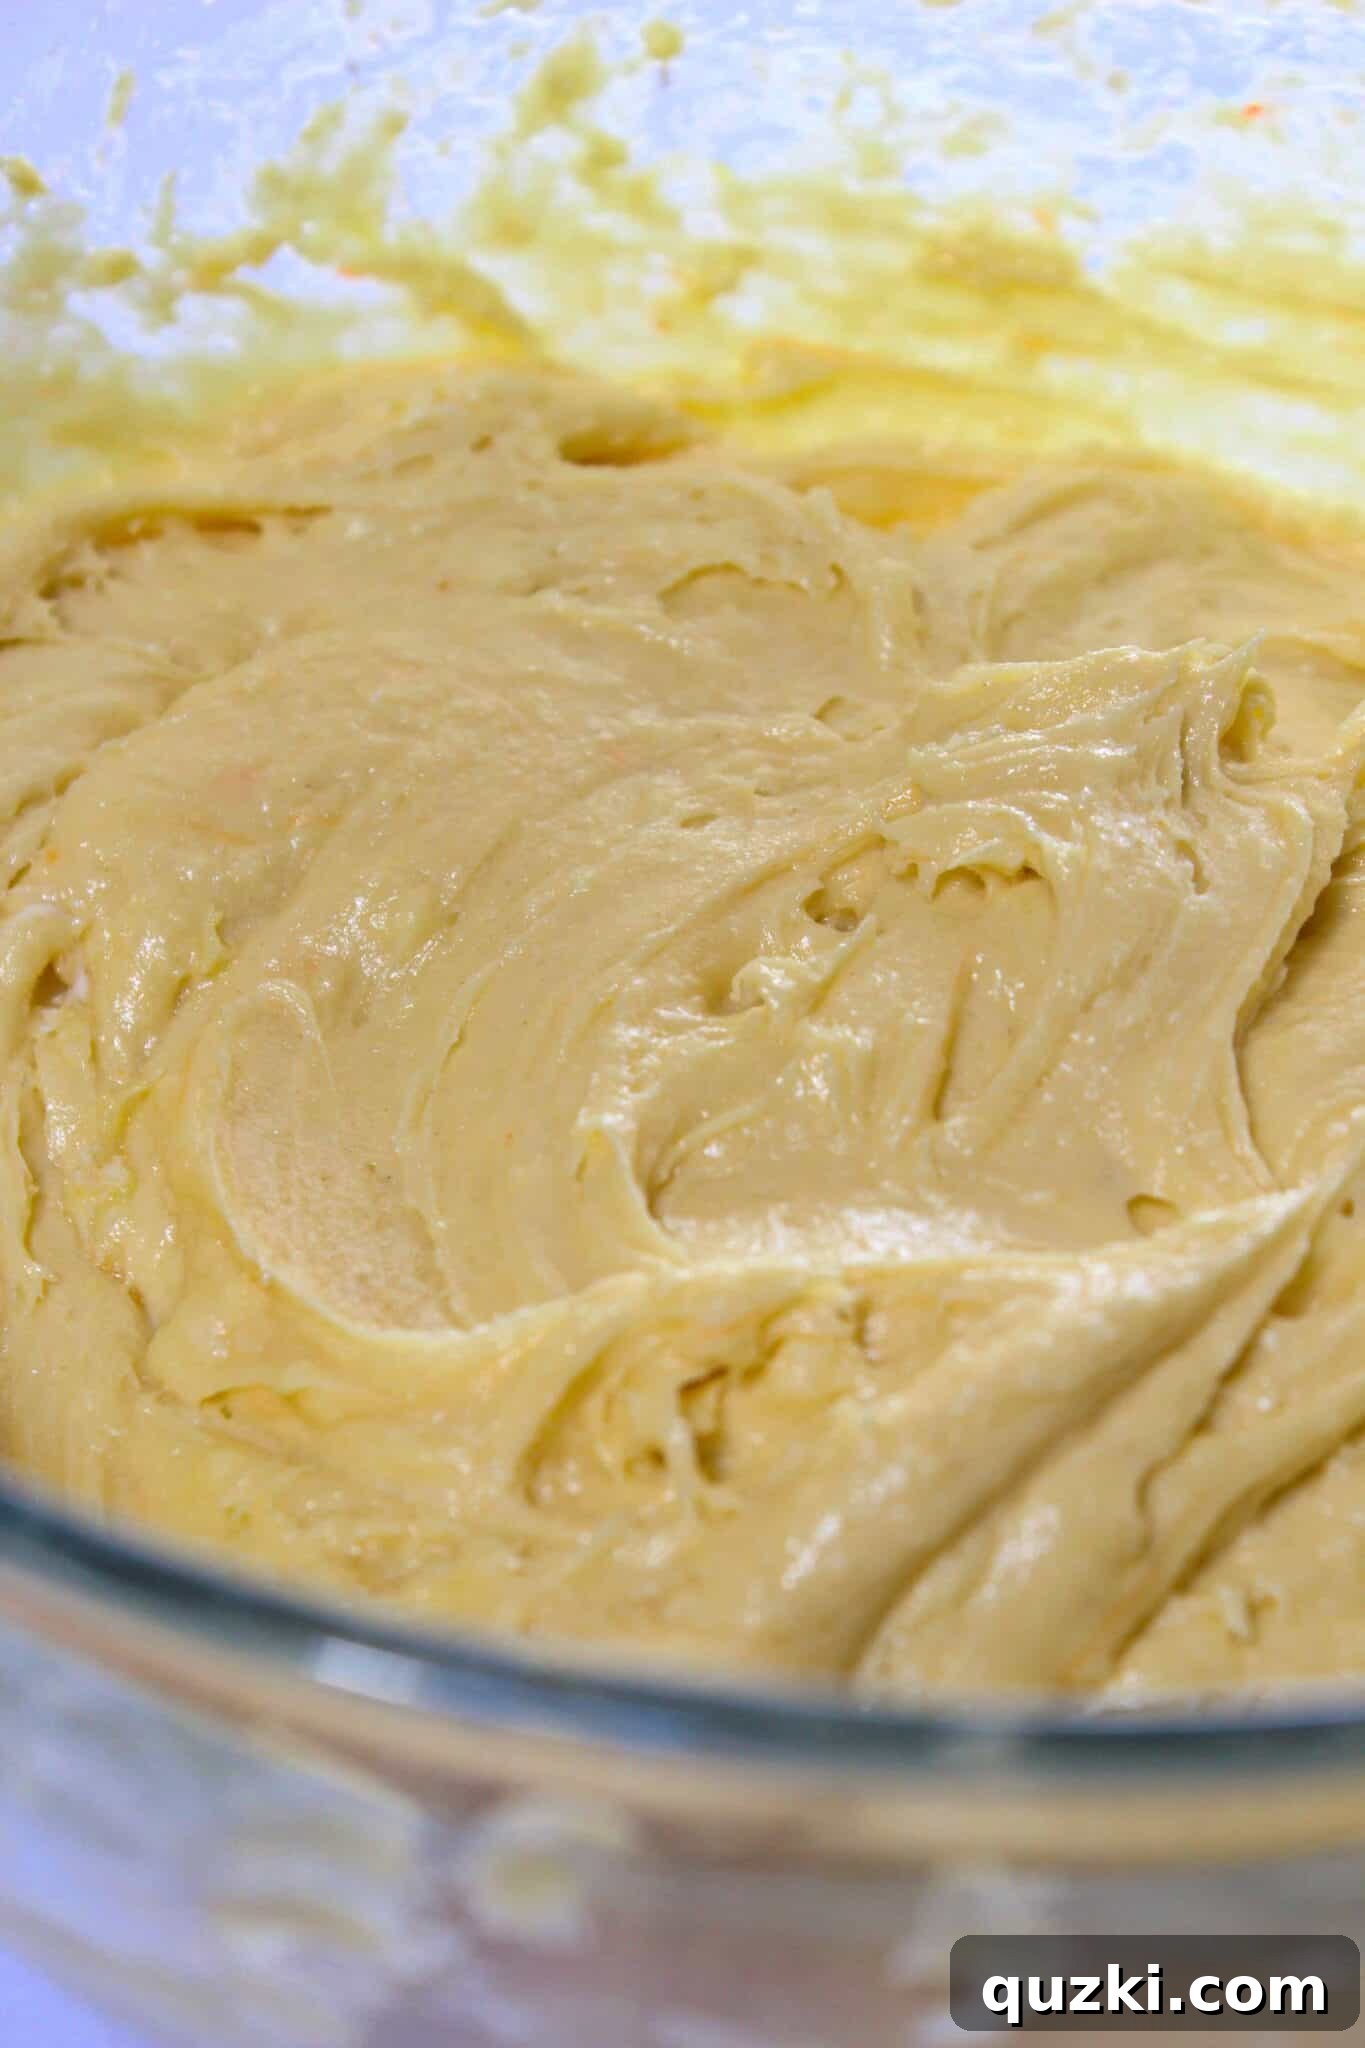
Once mixed, the consistency of the cookie dough will be noticeably thick and sticky. Don’t be alarmed; this is precisely how it should be! This thick consistency is what helps create those wonderfully puffy, cake-like cookie domes that are characteristic of whoopie pies.
To further ensure your cookies maintain their thick, cakey form and to make the sticky dough easier to handle, refrigeration is key. While you could chill the entire bowl of dough, I find it more efficient to scoop the dough beforehand. This way, the individual cookie mounds chill faster and are ready to bake without additional handling. Using a small cookie scoop, drop uniform mounds of dough onto a baking sheet lined with parchment paper or wax paper. This ensures consistent cookie size, which is essential for pairing them into perfect sandwiches.
A small cookie scoop should yield approximately 48 cookie mounds, meaning you’ll get 24 finished whoopie pie sandwiches. If you prefer larger whoopie pies, a medium scoop will give you about half that amount, resulting in 12 substantial whoopie pies.
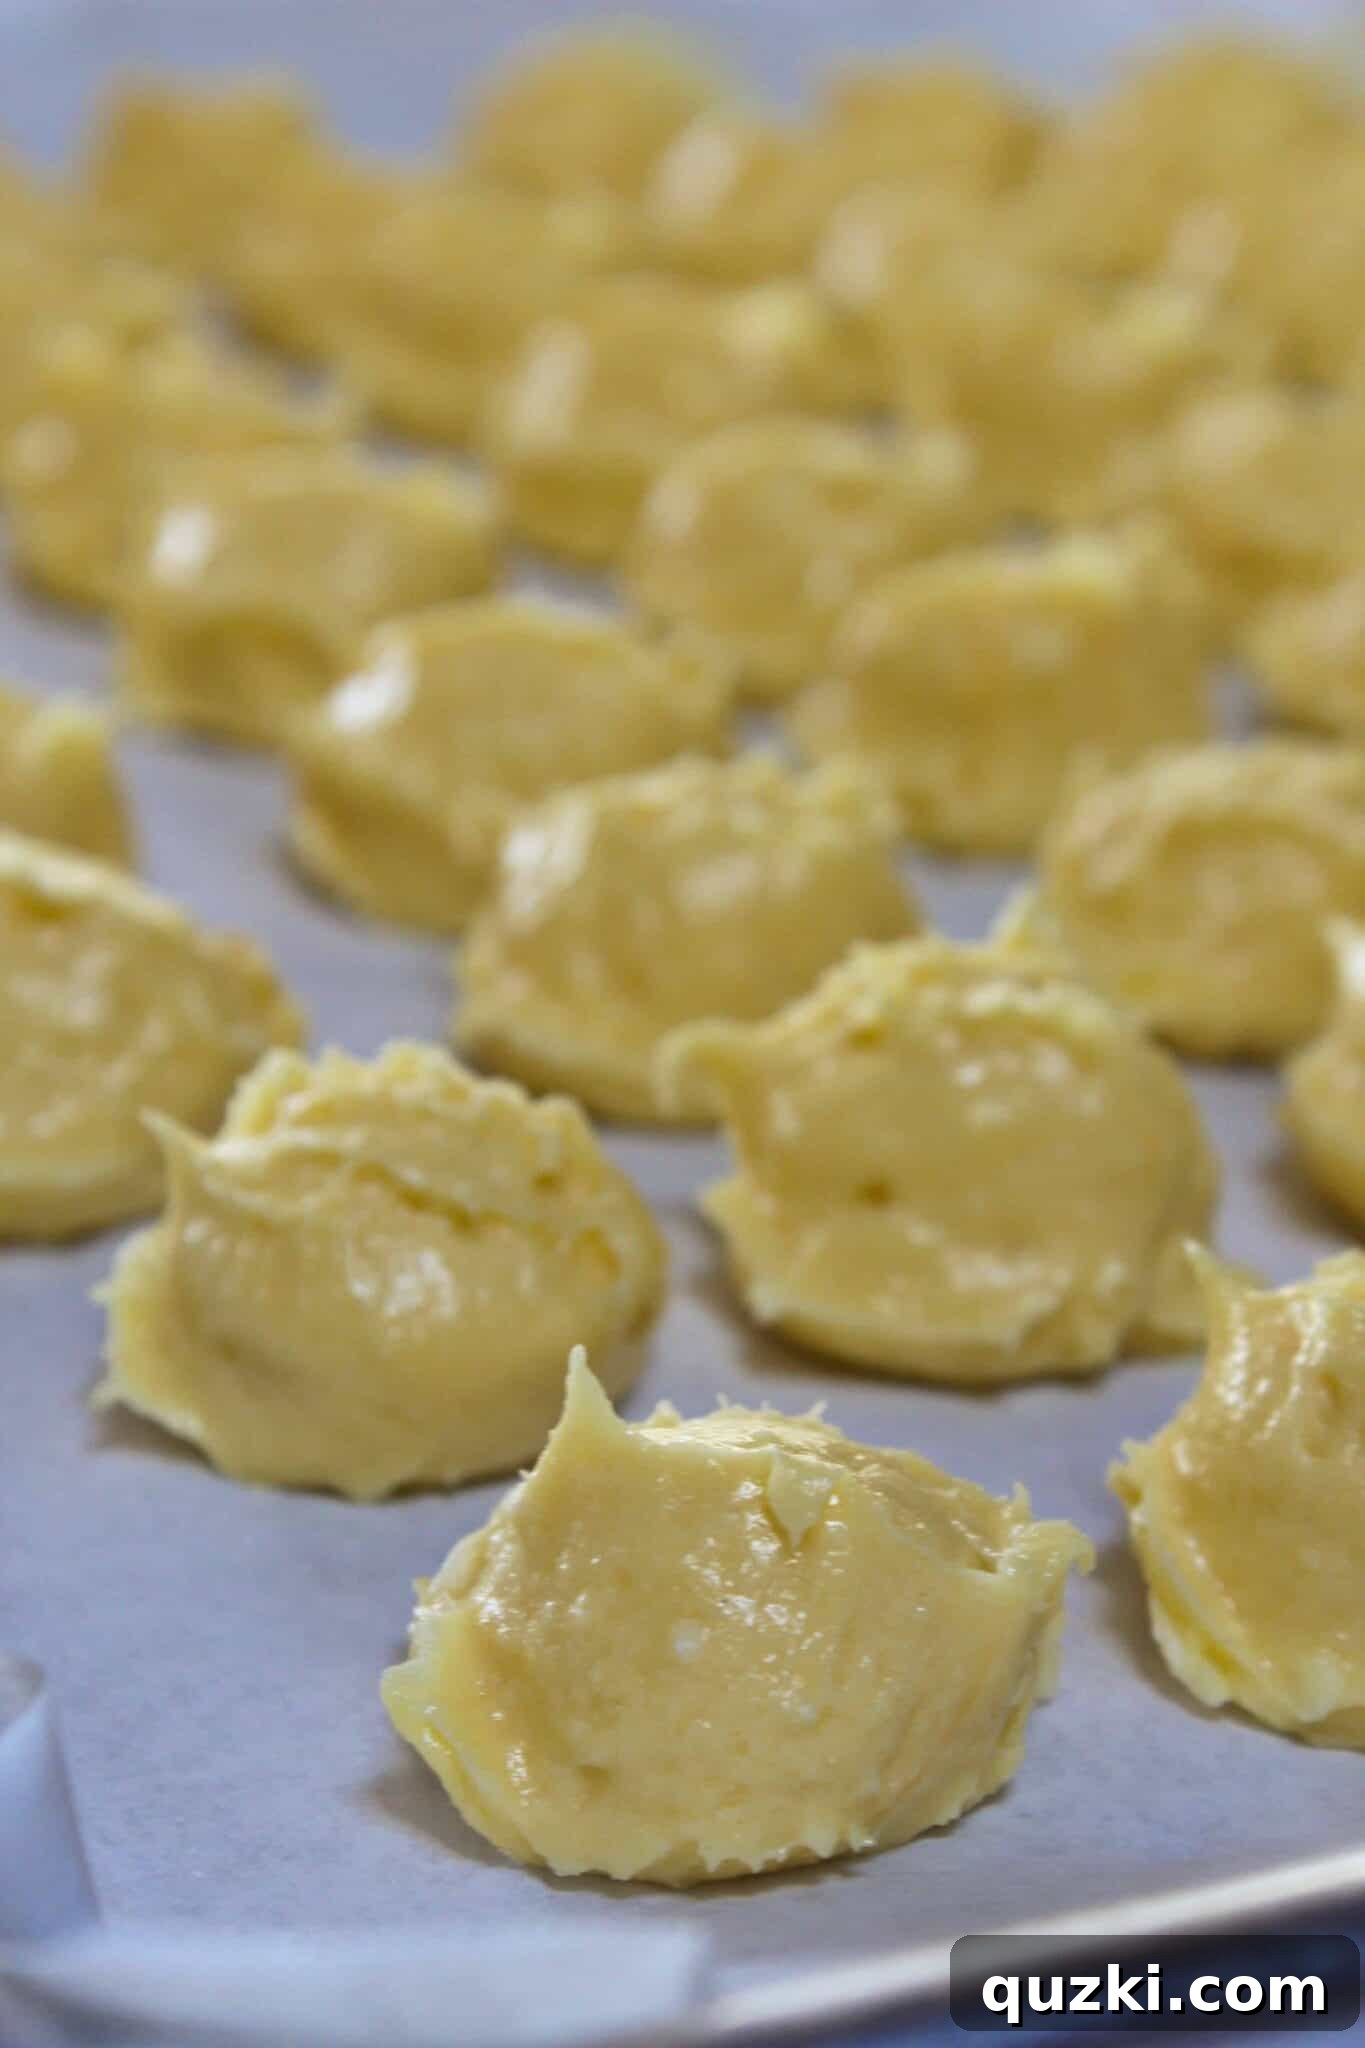
Once scooped, refrigerate the dough for at least an hour. You’ll notice a slight change in the dough’s texture; it will become firmer and less sticky. This chilling process is vital for preventing the cookies from spreading too much in the oven, helping them maintain their desirable height and cakey texture.
For maximum height and a perfectly domed whoopie pie, after chilling, briefly roll each cookie ball in your hand. If the dough is still a little sticky, a light dusting of flour can help. Then, shape them into tall cookie mounds rather than flat discs. This extra step gives the cookies further to bake down, contributing to that lovely, thick whoopie pie shape.
Bake 8-12 cookies at a time on a silicone mat or parchment-lined baking sheet. Be sure not to overcrowd the baking sheet to allow for even baking.
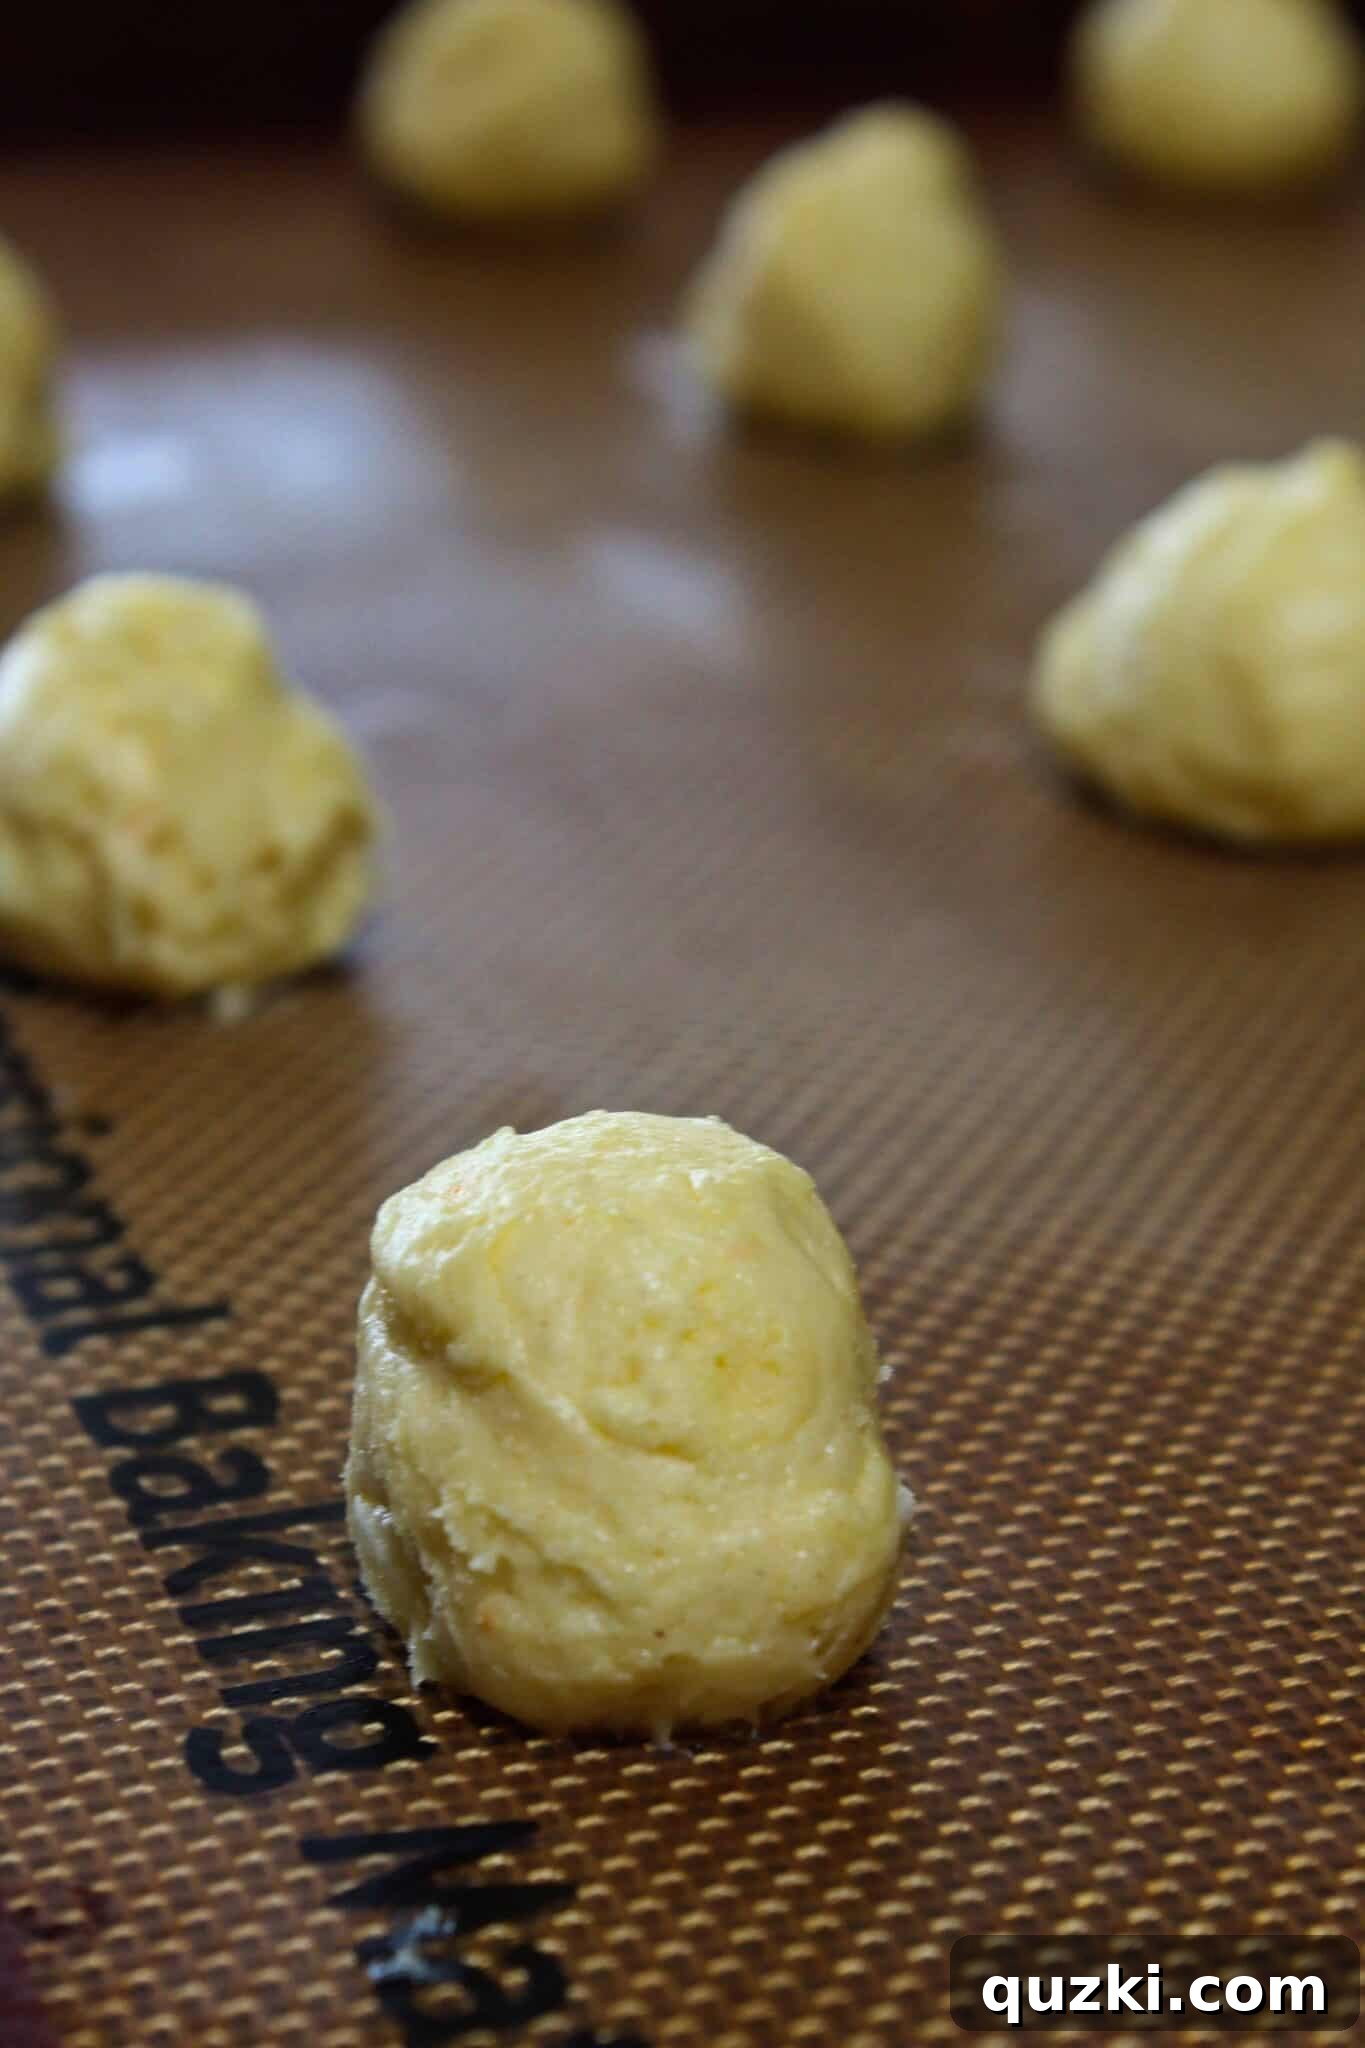
Bake in a preheated 350-degree Fahrenheit oven for 9-10 minutes if using a small scoop, or 11-12 minutes for a medium scoop. The cookies are ready when the tops and outsides are set, and the edges just begin to turn a delicate golden brown. Unlike some cookies on my site where we aim for a slightly underbaked center, for whoopie pies, we want them to bake a little longer to achieve that perfect cakey texture. Immediately transfer the baked cookies to a wire rack to cool completely.
5 Expert Tips for Baking Thick & Cakey Cake Mix Cookies
Achieving the ideal thick and cakey texture for your whoopie pie cookies is simple with these proven tips:
- Use Softened Butter: Instead of melted butter or oil, incorporate softened butter into your dough. Solid at room temperature, softened butter creates a sturdier dough that holds its shape better during baking. As it chills, it hardens further, preventing excessive spreading in the oven.
- Chill the Scooped Dough: After scooping, refrigerate your cookie dough mounds for a minimum of 60 minutes. Chilling the dough solidifies the butter, which means it will melt slower in the oven. This crucial step prevents the cookies from flattening out, much like the technique used for perfect Half Moon Cookies.
- Shape into Tall Mounds: Once chilled, take a moment to roll each dough scoop in your hands and form it into a tall, almost conical mound. This intentional shaping gives the cookie more vertical structure to bake down from, resulting in a noticeably thicker cookie compared to simply scooping and baking.
- Bake Slightly Longer: Unlike many cookie recipes where a slightly underbaked center is desired for chewiness, whoopie pies benefit from a slightly longer bake time. This ensures the cake-like texture fully develops, giving you a tender and fluffy cookie that’s still moist. Look for set tops and lightly golden edges.
- Cool on a Rack Immediately: To prevent overbaking once they’re out of the oven, transfer the hot cookies directly from the baking sheet to a cooling rack. This stops the residual heat from the baking sheet from continuing to cook the cookies, maintaining their perfect cakey consistency.
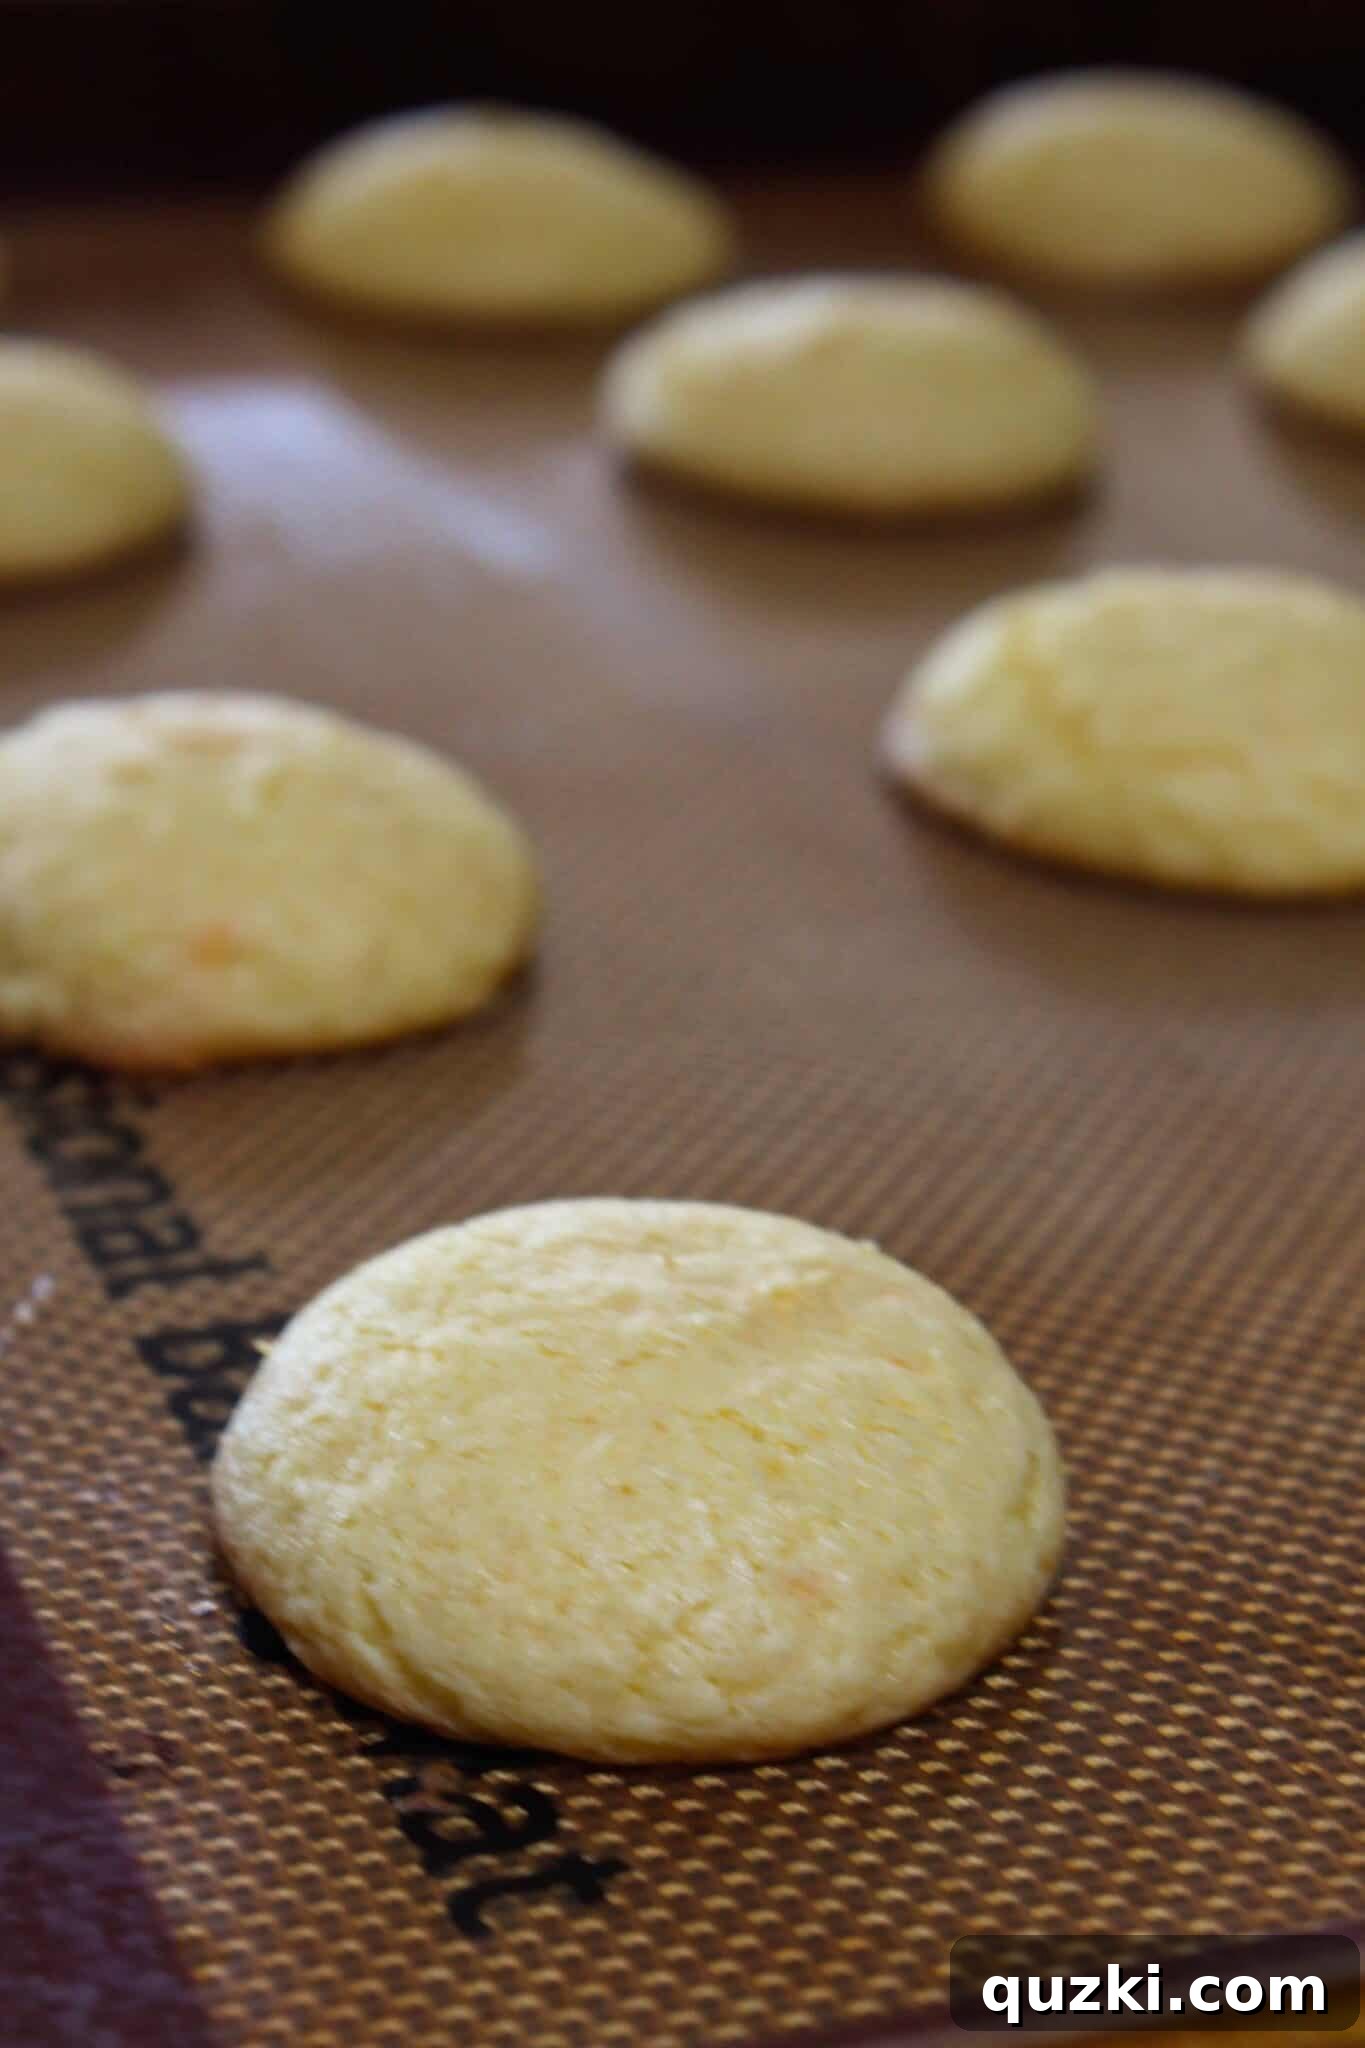
Homemade Golden Oreo Cream Cheese Frosting Filling
The filling is just as important as the cookies themselves! To create a perfectly balanced whoopie pie that isn’t overly sweet, we’re making a delectable cream cheese frosting. This frosting is the ideal counterpoint to the sweet Golden Oreo cookies, adding a touch of tang and rich creaminess.
Begin by combining softened butter and cream cheese in a medium bowl. Use a handheld mixer to beat these ingredients together until the mixture is beautifully smooth and creamy. This ensures a lump-free, luxurious base for your frosting. Next, gradually add the powdered sugar, mixing until it’s fully incorporated and you have a thick, luscious frosting that’s ready to be flavored.
The star of the filling, of course, is the crushed Golden Oreo cookie crumbs. Gently fold these delightful crumbs into the frosting by hand until they are evenly distributed throughout. This adds incredible flavor and texture, truly embodying the “Cookies and Cream” aspect of these whoopie pies. The specks of golden cookie against the creamy white frosting also add a wonderful visual appeal.
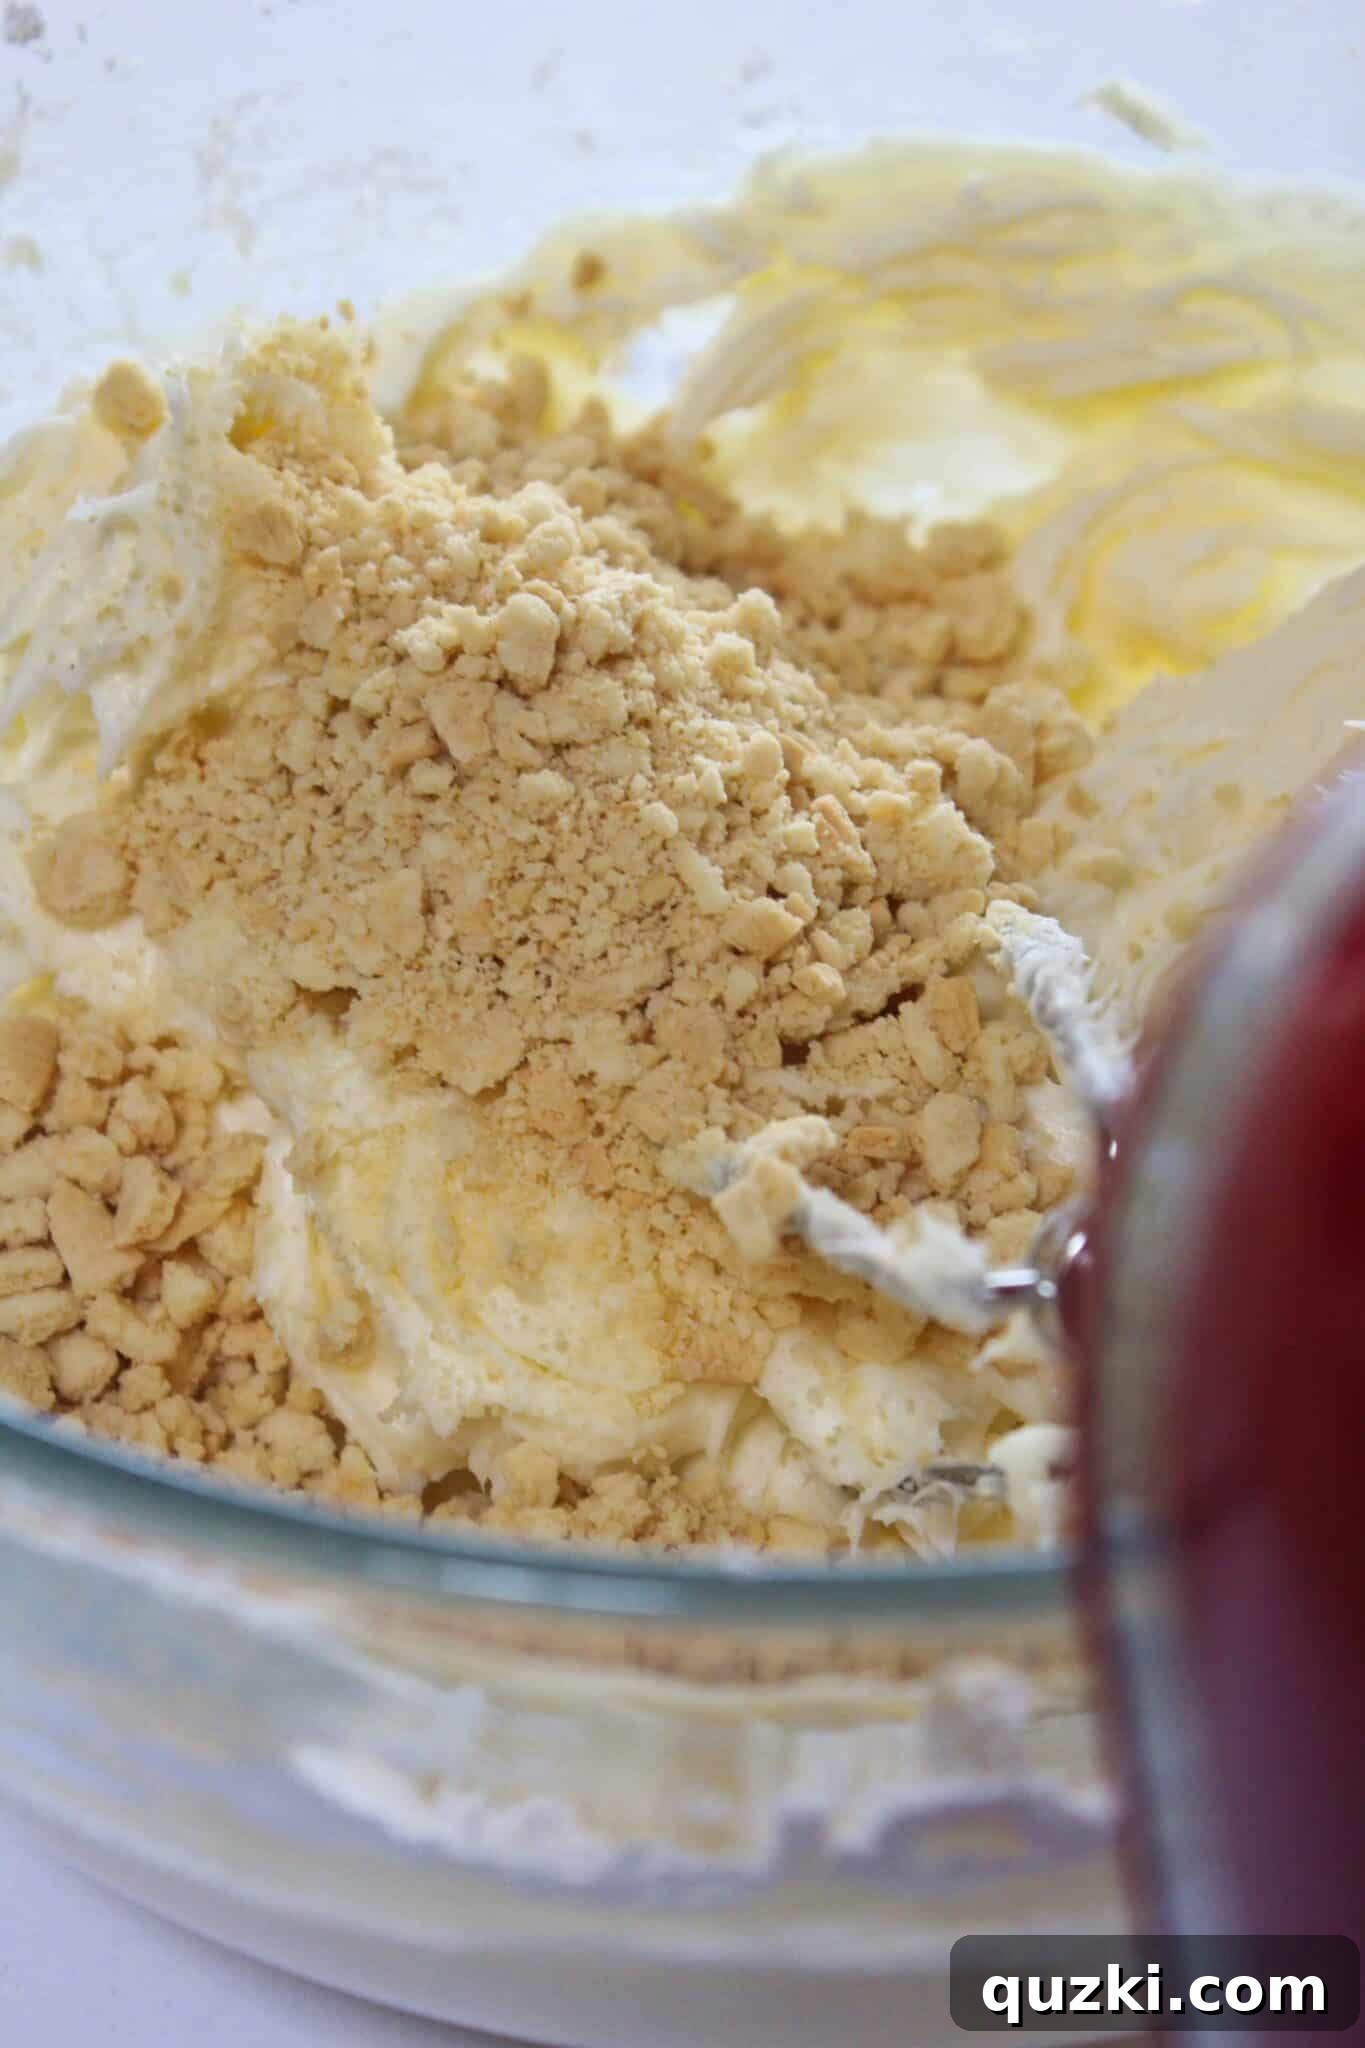
Assembling Your Golden Oreo Whoopie Pies
Now comes the fun part: assembling your magnificent whoopie pies! Once your cookies are completely cooled, it’s time to add that heavenly Golden Oreo cream cheese frosting. You can pipe a generous amount of frosting onto the flat side of half of your cookies using a piping bag (or a large Ziploc bag with a corner snipped off). Alternatively, you can simply use a small offset spatula or knife to spread the frosting. Remember, these are sandwich cookies, so don’t be shy with the filling!

Gently top each frosted cookie with the other half, creating beautiful Golden Oreo Whoopie Pies right before your eyes. Press down lightly until the filling is evenly distributed to the edges. The contrast between the soft golden cookie and the creamy, speckled filling is truly a sight to behold, promising a delicious bite with every pie.

The Magic of Waiting: Why These Whoopie Pies Get Better Over Time
One of the most remarkable aspects of these Golden Oreo Whoopie Pies is that their flavor and texture actually improve with time. It’s true! When my family first tried them, they enjoyed them, but weren’t entirely convinced they were superior to our classic Cookies and Cream Whoopie Pies. However, a magical transformation occurred overnight.
As the whoopie pies rested, the moisture from the cream cheese frosting began to soften the cakey cookies even further, and the flavors had a chance to meld and deepen. The distinct notes of Golden Oreo, cream cheese, and vanilla became more harmonious and pronounced. By the second day, their minds were completely changed. These Golden Oreo Whoopie Pies had reached their peak deliciousness – perfectly soft, incredibly flavorful, and utterly addictive. They disappeared entirely, leaving us dreaming of baking another batch. Excuse me while I go preheat my oven!

Craving More Sandwich Cookies? Explore These Delicious Recipes!
If you’ve fallen in love with the delightful combination of two soft cookies and a creamy filling, you’re in luck! Here are some other fantastic sandwich cookie and Golden Oreo-inspired recipes to satisfy your sweet tooth:
- Golden Oreo Truffles
- Cookies and Cream Whoopie Pies
- Golden Oreo No Bake Cheesecake
- No Bake Oreo Bark
- Cake Mix Sandwich Cookies with Cream Cheese Filling
- Red Velvet Sandwich Cookies

Golden Oreo Whoopie Pies
Print Recipe
Ingredients
Cookie
- 1-15.25 oz. box yellow butter cake mix
- 1/2 cup butter, {softened}
- 3 eggs
- 1/4 cup sour cream
- 3 tbsp all-purpose flour
Golden Oreo Frosting
- 1/2 cup butter, {softened}
- 4 oz. cream cheese, {softened}
- 2 cups powdered sugar
- 1/2 cup Golden Oreo’s, {crushed}-about 8 cookies
Instructions
Cookies
- Preheat oven to 350°F (175°C) and cover baking sheets with silicone liners or parchment paper.
- In a medium bowl, combine cake mix, softened butter, eggs, sour cream, and all-purpose flour. Using a handheld mixer (or mix by hand), mix the ingredients until just combined. It’s okay if there are small bits of butter visible in the dough.
- Using a small cookie scoop, scoop uniform mounds of dough onto a parchment-lined baking sheet (you should get about 48 small cookie mounds). Refrigerate the scooped dough for at least 60 minutes.
- Once chilled, gently roll each cookie dough scoop in your hand and shape it into a tall cookie dough mound for maximum height. Place about a dozen cookie scoops on a prepared baking sheet and bake for 9-10 minutes (for a small scoop) or until the edges and top of the cookie are set and the edges are just starting to turn a light golden brown. Immediately move the baked cookies to a cooling rack to cool completely. Continue this process until all cookies are baked.
Frosting
- In a medium bowl, combine softened butter and softened cream cheese. Use a handheld mixer to beat until the mixture is creamy and smooth. Gradually add the powdered sugar and mix until it is completely incorporated and the frosting is thick and smooth.
- In a large Ziploc bag (or a food processor), crush the Golden Oreo cookies until you have fine crumbs. Add the crushed cookies to the prepared frosting and mix by hand until the cookies are evenly incorporated. Transfer the frosting to a piping bag (or a large Ziploc bag with a large corner snipped off). Ensure the opening is large enough for the cookie crumbs to pass through easily.
Finishing the Whoopie Pies
- Pipe a generous amount of the Golden Oreo Cookies and Cream frosting onto the flat side of half of the cooled cookies. Then, gently place the remaining half of the cookies on top, creating delightful sandwich pies. Serve immediately, or store in an airtight container at room temperature for up to 4 days. These whoopie pies are also excellent when refrigerated for up to 5 days or frozen for up to 3 months for longer storage.
Notes
- If you prefer larger whoopie pies, use a medium cookie scoop. This will yield approximately 12 sandwich cookies. Bake for 11-12 minutes.
Nutrition
Calories: 235 kcal,
Carbohydrates: 31g,
Protein: 2g,
Fat: 12g,
Saturated Fat: 7g,
Polyunsaturated Fat: 1g,
Monounsaturated Fat: 3g,
Trans Fat: 0.4g,
Cholesterol: 47mg,
Sodium: 254mg,
Potassium: 33mg,
Fiber: 0.3g,
Sugar: 21g,
Vitamin A: 344IU,
Vitamin C: 0.02mg,
Calcium: 59mg,
Iron: 1mg
Nutrition information is automatically calculated, so should only be used as an approximation.
Like this? Leave a comment below!