
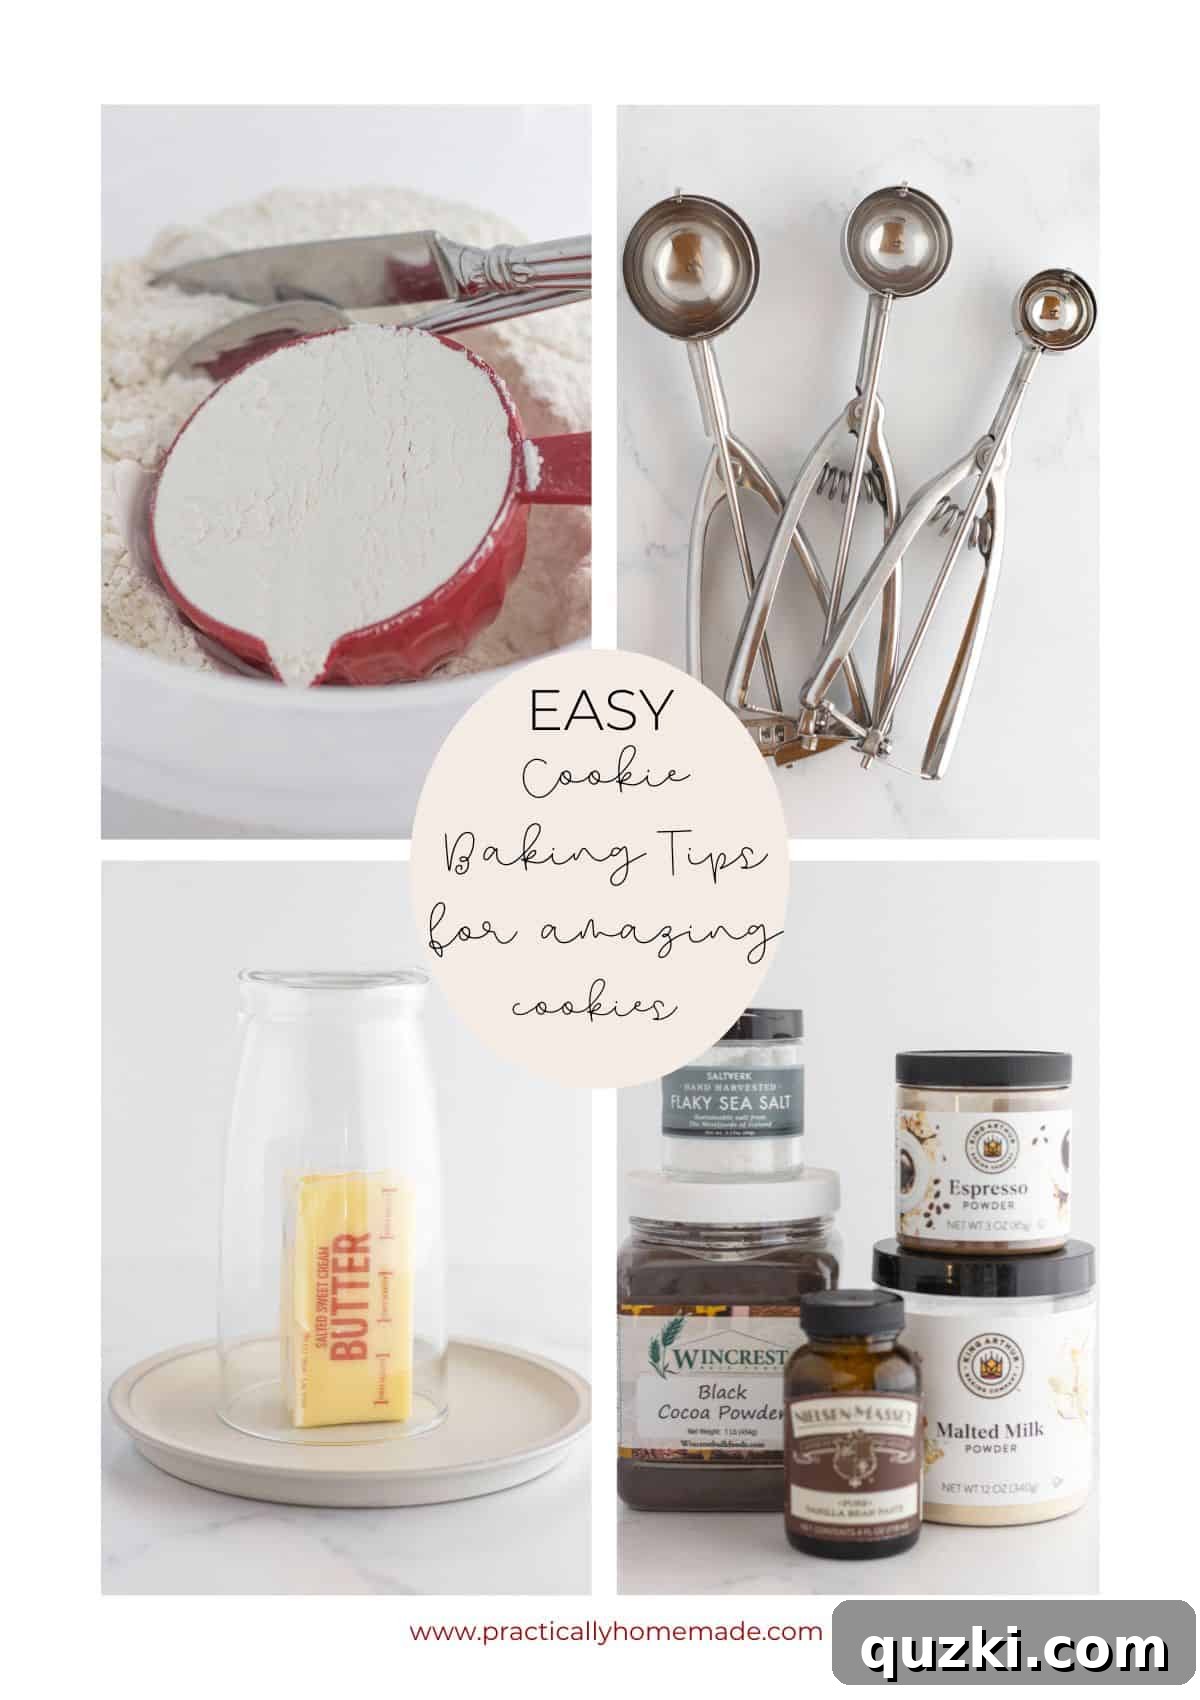
Today, we’re diving deep into the world of cookie creation, sharing the ultimate collection of Cookie Baking Tips refined over countless batches. These aren’t just ordinary suggestions; they are simple yet transformative techniques, honed through years of experience, designed to elevate your homemade cookies from good to absolutely phenomenal. Get ready to bake the best cookies you’ve ever tasted!
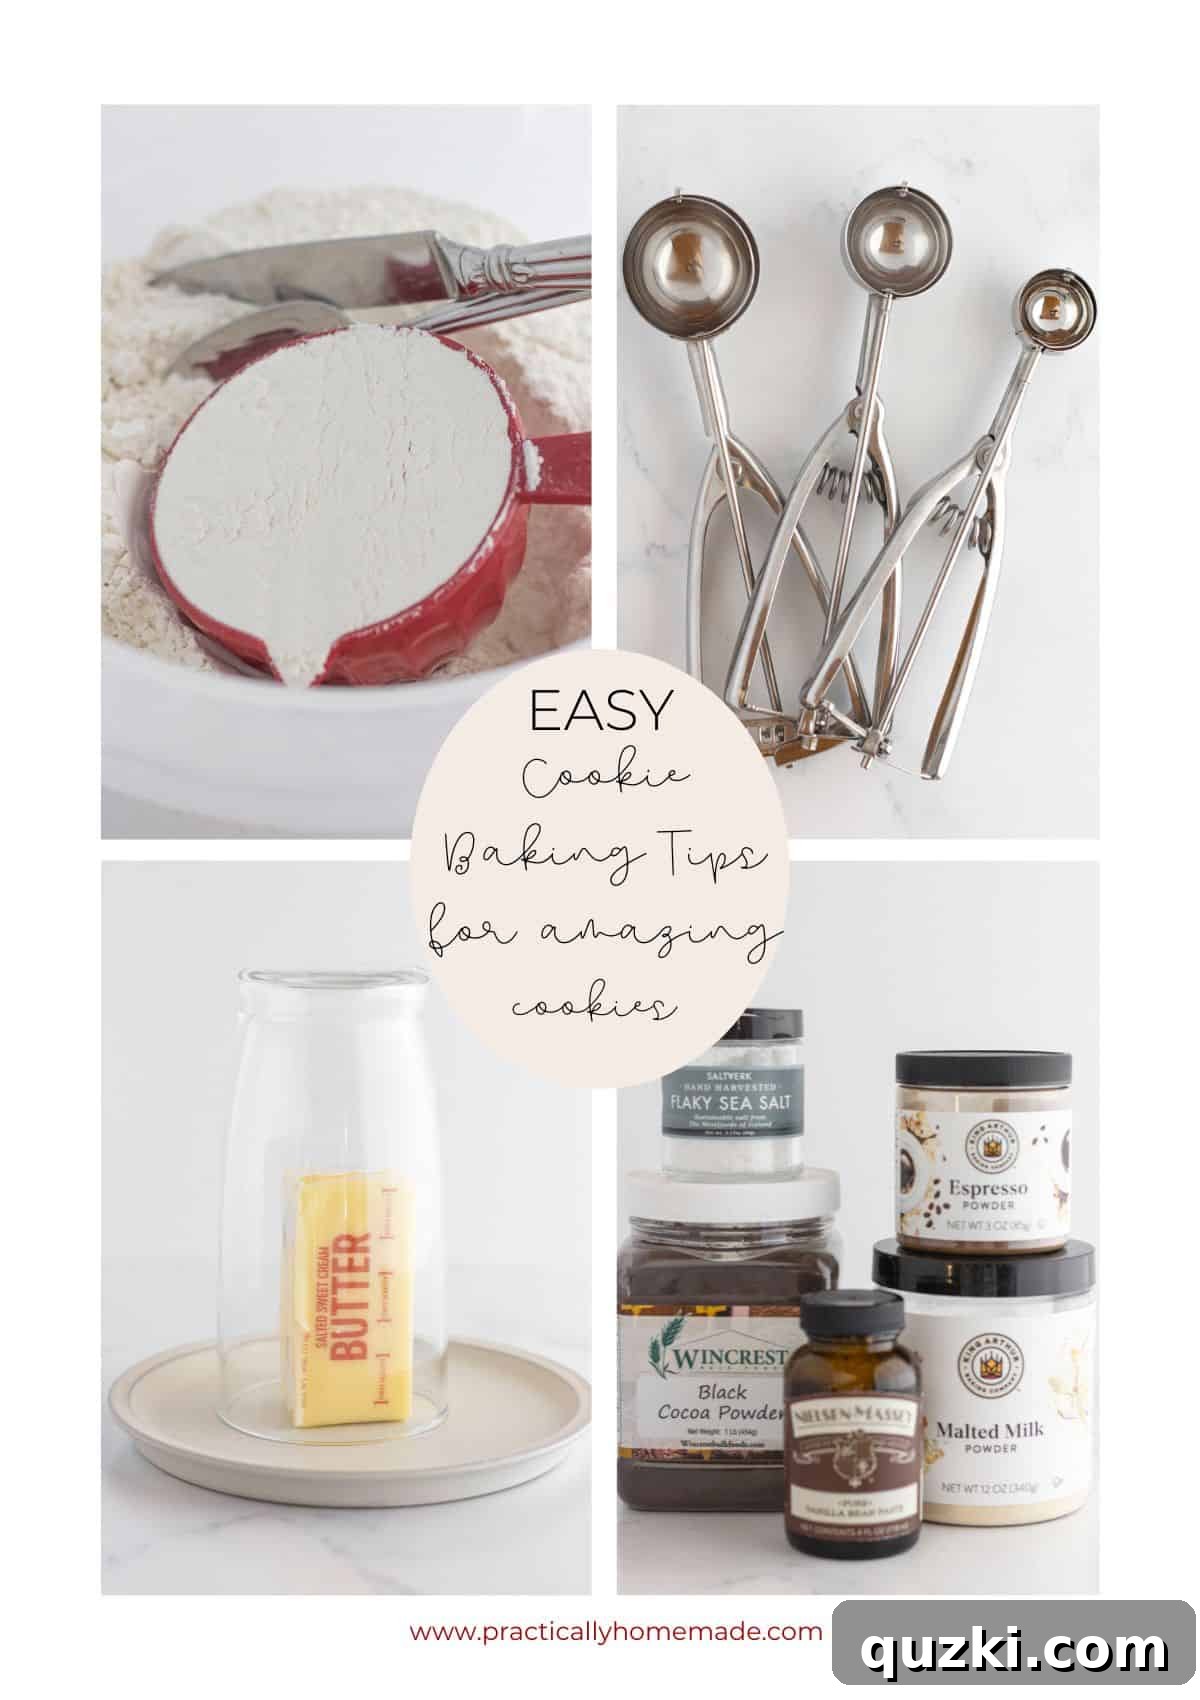
Table of Contents
- Best Cookie Baking Tips for Flawless Results
- 1. The Golden Rule: Room Temperature Butter
- 2. Always Read the Recipe Completely Before Starting
- 3. Embrace “Mise en Place”: Pre-Prep Your Ingredients
- 4. Avoid Overmixing the Dough After Adding Dry Ingredients
- 5. Master Flour Measurement for Perfect Consistency
- 6. Prepare Your Baking Sheet the Right Way
- 7. Achieve Uniformity with a Cookie Scoop
- 8. Give Cookie Dough Ample Space to Spread
- 9. Bake One Batch at a Time for Even Results
- 10. The Ultimate Secret: Do Not Over Bake Your Cookies
- 11. Achieve Perfectly Round Cookies with a Simple Trick
- 12. Elevate Flavor with High-Quality Ingredients
- Looking for Cookie Inspiration? Try These Awesome Recipes…
For many years, my approach to baking cookies was fairly casual. It wasn’t until I stepped into the role of a culinary teacher that I truly began to analyze the nuances and subtle techniques that distinguish a good cookie from an extraordinary one. The truth is, baking often carries an air of intimidation. Unlike the forgiving nature of a casserole, baking is a precise craft, akin to following a scientific formula. Every ingredient, every measurement, and every step in the directions must work in perfect harmony to achieve a truly victorious and delicious outcome.
Fear not, aspiring bakers! Mastering the art of the perfect cookie is entirely within your reach. With these expert tips, you’ll gain the confidence and knowledge to consistently bake cookies that are not just tasty, but genuinely remarkable.
Best Cookie Baking Tips for Flawless Results
1. The Golden Rule: Room Temperature Butter
Almost every classic cookie recipe begins with the instruction to use softened butter. This isn’t just a suggestion; it’s a fundamental step for creating the ideal cookie texture. When butter is at a true room temperature (around 65-68°F or 18-20°C), it’s soft enough to cream effortlessly with sugar, incorporating tiny air pockets. This process, known as creaming, is crucial because these air pockets expand during baking, resulting in cookies that are light, tender, and evenly textured. Cold butter won’t cream properly, leading to a denser, sometimes crumbly cookie, while melted butter can make cookies spread too much and become greasy.
While a few specialty recipes might call for cold butter (like certain cut-out cookies for stability, see this super thick chocolate chip cookie recipe) or even melted butter (often for chewier, denser cookies like these Easy Mini Chocolate Chip Cookies), room temperature butter remains the gold standard for most conventional cookie doughs. Planning ahead to let your butter soften naturally is always best, but what if you’re hit with a sudden cookie craving?
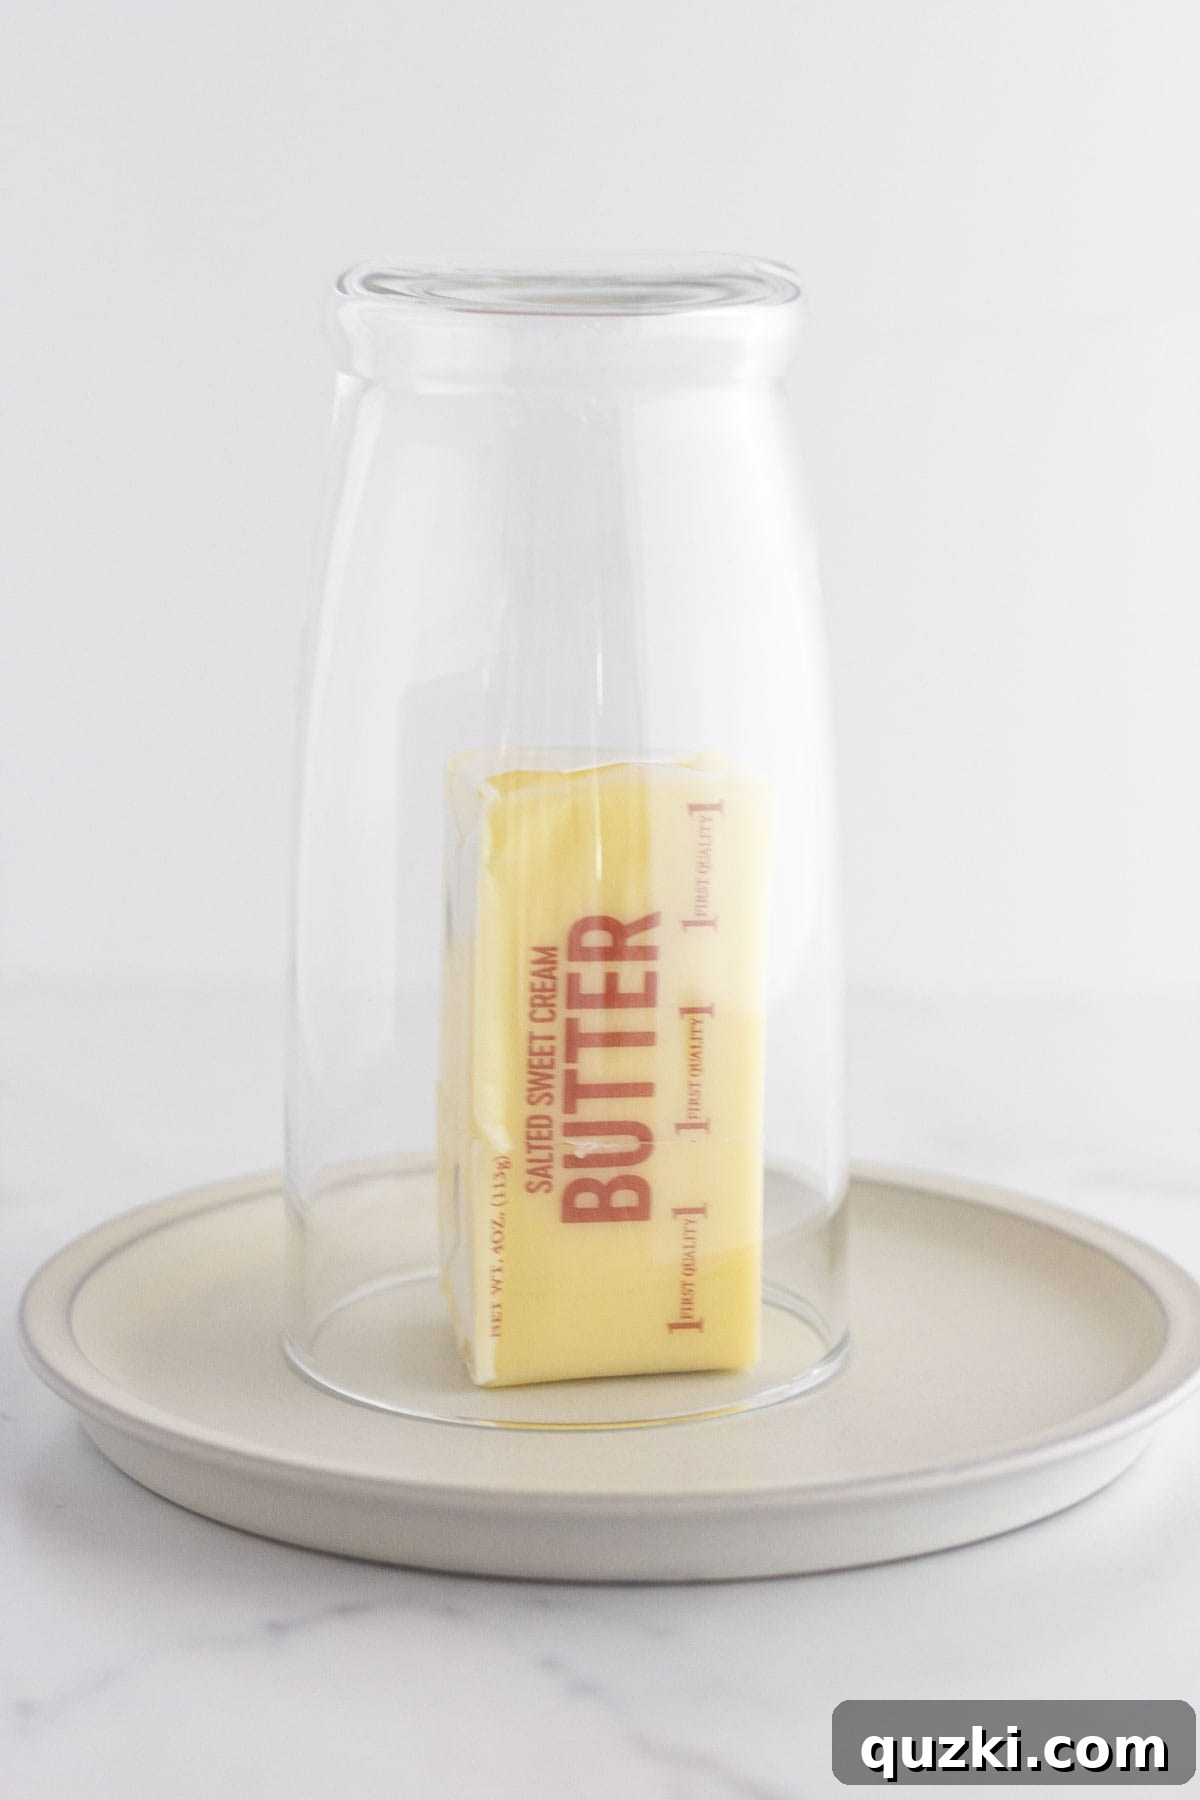
Here’s a fantastic trick for quickly softening butter: Fill a microwave-safe glass cup or bowl (one that’s large enough to fit over a stick of butter) with hot tap water. Let it sit for a minute or two to heat up. Carefully pour out the hot water (it will be quite warm!), then invert the warm glass over your cold stick of butter. The residual heat trapped under the glass will gently and evenly soften the butter in just a few minutes, making it ready for your baking adventure!
2. Always Read the Recipe Completely Before Starting
How many times have you enthusiastically started a recipe, only to realize halfway through that you’re missing a crucial ingredient, or that a surprise step (like chilling dough for two hours) completely disrupts your baking timeline? These scenarios are easily avoidable with one simple yet often overlooked habit: reading the entire recipe from start to finish before you even pull out your first mixing bowl.
Taking a few minutes to read through the instructions thoroughly eliminates guesswork, helps you visualize the process, and allows you to anticipate every step. This preparation ensures you have all necessary ingredients on hand, understand the sequence of operations, and are prepared for any waiting periods. It transforms baking from a potentially stressful sprint into a smooth, enjoyable, and successful experience, letting you assemble your cookie dough quickly and confidently, without any unwelcome surprises.
3. Embrace “Mise en Place”: Pre-Prep Your Ingredients
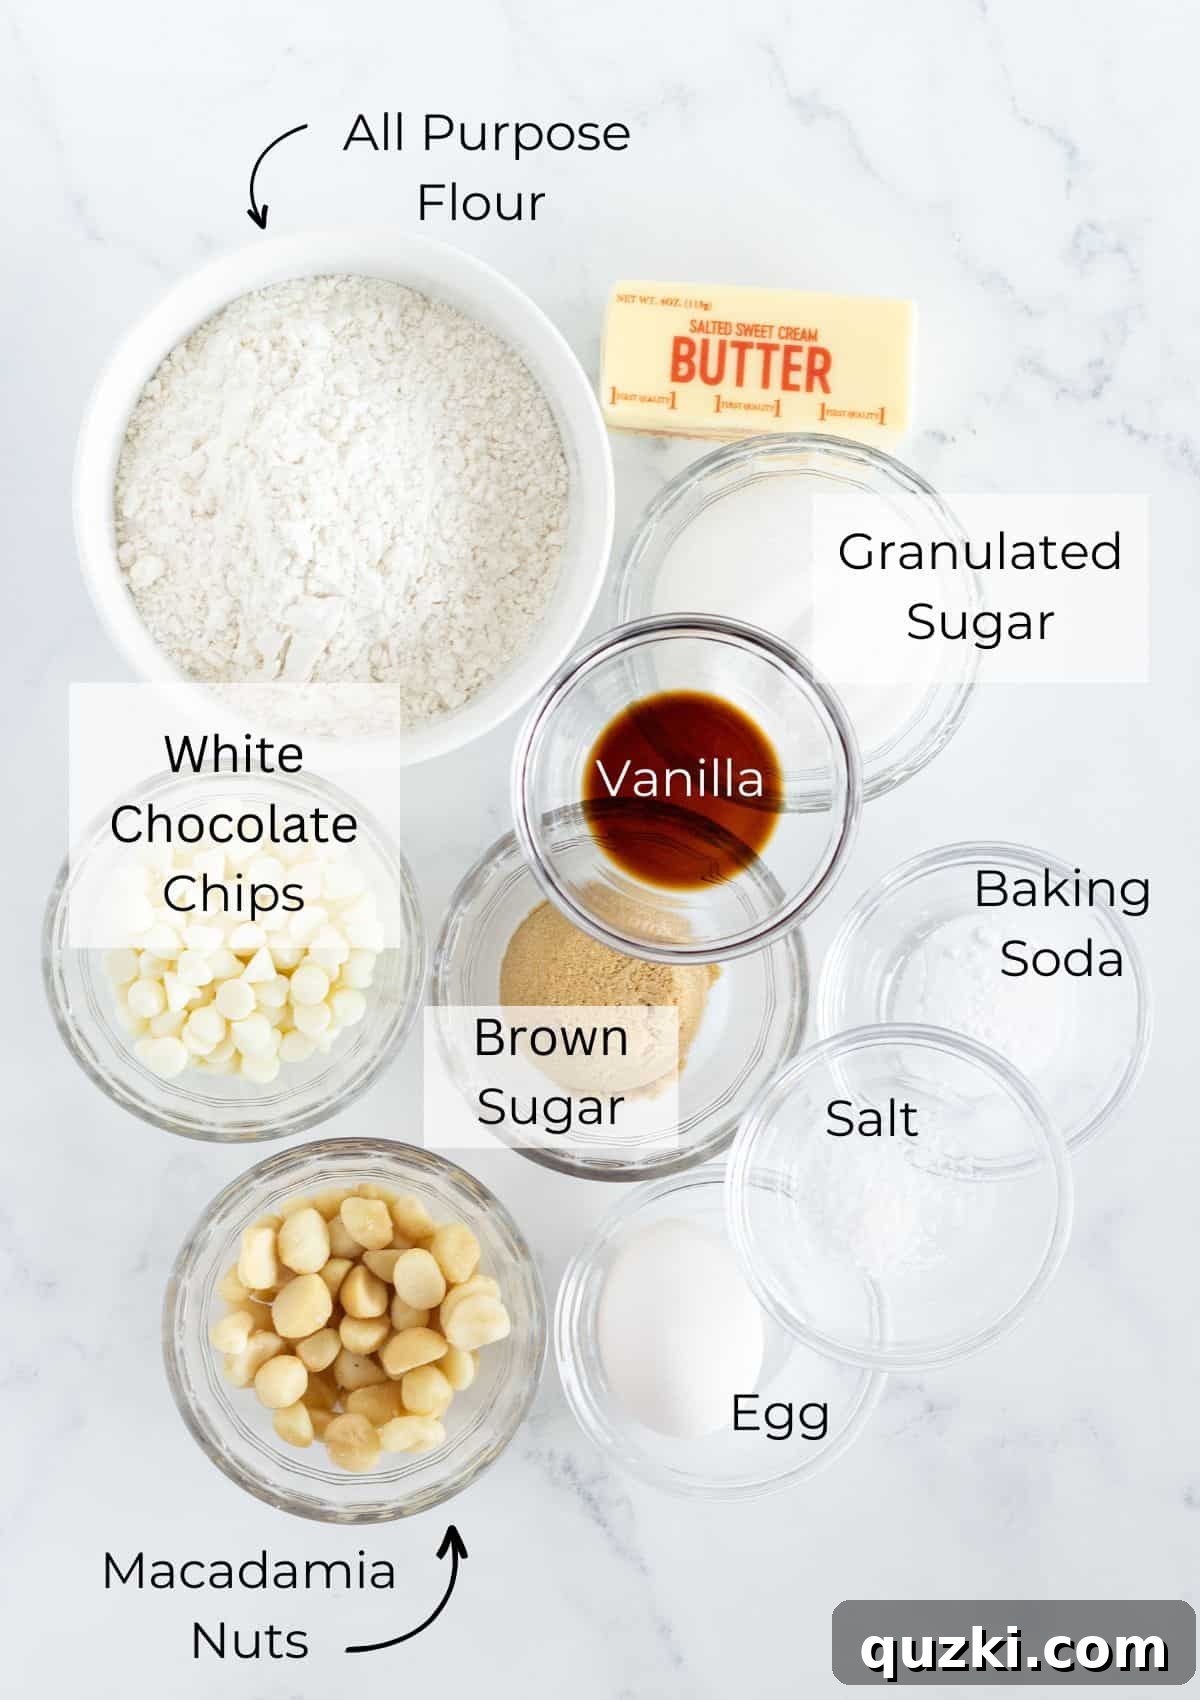
Building on the previous tip, “mise en place” (a French culinary term meaning “everything in its place”) is a game-changer for any baker. This practice involves measuring, chopping, and organizing all your ingredients before you begin the actual mixing process. Just like in this photo for White Chocolate Macadamia Cookies, having everything ready and laid out before you start ensures a seamless baking flow.
When all your ingredients are precisely measured and within arm’s reach, you’re far less likely to forget an item or skip a crucial step in the instructions. This level of organization not only streamlines the entire baking process, making it faster and more efficient, but also significantly reduces the chances of errors. It transforms your kitchen into a well-oiled machine, allowing you to focus on the technique and enjoyment of baking, rather than scrambling for ingredients. Being prepared truly is the secret ingredient for consistent baking success.
4. Avoid Overmixing the Dough After Adding Dry Ingredients
For cookies that are wonderfully thick, tender, and chewy, one of the most critical steps is to avoid overmixing the dough once the dry ingredients have been added. The best practice is to add your flour mixture all at once and mix only until it is just combined – meaning no streaks of dry flour remain. As soon as the ingredients come together, stop mixing!
When you overmix at this stage, you risk overdeveloping the gluten in the flour. This leads to a tough, dense, and often super flat cookie. The excessive mixing incorporates too much air into the dough, which expands rapidly when exposed to the oven’s heat, causing the cookies to puff up dramatically. However, this structure is weak and collapses just as quickly, resulting in a thin, disappointing cookie. By mixing just until combined, you prevent this gluten development and air incorporation, ensuring your cookies maintain a beautiful rise and a delightfully soft texture.
Note: This caution against overmixing *does not* apply to the initial creaming of butter and sugar. That step benefits from thorough mixing to incorporate air and achieve a light, fluffy base, which is entirely different from the gluten-developing effects of overmixing flour.
5. Master Flour Measurement for Perfect Consistency
The amount of flour in a cookie recipe is incredibly important, acting as a crucial balancing act that can make or break your final product. Too little flour can lead to cookies that spread excessively thin, becoming crispy or greasy. Conversely, too much flour will result in dense, dry, and crumbly cookies that lack that desirable chewiness. The correct amount of flour is paramount for achieving the perfect spread, texture, and structure.
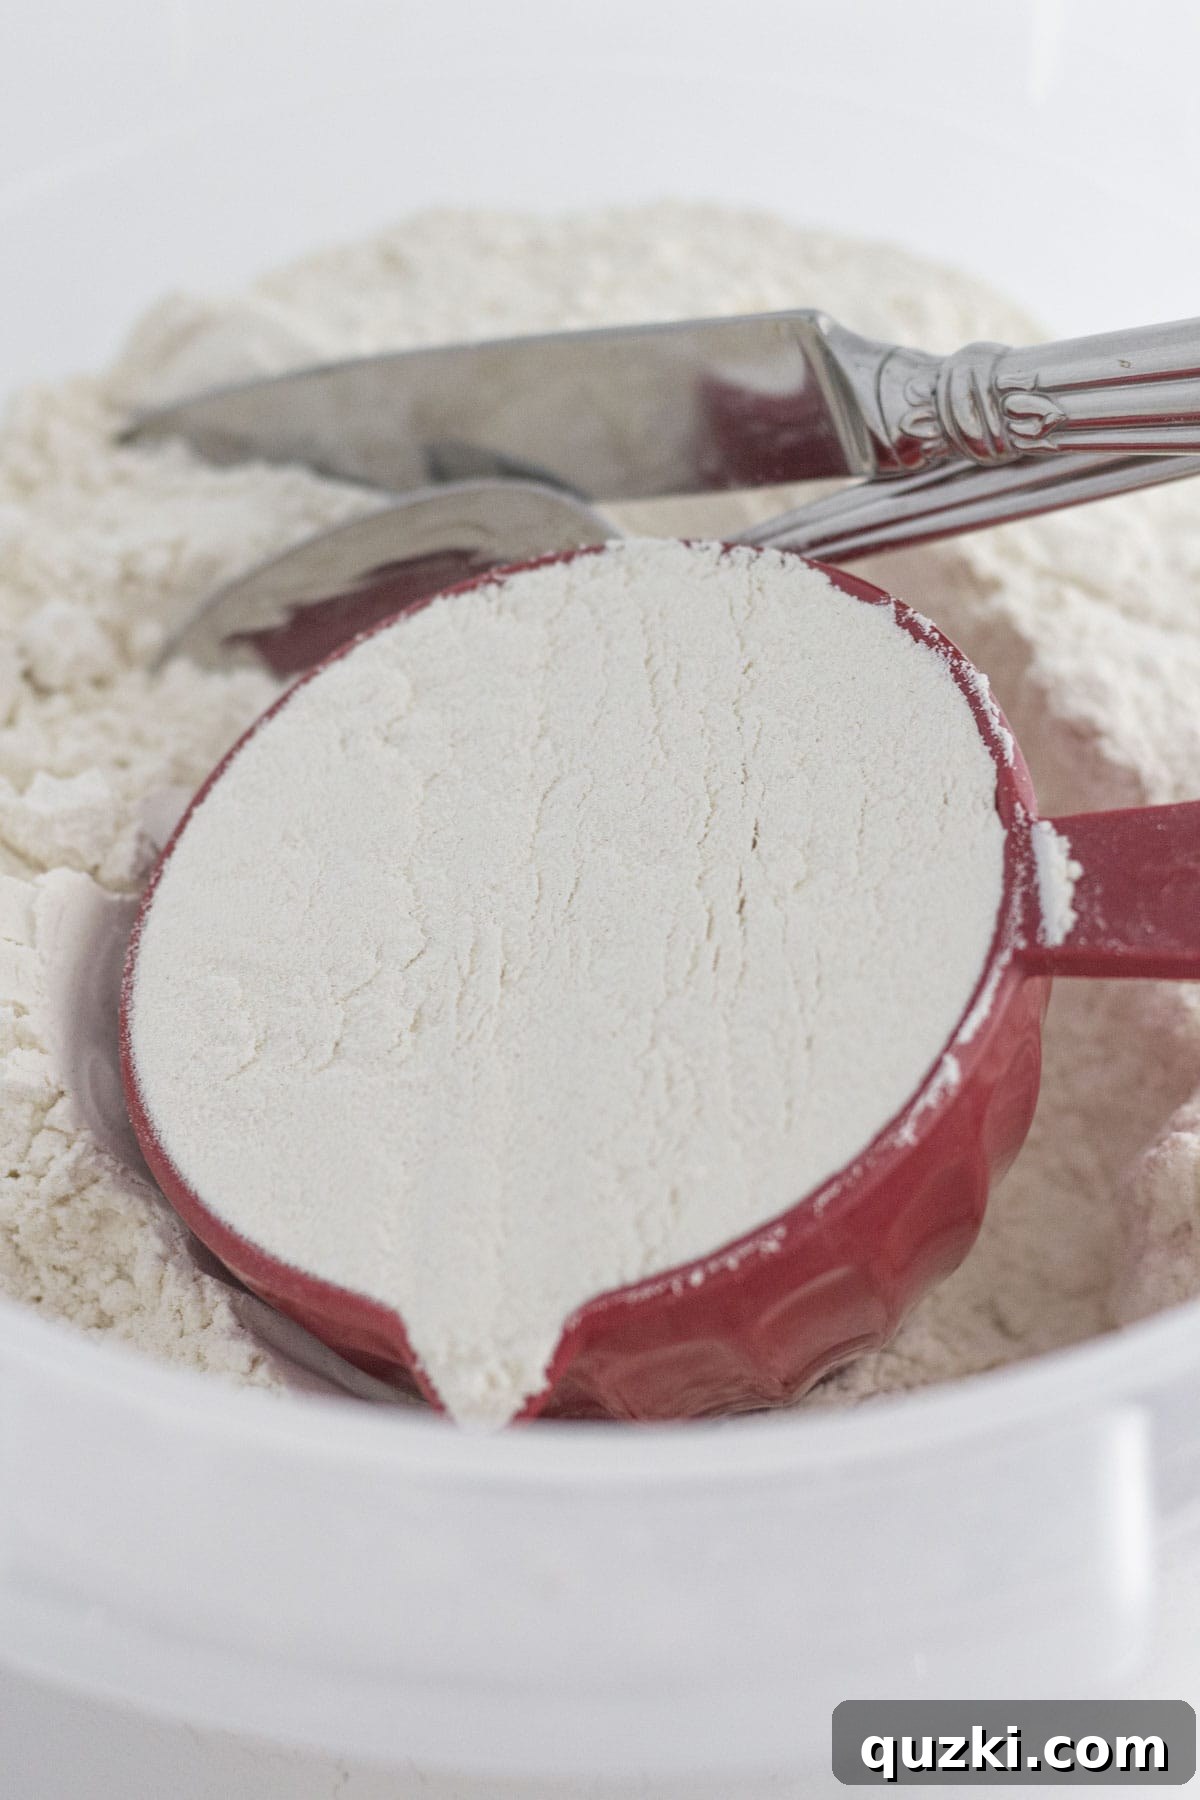
During my time as a culinary teacher, one of the very first lessons I imparted was the proper technique for measuring flour. Many home bakers simply scoop flour directly from the bag with their measuring cup, compacting it and inadvertently adding far more flour than the recipe intends. The correct method is the “spoon and level” technique, a simple yet highly effective way to ensure accuracy.
To execute this, first, fluff up the flour in its container with a spoon or whisk. Then, gently spoon the flour into your dry measuring cup until it overflows. Do not pack it down. Finally, use the straight, flat edge of a butter knife or a similar tool to level off the excess flour, ensuring a precise and consistent measurement every time. This technique will consistently give you the right amount of flour, paving the way for cookies with ideal texture and spread.
6. Prepare Your Baking Sheet the Right Way
One of the most valuable cookie baking tips for achieving consistently perfect cookies is how you prepare your baking sheets. Instead of relying on nonstick cooking spray, which can be inconsistent and problematic, I highly recommend lining your cookie sheets with a sheet of parchment paper or a reusable silicone baking mat.
Nonstick spray, while convenient, can sometimes cause cookies to spread more than desired, leading to thinner, crispier results. Moreover, over time, the residue from cooking spray can build up on your baking pans, creating a sticky, stubborn film that is incredibly difficult to remove and can even affect future baking. Parchment paper and silicone mats, on the other hand, provide an ideal non-stick surface that promotes even baking, prevents burning on the bottom, and ensures easy release of your beautifully baked cookies. They also make cleanup a breeze, keeping your baking sheets in pristine condition.
7. Achieve Uniformity with a Cookie Scoop
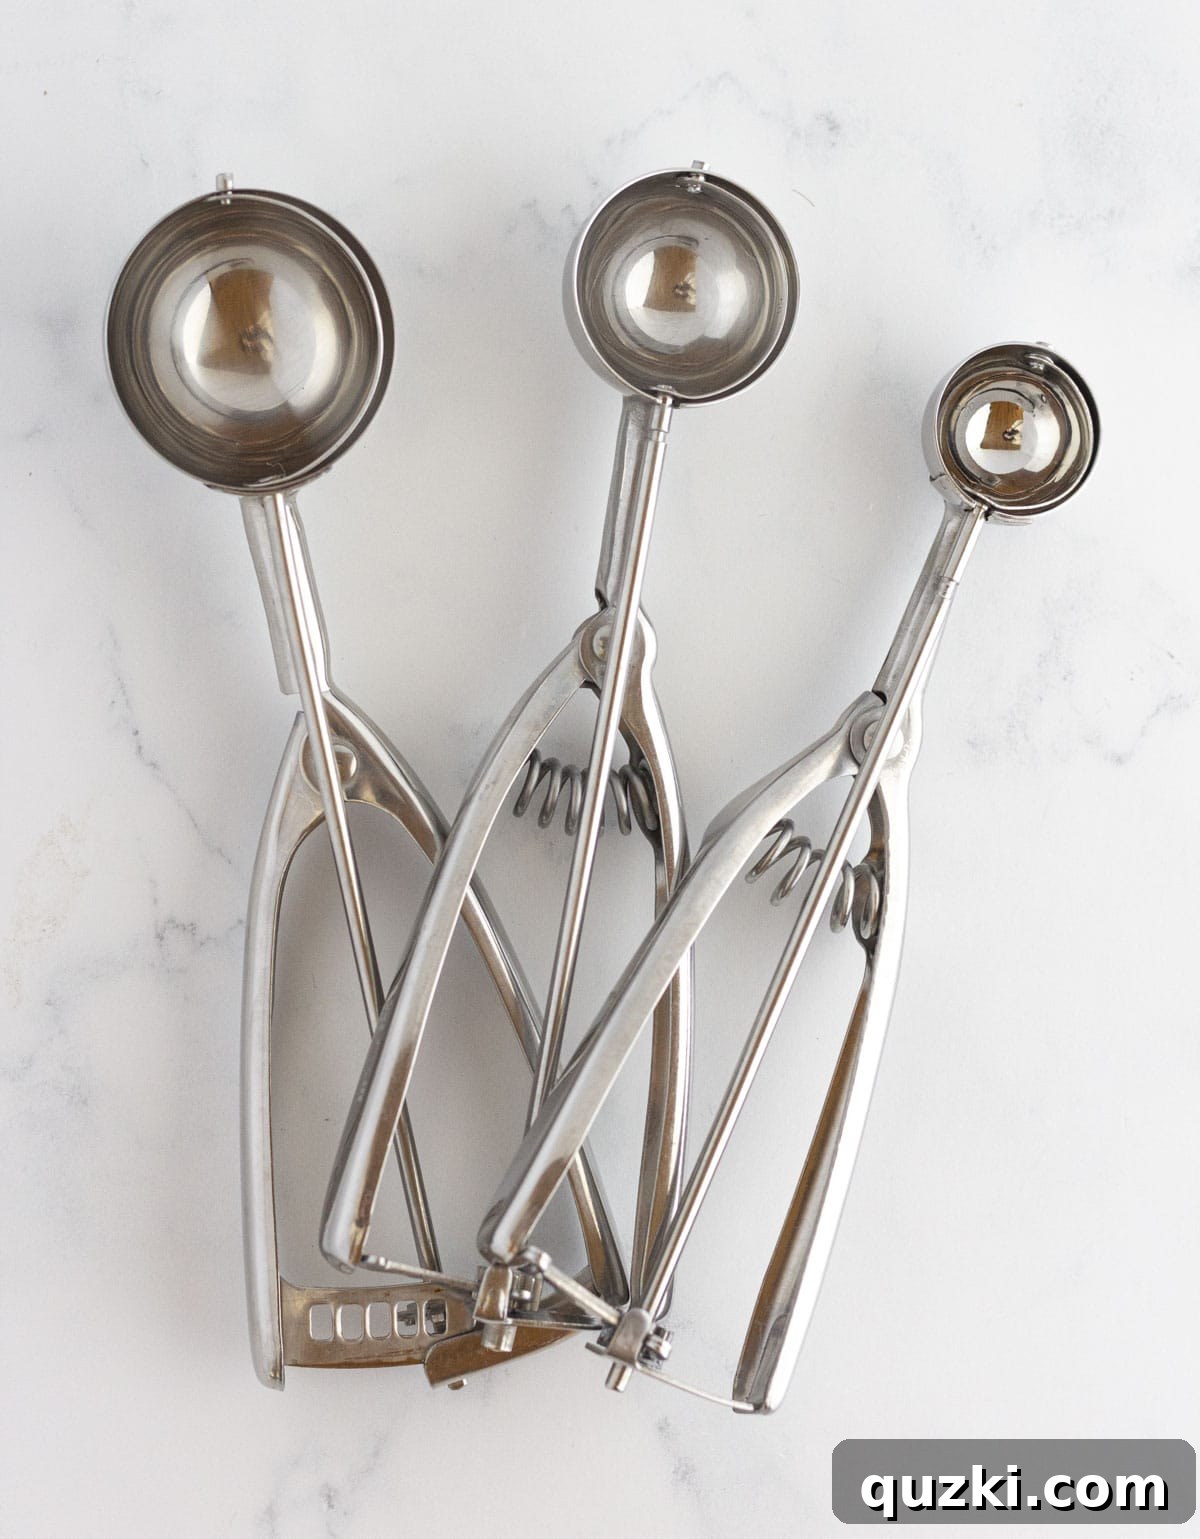
Investing in a cookie scoop (also often called an ice cream scoop, available in various sizes) is one of the easiest and most affordable ways to significantly improve your cookie baking game. This simple tool is a true secret weapon for professional-looking results.
First and foremost, a cookie scoop ensures that all your cookie dough portions are precisely the same size. This uniformity is absolutely crucial because it guarantees that every cookie on the baking sheet bakes evenly. When cookies are all the same size, they require the same amount of time in the oven to achieve that perfect golden-brown edge and soft center. Without a scoop, unevenly sized dough balls will lead to some cookies being underbaked while others are overbaked, resulting in an inconsistent batch.
Another fantastic benefit is the aesthetic appeal. Using a scoop creates perfectly rounded mounds of dough, which translate into gorgeous, symmetrical cookies that look like they’ve come straight from a high-end bakery. With scoops available in various sizes, from small (for delicate tea cookies) to large (for giant, chewy masterpieces), you can easily achieve the desired cookie size simply by changing your scoop, providing versatility and professional presentation.
8. Give Cookie Dough Ample Space to Spread
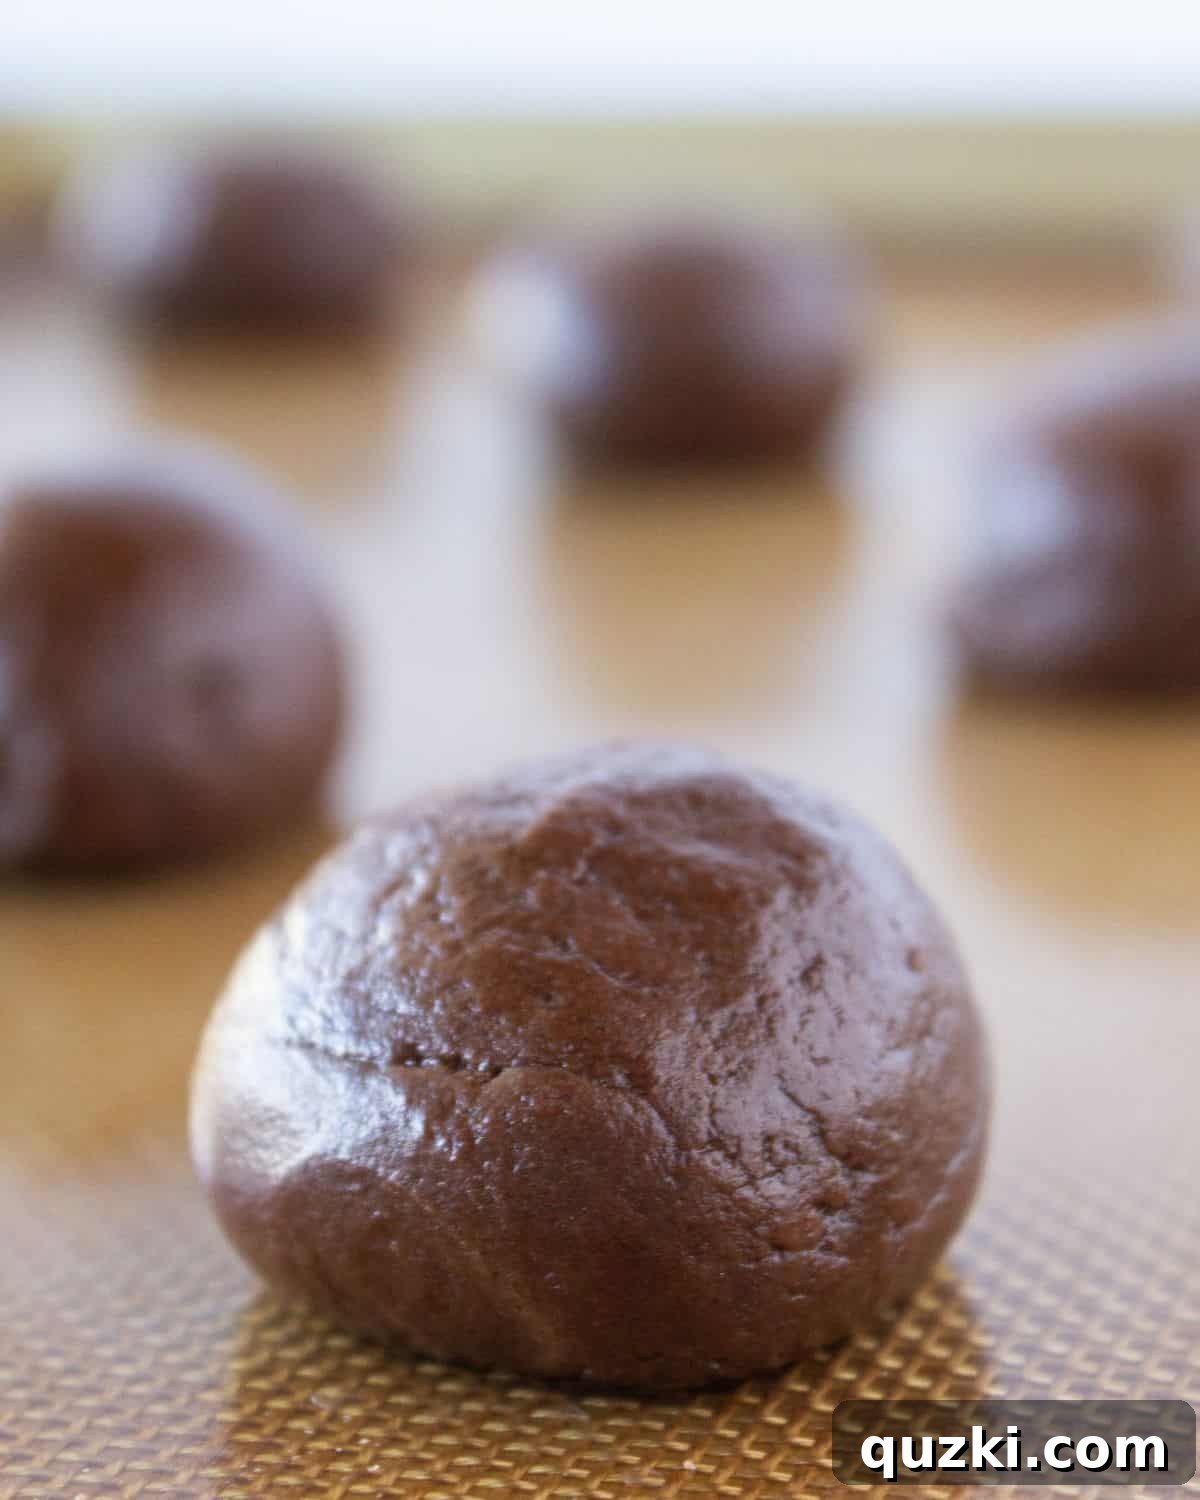
While a cookie scoop helps with uniformity, giving your cookie dough mounds plenty of space to spread on the baking sheet is equally important for a successful final result. This seemingly minor detail can significantly impact the texture, shape, and overall appearance of your baked goods.
When cookies are placed too close together on a baking sheet, several undesirable things can happen. They can easily spread into each other, merging into an unsightly, giant cookie sheet mass that’s hard to separate. More importantly, overcrowding inhibits proper air circulation around each cookie. This leads to uneven baking, where the edges might be overdone while the centers remain raw, or the cookies might steam instead of bake properly, resulting in a less desirable texture.
In most cases, leaving approximately two inches of space between each ball of cookie dough is the perfect amount to ensure they have ample room to spread without touching. This spacing allows the heat to circulate evenly around each cookie, promoting consistent baking and a beautiful, distinct shape, much like these perfectly spaced Buckeye Brownie Cookies.
9. Bake One Batch at a Time for Even Results
The temptation to bake multiple sheets of cookies at once to save time is strong, especially during busy holidays or when preparing for an event. While it might seem like a clever time-saving hack, the truth is that overcrowding your oven is one of the most common culprits behind unevenly baked cookies.
Most standard home ovens heat primarily from the bottom, and they often have “hot spots” – areas that are warmer than others. When you place multiple trays of cookies on both the top and bottom racks, you’re disrupting the oven’s natural heat circulation. The bottom sheet of cookies will likely overbake, possibly even burning on the bottoms due to direct heat exposure, while the top sheet will be under-baked because it receives less direct heat and the airflow is compromised.
Attempting to rotate the sheets halfway through baking can help, but it doesn’t always guarantee perfectly even results and often requires opening the oven frequently, which can cause temperature fluctuations. For the absolute best and most consistent results, embrace patience. Bake a single layer of cookies at a time, placing the baking sheet in the center of the oven. This ensures optimal heat distribution and airflow, leading to consistently golden, perfectly baked cookies across the entire batch.
10. The Ultimate Secret: Do Not Over Bake Your Cookies
If there’s one tip that reigns supreme among all cookie baking tips for achieving thick, soft, and wonderfully chewy cookies, it is this: do not over bake them. This is the single most important factor for preventing dry, hard, or crispy cookies when you’re aiming for that tender, melt-in-your-mouth texture.
Always adhere to the recommended bake time in your recipe, but use it as a guideline, not a strict rule. Instead, rely on visual cues. Pull the cookies from the oven when their edges are set and lightly golden, but their centers still appear slightly pale, puffy, and perhaps a touch underdone or glossy. It might feel counterintuitive, but trust the process.
The magic happens during the cooling phase. Once removed from the oven, allow the cookies to cool completely on the baking sheet for at least 5-10 minutes (or as the recipe specifies) before transferring them to a wire cooling rack. This crucial step allows the residual heat from the hot baking sheet to continue gently baking the cookies. This “carryover cooking” allows the centers to set up perfectly without drying out, resulting in that coveted soft, chewy texture that everyone loves.
11. Achieve Perfectly Round Cookies with a Simple Trick
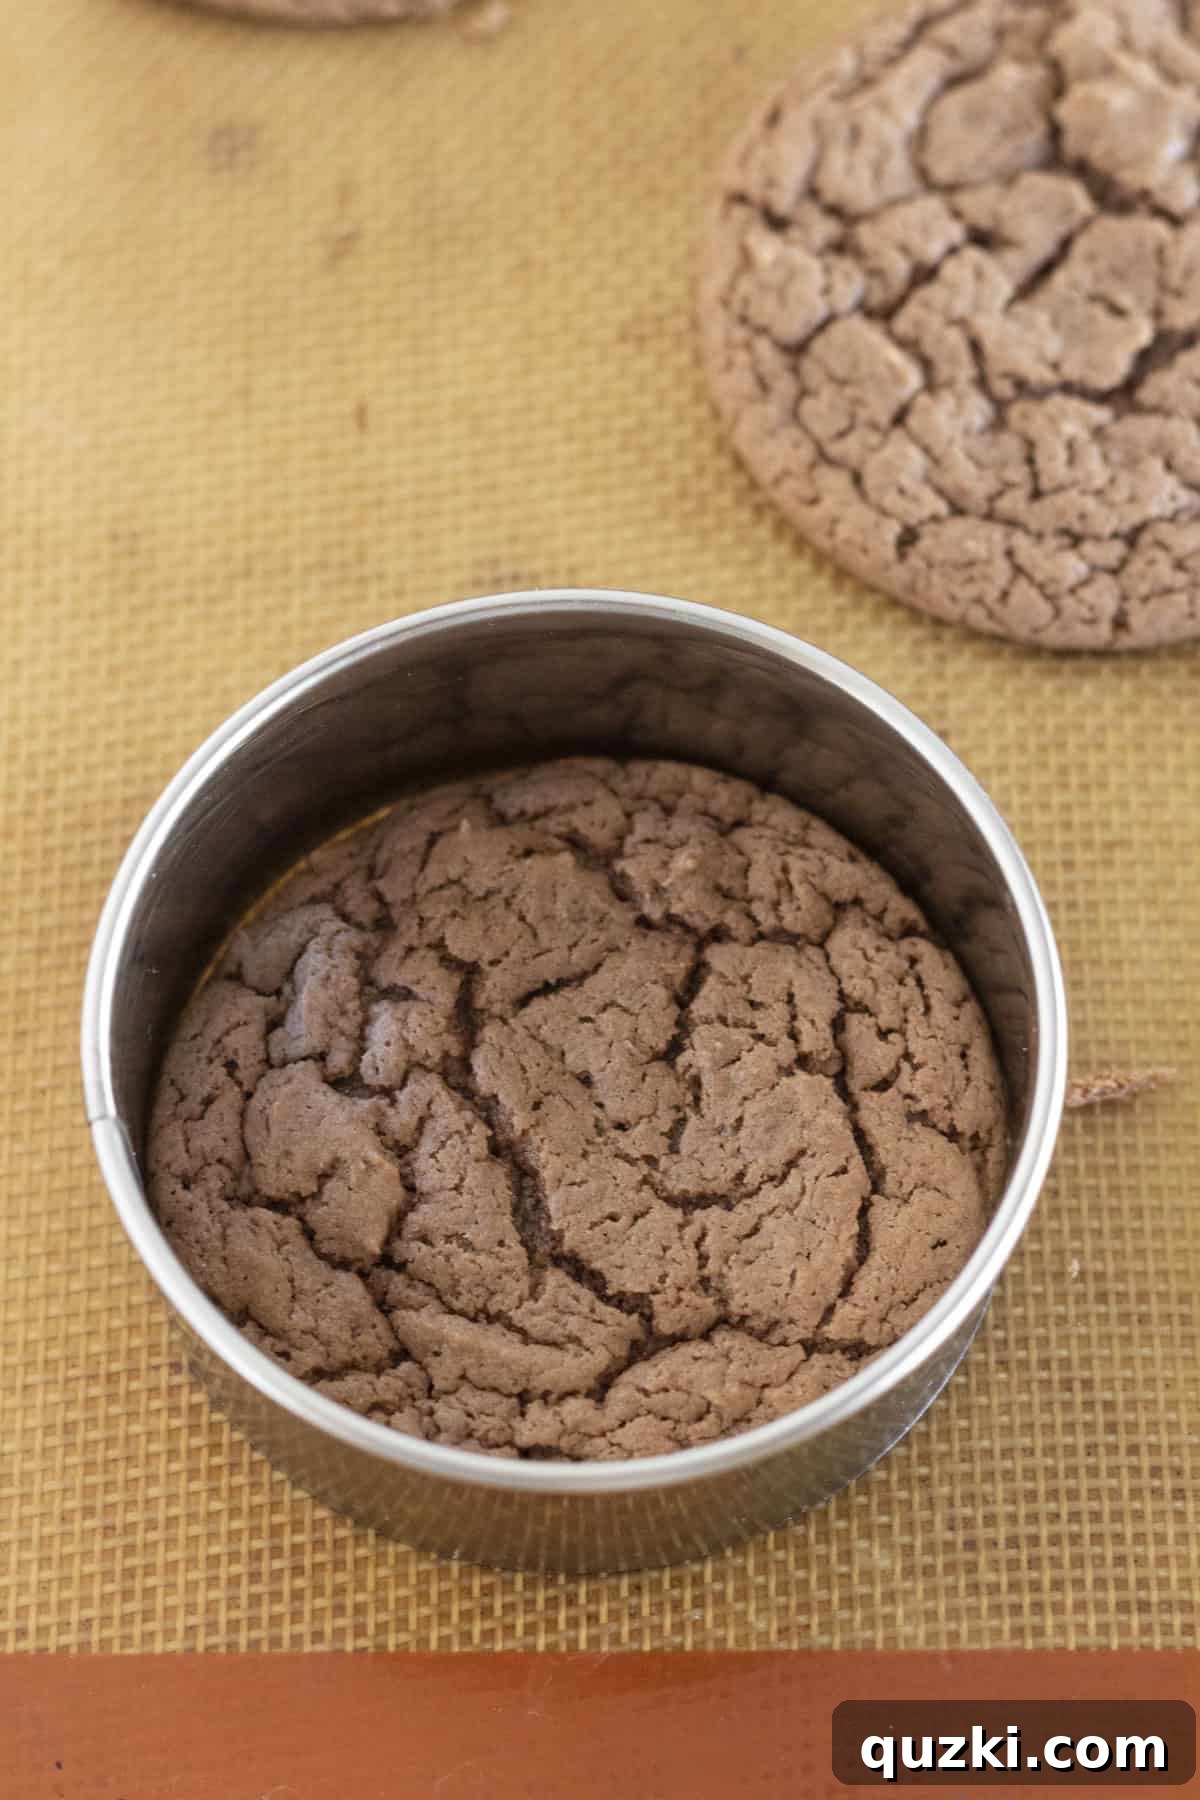
While using a cookie scoop is an excellent first step towards uniform cookie shapes, even perfectly scooped dough can sometimes spread unevenly in the oven, leading to cookies that aren’t perfectly round. The great news is that there’s a super simple, professional-level trick to fix this, ensuring every single cookie looks absolutely pristine.
The key is to work quickly while the cookies are still warm and fresh out of the oven – this is when they are most pliable. The easiest method involves using a round cookie cutter that is slightly larger than your baked cookies. Place the cookie cutter over a freshly baked cookie on the baking sheet. Then, gently swirl or move the cutter in a circular motion around the cookie. The edges of the cutter will gently push and reshape the warm cookie, coaxing it into a perfectly circular form. This simple maneuver will transform any misshapen cookies into beautifully symmetrical, bakery-worthy rounds, enhancing their visual appeal significantly.
12. Elevate Flavor with High-Quality Ingredients
The foundation of any truly exceptional cookie lies not just in technique, but in the quality of its ingredients. Simple swaps and additions can dramatically elevate the flavor profile of your homemade treats, transforming them into something truly special and memorable.
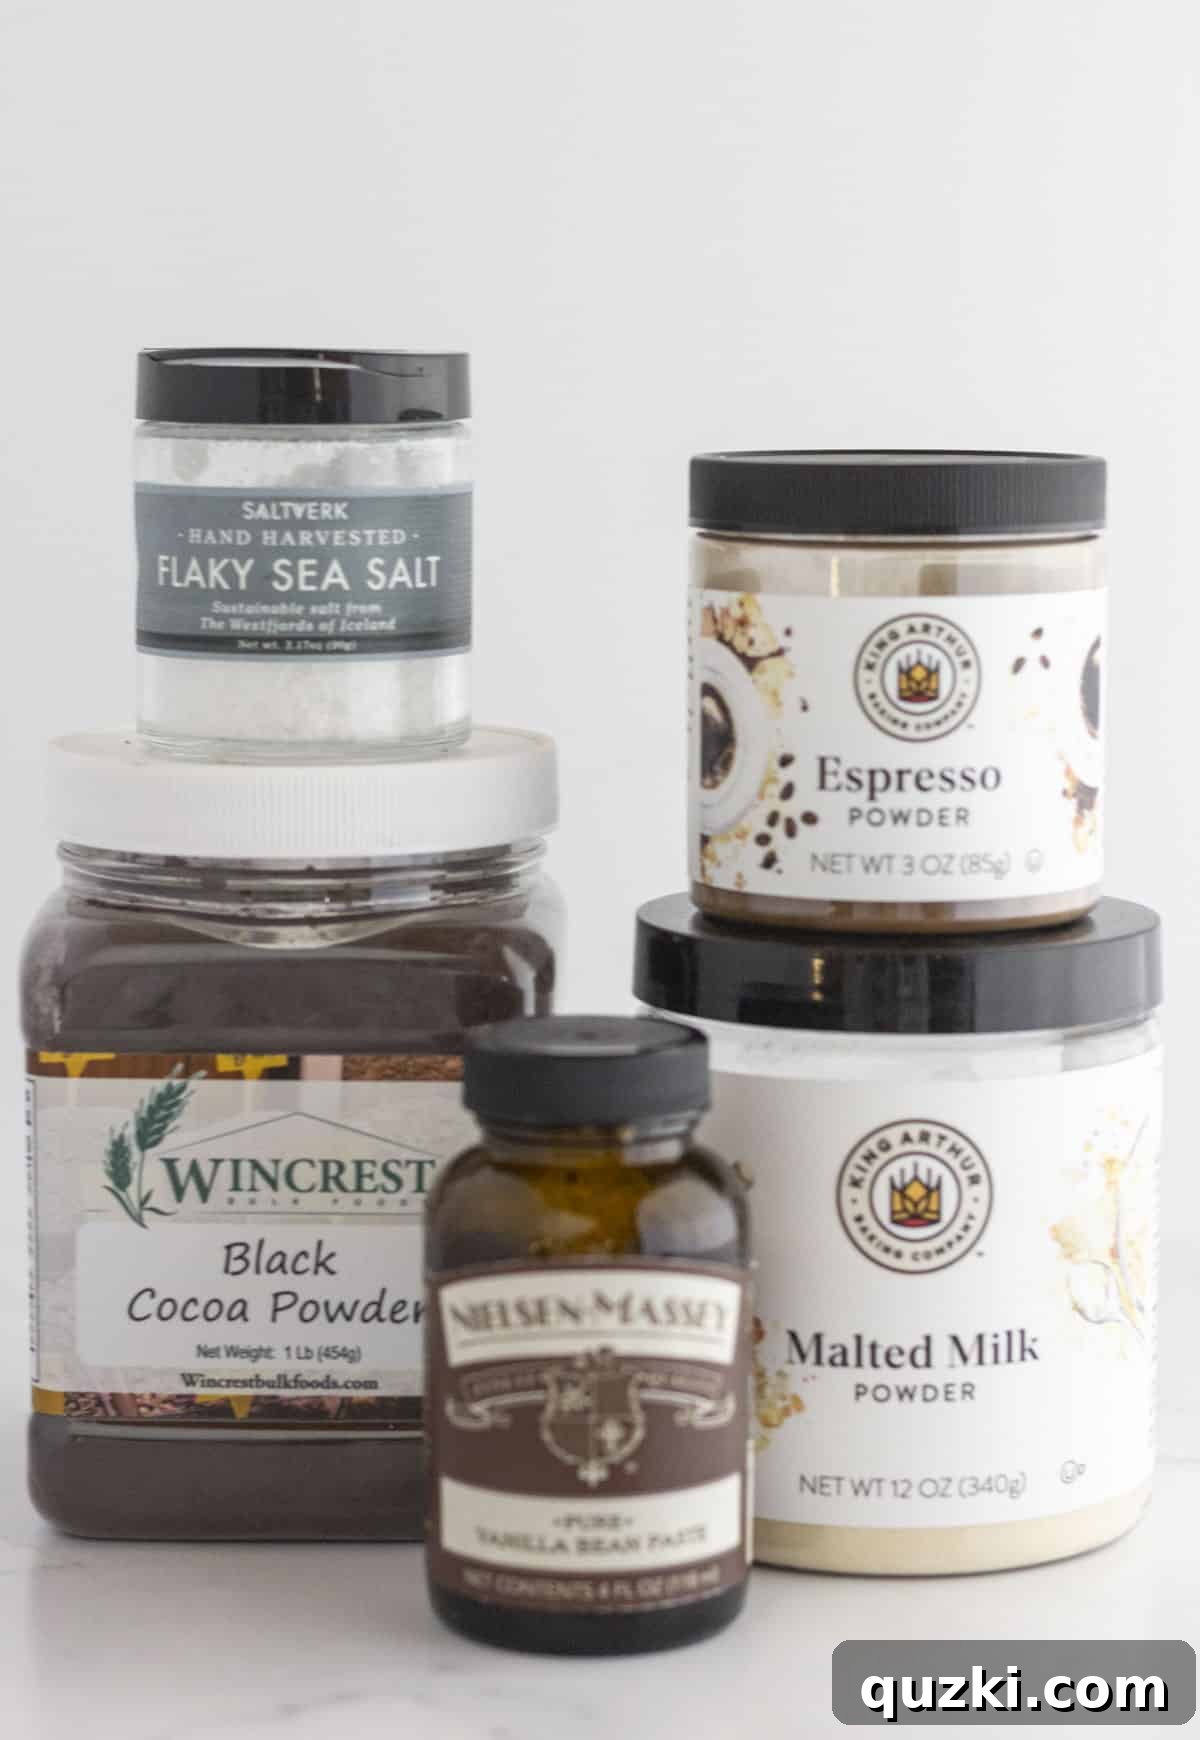
For instance, consider upgrading your vanilla. Using vanilla bean paste instead of standard vanilla extract can impart a richer, more complex vanilla flavor with visible flecks of vanilla bean, which is a new favorite ingredient for many bakers. Another delightful addition is a sprinkle of flaky sea salt on top of chocolate chip cookies just after they come out of the oven. This creates a wonderful sweet and salty finish that perfectly balances the richness of the chocolate and enhances all the other flavors. It’s especially fabulous on top of these Pecan Chocolate Chip Cookies.
Beyond the basics, explore specialty ingredients to add depth and unique notes. Items like black cocoa powder (the secret to Oreo cookies’ distinct dark color and mild chocolate flavor), malted milk powder (which adds a subtle richness and chewy texture), and a touch of espresso powder (which intensifies chocolate flavors without adding a coffee taste) are all fantastic ways to introduce sophisticated and exciting flavors to your cookies. Experiment with these premium ingredients to unlock new dimensions of deliciousness.
By incorporating these proven cookie baking tips into your routine, you are guaranteed to elevate your baking skills and consistently create the most amazing, bakery-quality cookies right in the comfort of your own kitchen. Happy baking!
Looking for Cookie Inspiration? Try These Awesome Recipes…
Discover Your Next Favorite Cookie Recipe
Cookies
Easy Snickerdoodles Cookies Recipe
Desserts
Grandma Pearl’s Super Soft Chocolate Chip Cookies
Desserts
Soft Gingerdoodles
Cookies
Peanut Butter Blossom Cookie Recipe