
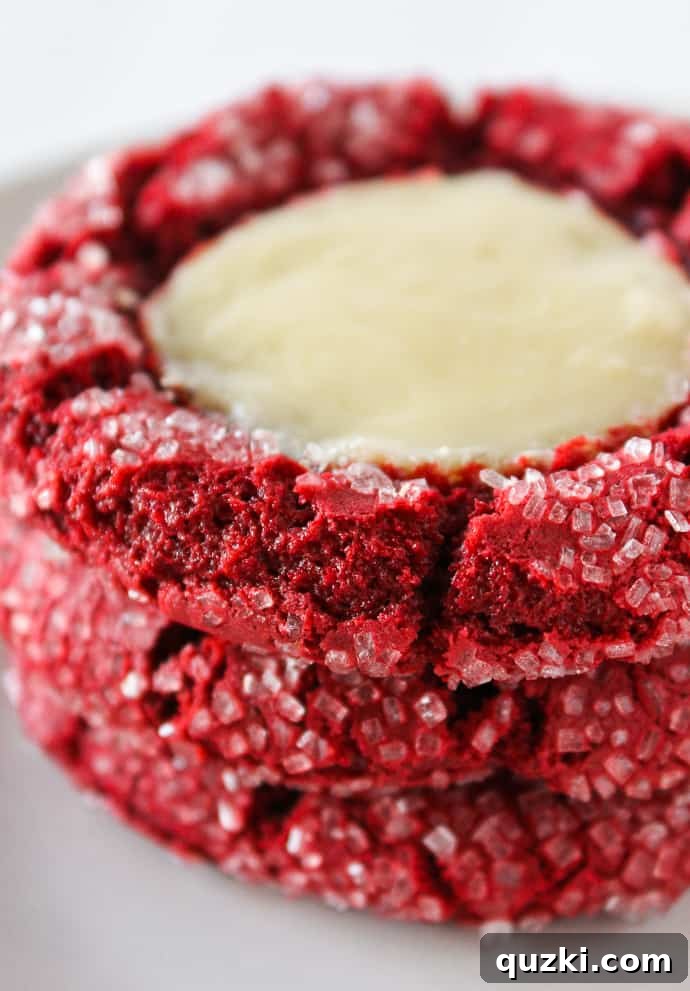
Decadent Red Velvet Cheesecake Cookies: Your Go-To Cake Mix Recipe for Any Occasion
Prepare to fall in love with these Red Velvet Cheesecake Cookies! Whether you’re celebrating Valentine’s Day, a special anniversary, or simply craving a sophisticated yet utterly simple dessert, these cookies are an absolute triumph. There’s something inherently delightful about a treat that perfectly matches the festive spirit of an occasion, and the vibrant red hue of these cookies certainly delivers. What makes them even more appealing is their incredible ease of preparation, thanks to the clever use of a cake mix. But the true magic happens when a luscious, creamy cheesecake filling is introduced, transforming a simple cookie into an extraordinary indulgence. Even the most ardent red velvet aficionados, like my dear Darb, will be captivated by this brilliant combination. Keep reading to unlock the secrets to creating these show-stopping Red Velvet Cheesecake Cookies for your next celebration or anytime you need a sweet escape.
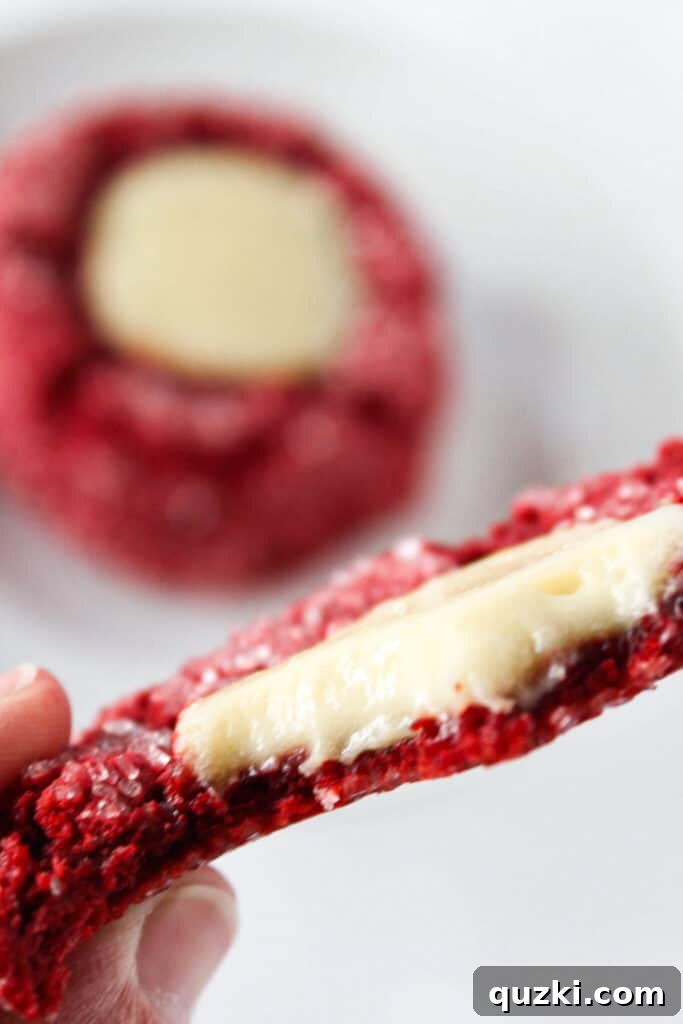
Red Velvet and Cheesecake: A Match Made in Dessert Heaven
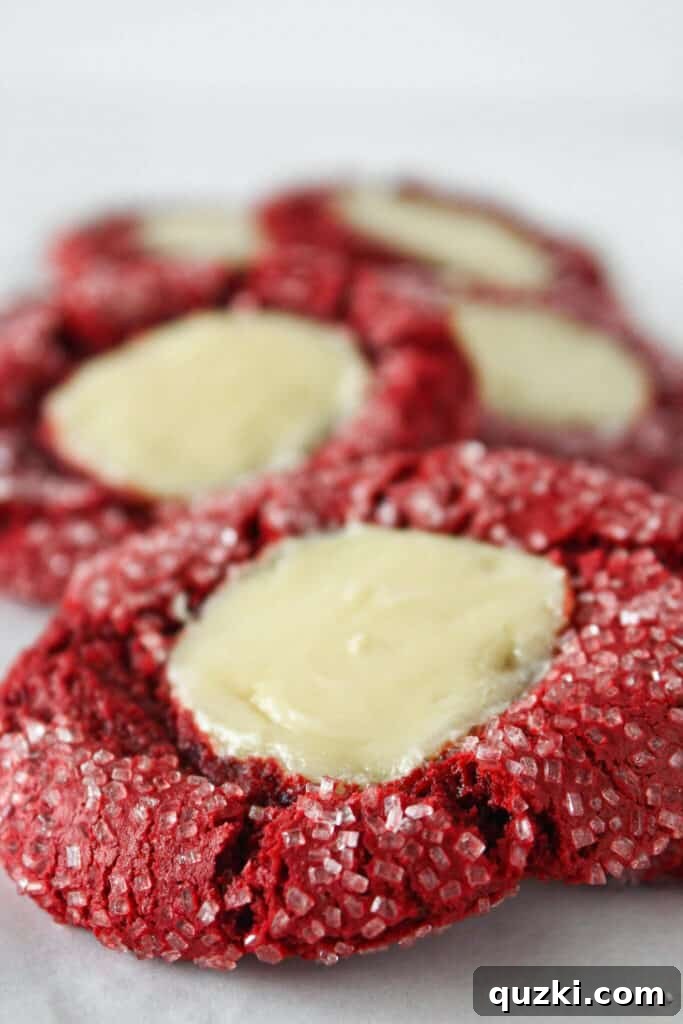
The culinary world is full of delightful pairings, but few are as iconic and universally adored as red velvet and cheesecake. This dynamic duo offers a harmony of textures and flavors that is simply unparalleled. You might have previously encountered my Red Velvet Kiss Cookies or the delightful Red Velvet Sandwich Cookies, but these cheesecake-filled wonders might just claim the top spot as my absolute favorite. They evoke the nostalgic pleasure of indulging in the famous Red Velvet Cheesecake from The Cheesecake Factory – a truly sublime experience. Imagine that same velvety soft red velvet cake, combined with a rich, tangy, and incredibly creamy cheesecake layer, now encapsulated in a convenient, bite-sized cookie form. It’s nothing short of culinary genius!
The true beauty of this recipe lies in its approachable nature. By starting with a readily available cake mix, we cut down significantly on preparation time without sacrificing flavor or quality. This means you don’t need to reserve a precious weekend afternoon for baking; these red velvet cheesecake cookies can be whipped up on a busy weeknight, offering a gourmet experience with minimal effort. Their simplicity ensures that anyone, regardless of their baking prowess, can achieve impressive results. So, whether you’re a seasoned baker or a kitchen novice, get ready to create cookies that taste like they came from a high-end bakery, right in your own home.
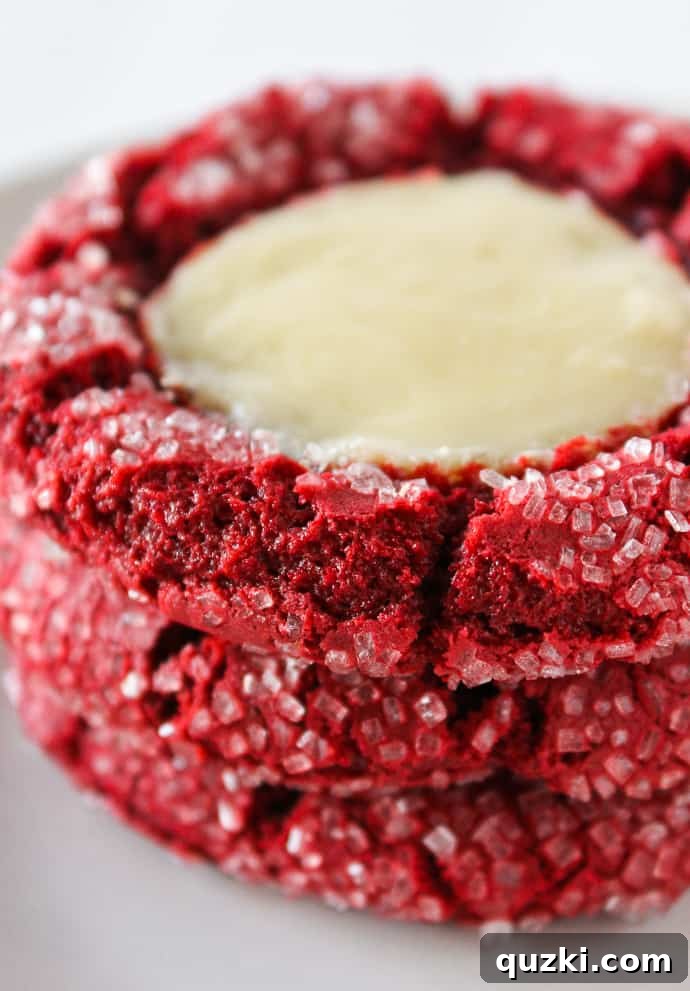
Key Ingredients for Your Irresistible Red Velvet Cheesecake Cookies
Crafting these delectable Red Velvet Cheesecake Cookies requires a handful of accessible ingredients, many of which you likely already have in your pantry. Each component plays a vital role in achieving that perfect balance of flavor, texture, and visual appeal:
- Red Velvet Cake Mix: The cornerstone of these cookies, a high-quality red velvet cake mix provides the quintessential deep red color and classic cocoa-vanilla flavor, all while simplifying the dry ingredient preparation. It’s the perfect shortcut for consistent, moist cookie dough every time.
- Eggs: Essential binders, eggs lend structure to both the cookie dough and the cheesecake filling. In the cookies, they contribute to a soft, chewy texture, while in the filling, they ensure a smooth, custardy consistency that sets beautifully during baking.
- Vegetable Oil: This neutral oil adds much-needed moisture to the cookie dough, resulting in an incredibly tender crumb. It helps keep the cookies soft and prevents them from drying out, ensuring a delightful melt-in-your-mouth experience with every bite.
- Sanding Sugar (Optional but Recommended): Found in the baking or sprinkle aisle, sanding sugar features larger, sparkling crystals compared to granulated sugar. Rolling the cookie dough in it before baking creates a stunning visual appeal and adds a lovely, subtle crunch to the exterior, contrasting beautifully with the soft interior. If unavailable, granulated sugar can be used for a slightly less dramatic but still sweet finish.
- Cream Cheese: The star of our luscious filling! Full-fat cream cheese is crucial for achieving that characteristic tangy, rich, and incredibly smooth cheesecake texture. Ensure it’s softened to room temperature for effortless mixing and a lump-free result.
- Granulated Sugar: Providing the perfect amount of sweetness to balance the tang of the cream cheese, granulated sugar is blended into the cheesecake filling to create that classic dessert flavor profile.
- Vanilla Extract: A touch of pure vanilla extract elevates the flavors in both the cookie and especially the cheesecake filling. It rounds out the richness, adding a warm, aromatic depth that truly makes the filling sing.
How to Master Red Velvet Cheesecake Cookies with a Cake Mix
Creating these delightful cookies is a straightforward process, broken down into simple, manageable steps. Let’s get baking!
Preparing the Red Velvet Cookie Dough:
- Preheat and Prepare: Start by preheating your oven to 350°F (175°C). Line a baking sheet with a silicone baking mat or parchment paper. This crucial step prevents sticking and ensures even baking, making cleanup a breeze.
- Whisk the Cake Mix: In a large mixing bowl, begin by thoroughly whisking your red velvet cake mix. This might seem like an extra step, but it’s vital for breaking up any potential lumps that could otherwise lead to an inconsistent cookie dough texture. A smooth cake mix foundation is key.
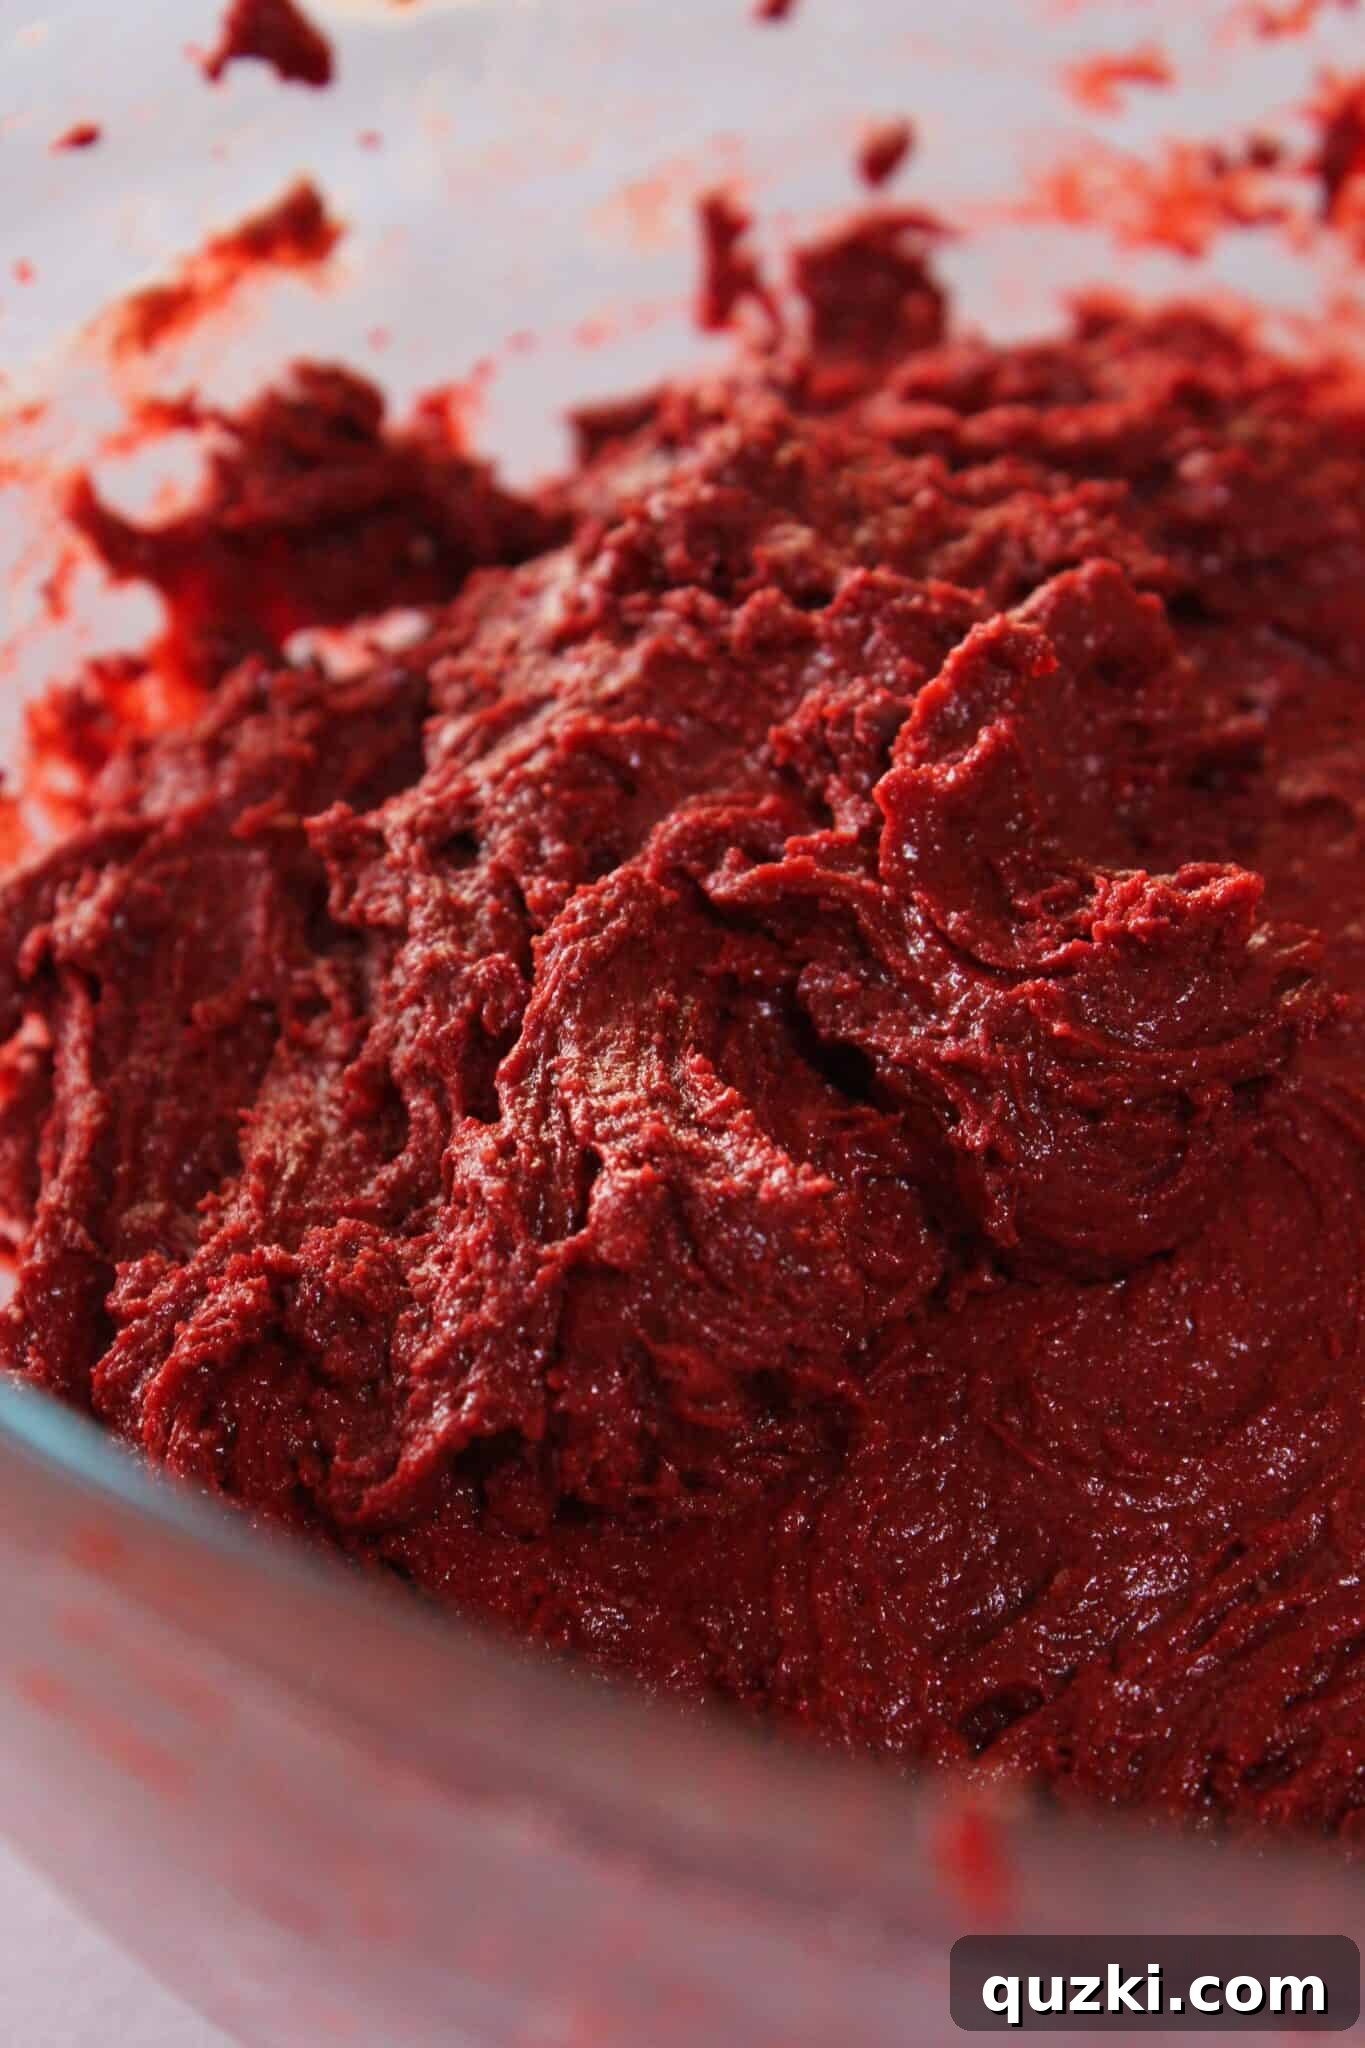
- Combine Wet and Dry: Add the eggs and vegetable oil to the whisked cake mix. Using a hand-held mixer on low speed, or a sturdy spoon for manual mixing, combine these ingredients. Continue mixing until everything is fully incorporated and forms a thick, cohesive dough.
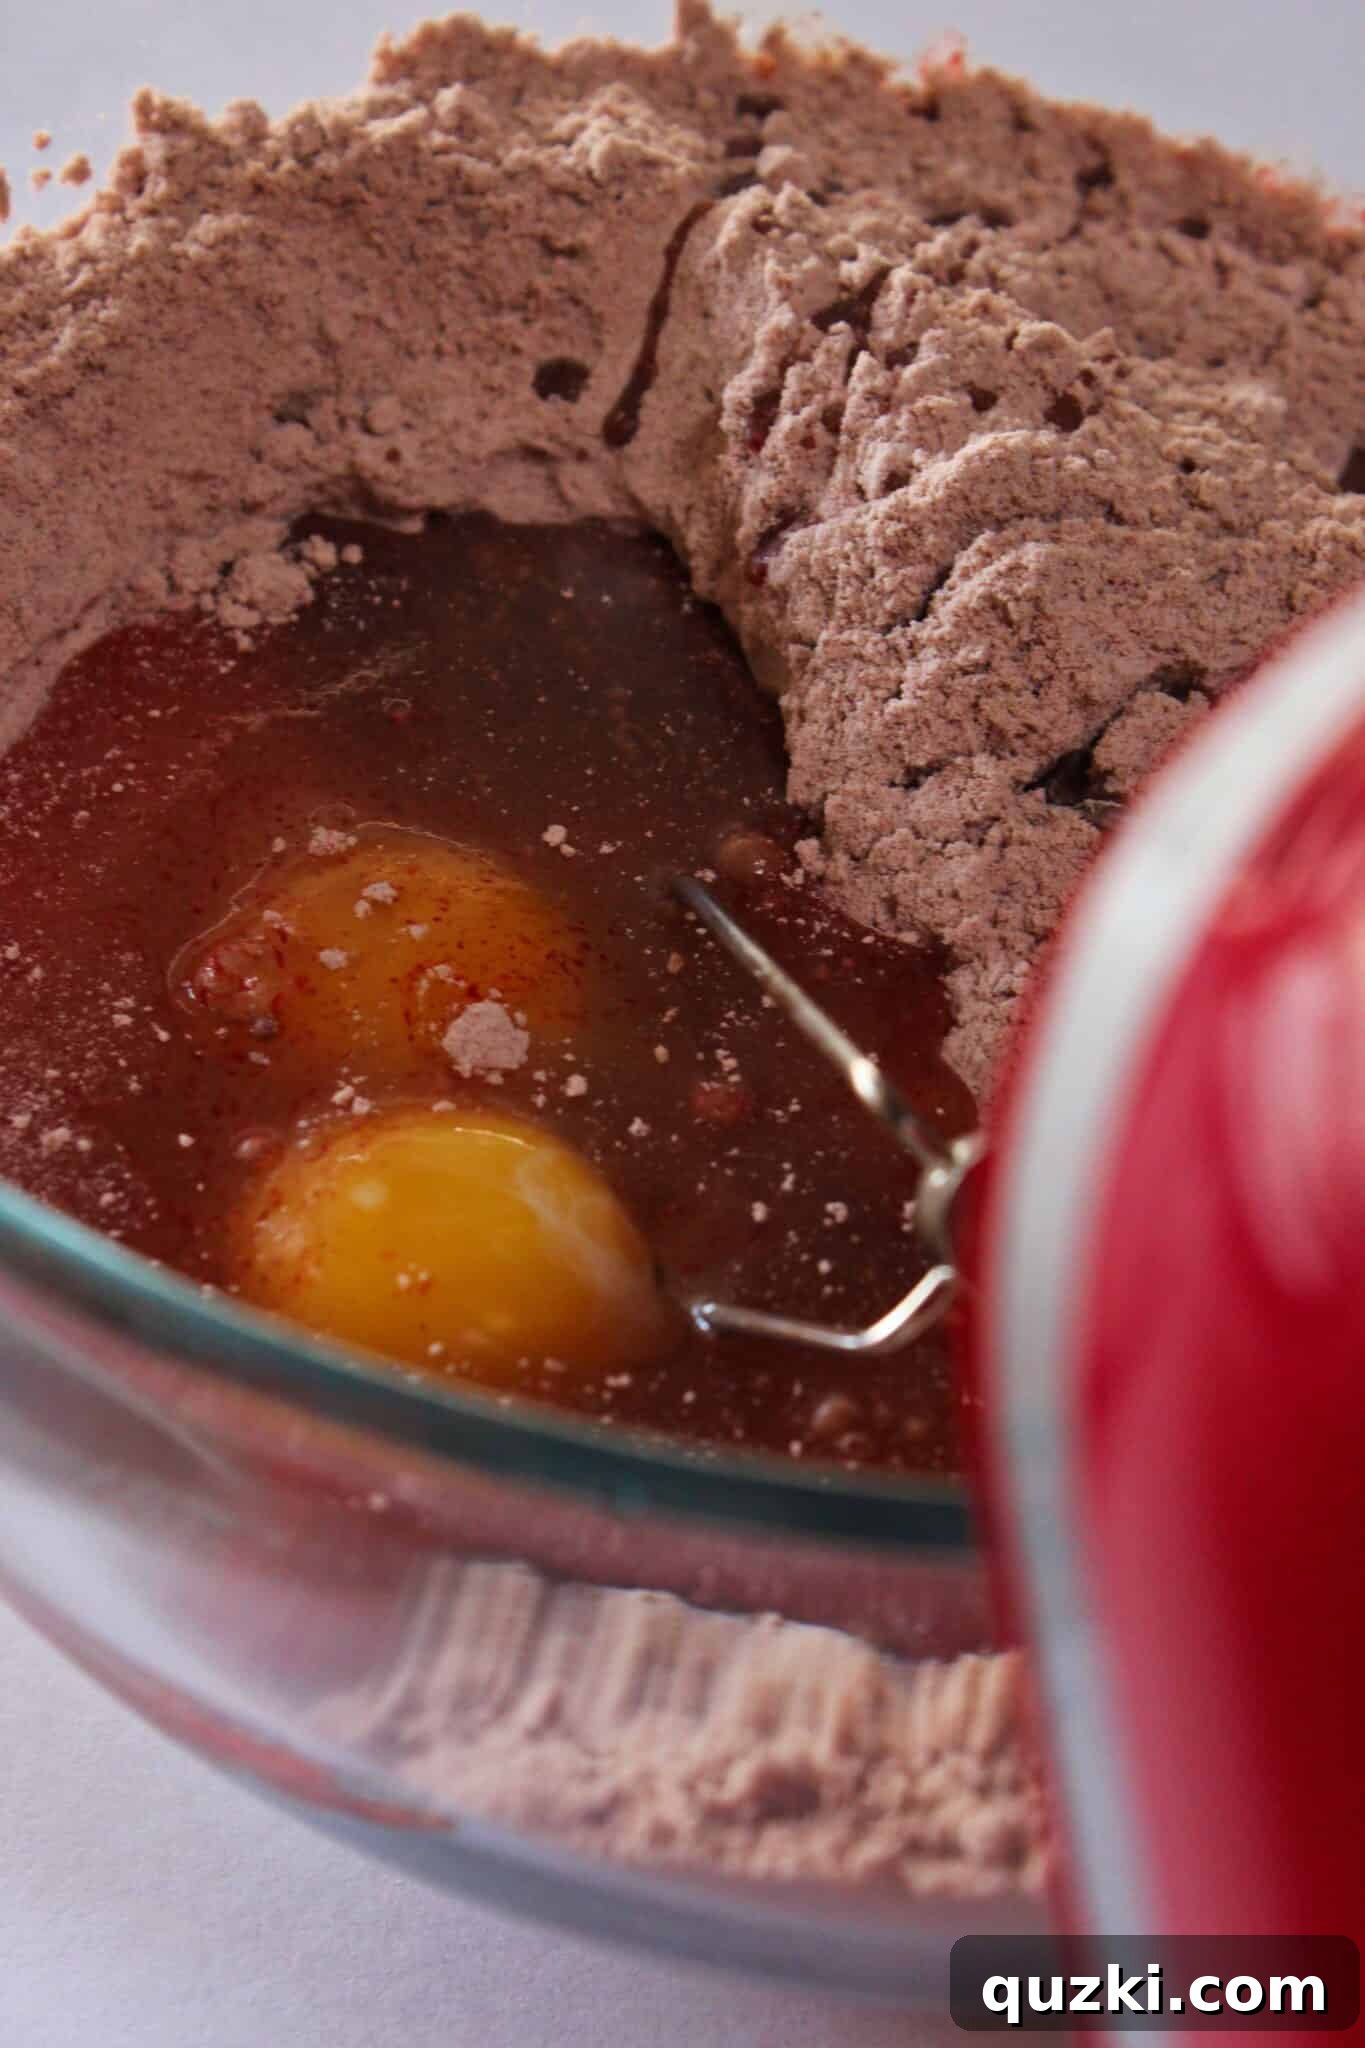
Don’t be alarmed if the red velvet cookie dough feels quite thick and sticky; this is precisely the desired consistency for these cookies. The rich, deep red color will already be shining through, making them visually perfect for any festive occasion.
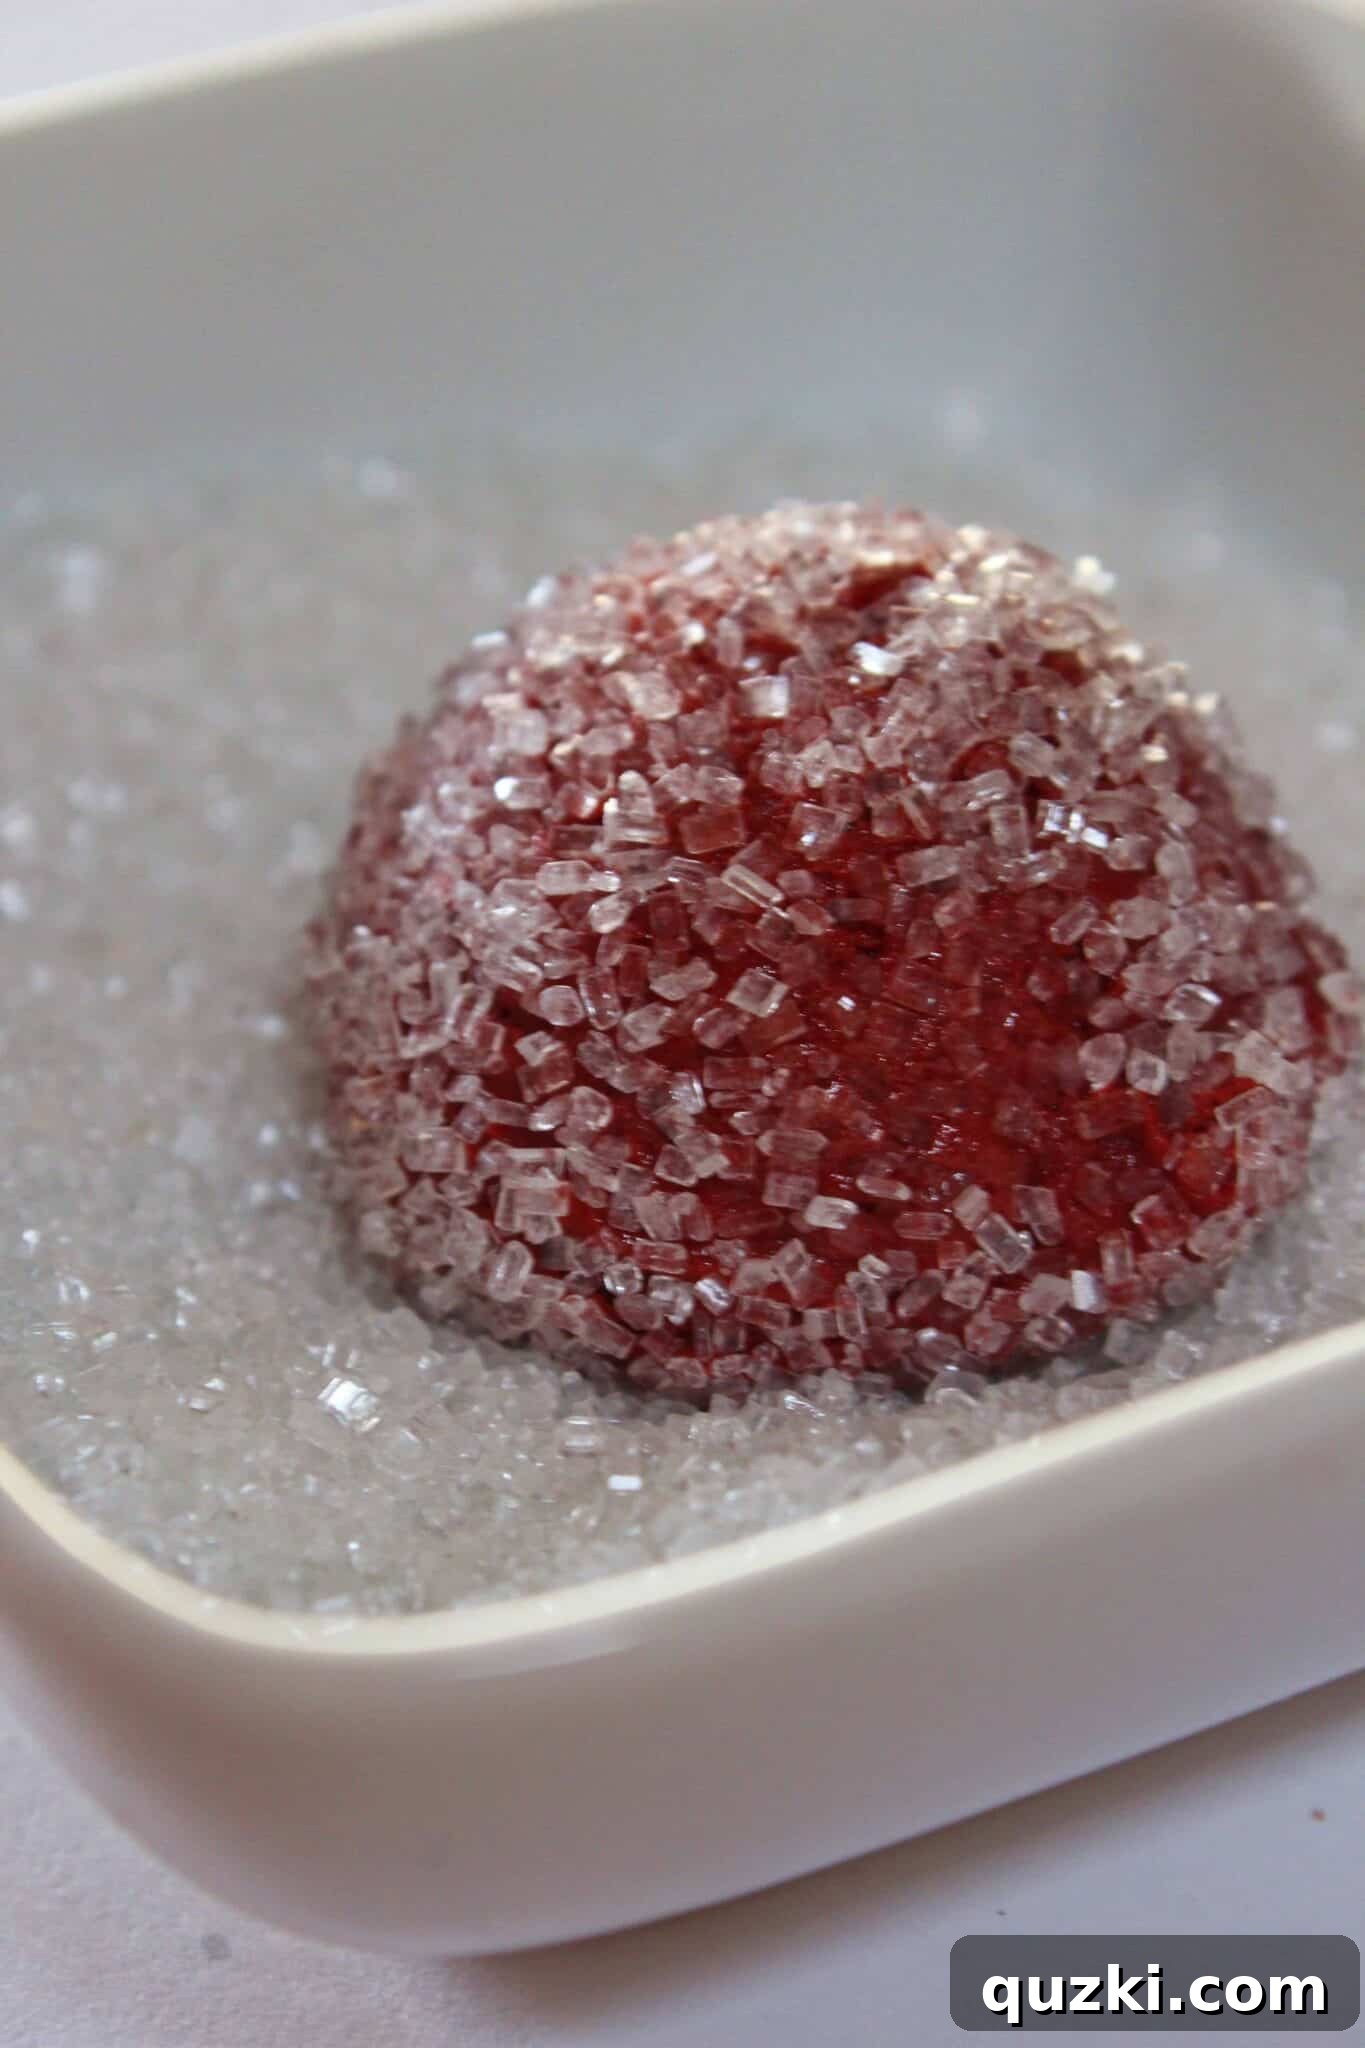
- Shape and Sugar Coat: Using a cookie scoop (or a generous tablespoon), scoop portions of the dough. Gently roll each dough ball in a bowl filled with sanding sugar. Sanding sugar, typically found near other sprinkles in the baking aisle, features larger crystals that impart a beautiful sparkle and textural crunch. If sanding sugar isn’t available, granulated sugar will work just fine, offering a sweet coating.
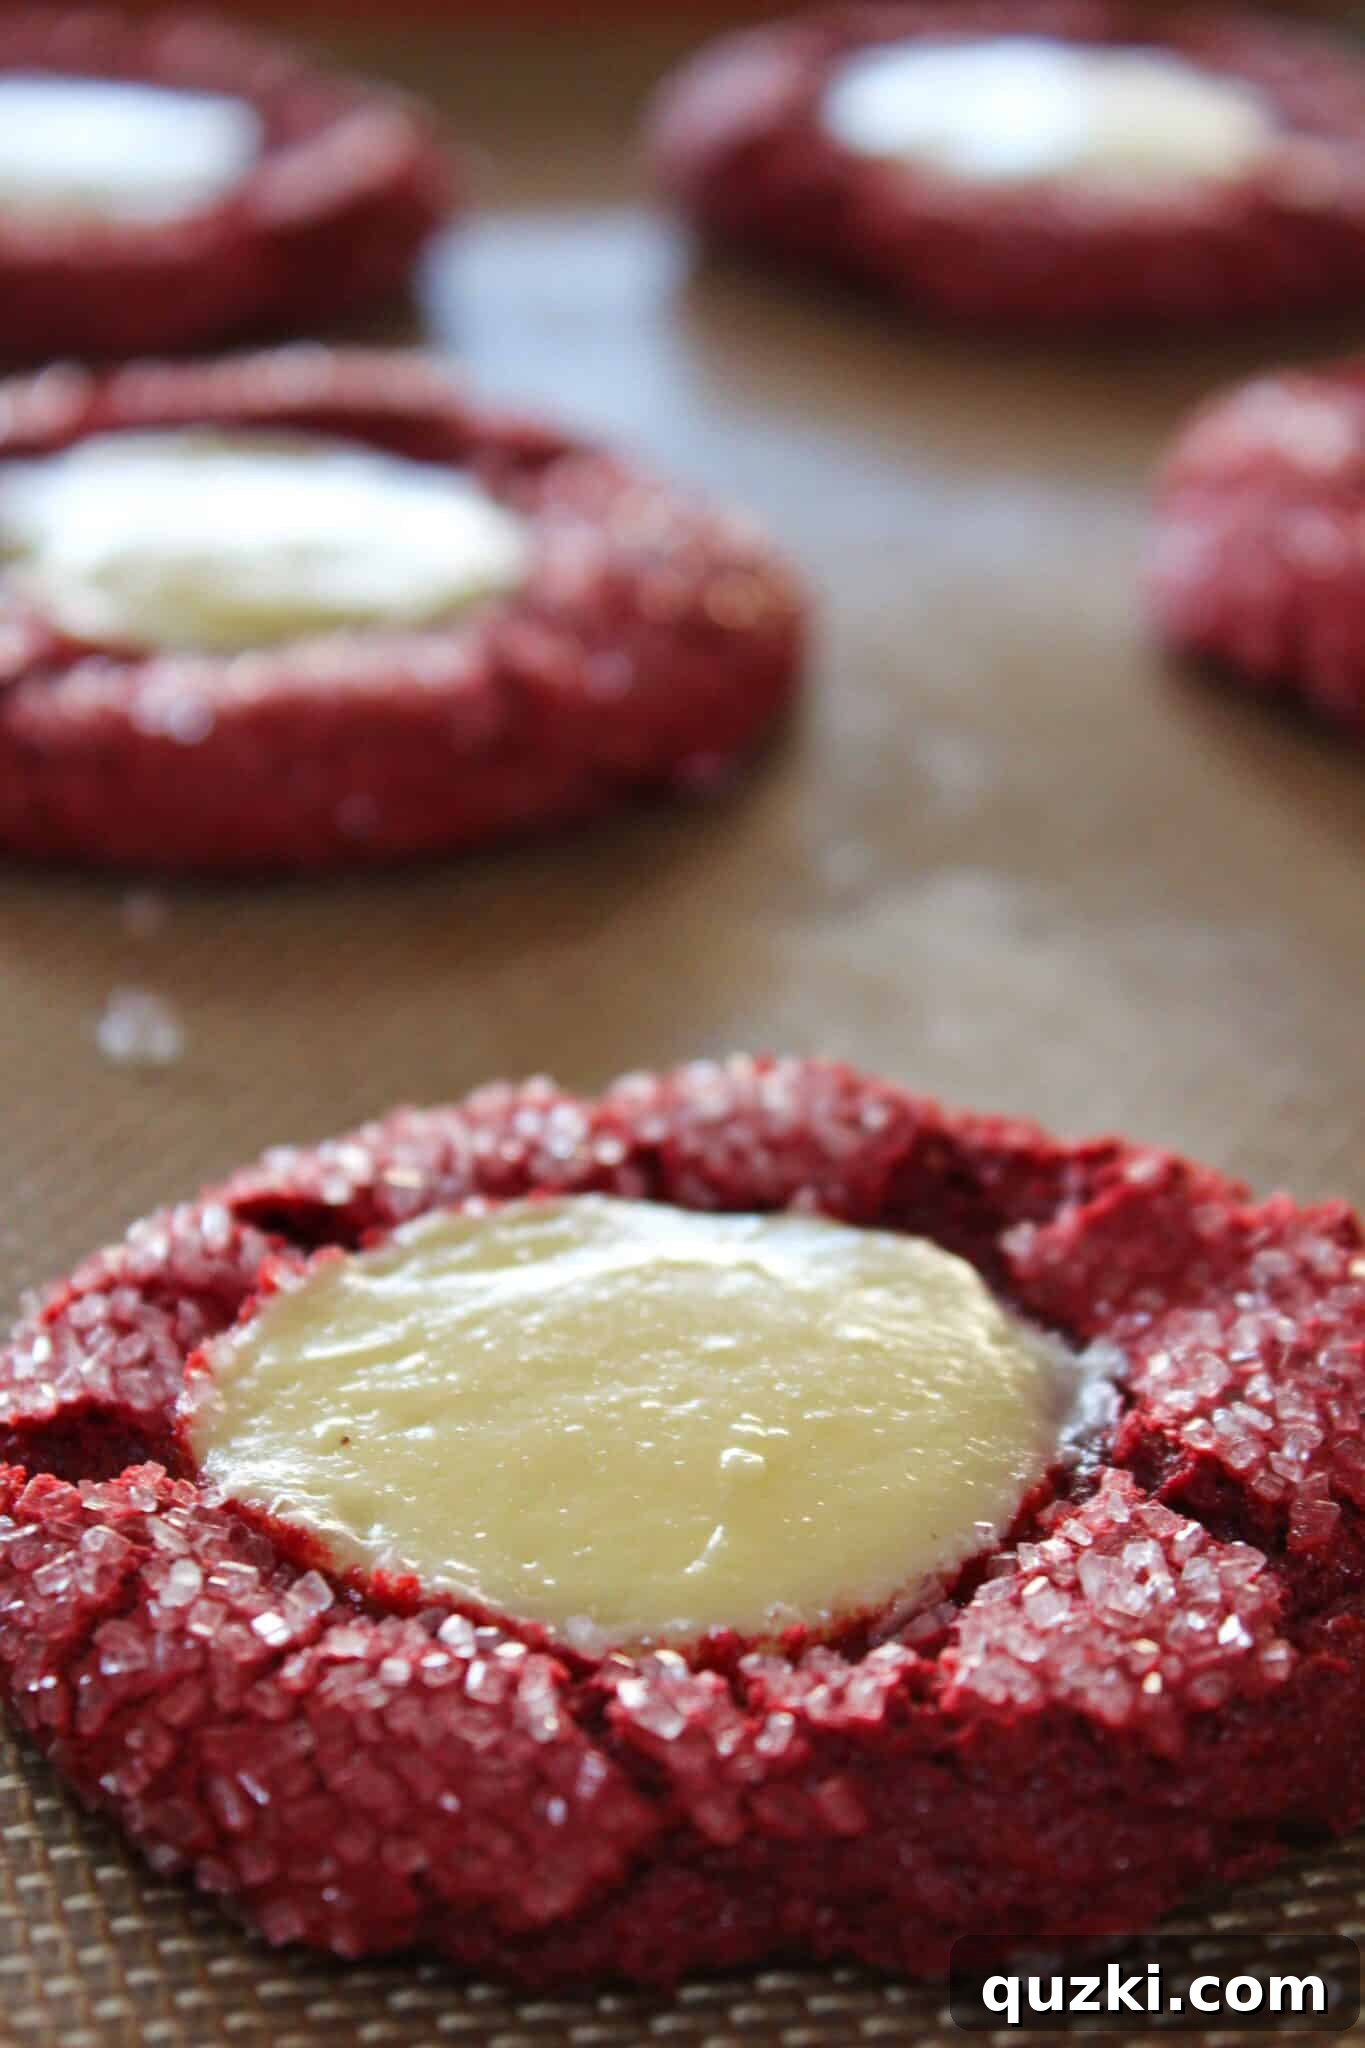
- First Bake & Indentations: Arrange the sugar-coated cookies onto your prepared baking sheet, leaving some space between each. Bake for 6-7 minutes. After this initial bake, remove the cookies from the oven. While they are still warm and soft, gently use the back of your cookie scoop (or a rounded teaspoon) to create a shallow indentation in the center of each cookie. Be careful not to press too hard, as you want to create a pocket for the filling, not poke all the way through the cookie.
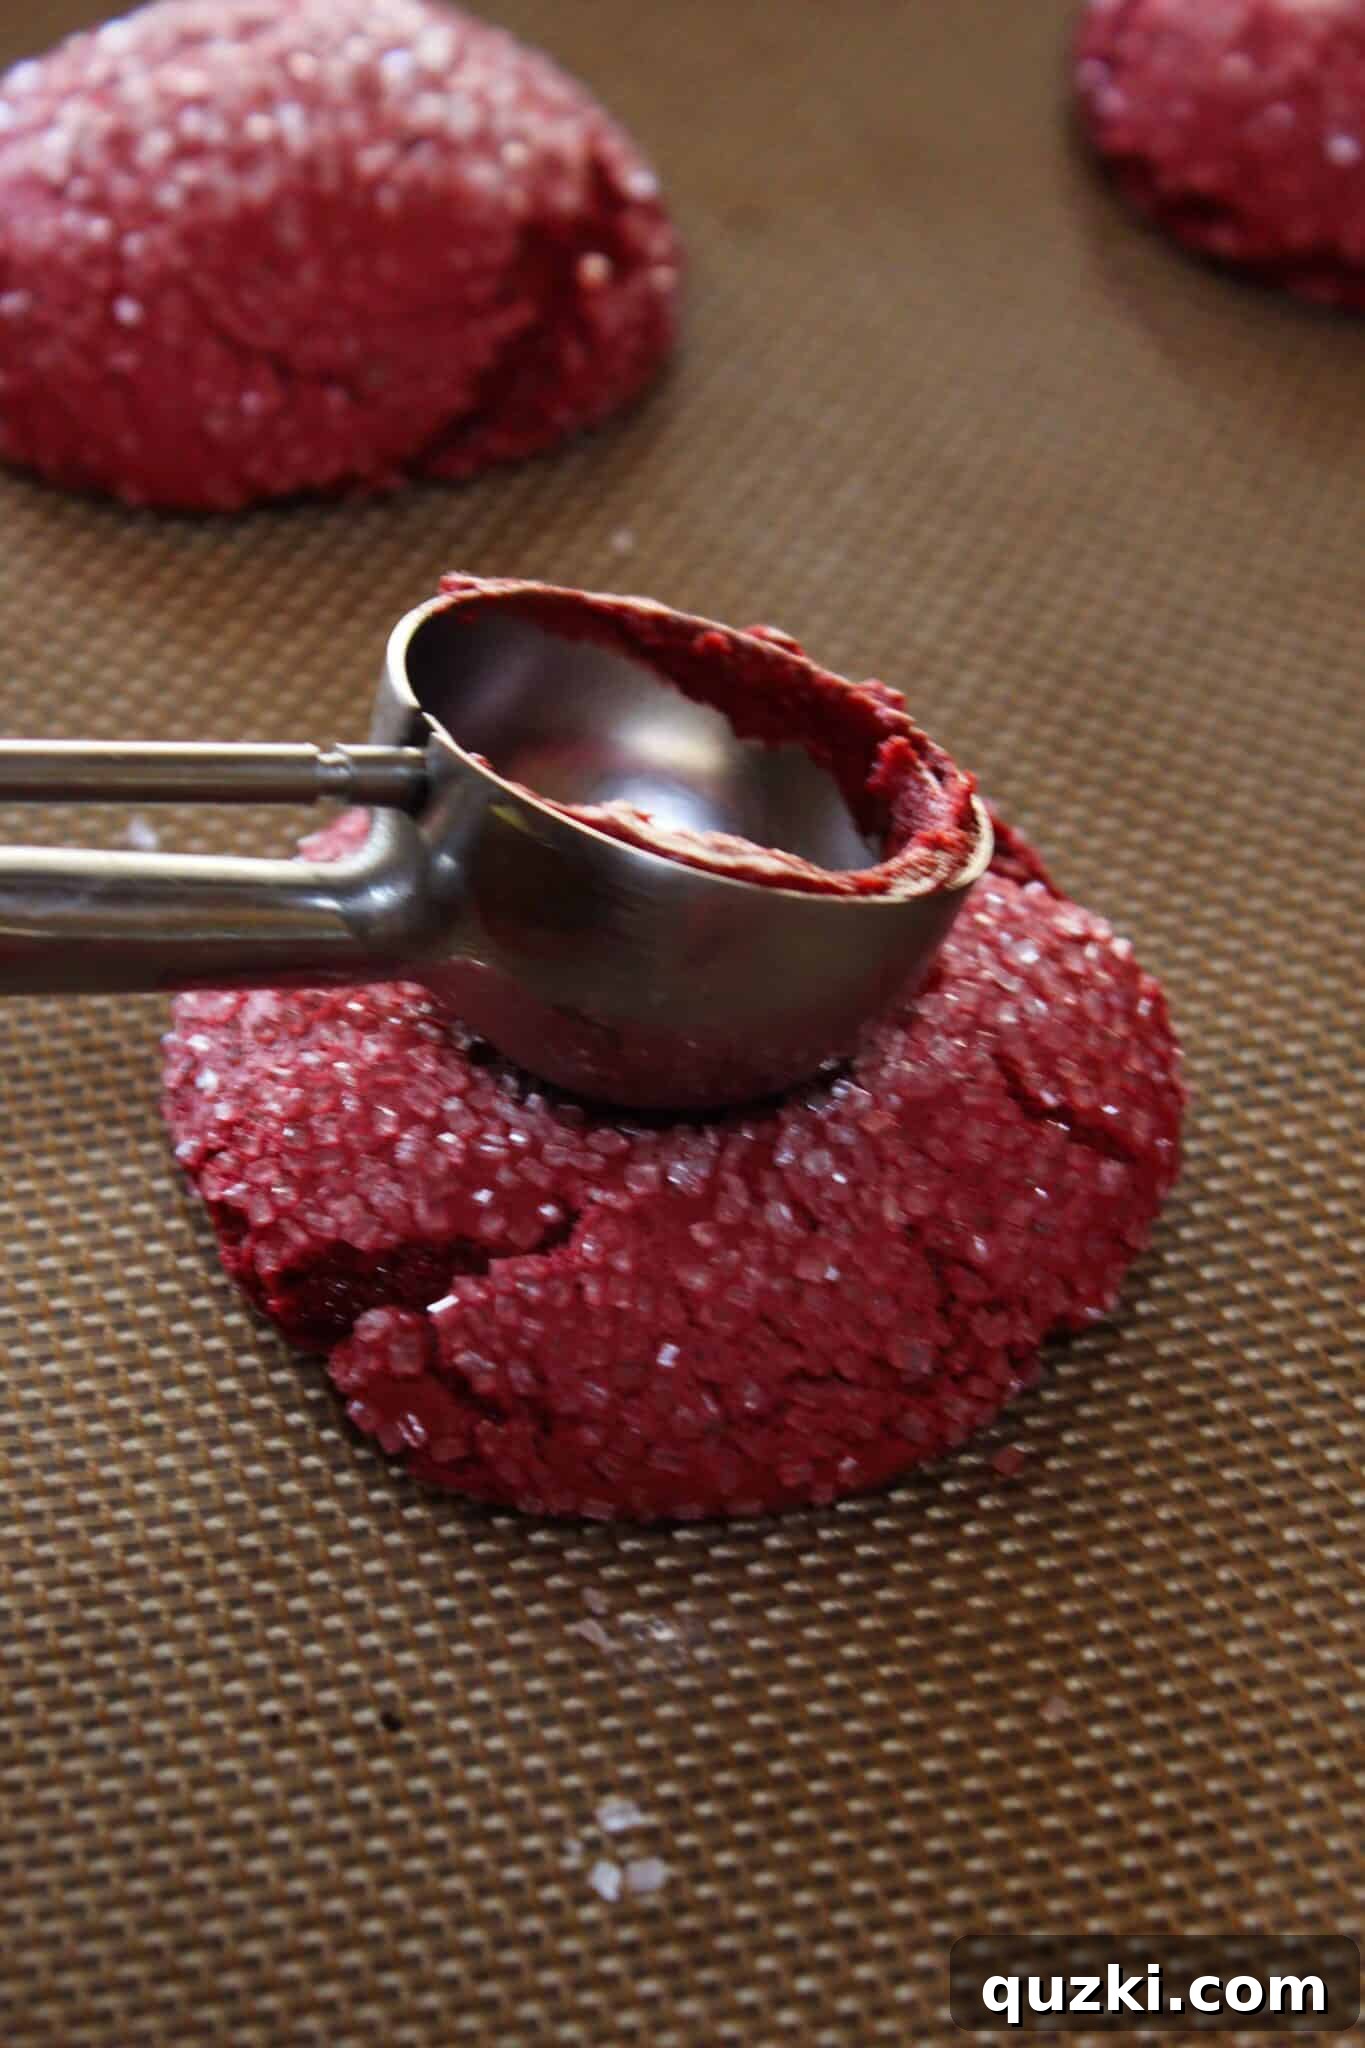
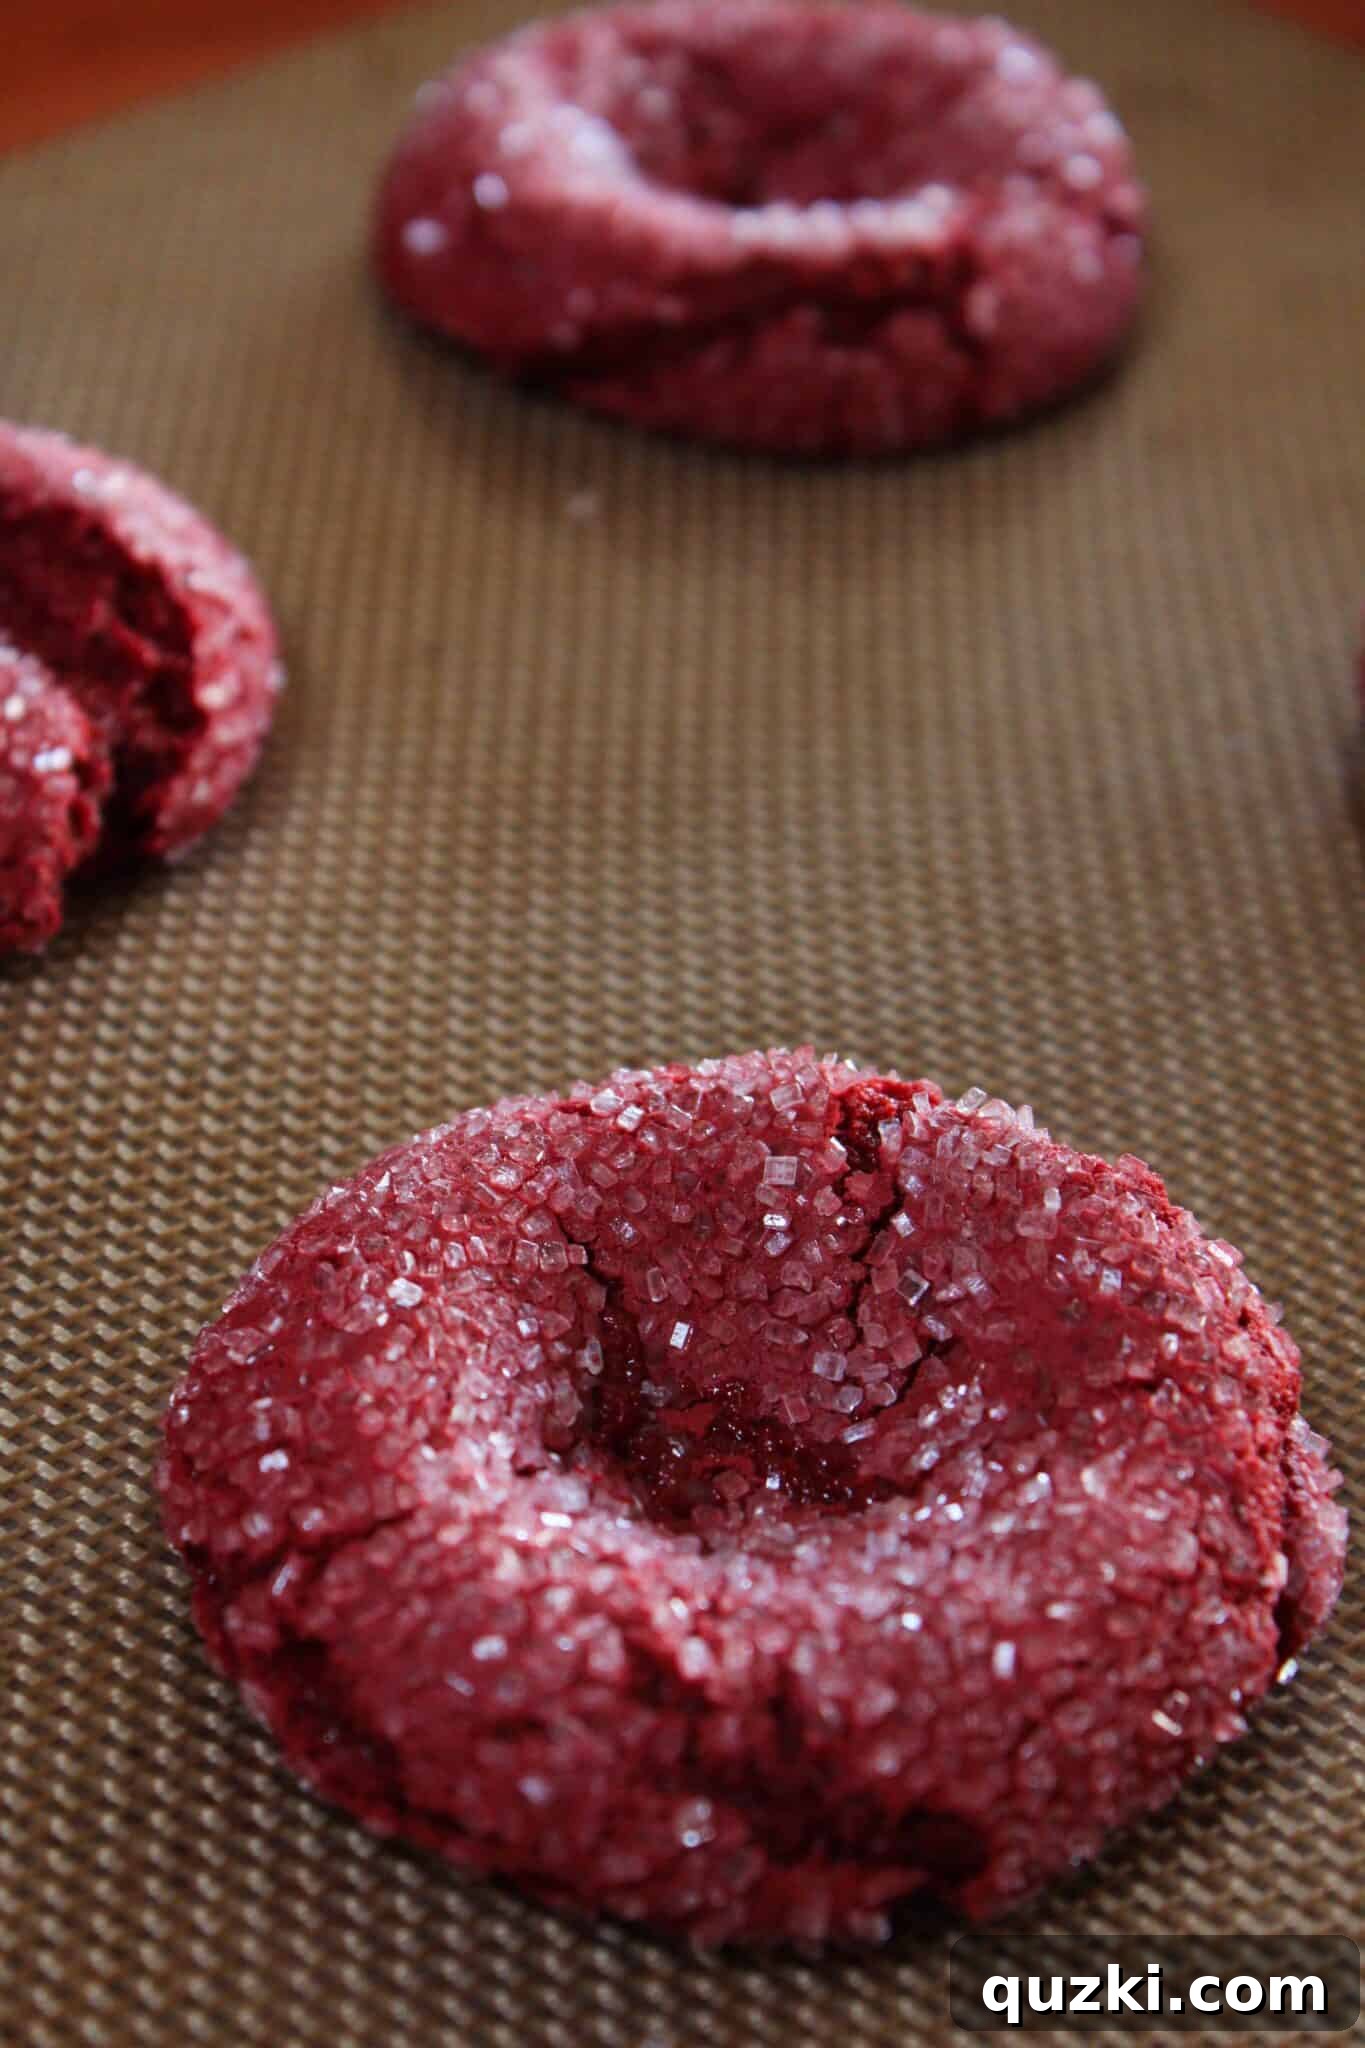
Now, you have the perfect little nests ready to cradle that exquisite cheesecake filling.
Crafting the Creamy Red Velvet Cheesecake Filling:
- Mix the Base: While your cookies are undergoing their first bake, prepare the cheesecake filling. In a separate medium bowl, combine the softened cream cheese, granulated sugar, egg yolk, and vanilla extract.
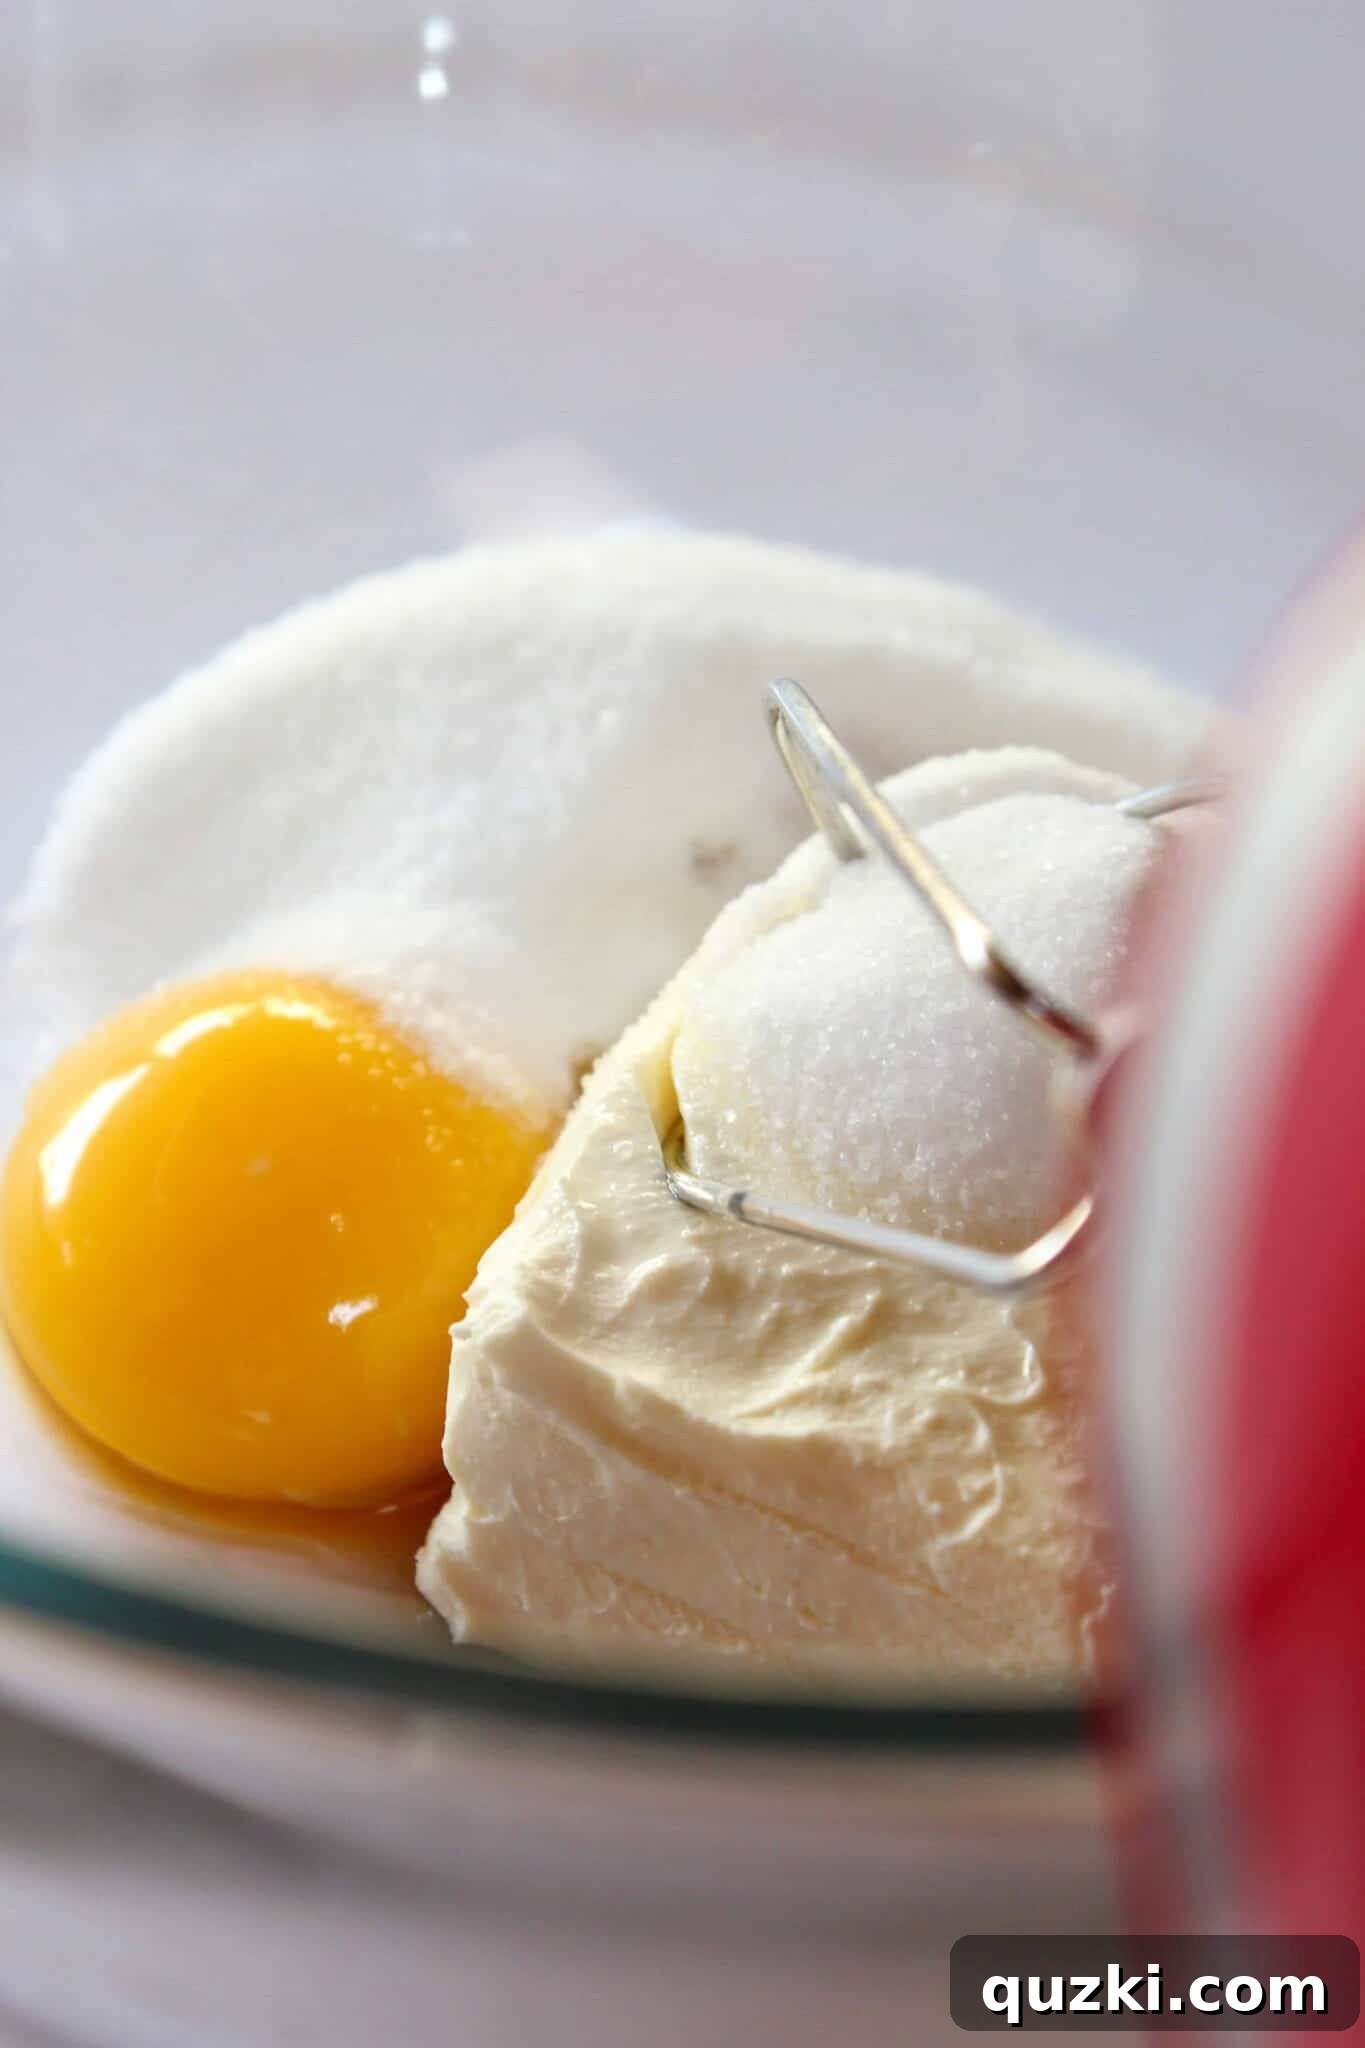
- Achieve Smoothness: Use a hand-held mixer (or mix vigorously by hand) to blend these ingredients until they are completely smooth, creamy, and free of any lumps. This step is crucial for achieving that signature silky cheesecake texture.
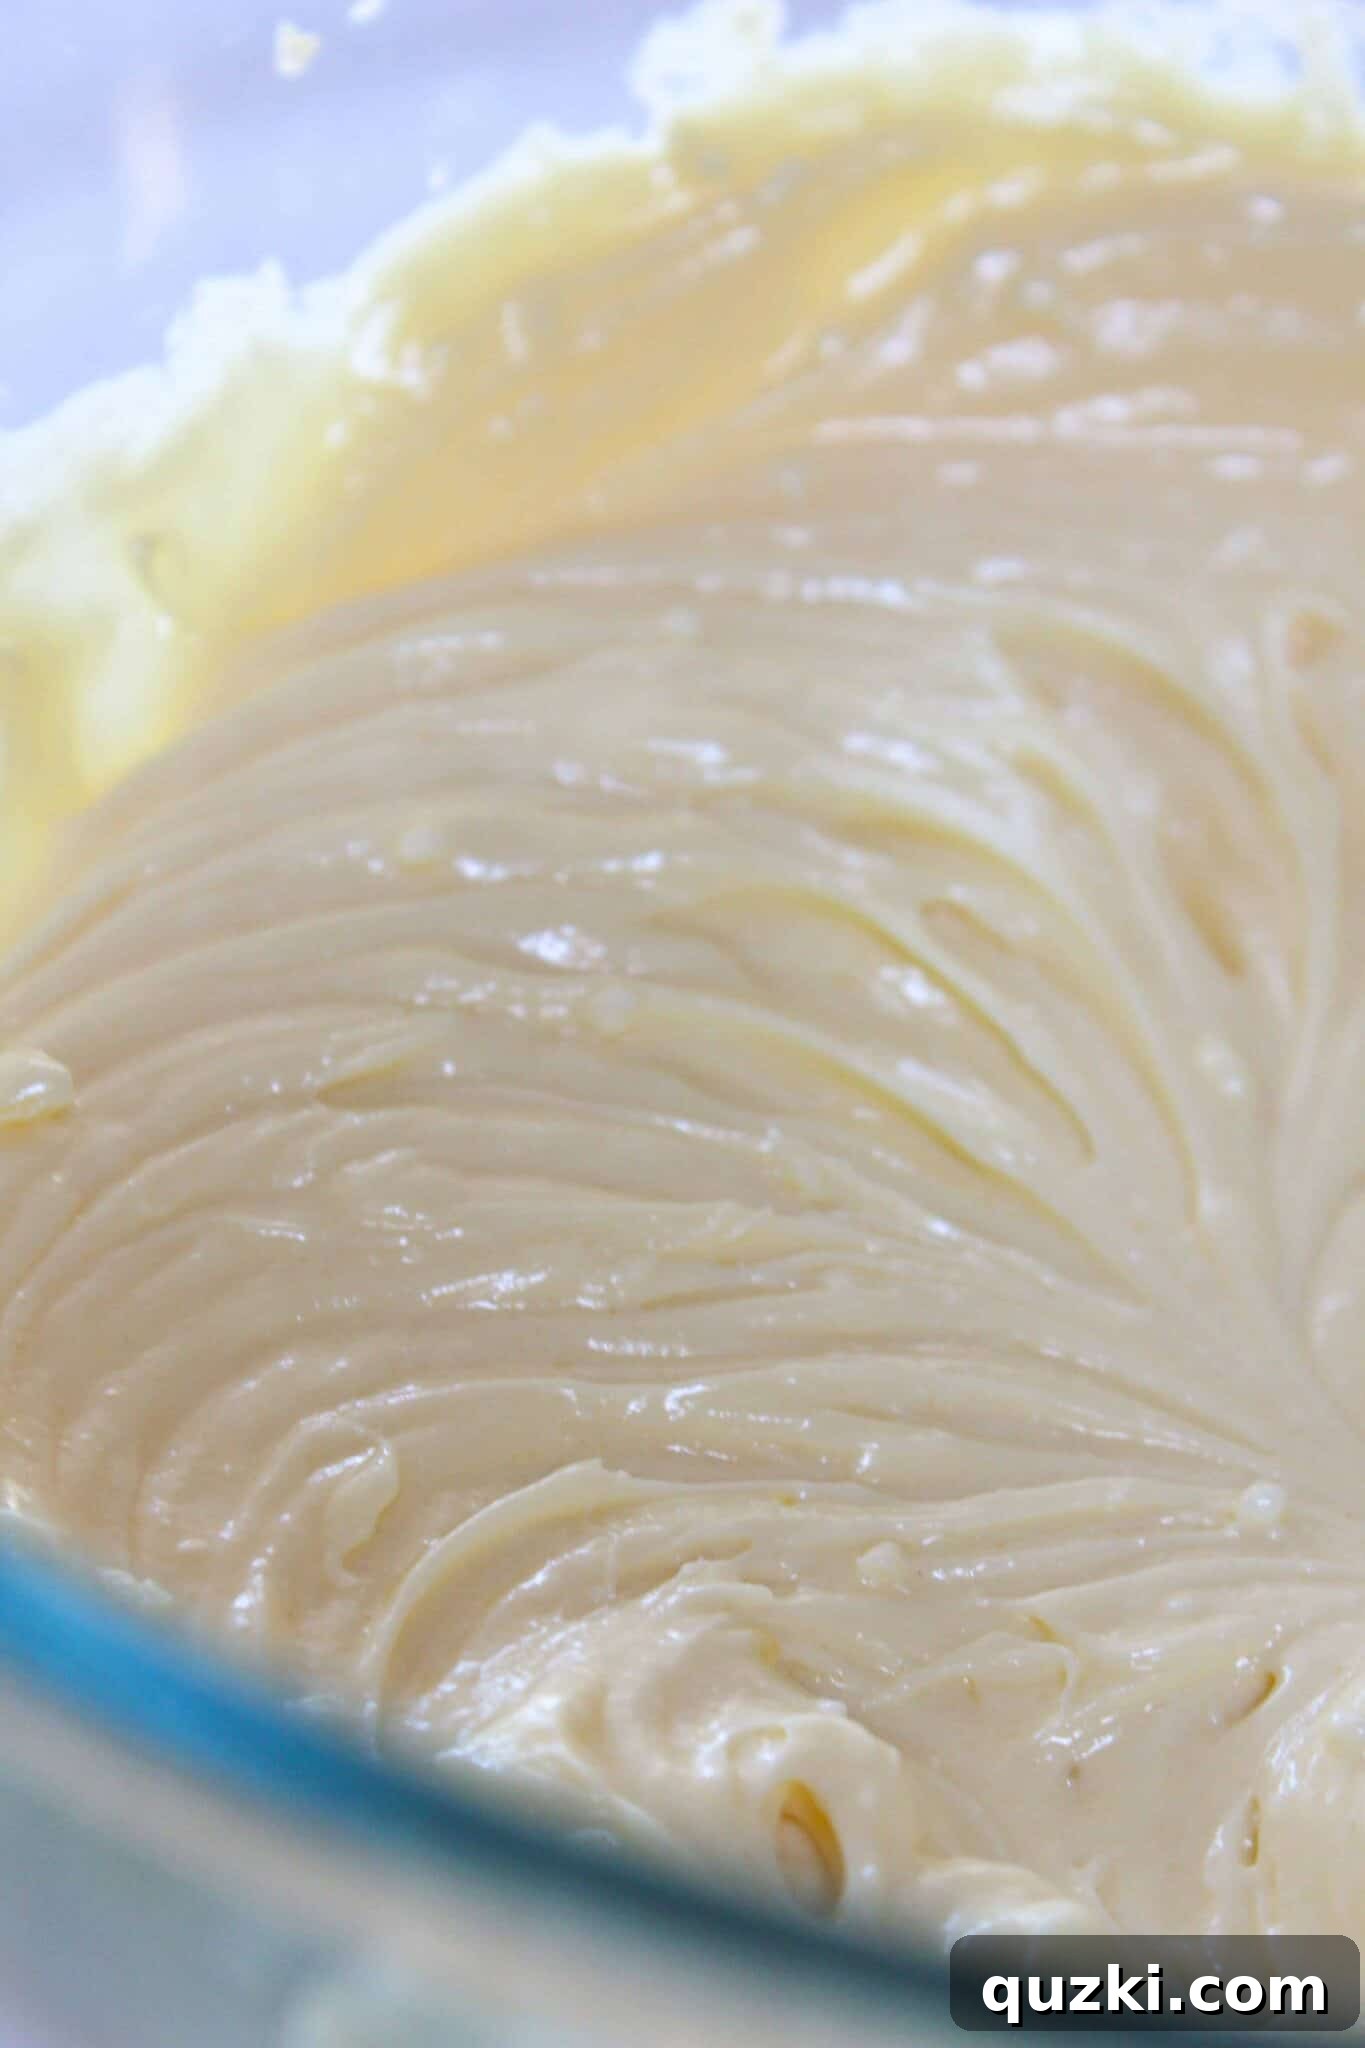
Assembling and Final Baking:
- Fill the Cookies: Take a smaller scoop (a teaspoon works perfectly) and carefully spoon a dollop of the smooth cheesecake filling into the indentation of each partially baked red velvet cookie.
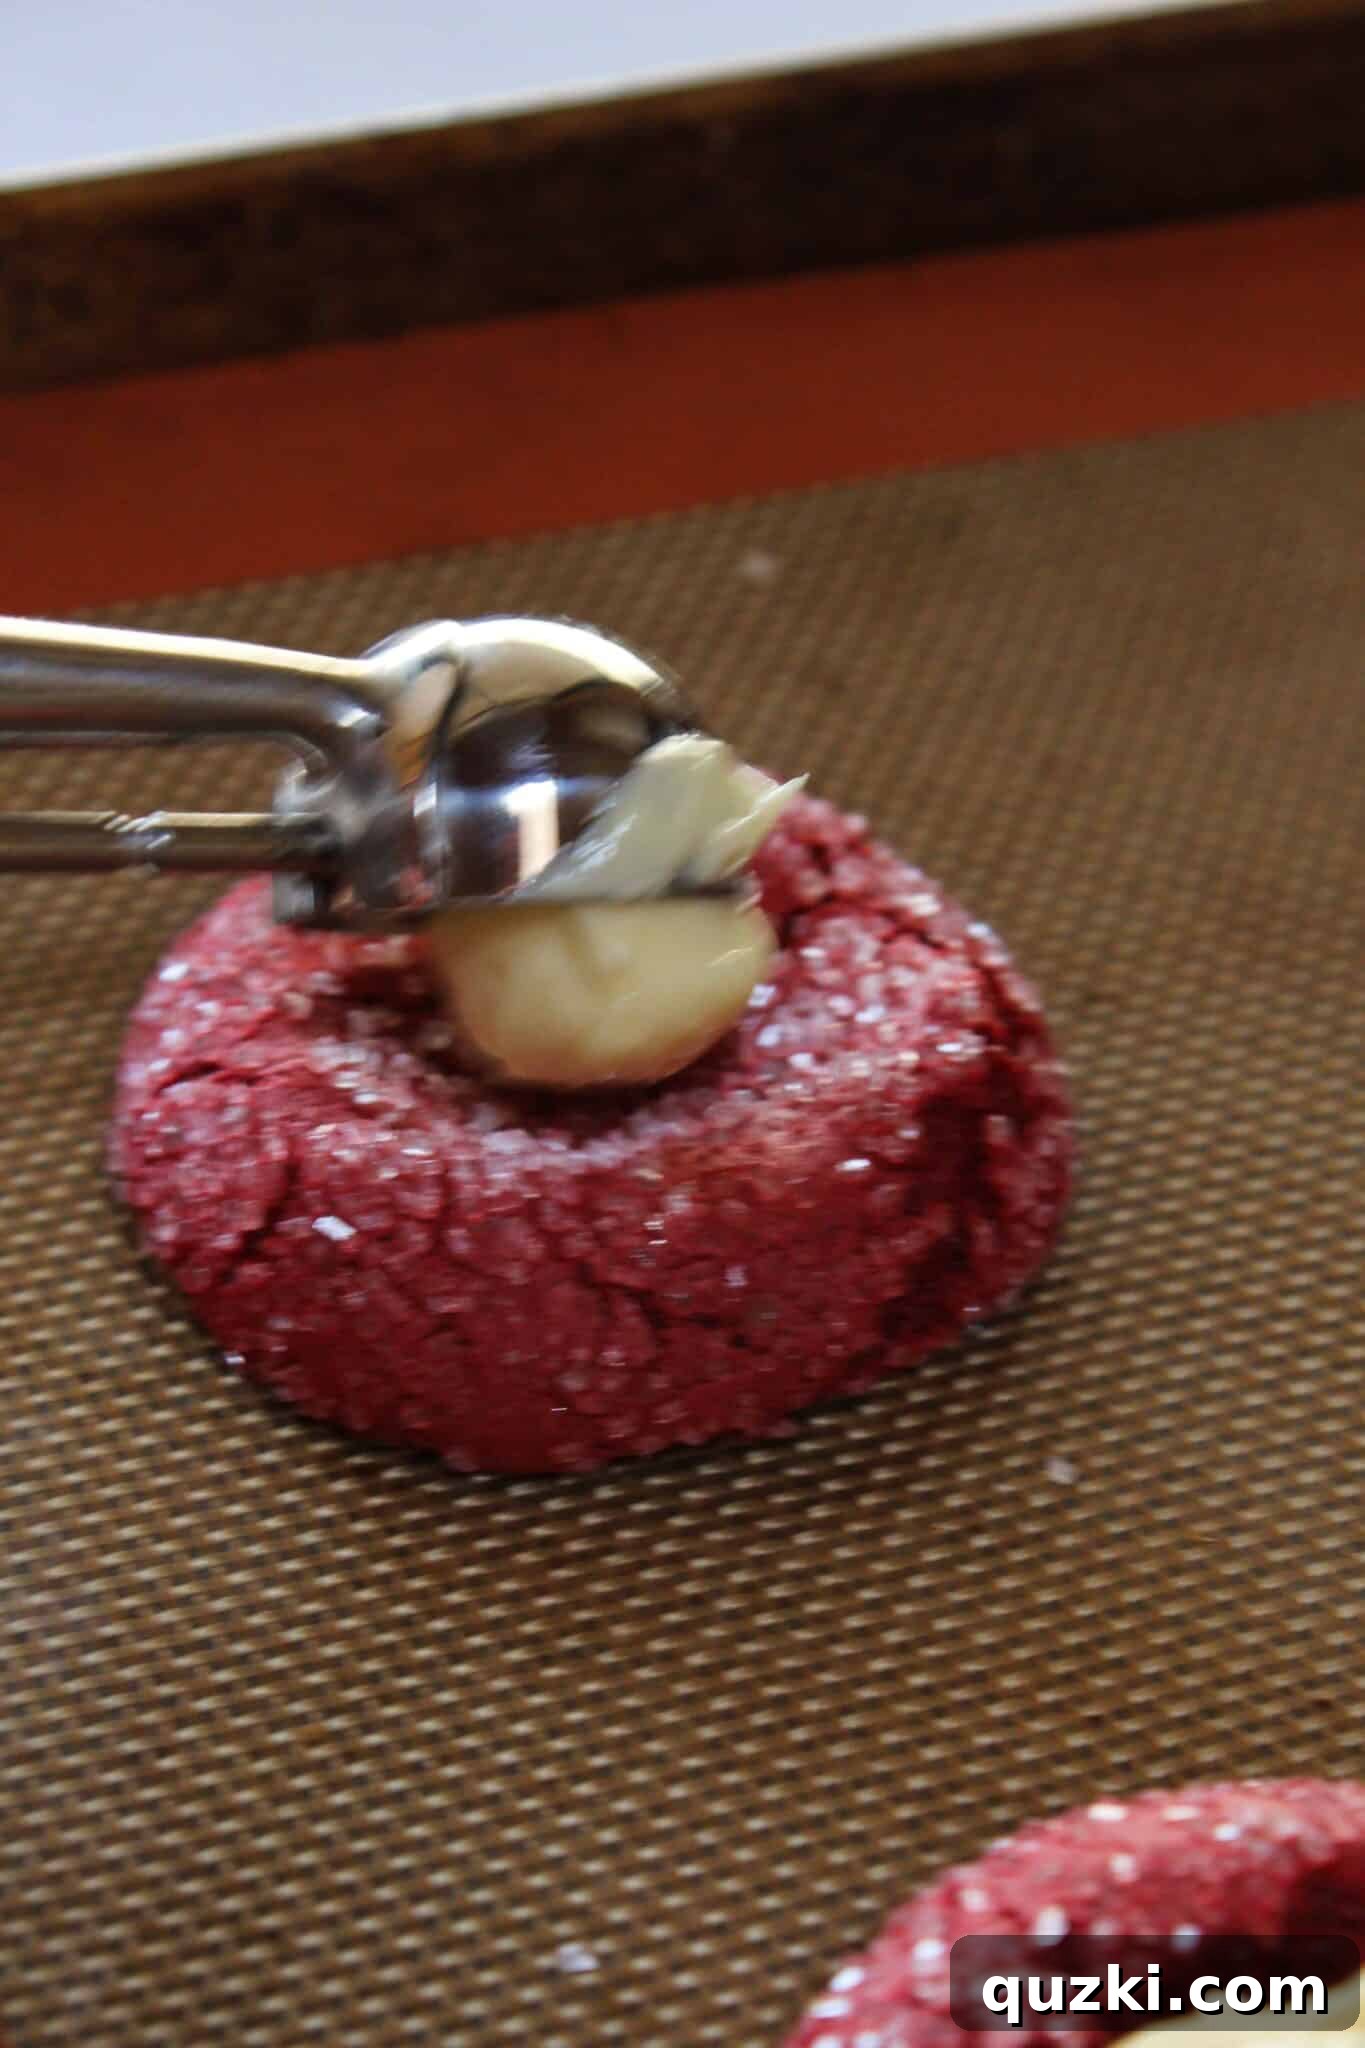
- Even Distribution: If needed, use the back of a small spoon to gently spread the cheesecake filling evenly within the indentation, ensuring each cookie receives a generous and well-distributed layer.
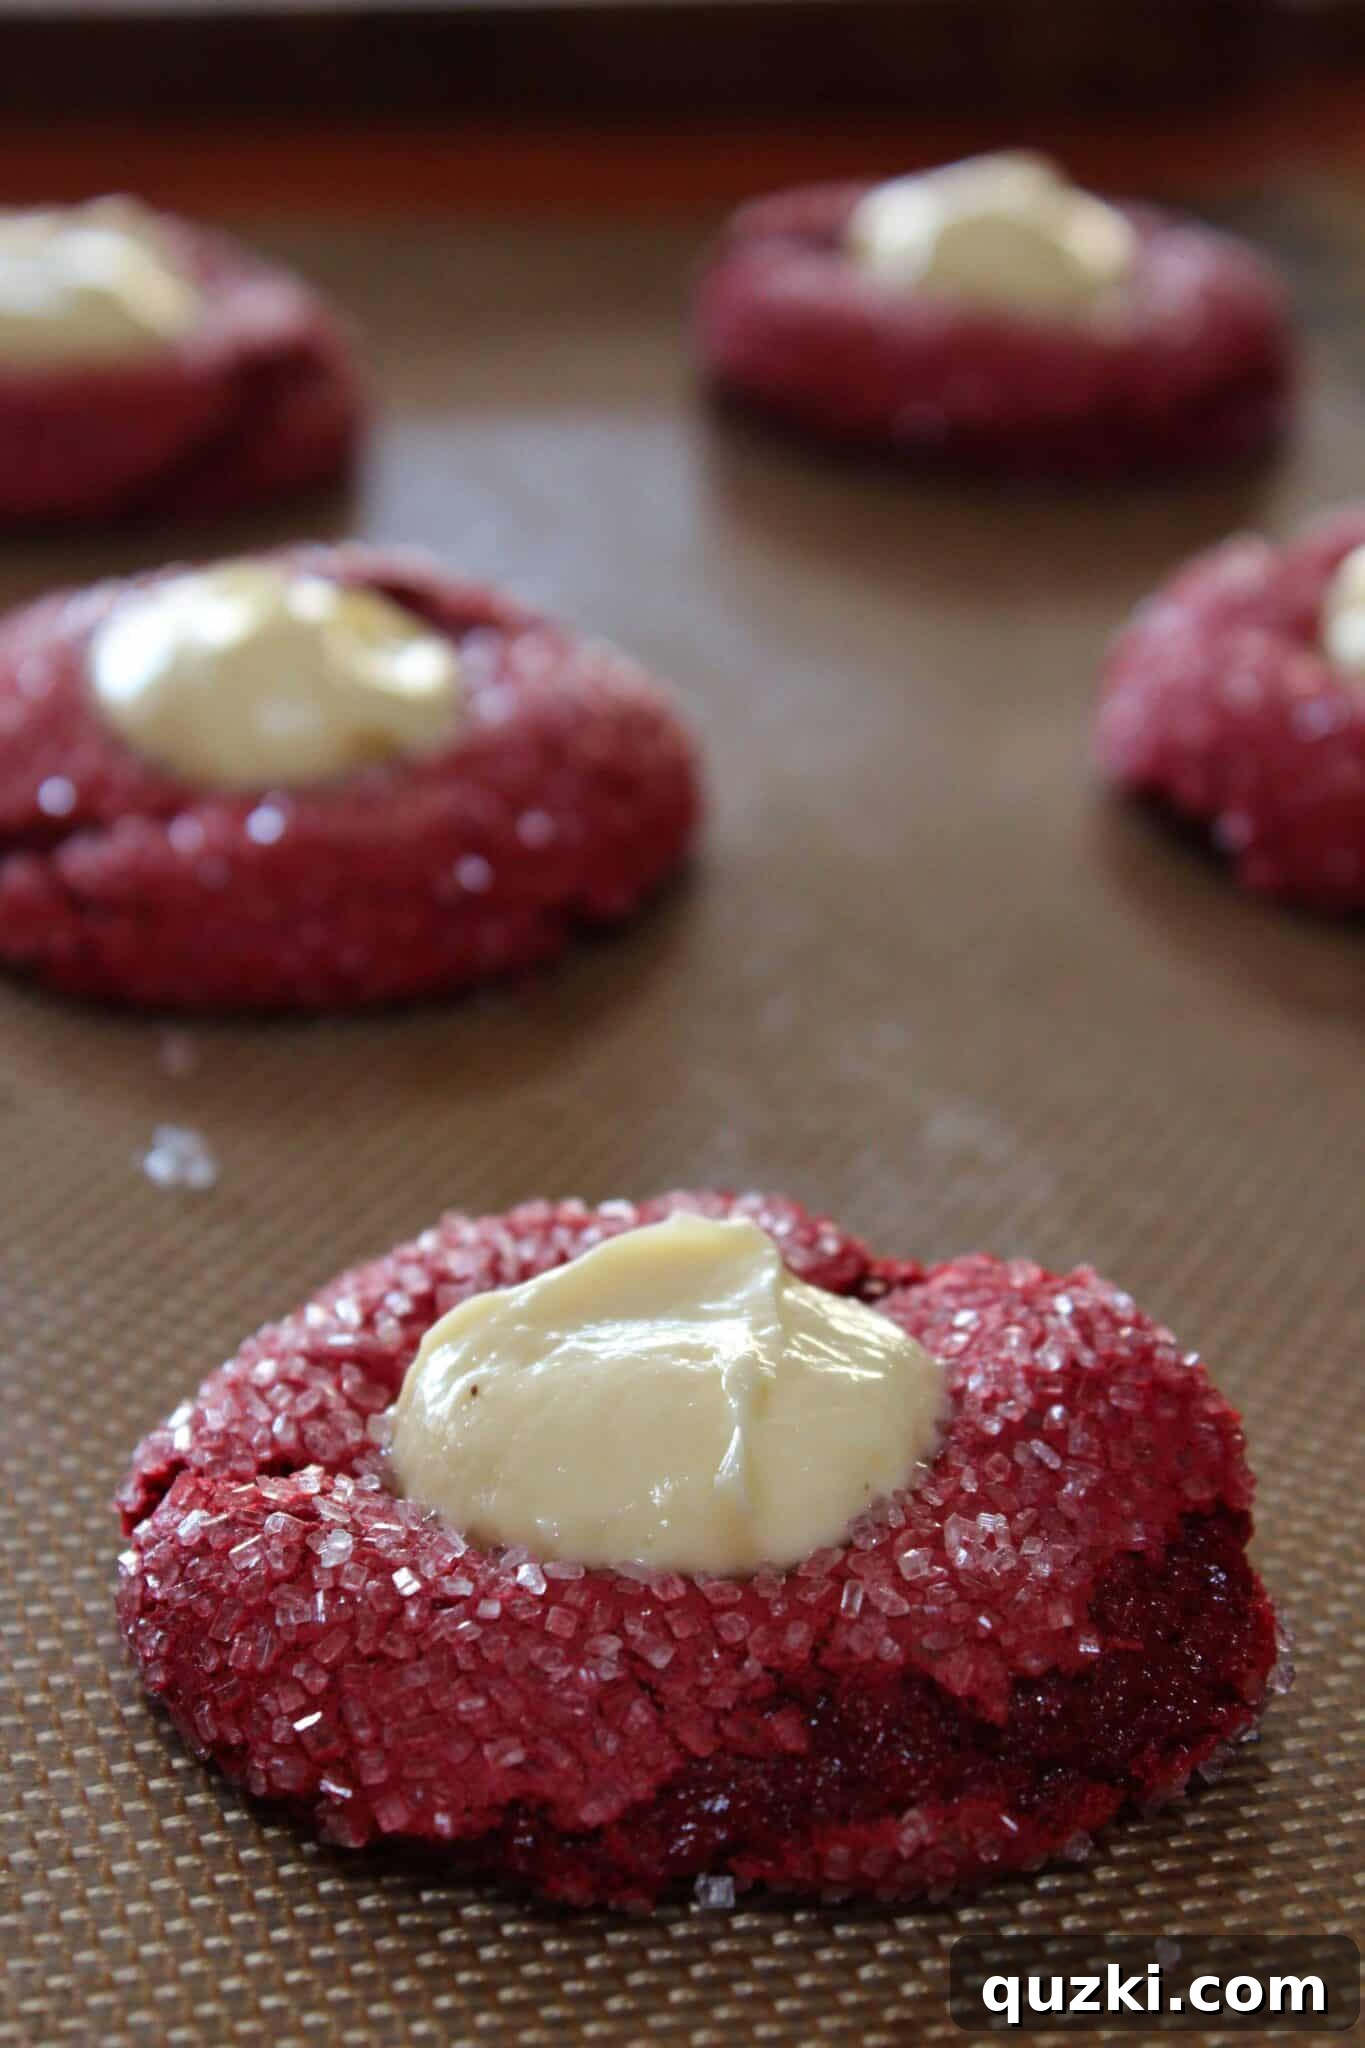
- Final Bake and Cool: Return the filled cookies to the oven for an additional 9-11 minutes. The goal is for the cheesecake filling to be set and slightly golden at the edges, but be vigilant not to overbake, as this can lead to dry cookies. Once baked, remove the cookies from the oven and let them cool on the baking sheet for a crucial 10 minutes. This allows the cookies and filling to set properly, preventing them from breaking when transferred. After 10 minutes, carefully transfer them to a wire rack to cool completely.
Expert Tips for Crafting the BEST Red Velvet Cheesecake Cookies
Achieving bakery-quality Red Velvet Cheesecake Cookies is simpler than you think with these expert tips:
- Uniform Cookie Size is Key: Invest in a good quality cookie scoop. Using a scoop ensures that all your cookies are uniform in size, which is critical for even baking. Since these cookies have two distinct baking stages (before and after filling), consistent sizing guarantees that every cookie bakes perfectly, preventing some from being undercooked or overbaked.
- Gentle Indentation Technique: When making the indentation for the cheesecake filling, exercise a light touch. Pressing too hard can cause the cookie dough to stick to the bottom of your scoop or even break through the cookie. If a piece of cookie dough does detach, simply reattach it to the cookie on the baking sheet and continue gently shaping the well. The aim is a shallow, well-defined cup, not a hole.
- Avoid Overbaking at All Costs: This is perhaps the most crucial tip. The goal is for both the red velvet cookie and the cheesecake filling to be just set, soft, and moist. Overbaking will lead to dry, hard cookies and a rubbery cheesecake filling, diminishing the delightful textures that make these cookies so special. Keep a close eye on them during the final baking stage and remove them as soon as the cheesecake looks set and slightly firm.
- The Importance of Cooling on the Baking Sheet: Do not rush the cooling process! Allowing the cookies to cool on the baking sheet for the initial 10 minutes is essential. During this time, residual heat from the baking sheet continues to gently cook and firm up the cookies and the cheesecake, helping them set perfectly. This step ensures they maintain their shape and develop the ideal tender-chewy texture before being moved to a cooling rack.
- Room Temperature Cream Cheese: For a lump-free and perfectly smooth cheesecake filling, ensure your cream cheese is at room temperature. Cold cream cheese will be difficult to mix, leading to a lumpy filling.
- Don’t Overmix the Cookie Dough: Once the ingredients are just combined and a thick dough forms, stop mixing. Overmixing can develop the gluten in the flour, resulting in tougher cookies.
How to Store Your Delicious Cheesecake Cookies
To maintain the freshness and creamy texture of these delightful Cake Mix Red Velvet Cheesecake Cookies, proper storage is essential. Due to the cream cheese filling, these cookies must be stored in a single layer in an airtight container in the refrigerator. This ensures the cheesecake remains fresh and safe to eat. They will keep beautifully for up to 4 days. If you prefer your cookies warm, simply pop one into the microwave for 7-10 seconds before enjoying – it will bring out the gooey texture of the cheesecake and the softness of the red velvet. For more delightful Valentine’s cookies, don’t forget to try these Easy Heart Shaped Sugar Cookies.
More Red Velvet Delights You’ll Love:
- Easy Red Velvet Sandwich Cookies
- Red Velvet Kiss Cookies
- Red Velvet Cinnamon Roll Cake
- Cake Mix Red Velvet Crumb Cake Recipe
- Red Velvet Black Bottom Bundt Cake
- Red Velvet Sheet Cake Cookies
Red Velvet Cheesecake Cookies with a Cake Mix Recipe
10
30
40
24 cookies
Rate Recipe
Print Recipe
Ingredients
Cookie
- 1 box red velvet cake mix
- 2 eggs
- 1/3 cup vegetable oil
- 1/4 cup sanding sugar
Cheesecake Filling
- 4 oz. cream cheese
- 1 egg yolk
- 1/4 cup granulated sugar
- 1/2 tsp vanilla extract
Instructions
-
Preheat the oven to 350 degrees F (175 C). Line a baking sheet with a silicone baking mat or parchment paper and set aside.
Cookies
-
In a medium bowl, combine the red velvet cake mix, eggs, and vegetable oil. Using a hand-held mixer or mixing by hand, combine the ingredients until everything is incorporated into a thick dough. The dough will be slightly sticky, which is perfectly normal.
-
Using a cookie scoop, scoop portions of cookie dough into a bowl of sanding sugar (or granulated sugar) and roll each cookie dough ball to coat evenly. Place the sugar-coated cookie dough balls onto your prepared baking sheet. Bake for 7 minutes. After 7 minutes, remove the cookies from the oven. Using the bottom of the same cookie scoop, gently make an indentation into the middle of each cookie, being careful not to press too hard (you don’t want the scoop to press entirely through the cookie).
Cheesecake Filling
-
While the cookies are partially baking, combine the softened cream cheese, granulated sugar, egg yolk, and vanilla extract in a bowl. Mix with a hand-held mixer or by hand until you achieve a smooth, lump-free texture.
Cookie Assembly
-
Once the cookies are partially baked and the indentations are made, take a small scoop (or a teaspoon) of cheesecake filling and carefully place it into the middle of each cookie’s indentation. You may need to use a small spoon to spread it out evenly and ensure the cheesecake fills the well. Place the cookies back into the oven and continue baking for an additional 9-11 minutes. It’s important not to overbake them, but ensure the cheesecake mixture is fully set. Remove them from the oven and let them cool on the baking sheet for 10 minutes. Then, transfer them to a cooling rack to cool completely. Serve immediately or store in an airtight container in the refrigerator for up to 4 days.
Nutrition
Calories: 143kcal,
Carbohydrates: 17g,
Protein: 2g,
Fat: 8g,
Saturated Fat: 2g,
Polyunsaturated Fat: 3g,
Monounsaturated Fat: 2g,
Trans Fat: 1g,
Cholesterol: 27mg,
Sodium: 169mg,
Potassium: 72mg,
Fiber: 1g,
Sugar: 11g,
Vitamin A: 95IU,
Calcium: 35mg,
Iron: 1mg
Nutrition information is automatically calculated, so should only be used as an approximation.