
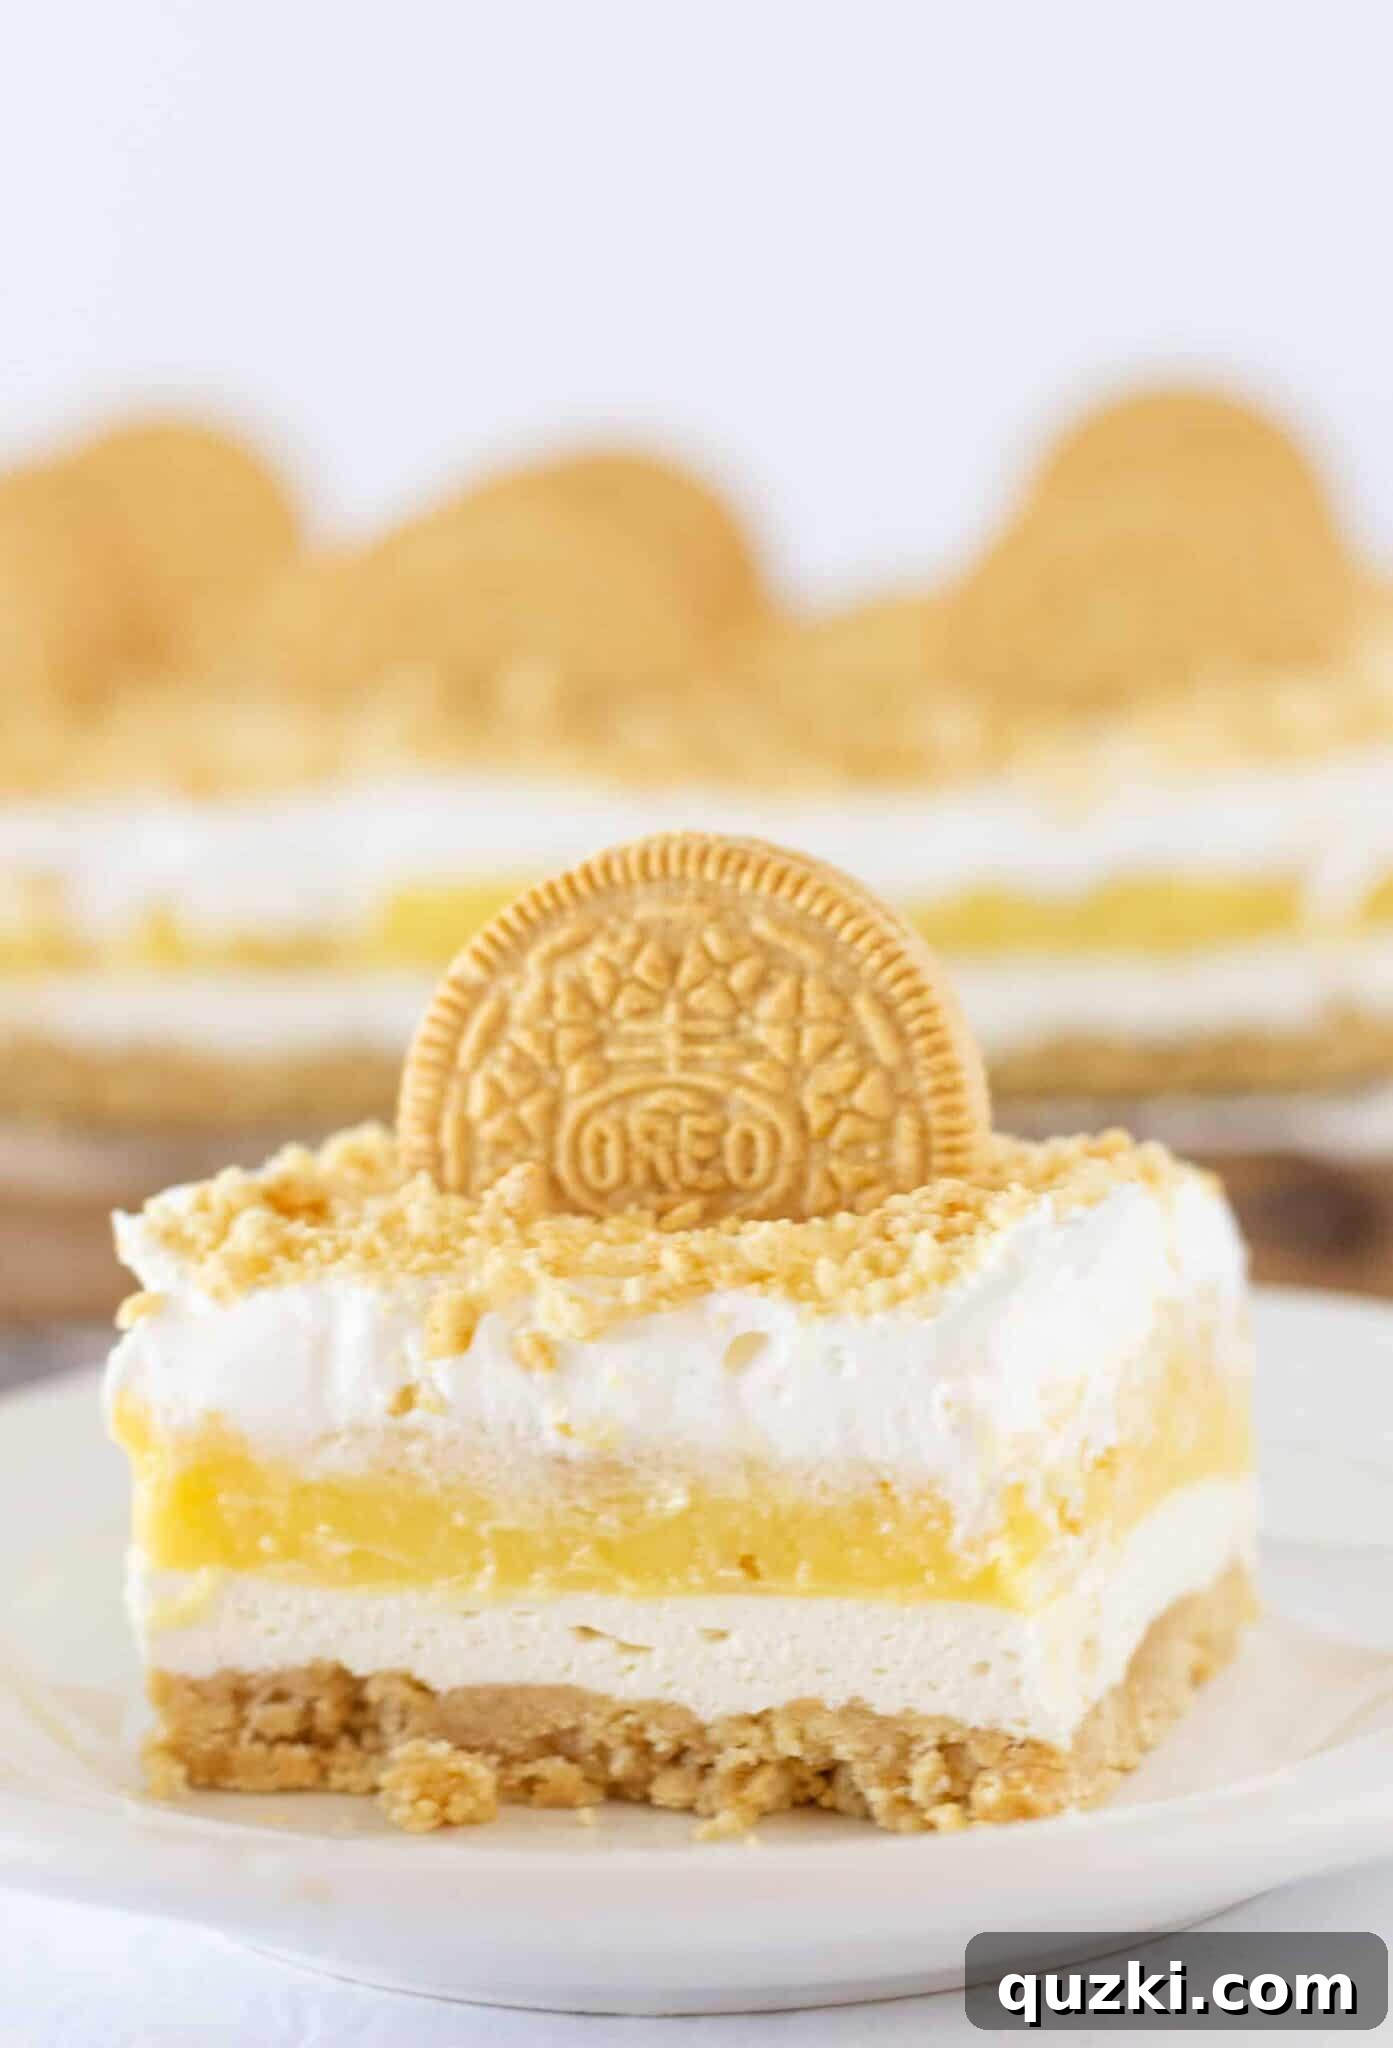
Golden Oreo Lasagna: Your Ultimate No-Bake Dessert Guide
During the warmer months, no-bake desserts are an absolute lifesaver. The sheer joy of crafting a delectable treat without ever having to turn on your oven is truly unmatched. This Golden Oreo Lasagna recipe stands out with its thoughtfully constructed layers, each contributing a unique flavor and texture that harmonizes beautifully with the others. It was an instant hit in my home, and I’m confident it will become a new favorite in yours too. Keep reading to discover how to create this incredible dessert.
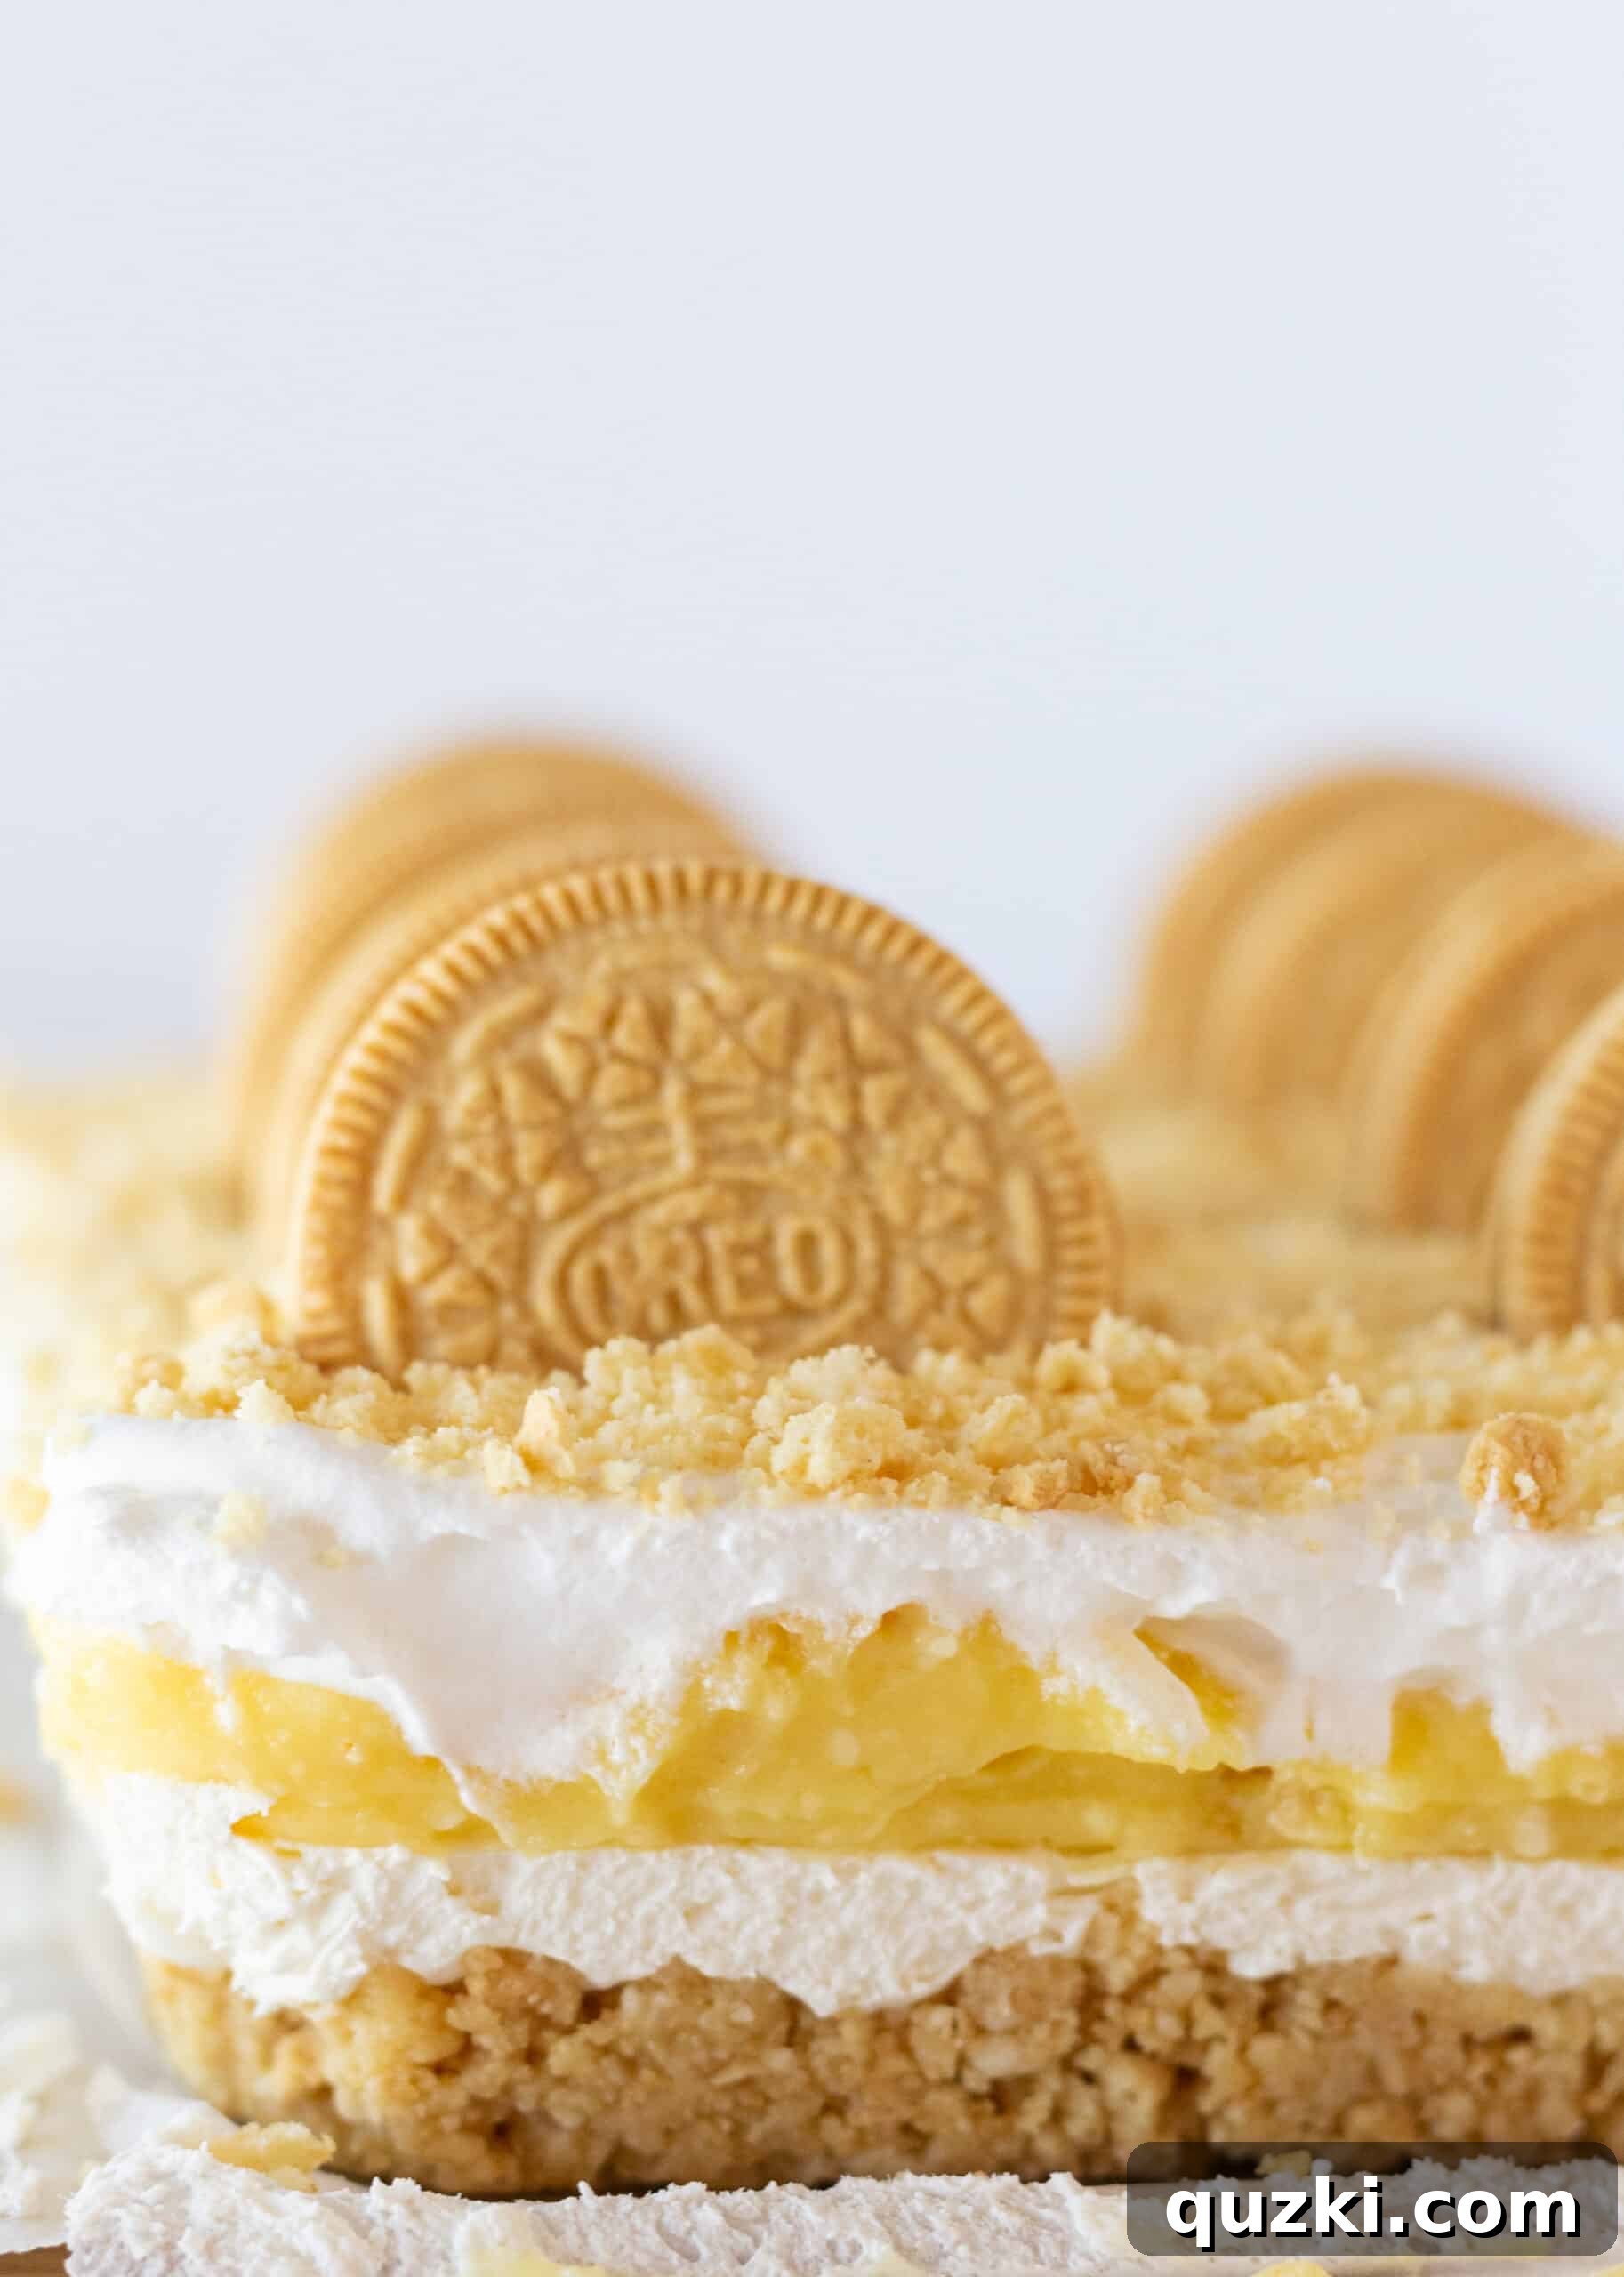
The Irresistible Allure of Golden Oreos
It might sound unbelievable, but before I met my husband, Darb, I had never tasted a Golden Oreo! I know, it’s a shocking revelation. I was undoubtedly missing out on a truly wonderful cookie. Thankfully, I’ve since discovered their delightful versatility and now love incorporating them into various desserts, much like this Golden Oreo No-Bake Cheesecake.
Growing up, my mother often made a chocolate version of this layered dessert, which was one of my childhood favorites. While that chocolate classic holds a special place, this Golden Oreo Lasagna has now claimed the top spot as my absolute favorite. Its unique flavor profile and satisfying layers make it truly unforgettable.
Thank you for visiting! This post contains affiliate links, meaning I may receive a small commission if you make a purchase through my links (e.g., as an Amazon Associate, I earn from qualifying purchases). I only recommend products I genuinely use and love.
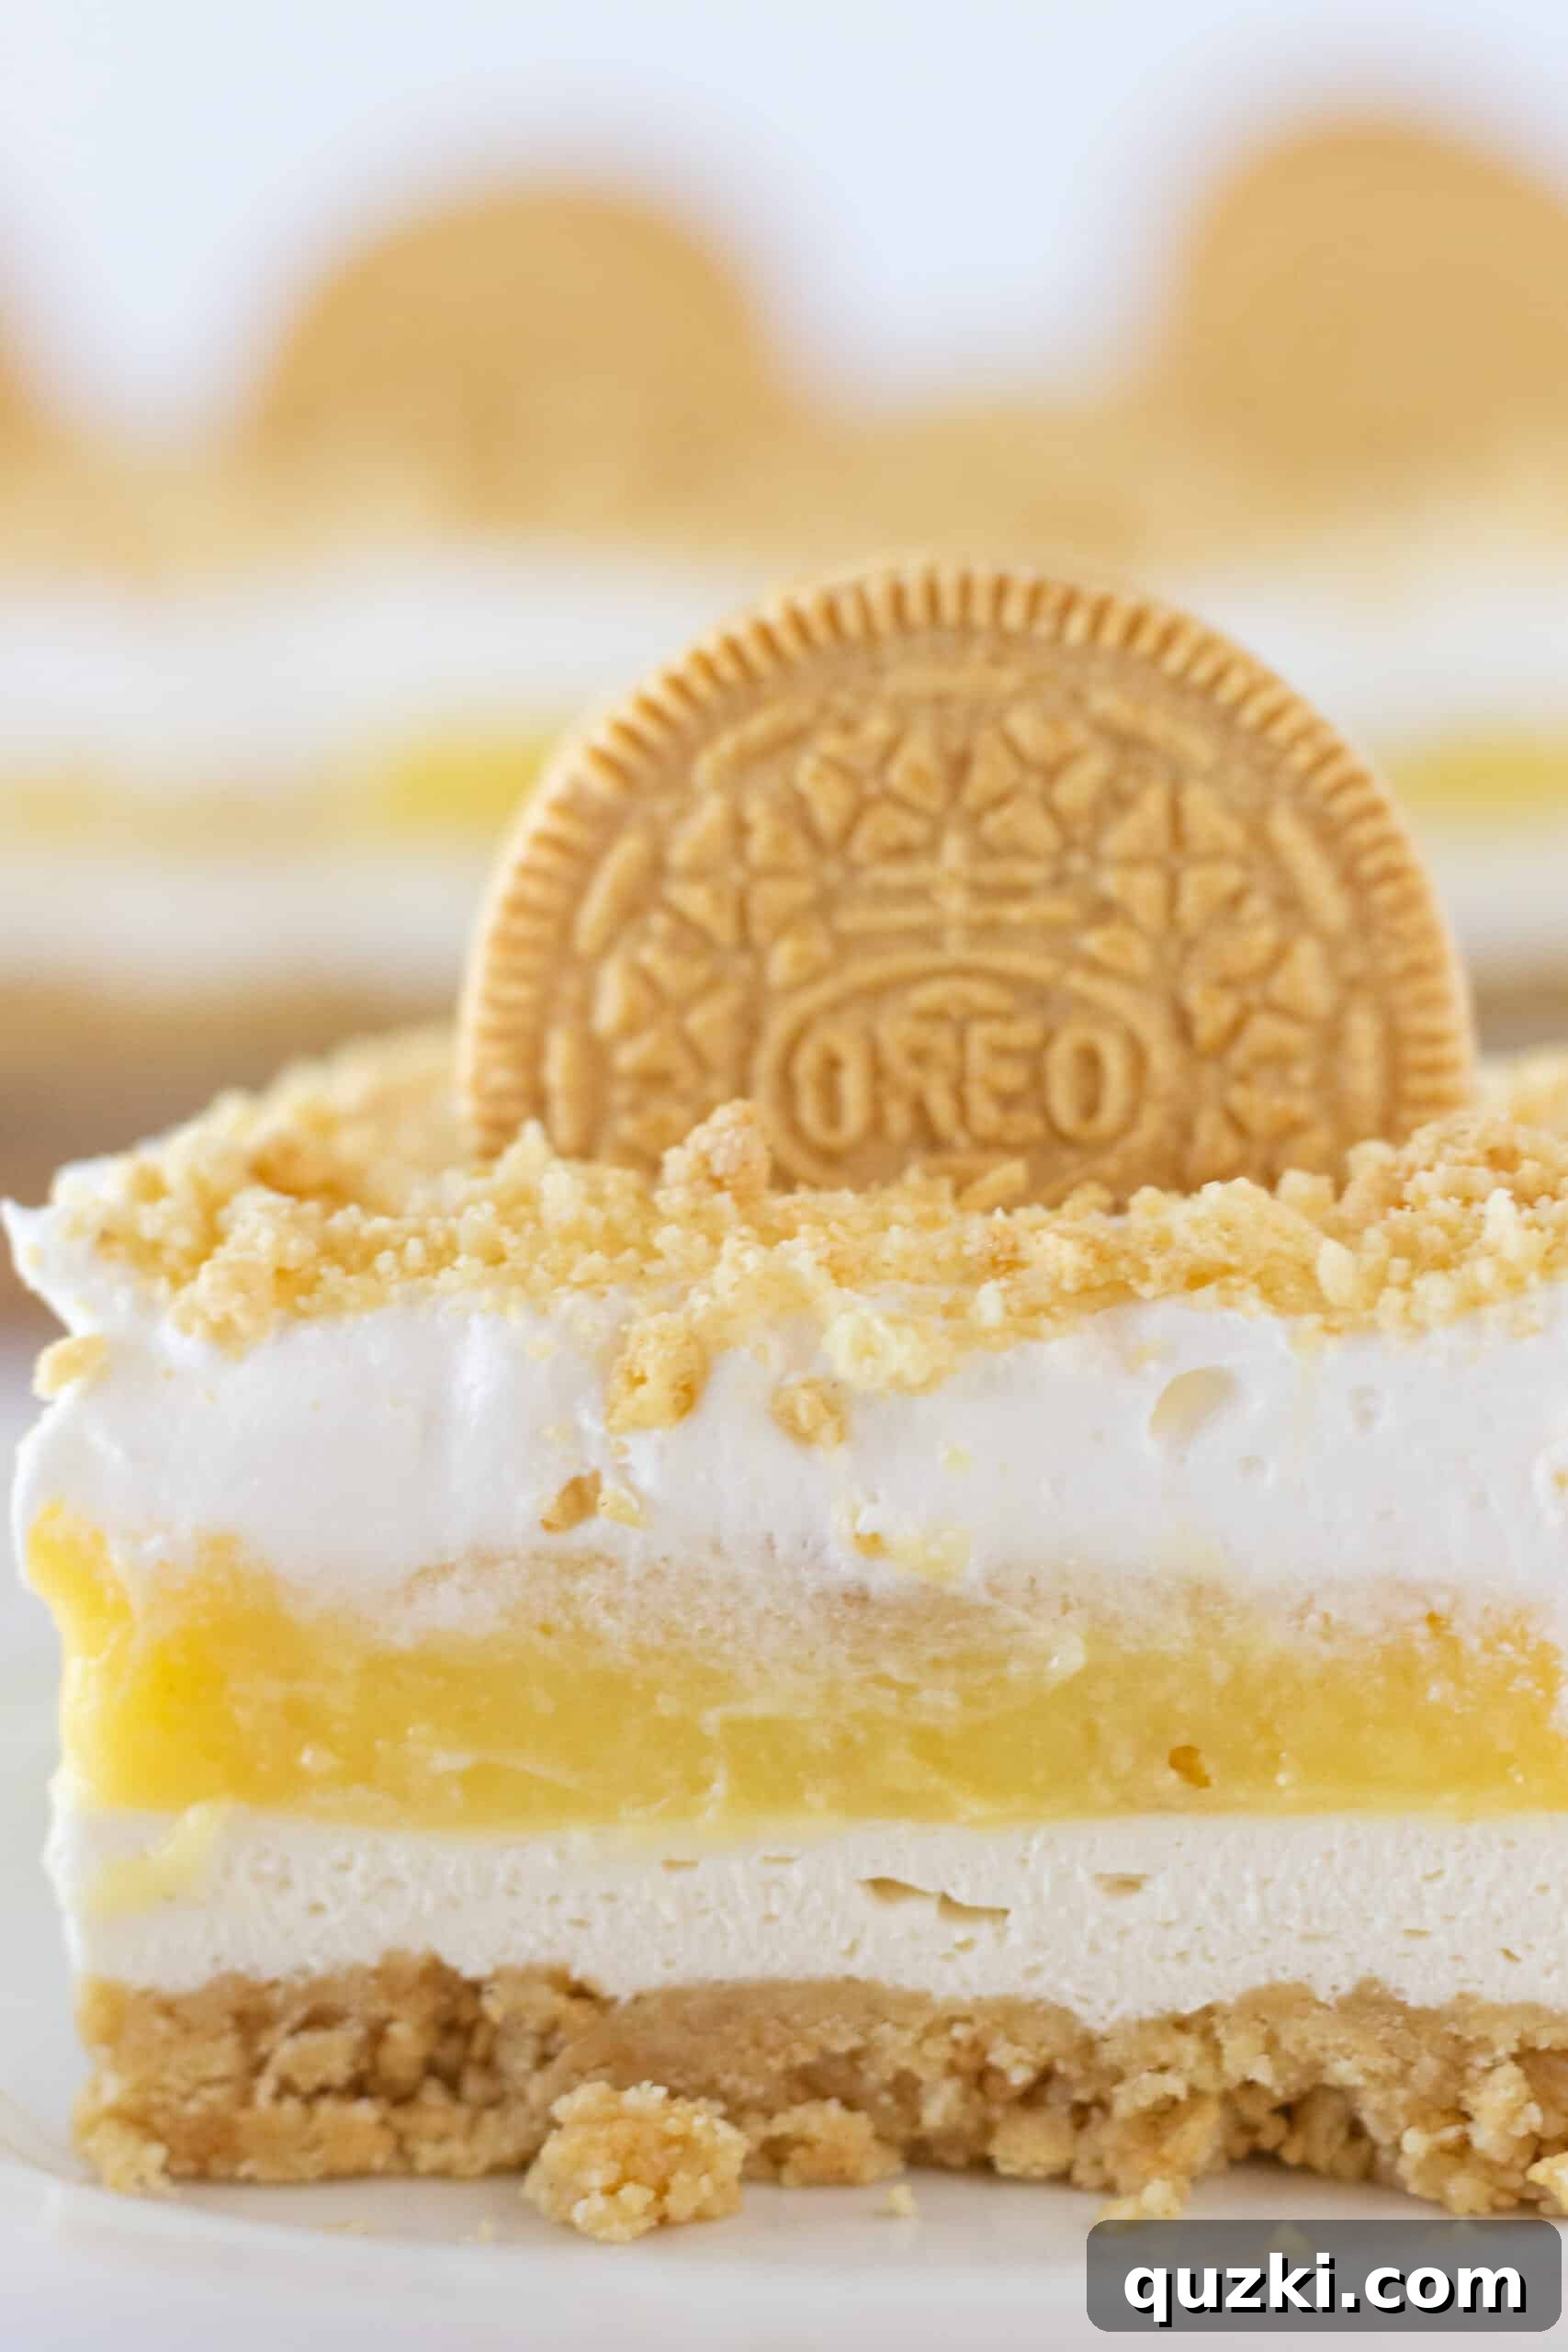
What is Golden Oreo Lasagna? A Layered Dessert Masterpiece
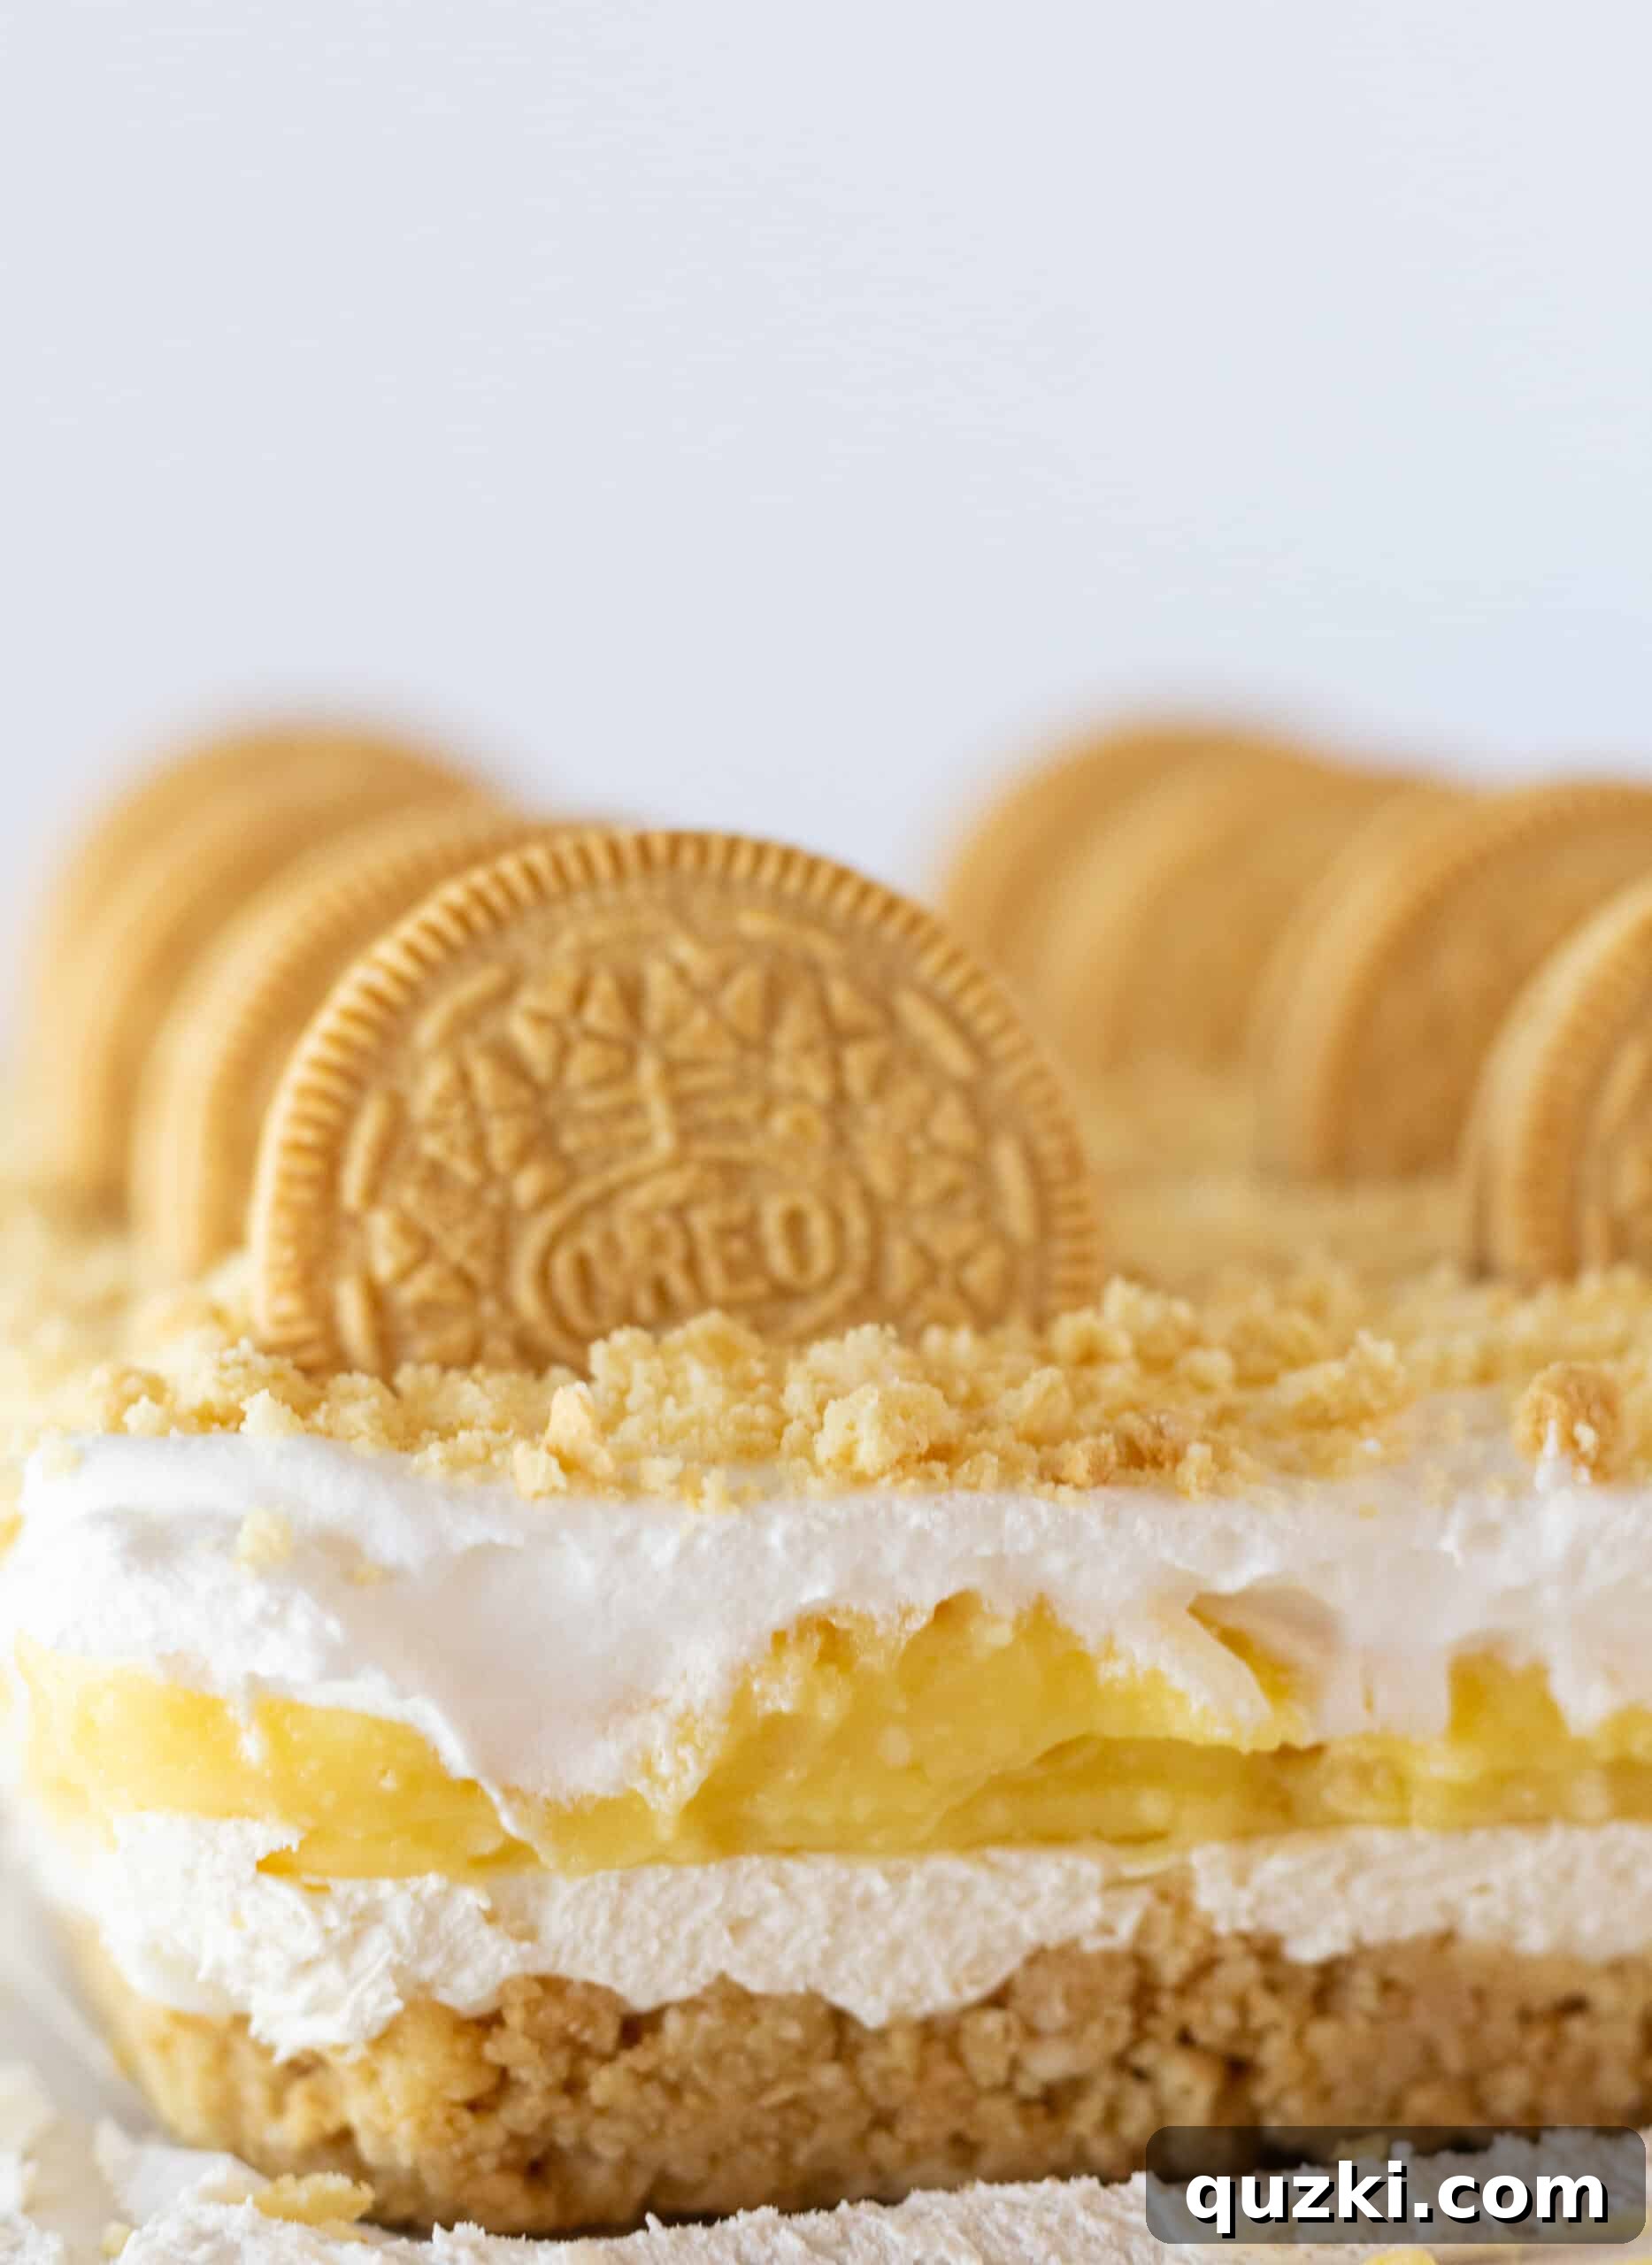
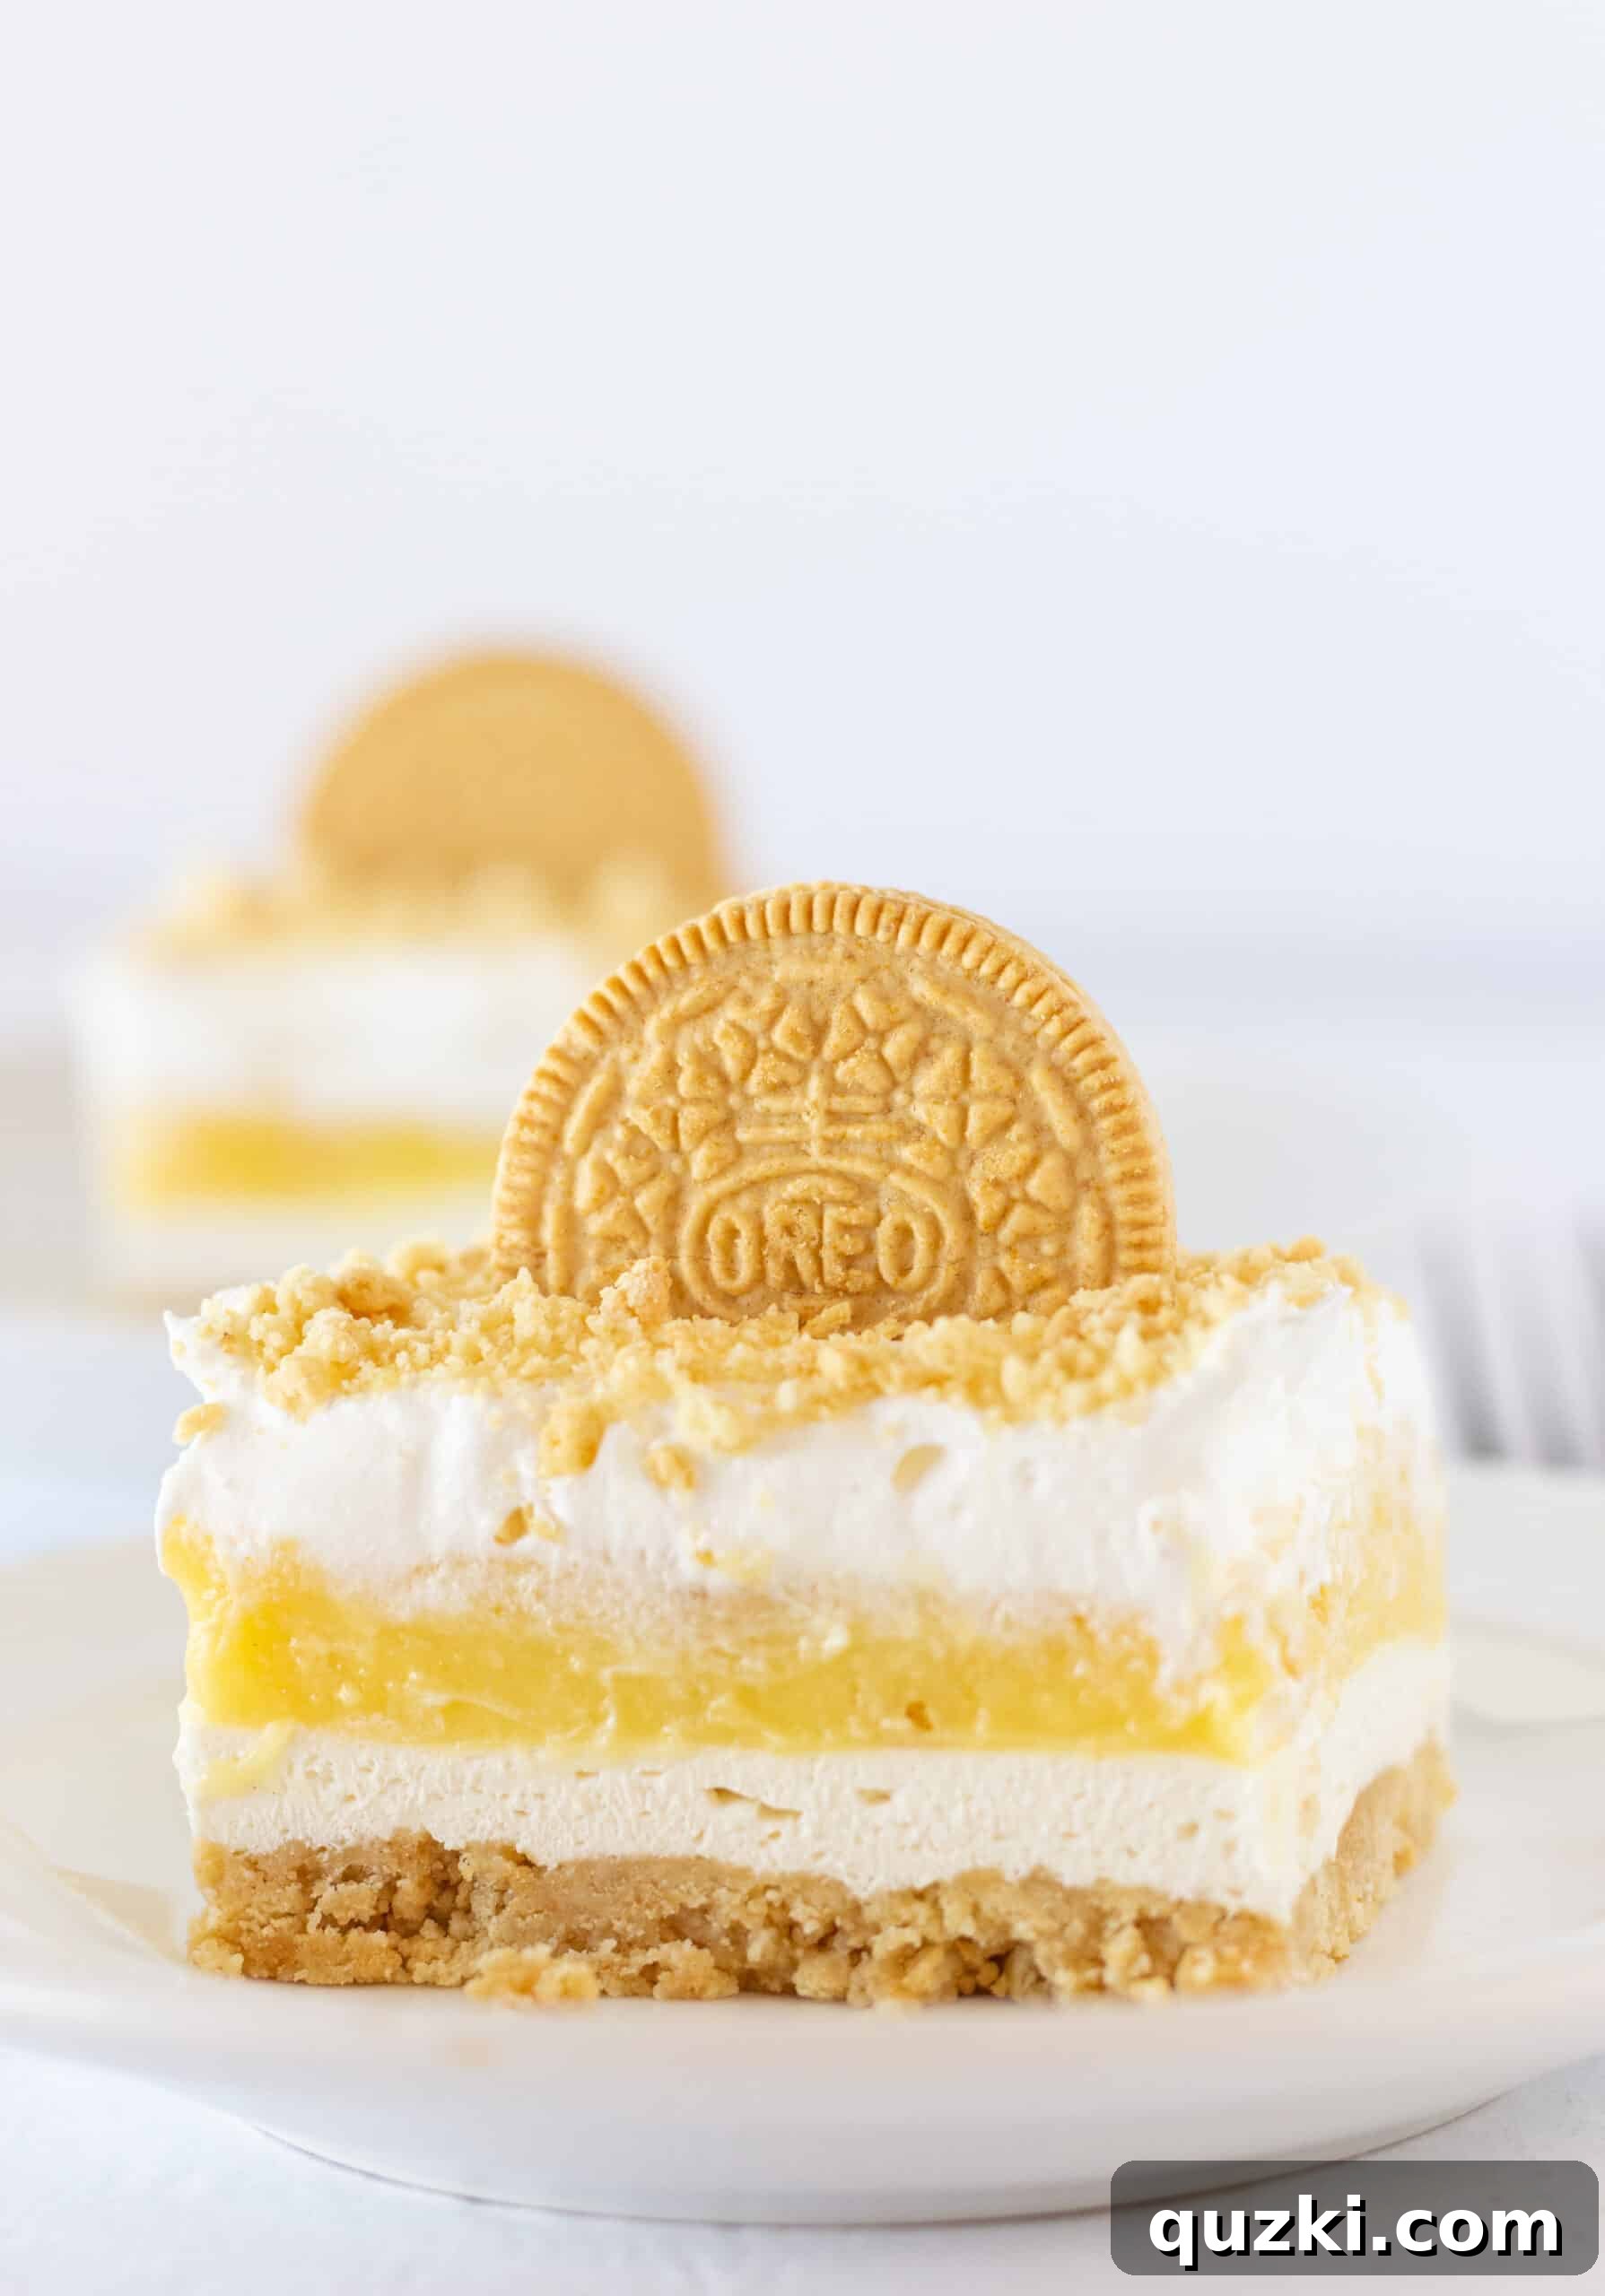
Golden Oreo Lasagna is a decadent no-bake dessert, meticulously crafted in distinct, delicious layers. Imagine a robust Golden Oreo crust forming the base, followed by a smooth, tangy cheesecake layer, then a creamy vanilla pudding infused with more Golden Oreo pieces, all crowned with a light and airy whipped topping. This harmonious combination ensures there’s a texture and flavor for everyone to adore.
While many variations of layered desserts exist, the Golden Oreo Lasagna remains my personal favorite, offering a unique blend of sweet, creamy, and crunchy elements that are simply irresistible. Its vibrant golden hue also makes it a visually appealing centerpiece for any gathering.
Why Choose a No-Bake Dessert?
No-bake desserts are champions of convenience, especially when the weather is warm. The primary benefit, of course, is avoiding the heat of a preheated oven, keeping your kitchen cool and comfortable. Beyond that, they often require minimal fuss, making them perfect for busy schedules or impromptu entertaining. This Golden Oreo Lasagna, in particular, showcases how impressive and complex a dessert can be without any baking, proving that elegance and ease can go hand-in-hand.
Ingredients for This Heavenly Oreo Dessert with Vanilla
Creating this magnificent dessert requires a few simple, readily available ingredients. The beauty lies in how these basic components transform into something truly extraordinary:
- Golden Oreo Cookies: The star ingredient, providing both the crunchy crust and delightful cookie bits in the pudding layer.
- Butter: Essential for binding the cookie crumbs into a firm, flavorful crust.
- Cream Cheese: Forms the luscious, tangy cheesecake layer, providing a wonderful contrast to the sweetness.
- Whipped Topping (Cool Whip): Used in both the cheesecake layer and as the final, airy topping.
- Vanilla Pudding Mix (Instant): Creates a thick, creamy layer that perfectly complements the Golden Oreos.
- Milk: The liquid base for the instant pudding, ensuring a smooth consistency.
- Vanilla Extract: Enhances the flavor of the cheesecake layer, adding depth.
How to Make this Golden Oreo Dessert with Vanilla Pudding and Cool Whip
Crafting this Golden Oreo Lasagna is a straightforward process, broken down into simple, manageable steps. Before you begin, gather all your ingredients and prepare your pan for easy assembly and serving.
Step 1: Prepare the Golden Oreo Crust
Begin by crushing your Golden Oreo cookies. You can achieve fine crumbs using a food processor, or by placing the cookies in a sturdy zipper bag and crushing them with a rolling pin. Combine these Golden Oreo crumbs with melted butter in a medium bowl. Stir thoroughly, ensuring every crumb is evenly coated with butter. This is crucial for a cohesive and flavorful crust.
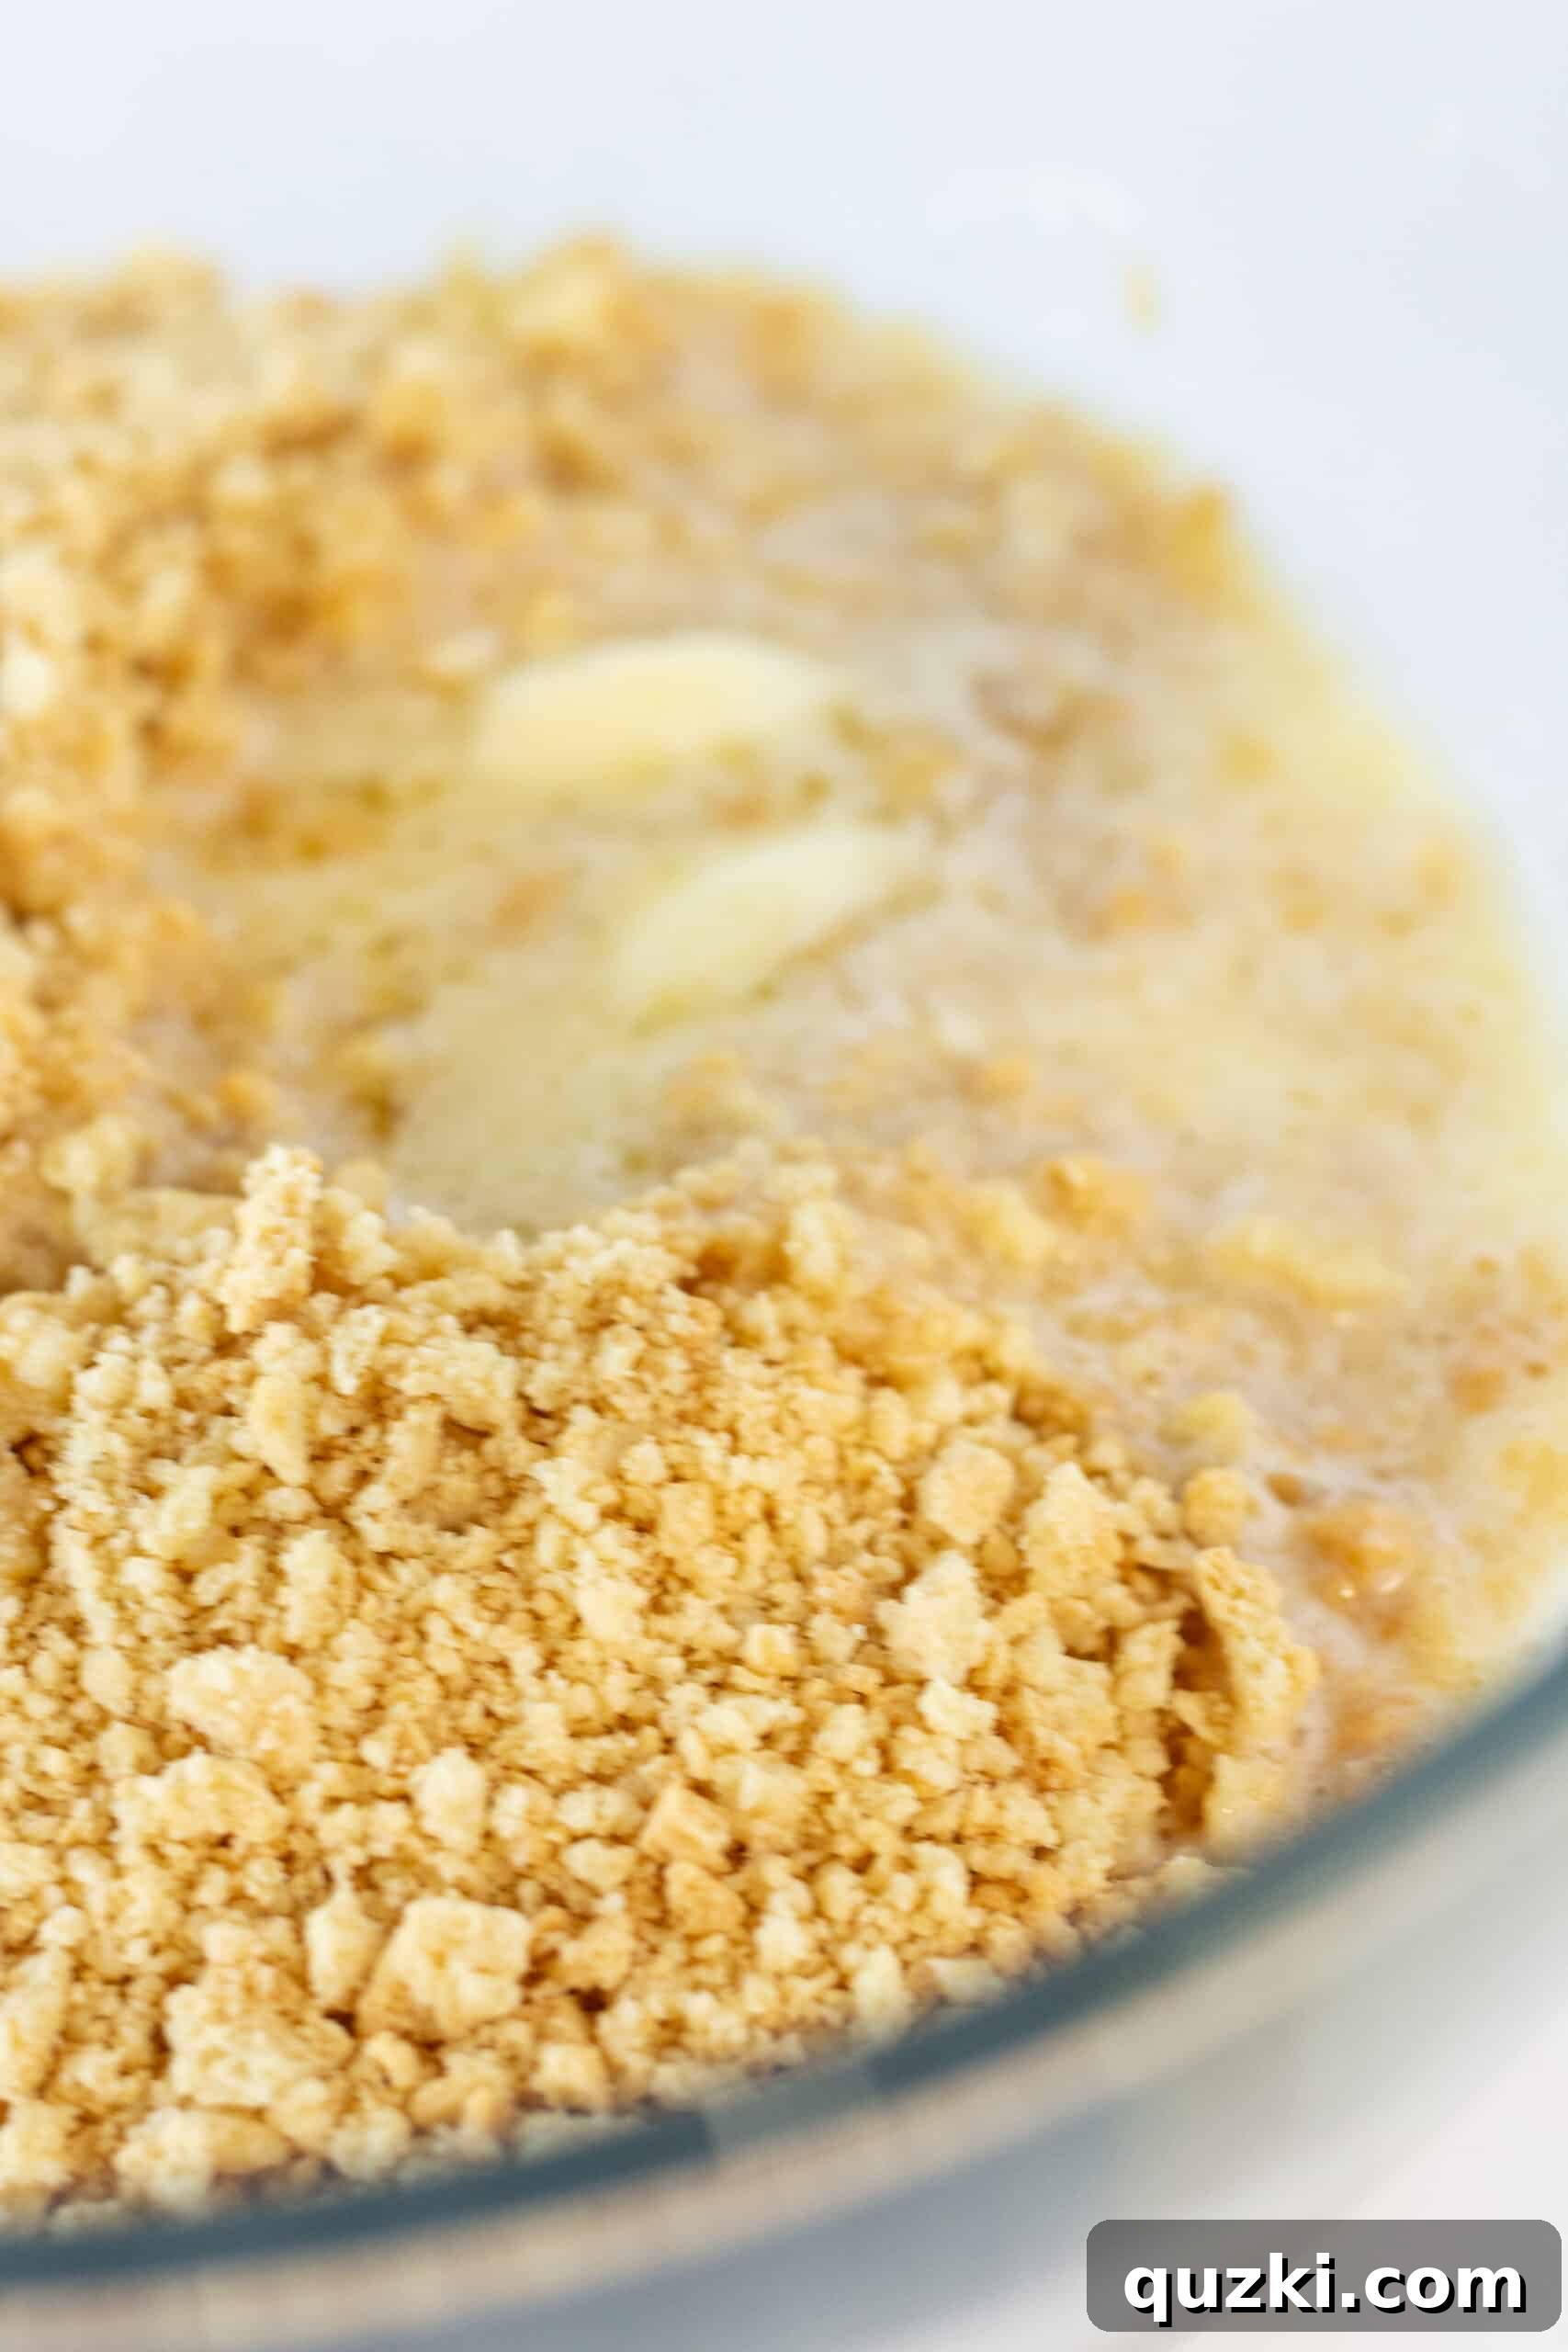
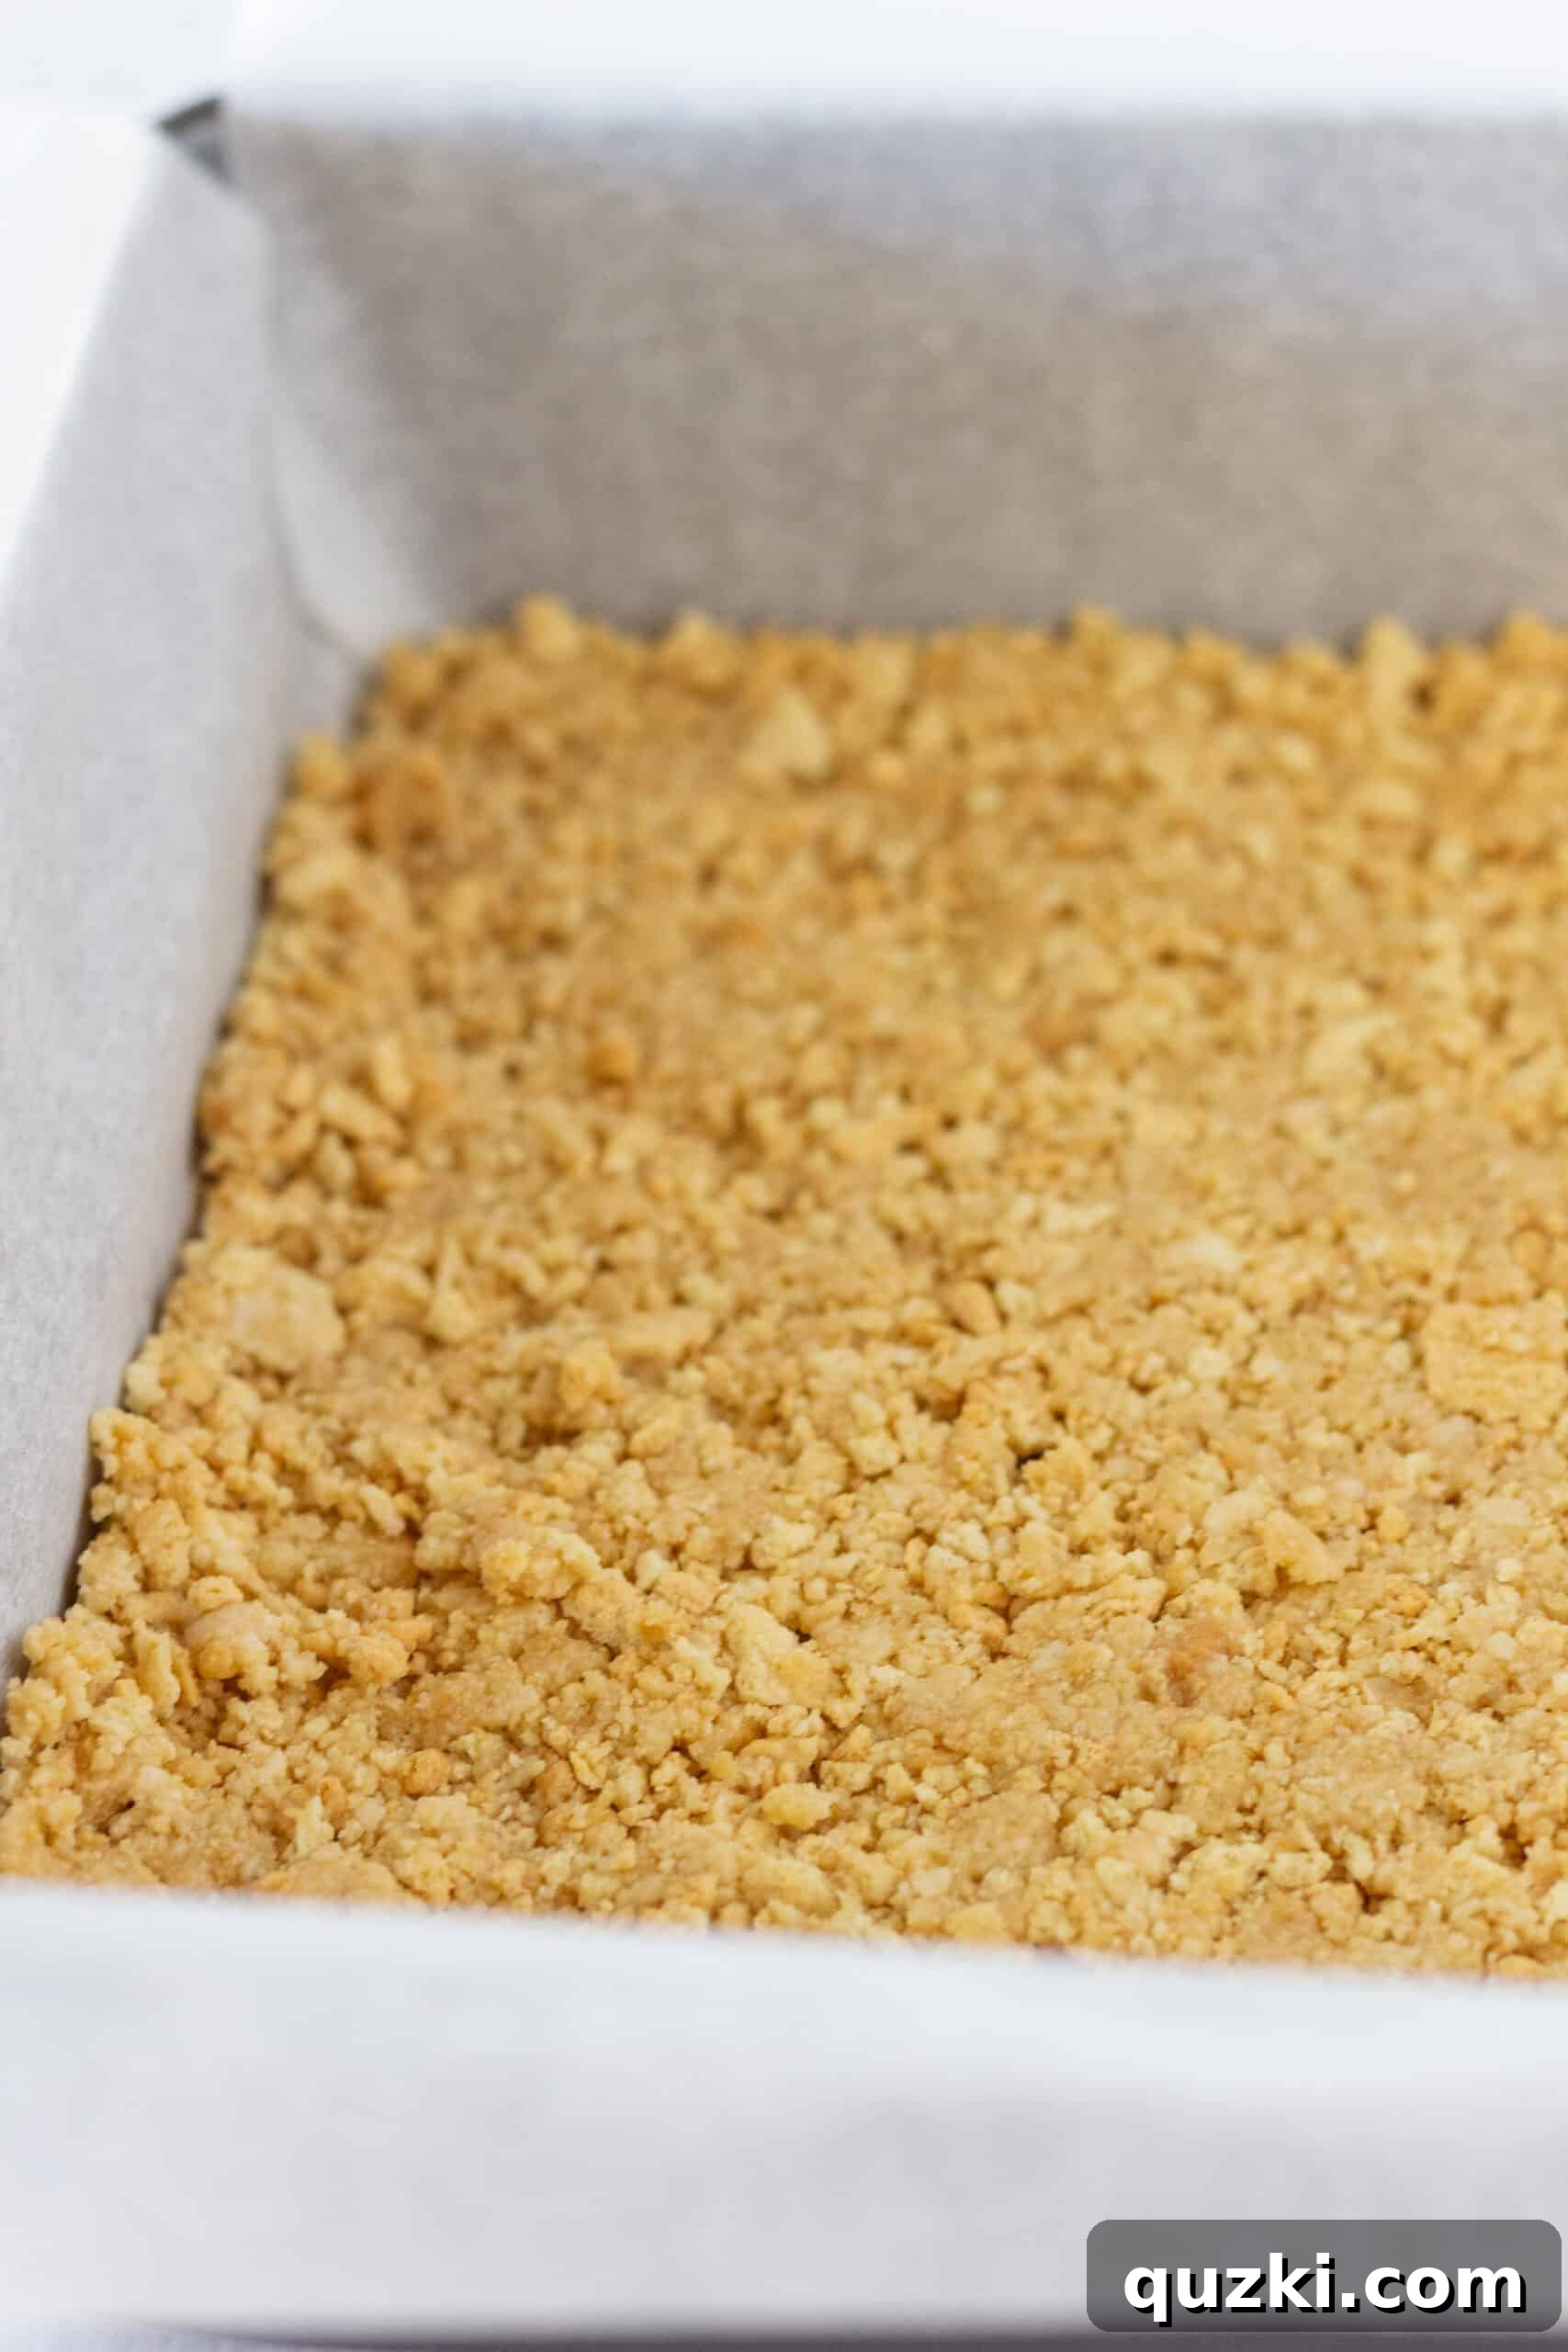
Pour the buttered crumb mixture into a 9×9 inch baking pan. For effortless serving, it’s highly recommended to line your pan with parchment paper, leaving an overhang on the sides. Press the crumbs down firmly and evenly across the bottom of the pan to create a solid, uniform first layer. A flat-bottomed glass or the back of a spoon can help achieve a perfectly packed crust.
The Secret to Easy Serving: Parchment Paper
Lining your baking pan with parchment paper is a game-changer for this layered dessert. Not only does it prevent the dessert from sticking to the pan, but it also provides convenient “handles” that allow you to lift the entire lasagna out of the pan once chilled. This makes cutting perfect, clean squares incredibly easy, ensuring a beautiful presentation every time.
Step 2: Create the Creamy Cheesecake Layer
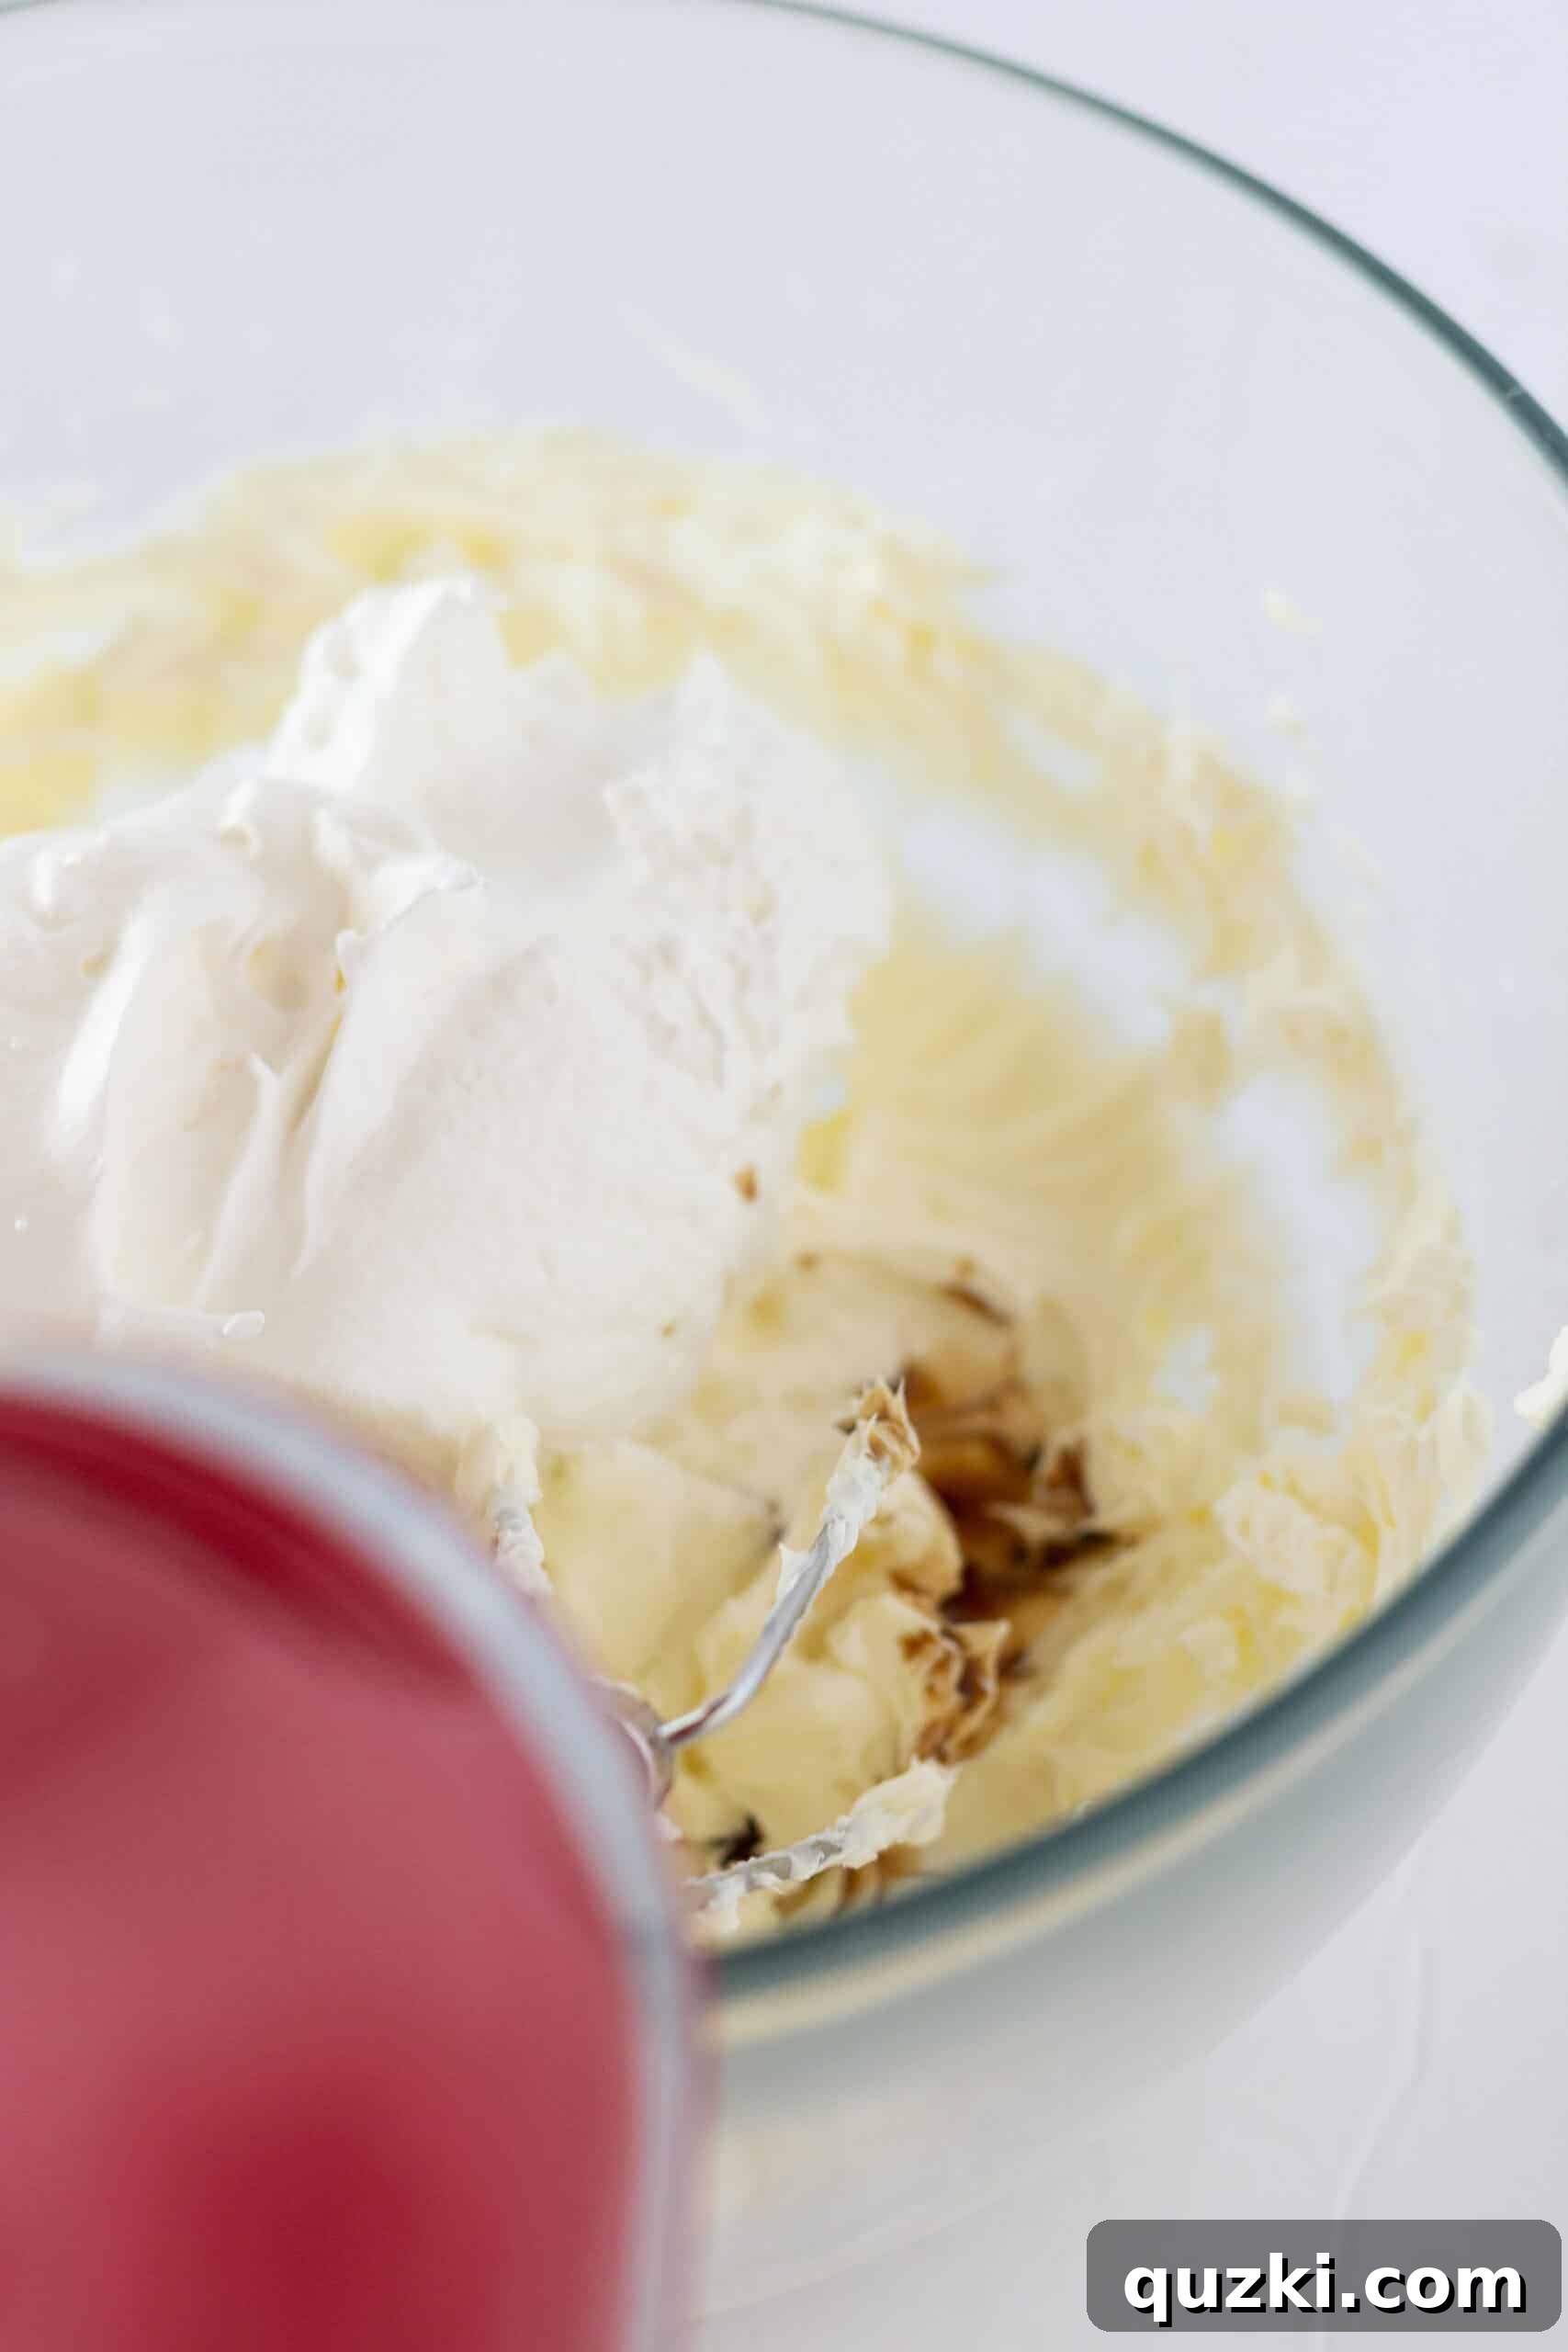
In a separate medium bowl, use a hand-held mixer to beat the softened cream cheese until it’s wonderfully light and fluffy. This aeration is key to a smooth, airy cheesecake texture. Next, gently fold in half of your whipped topping and a teaspoon of vanilla extract. Mix until just combined, being careful not to overmix. This creates a rich, creamy, and slightly tangy layer that beautifully complements the sweet cookie crust.
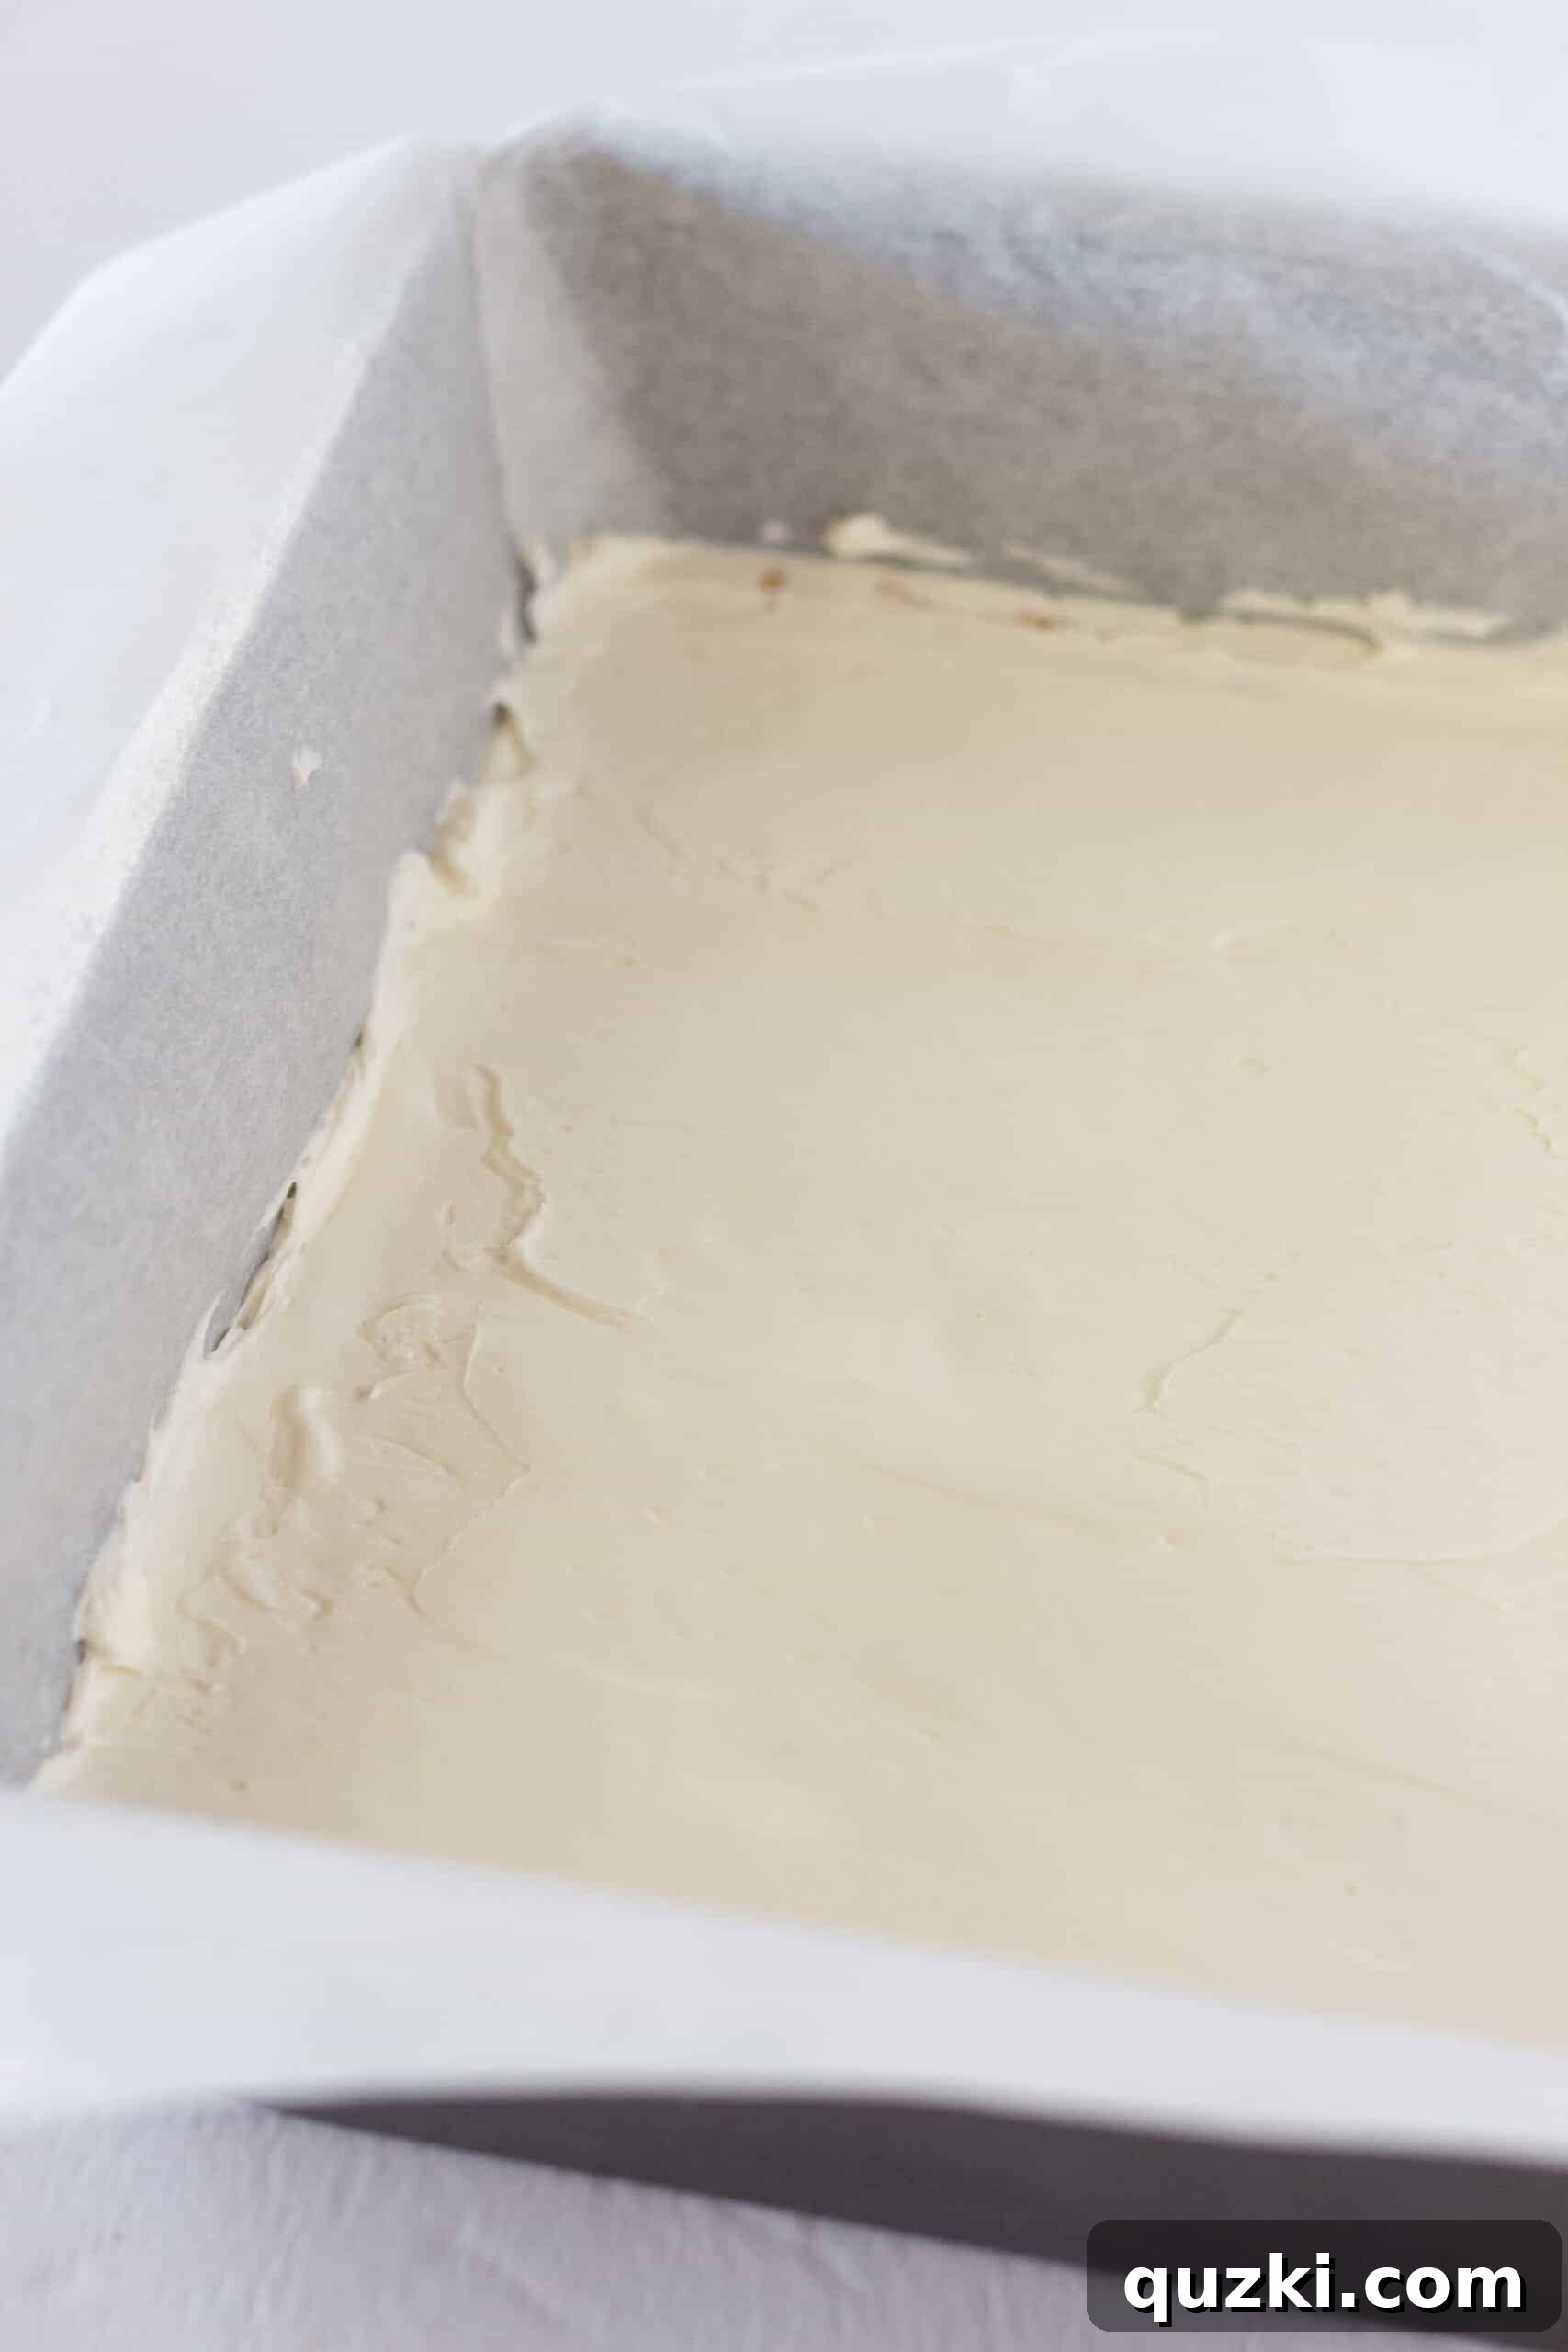
Carefully spread this cheesecake mixture evenly over the Golden Oreo crust. An offset spatula is particularly useful here, as its angled blade allows you to reach the edges of the pan and create a perfectly smooth, uniform layer quickly and efficiently.
Step 3: Prepare the Golden Oreo Vanilla Pudding Layer
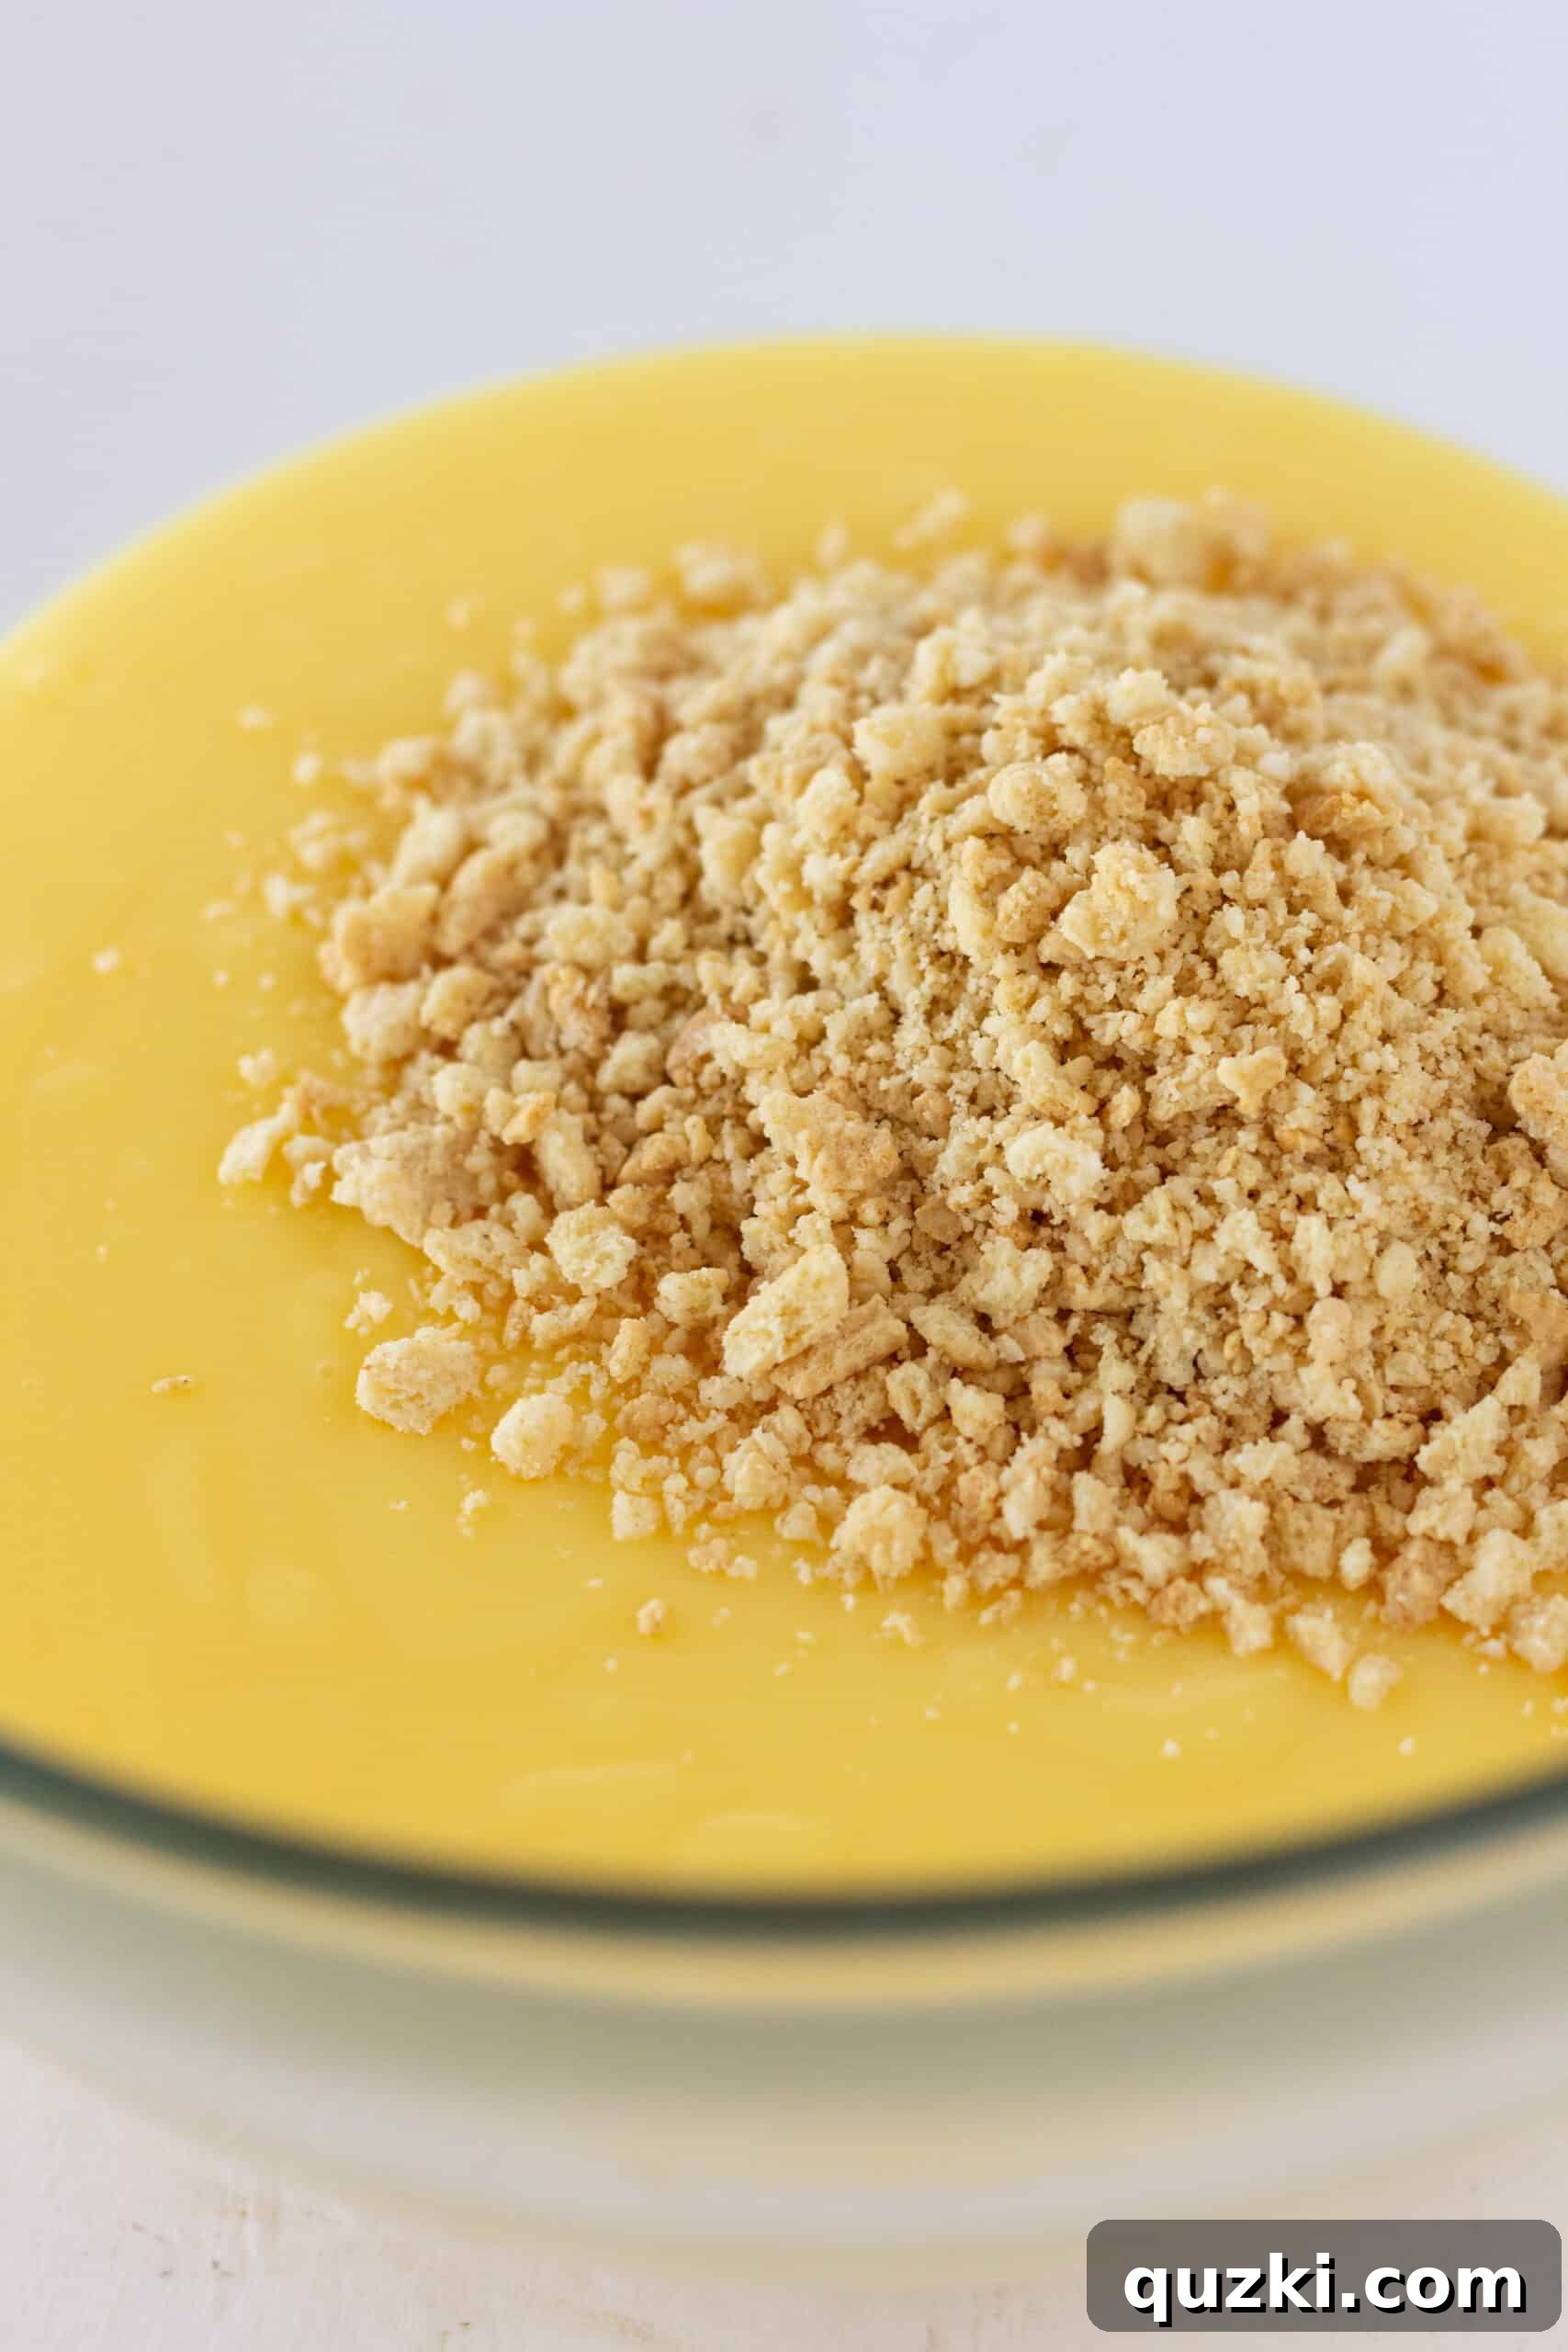
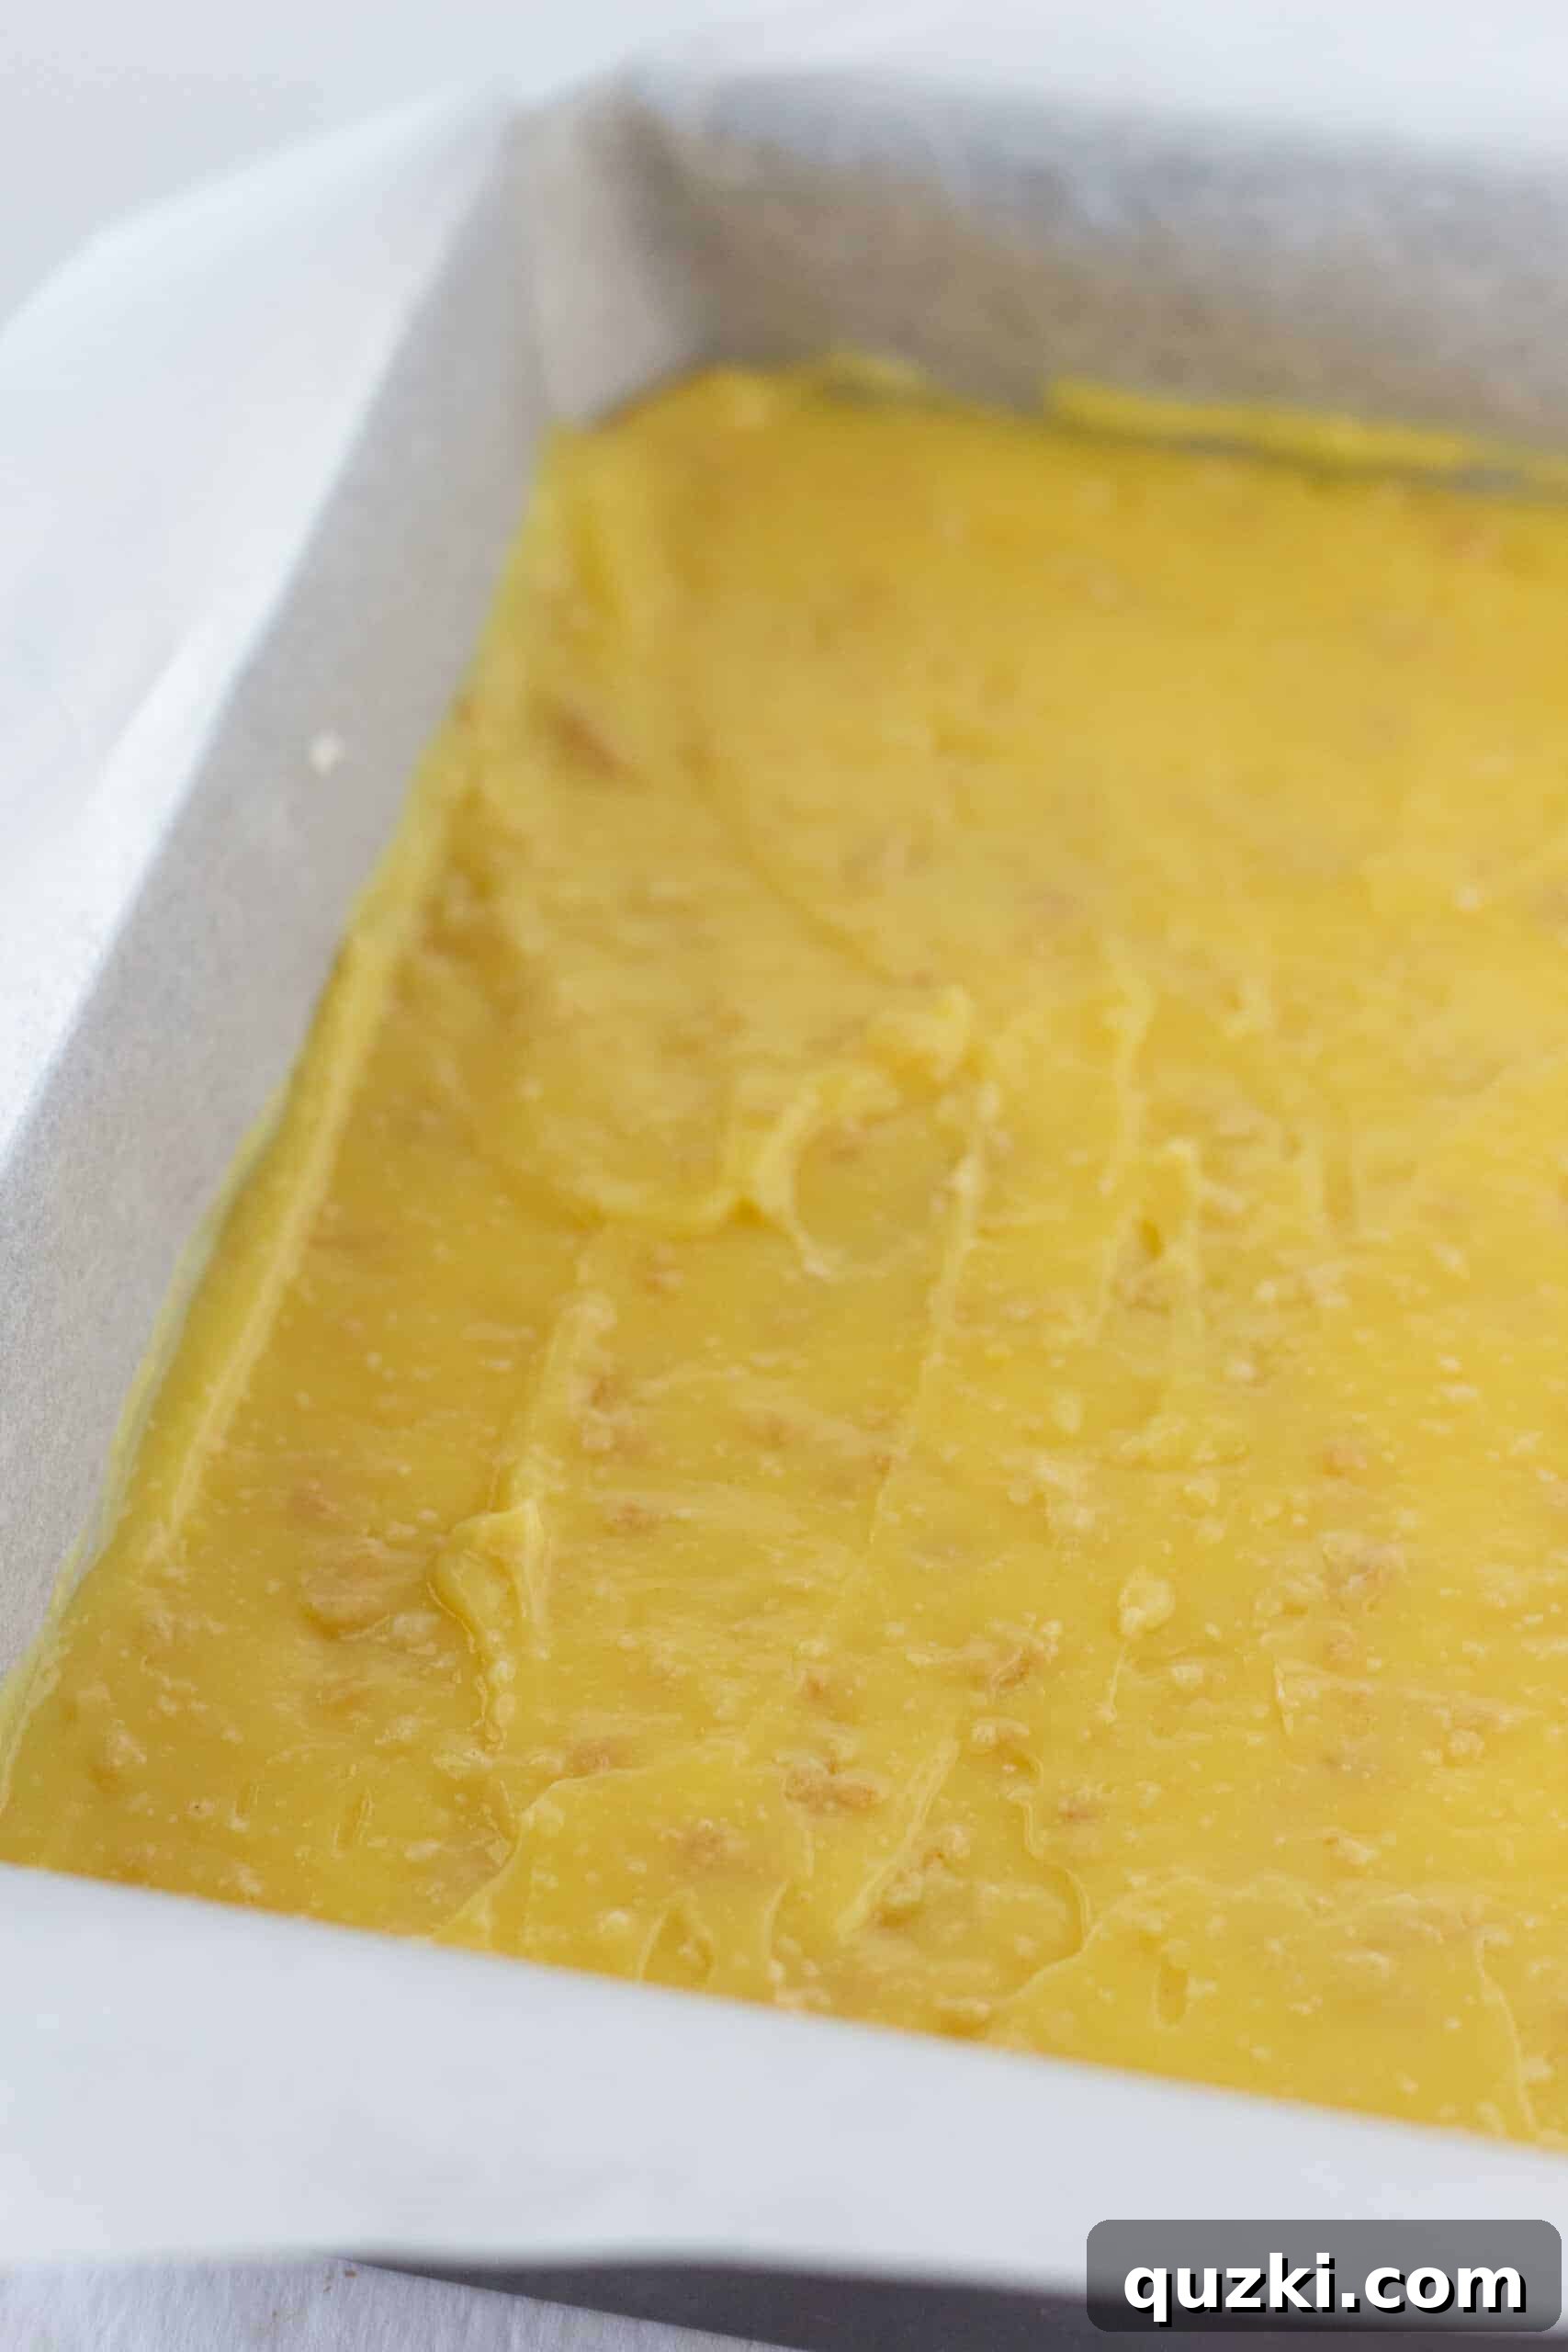
For the next layer, we’ll use instant vanilla pudding mix. In a bowl, whisk together the pudding mix with 2 cups of milk. Note that this is slightly less milk than typically recommended on the pudding box; this adjustment ensures the pudding sets firmly enough to hold its shape within the lasagna layers. Whisk vigorously for about one to two minutes until the pudding thickens. Once thickened, gently stir in additional Golden Oreo crumbs. These crumbs add a delightful textural contrast and an extra burst of Golden Oreo flavor to this creamy layer.
Carefully pour the Golden Oreo vanilla pudding mixture over the cheesecake layer. Spread it out gently to form another even, smooth layer. The embedded cookie crumbs create a wonderful textural interest and enhance the overall experience.
Step 4: The Final Whipped Topping and Decoration
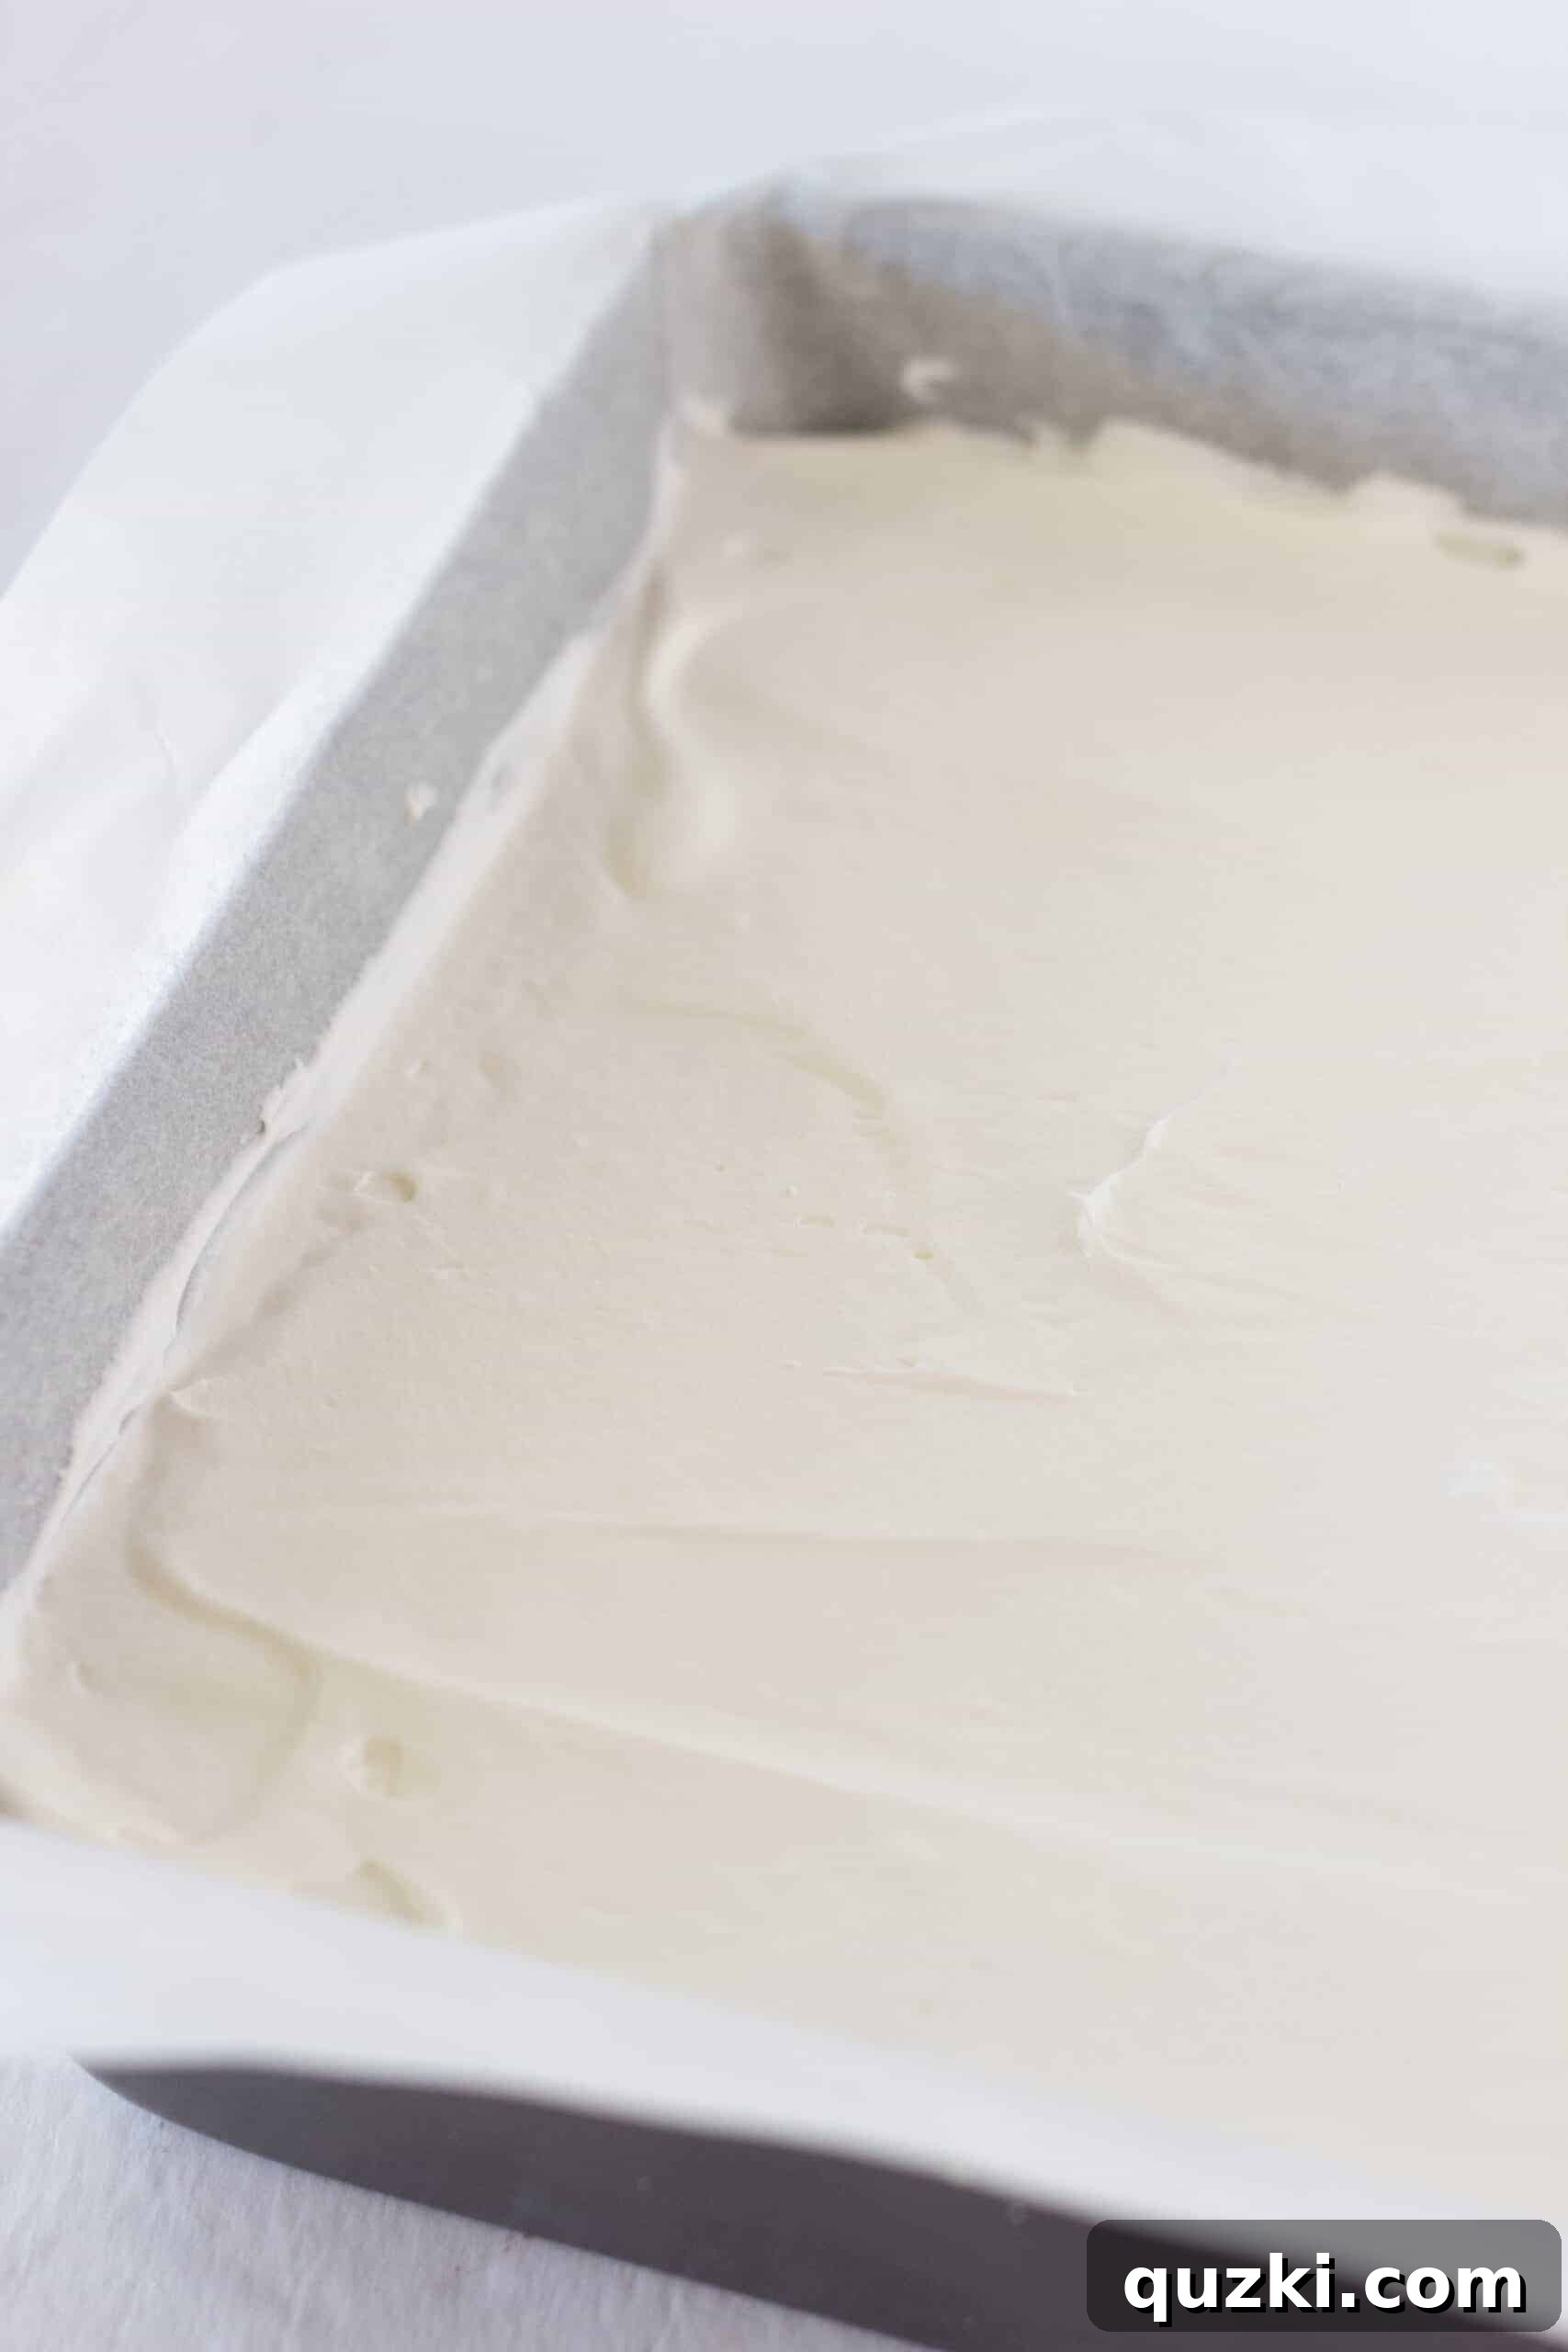
The grand finale is a generous layer of whipped topping. Spread the remaining half of your whipped topping evenly over the pudding layer. This creates a soft, cloud-like top that is both visually appealing and incredibly light.
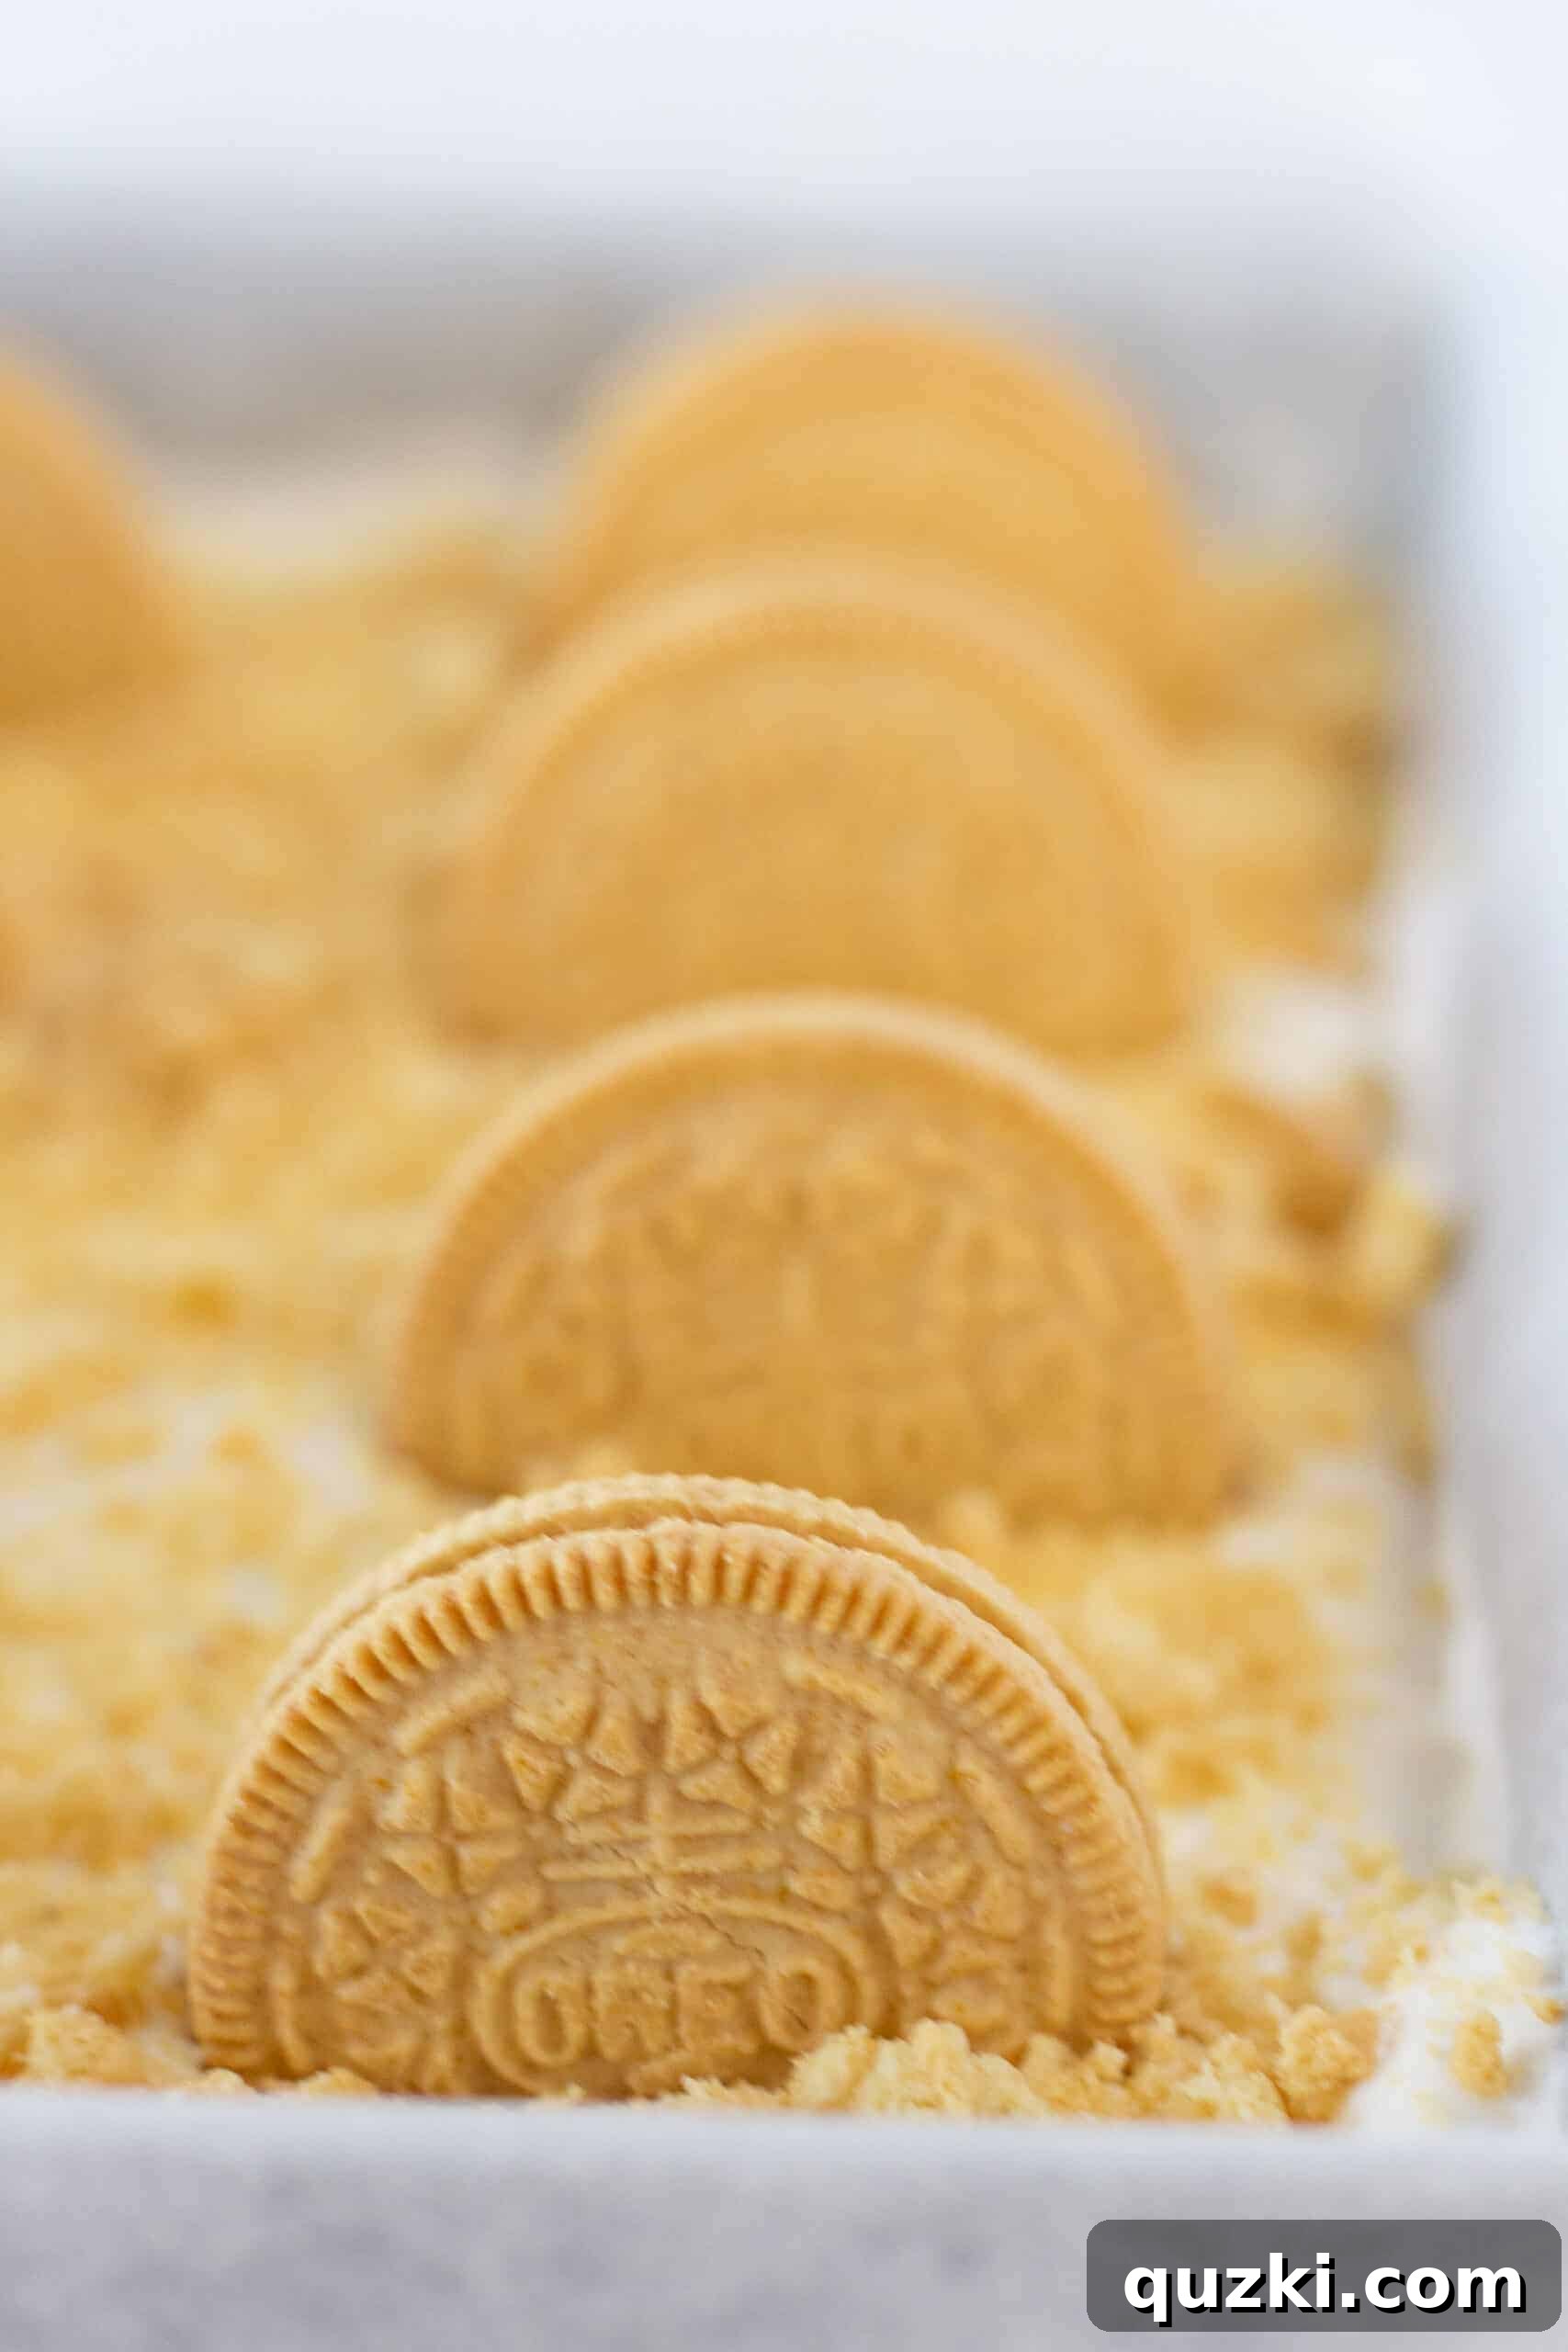
To beautifully finish your dessert lasagna, sprinkle the remaining cookie crumbs over the whipped topping. Then, for a stunning presentation and an extra touch of indulgence, arrange whole Golden Oreos on top. Gently press them vertically into the dessert so that about half of each cookie is exposed, creating a striking visual pattern. Typically, arranging 4 cookies across and 3 down works perfectly for creating well-portioned squares.
Step 5: Chill and Serve
Once assembled, it’s crucial to allow the dessert to refrigerate for a minimum of 2 hours, or ideally, overnight. This chilling period allows all the layers to set properly, firm up, and for the flavors to meld together beautifully. When you’re ready to serve, simply use the parchment paper overhang to gently lift the entire dessert out of the pan. Place it on a cutting board, cut it into a dozen neat squares (using the whole Oreos as a guide if you’ve added them), and plate it up for a truly delightful treat!
Golden Oreo Lasagna Variations and Customizations
One of the best aspects of this Golden Oreo Lasagna is its adaptability. Feel free to get creative and customize it to suit your taste preferences or the occasion:
- Oreo Flavors: While Golden Oreos are fantastic, don’t hesitate to experiment with other Oreo varieties. Classic Chocolate Oreos for a darker profile, refreshing Lemon Oreos, festive Birthday Cake Oreos, or even seasonal Mint Oreos could offer exciting twists.
- Pudding Mix: The vanilla pudding layer can be easily swapped. Chocolate pudding mix would create a richer dessert, while cheesecake pudding mix would intensify the creamy cheesecake flavor. Banana or butterscotch pudding could also add unique dimensions.
- Add-ins: Consider adding fresh fruit like sliced bananas or berries between the layers for extra freshness and color. A sprinkle of mini chocolate chips, white chocolate shavings, or even a drizzle of caramel or chocolate sauce on top before serving could elevate the dessert further.
- Homemade Whipped Cream: For a truly gourmet touch, you can absolutely substitute store-bought whipped topping with homemade whipped cream. Simply combine 1 cup of heavy cream with 3 tablespoons of powdered sugar in a large bowl. Using a hand-held mixer, whip the cream until stiff peaks form. This adds a wonderfully fresh and rich element.
How to Store This Dessert Lasagna
Proper storage is key to maintaining the freshness and integrity of your Golden Oreo Lasagna. This dessert should always be stored in the refrigerator, tightly covered with plastic wrap to prevent it from absorbing other odors or drying out. It will remain delicious for up to 4 days, though its texture may soften slightly over time.
Can I Freeze Golden Oreo Lasagna?
Yes, Golden Oreo Lasagna freezes beautifully! For best results, ensure it’s tightly covered with plastic wrap and then perhaps an additional layer of aluminum foil to prevent freezer burn. A unique way to enjoy this dessert is to serve it partially frozen, which gives it an delightful ice cream-like texture – a fantastic treat on a hot day. When thawing, always transfer it to the refrigerator and allow it to thaw slowly, rather than at room temperature, to maintain its structure and creamy consistency.
Expert Tips for a Flawless Golden Oreo Lasagna
To ensure your Golden Oreo Lasagna turns out perfectly every time, keep these expert tips in mind:
- Choose the Right Oreos: Opt for regular Golden Oreos rather than Double Stuffed. The cream in the middle helps bind the crumbs for the crust, but too much cream from Double Stuffed can make the crust too oily and less firm.
- Even Layers are Key: Take your time to spread each layer as evenly as possible. This meticulousness not only contributes to a gorgeous, professional-looking finish but also ensures every bite offers a balanced taste of all components.
- Adequate Chilling Time: This is arguably the most crucial step. Chill the dessert for at least 2-4 hours, or ideally overnight, before serving. Rushing this step will result in layers that don’t hold their shape, leading to a messy presentation. The cold also allows the flavors to deepen and meld together.
- Parchment Paper for Easy Removal: As mentioned, lining your pan with parchment paper, leaving an overhang on the sides, will make removing and slicing the dessert incredibly simple. It’s a small step that makes a huge difference in serving.
- Soften Cream Cheese: Ensure your cream cheese is at room temperature before mixing. This will help you achieve a smooth, lump-free cheesecake layer.
- Don’t Overmix Pudding: Whisk instant pudding only until it’s just thickened. Overmixing can cause it to become too stiff or grainy.
Why This Recipe Will Be Your New Favorite
The Golden Oreo Lasagna isn’t just a dessert; it’s an experience. Its multiple layers offer a symphony of textures and flavors – from the crunchy crust to the creamy cheesecake and pudding, all topped with airy whipped cream. It’s easy to make, requires no baking, and is endlessly customizable. Whether you’re hosting a summer barbecue, a holiday gathering, or simply craving a delightful treat, this recipe promises to impress and satisfy. Prepare to be asked for the recipe every time you serve it!
Explore More No-Bake Desserts!
If you’ve fallen in love with the ease and deliciousness of no-bake desserts, be sure to try these other fantastic recipes:
- Easy No-Bake Millionaire Bars
- Classic No-Bake Cookies
- No-Bake Peanut Butter Pie
- No-Bake Raspberry Cheesecake
- Chocolate Chip Cookie Truffles
Golden Oreo Lasagna Recipe
Prep Time: 15 mins
Chill Time: 2 hrs
Total Time: 2 hrs 15 mins
Servings: 12 squares
Dessert lasagna just got awesome with Golden Oreos as the main attraction. With layers of Golden Oreo crust, creamy cheesecake, Golden Oreo vanilla pudding, and light whipped topping, this dessert has something for everyone and is incredibly easy to make without an oven!
Ingredients
Golden Oreo Crust Layer
- 2 ¼ cups Golden Oreo crumbs (from about 25-30 cookies)
- ¼ cup butter (melted)
Cheesecake Layer
- 1 (8 oz.) package cream cheese (softened)
- 4 oz. whipped topping (½ of a 8 oz. tub, thawed)
- 1 tsp vanilla extract
Pudding Layer
- 1 (5.1 oz.) box instant vanilla pudding mix
- 2 cups milk (I used 1%)
- ¾ cup Golden Oreo Crumbs
Whipped Topping Layer & Garnish
- 4 oz. whipped topping (the remaining ½ of the 8 oz. tub, thawed)
- 12 whole Golden Oreos
- ⅓ cup Golden Oreo Crumbs (for garnish)
Instructions
- Preparation: Before assembling, line a 9×9 inch baking pan with parchment paper, leaving an overhang on all sides for easy removal. Using a food processor, crush approximately 30-35 Golden Oreos into fine crumbs. These crumbs will be used for the crust, mixed into the vanilla pudding layer, and sprinkled as a garnish on top.
- Golden Oreo Crust: In a medium bowl, combine 2¼ cups of the Golden Oreo crumbs with the melted butter. Stir thoroughly until all crumbs are coated. Press this mixture firmly and evenly into the bottom of the prepared pan to form the first layer.
- Cheesecake Layer: In another medium bowl, beat the softened cream cheese with a hand-held mixer until it is light and fluffy. Gently fold in 4 oz. (about half a tub) of the thawed whipped topping and the vanilla extract. Mix until just combined. Carefully spread this creamy cheesecake mixture evenly over the Golden Oreo crust.
- Golden Oreo Vanilla Pudding Layer: Pour the instant vanilla pudding powder into a medium bowl and add 2 cups of milk. Whisk continuously for about 1 minute, or until the pudding powder has fully dissolved and the mixture begins to thicken. Stir in ¾ cup of the remaining Golden Oreo crumbs into the pudding. Pour this mixture over the cheesecake layer and spread it out evenly.
- Whipped Topping Layer & Garnish: Carefully spread the remaining 4 oz. (the other half of the tub) of whipped topping over the pudding layer, ensuring it forms an even top layer. Sprinkle the remaining ⅓ cup of Golden Oreo crumbs over the whipped topping. Arrange the 12 whole Golden Oreos vertically into the dessert, pressing them halfway down, in a pattern of 4 cookies across and 3 down to create serving guides.
- Chill: Cover the pan tightly with plastic wrap and refrigerate for at least 2-4 hours, or preferably overnight, to allow all the layers to set and the flavors to meld.
- To Serve: When ready to serve, use the parchment paper overhang to lift the entire dessert out of the pan and onto a cutting board. Cut it into 12 squares, using the whole Oreos as a guide if desired. Serve immediately and refrigerate any leftovers.
Notes
- If you don’t have a food processor, place the Golden Oreos into a large zipper-lock bag and crush them thoroughly with a rolling pin until fine crumbs are formed.
- This dessert can be prepared a day in advance, making it perfect for entertaining.
- For a refreshing twist, serve this dessert partially frozen, similar to an ice cream cake.
Nutrition
Serving: 1 square, Calories: 410kcal, Carbohydrates: 48g, Protein: 5g, Fat: 22g, Saturated Fat: 10g, Polyunsaturated Fat: 4g, Monounsaturated Fat: 7g, Trans Fat: 0.2g, Cholesterol: 32mg, Sodium: 346mg, Potassium: 151mg, Fiber: 1g, Sugar: 31g, Vitamin A: 462IU, Calcium: 95mg, Iron: 1mg
Nutrition information is automatically calculated and should only be used as an approximation.