
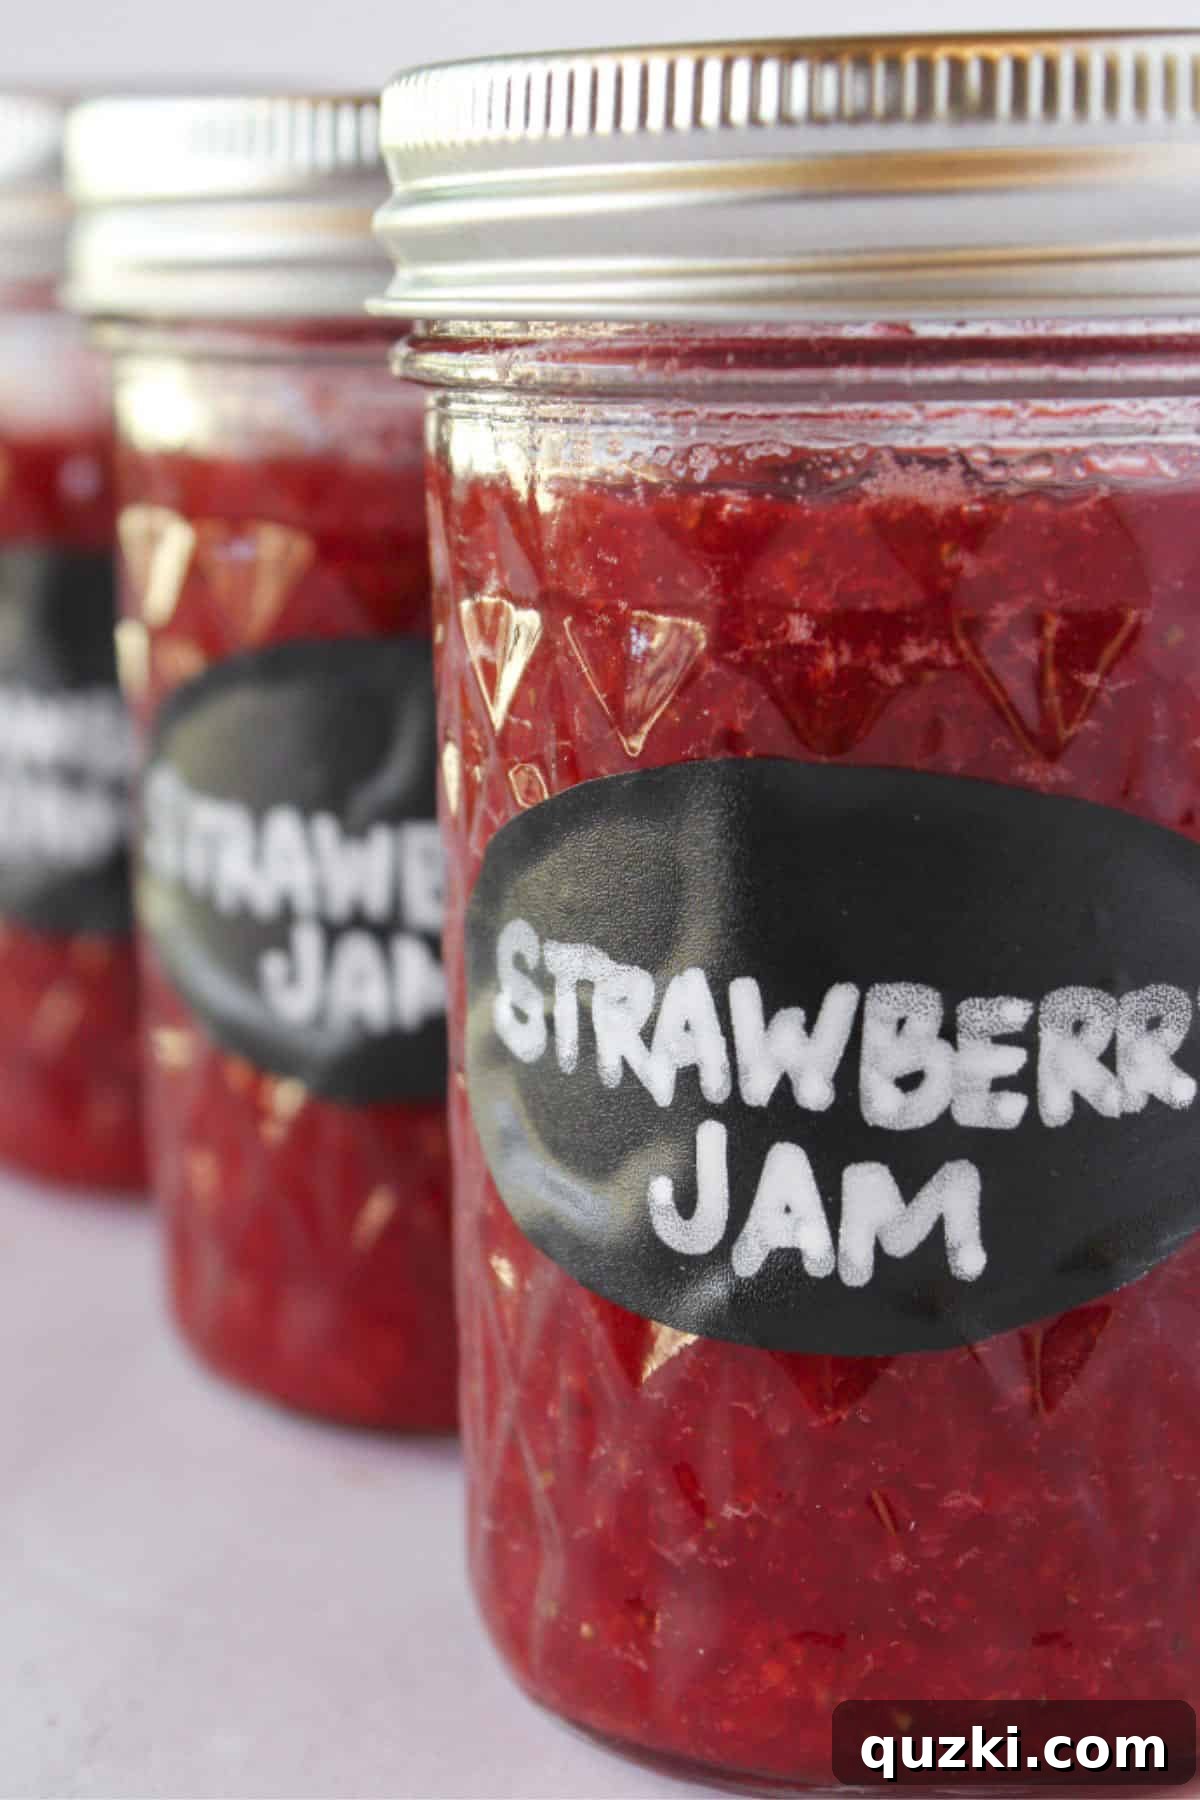
Nothing truly compares to the luscious taste of fresh, homemade jam. And if you’ve been searching for an effortless way to capture that vibrant fruit flavor, this easy No Pectin Strawberry Jam recipe is your answer. Bursting with juicy berry goodness, it requires just three simple ingredients, making it accessible for even novice jam makers. Prepare to say goodbye to bland, store-bought versions and hello to the most flavorful, naturally thickened strawberry spread you’ve ever tasted!
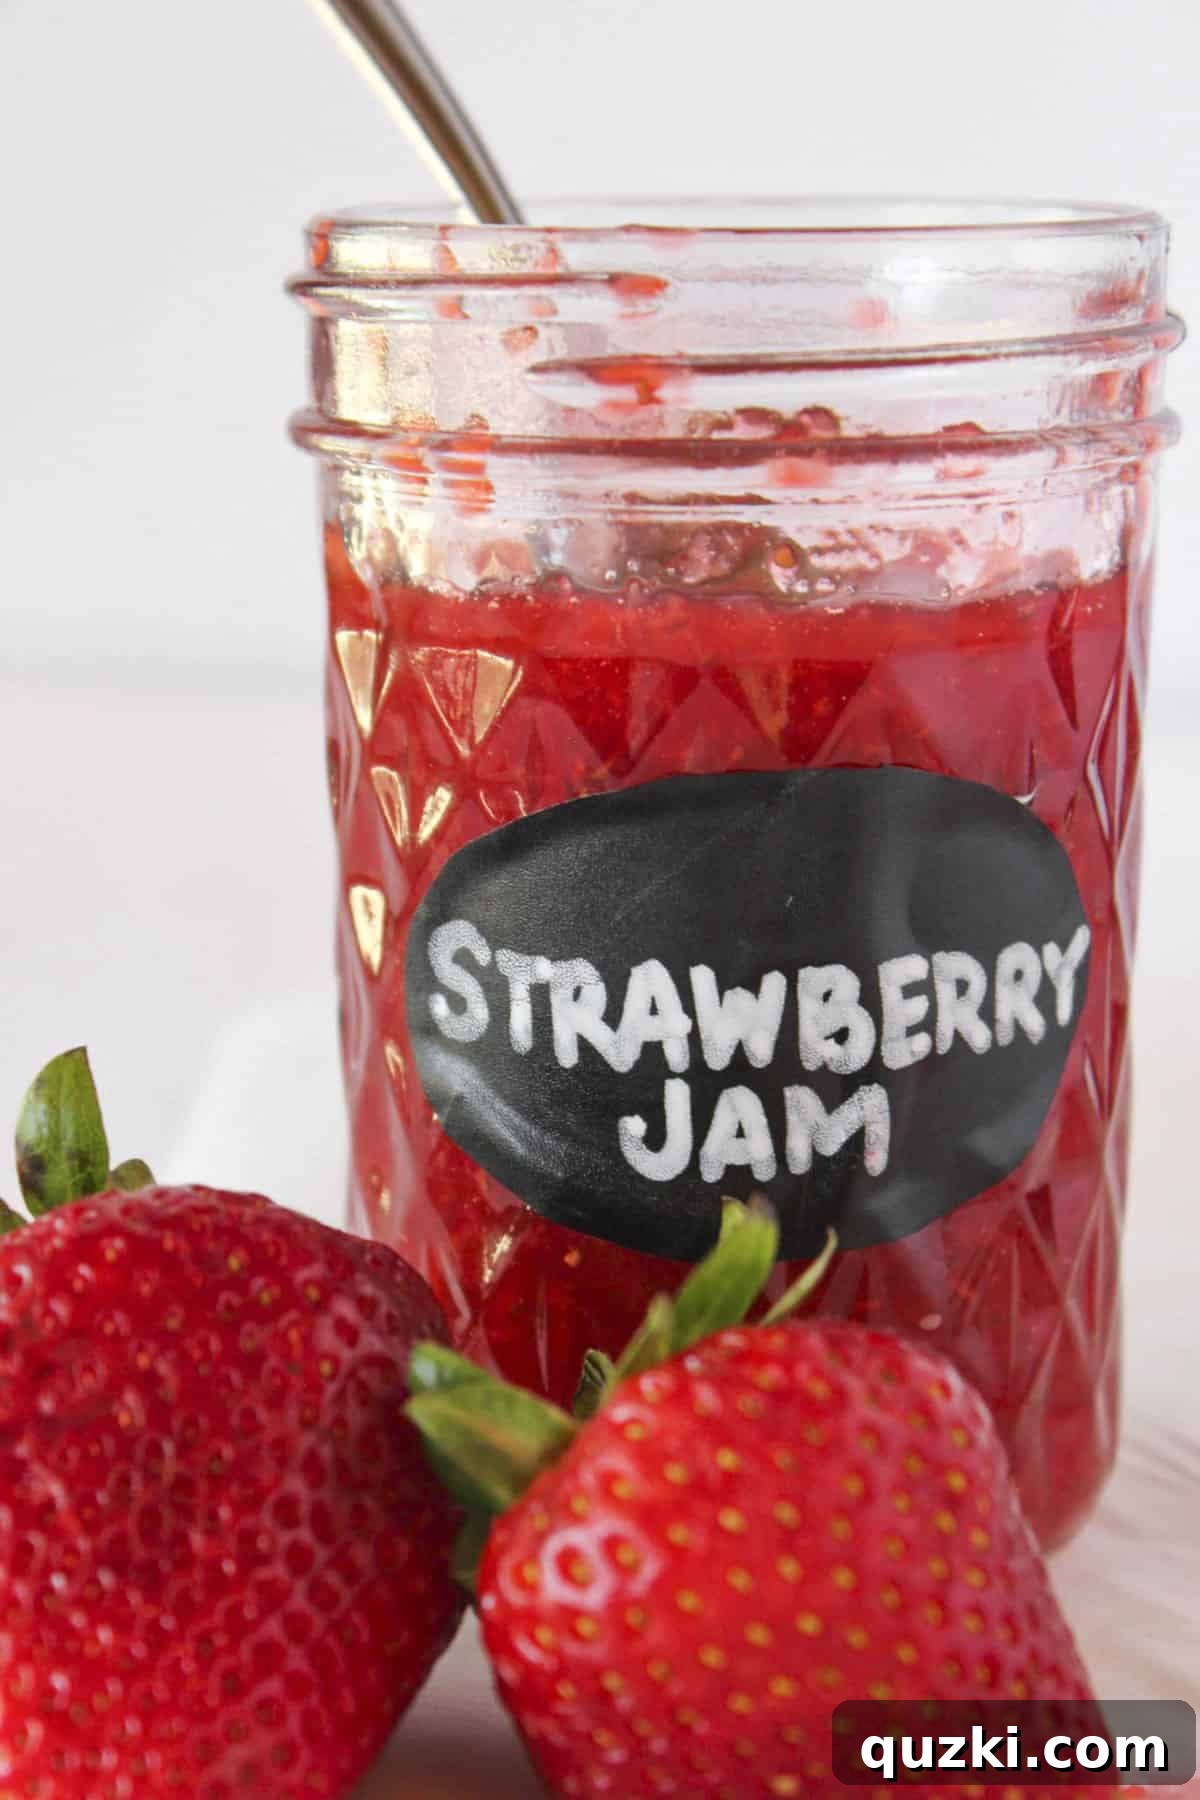
Table of Contents
- The Magic of Homemade Jam
- Jam vs. Jelly: Understanding the Basics
- Essential Ingredients for No Pectin Strawberry Jam
- Creative Variations and Flavor Twists
- Step-by-Step Guide: How to Make No Pectin Strawberry Jam
- Expert Tips for Perfect Strawberry Jam
- Storage and Freezing Your Homemade Jam
- Recipe FAQs: Your Questions Answered
- Delicious Ways to Enjoy Your Strawberry Jam
- More Berry-Inspired Recipes to Love
- No Pectin Strawberry Freezer Jam Recipe
The Magic of Homemade Jam: Why Make Your Own?
There’s an undeniable charm and satisfaction that comes with making your own jam. Beyond the delightful aroma that fills your kitchen, homemade jam offers a taste experience far superior to anything you’ll find on a supermarket shelf. You control the quality of ingredients, ensuring only the freshest, ripest fruits are used. This not only guarantees incredible flavor but also means you can avoid artificial preservatives, colors, and excessive sugars often found in commercial products.
Making jam from scratch, especially a simple no-pectin variety, is a rewarding process. It connects you to the seasons, allowing you to preserve the peak flavor of summer strawberries for months to come. This particular recipe focuses on a “freezer jam” method, which significantly simplifies the process by eliminating the need for a hot water bath or complicated canning equipment. It’s a fantastic entry point for beginners, promising a delicious outcome with minimal fuss.
Jam vs. Jelly: Understanding the Basics
Before diving into our delicious recipe, let’s clarify a common question: what exactly is the difference between jam and jelly? The distinction lies primarily in the fruit component and texture. Jelly is made from fruit juice, resulting in a clear, firm, and jiggle-like spread. It often requires added pectin to achieve its characteristic consistency.
Jam, on the other hand, incorporates crushed fruit or fruit pieces, giving it a thicker, less rigid texture and a more rustic appearance. Our no-pectin strawberry jam falls squarely into the jam category, embracing the natural texture of the berries. While many jam recipes call for commercial pectin to aid in thickening, this recipe leverages the natural pectin present in the strawberries, which is activated by sugar and heat, to create a perfectly spreadable consistency.
The beauty of this method is its simplicity. By relying on the fruit’s inherent thickening power and the magic of sugar and a touch of acid, we achieve a wonderful strawberry mixture without any artificial gelling agents. This small-batch approach means you can enjoy fresh, vibrant jam in a fraction of the time it takes for traditional canning methods, making it perfect for those who want instant gratification and incredible flavor.
Essential Ingredients for No Pectin Strawberry Jam
One of the most appealing aspects of this strawberry jam recipe is its minimalist ingredient list. You only need three core items, each playing a crucial role in creating a balanced flavor and perfect texture. Quality ingredients are key here, so choose wisely!
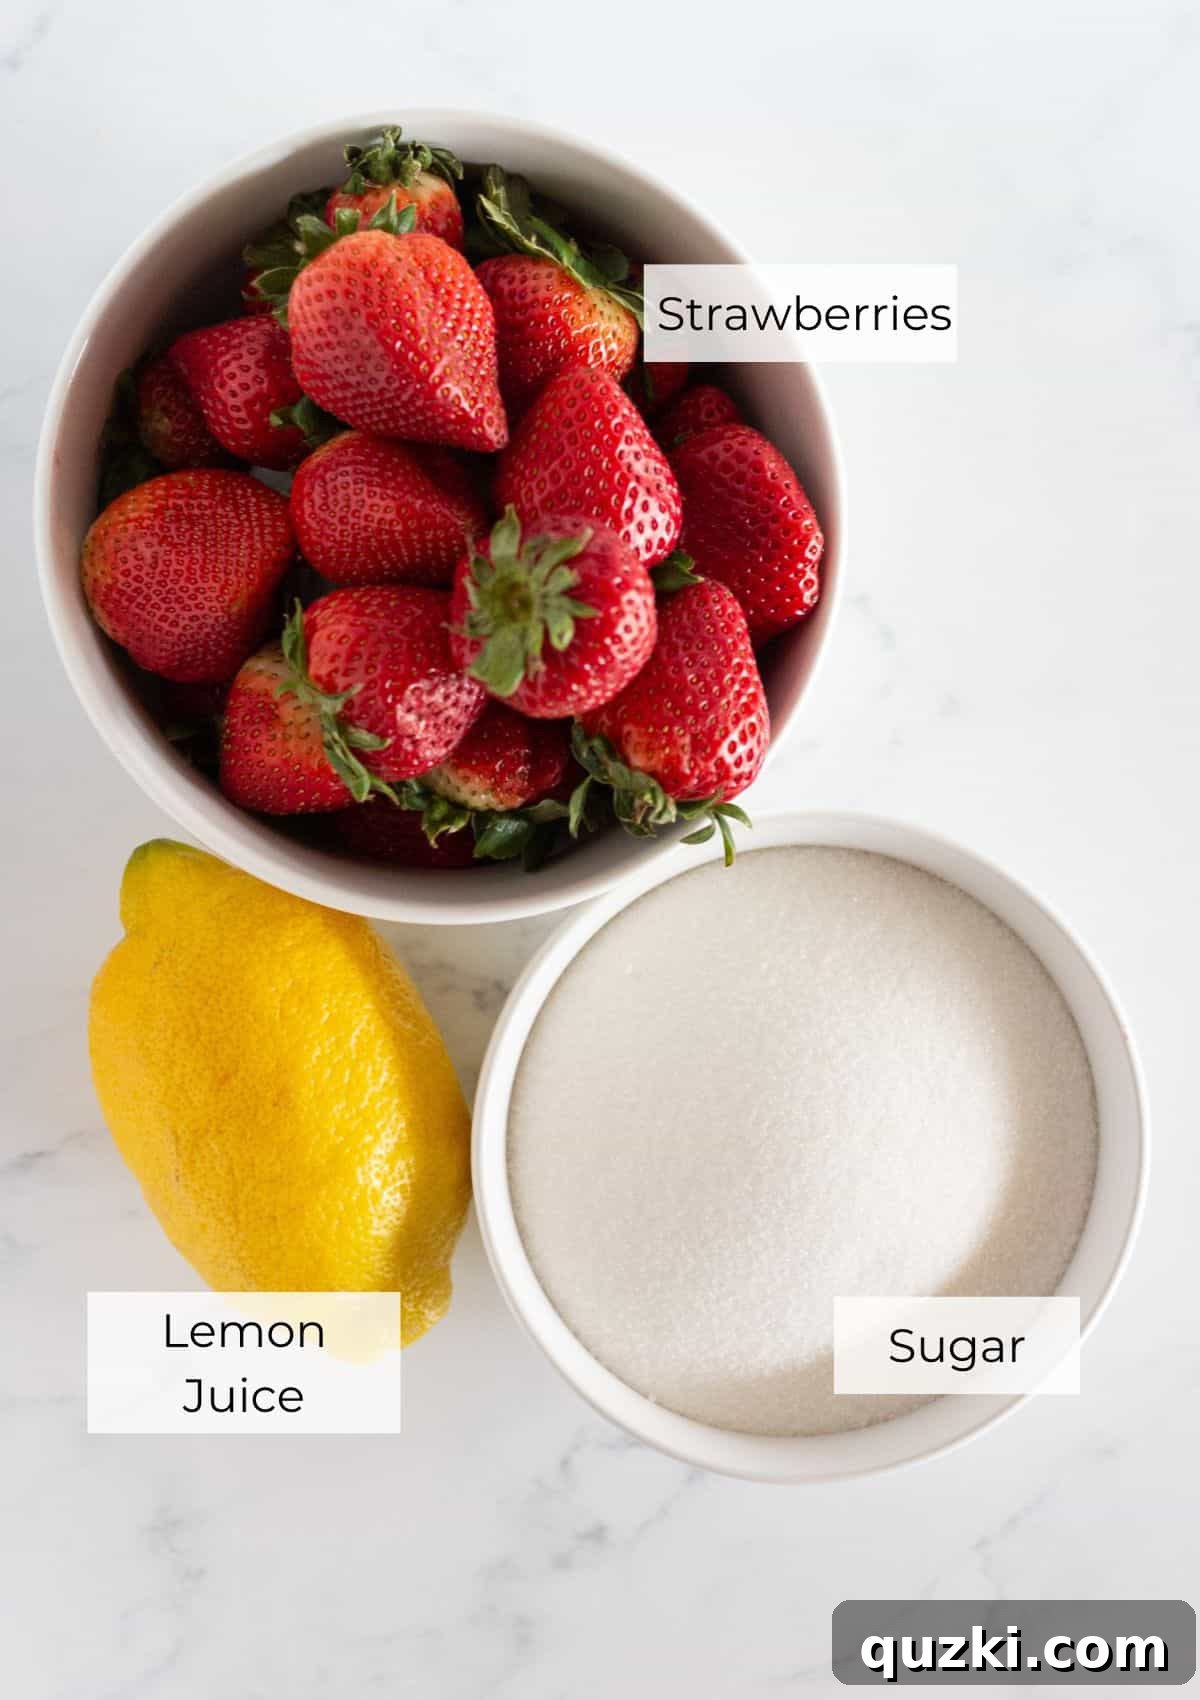
- Fresh Strawberries: The star of our show! For the absolute best flavor and natural sweetness, select ripe, juicy, in-season fresh berries. Look for strawberries that are bright red all over, firm, and fragrant. Avoid any that are soft, moldy, or have white patches, as these will affect the jam’s taste and shelf life. The natural pectin in ripe strawberries is crucial for thickening this jam without added pectin.
- Granulated White Sugar: More than just a sweetener, sugar is vital for several reasons in jam making. It not only balances the tartness of the fruit and enhances its natural flavor but also acts as a natural preservative. Furthermore, sugar interacts with the fruit’s pectin and heat to help the jam thicken and set, giving it that characteristic spreadable texture. While you might be tempted to reduce the sugar, it’s an important structural component for freezer jam.
- Fresh Lemon Juice: This ingredient is technically optional but highly recommended. A splash of fresh lemon juice is a game-changer. Its acidity brightens the strawberry flavor, making it pop, and elegantly balances the sweetness of the sugar. More importantly, the acid in lemon juice helps to activate the natural pectin in the strawberries, contributing significantly to the jam’s thickening process. For an extra layer of citrus aroma and subtle texture, you could also add a bit of finely grated lemon zest.
Remember, the quality of these few ingredients directly impacts the final taste of your homemade jam. Opt for the freshest available!
Creative Variations and Flavor Twists
One of the most exciting aspects of making your own jam is the freedom to customize it. This basic no-pectin strawberry jam recipe serves as an excellent foundation for countless variations, allowing you to tailor it perfectly to your preferences and explore new flavor profiles.
Tailoring Texture: Chunky or Smooth?
You have complete control over the texture of your jam. For a more rustic, homestyle feel that showcases the fruit’s integrity, leave the berry pieces a bit chunkier after mashing or processing. This provides delightful bursts of strawberry in every bite. If you prefer a smoother, more spreadable consistency, blend the berries down into a finer purée. We’ll discuss how to achieve this in the instructions section.
For those who prefer a seedless jam, a simple solution exists. After the jam has cooked and is still warm, you can pour the mixture through a fine-mesh strainer. This step will remove the small seeds, resulting in a perfectly smooth, elegant jam, much like how you might prepare a fruit purée for drinks or desserts.
Experimenting with Other Fruits and Flavors
Don’t limit yourself to just strawberries! This no-pectin method works wonderfully with other soft, ripe fruits that are naturally high in pectin. Consider these delightful variations:
- Mixed Berry Jam: Combine strawberries with raspberries or blueberries for a vibrant medley of flavors. The proportions can be adjusted to your liking.
- Strawberry Rhubarb Jam: The tartness of rhubarb beautifully complements sweet strawberries, creating a classic and incredibly delicious combination.
- Spiced Strawberry Jam: Introduce warm spices like a pinch of cinnamon, a hint of vanilla bean paste, or a tiny touch of black pepper for an unexpected kick.
- Herbal Infusions: A sprig of fresh mint, basil, or even a tiny amount of thyme cooked with the jam can add a sophisticated herbal note.
- Citrus Boost: Beyond lemon, a touch of orange or lime zest can introduce bright, aromatic dimensions to your strawberry jam.
When experimenting with other fruits, keep in mind that their water content and natural pectin levels might vary, which could slightly adjust cooking times. Always aim for ripe fruit for the best flavor and natural thickening.
Step-by-Step Guide: How to Make No Pectin Strawberry Jam
Making this homemade strawberry jam is remarkably straightforward. Follow these easy steps to create a batch of vibrant, fruity goodness that will impress everyone who tries it. Remember, precision in steps will lead to the best results!
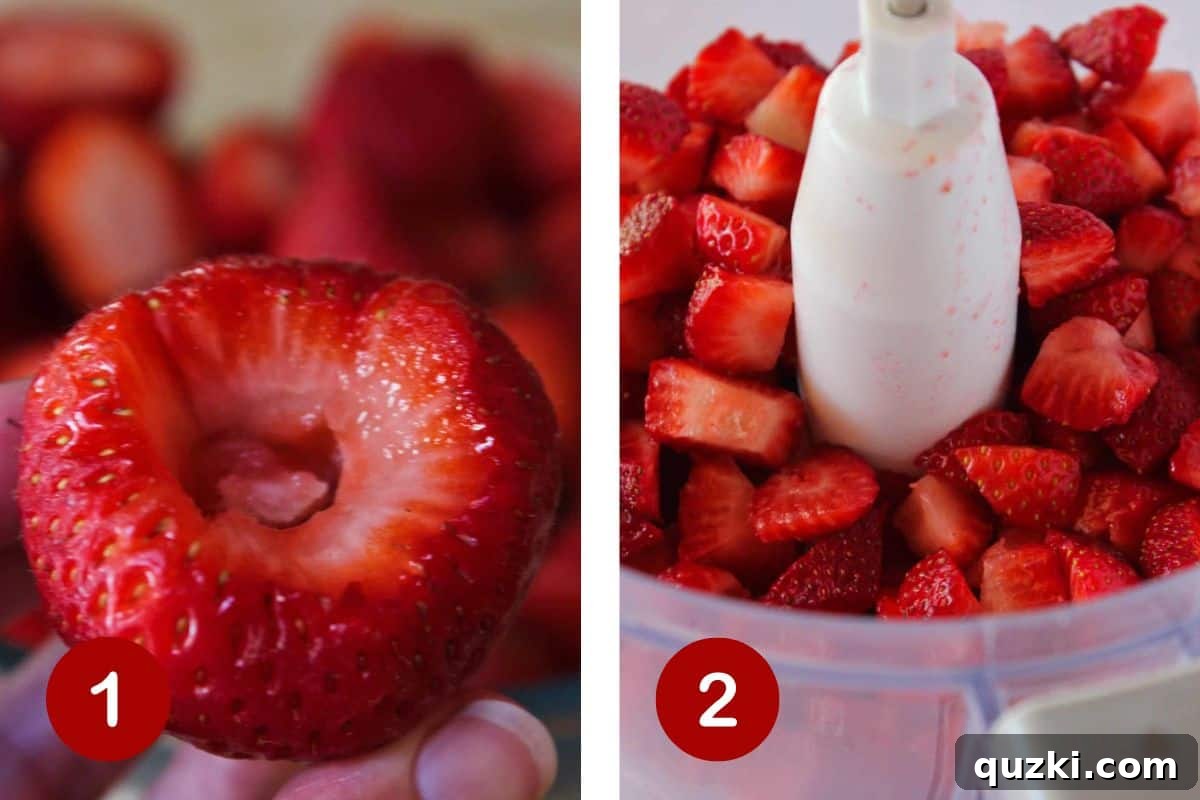
- Prepare the Strawberries: Begin by thoroughly washing your fresh strawberries under cool water. Next, you’ll need to hull the strawberries, which means removing the green leafy tops and the small white core beneath them. This can be done with a small paring knife or a strawberry huller. Once hulled, cut the berries into smaller pieces. The size of the pieces isn’t critical at this stage, especially if you’re using a food processor.
- Process or Mash the Berries: To achieve the desired jam consistency, the strawberries need to be broken down.
- Using a Food Processor: If you have a food processor, simply transfer the chopped strawberries into its bowl. Pulse them a few times until you have super small bits of strawberries, or even a coarse purée. This is the quickest way to get a uniform consistency. Be careful not to over-process if you prefer a chunkier jam.
- Mashing by Hand: No food processor? No problem! A potato masher works perfectly well. Place the chopped strawberries in a large bowl and mash them vigorously until they reach your preferred consistency. This might require a bit more effort, but it’s equally effective and offers more control over chunkiness.
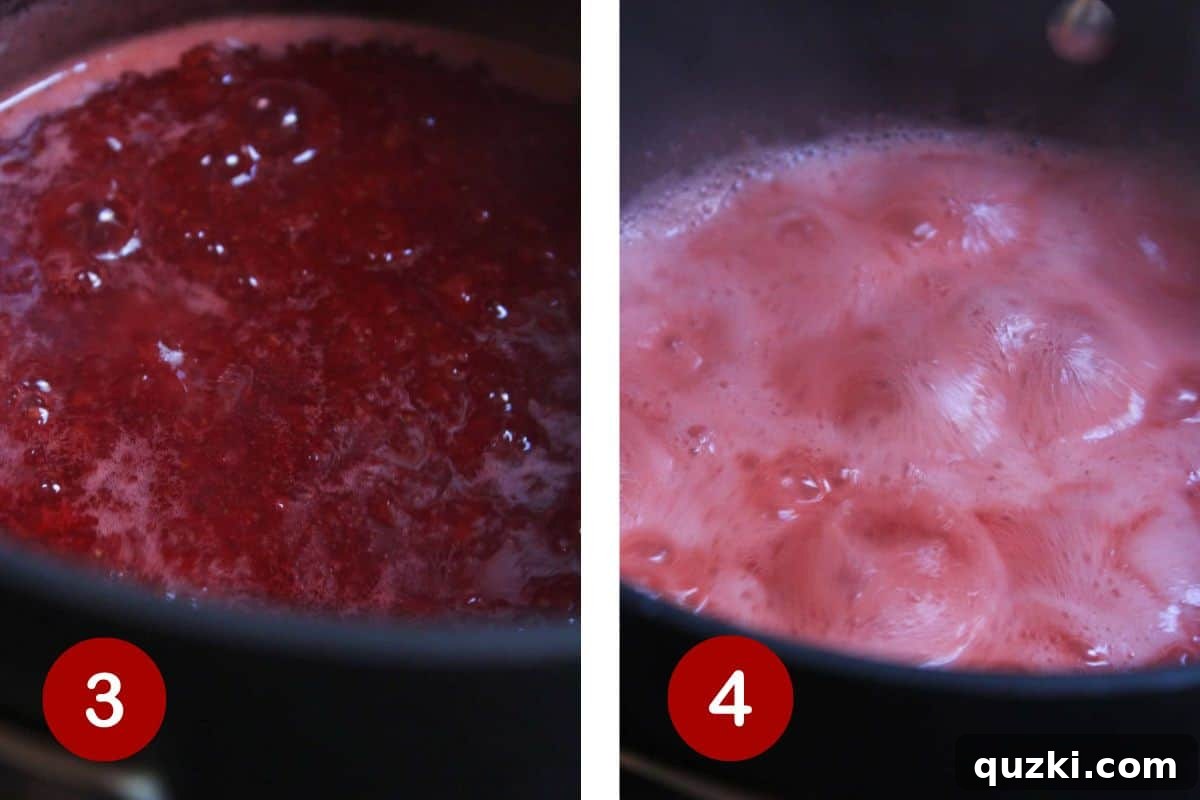
- Combine and Heat: Pour the crushed or processed strawberries into a large, heavy-bottomed saucepan. Add the granulated sugar and the fresh lemon juice to the berries. Stir everything together gently to combine. Place the saucepan over medium heat and slowly bring the mixture to a rolling boil, stirring occasionally to prevent sticking and ensure the sugar dissolves completely.
- Boil to Thicken: Once the jam mixture reaches a boil, continue to boil it for approximately 8 minutes. The goal is for the jam to thicken. Keep the heat at medium, allowing it to maintain a steady boil without scorching. Stir more frequently as it thickens. You’ll notice the texture transforming from watery fruit to a more viscous, syrupy consistency. Remember, the jam will continue to thicken significantly as it cools, so don’t expect it to be super thick straight off the stove.
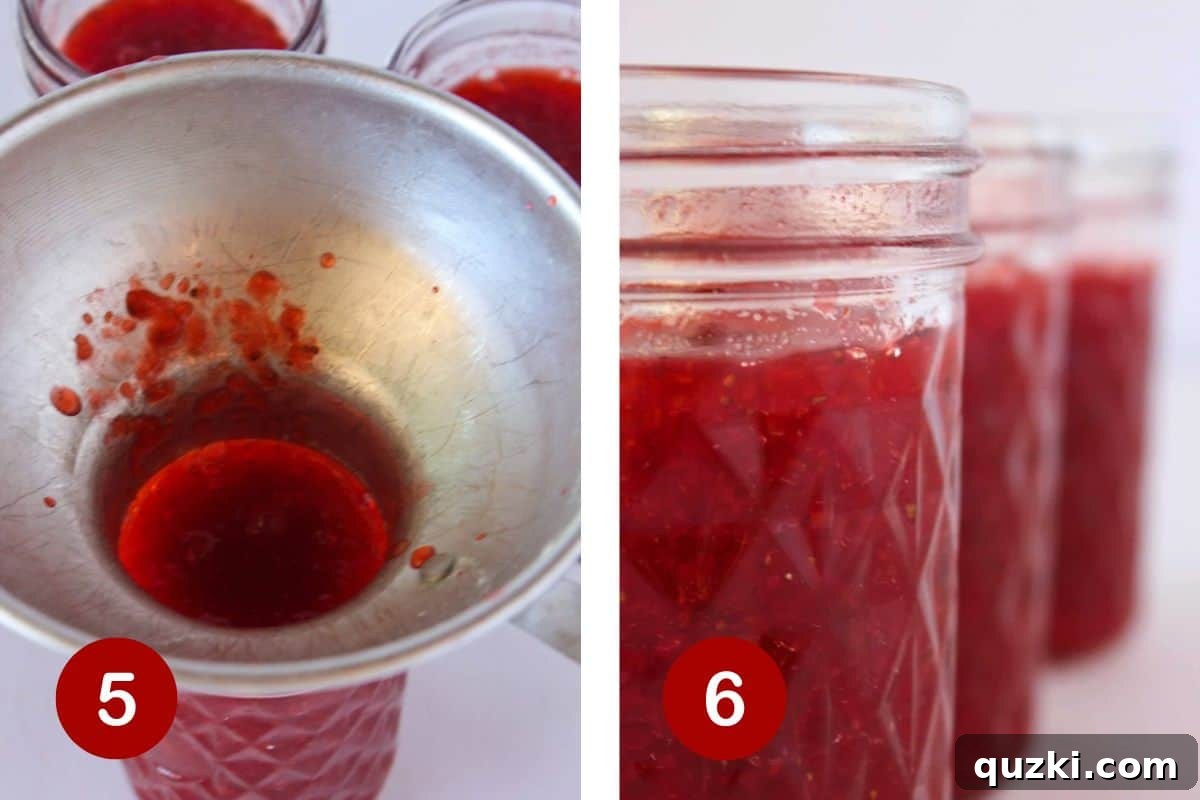
- Fill Containers: Carefully ladle or pour the hot jam mixture into your chosen containers. Glass jars (like mason jars) are ideal for both refrigeration and freezing. Be sure to leave about a 1/2 inch of space at the top of each container. This crucial “headspace” allows for expansion when the jam freezes, preventing your containers from cracking.
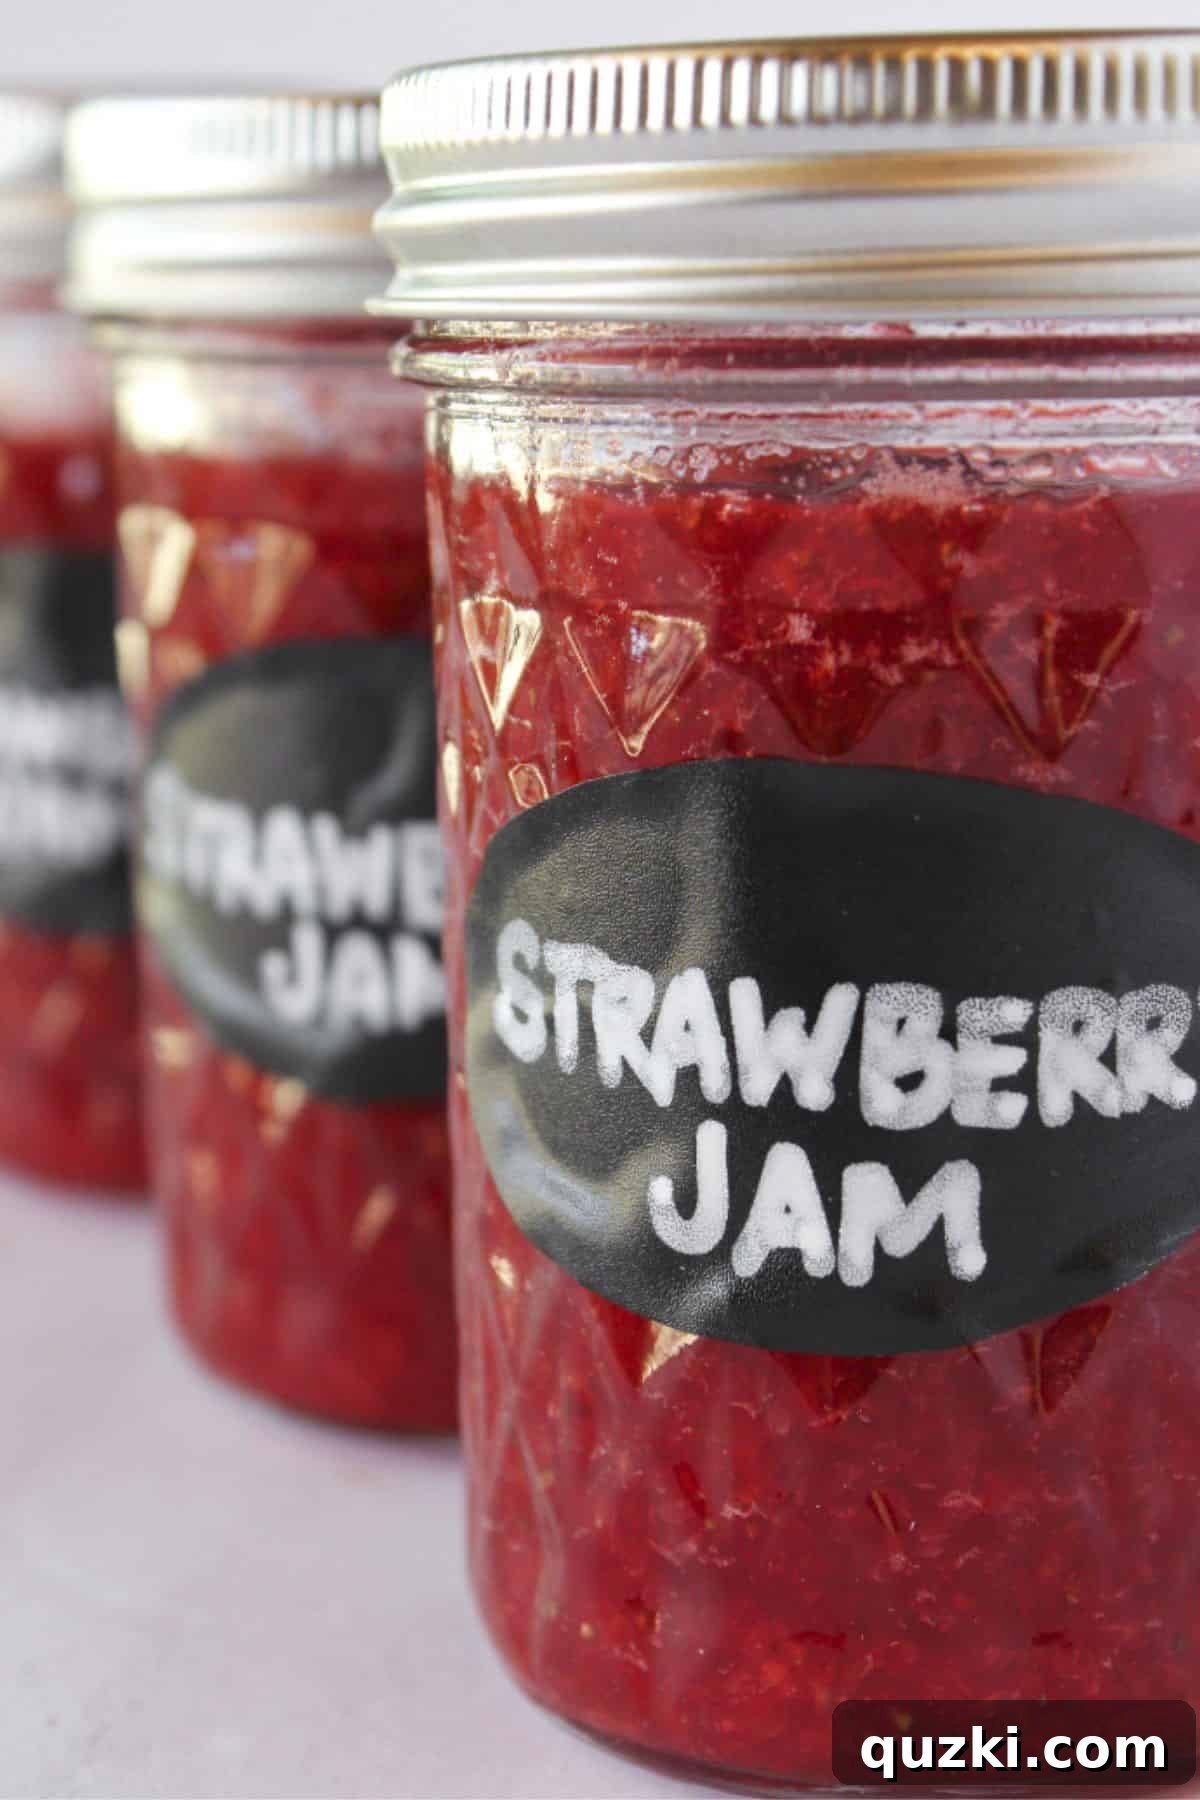
- Cool and Seal: Let the jam cool completely at room temperature before adding lids. This cooling period is essential for the jam to fully set and for any condensation to evaporate, preventing moisture from forming under the lid. Once cooled, seal the containers tightly with their lids. Your delicious homemade no-pectin strawberry jam is now ready for storage!
Expert Tips for Perfect Strawberry Jam
Achieving a perfect batch of no-pectin strawberry jam is simple, but a few expert tips can make all the difference, ensuring your jam is consistently delicious and sets beautifully every time.
- Strawberry Preparation Efficiency: If you’re using a food processor to break down the berries, there’s no need for precise cuts when chopping them. A rough chop is sufficient, as the processor will do the heavy lifting to get them to the right consistency. This saves time and effort.
- Manual Mashing Technique: Don’t own a food processor? A good old-fashioned potato masher is an excellent substitute. While it might take a bit more muscle and time, vigorously mashing the berries by hand works exceptionally well to achieve your desired texture, from chunky to nearly smooth.
- Choosing the Right Pot: Selecting a large, heavy-bottomed saucepan is crucial. Jam tends to bubble up quite a bit during the boiling process, and a larger pot prevents boil-overs, which can be messy and wasteful. The heavy bottom helps distribute heat evenly, reducing the risk of scorching the jam.
- Freezer-Safe Containers Are Key: Since this is a freezer jam, ensure you use containers specifically designed for freezing. Glass jars, particularly mason jars, are a popular and excellent choice because they are durable and reusable. However, any freezer-proof plastic container with a tight-fitting lid will also work great. Always make sure your containers are clean and dry before filling.
- Mind the Headspace: This is a critical step for freezer jam. When ladling the hot jam into jars, always leave about 1/2 inch to 1 inch of space from the top rim. This “headspace” is essential because liquids expand when they freeze. Failing to leave enough room can cause your jars to crack or lids to pop off in the freezer, leading to spoilage and a mess.
- Don’t Rush the Cooling: Allow the jam to cool completely to room temperature before placing lids on the jars and transferring them to the refrigerator or freezer. Cooling helps the jam to properly set and prevents condensation inside the sealed jars, which could affect the texture and quality over time.
- The Wrinkle Test (Optional but Helpful): If you want to be absolutely sure your jam is set, try the “wrinkle test.” Place a small plate in the freezer for 5-10 minutes. When the jam appears to be thickening, spoon a small amount onto the cold plate. Let it sit for 30 seconds, then push it with your finger. If the jam wrinkles, it’s ready. If not, continue cooking for a few more minutes and retest.
Storage and Freezing Your Homemade Jam
One of the best advantages of making this no-pectin strawberry jam is its versatility in storage. You can enjoy it fresh from the fridge or preserve it for longer periods in the freezer, ensuring you have delicious homemade jam whenever a craving strikes.
Refrigerator Storage
Once your jam has cooled completely and been transferred to sealed jars or containers, it can be stored in the refrigerator for up to 3 weeks. Always ensure the lids are tightly secured to maintain freshness and prevent any other food odors from permeating your jam. This method is perfect for small batches that you plan to consume relatively quickly.
Freezer Storage for Extended Freshness
For longer-term preservation, this easy strawberry jam recipe is ideal for freezing. Properly stored freezer jam can last for up to 6 months without losing its vibrant flavor or texture. When preparing for freezing:
- Crucial Headspace: As mentioned in our expert tips, leaving sufficient headspace (about 1/2 inch to 1 inch) at the top of your jars or containers is paramount. This allows for the natural expansion of the jam as it freezes, preventing containers from breaking.
- Container Choice: Use freezer-safe containers, whether they are glass mason jars or high-quality plastic freezer containers. Ensure they have tight-fitting lids to prevent freezer burn.
- Thawing: When you’re ready to enjoy your frozen jam, simply transfer a jar from the freezer to the refrigerator overnight. It will thaw gradually, maintaining its excellent texture and flavor. Once thawed, it should be consumed within 2-3 weeks, just like refrigerated jam.
- Labeling: Always label your frozen jam jars with the date it was made. This helps you keep track of its freshness and ensures you enjoy it at its peak quality.
Freezing this jam is a fantastic way to capture the essence of summer strawberries, allowing you to savor their taste long after the season has passed.
Recipe FAQs: Your Questions Answered
Sugar plays a crucial multifaceted role in this delicious jam, extending beyond just sweetness. It is integral to the jam’s final texture, aiding in its thickening and setting without pectin, and also acts as a vital preservative. Using significantly less sugar may result in a looser, thinner jam that is less shelf-stable and more prone to spoilage. That said, feel free to experiment with very small adjustments to suit your personal taste preferences, but be aware of the potential impact on consistency and preservation.
Absolutely! This simple no-pectin recipe works exceptionally well with other soft fruits that are naturally rich in pectin. Excellent choices include raspberries, blackberries, peaches, and plums. The key is to select ripe fruit. Keep in mind that cooking times may vary slightly depending on the fruit’s natural water content and pectin levels. You might need to cook juicier fruits a little longer to achieve the desired consistency, while firmer fruits might require more mashing.
If your jam appears too thin or runny, it most likely needs to cook a bit longer to reach the proper gelling stage. The thickening process is a result of moisture evaporation and the activation of natural pectin. Return the jam to the stove over medium heat and continue to boil it, stirring frequently, until it visibly thickens. Remember that jam continues to thicken considerably as it cools, so don’t overcook it. Resist the urge to add more sugar, as this can throw off the delicate balance of fruit to sweetener and might not solve the thickening issue.
This no-pectin jam is a fantastic way to enjoy incredible strawberry flavor far beyond the traditional strawberry season. Its versatility makes it perfect for countless culinary applications. Classic choices include spreading it generously on warm toast, fluffy English muffins, or flaky homemade scones. It’s divine drizzled over creamy vanilla ice cream, spooned onto a freshly baked biscuit (like our sky-high biscuits), or as the star in a classic peanut butter and jelly sandwich. For more creative uses, try it in these delightful Strawberry Jam Cookies or swirl it into the frosting of a celebratory cake, such as our Strawberry Lemonade Cake.
Delicious Ways to Enjoy Your Strawberry Jam
Once you’ve made a batch of this exquisite no-pectin strawberry jam, you’ll find endless opportunities to incorporate its bright, fresh flavor into your daily meals and special treats. Beyond the classic uses, here are some inspiring ideas:
- Breakfast & Brunch Staples:
- Spread generously on warm toast, bagels, croissants, or English muffins.
- Swirl into Greek yogurt or oatmeal for a naturally sweetened morning meal.
- Dollop onto pancakes, waffles, or French toast instead of syrup.
- Serve alongside a cheese board with creamy brie or sharp cheddar.
- Dessert Delights:
- Fill tarts, pastries, or thumbprint cookies.
- Layer into parfaits with granola and whipped cream.
- Use as a filling for layer cakes or cupcakes.
- Drizzle over cheesecake or panna cotta.
- Mix into buttercream frosting for a fruity topping.
- Create homemade “Pop-Tarts” or turnovers with puff pastry.
- Savory Pairings:
- Glaze grilled chicken or pork for a sweet and savory twist.
- Use as a condiment for gourmet sandwiches.
- Serve with roasted duck or lamb for an elevated meal.
This simple strawberry jam truly elevates any dish, bringing a taste of summer sunshine to your table all year round.
More Berry-Inspired Recipes to Love
If you’re a true berry enthusiast, your culinary adventures shouldn’t stop at this delicious strawberry jam! Berries offer incredible versatility and flavor that can be incorporated into a wide range of dishes, from decadent desserts to refreshing breakfasts. Explore more ways to celebrate these vibrant fruits with these irresistible recipes:
Indulge in More Berry Goodness!
Desserts
Amazing Strawberry Crunch Dessert Recipes
Cakes
Raspberry White Chocolate Bundt Cake
Brunch
Easy Blueberry Muffin Cake Recipe
Desserts
Easy Strawberry Turnovers with Puff Pastry
Did you try this delightful recipe for homemade No Pectin Strawberry Jam? We’d love to hear about your experience!
Leave a ⭐️ review below and tag @practicallyhomemade on Pinterest to share your creations!
⭐⭐⭐⭐⭐
No Pectin Strawberry Freezer Jam
June Albertson-Dick
10
10
20
20 servings
Print Recipe
Ingredients
-
3½-4 cups fresh strawberries -
2½ cups granulated sugar -
¼ cup fresh lemon juice
Instructions
-
Hull (remove green tops) and chop the fresh strawberries. Transfer the chopped strawberries to a food processor and pulse until they are broken down into small bits or a coarse purée. Alternatively, use a potato masher to mash them by hand in a large bowl.
-
Combine all of the prepared strawberries, granulated sugar, and fresh lemon juice in a large, heavy-bottomed saucepan. Stir gently to mix. Place the saucepan over medium heat and slowly bring the mixture to a rolling boil, stirring occasionally. Once boiling, continue to cook for about 8 minutes, or until the jam visibly thickens. Remember it will thicken further as it cools.
-
Carefully ladle the hot jam into clean, freezer-safe containers (such as glass jars). Be sure to leave approximately 1/2 to 1 inch of headspace at the top of each container to allow for expansion during freezing. Let the jam cool completely to room temperature before adding lids and sealing tightly. Once cooled, store in the refrigerator for up to 3 weeks or freeze for up to 6 months.
Notes
- Using a funnel can make ladling the jam into jars much easier and cleaner.
- This homemade jam freezes beautifully for up to 6 months and can be refrigerated for up to 3 weeks after thawing.
Nutrition
Serving:
1
serving
,
Calories:
105
kcal
,
Carbohydrates:
27
g
,
Protein:
0.2
g
,
Fat:
0.2
g
,
Saturated Fat:
0.01
g
,
Polyunsaturated Fat:
0.04
g
,
Monounsaturated Fat:
0.01
g
,
Sodium:
1
mg
,
Potassium:
42
mg
,
Fiber:
1
g
,
Sugar:
26
g
,
Vitamin A:
3
IU
,
Vitamin C:
16
mg
,
Calcium:
4
mg
,
Iron:
0.1
mg
Nutrition information is automatically calculated, so should only be used as an approximation.
Like this? Leave a comment below!