
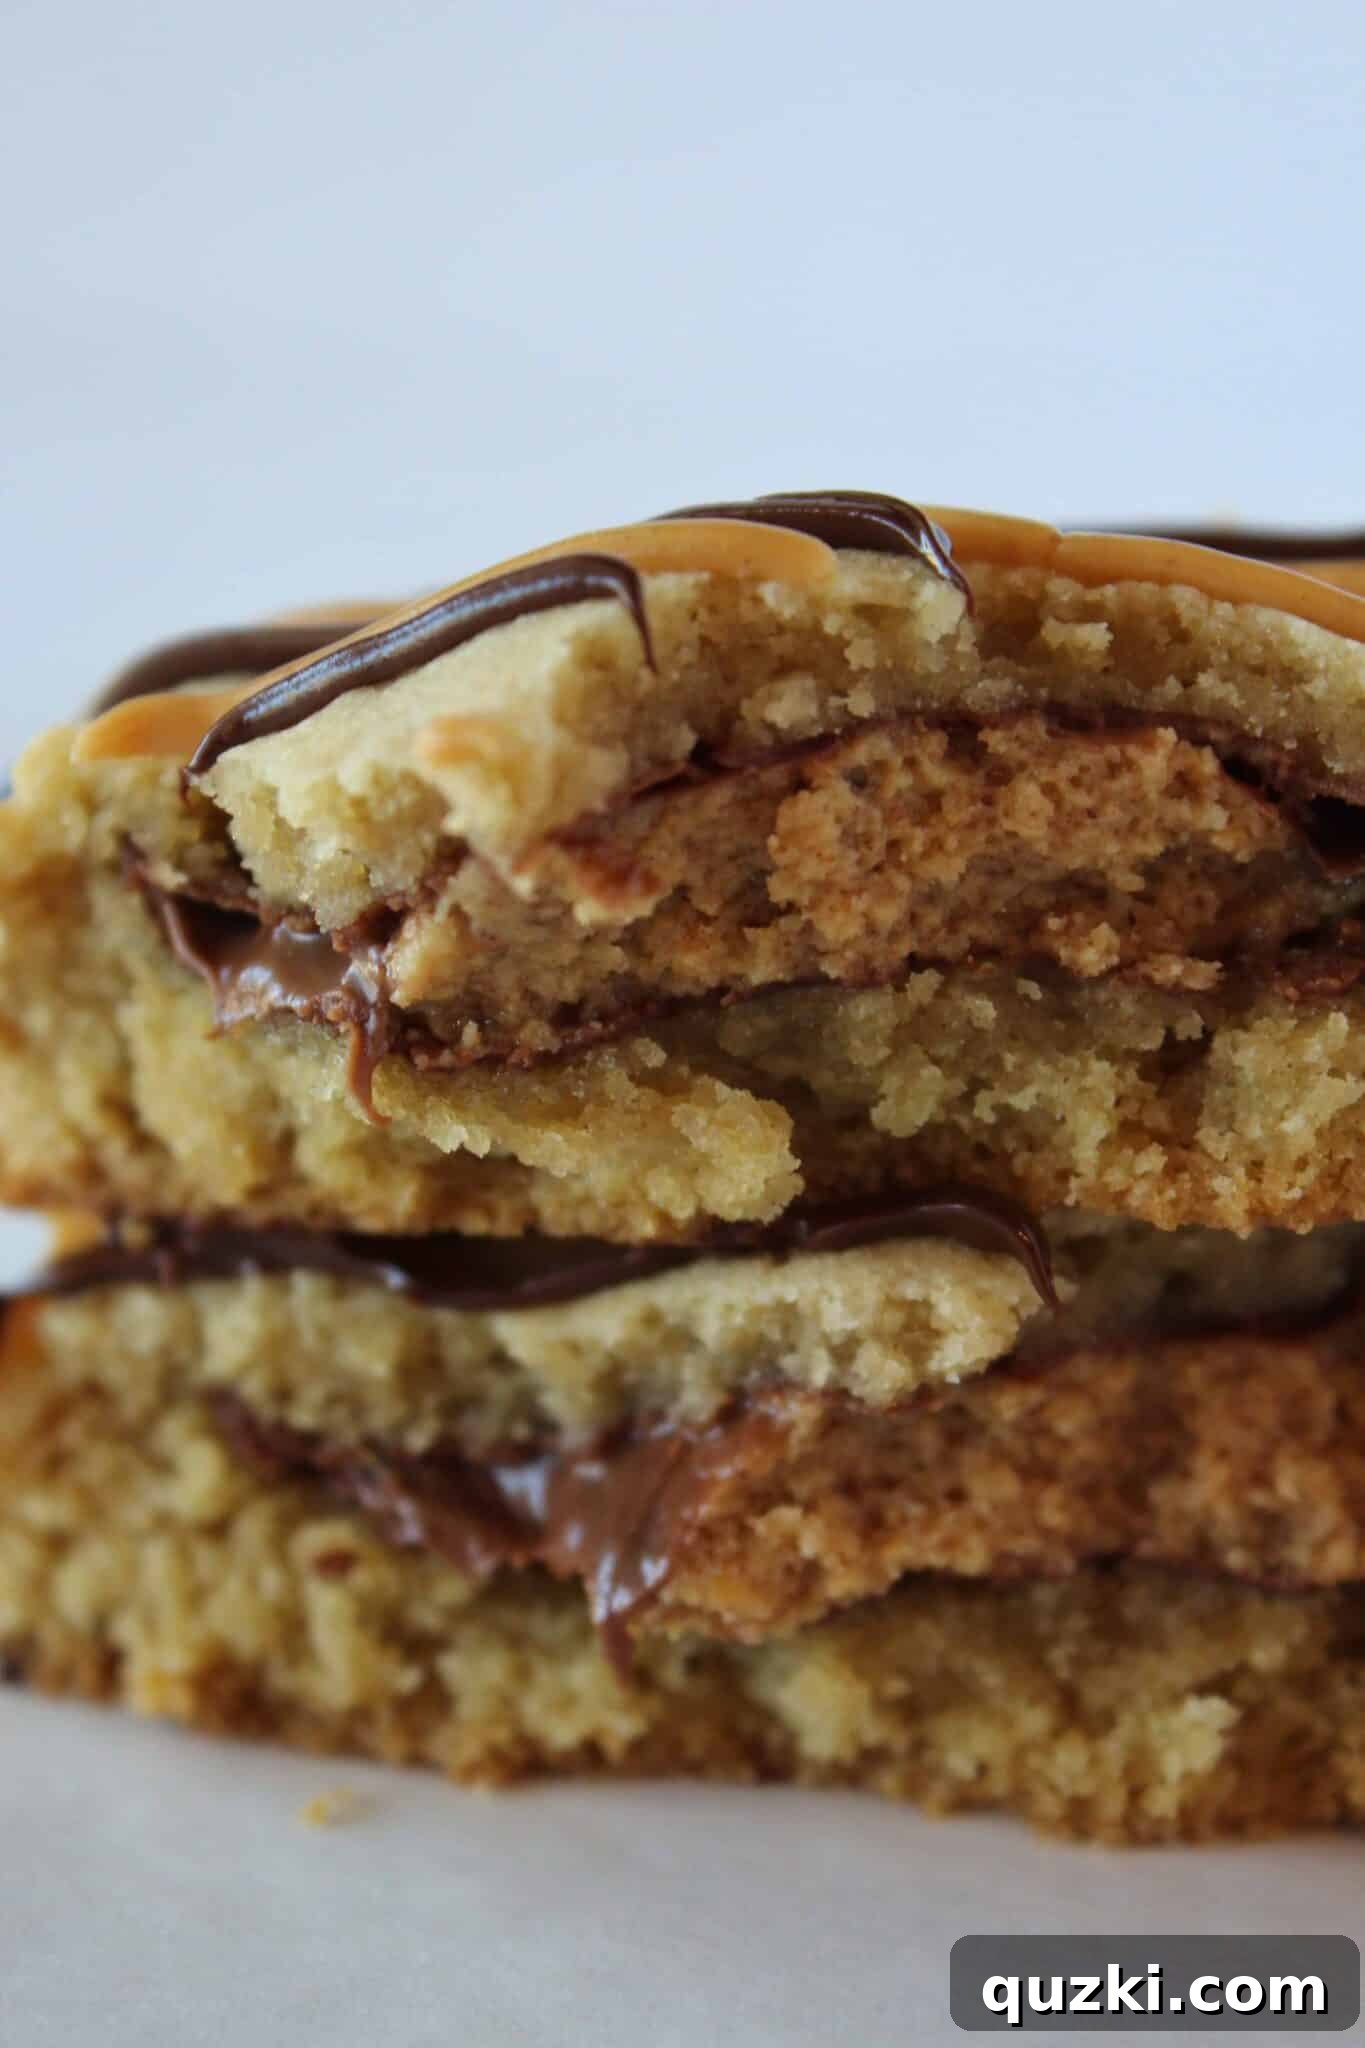
Irresistible Reese’s Peanut Butter Cup Stuffed Cookies: Your Ultimate Indulgence
There are some desserts that simply elevate any occasion, and for me, celebrating special moments – especially my birthday – always calls for a perfect cookie. While I deeply appreciate a beautifully layered cake or a comforting slice of pie, cookies possess a unique charm that brings pure, unadulterated joy. It’s a personal philosophy that everyone deserves their absolute favorite treat on their birthday, and year after glorious year, these Reese’s Peanut Butter Cup Stuffed Cookies remain my unwavering choice. It’s a tradition I don’t foresee changing anytime soon, and once you experience their magic, you’ll undoubtedly understand why.
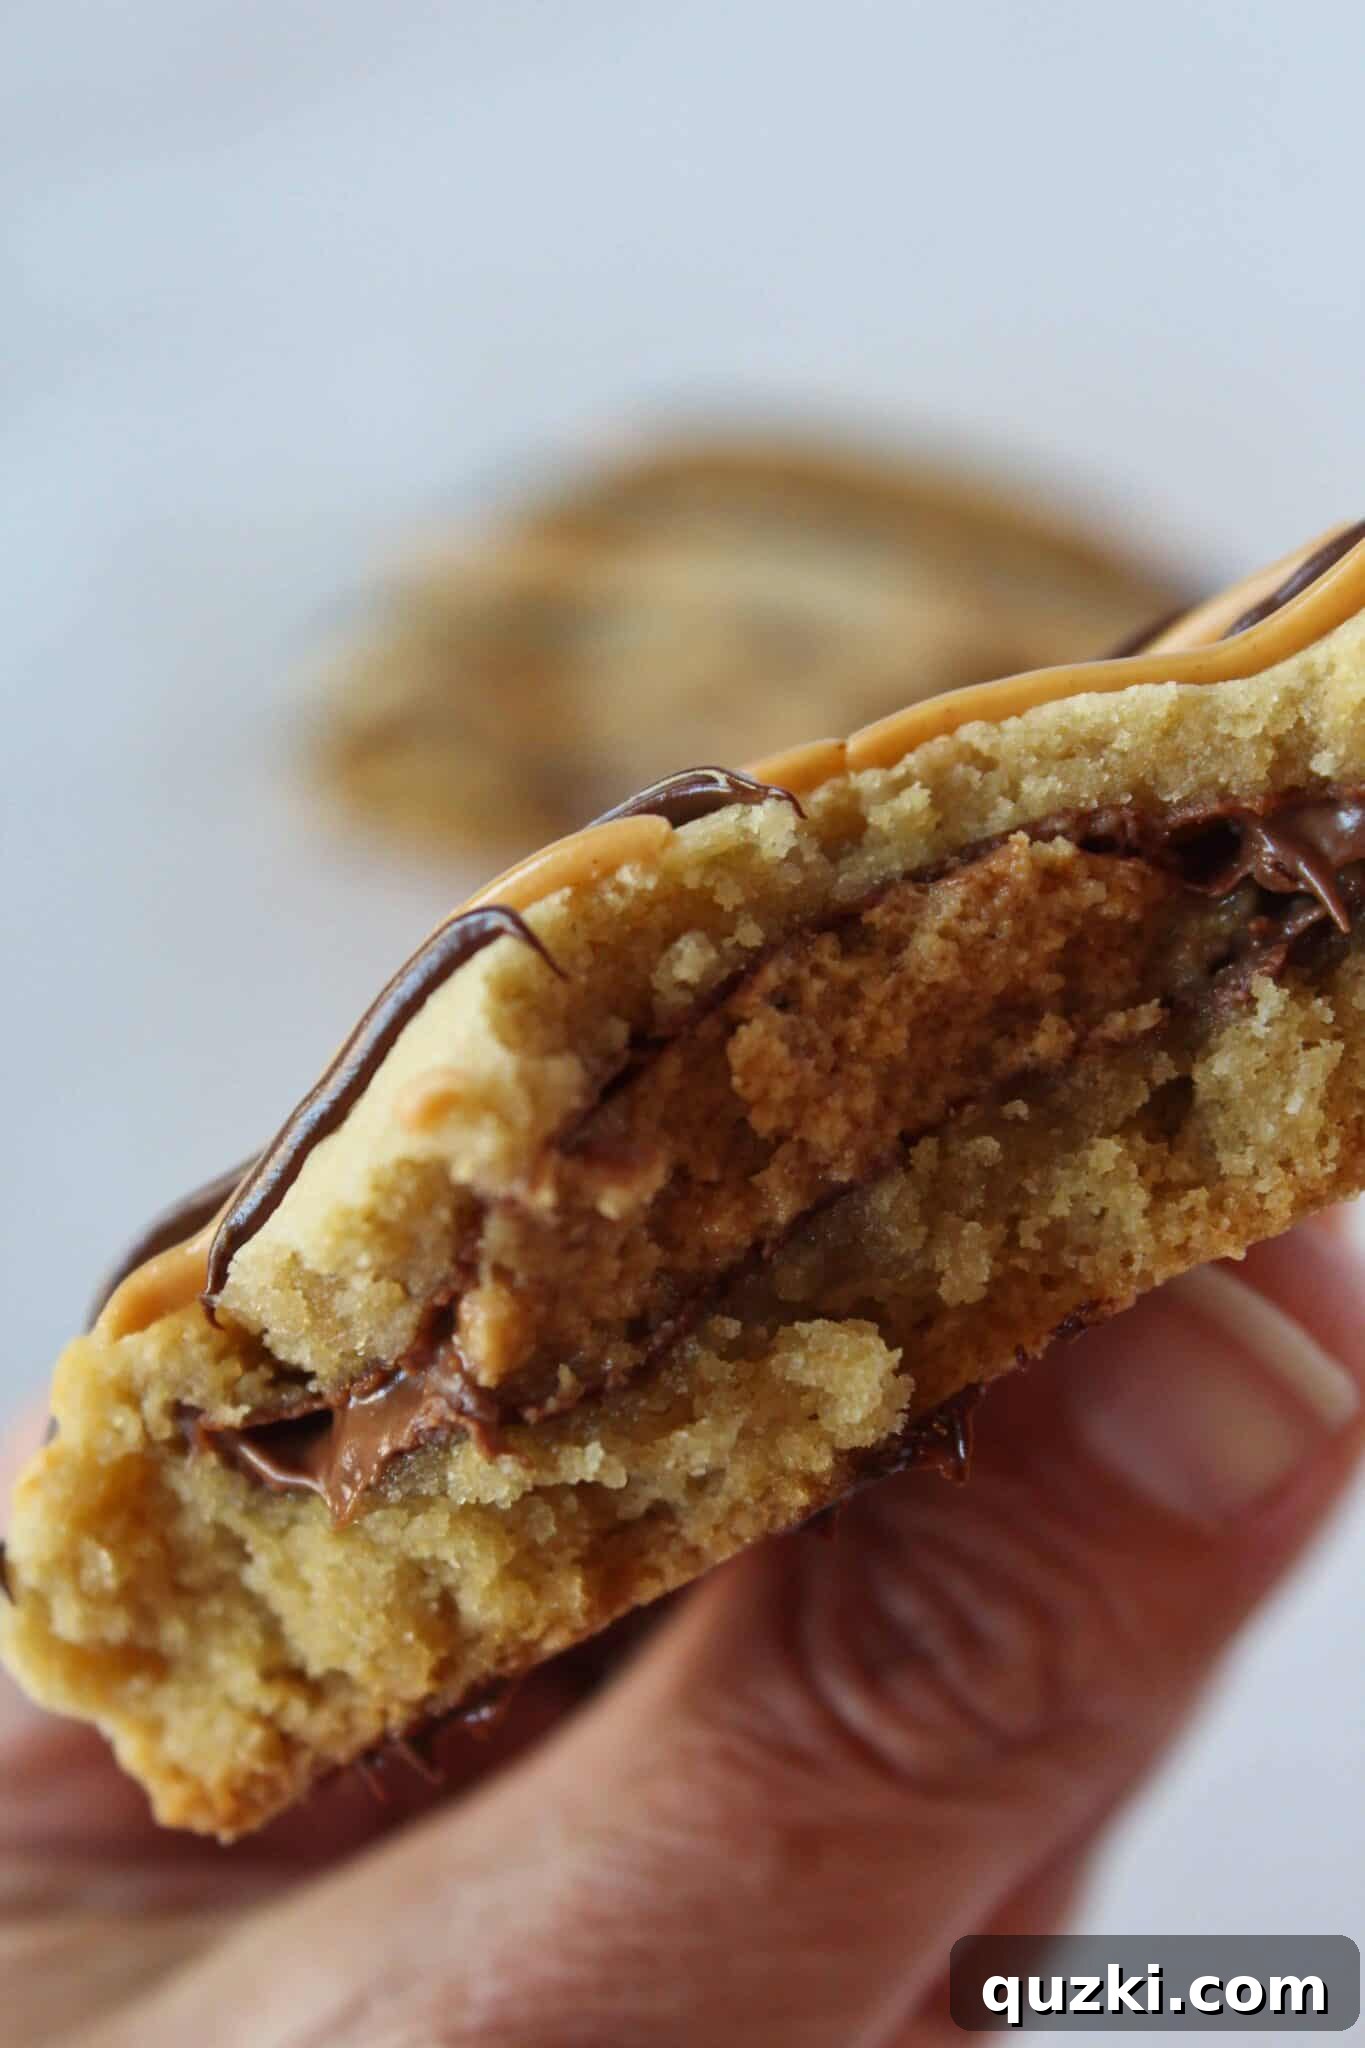
More than just a sweet indulgence, these cookies represent a moment of pure bliss. As we navigate the journey of getting older, birthdays can sometimes feel like just another day. Yet, a truly exceptional dessert has the remarkable ability to transform the mundane into something profoundly special, even if only for a few glorious minutes. These giant, indulgent cookies consistently deliver on that promise, making any moment feel like a cherished celebration. They are not merely baked goods; they are edible declarations of happiness, ensuring that your craving for a decadent, peanut butter and chocolate fusion is met with unparalleled satisfaction.
The Happy Accident: How These Epic Cookies Were Born
Sometimes, the most extraordinary culinary creations emerge from unexpected detours. This recipe, in particular, was a delightful accident, a testament to the idea that often, life’s best discoveries are unplanned. My initial plan was to take my tried-and-true base cookie recipe and fill it with Mini Cadbury Eggs – I was utterly obsessed with their vibrant chocolate shells and creamy centers at the time. I envisioned them baked into soft, chewy dough, creating a colorful and delicious surprise. With a strong craving in mind, I headed to the grocery store, eager to bring this vision to life.
However, fate, or perhaps the universe, had a different plan. When I reached the candy aisle, I found it empty – completely out of Mini Cadbury Eggs! My heart sank, and a bewildered “What in the world?!” escaped my lips, quickly followed by “Is that even legal?!” Faced with an unexpected baking dilemma, my mind raced for an alternative. And then, as if by a sweet miracle from heaven, a bag of classic Reese’s Peanut Butter Cups seemed to practically leap into my shopping cart. It was an undeniable sign, a sweet destiny calling, and little did I know, it would lead to a cookie revelation that would forever change my dessert game, creating a legacy of unparalleled peanut butter chocolate decadence.
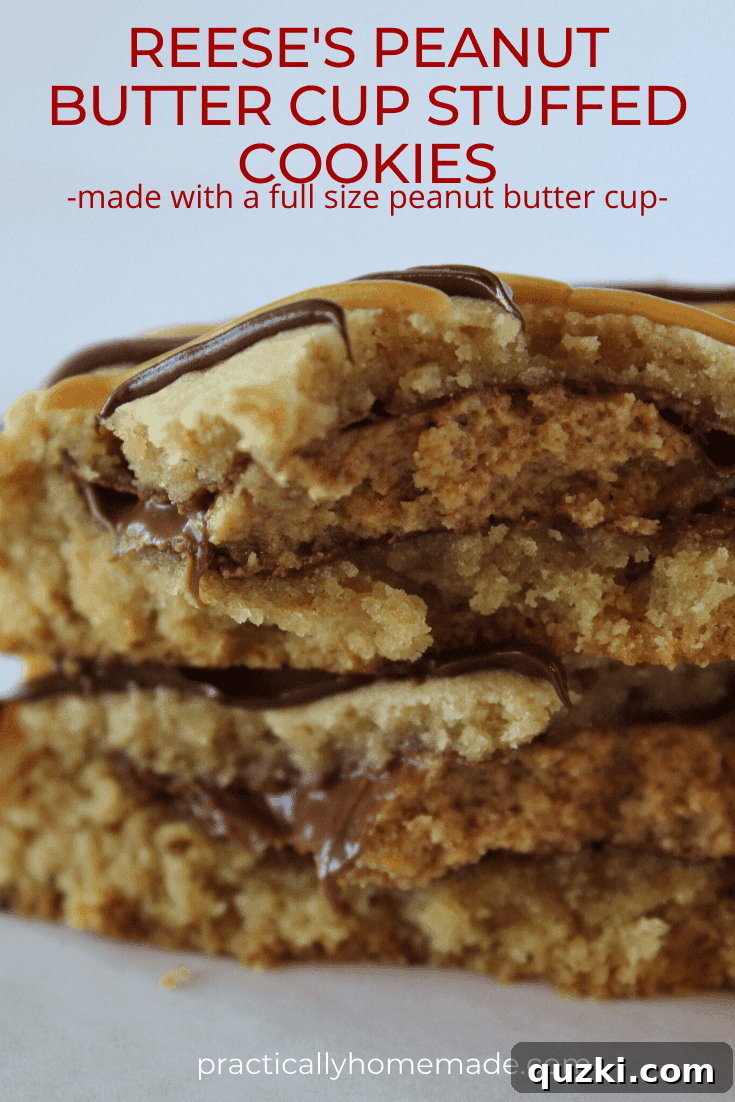
Baking Perfection: Crafting Your Reese’s Peanut Butter Cup Stuffed Cookies
Let’s dive into the magical process of creating these phenomenal stuffed cookies. Many traditional cookie recipes often suggest chilling the dough, a step that can test the patience of even the most dedicated bakers. But when an intense craving for warm, gooey peanut butter and chocolate goodness strikes, who truly has the time or desire to wait? This recipe brilliantly streamlines the process by employing a somewhat unconventional yet incredibly effective technique: starting with cold butter. This method allows us to bypass the chilling time entirely, bringing you closer to cookie nirvana much faster.
The Secret Weapon: Why Cold Butter Makes All the Difference
Using cold butter in your cookie dough might initially seem counterintuitive, but it’s a true game-changer, especially for those seeking immediate gratification without compromising on quality. The most obvious advantage is efficiency; you completely eliminate the tedious waiting game of bringing butter to room temperature. However, the benefits of cold butter extend far beyond mere time-saving. When cold butter is creamed with sugar, it creates tiny pockets of air that become trapped within the mixture. During baking, these air pockets expand, contributing to a lighter, more tender, and wonderfully chewy crumb.
Crucially, maintaining a cool dough prevents excessive spreading in the oven, ensuring your cookies stay thick and delightfully soft in the center, with just the right amount of crispness around the edges. This technique is particularly fantastic for achieving those coveted thick, chewy cookies with irresistibly soft centers – the undeniable hallmark of a truly exceptional stuffed cookie. The key to success here is to avoid overmixing, which can generate heat, warming the butter and potentially leading to flatter cookies. Trust the process, and you’ll be rewarded with perfectly textured, no-chill cookie dough every time.
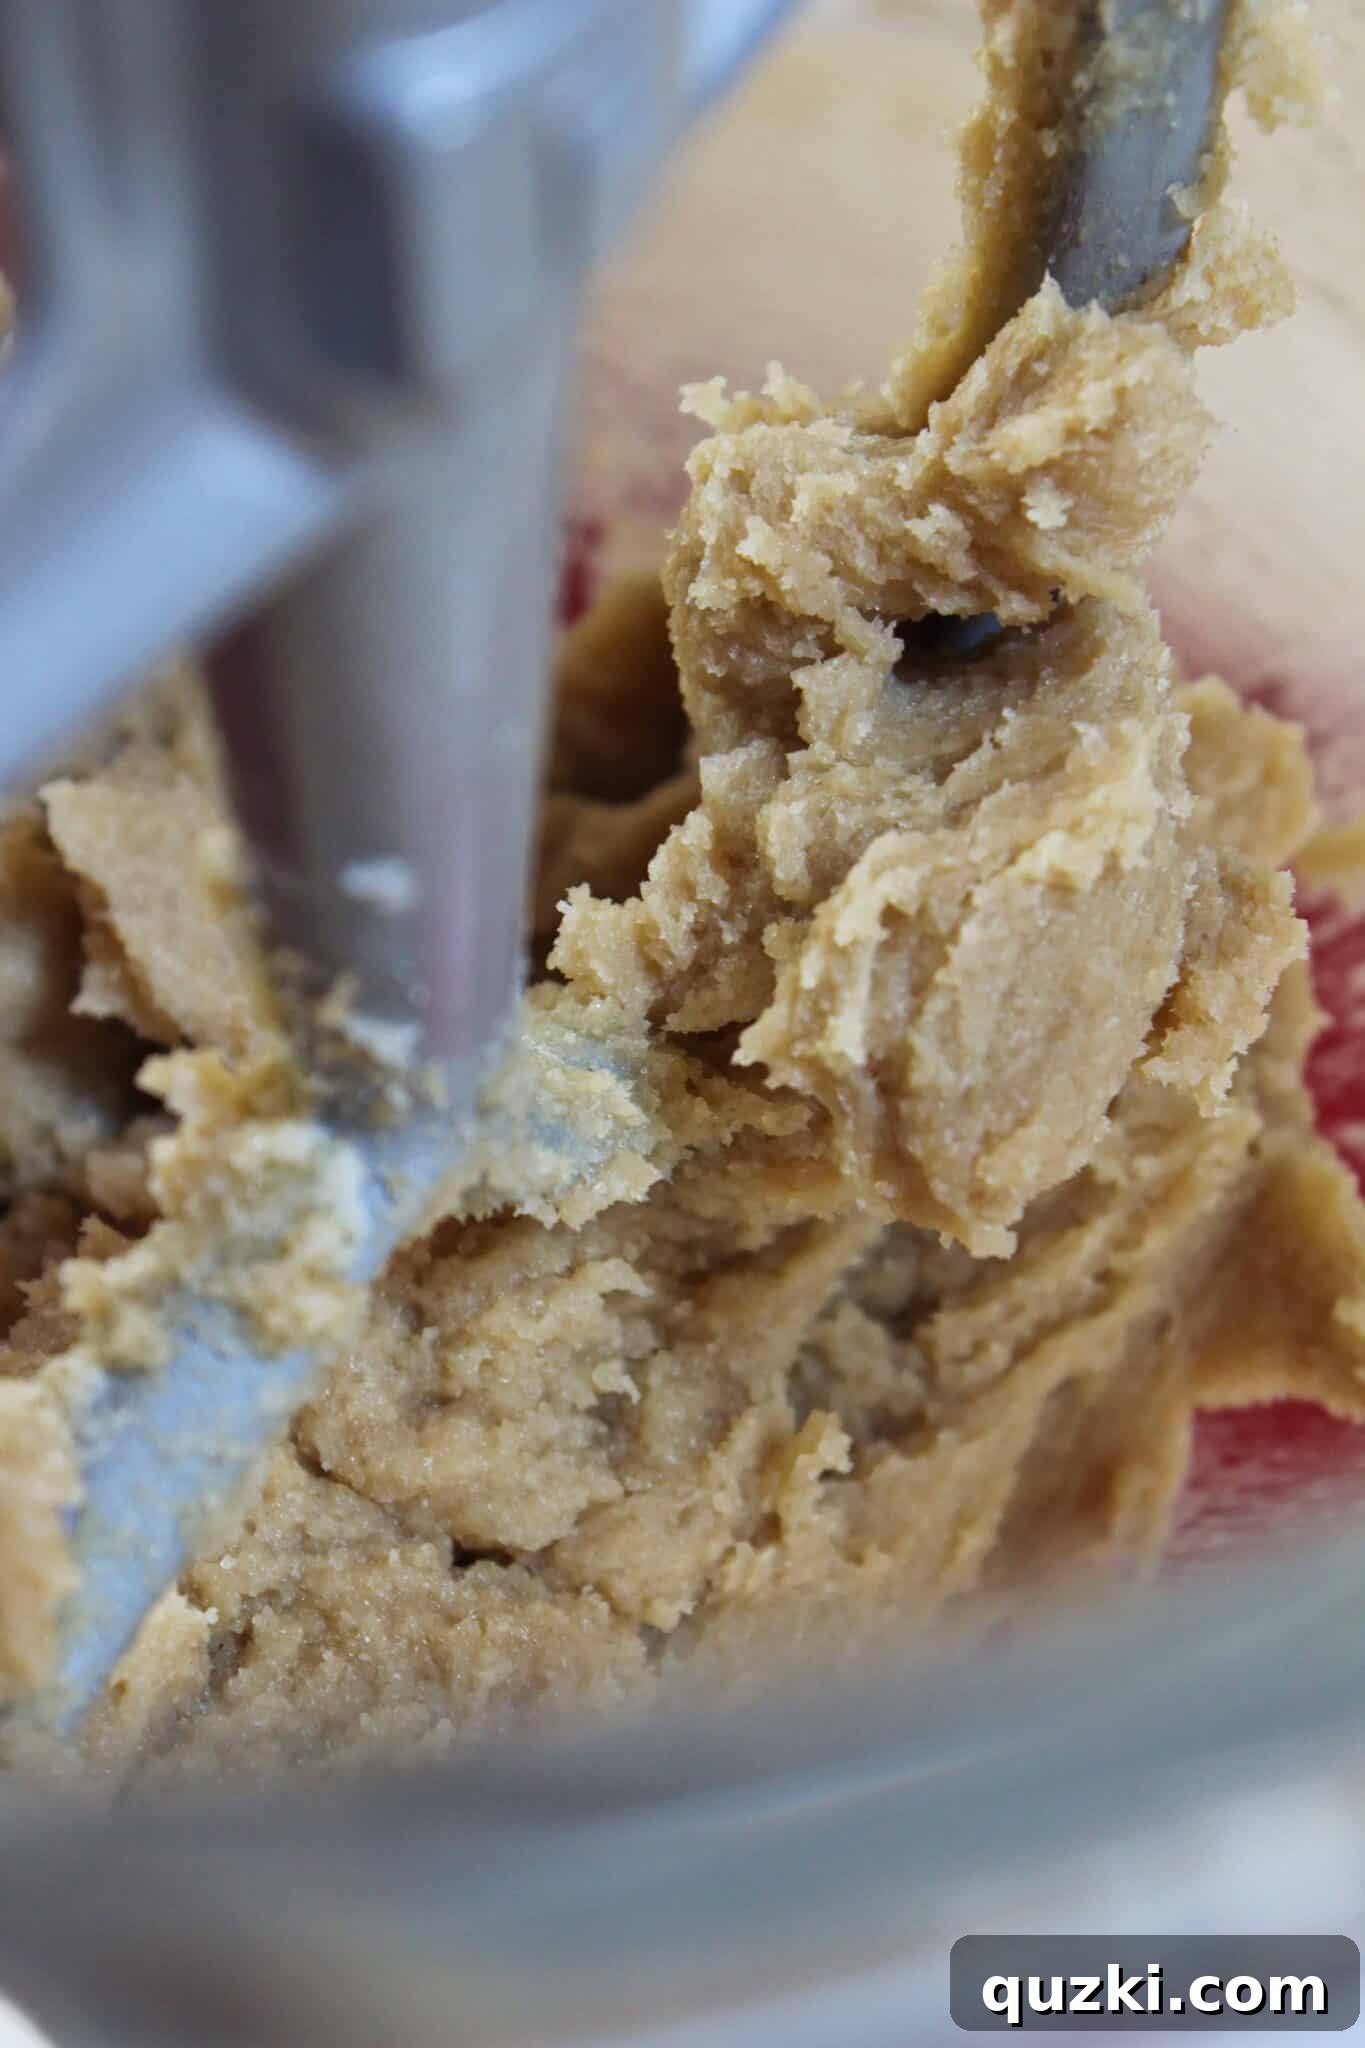
To begin, ensure your butter is genuinely cold, straight from the refrigerator, and cut into cubes. Add both packed light brown sugar and granulated sugar to the cold, cubed butter in the bowl of your electric mixer. Using a paddle attachment, cream these ingredients together on medium speed for approximately 4 minutes. You’re aiming for a smooth, cohesive mixture where the butter and sugars are beautifully combined, taking on a lighter color and a fluffy, aerated texture. This initial creaming sets the foundation for a perfectly tender and flavorful cookie base.
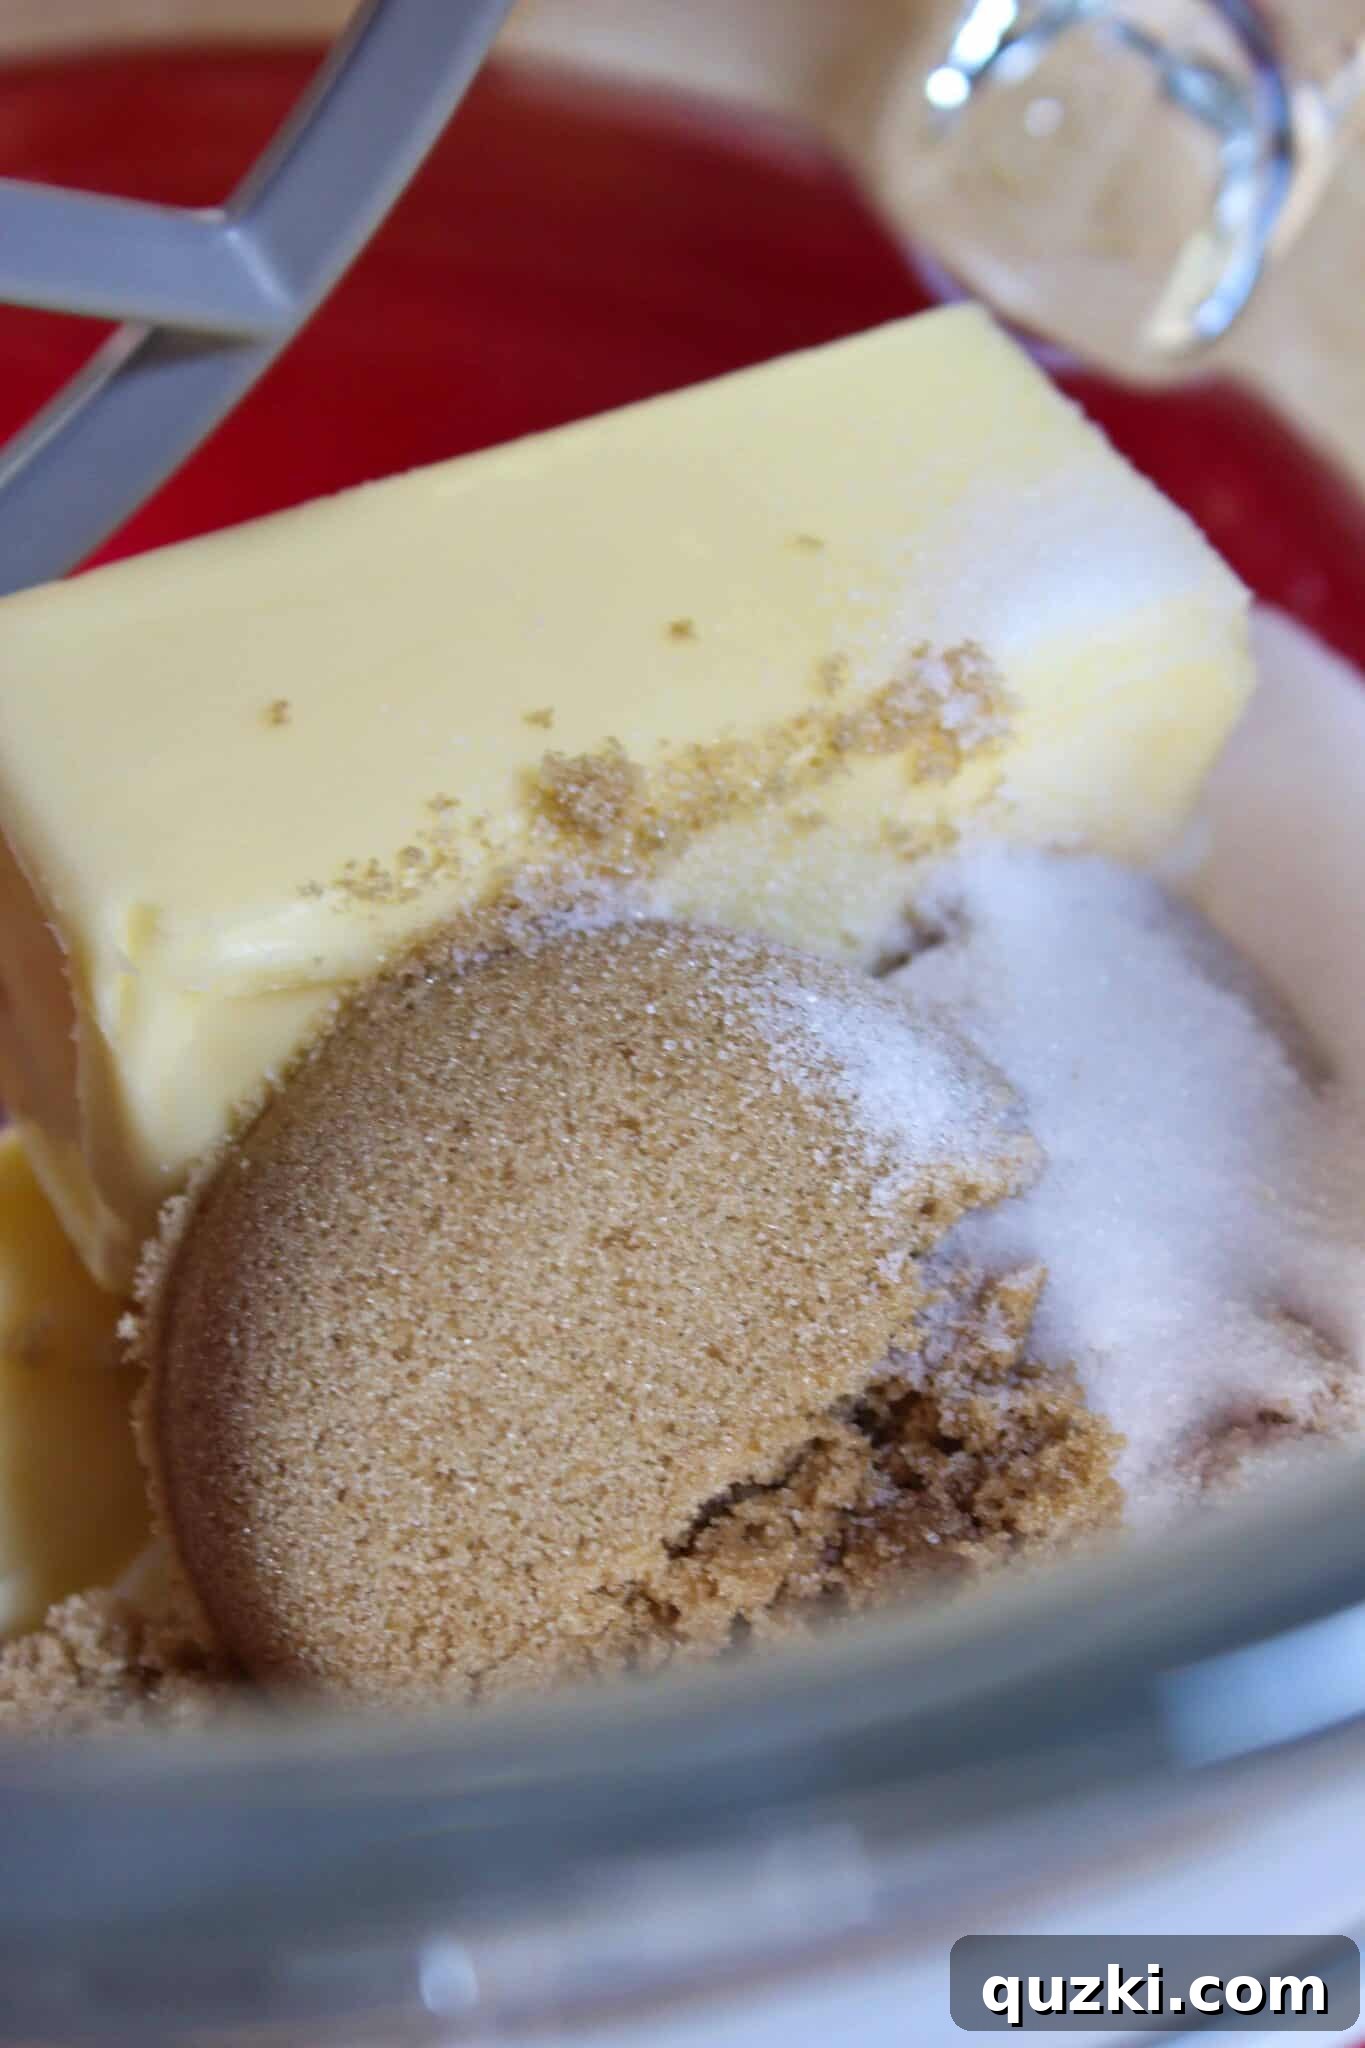
Continue mixing until you achieve a wonderfully smooth, pale, and fluffy mixture. The butter and sugars should be thoroughly creamed together, indicating that sufficient air has been incorporated, which will contribute to the cookies’ light texture and irresistible chewiness. This visual cue is important: a properly creamed butter-sugar mixture will look significantly lighter in color and considerably softer in consistency than when you started.
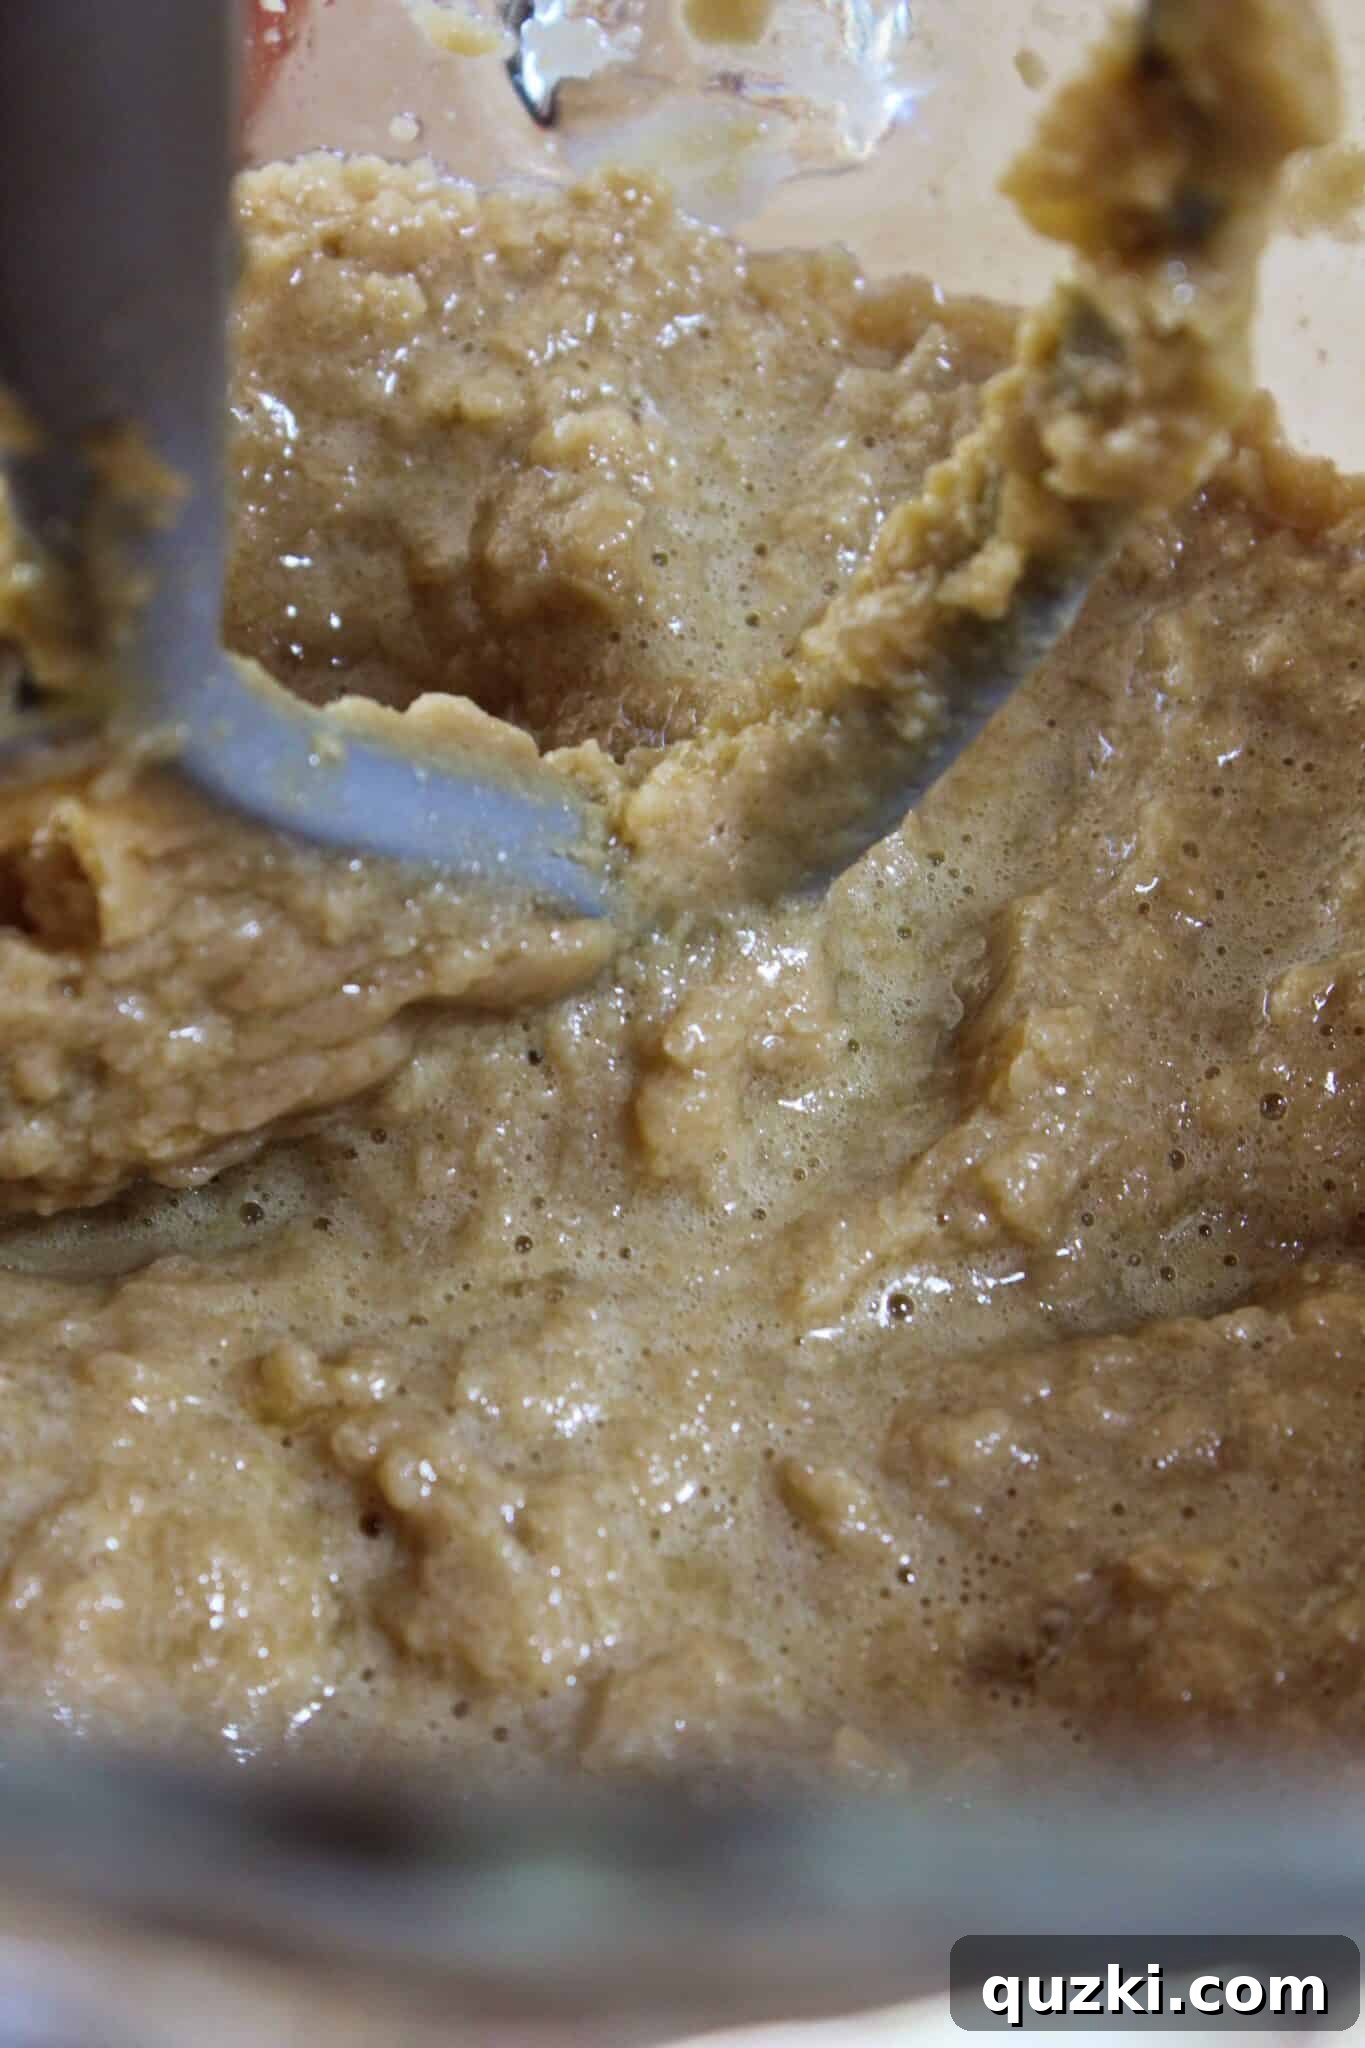
Next, it’s time to incorporate the wet ingredients into your beautifully creamed mixture. Add the eggs, one at a time, ensuring that each egg is fully mixed and emulsified into the batter before you introduce the next. This step is crucial for creating a uniform and stable dough, preventing a greasy texture and promoting even baking. After the eggs are fully combined, stir in the pure vanilla extract. Vanilla adds a wonderful depth of flavor that complements the rich peanut butter and chocolate notes beautifully. Mix just until the vanilla is evenly distributed, being careful not to overwork the mixture at this stage.
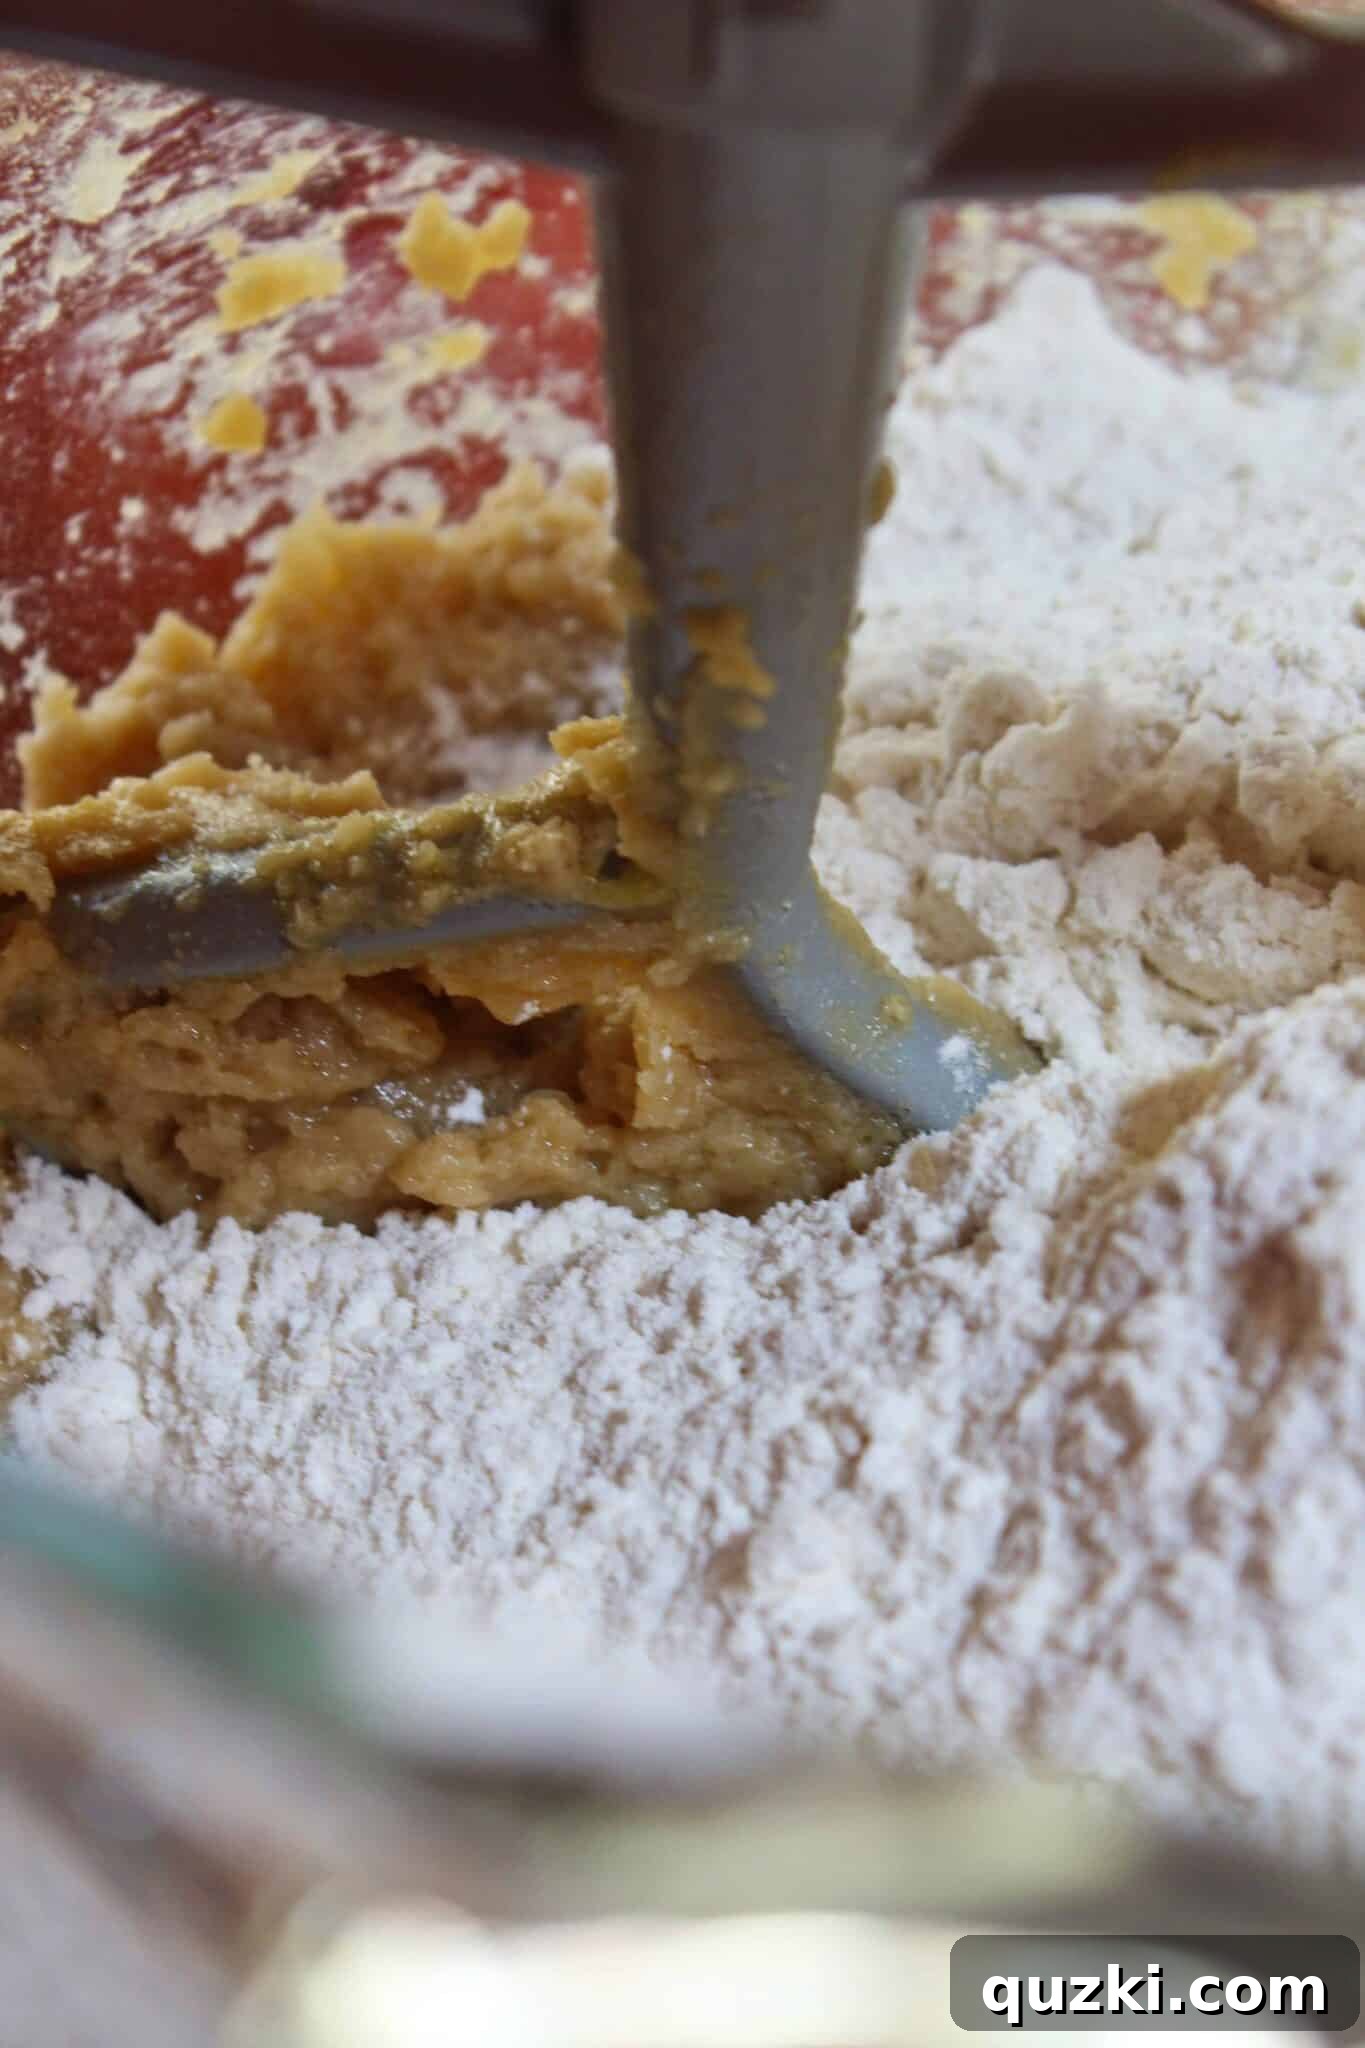
For the final stage of dough preparation, gently introduce your dry ingredients. In a separate medium bowl, whisk together the all-purpose flour, cornstarch, baking soda, and salt. Cornstarch is a fantastic secret ingredient in this recipe; it plays a vital role in contributing to that wonderfully soft, tender, and slightly chewy texture that makes these cookies so irresistible. Add this combined dry mixture to your wet ingredients in the mixer all at once. Mix on the lowest speed until just combined. It is absolutely critical not to overmix the dough at this point; stop as soon as no visible streaks of flour remain. Remember our cold butter rule: excessive mixing can generate heat, which will develop the gluten too much and warm up the butter, potentially causing your cookies to spread more than desired in the oven. You want a thick, cohesive dough that holds its shape well.
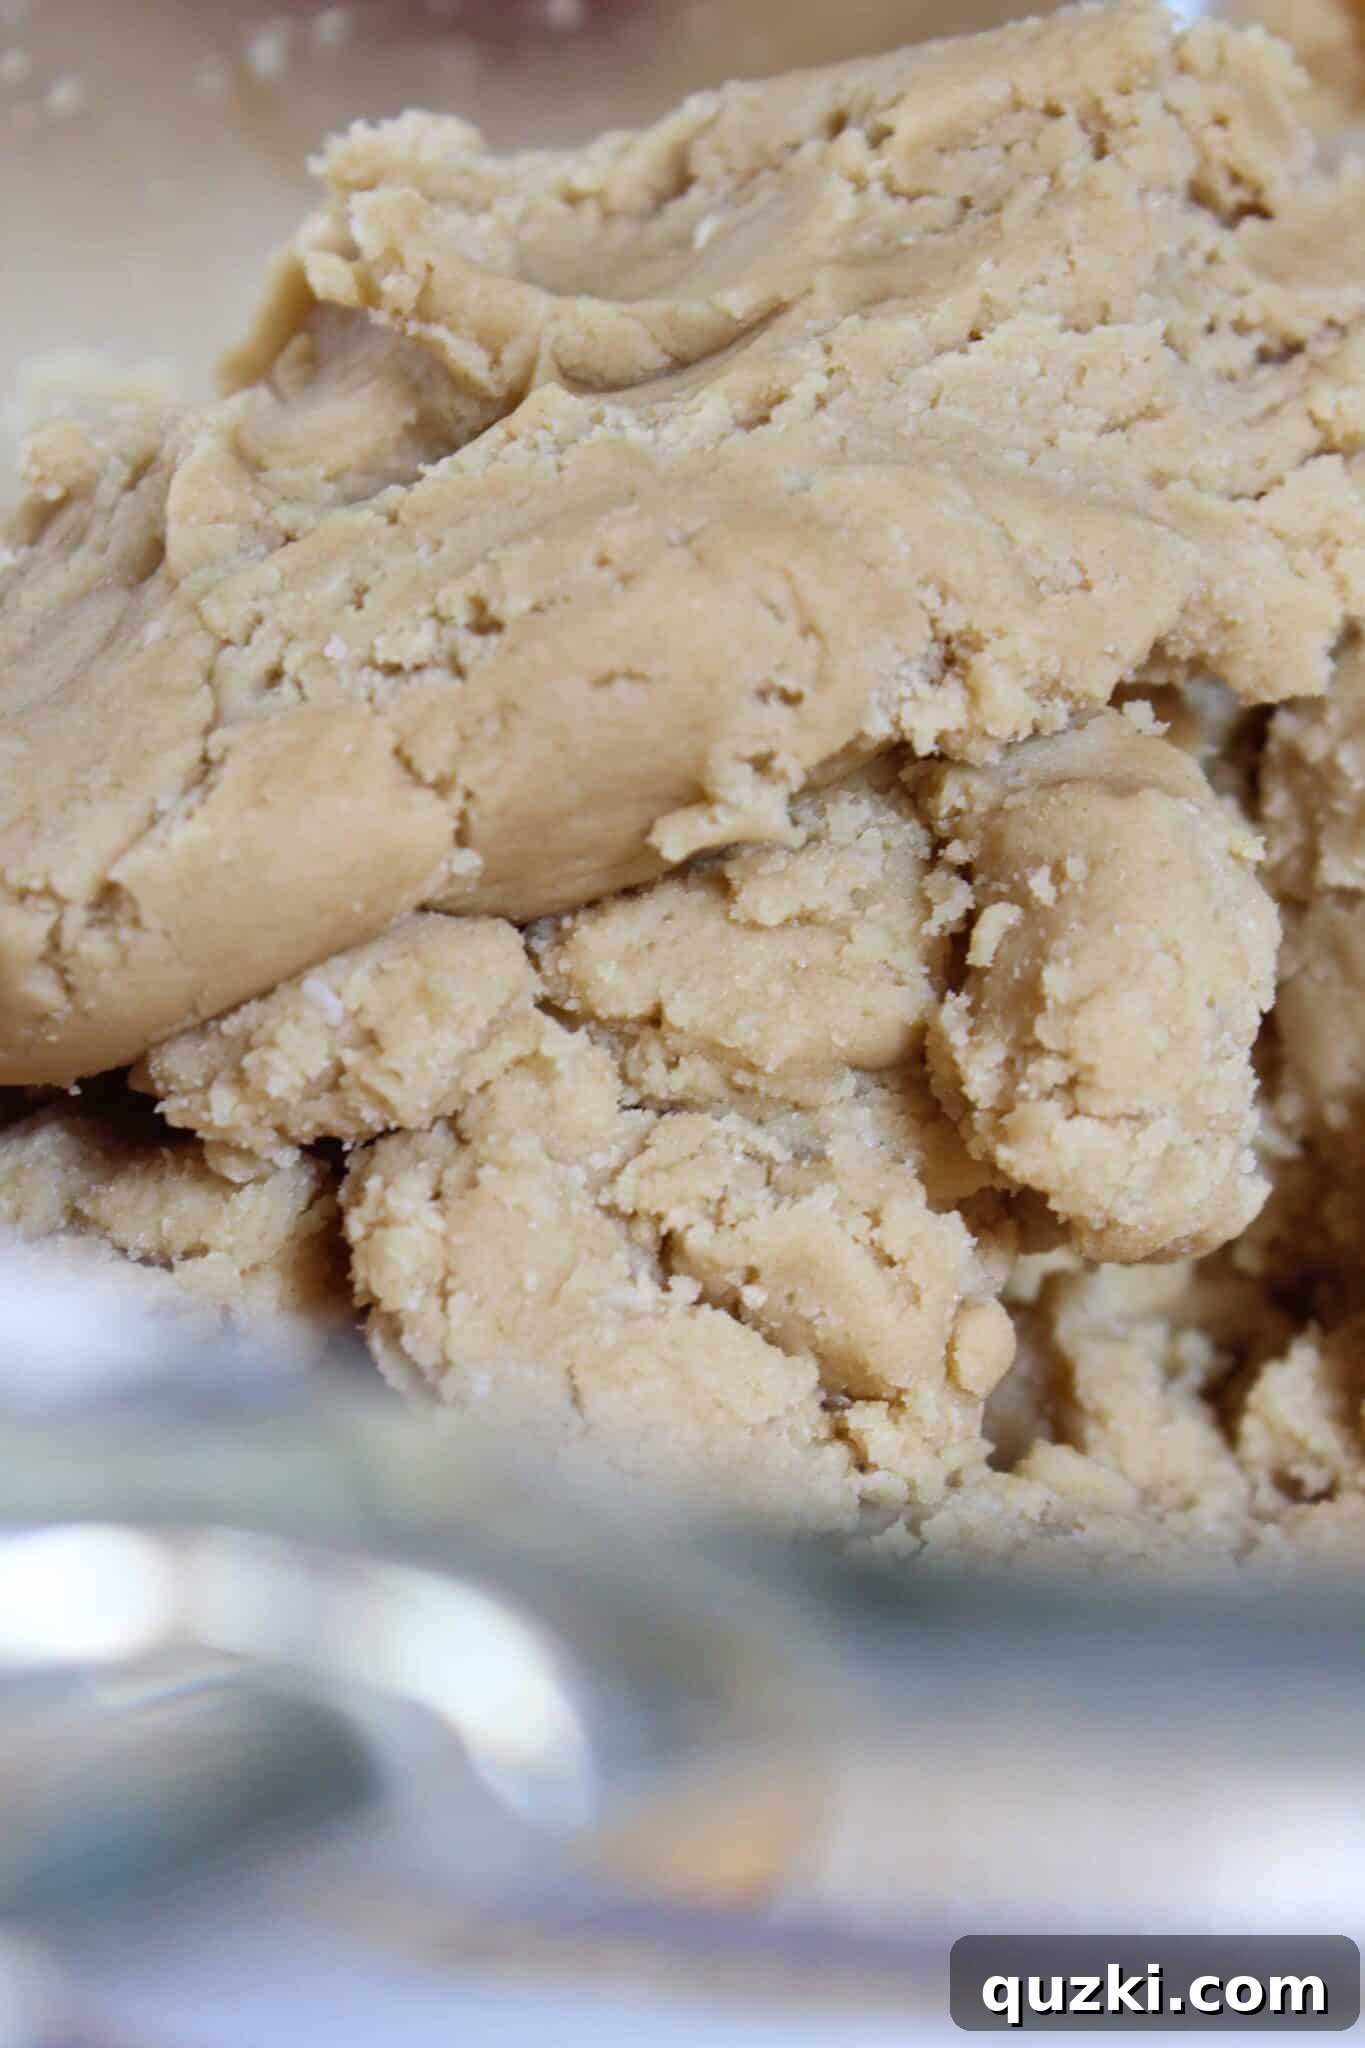
The resulting cookie dough will be wonderfully thick and surprisingly easy to handle, perfect for scooping and shaping. Its firm consistency is a direct benefit of the cold butter method. Before moving to the stuffing stage, I often find it helpful to briefly work the dough together with my hands into one large, cohesive clump. This ensures uniformity and makes the subsequent portioning and stuffing process even smoother and more efficient, allowing you to create consistently perfect stuffed cookies.
Now for the undisputed star of the show: the legendary filling! And let’s be absolutely clear about this – we are not talking about those adorable, petite miniature peanut butter cups. If we are truly committed to creating an epic, over-the-top stuffed cookie experience, it absolutely has to be the full, regular-sized Reese’s Peanut Butter Cups! Their generous size ensures a truly decadent, molten peanut butter and chocolate core that promises an explosion of flavor in every single bite. Go big, or go home, especially when it comes to Reese’s.
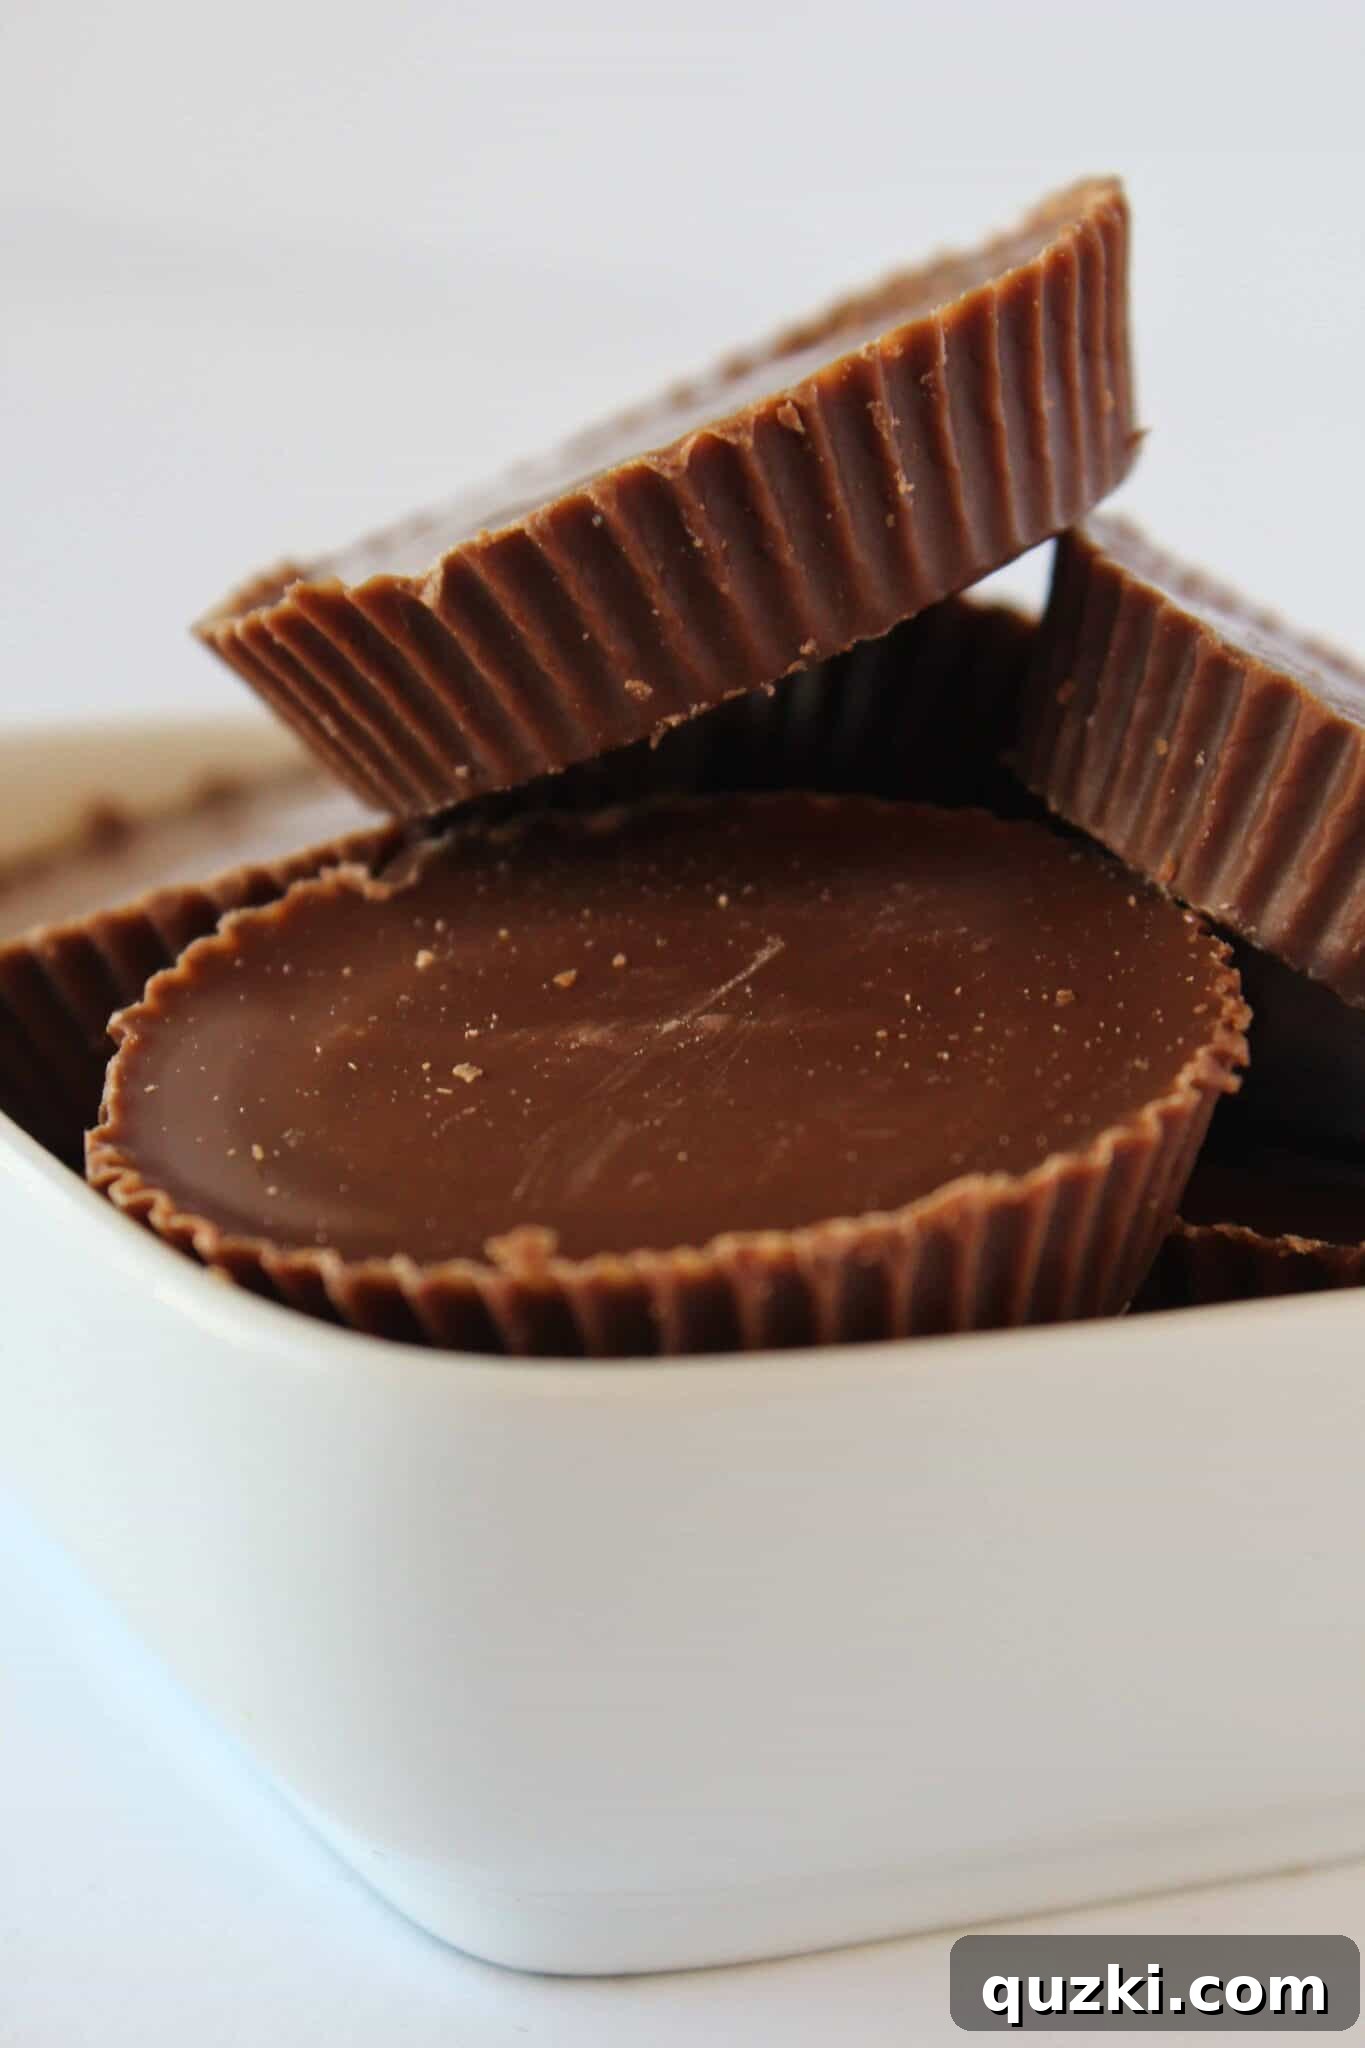
Mastering the Stuff: How to Encase Your Reese’s Peanut Butter Cup
This is where the real magic of these stuffed cookies unfolds. Forget any notion of chopping them up – we’re using these glorious Reese’s cups whole, just as they are! The key is to perfectly encase each one within two generous mounds of our delicious cookie dough. Begin by using a medium cookie scoop (roughly 2-3 tablespoons of dough) to portion your first mound. Gently flatten this dough portion in the palm of your hand, creating a small disc. Place an unwrapped Reese’s Peanut Butter Cup right in the center of this flattened dough, pressing it down lightly.
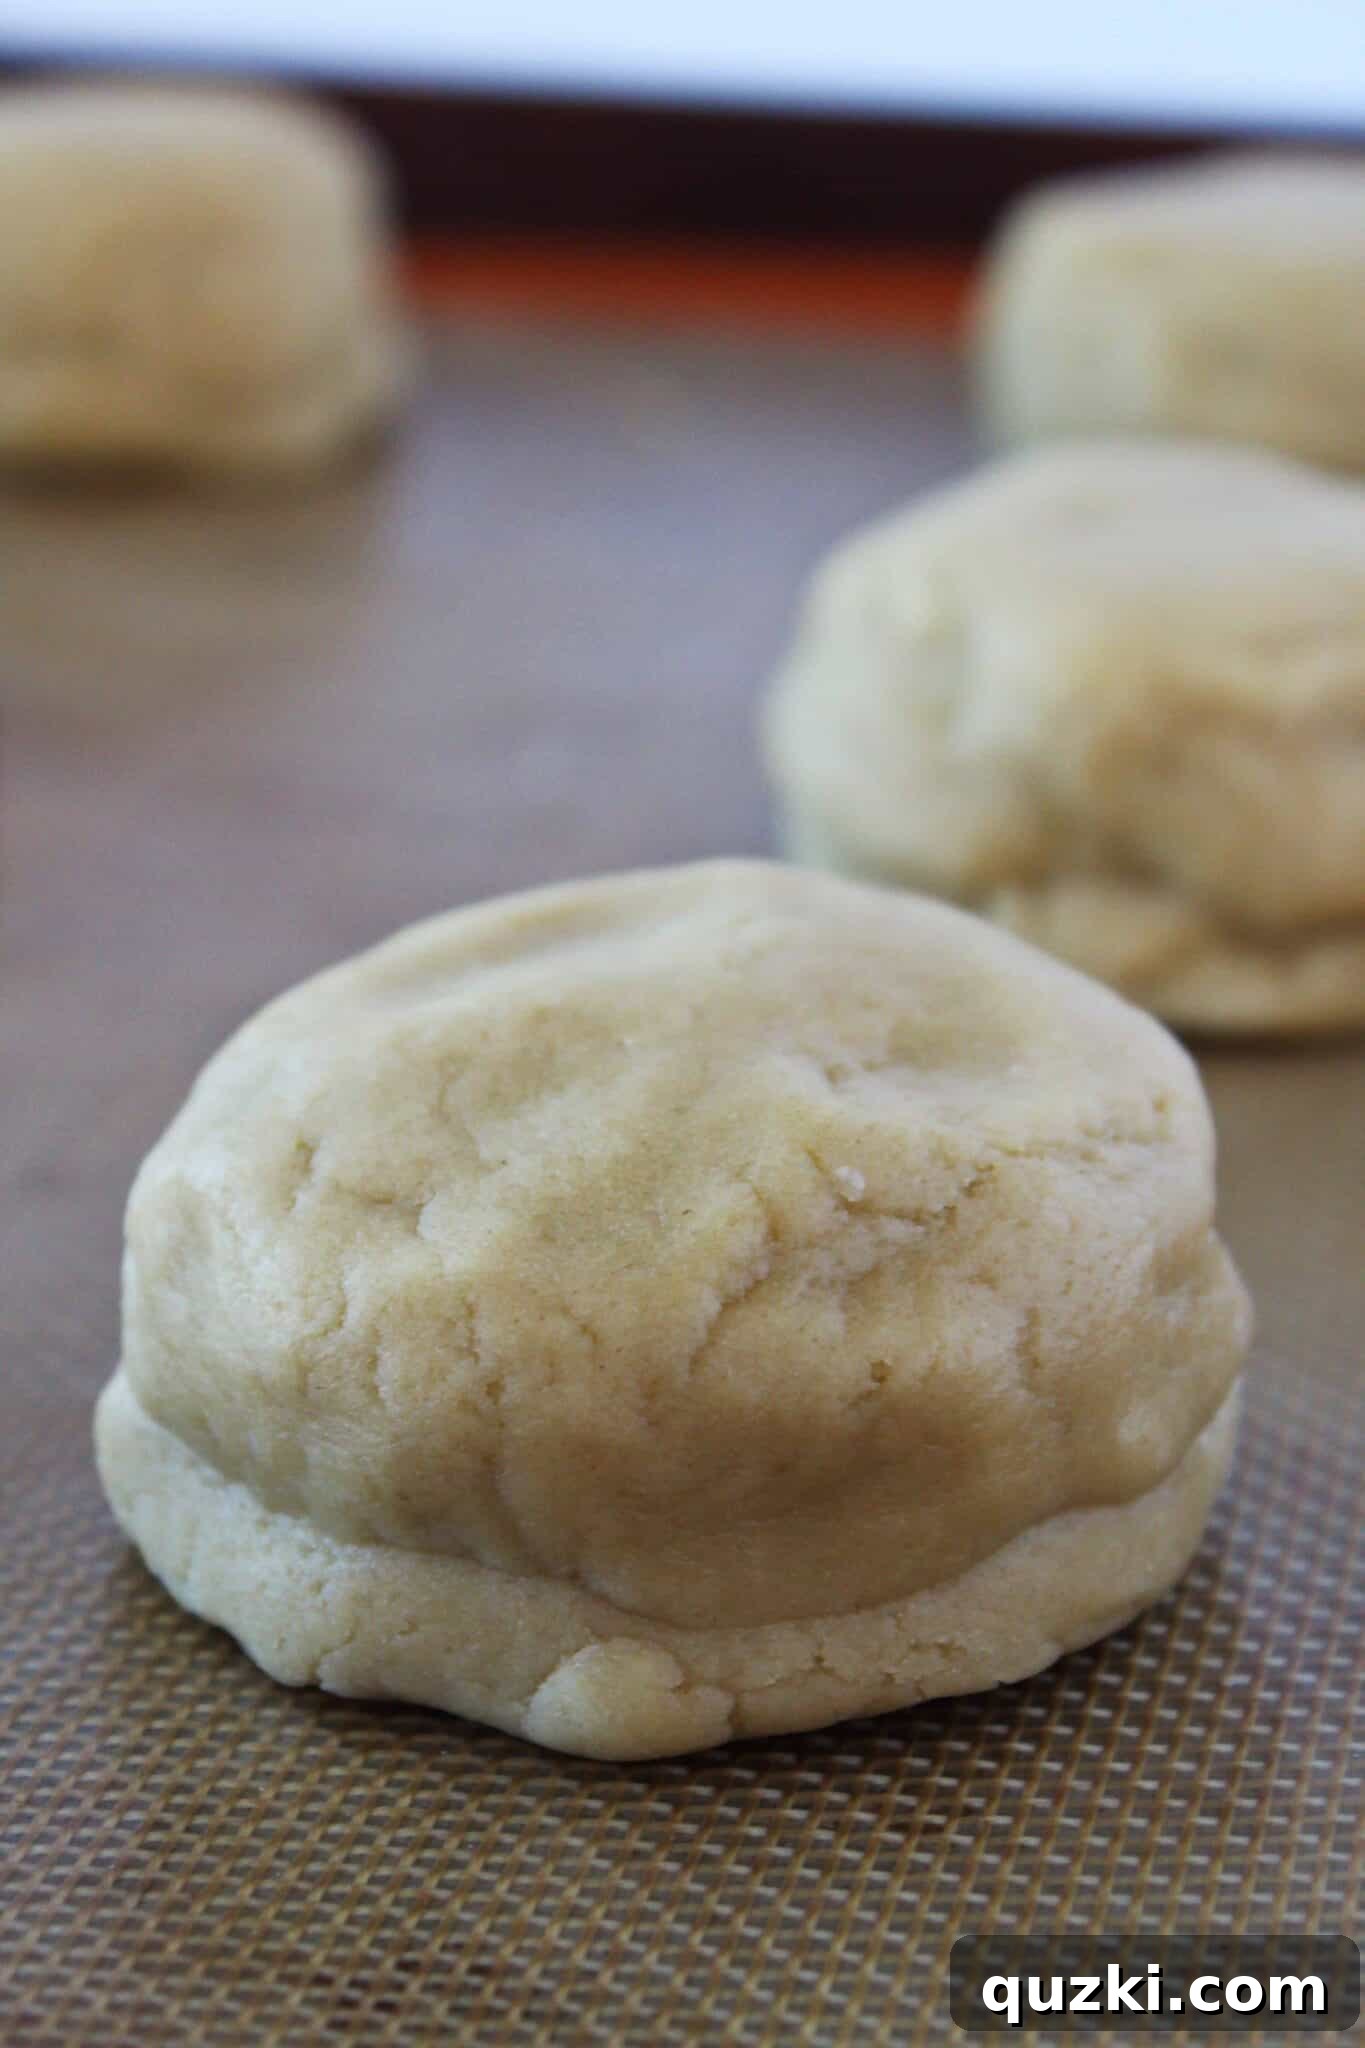
Next, scoop another equally sized mound of dough and carefully place it directly on top of the peanut butter cup, covering it completely. Now, using your hands, gently but firmly bring the edges of the two dough portions together, meticulously sealing them all around the Reese’s cup. The goal is to create a seamless, perfectly round cookie ball, ensuring that all that irresistible chocolatey-peanut-buttery goodness stays perfectly contained within the dough as it bakes. This meticulous sealing prevents any delicious ooze-out during baking and guarantees a spectacular, melt-in-your-mouth surprise inside each and every cookie.
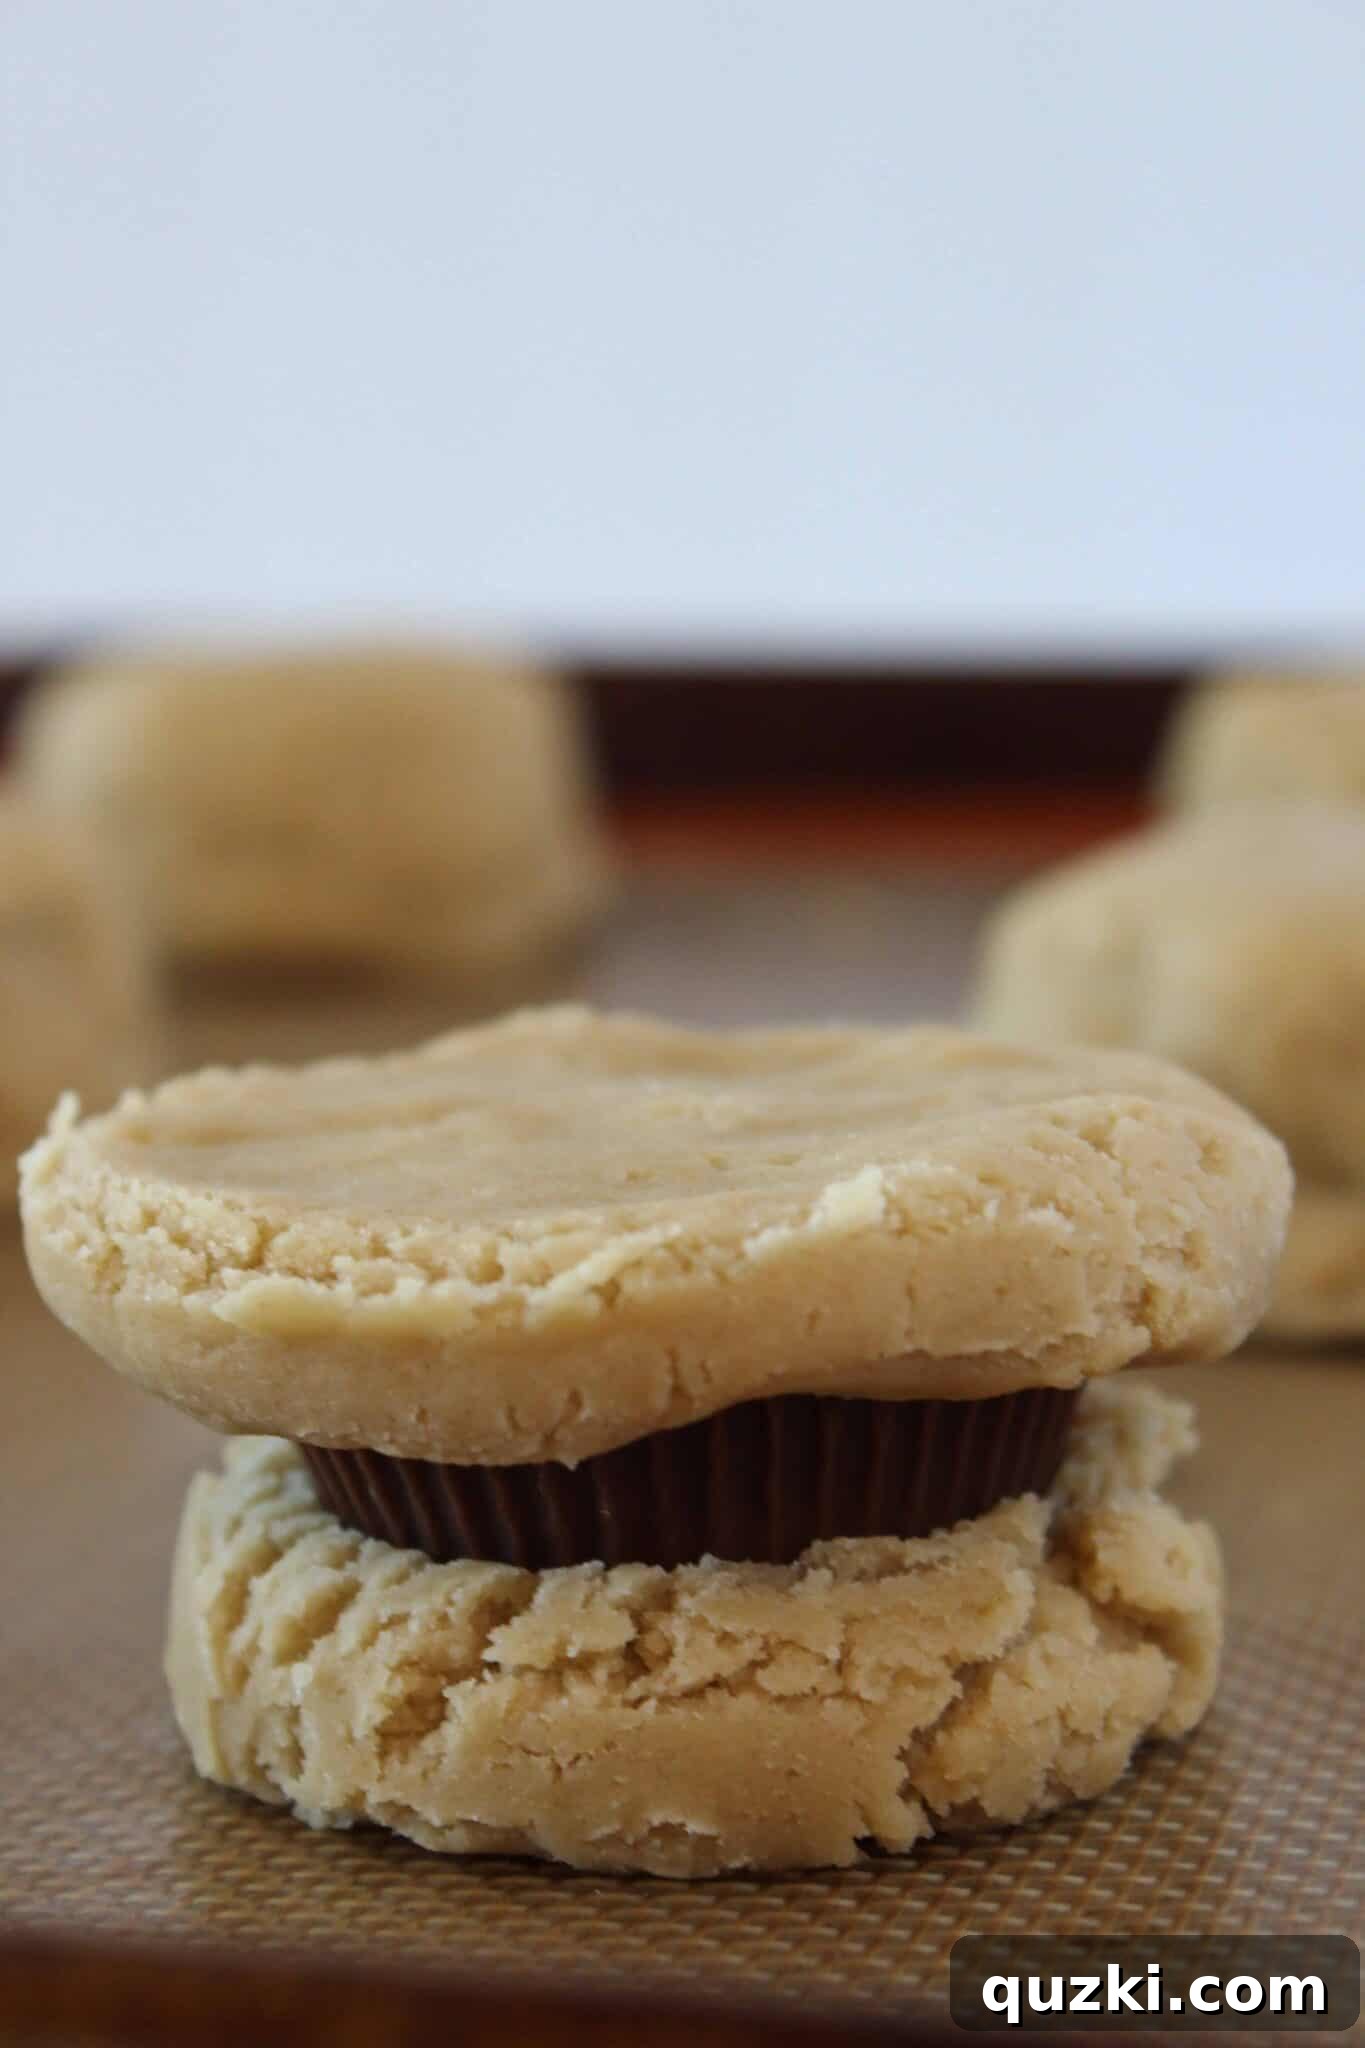
Once your individual Reese’s Peanut Butter Cup stuffed cookie dough balls are perfectly formed and sealed, arrange them on a parchment-lined baking sheet. Ensure there’s ample space between each cookie, about 2-3 inches, as these are generously sized and will spread slightly. They are now perfectly poised for their transformation in the oven, ready to emerge as golden-brown, delectable treats.
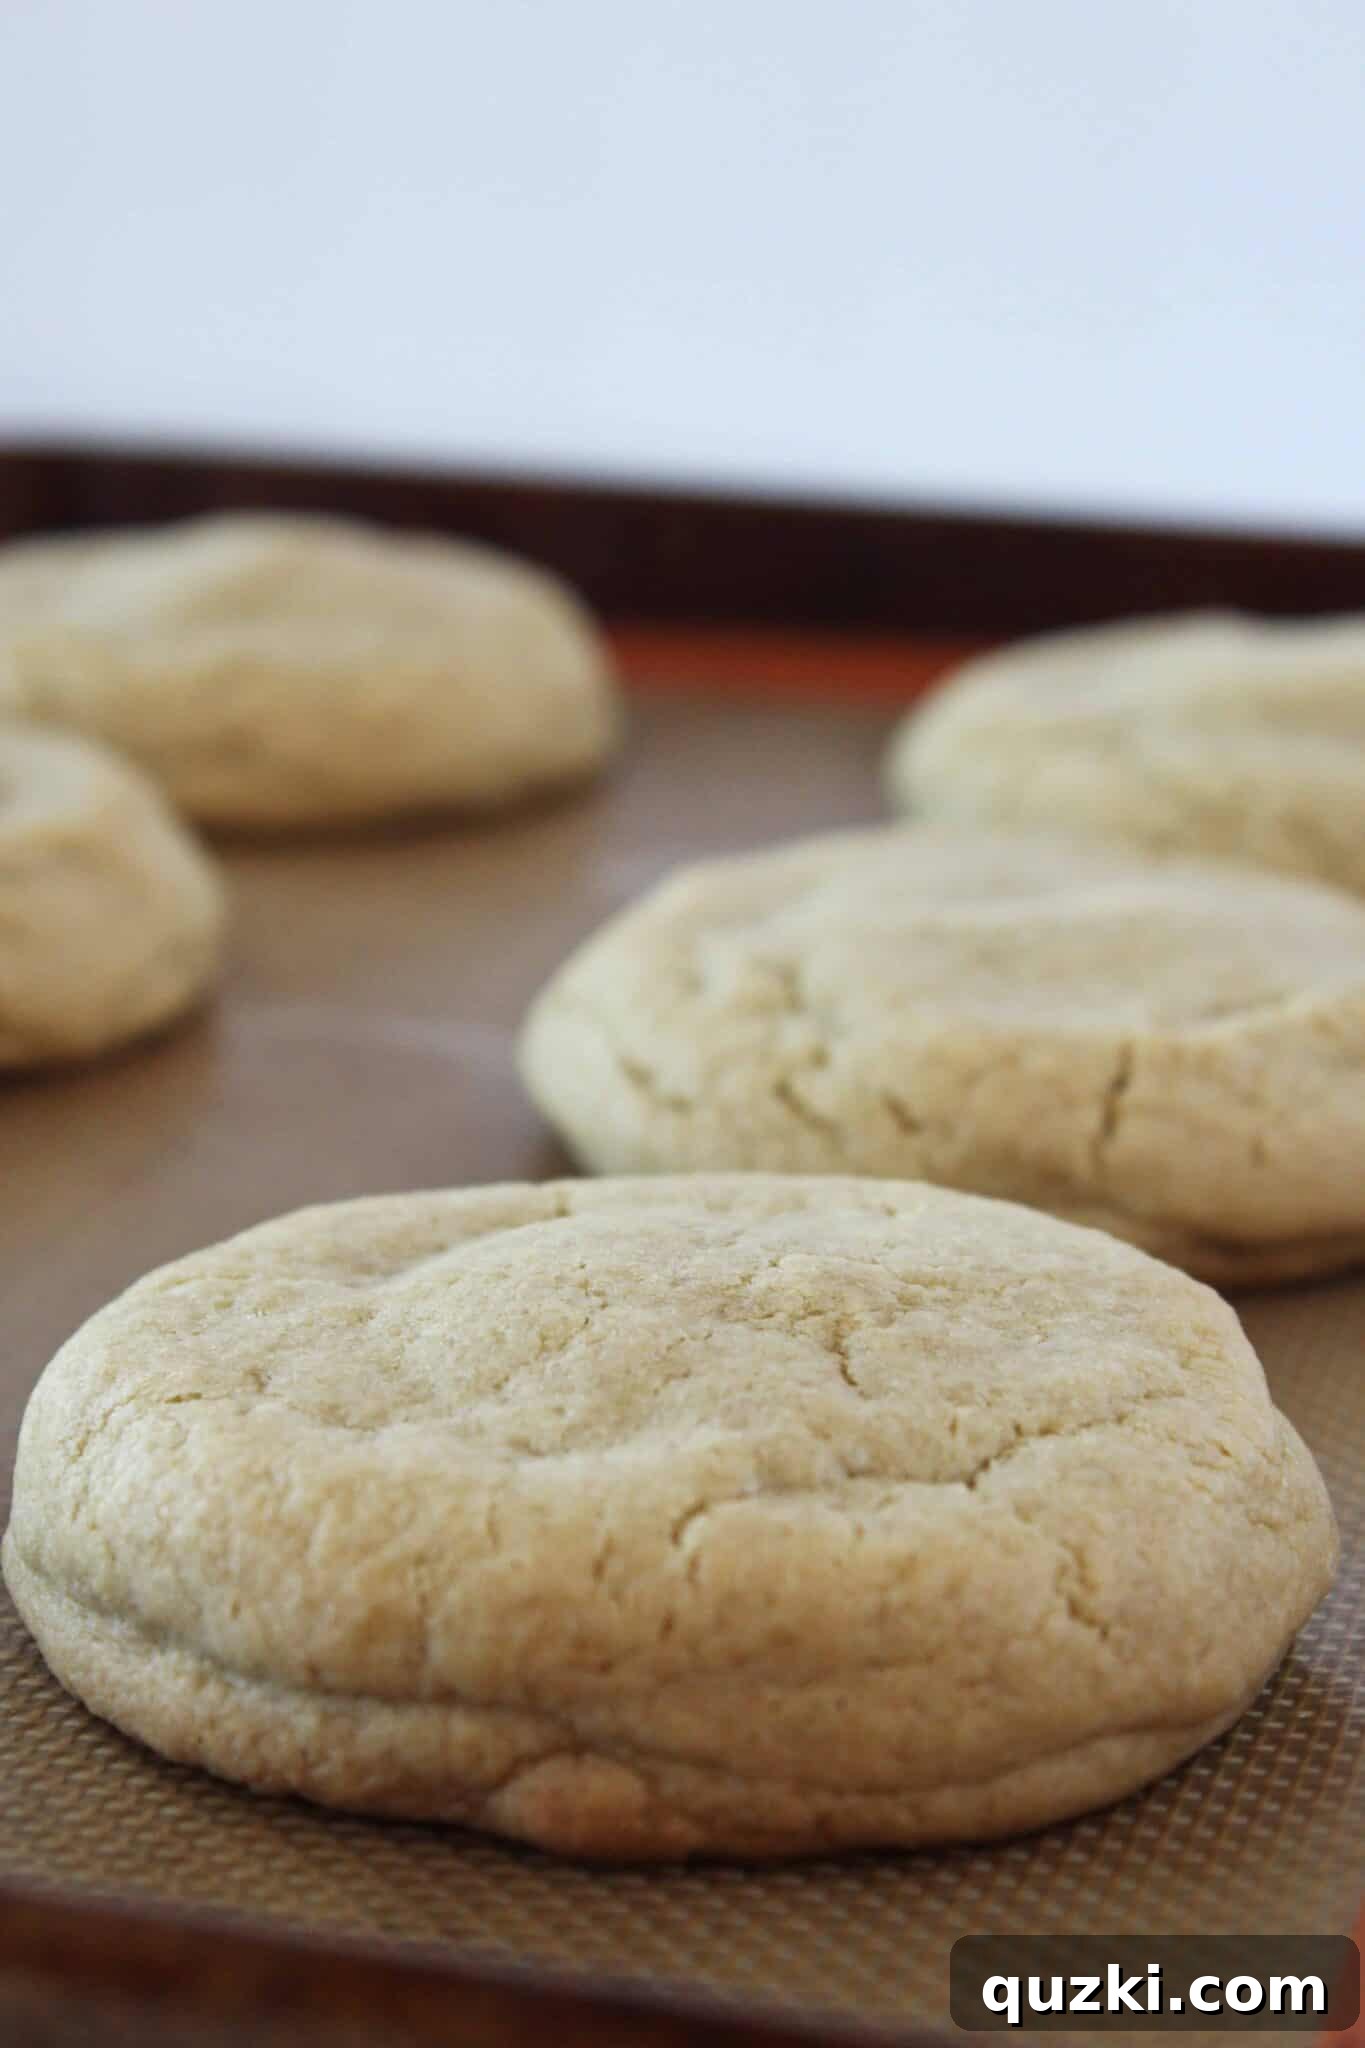
With your oven preheated to 375°F (190°C), carefully place the baking sheet into the oven. Bake the cookies for approximately 10-13 minutes, or until their edges are just set and have begun to turn a light golden brown. It’s important that the centers still look slightly soft, even a little underbaked – resist the strong urge to bake them longer! This slightly underbaked appearance is intentional and crucial for the next, equally vital step.
The Golden Rule: Why Cooling on the Cookie Sheet is Essential
This next step is absolutely critical for achieving that perfect, thick, and wonderfully soft cookie texture that makes these Reese’s Peanut Butter Cup Stuffed Cookies so irresistible. As a dedicated baker and culinary instructor, I am a firm believer in letting cookies cool completely on the baking sheet – a golden rule I diligently impart to all my students. When you pull your cookies from the oven, appearing slightly underbaked in the center, they are actually undergoing a crucial final stage of cooking.
The residual heat emanating from the hot baking sheet continues to gently cook the center of the cookie without overbaking the edges. This extended, subtle cooking process allows the interior to fully set up and firm, transforming from a raw, gooey mound into that coveted soft, delightfully chewy perfection. If you transfer them too soon to a cooling rack, they might collapse, fall apart, or lose their incredible, melt-in-your-mouth texture. This ingenious technique is pure magic for creating thick, chewy cookies and completely revolutionized my own cookie baking approach. Once fully cooled on the sheet, they will be perfectly structured, wonderfully tender, and ready for their decadent final touch, ensuring every bite is a dream.
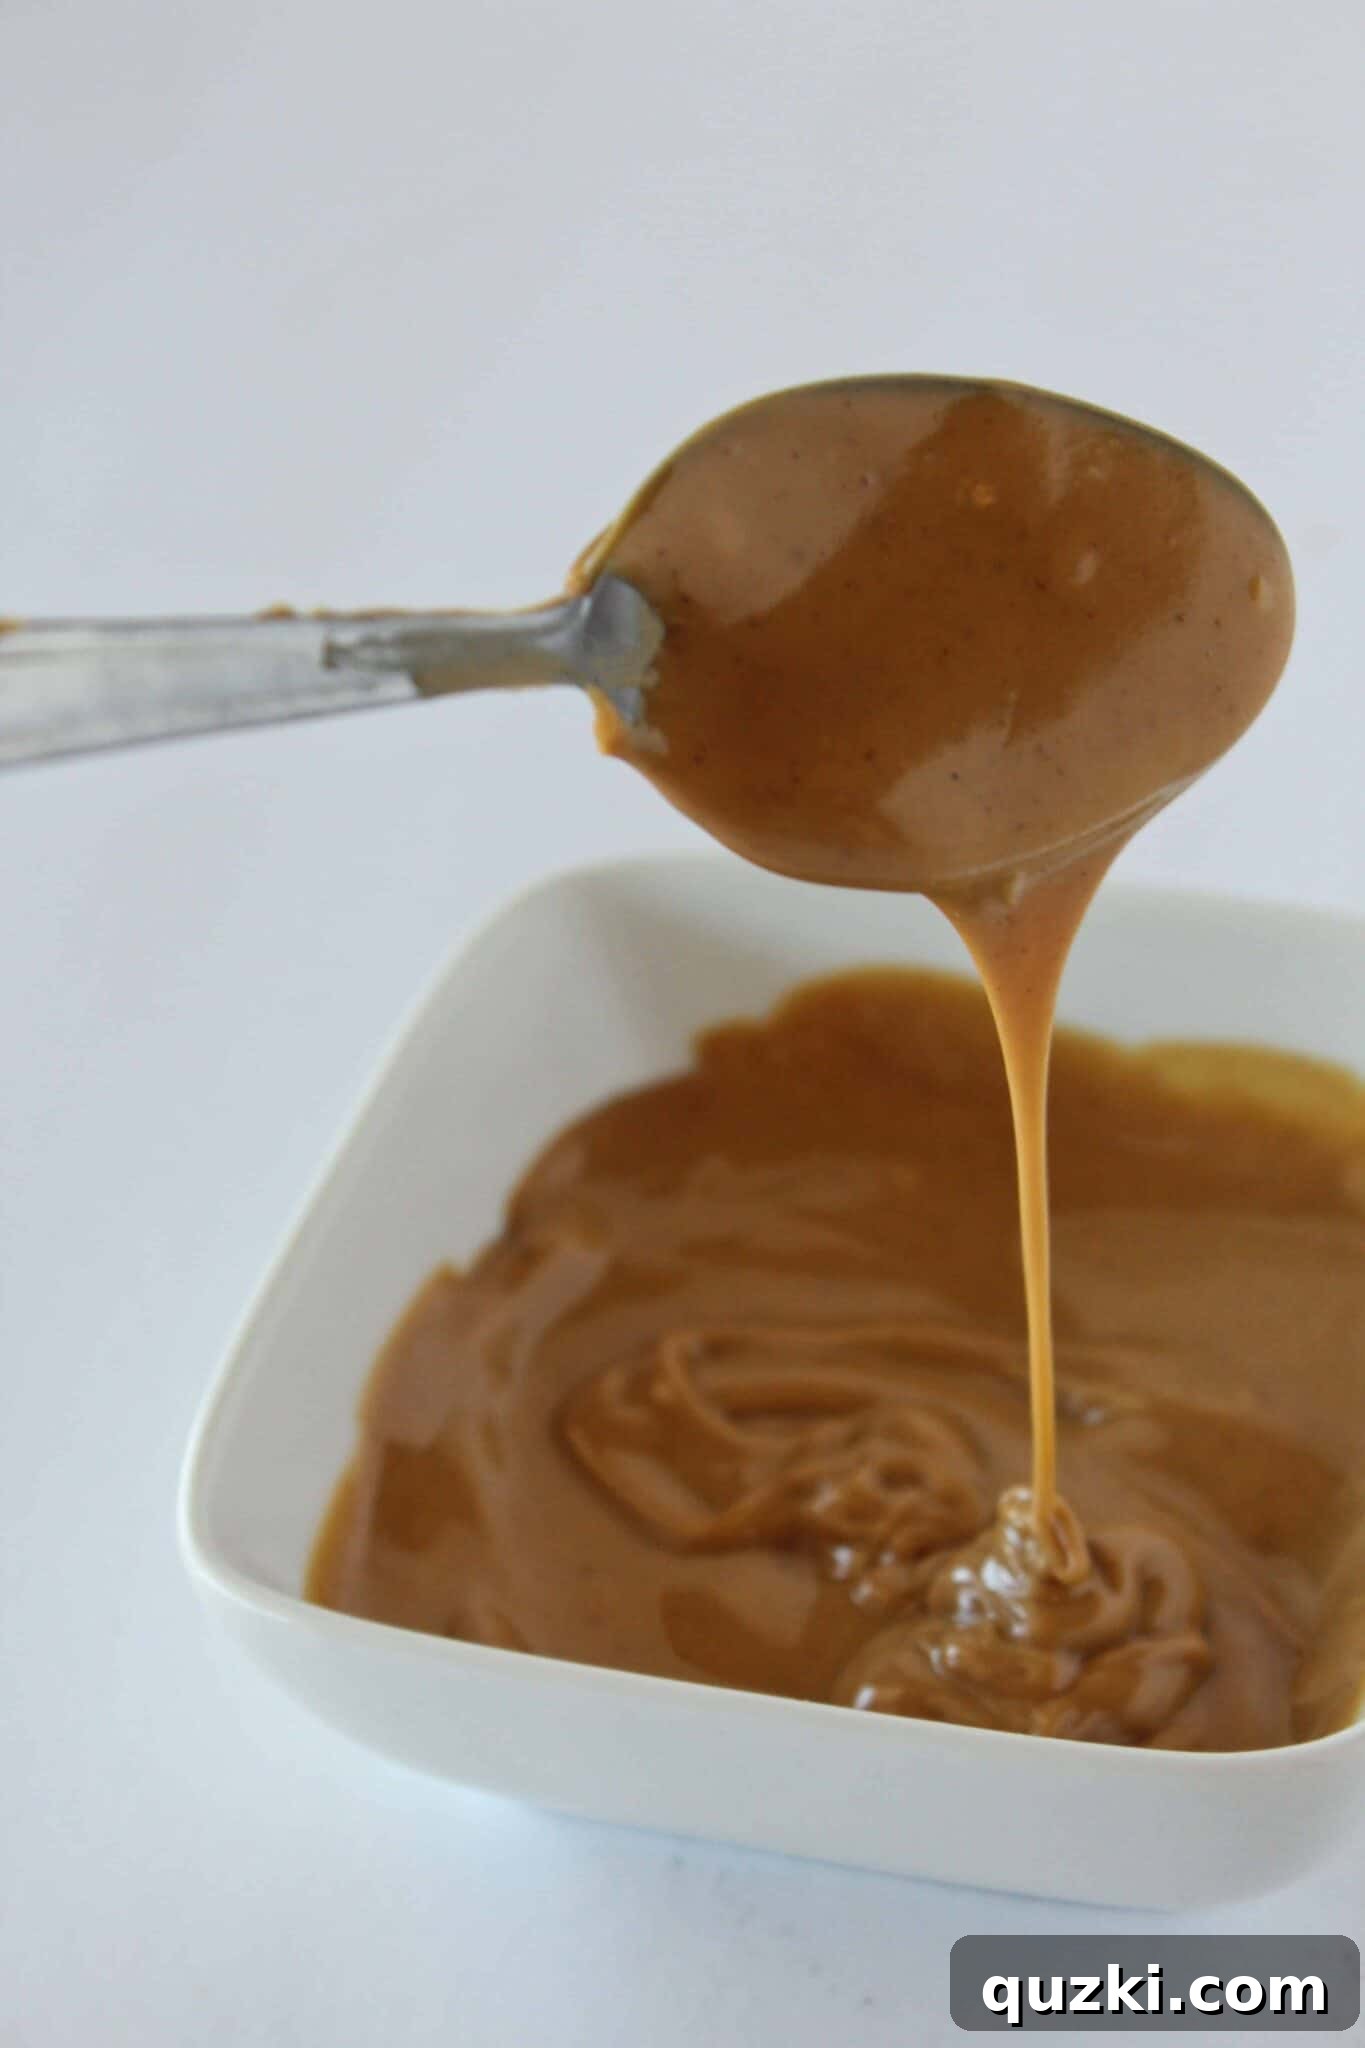
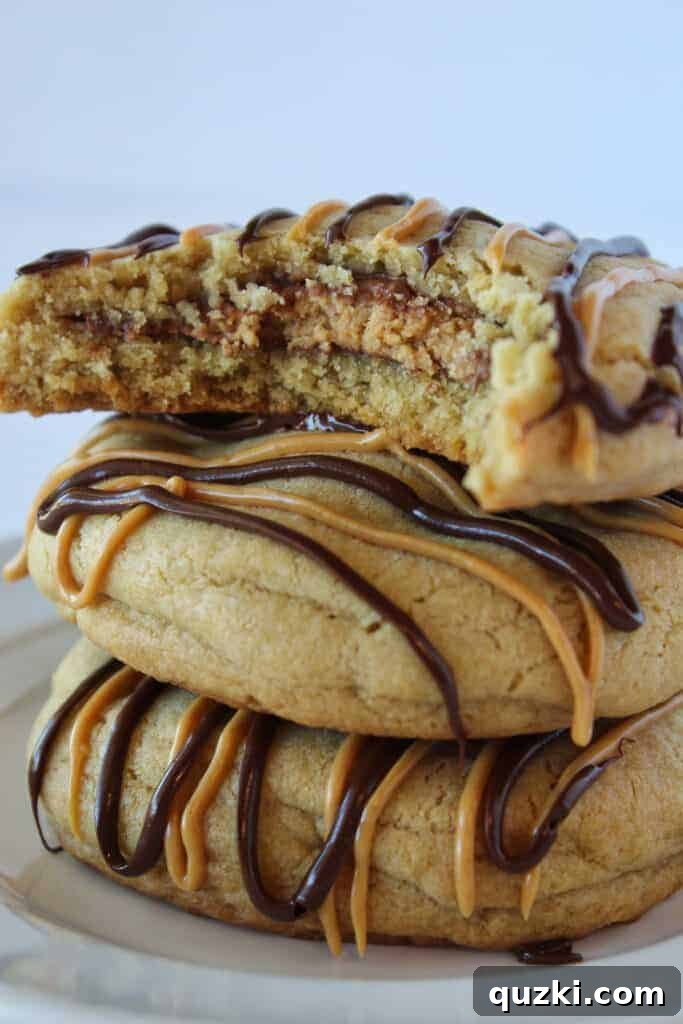
Now, for the ultimate final flourish – a step that elevates these already outrageous cookies to an entirely new stratosphere of decadence. Because I possess absolutely zero willpower when it comes to irresistible desserts, I simply couldn’t resist adding a generous double drizzle of both melted creamy peanut butter and luscious milk chocolate over the top. This additional layer of rich flavor and stunning visual appeal transforms each cookie into a true masterpiece, a visual feast that perfectly hints at the explosion of taste awaiting you. It’s the crowning glory for an already spectacular treat, making them even more indulgent and utterly unforgettable.
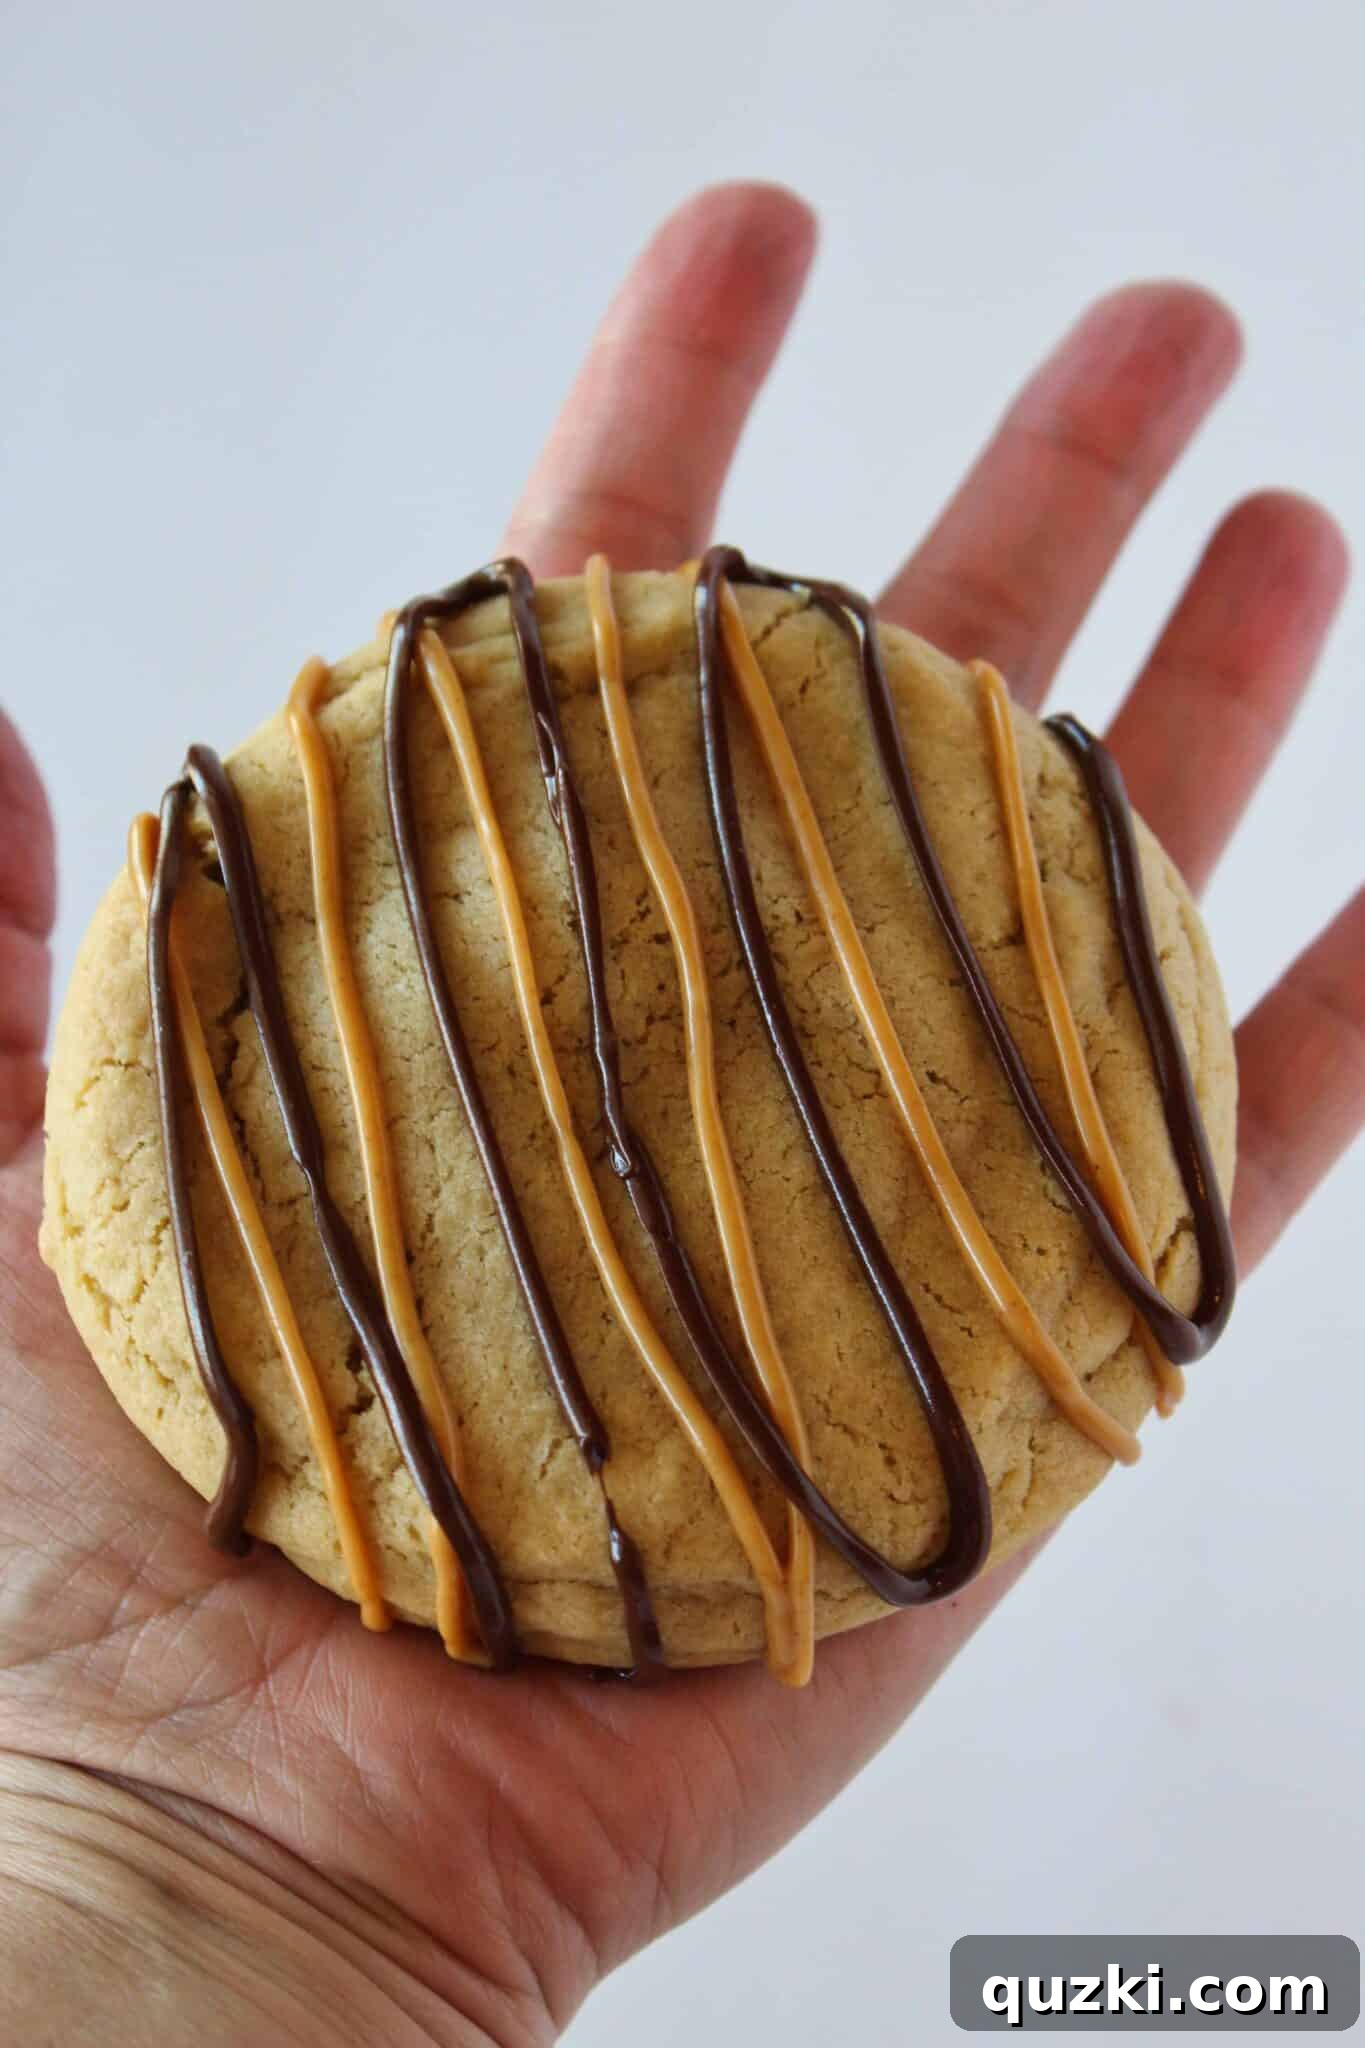
Just behold them – can you even process this level of sheer deliciousness? These colossal cookies are nothing short of dreamy! The glorious combination of a soft, chewy cookie exterior, a molten Reese’s Peanut Butter Cup core, and the extra, artful drizzle creates an explosion of texture and flavor that will leave you utterly speechless. Each cookie is a substantial, satisfying treat, a decadent affirmation that sometimes, especially in the realm of desserts, bigger truly is unequivocally better!
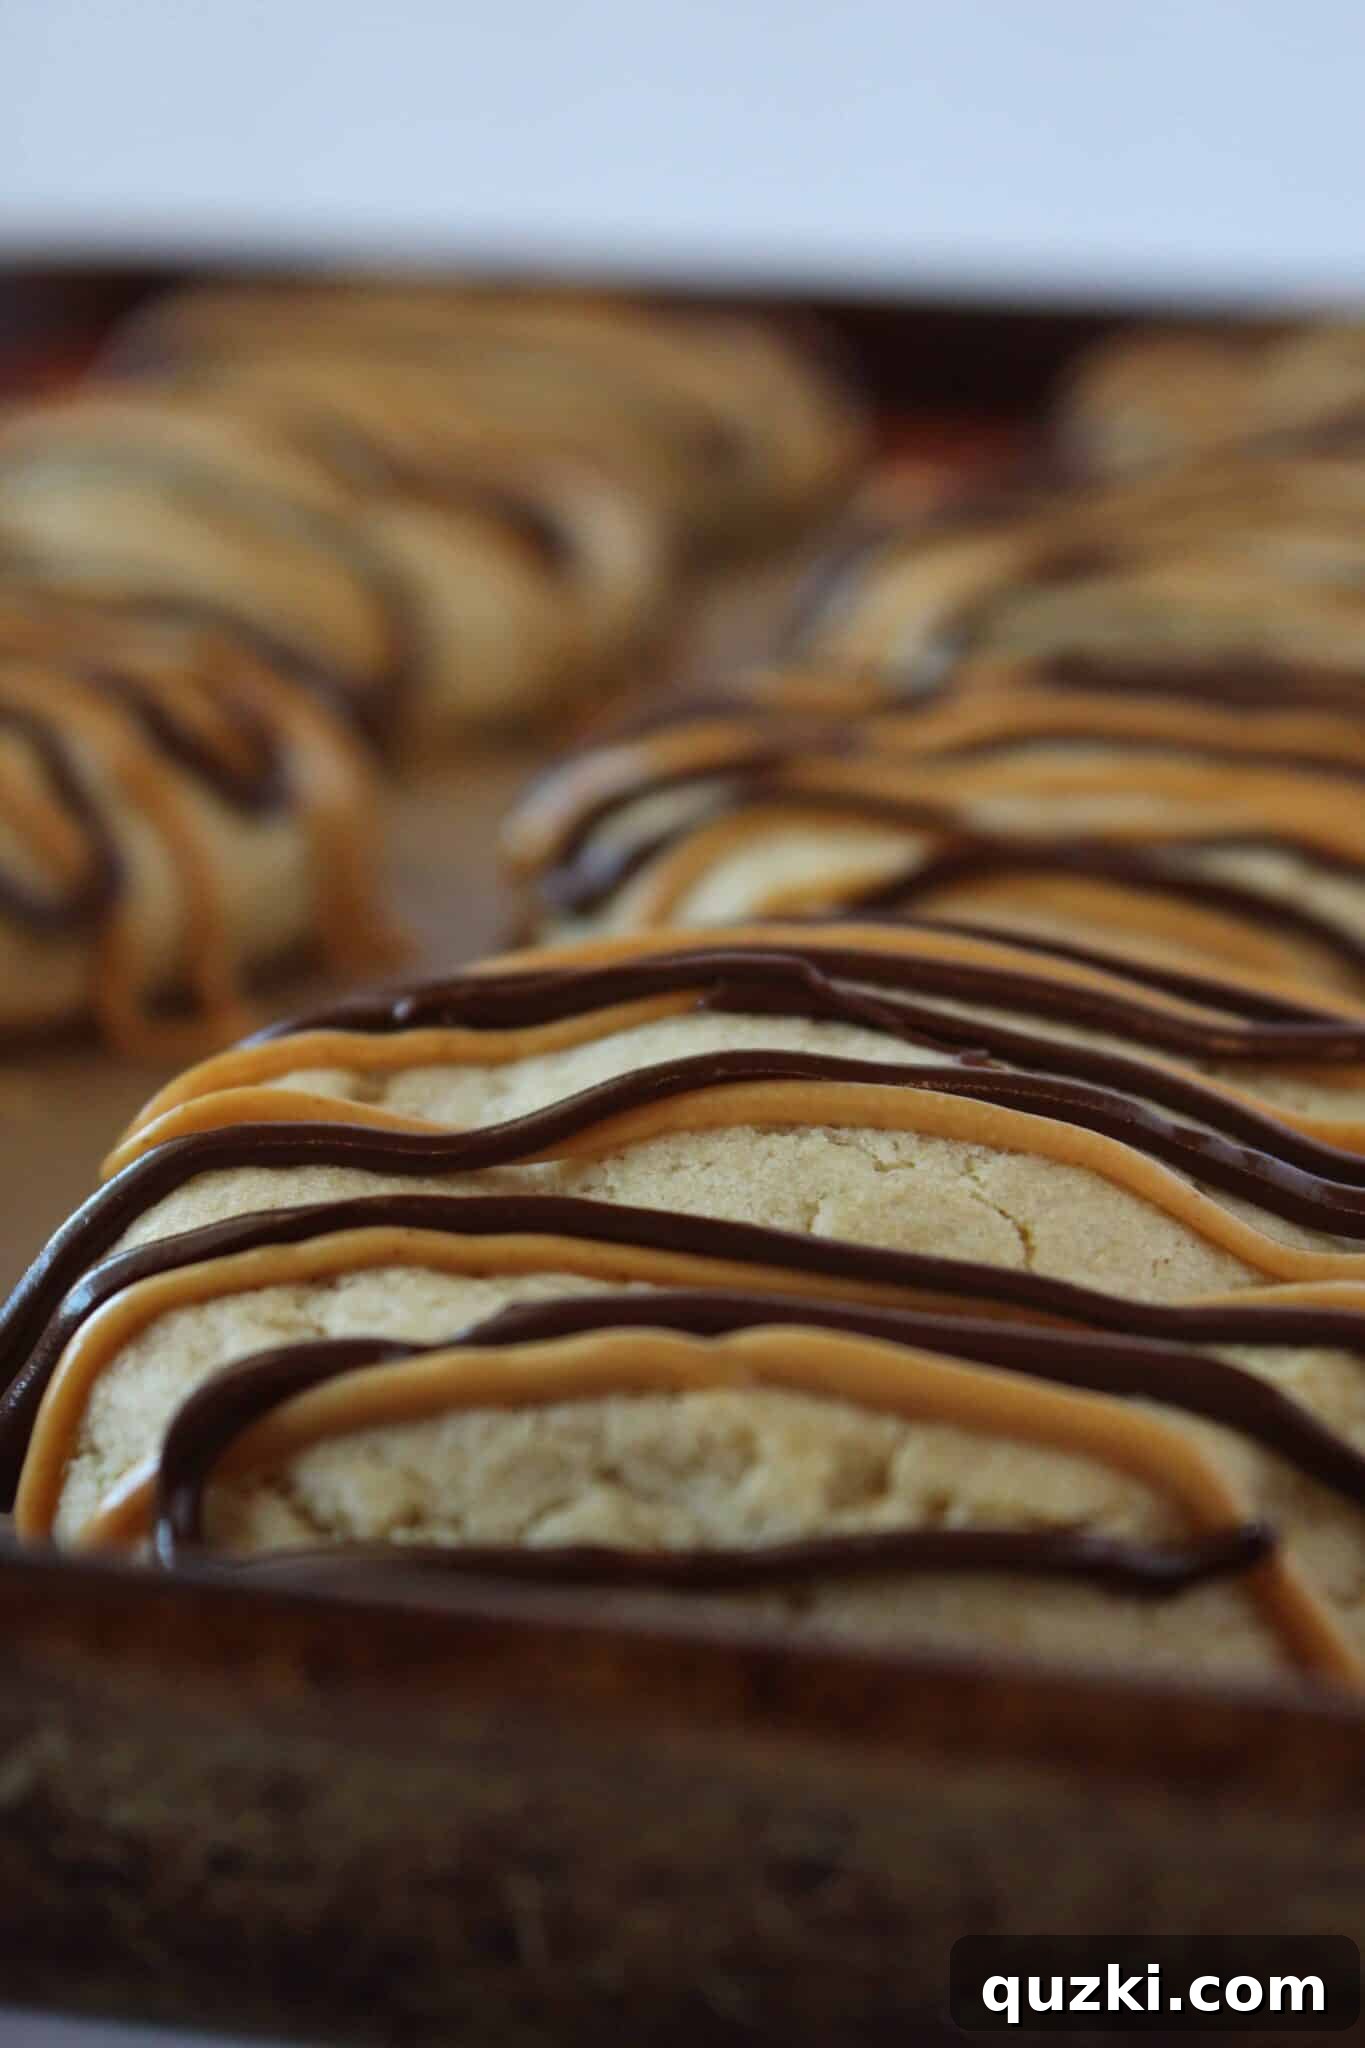
Indeed, they are truly GIANT! This impressive size is the natural outcome of a bold culinary decision: to generously stuff a full-sized Reese’s Peanut Butter Cup inside an already magnificent, perfectly baked cookie base. It’s a move that pays off with every single indulgent bite, ensuring a profound and satisfying experience that mini cups simply cannot replicate. Prepare for a cookie that fills your hand and your heart.
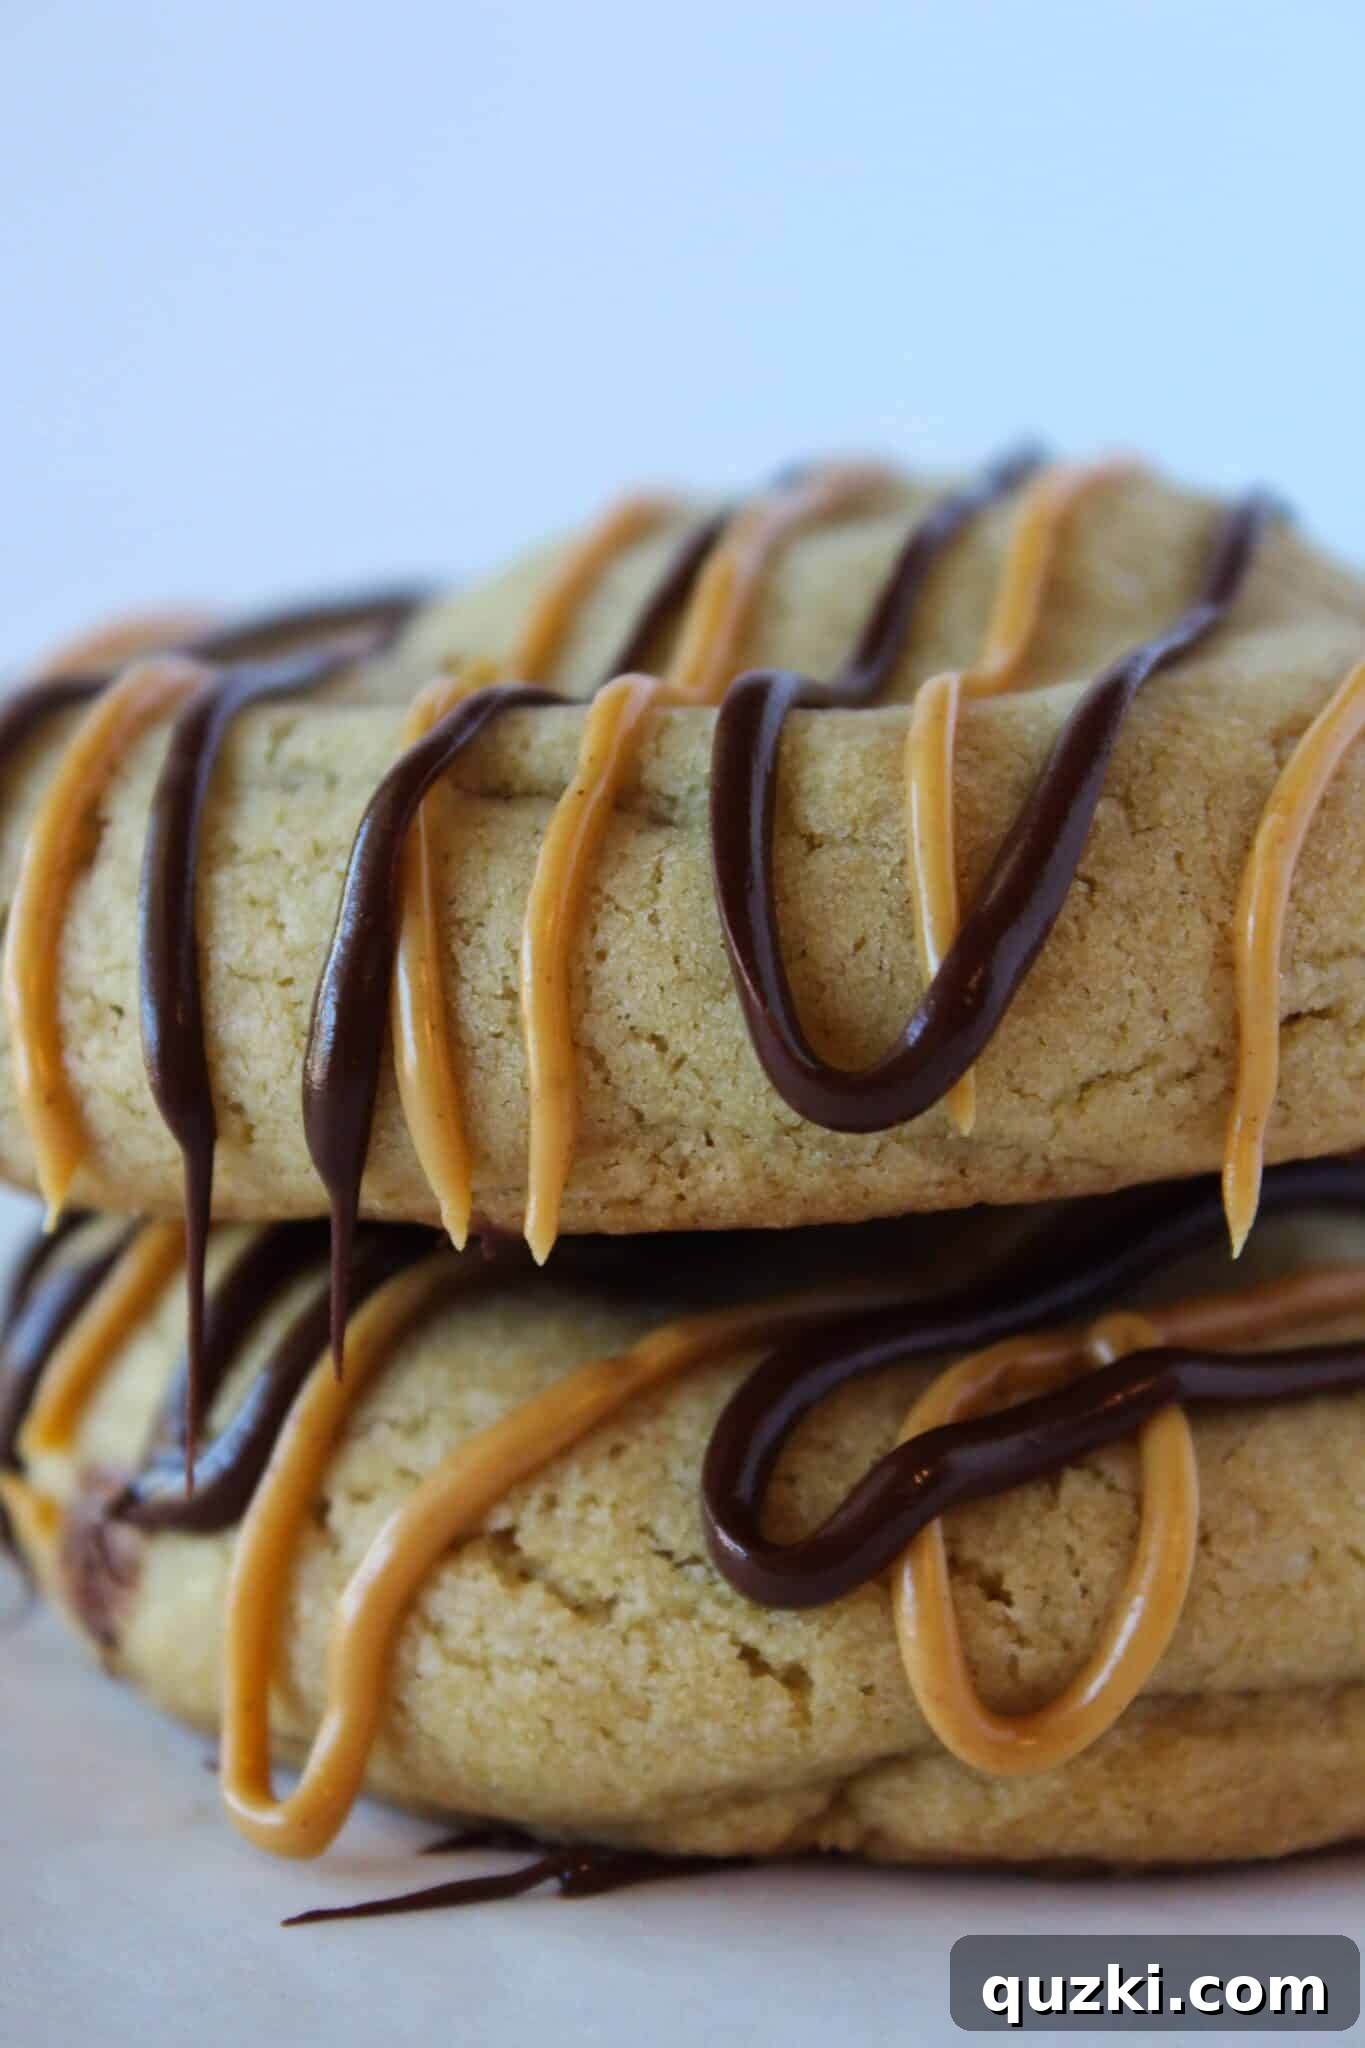
One bite is all it takes to be completely captivated and utterly hooked. These Reese’s Peanut Butter Cup Stuffed Cookies are destined for a permanent spot in your recipe hall of fame. They’re more than just a dessert; they’re an experience – a delightful journey into the perfect blend of sweet, salty, and utterly satisfying flavors. They truly represent the pinnacle of peanut butter and chocolate harmony, a cookie so exceptional it writes its own legend.
The glorious end result is a cookie so generously sized it could easily satisfy two or even three people – but let’s be honest with ourselves, sharing these masterpieces is often a monumental challenge! Consider this a party of one, where you are the sole and deserving recipient of this extraordinary treat. So, if anyone needs me, you’ll likely find me happily elbow-deep in these incredible cookies, celebrating a delightful (pretend) birthday. Happy baking, and even happier, incredibly indulgent eating!
More Peanut Butter Perfection
If you’ve fallen head over heels for the magical combination of peanut butter and dessert, you’re in for a continued treat! Explore these other fantastic recipes that celebrate the irresistible, nutty flavor of peanut butter in various delightful forms:
- Peanut Butter Blossom Cookies
- 4-Ingredient Peanut Butter Cookies (Cake Mix Base)
- No-Bake Peanut Butter Pie
- Chocolate Peanut Butter Cookies (with Cake Mix)
- Peanut Butter Texas Sheet Cake Cookies
Reese’s Peanut Butter Cup Stuffed Cookies
By: June Albertson-Dick
Summary: A whole Reese’s Peanut Butter Cup is baked into an enormous, soft, and chewy cookie, then generously drizzled with additional melted peanut butter and chocolate, creating an unforgettable indulgence perfect for any celebration.
Prep Time: 20 minutes
Bake Time: 10-13 minutes
Total Time: Approximately 40-45 minutes (includes active prep and bake time)
Yields: 10 large cookies
Ingredients
For the Cookies:
- 1 cup (2 sticks) cold unsalted butter, cut into cubes
- 1 cup packed light brown sugar
- 1/2 cup granulated sugar
- 3 teaspoons pure vanilla extract
- 2 large eggs
- 3 cups all-purpose flour
- 1 teaspoon cornstarch
- 3/4 teaspoon baking soda
- 1/2 teaspoon salt
- 8-10 regular-sized Reese’s Peanut Butter Cups, unwrapped
For the Topping (Optional, but highly recommended):
- 1/4 cup creamy peanut butter
- 1/4 cup milk chocolate chips or chopped chocolate squares
Instructions
- Preheat your oven to 375°F (190°C). Line a large baking sheet with parchment paper.
- In the bowl of an electric mixer fitted with the paddle attachment, combine the cold, cubed butter, packed brown sugar, and granulated sugar. Mix on medium speed for about 4 minutes, until the mixture is light, fluffy, and creamy.
- Add the eggs, one at a time, mixing well after each addition until fully incorporated. Stir in the vanilla extract until just combined.
- In a separate medium bowl, whisk together the flour, cornstarch, baking soda, and salt. Gradually add this dry mixture to the wet ingredients in the mixer. Mix on low speed until just combined. Be careful not to overmix; stop as soon as no dry streaks of flour remain. The dough will be thick.
- Using a medium cookie scoop (about 2-3 tablespoons of dough), scoop a portion of dough. Gently flatten it slightly in your palm. Place one unwrapped Reese’s Peanut Butter Cup in the center. Scoop another equally sized mound of dough and place it on top of the peanut butter cup. Gently but firmly use your hands to seal the edges of the two dough portions around the Reese’s cup, forming a neat, spherical cookie.
- Place the stuffed cookie dough balls about 2-3 inches apart on your prepared baking sheet.
- Bake for 10-13 minutes, or until the edges are lightly golden brown and set, but the centers still appear soft and slightly underbaked.
- Remove the cookies from the oven and let them cool completely on the baking sheet. This crucial step allows the residual heat to finish cooking the centers, ensuring a perfect soft and chewy texture.
- Once the cookies are fully cooled, prepare the optional topping: In two separate microwave-safe bowls, melt the creamy peanut butter and milk chocolate chips. Heat in 30-second intervals, stirring after each, until smooth and pourable.
- Using a spoon or fork, generously drizzle both the melted peanut butter and melted chocolate over the cooled cookies.
- Store these incredible cookies in an airtight container at room temperature for up to a week, or freeze for up to 3 months for a future indulgence.
Chef’s Notes
- The peanut butter drizzle will take longer to set than the chocolate, so allow ample time for it to firm up before stacking or storing.
- For an extra touch of richness or texture, you can lightly press a few mini chocolate chips or chopped peanuts into the top of the cookies before baking.
- Ensure your Reese’s Peanut Butter Cups are unwrapped and ready before you start assembling the cookies to keep the process smooth and efficient.
Nutrition Information (Approximate)
- Serving Size: 1 cookie
- Calories: 547 kcal
- Carbohydrates: 70g
- Protein: 8g
- Fat: 27g
- Saturated Fat: 14g
- Polyunsaturated Fat: 3g
- Monounsaturated Fat: 9g
- Trans Fat: 1g
- Cholesterol: 82mg
- Sodium: 440mg
- Potassium: 172mg
- Fiber: 2g
- Sugar: 39g
- Vitamin A: 622 IU
- Vitamin C: 0.04mg
- Calcium: 48mg
- Iron: 2mg
Disclaimer: Nutrition information is automatically calculated and should be used as an approximation. Exact values may vary based on ingredients and specific preparation methods.
Like this? Leave a comment below!
Your feedback brightens my day! If you try this recipe, please share your thoughts and a rating in the comments section. Happy baking!