
How to Plan an Unforgettable Dessert Buffet: Your Ultimate Guide
Are you ready to host a truly memorable event? A dessert buffet is not just a collection of sweets; it’s a centerpiece that delights guests and creates a lasting impression. Whether you’re celebrating a graduation, birthday, wedding, or any special occasion, a well-planned dessert bar can elevate your party from ordinary to extraordinary. This comprehensive guide will walk you through every step, sharing tried-and-true tips for designing a stunning and delicious dessert spread that will have everyone talking, all while keeping it simple and manageable for any size gathering.
Crafting the Perfect Party: The Allure of a Dessert Buffet
Planning a party is one of my greatest joys, and naturally, my focus often starts with the food. Recently, my daughter Taylea’s high school graduation provided the perfect excuse for a fantastic celebration. Early in our planning, we decided on a dessert buffet – after all, who can resist a delightful assortment of sweet treats?
A dessert buffet offers incredible versatility and allows guests to sample a variety of flavors and textures, catering to diverse preferences. It also takes the pressure off serving a full, heavy meal, making it ideal for afternoon gatherings or as a lavish finale to a dinner party. Taylea was instrumental in helping me narrow down the menu options, making the process even more enjoyable and personalized.
One of my biggest pieces of advice for anyone planning a dessert buffet is this: you do not have to make EVERYTHING yourself! Embrace help from family, friends, and trusted sources like local bakeries or wholesale clubs (Costco is a personal favorite). Aim for about half of your items to be homemade, and then confidently delegate or purchase the rest. This approach ensures you stay relaxed and can truly enjoy the celebration alongside your guests.
Designing Your Dream Dessert Buffet Menu
The menu is the heart of your dessert buffet. When I begin the menu planning process, I always start by identifying what I call the “must-have” items. For a dessert buffet, I typically divide these irresistible bites into two main categories: chocolate and non-chocolate. Ensuring an equal balance of both is crucial for variety, satisfying every palate, and accommodating different tastes.
Balancing Flavors and Preferences
Think beyond just chocolate bars and fruit tarts. Consider a range of textures – creamy cheesecakes, crunchy cookies, soft cakes, and fresh fruits. This diversity keeps the buffet exciting. It’s also a thoughtful gesture to include options for common dietary needs, such as gluten-free cookies, vegan bites, or nut-free alternatives, ensuring all your guests feel included and can indulge safely.
Integrating Theme, Venue, and Guest Count
From there, I consider the party’s overarching theme. For Taylea’s graduation, we opted for a rustic aesthetic, incorporating elements like flowers and antlers. The theme should subtly guide your dessert choices and presentation. For instance, an elegant wedding might feature delicate macarons and miniature tiramisus, while a casual backyard barbecue could highlight s’mores bars and fruit skewers.
The venue plays a significant role too. Is it an indoor or outdoor event? Will there be refrigeration available? Our party was held from 2-4 p.m. at “The Gathering Place,” a charming local venue. The time of day and expected number of guests will also influence your menu decisions. For a large crowd, bite-sized desserts are ideal as they allow guests to sample more items without overindulging, minimize waste, and prevent messy serving.
Ultimately, these considerations – theme, venue, time, and guest count – help set the tone for how simple or elegantly elaborate you want your dessert selection to be, ensuring a cohesive and delightful experience.
Mastering the Art of Dessert Buffet Setup
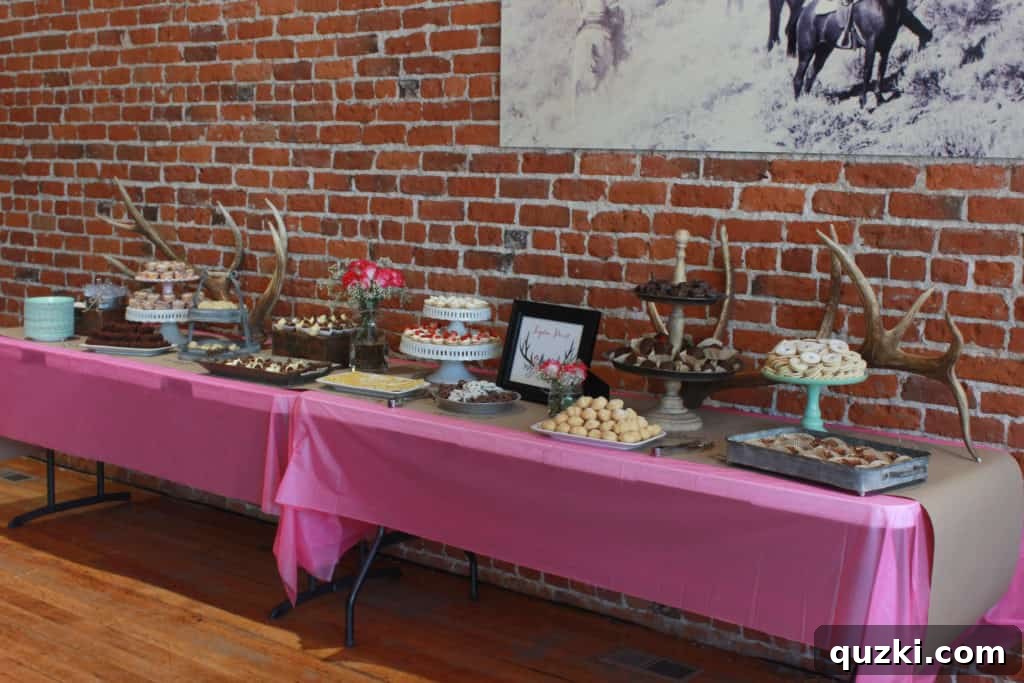
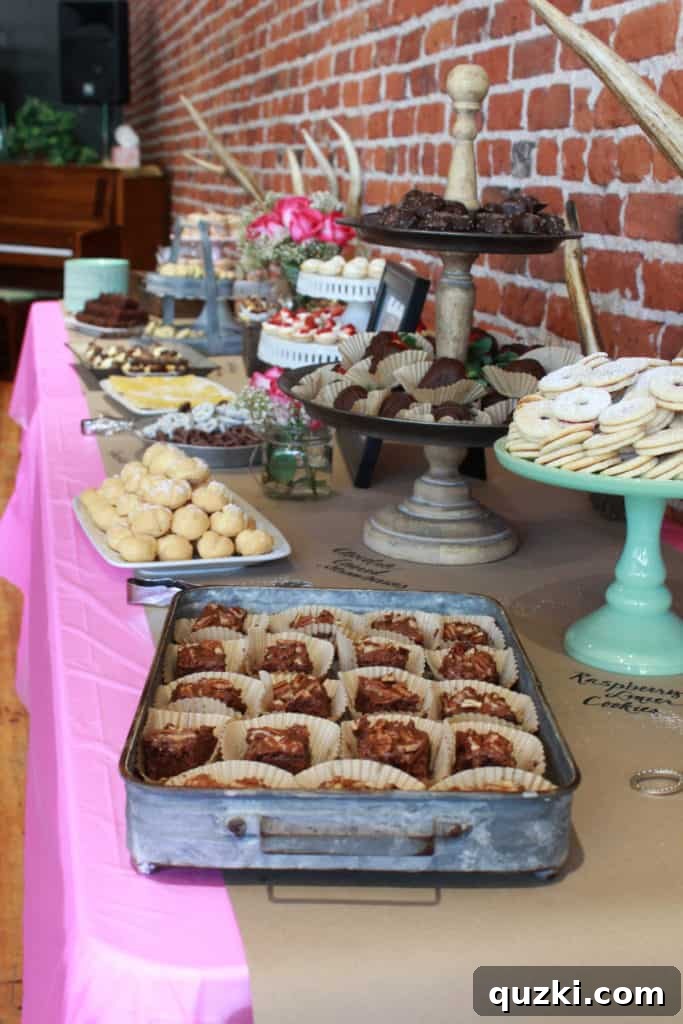
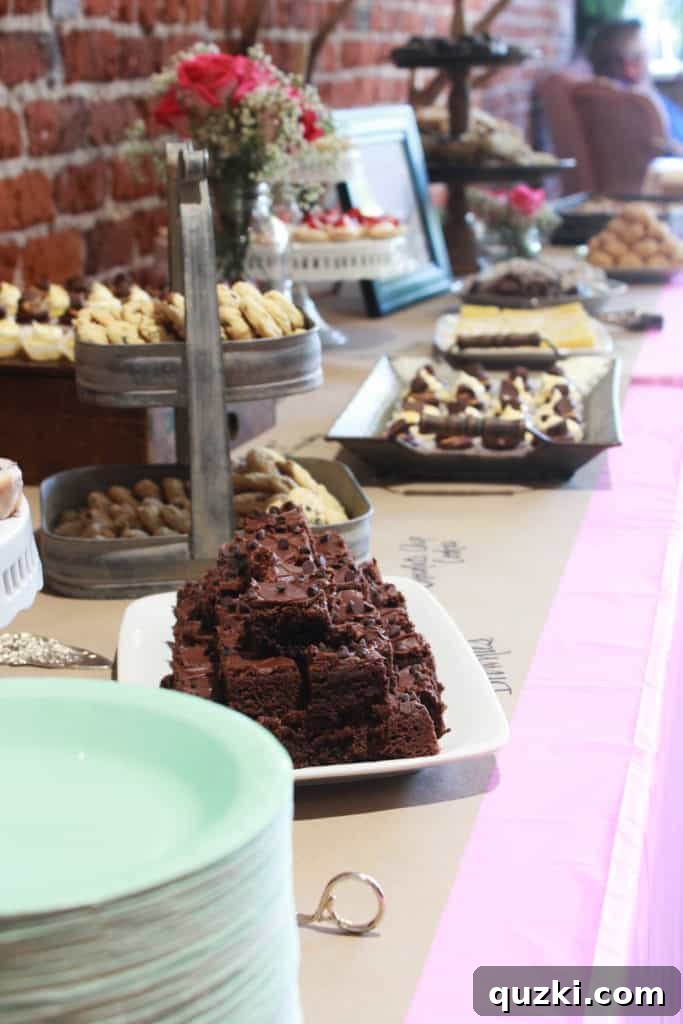
Beyond the menu, the visual presentation of your dessert buffet is key to its success. Our venue, “The Gathering Place,” offered a large, open room with ample natural light, hardwood floors, and a stunning exposed brick wall. I immediately knew this brick wall would serve as the perfect rustic backdrop for our buffet table, providing character and warmth.
The Foundation: Tables and Linens
I utilized two large tables pushed together to create an expansive display surface. To make cleanup a breeze while adding a unique touch, I covered them first with practical plastic tablecloths, then layered them with brown craft paper. This brown paper served a dual purpose, which you’ll discover shortly, but it also instantly lent a natural, earthy feel that perfectly complemented our rustic theme.
Using Serving Dishes for Height, Dimension, and Visual Appeal
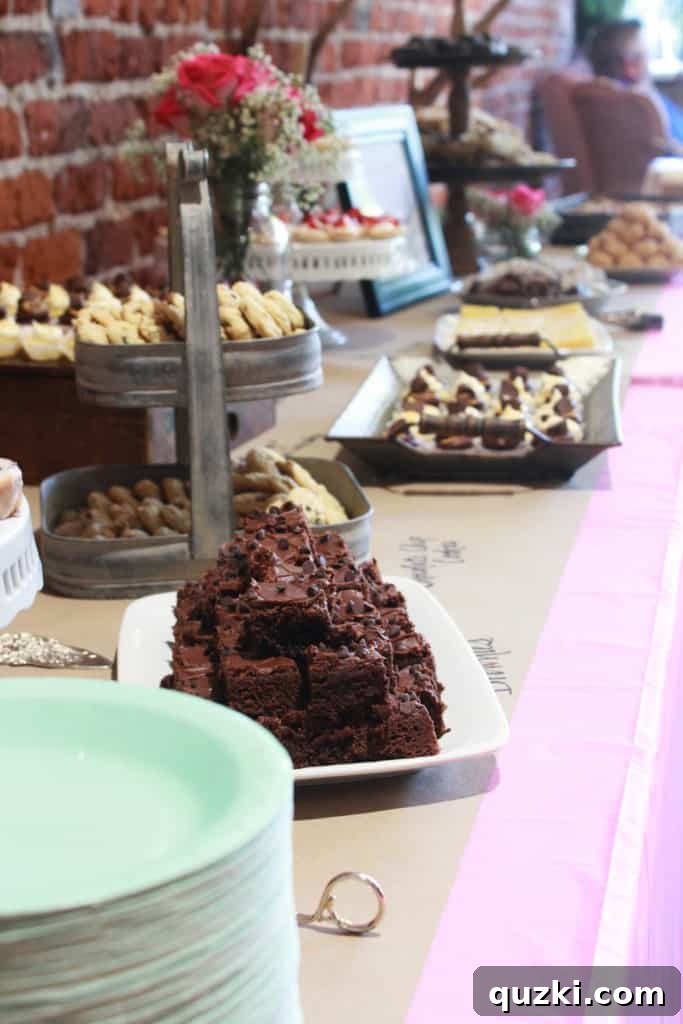
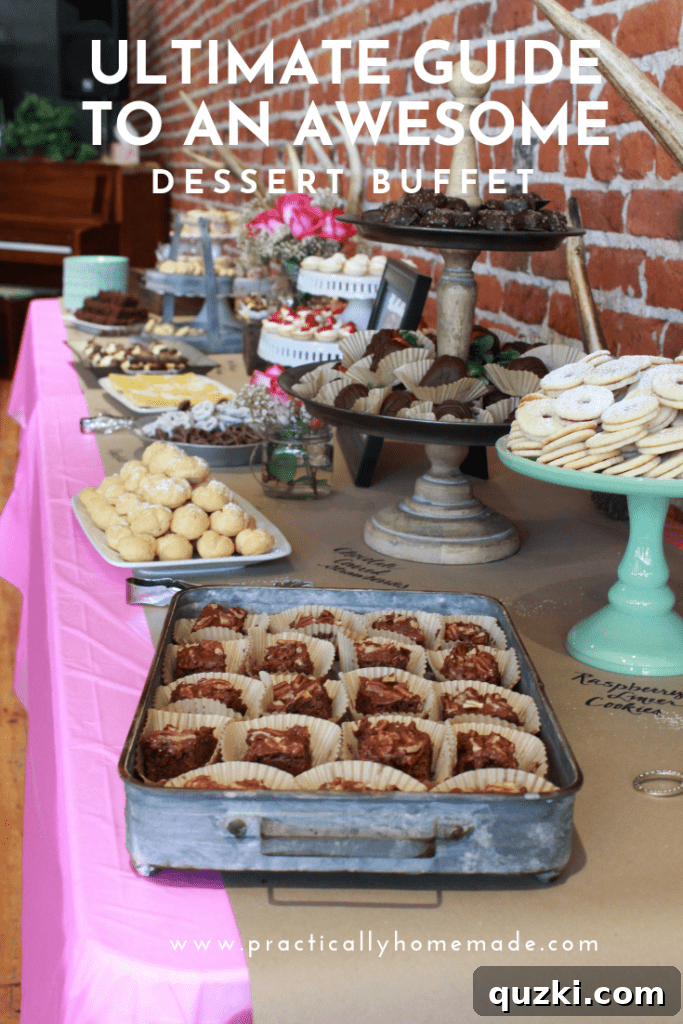
Creating visual interest on your dessert buffet involves more than just delicious treats. It’s about crafting an appealing landscape with varied heights, textures, and pops of color. As you can see from the photos, I incorporated a variety of serving dishes and risers to achieve this. Using elements like metal tiered stands, wooden crates, white ceramic platters, and glass cloches adds depth and prevents the table from looking flat or cluttered.
For our party, we primarily stuck to a palette of metal, wood, and white elements, which harmonized with the rustic theme. However, I deliberately added vibrant pops of color with a couple of lively cake plates and fresh flower arrangements displayed in charming mason jars. These touches provided focal points and brought the entire display to life. Remember, thoughtful presentation transforms a simple spread into a feast for the eyes.
Personalizing Your Buffet with Labels
Now, for the second, incredibly practical purpose of the brown craft paper: I directly wrote the names of the desserts on it! This simple yet effective method ensures guests know exactly what they’re enjoying, which is particularly helpful for those with allergies or specific preferences. Identifying menu items adds a professional touch and enhances the guest experience. Alternatively, you can use small chalkboards, elegant printed cards, or even digital displays for labeling.
Showcasing Signature Sweets
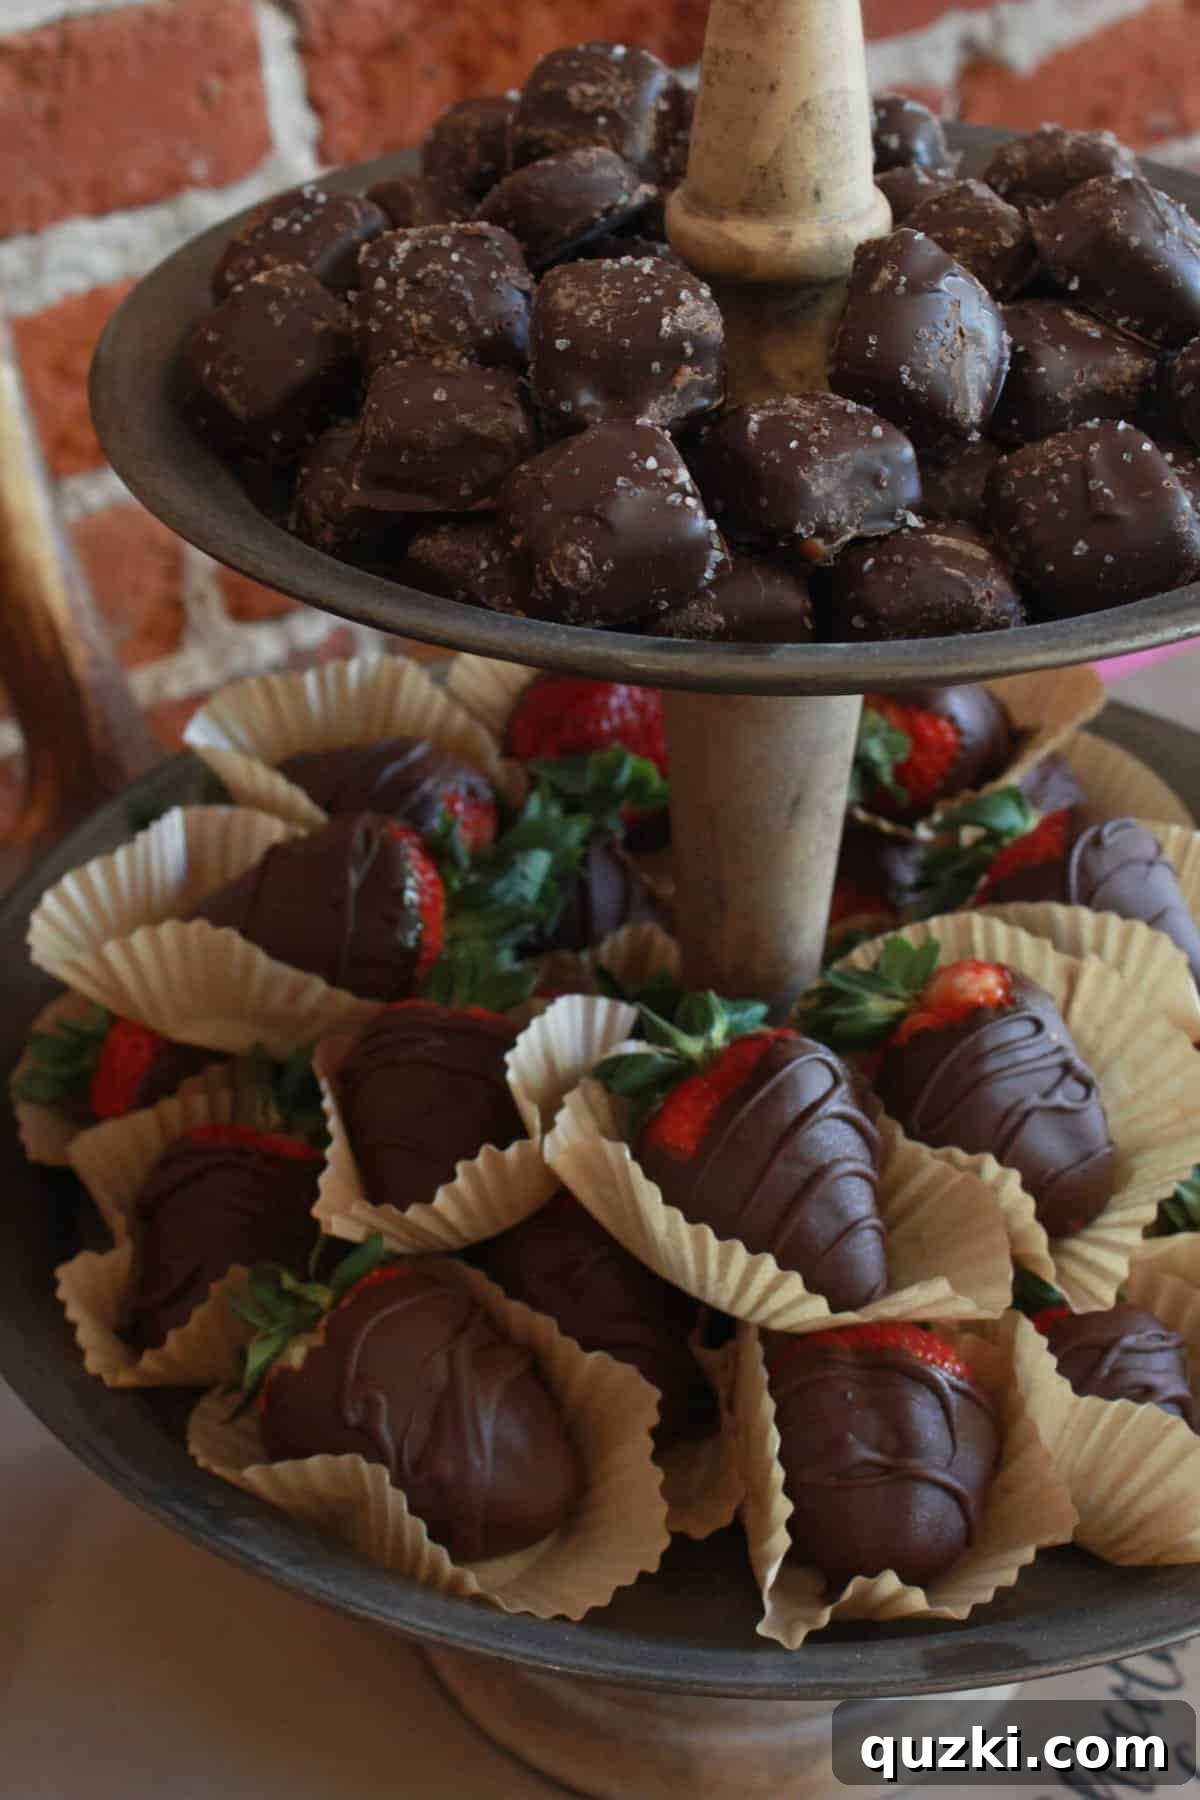
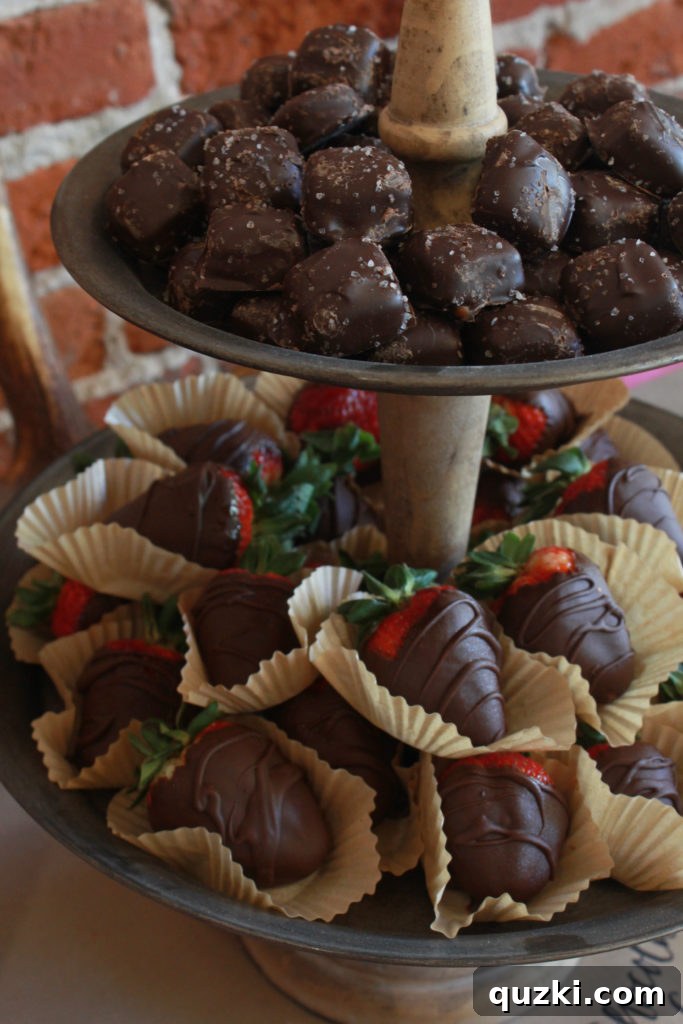
One of my favorite display pieces is this two-tiered tray, a delightful blend of metal and wood, similar to this beautiful option. It’s perfect for highlighting “must-have” items like classic Chocolate Dipped Strawberries. Their elegant simplicity and irresistible taste make them a perennial favorite on any dessert buffet. Serving items in decorative cupcake liners or mini individual cups is not only visually appealing but also incredibly functional, making it easy for guests to grab and enjoy without mess.
The caramels on the top tier of this stand, sourced from Costco, were an absolute hit – a testament to the fact that high-quality store-bought items can perfectly complement homemade treats. Don’t underestimate the power of strategically placed, crowd-pleasing outsourced desserts!
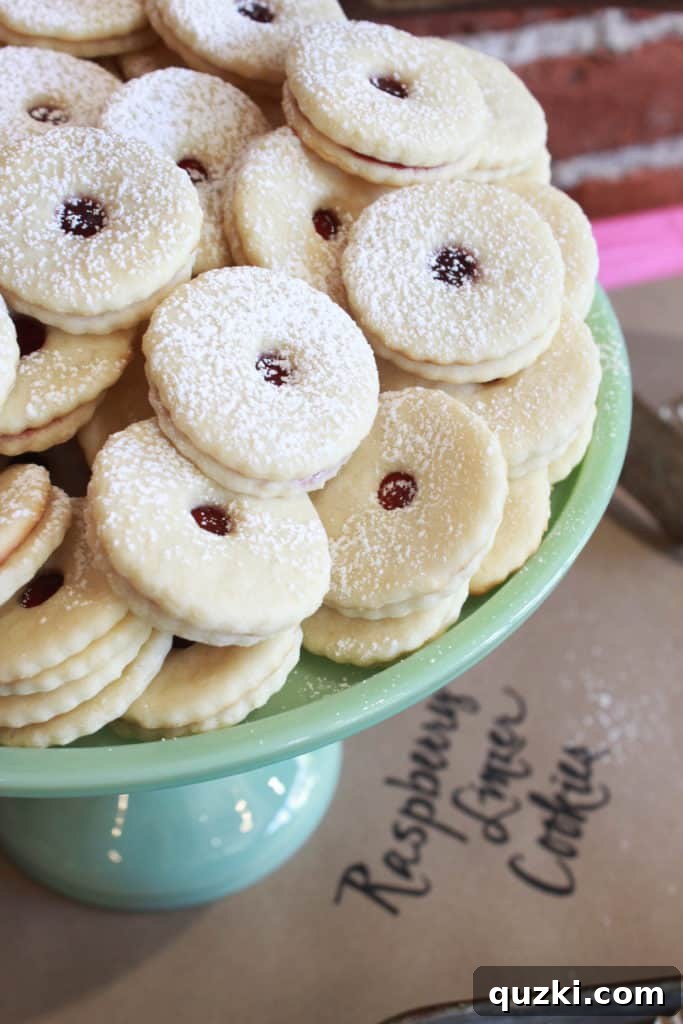
My daughter Taylea had only one specific menu request: my Raspberry Linzer cookies. Of course, her mama couldn’t deny that! I proudly displayed them on my charming Pioneer Woman cake plate. For these, I used my go-to Cream Cheese Sugar Cookie recipe, which truly makes the best cookies. The delicate pop of green from the plates on this side of the table matched the dessert plates guests used, subtly reinforcing our theme’s color palette.
Adding Special Touches to your Dessert Buffet: Personalization and Theme
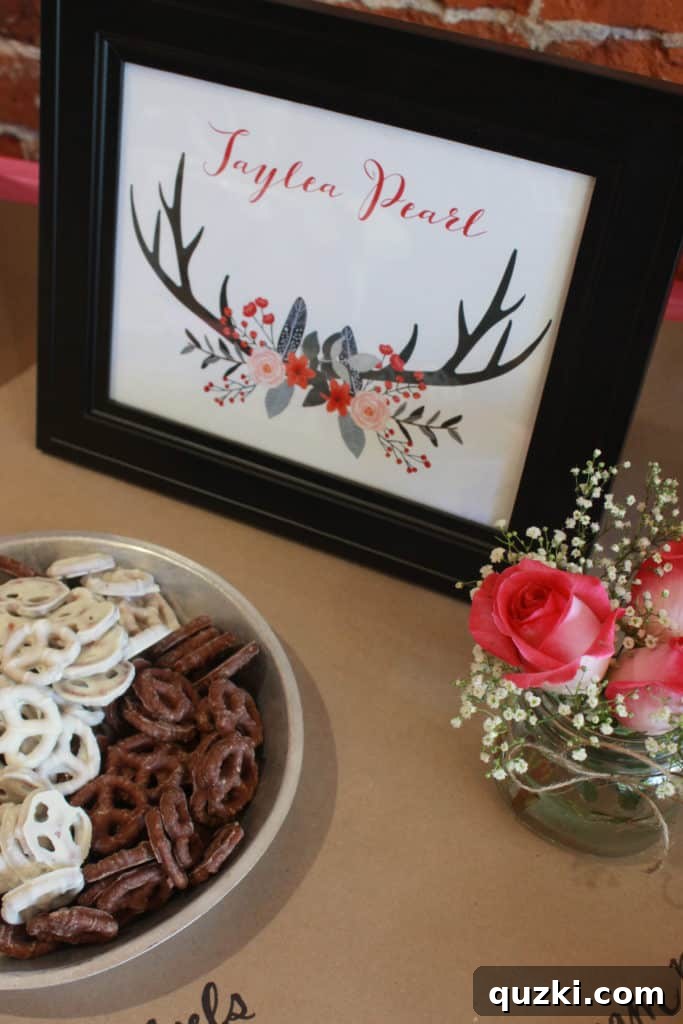
Beyond the sweets themselves, thoughtful decorative elements can truly personalize your dessert buffet and weave in your party’s theme. For Taylea’s graduation, a beautiful framed print served as a special touch on the food table. I discovered it months before the event for less than $8.00, and I’m so glad I picked it up. I loved it framed, and I especially cherished the sentiment it represented – celebrating my daughter.
This print truly became the subtle inspiration for the entire event’s aesthetic. It wasn’t overly busy, so it didn’t detract from the delicious desserts, but it beautifully reminded everyone of who we were celebrating and the rustic, heartfelt theme we embraced. Consider incorporating framed photos, personalized signs, or small, meaningful trinkets that align with your occasion.
Here is another angle from the other side of the table, offering a different view of the same delightful desserts, showing how a buffet can be admired from all sides.
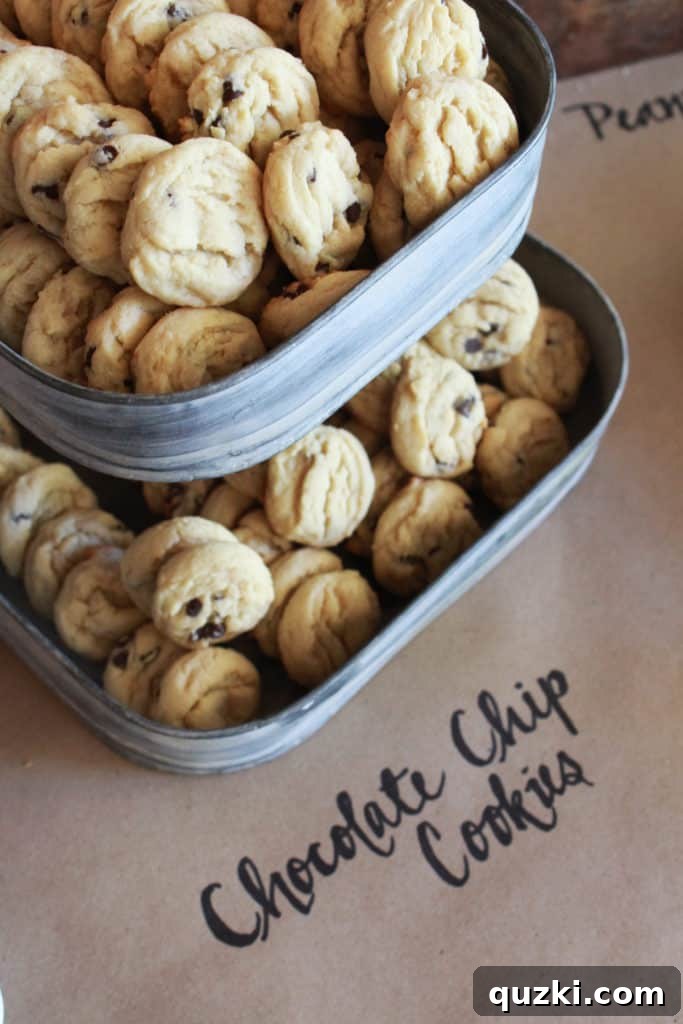
For another charming display, I borrowed this cute little metal tiered tray, similar to this versatile option, from a friend. It perfectly cradled a batch of mini Chocolate Chip Cookies, roughly the size of a quarter. I adapted my favorite Soft Chocolate Chunk Cookie recipe into this much smaller version, using a 0.5 tbsp scoop and decreasing the baking time by about two minutes. Miniatures are always a hit on a dessert buffet; they allow guests to try more varieties without feeling too full.
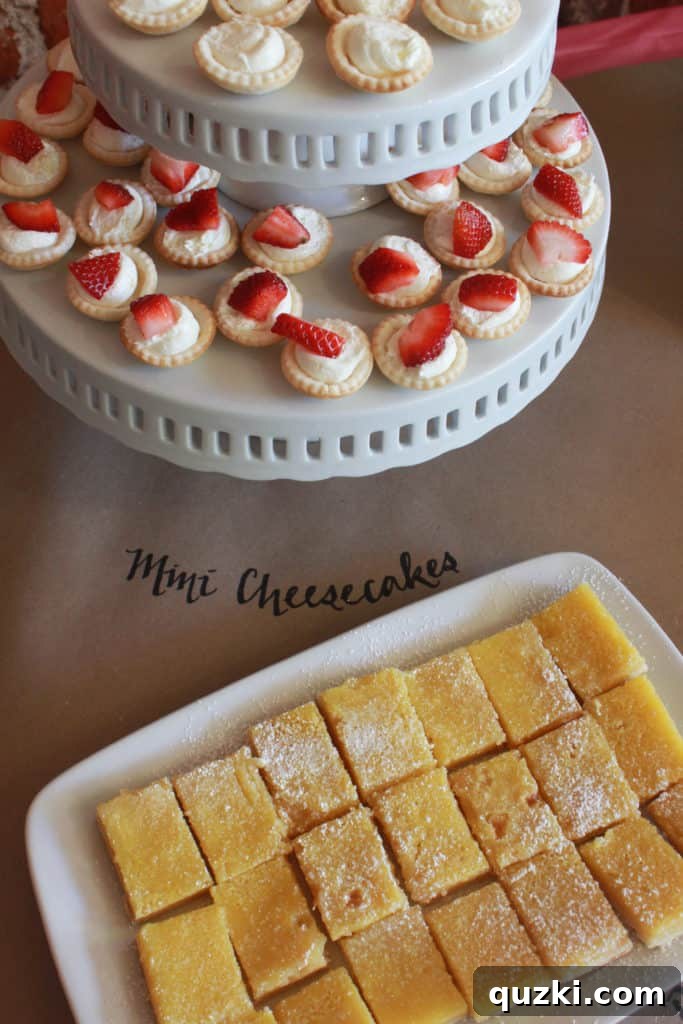
These mini cheesecakes are another perennial crowd-pleaser and deceptively simple to prepare. I use store-bought pie crust, cutting out rounds with a small cookie cutter. These rounds are then baked in a mini muffin pan for approximately 8 minutes until lightly golden. To ensure the crusts didn’t become soggy, I waited until about an hour before the party to fill them.
For the filling, I used a modified version of my no-bake Funfetti cheesecake recipe (minus the sprinkles). To make filling easy and neat, I transferred the cheesecake mixture into a Ziploc bag, snipped off a corner, and piped the filling directly into the baked shells. I offered a selection both with and without fresh strawberries for variety. Stacking a couple of cake plates, similar to these elegant options, on top of each other provided crucial height and allowed me to separate the strawberry and plain cheesecakes while keeping them attractively grouped.
Don’t Forget the Drink Table: Encouraging Flow and Mingle
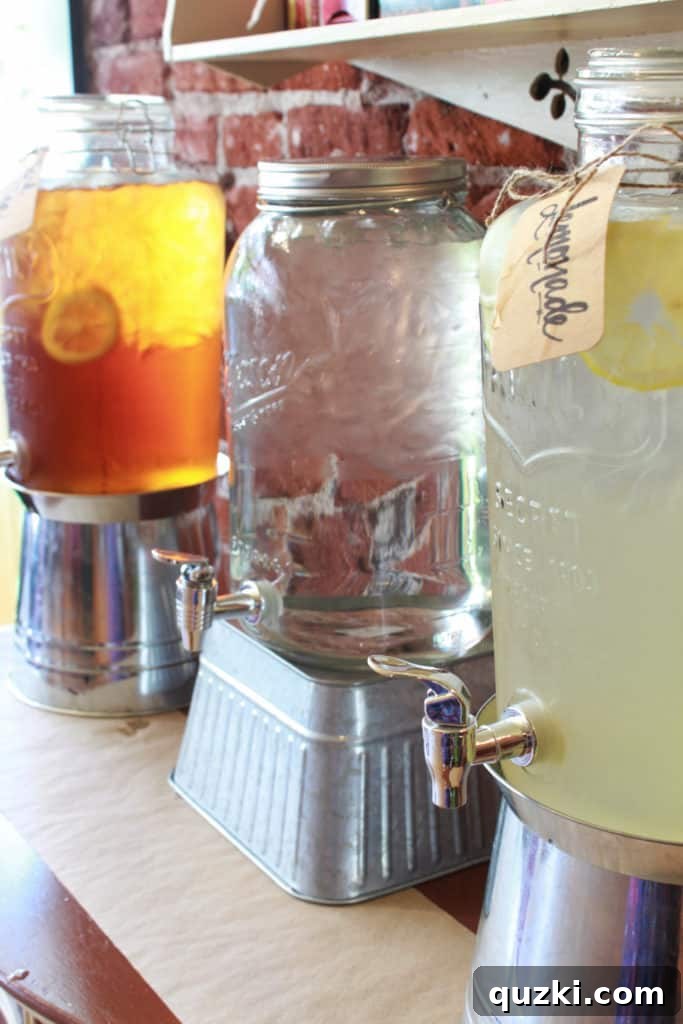
While planning a dessert buffet, it’s easy to overlook the beverage station, but it’s a critical component for a well-rounded and comfortable event. I strategically placed the drink table on the opposite side of the room from the dessert buffet. This encourages guests to move around, explore the venue, and mingle, preventing bottlenecks and ensuring a smooth flow of traffic. It also provides a moment for guests to hydrate after enjoying their sweet treats!
For beverages, I offered a simple yet appealing selection of iced tea, water, and lemonade, served in large, elegant mason jar-style jugs. This not only offered a good variety without significant expense but also perfectly matched the rustic theme, echoing the mason jars used for our flower arrangements. Allowing guests to serve themselves is a fantastic way to empower your visitors and allows you, the host, to relax and genuinely enjoy the party, rather than constantly refilling drinks.
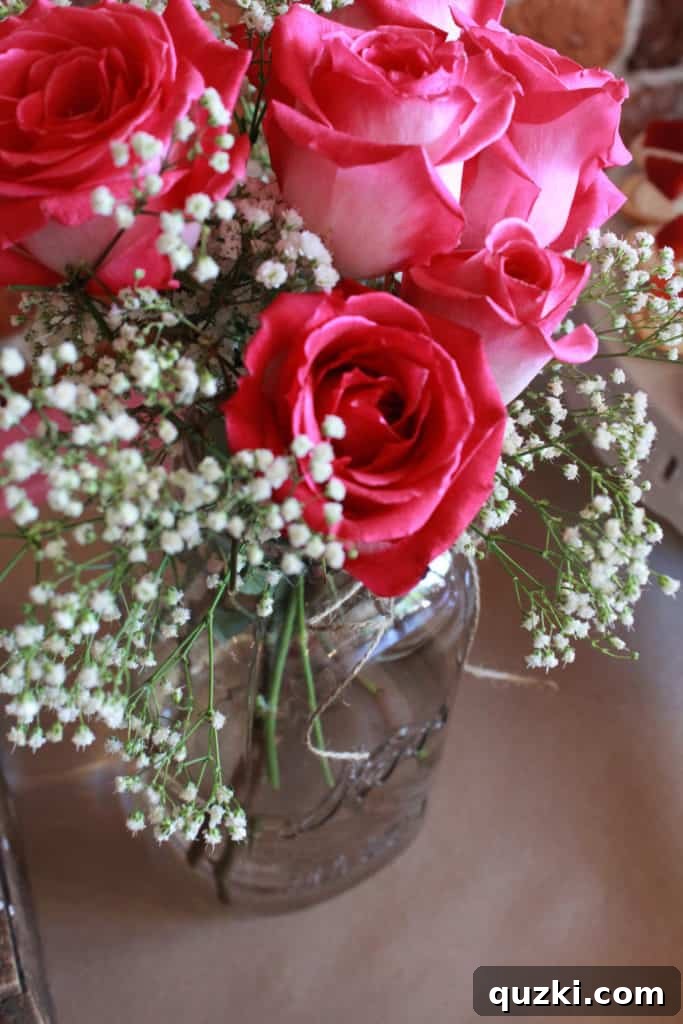
To further enhance the decor, here is one last photo of a flower arrangement I made in a mason jar and placed on the gift table. I must give a huge shout-out to the Costco flower department. We ordered 50 gorgeous roses online for just $39.99, and they were delivered right to our doorstep with no additional charge. Every single rose was fresh and usable, making them an incredible value. I will absolutely be using them again for future parties and highly recommend them for anyone looking for beautiful, affordable floral arrangements.
Streamlining Logistics: The Power of Planning Ahead
Effective logistics are the secret weapon behind any seemingly effortless party. While I took the day before the party off work for final preparations, the real magic happened in the weeks leading up to the event. I had been diligently baking and freezing items for a couple of weeks, significantly reducing day-of stress.
Specifically, my Soft Chocolate Chunk Cookies, cheesecake shells, mini cupcakes (oh, how I wish I’d remembered to snap a photo!), and unfilled linzer cookies were all prepared and frozen at least one week in advance. The day before the party, I simply took them out of the freezer, and upon thawing, every single dessert tasted as fresh as if it had just been baked. This strategy is a game-changer for homemade items.
In addition to my advanced baking, I happily enlisted help: my sister generously made the brownies (I took care of the frosting), and my sweet aunt Paula brought her famous Lemon Bars. This collaborative effort, combined with a handful of strategically purchased tasty items, ensured a diverse and bountiful dessert buffet without overwhelming any single person.
Top 10 Essential Tips for Planning the Ultimate Dessert Buffet:
- Diversify Your Menu: Plan a menu that offers a variety of desserts, ensuring a good balance of both chocolate and non-chocolate options to cater to all preferences. Include different textures and flavors.
- Bake and Freeze Ahead: Maximize your time and minimize stress by baking and freezing suitable desserts (like cookies, unfrosted cakes, or pie shells) weeks in advance. They’ll taste fresh once thawed.
- Embrace Bite-Sized Portions: Serve smaller, individual items. This allows guests to sample a wider array of desserts without feeling overly full and simplifies serving.
- Delegate and Purchase Smartly: You don’t have to be a superhero. Enlist help from friends and family for baking, or supplement your homemade treats with high-quality store-bought items from bakeries or wholesale clubs.
- Choose an Ample Display Space: Use a table or surface that is large enough to display all your desserts comfortably, allowing for visual separation without appearing cluttered.
- Get Creative with Serving Dishes: Go beyond standard platters. Use a variety of unique items like wooden crates, tiered stands, pedestals, or even books placed under tablecloths to create visual interest.
- Create Dynamic Heights: Employ varying heights for your serving dishes and decorations. This adds dimension and elegance to your buffet, making it more visually appealing and professional.
- Personalize with Themed Decor: Add framed prints, photos, personalized signs, or small decorative props that tie into your party’s theme. These special touches make the buffet feel unique and heartfelt.
- Separate the Drink Station: Place your drink table on the opposite side of the room from the dessert buffet. This encourages guest movement, reduces crowding, and facilitates mingling.
- Develop a Detailed Timeline: Create a comprehensive checklist divided into a month before, week before, day before, and day of the party. Systematically checking off tasks ensures nothing is forgotten and reduces last-minute panic.
I sincerely hope this detailed advice on how to plan an exquisite dessert buffet proves helpful for your next celebration. Overall, Taylea’s graduation buffet was a wonderful blend of both cherished homemade treats and cleverly incorporated store-bought desserts. I’ll admit, even with diligent planning and working ahead, there were still plenty of last-minute finishing touches! But the outcome was a spectacular day, spent celebrating my incredible daughter with all of our favorite family and friends, surrounded by delicious food and joyful memories. Congratulations, Taylea Pearl – Mama loves you!