
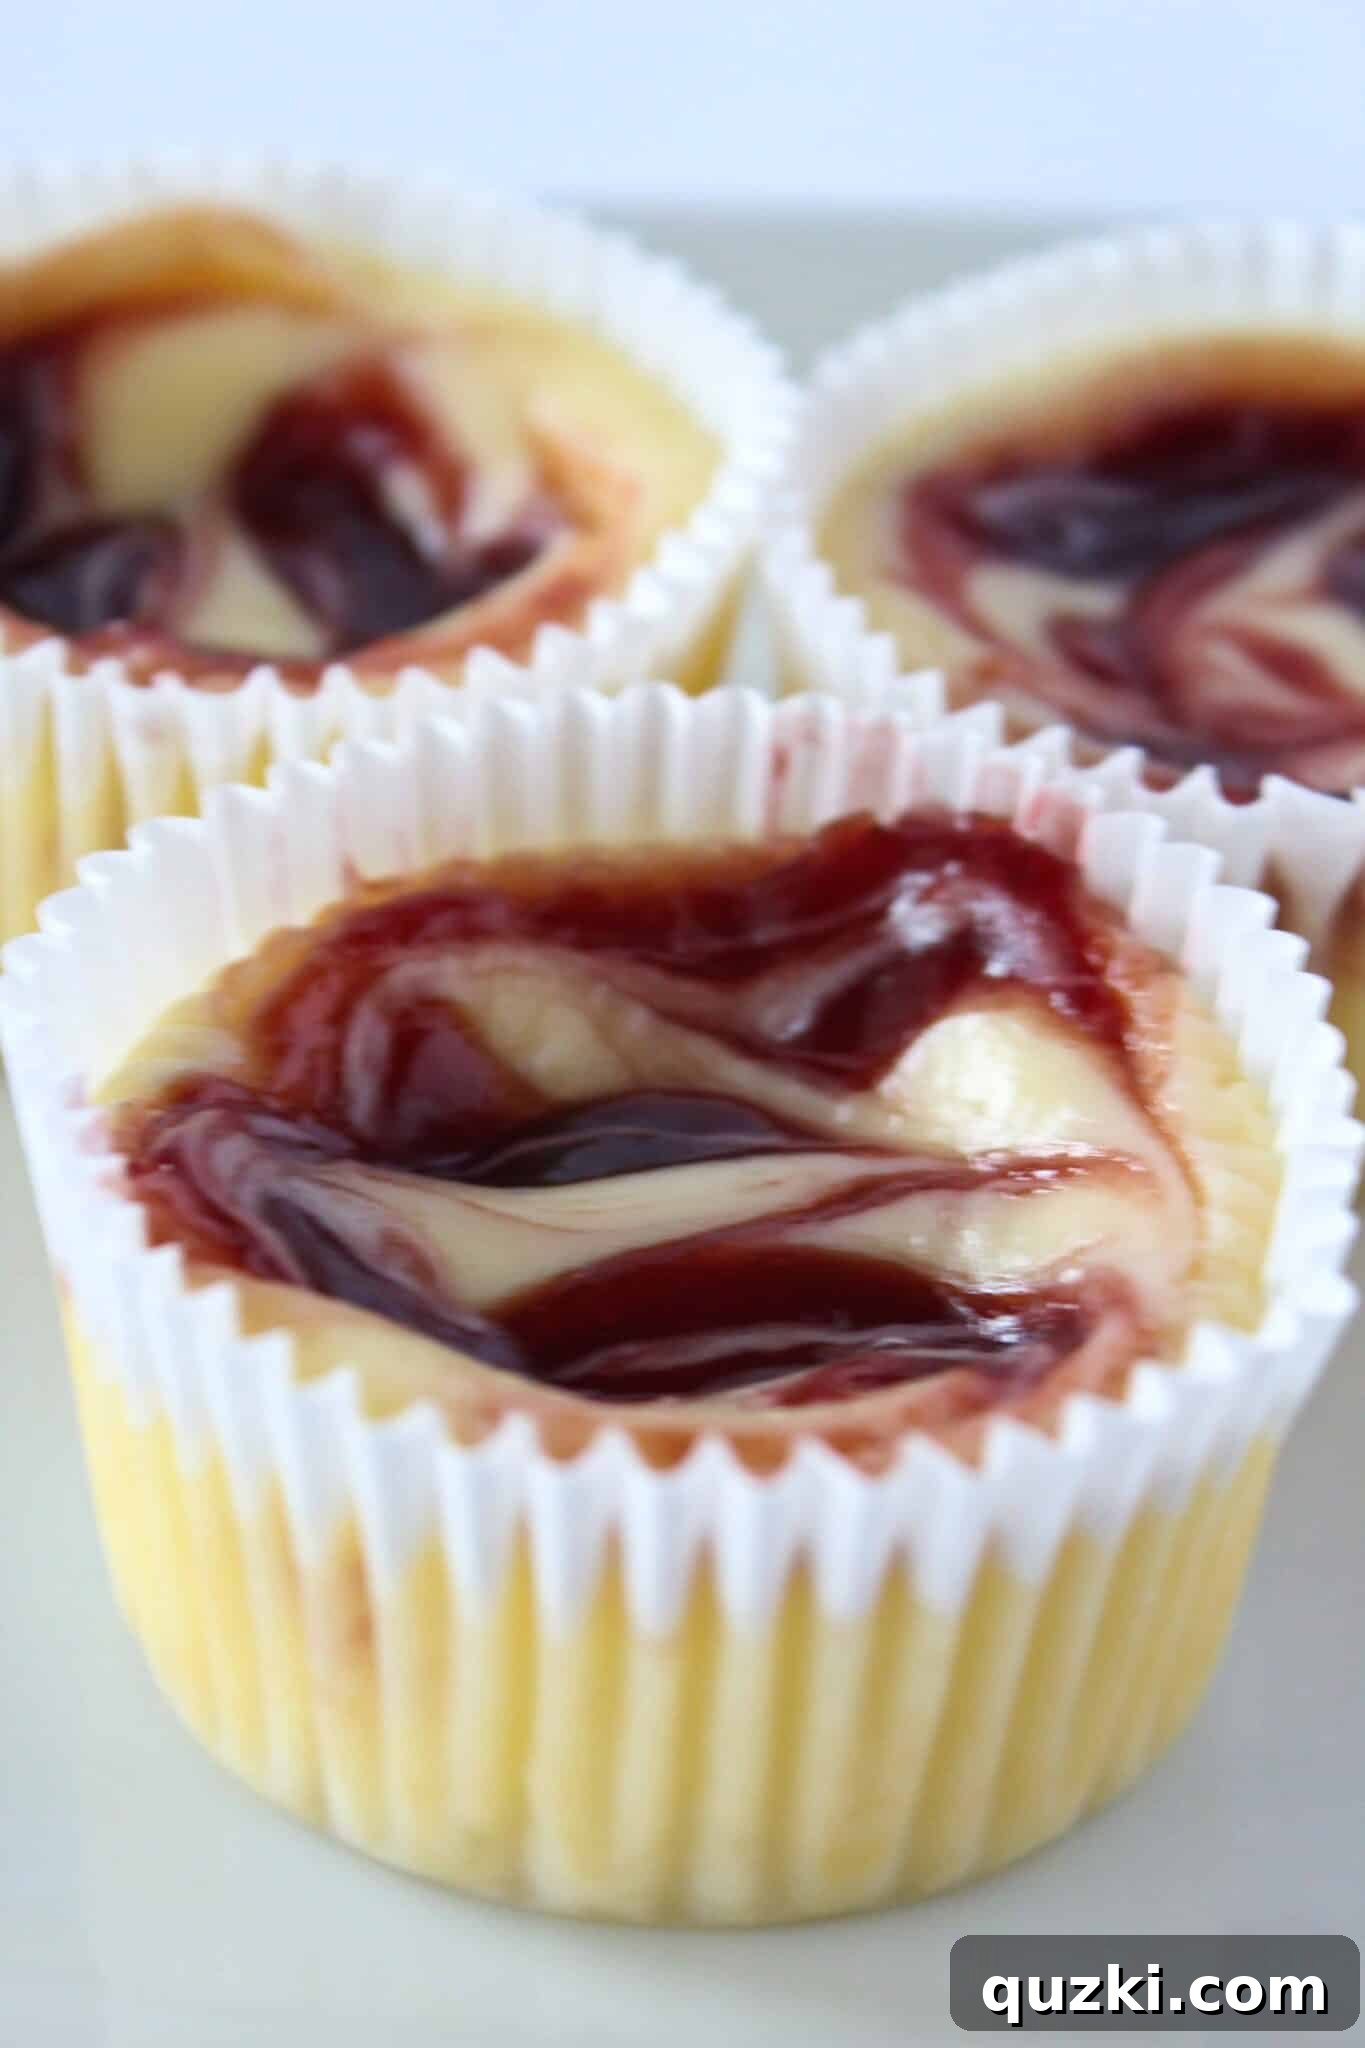
Delight Mom This Mother’s Day with Easy No-Bake Mini Raspberry Cheesecakes
What better way to celebrate Mother’s Day than with a heartfelt, homemade treat? Our Easy No-Bake Mini Raspberry Cheesecakes are not only incredibly simple to prepare but also bursting with fresh, vibrant flavor. Crafted with just a few core ingredients, these sweet little cheesecakes prove that homemade doesn’t have to mean complicated. Many people feel intimidated by the idea of making a cheesecake from scratch, but these mini versions are designed to be foolproof, ensuring a smooth, creamy texture and unforgettable taste. Get ready to impress your mama with a dessert that’s as special as she is!
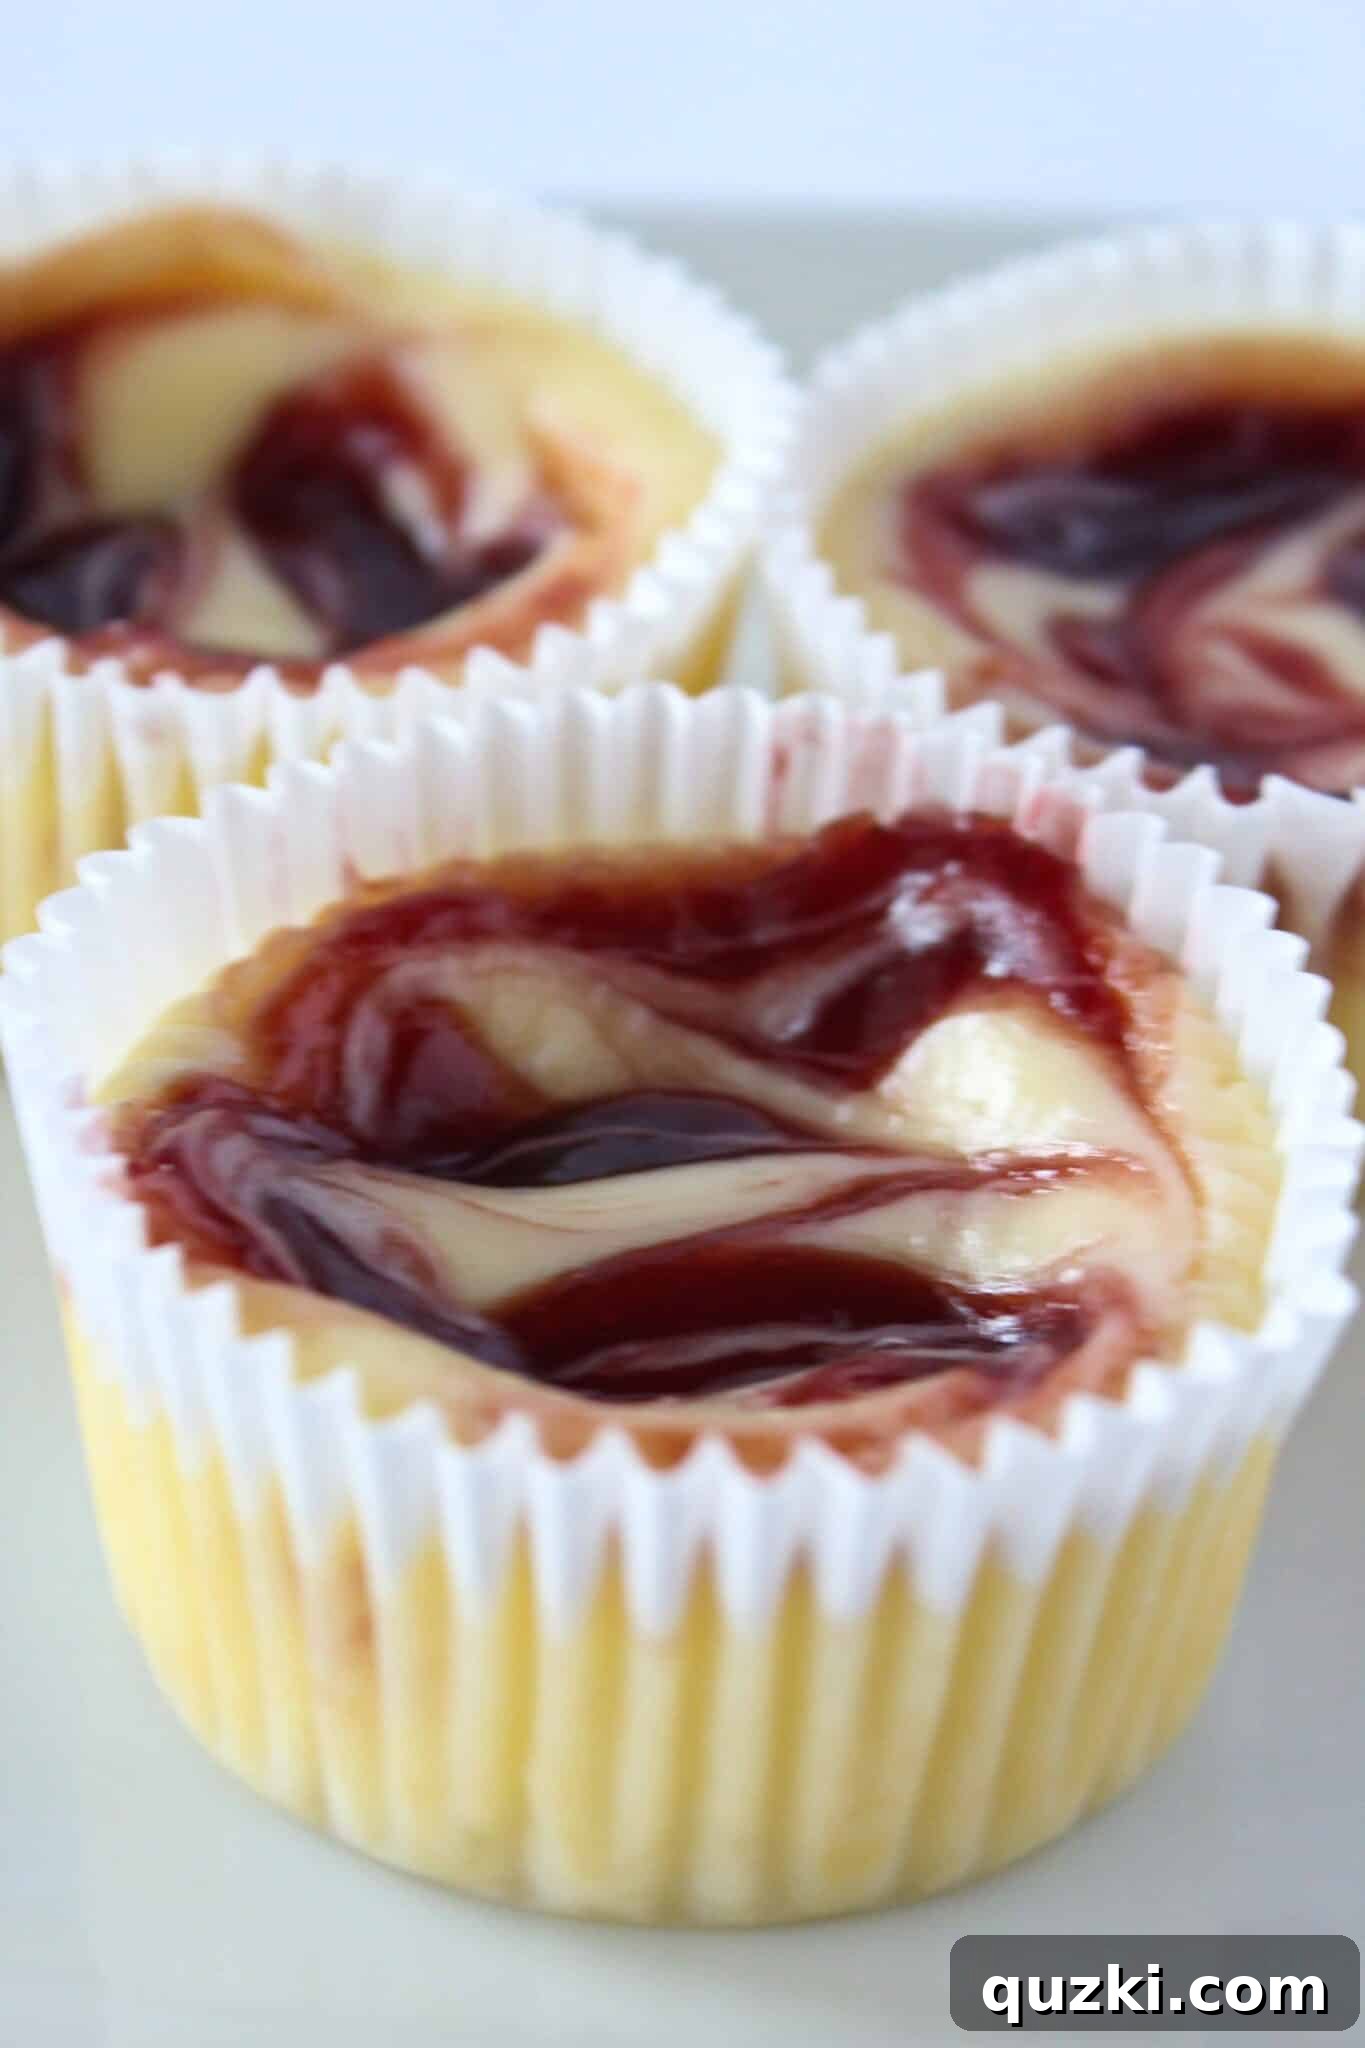
Why Mini Cheesecakes Are a Must-Make Dessert
In our household, cheesecakes reign supreme. When birthdays roll around, a rich, creamy cheesecake is almost always the requested dessert. This year, for Mother’s Day, we’re taking that love for cheesecake and transforming it into something truly delightful and manageable: individual mini cheesecakes. I’m especially excited because this Mother’s Day might bring all my kids together in one spot, which hasn’t happened since my youngest, affectionately known as Tater, headed off to college. A special occasion calls for a special, yet easy, treat!
Mini cheesecakes offer several advantages:
- Portion Perfection: Each guest gets their own perfectly sized dessert, no slicing or sharing required.
- Quick & Easy: While traditional cheesecakes can be a time commitment, mini no-bake versions significantly cut down on prep and oven time.
- Elegant Presentation: These individual treats look incredibly chic and professional, making them ideal for special gatherings.
- Versatile: Easy to customize with different crusts, fruit fillings, and toppings.
Thank you for visiting! This post contains affiliate links. Should you choose to purchase through my links, I may receive a small commission (for example, as an Amazon Associate, I earn from qualifying purchases). I only recommend products I genuinely use and love.
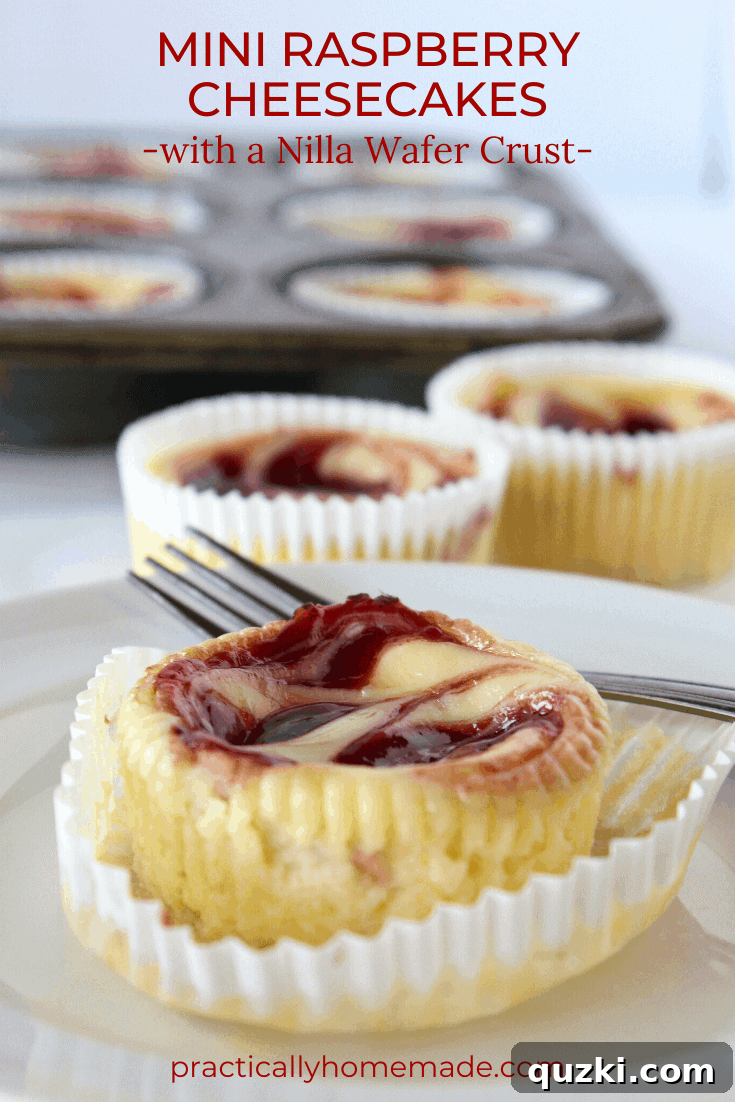
Crafting Your No-Bake Mini Raspberry Cheesecakes
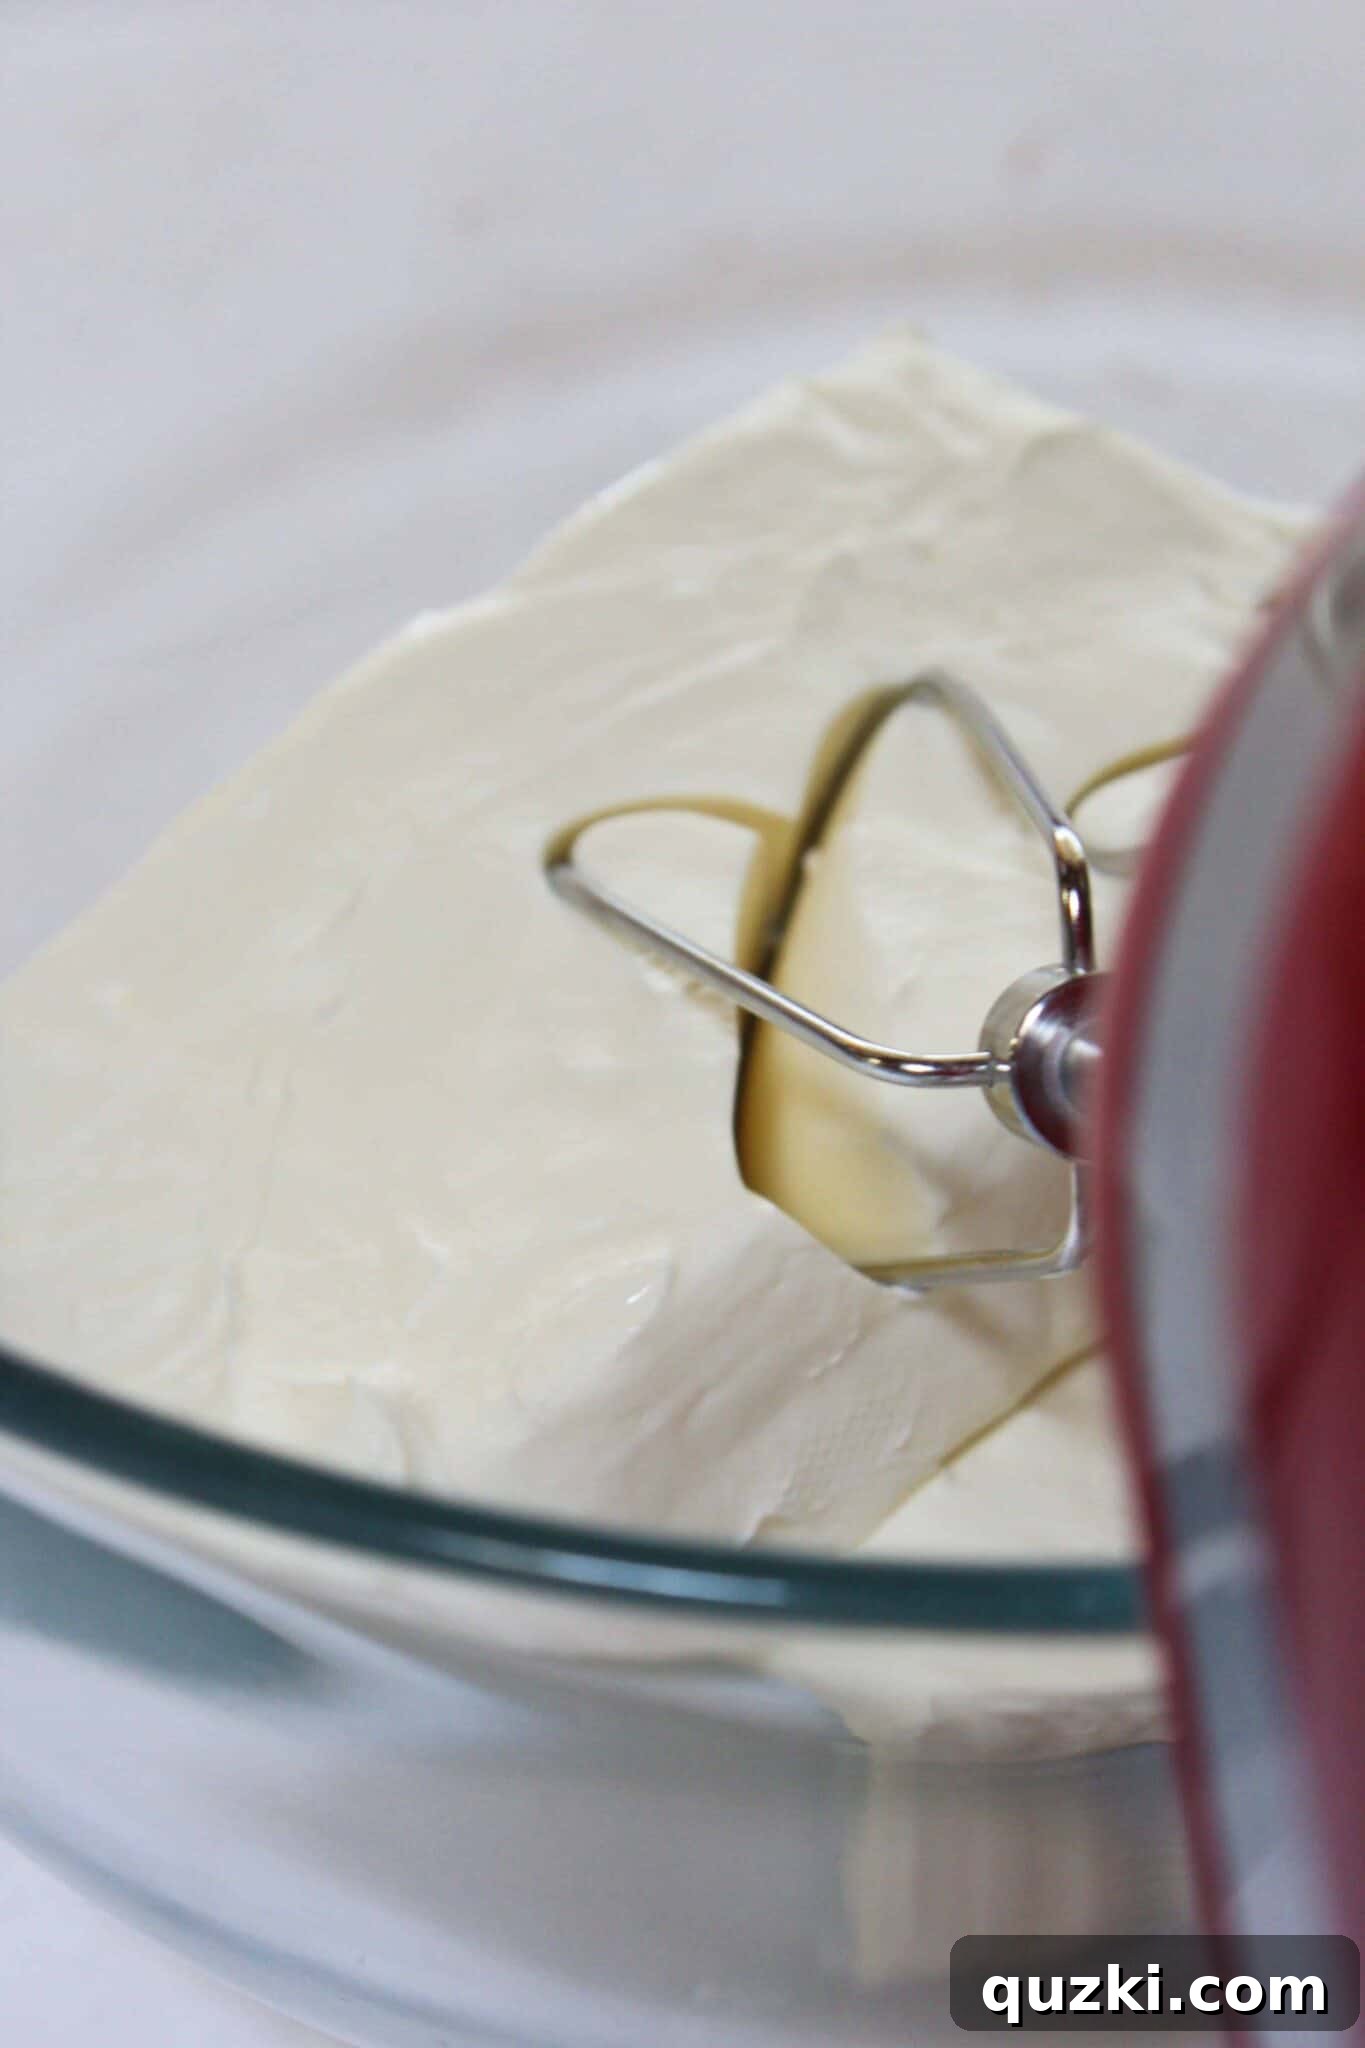
The magic of these Mini Raspberry Cheesecakes begins with a velvety smooth filling and a crunchy, easy crust. The key to achieving that perfect creamy texture in a no-bake cheesecake is starting with room temperature ingredients, especially your cream cheese. This ensures everything blends seamlessly without lumps, resulting in a perfectly homogeneous mixture.
1. Prepare the Golden Oreo Crust
Forget complicated crusts! For these no-bake wonders, we’re using a simple, yet utterly delicious, Golden Oreo crumb crust. This provides a fantastic contrast in texture to the creamy filling and adds an extra layer of sweetness. To prepare your crust:
- Start by pulsing Golden Oreo cookies into fine crumbs using a food processor or blender. If you don’t have one, simply place the cookies in a zip-top bag and crush them thoroughly with a rolling pin.
- Once you have fine crumbs, transfer them to a bowl and mix with melted butter until the crumbs are fully coated. The butter acts as a binder, ensuring your crust holds together.
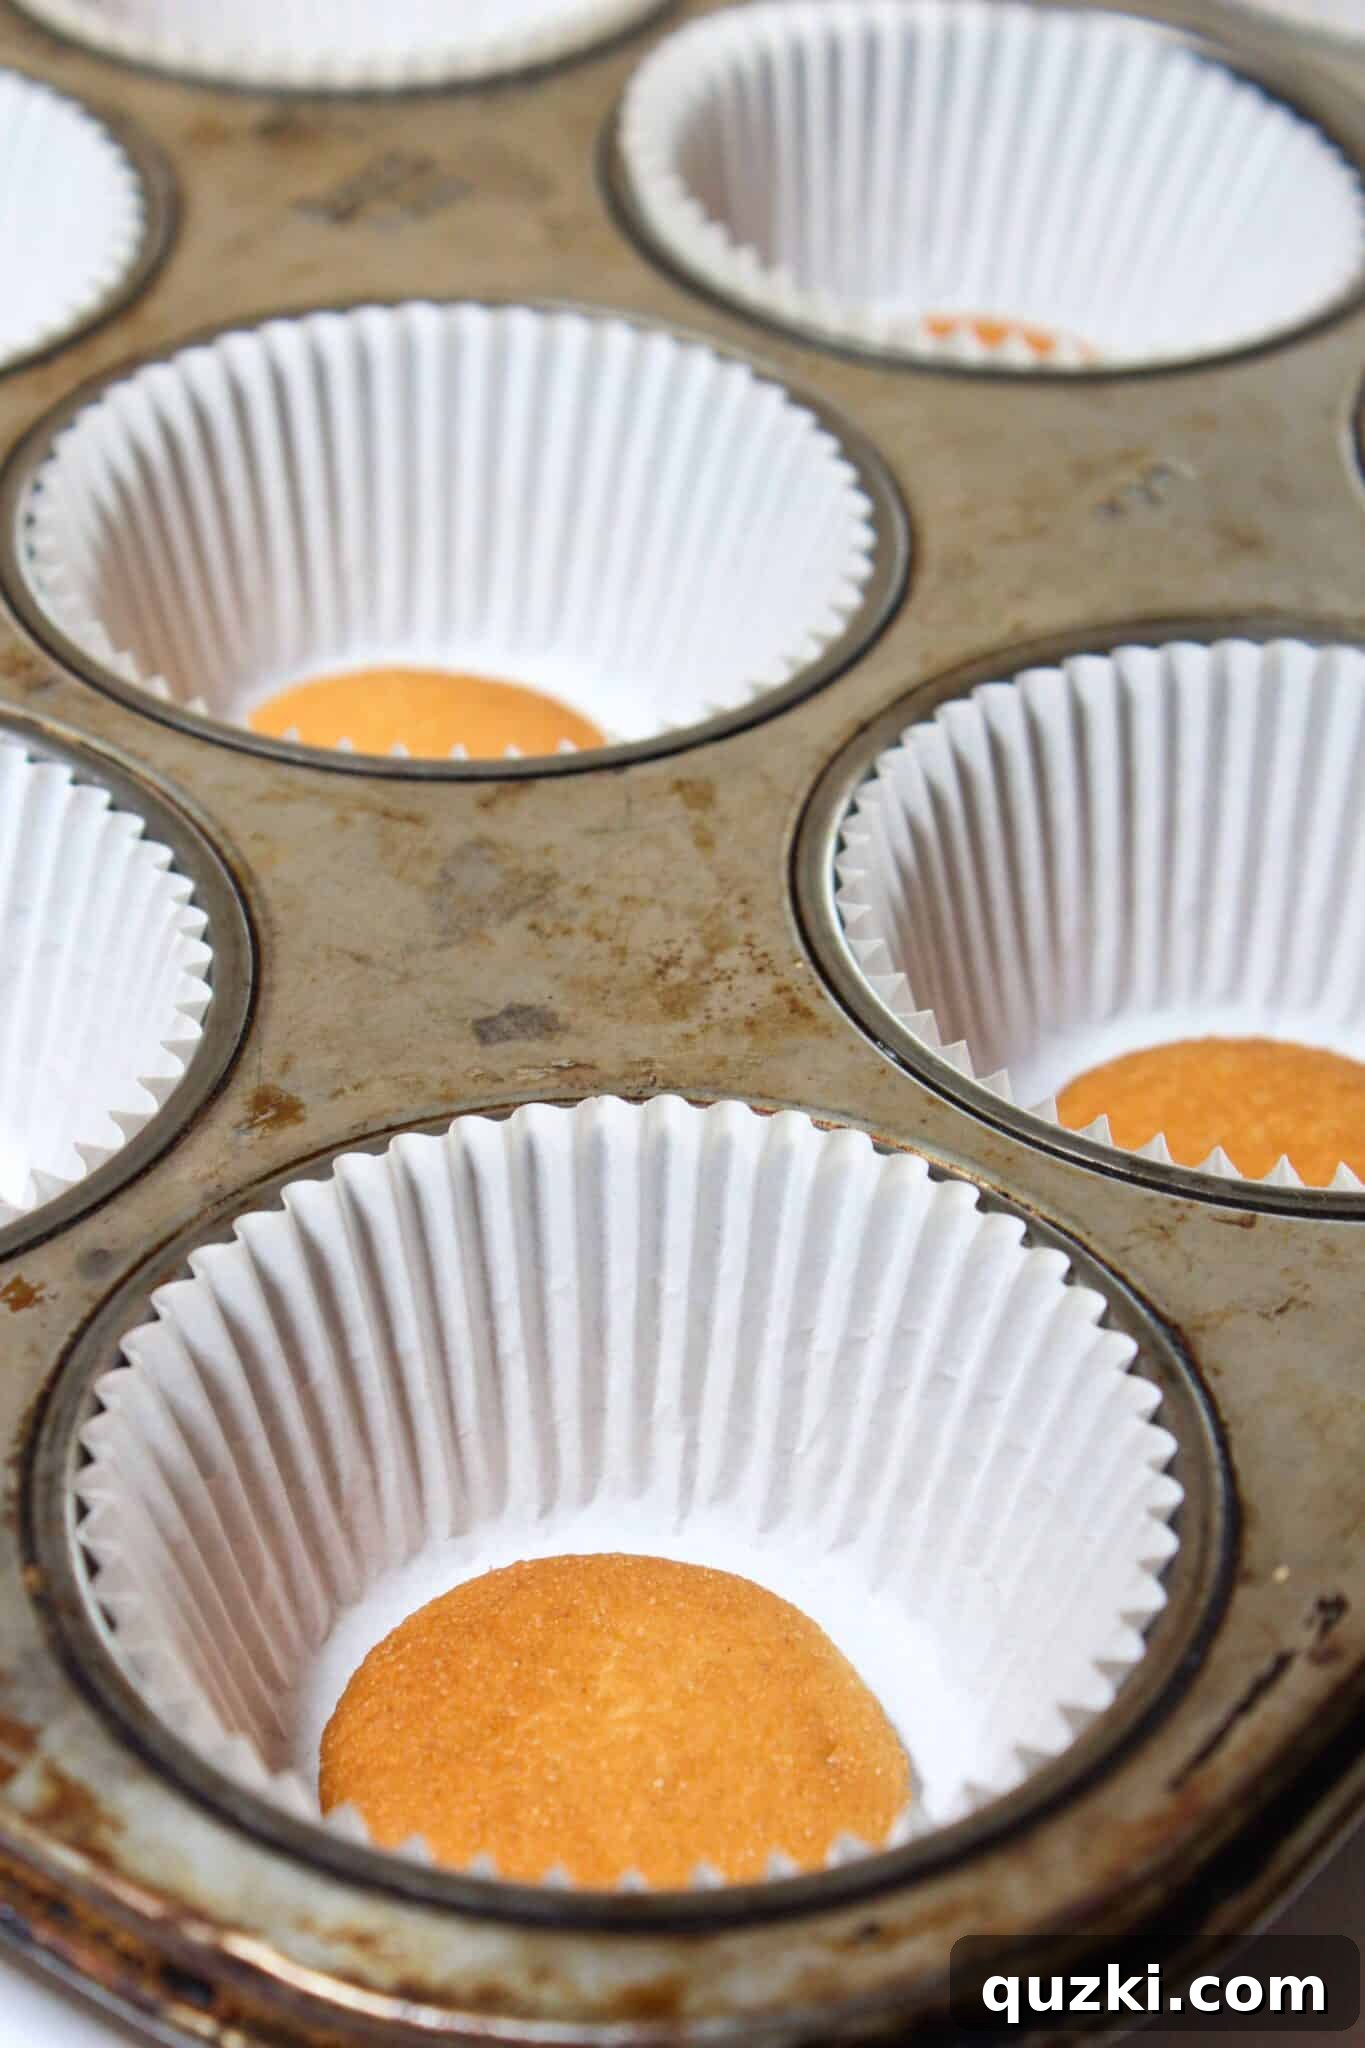
- Divide the buttery crumbs among 12 muffin cups, each lined with a paper liner. Press the crumbs firmly into the bottom of each liner. This creates a sturdy base for your cheesecakes.
- Place the muffin tin with the crusts in the refrigerator while you prepare the filling. Chilling the crust helps it set and prevents it from becoming too soft when the filling is added.
2. Create the Silky Raspberry Cheesecake Filling
The heart of these mini cheesecakes is their rich, smooth, and delightfully tangy raspberry filling. This no-bake recipe skips the eggs and baking, relying on the perfect combination of cream cheese, sweetened condensed milk, and whipped topping for its dreamy consistency.
- In a large mixing bowl, using a handheld mixer (or a stand mixer), whip the softened cream cheese until it is light, fluffy, and completely smooth. This step is crucial; any lumps at this stage will remain in your final cheesecake.
- Gradually add the sweetened condensed milk to the cream cheese, continuing to mix until the mixture is thick, creamy, and well combined. The condensed milk provides the sweetness and helps achieve that signature cheesecake texture without baking.
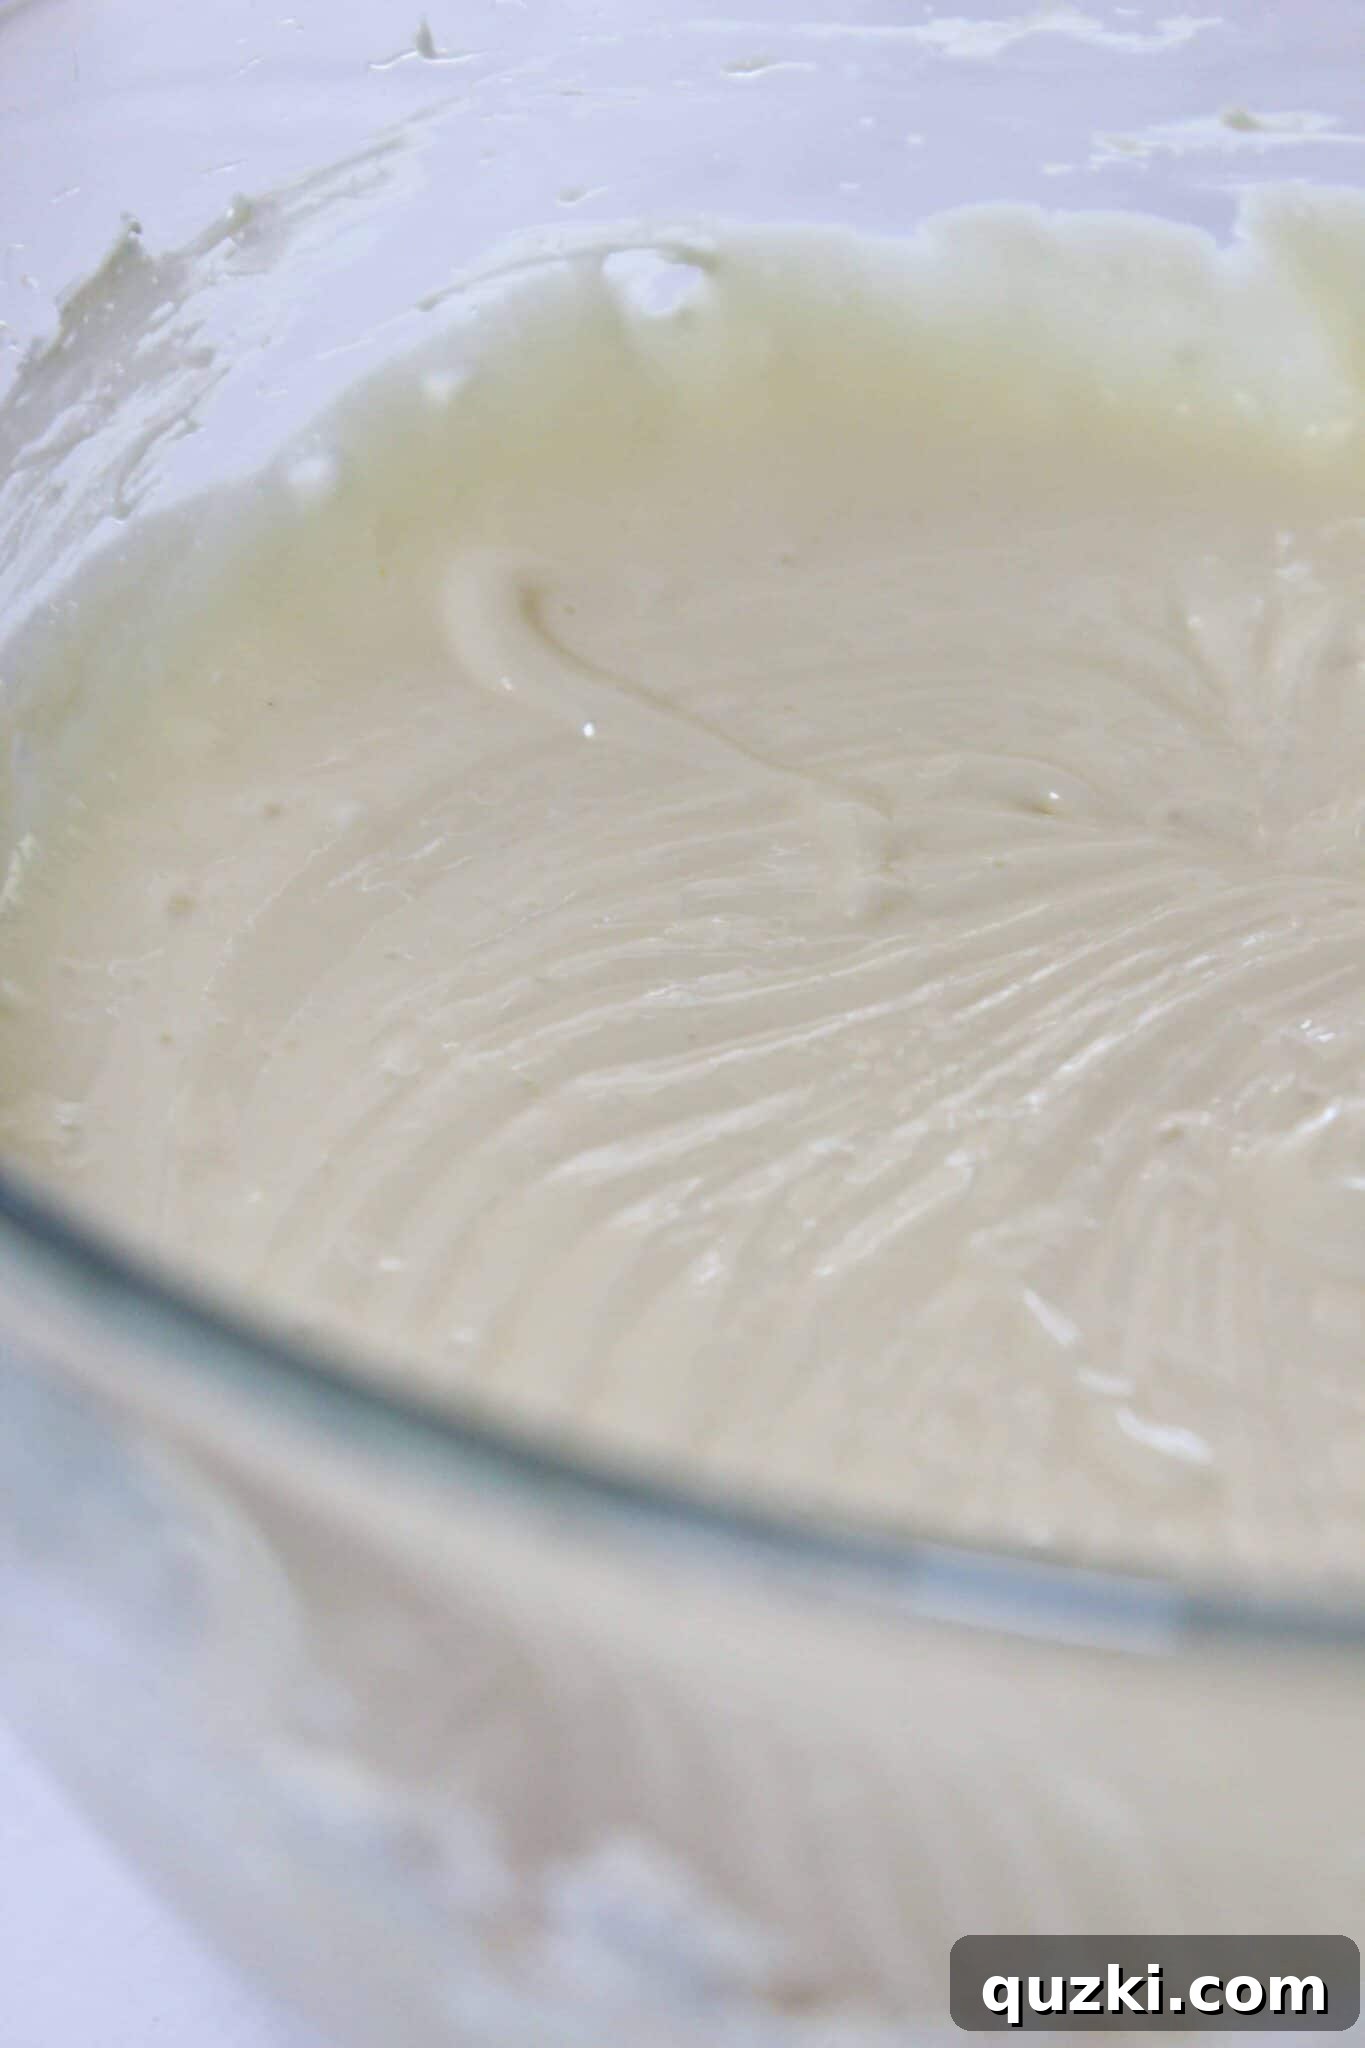
- Gently fold in the whipped topping until it’s fully incorporated. Be careful not to overmix, as this can deflate the whipped topping and make your filling less airy.
- Now, for the raspberry swirl! Add about half a cup of raspberry jam to the cheesecake mixture. Instead of mixing it completely in, gently swirl it a few times through the cheesecake. You want visible streaks and pockets of raspberry, not a uniformly pink batter. This creates a beautiful marbled effect and ensures a burst of raspberry in every bite.
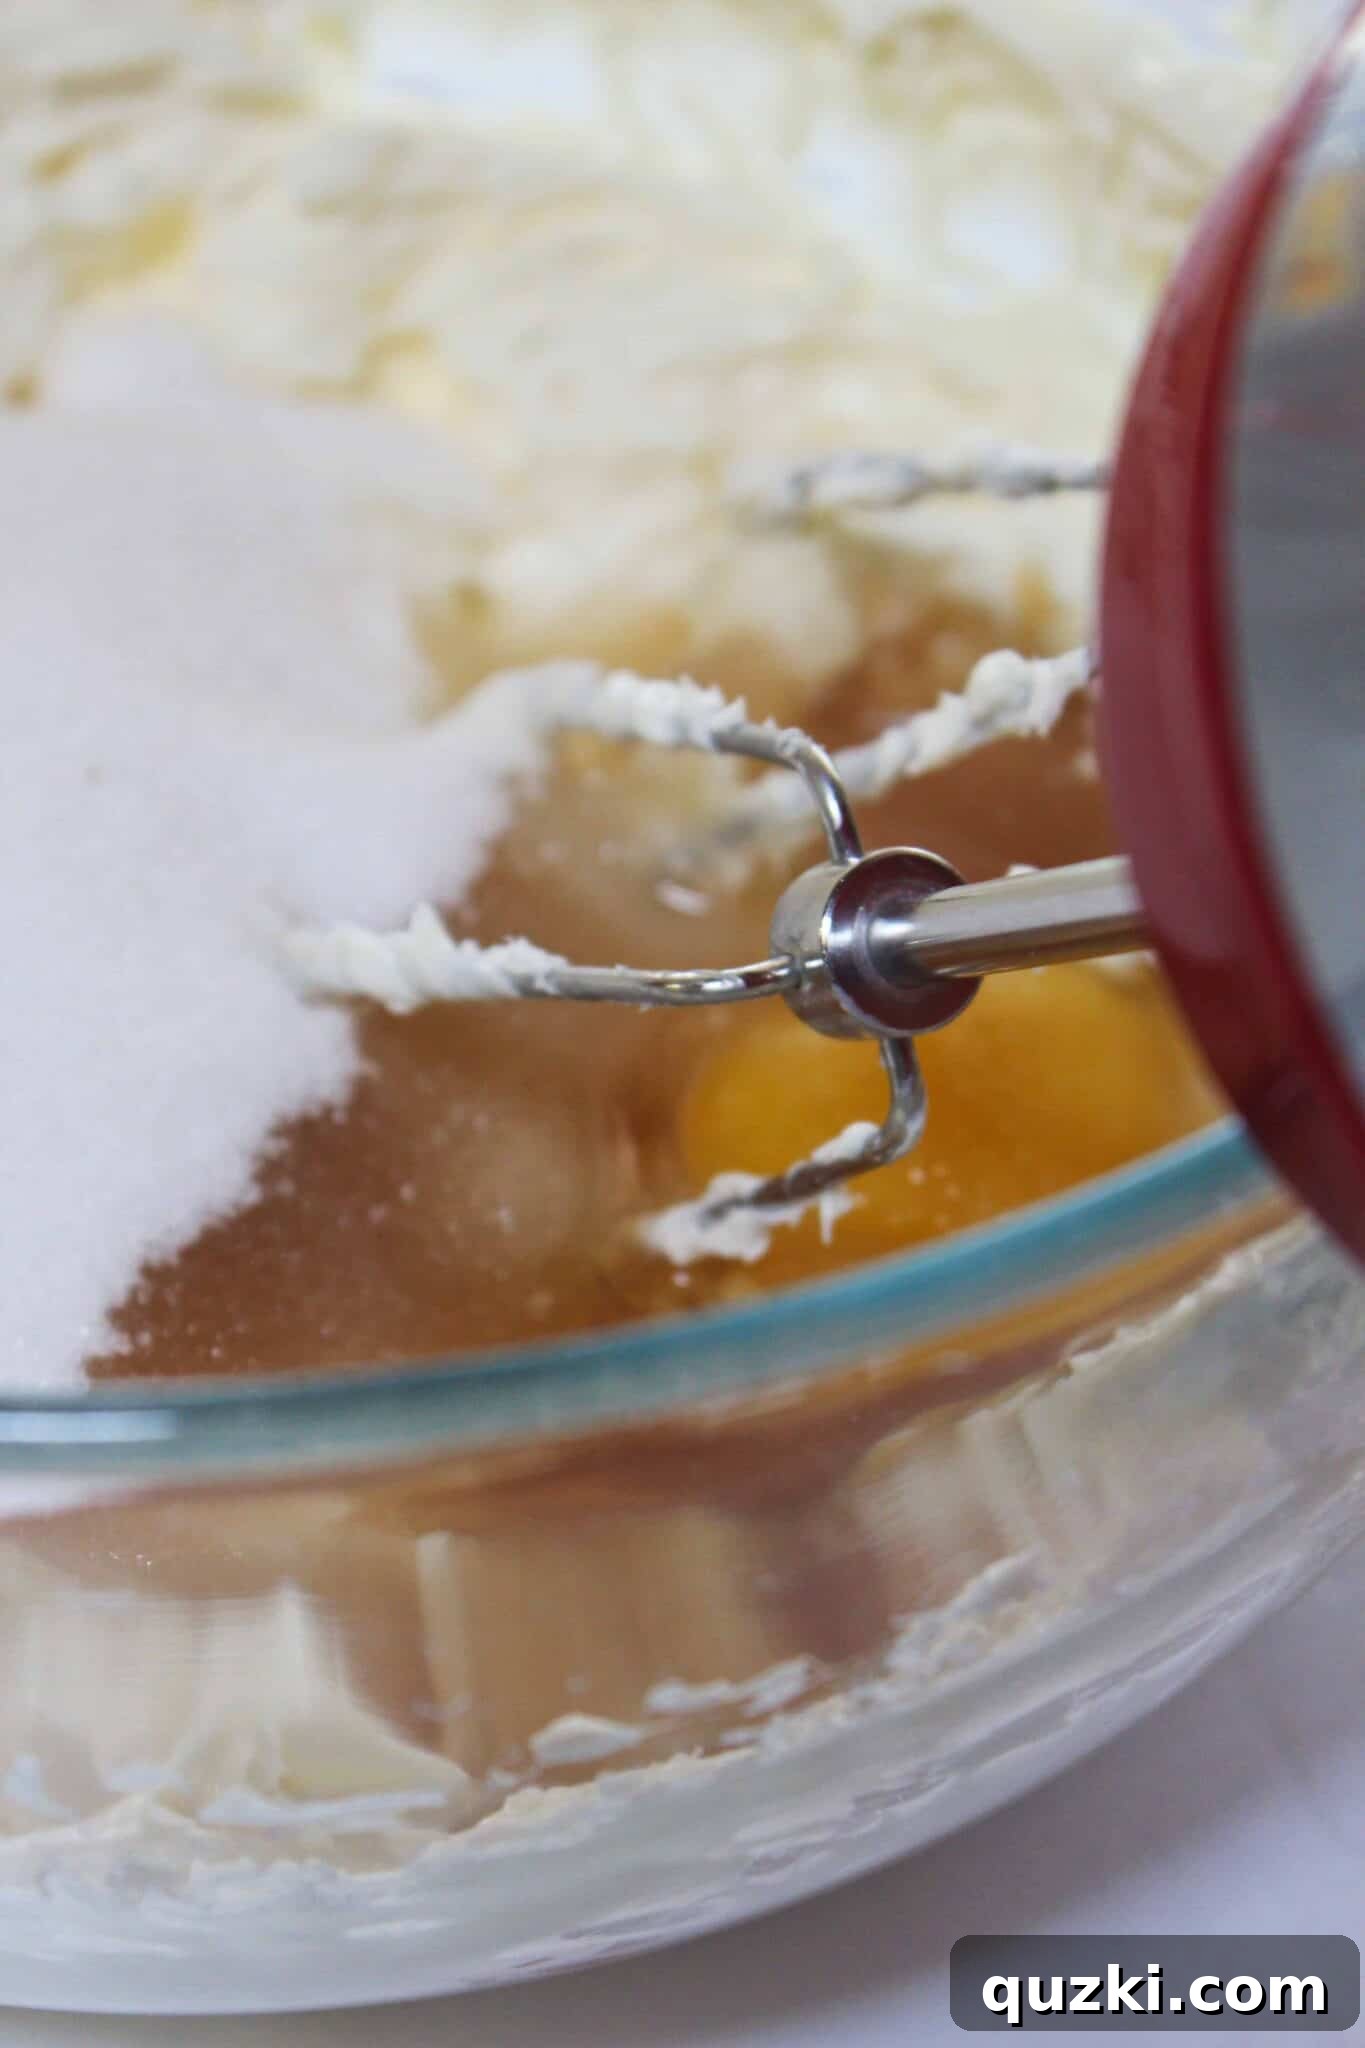
Your goal is a smooth, creamy filling with lovely streaks of raspberry, showcasing the delicious blend of flavors. Once your filling is ready, set it aside briefly as we prepare to assemble our mini masterpieces.
Expert Tips for Flawless No-Bake Mini Cheesecakes
Making mini cheesecakes is surprisingly straightforward, especially when they’re no-bake! To ensure yours turn out perfectly every time, keep these essential tips in mind:
- Ensure Room Temperature Cream Cheese: This is paramount for a smooth, lump-free filling. Cold cream cheese will resist blending and create an unappealing, chunky texture. Take your cream cheese out of the refrigerator at least an hour before you plan to start mixing.
- Don’t Overmix the Filling: While you want your cream cheese and condensed milk to be thoroughly combined, overmixing after adding the whipped topping can incorporate too much air, leading to a less dense and potentially unstable filling. Mix just until everything is blended.
- Perfect Portioning: Use a large cookie scoop to divide the cheesecake batter evenly among the prepared muffin cups. This ensures consistent sizing and appearance for all your mini cheesecakes. Fill each cup almost to the top, leaving just a tiny bit of room.
- The Art of the Swirl: For the most appealing raspberry swirl, consider warming your raspberry jam slightly in the microwave for a few seconds before adding it to the filling. This makes it easier to swirl. Use a toothpick or a small knife to create elegant patterns, ensuring the jam is distributed but still distinct.
- Chill, Chill, Chill: Unlike baked cheesecakes, no-bake versions rely entirely on chilling to set. After assembling, refrigerate your mini cheesecakes for at least 4 hours, or ideally overnight. This extended chilling time is crucial for developing their firm, sliceable texture and rich flavor. Trying to serve them too soon will result in a soft, messy dessert.
- Serving in Liners: You might be tempted to remove the muffin liners, but it’s often much easier and cleaner to serve them directly in their liners. This allows guests to pick them up easily, even on the go, and prevents any potential stickiness.
- Get Creative with Toppings: While the raspberry swirl is beautiful on its own, feel free to add extra garnishes. Fresh raspberries, a dollop of whipped cream, a sprinkle of white chocolate shavings, or a sprig of mint can elevate their presentation and flavor even further.
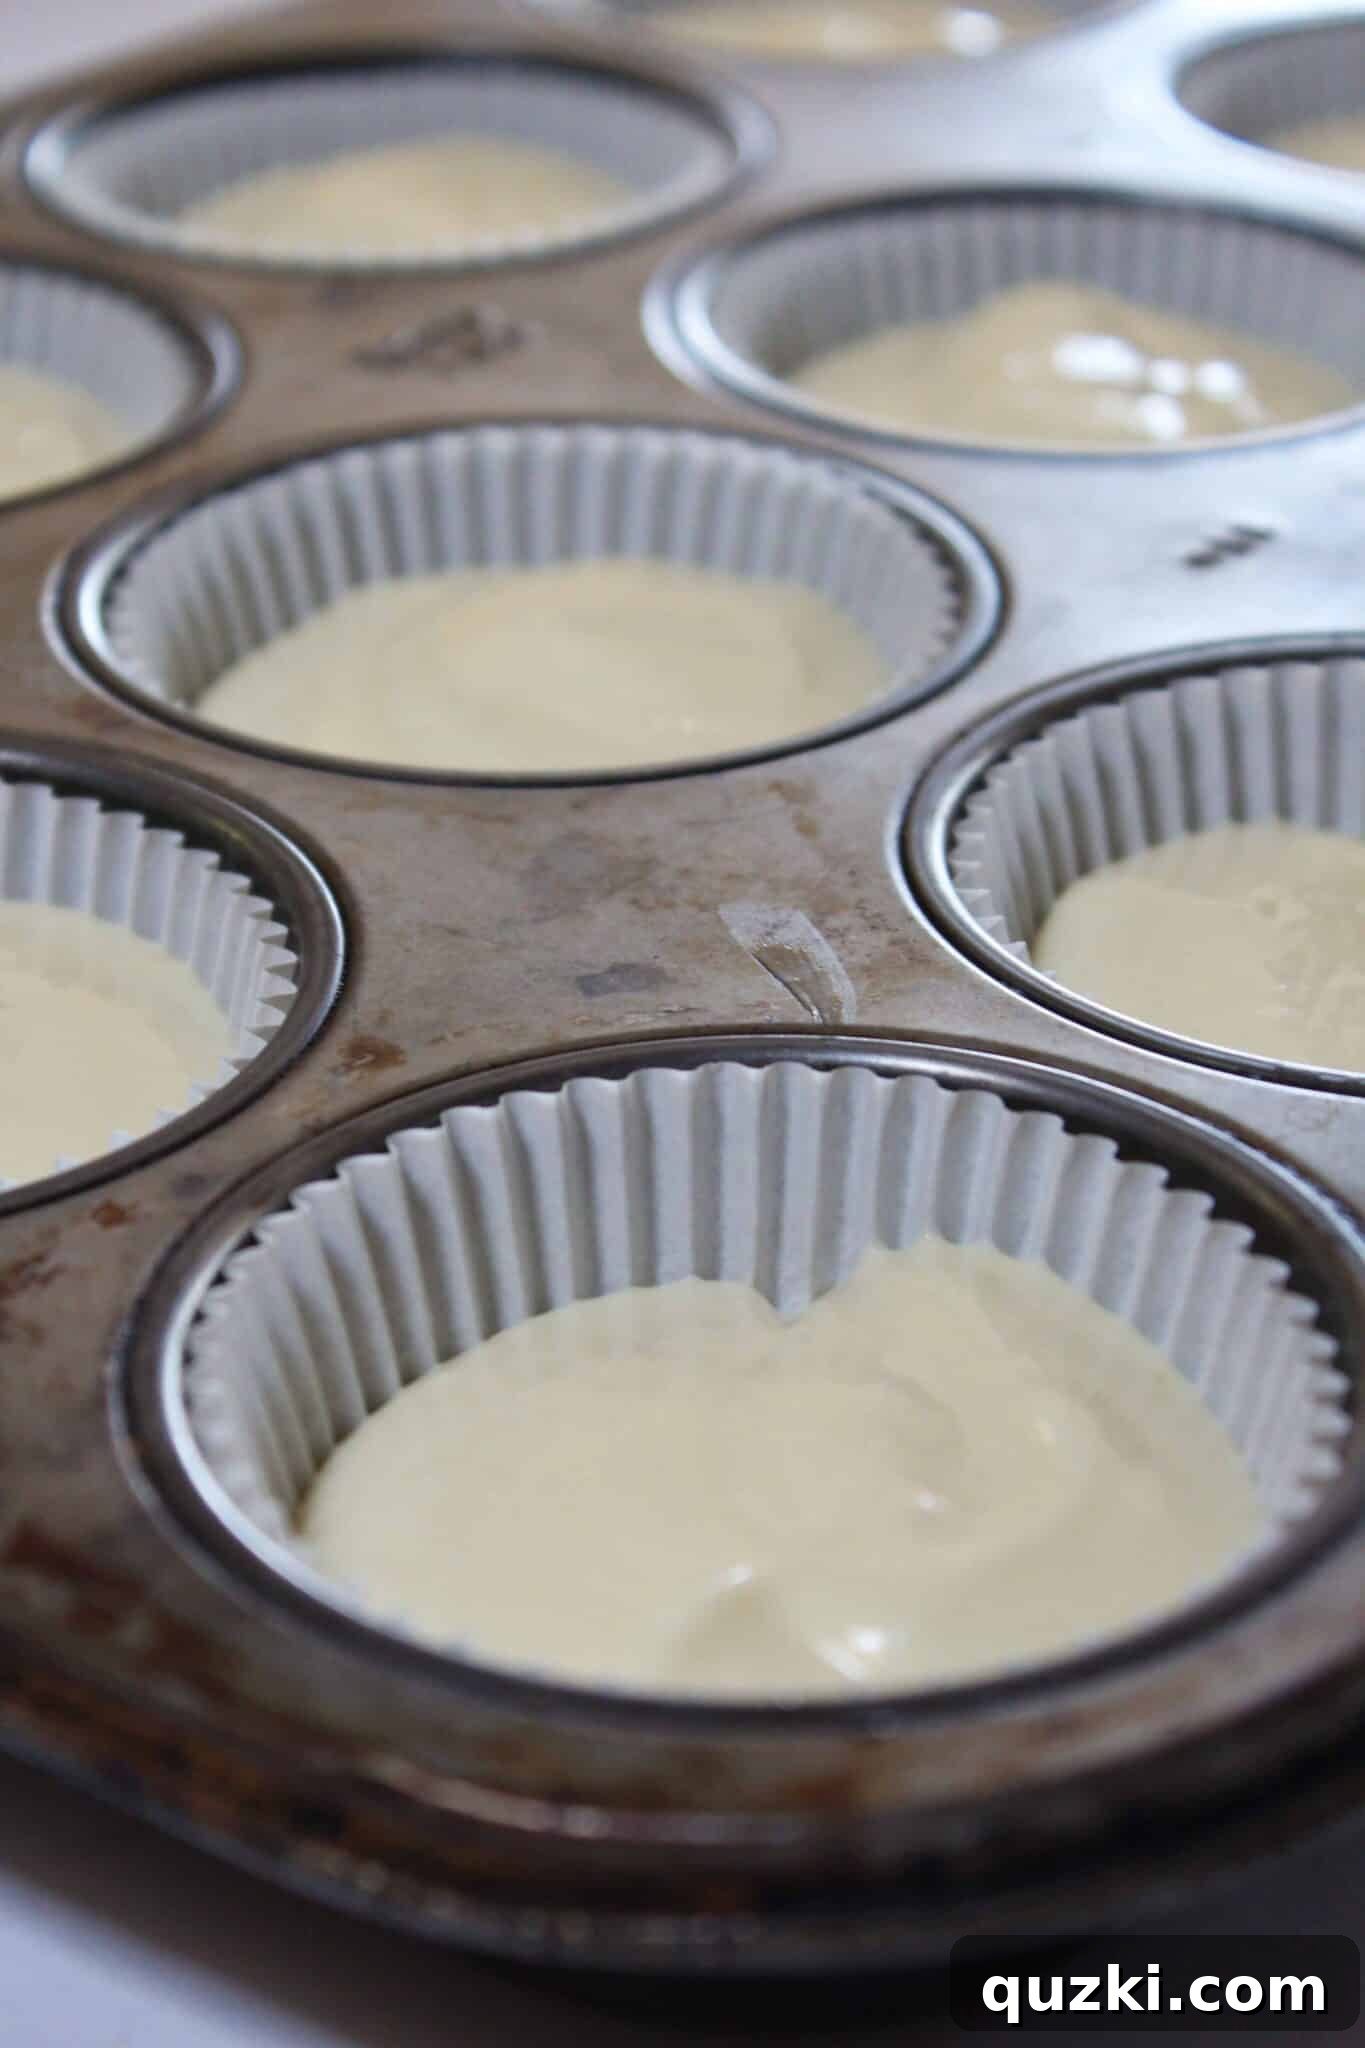
Creating the Perfect Raspberry Swirl
A beautiful raspberry swirl isn’t just for looks; it ensures a delightful burst of fruit flavor with every bite. To achieve this lovely effect:
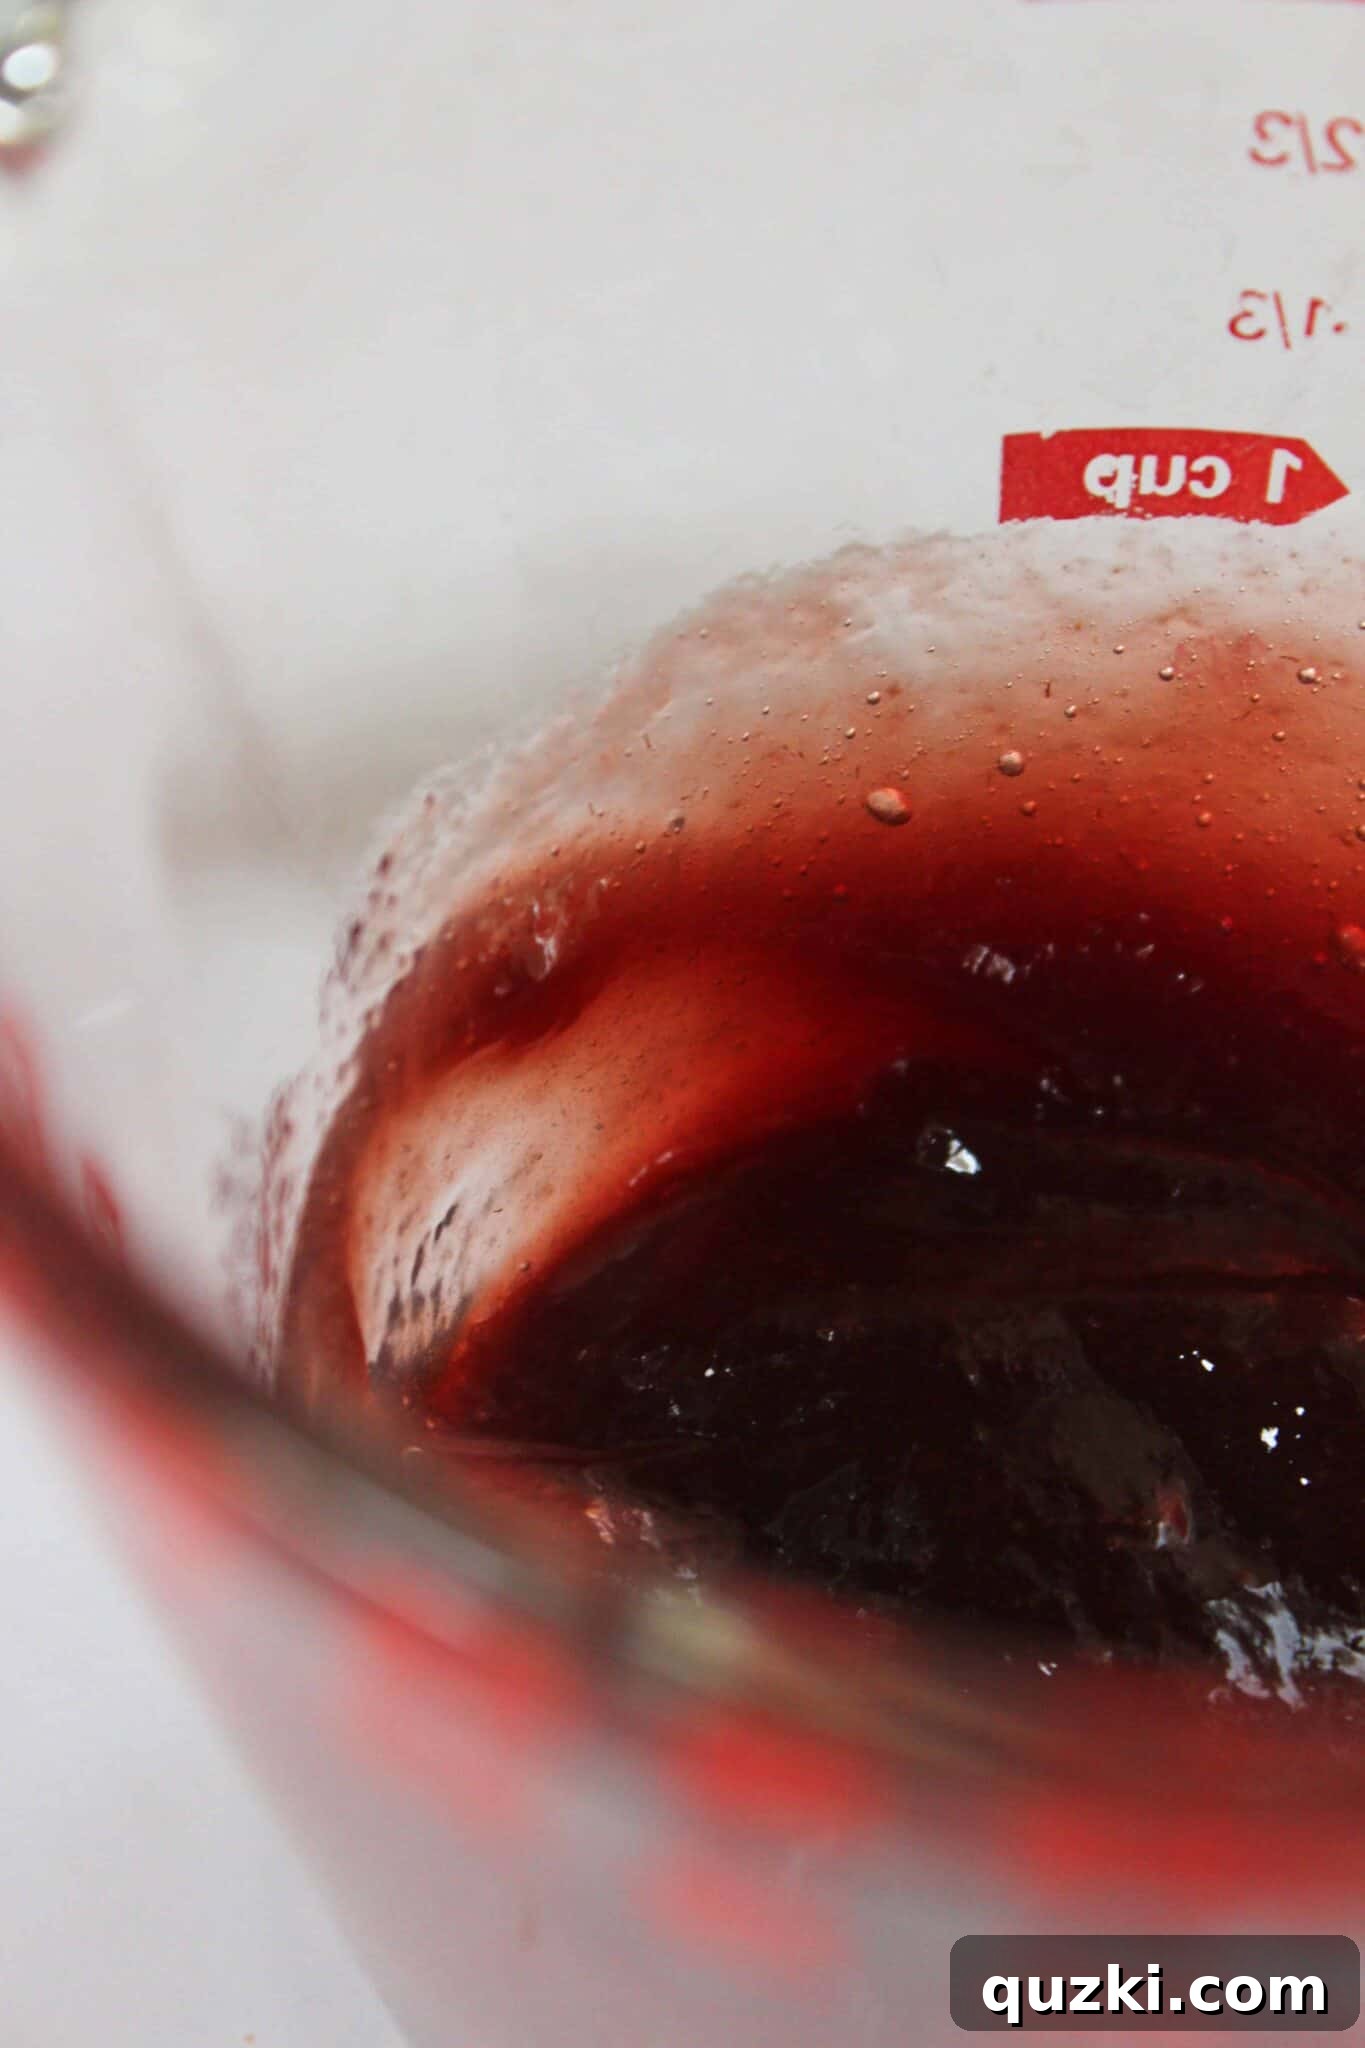
Place your raspberry jam into a small bowl and mix it really well with a spoon. This helps break down any chunks and makes the jam more fluid and easier to work with. If your jam is very thick, you can microwave it for a few seconds until it’s slightly warmed and pourable.
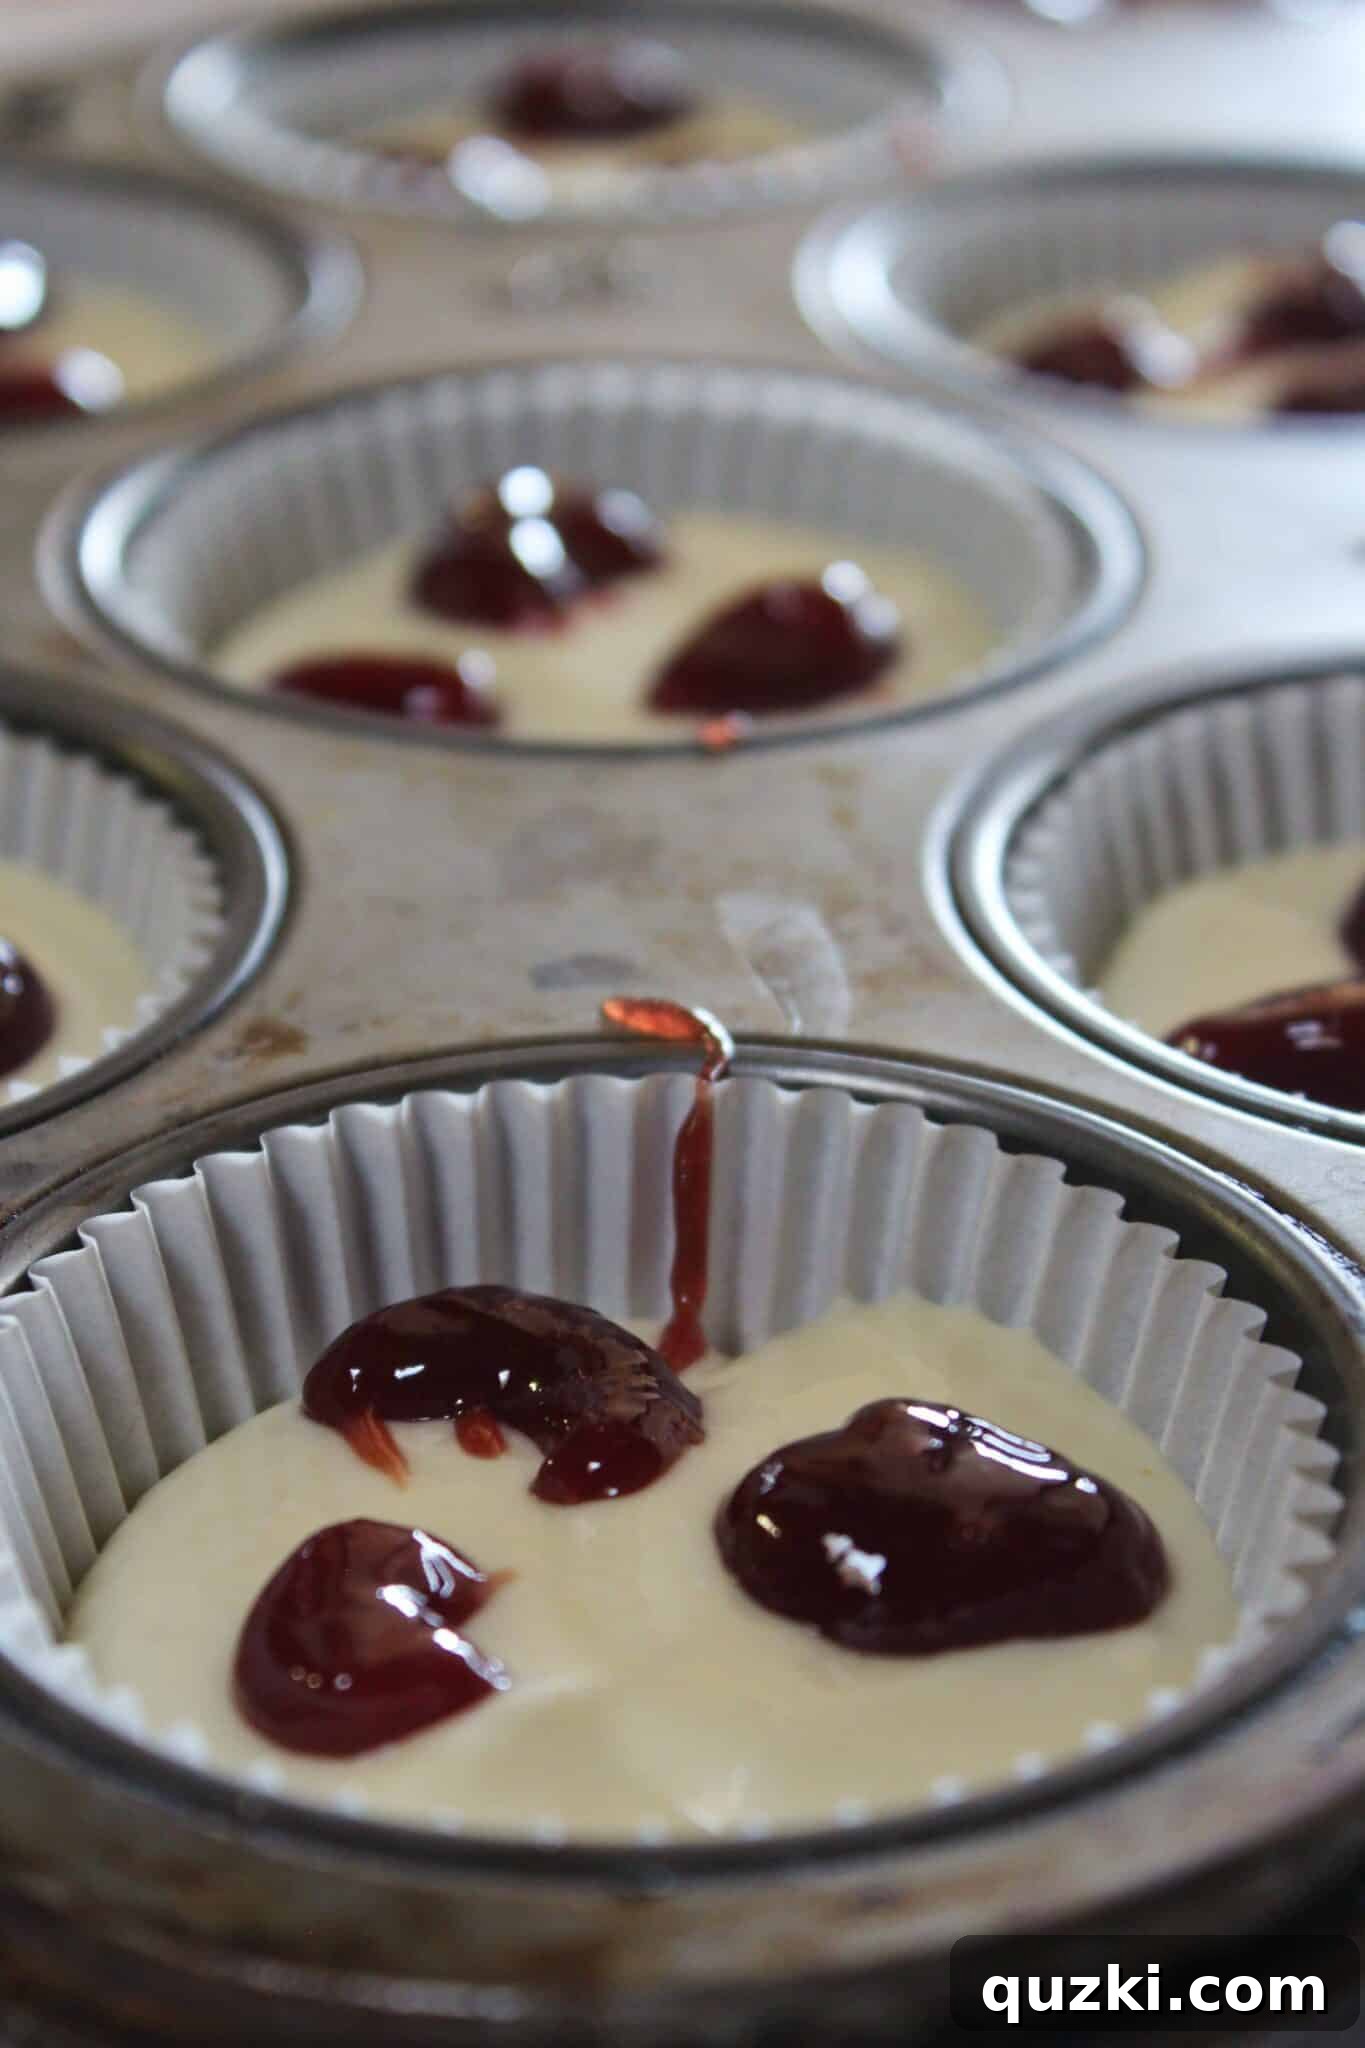
Using a spoon or a small piping bag, drop about 1/4 teaspoon of the prepared jam onto the top of each mini cheesecake. Don’t worry about perfection at this stage; rustic swirls are charming!
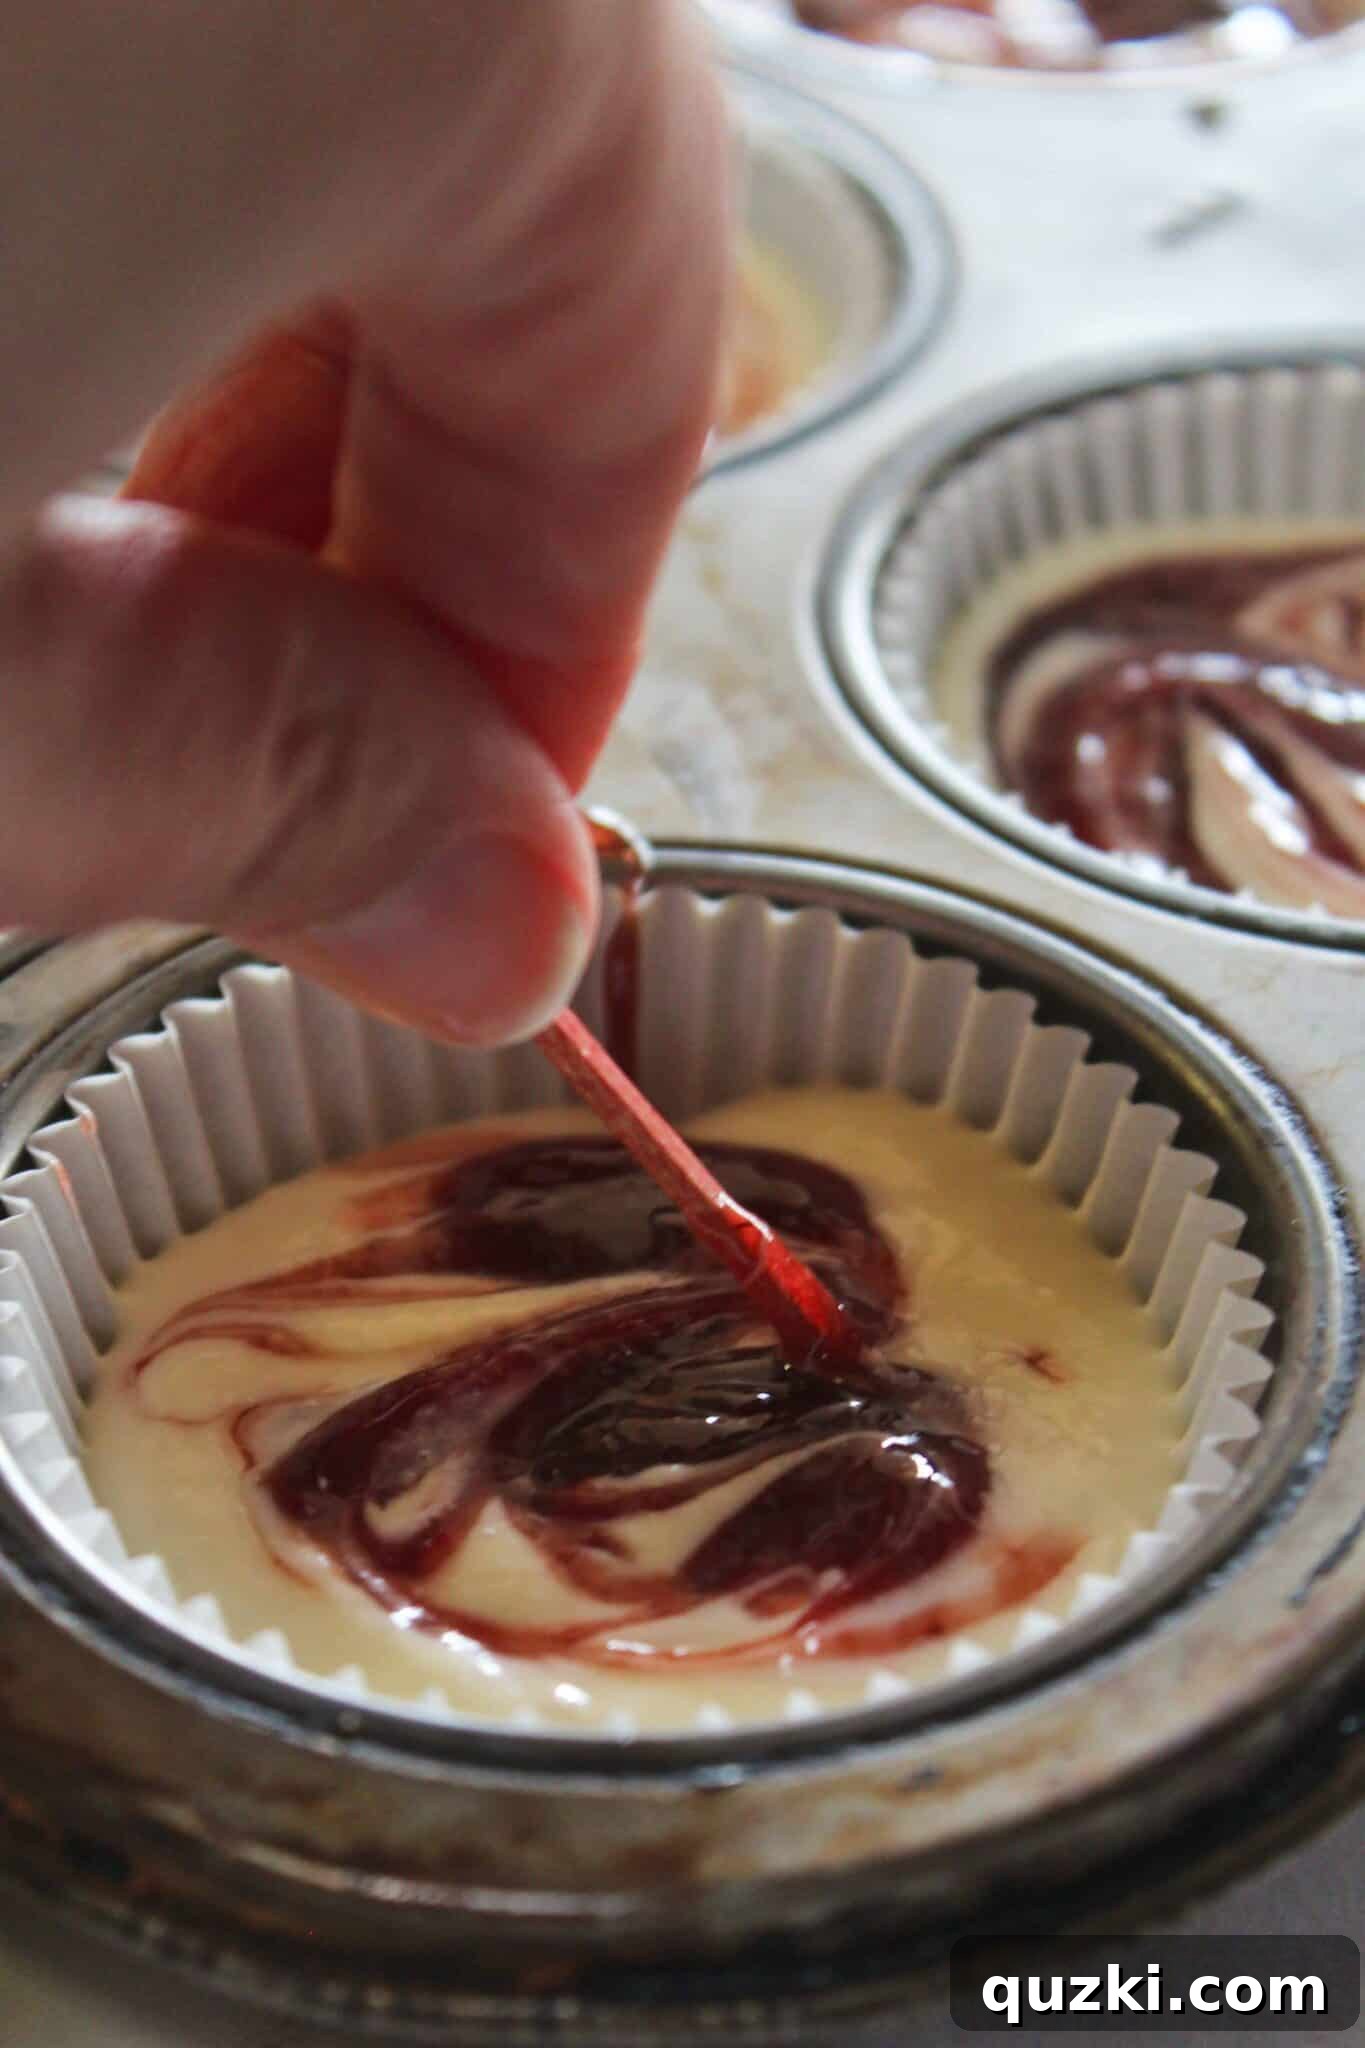
Now, take a clean toothpick or a thin skewer and gently swirl the jam through the cheesecake batter. There’s no right or wrong technique here; simply move your toothpick in a way that creates an appealing marble pattern, ensuring the jam is distributed throughout the top layer without mixing it in completely. You want distinct lines and pockets of raspberry.
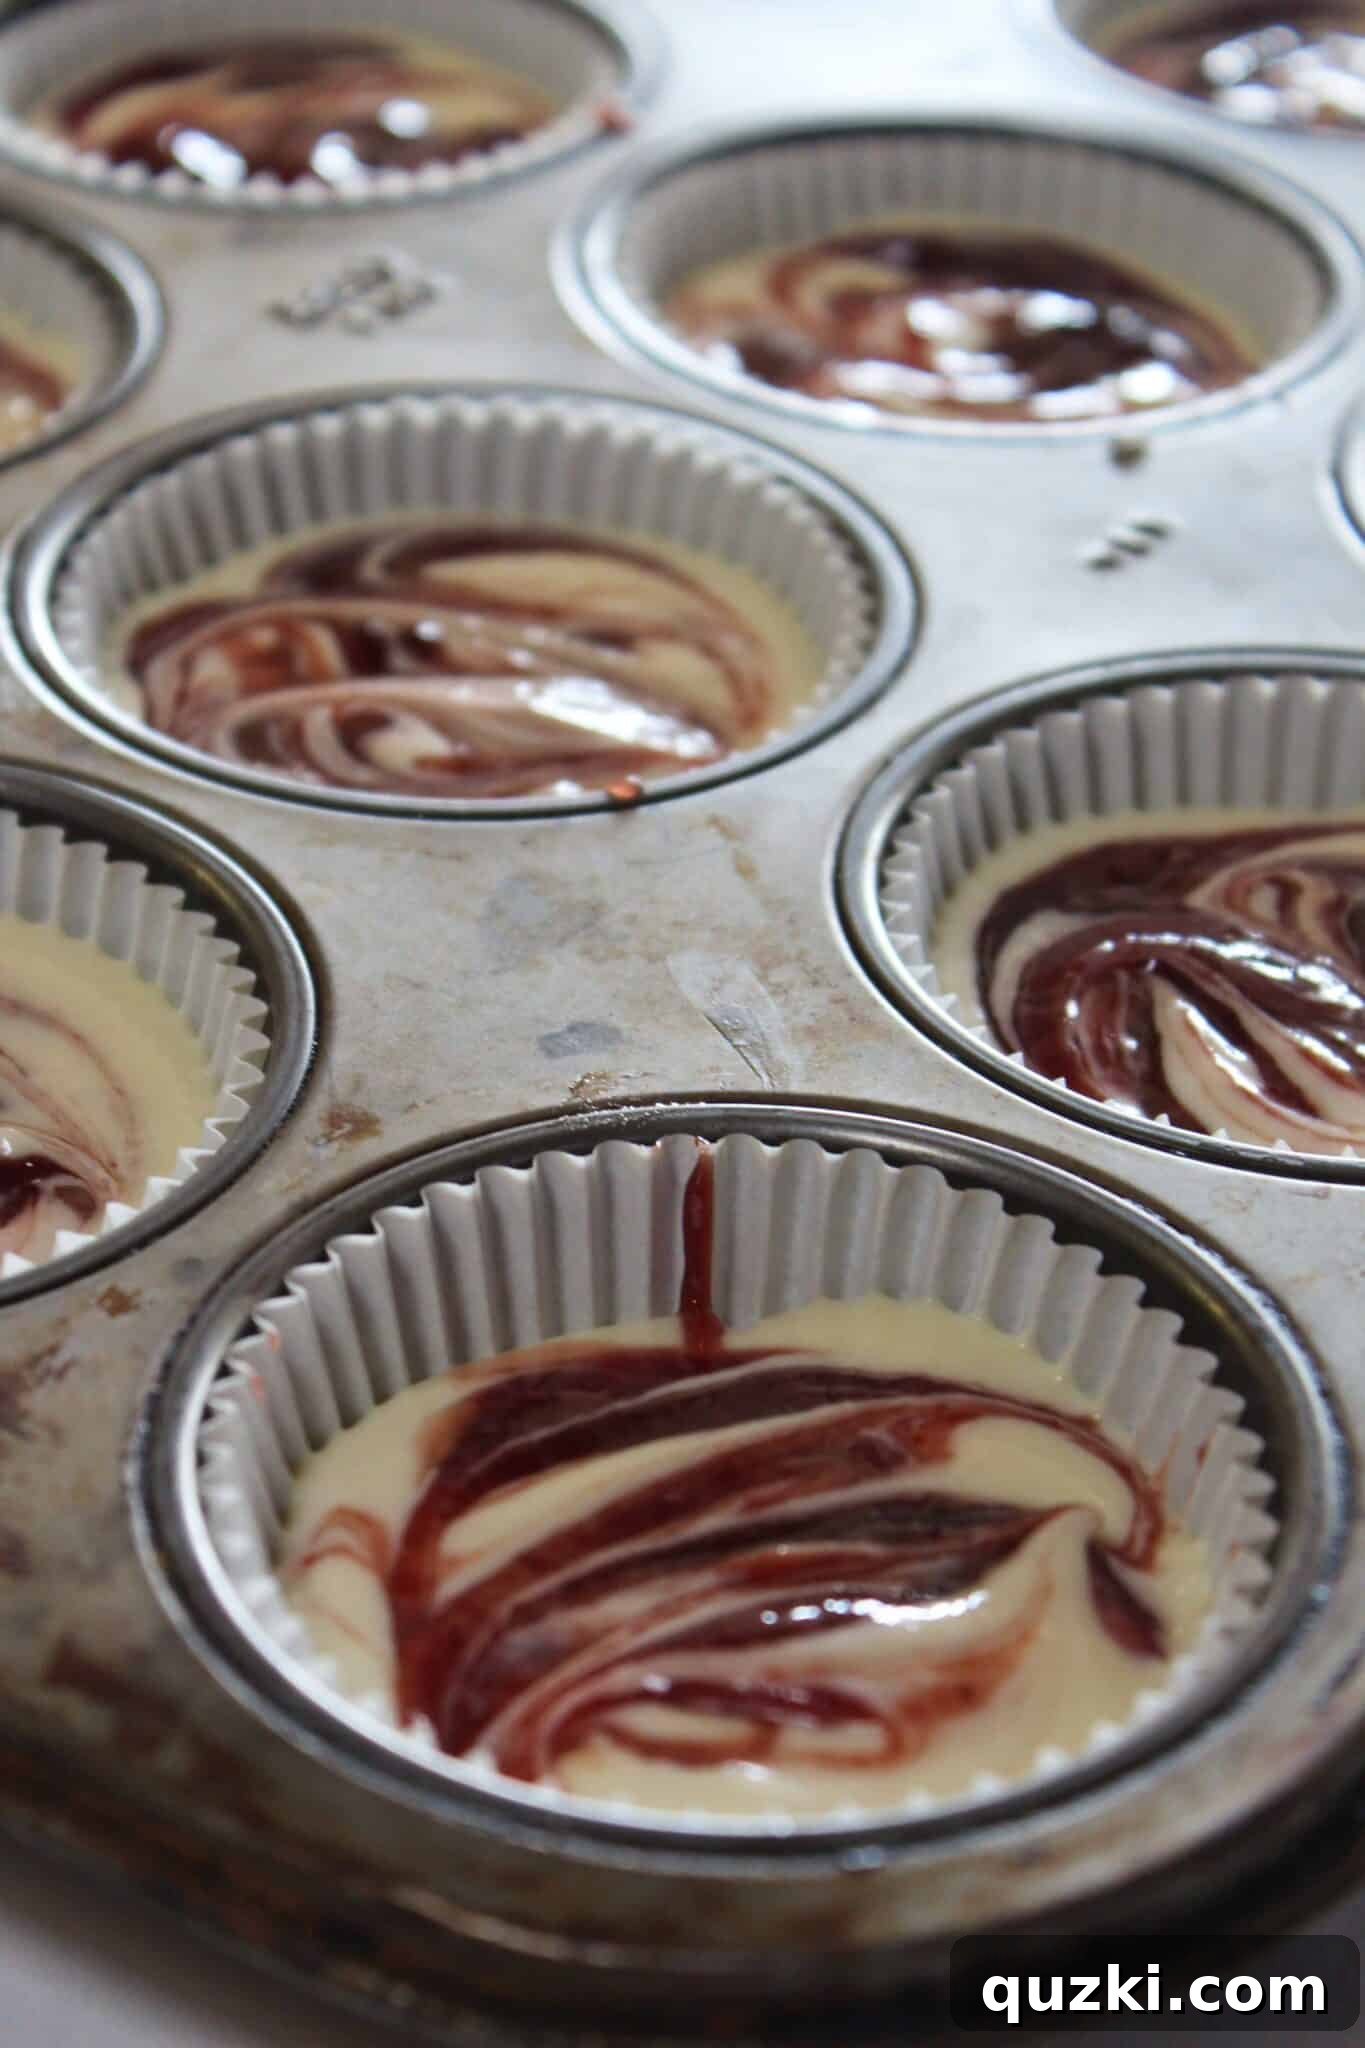
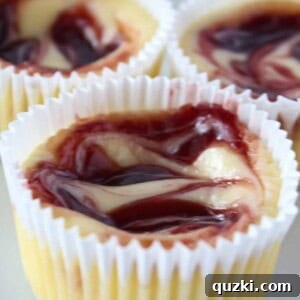
Look at how pretty they are! Each one is a little sweet masterpiece, ready to chill and delight. The vibrant red of the raspberry against the creamy white of the cheesecake is truly inviting.
Chilling for Perfection
Once your mini cheesecakes are assembled and swirled, the most important step for a no-bake recipe is chilling. Place the muffin tin carefully in the refrigerator and let them chill for at least 4 hours. Ideally, for the best firm texture and flavor development, chill them overnight. This allows the cream cheese mixture to set completely, ensuring each cheesecake holds its shape beautifully and delivers that satisfying, dense-yet-creamy texture we all love.
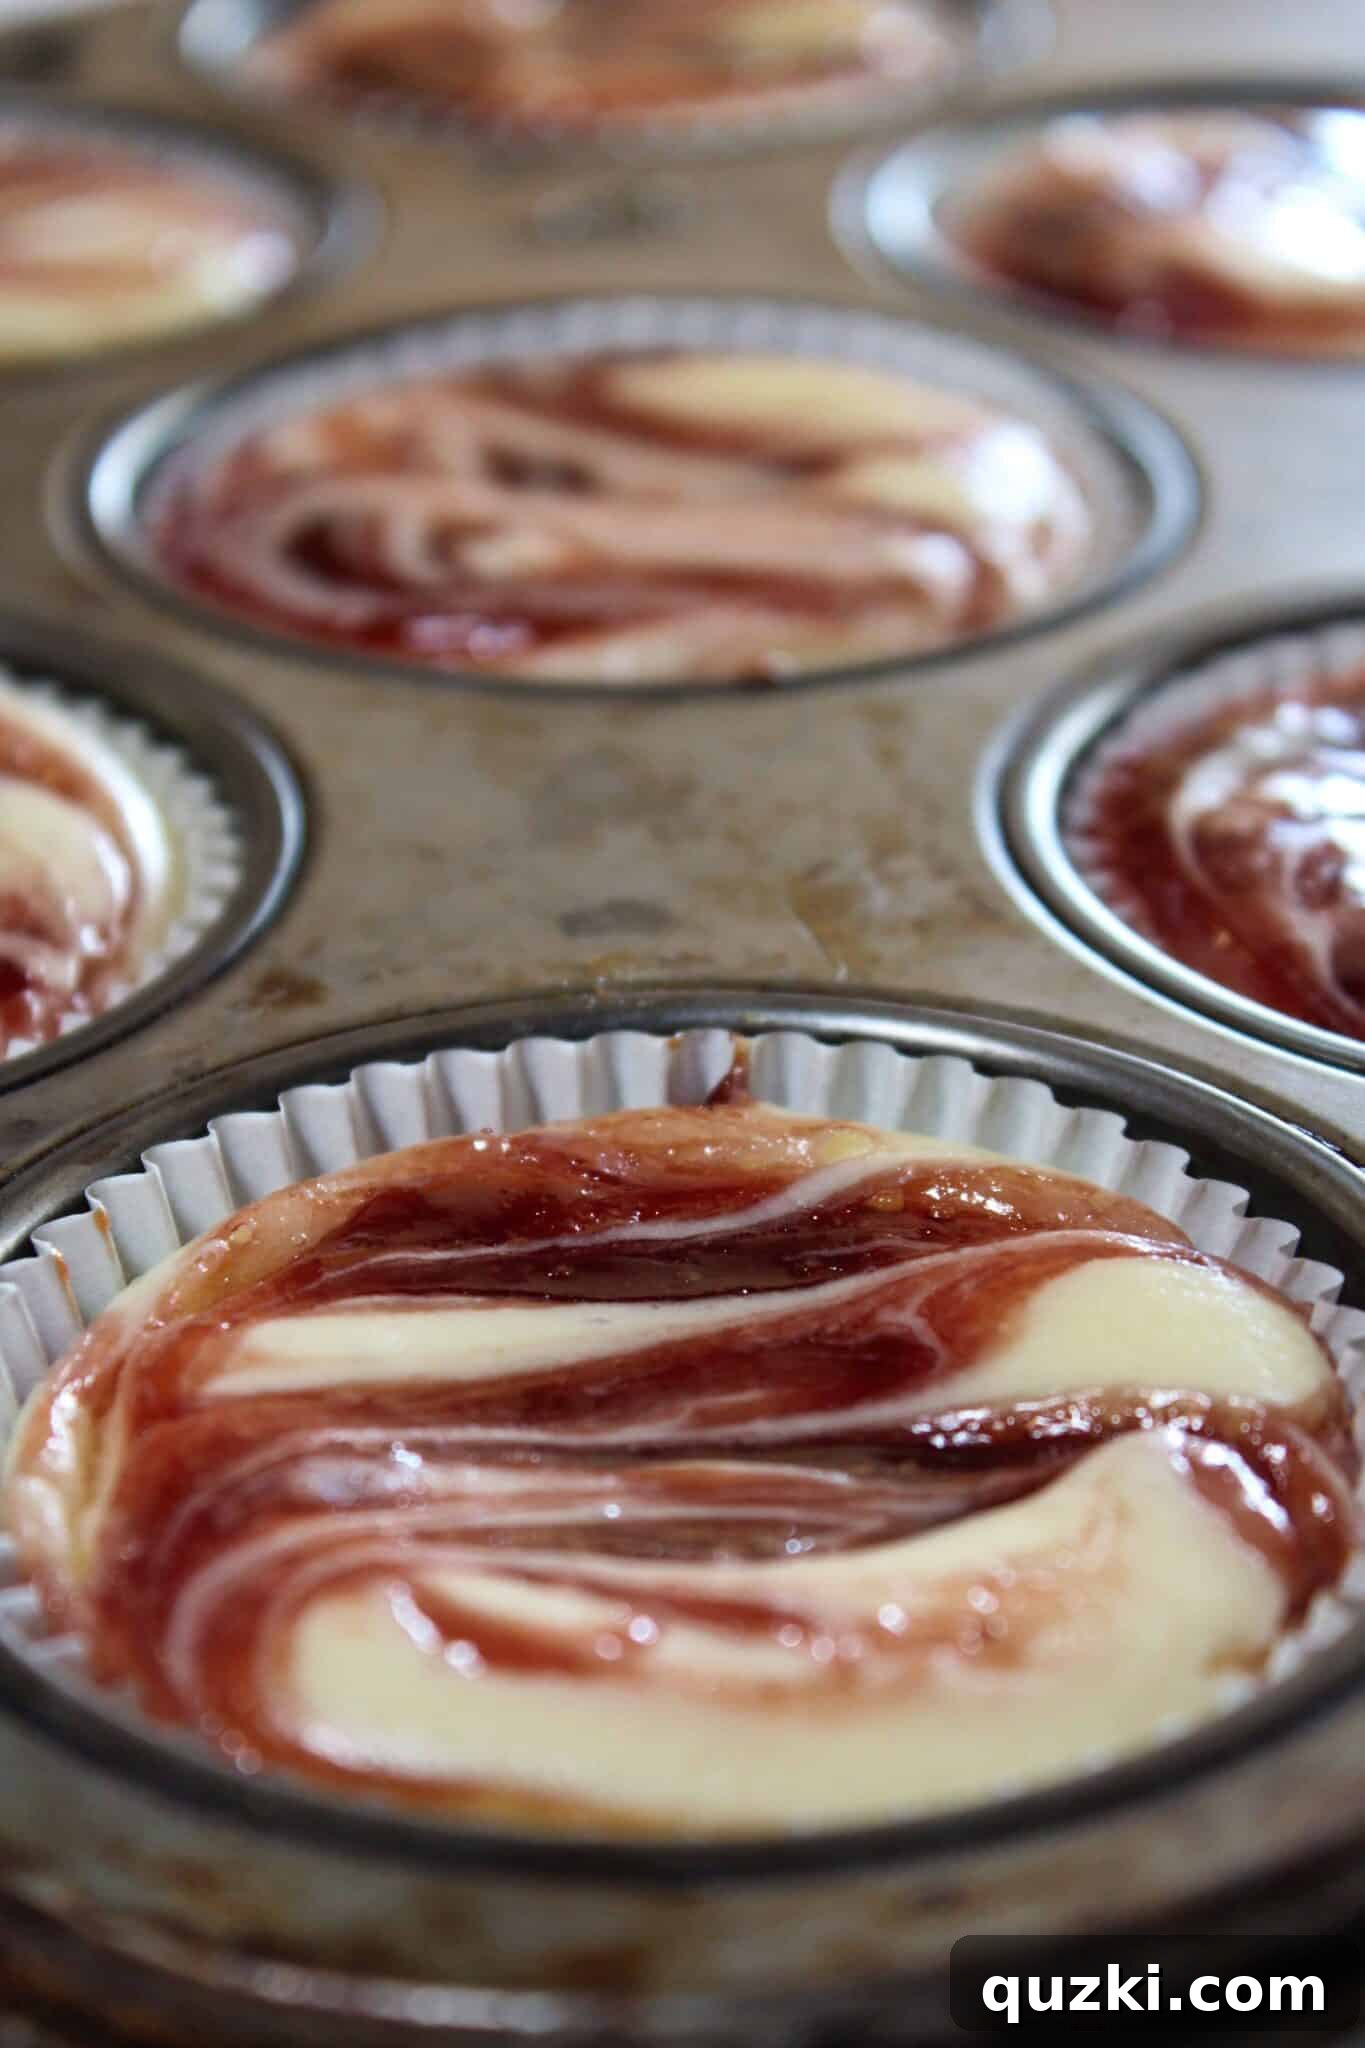
While you might be tempted to sneak a warm bite, these cheesecakes are truly at their best when thoroughly chilled. The cool temperature enhances the flavors and texture, making them incredibly refreshing and enjoyable. Once they have cooled completely and are firm, they are ready to be garnished and served.
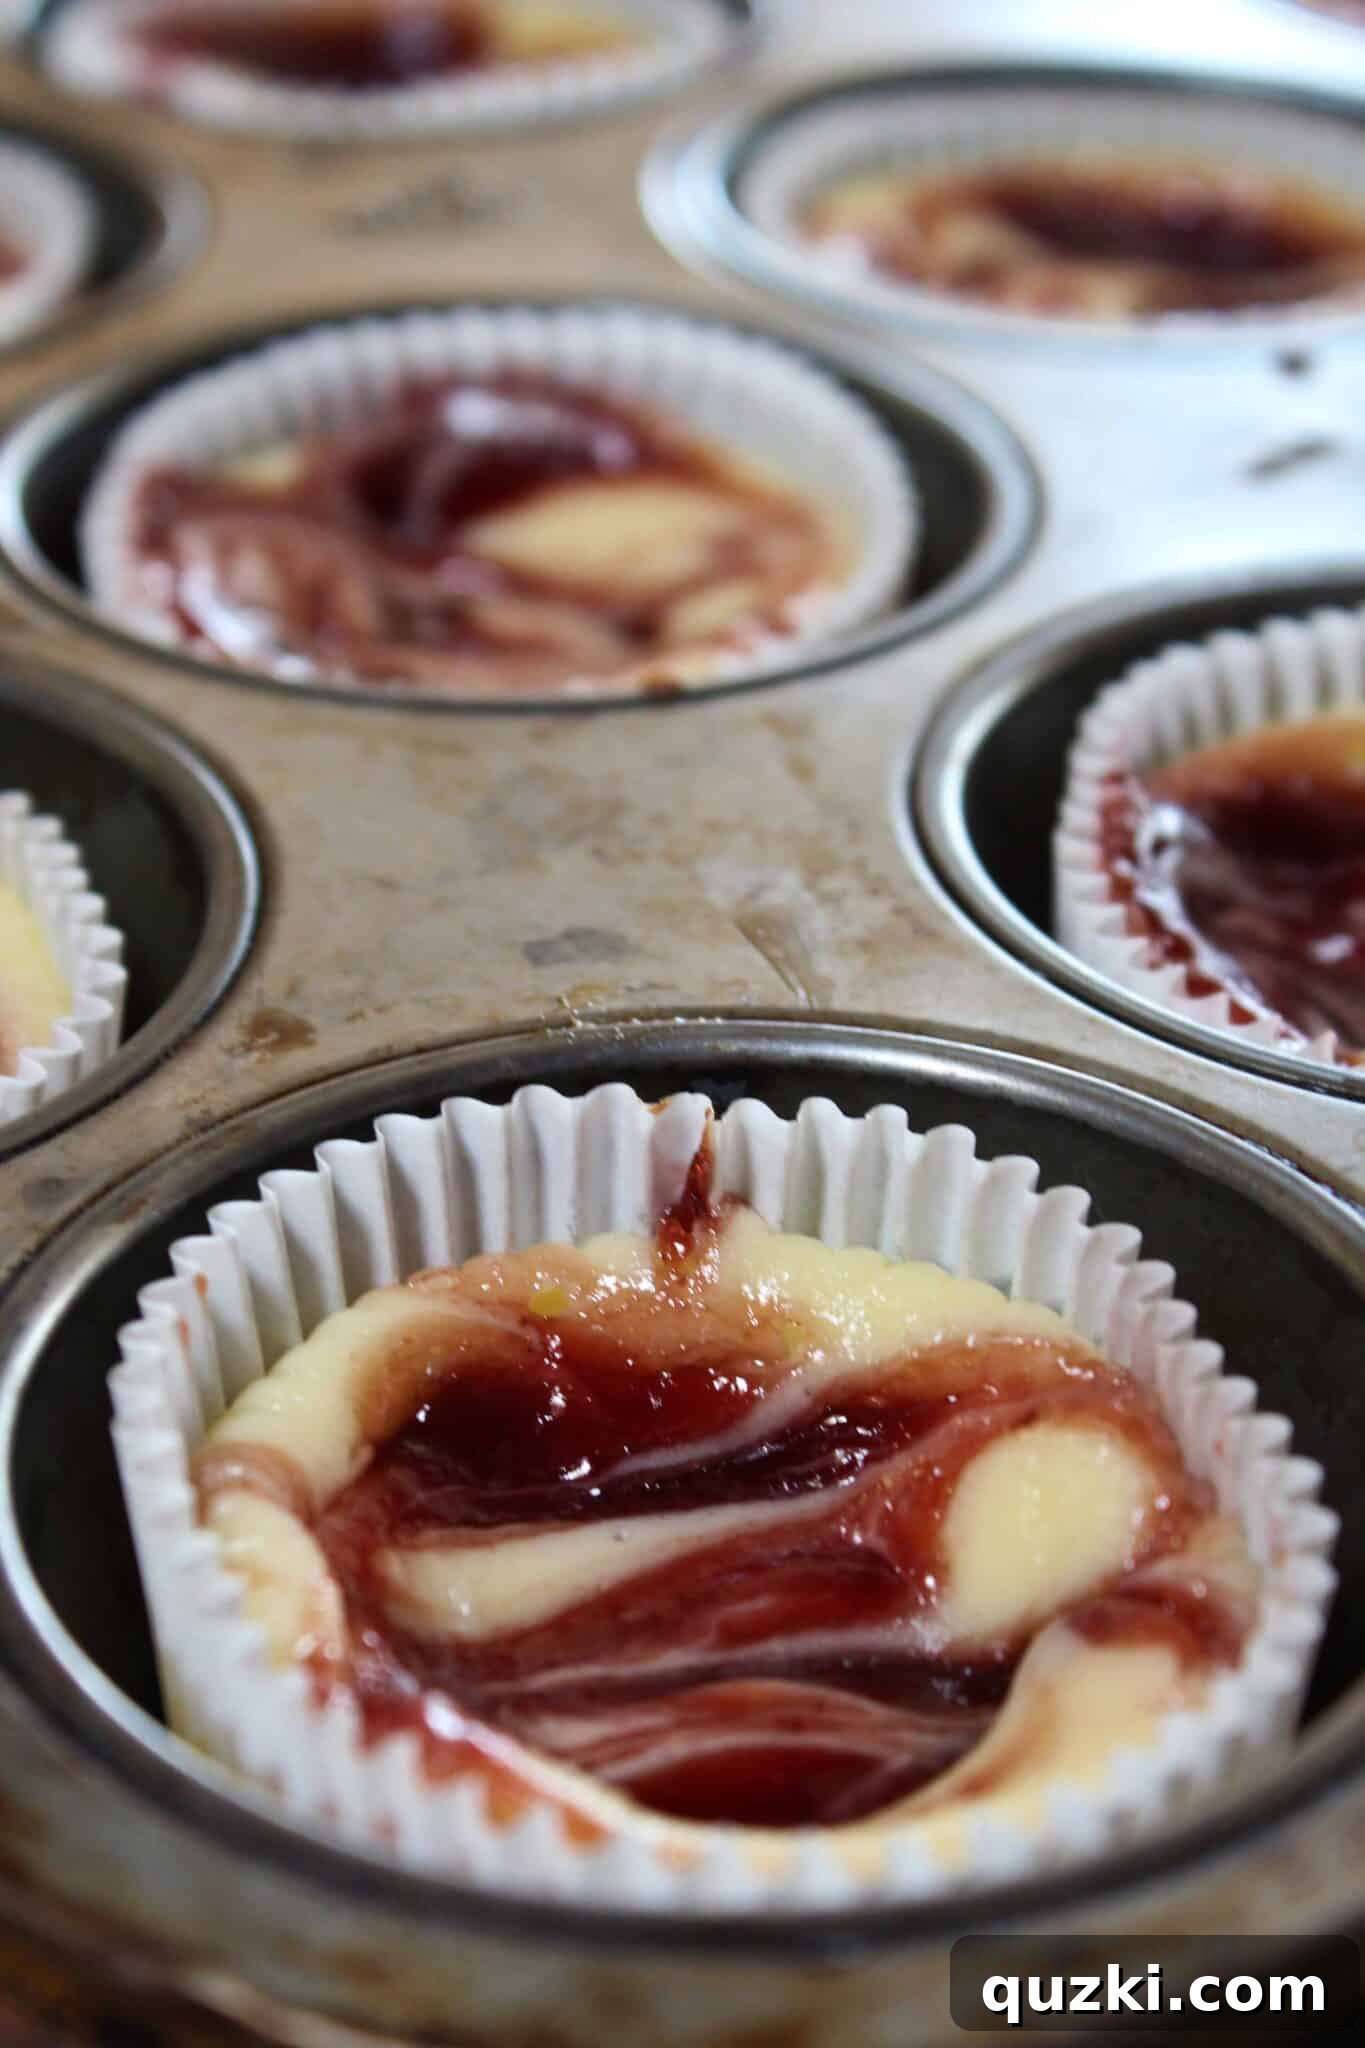
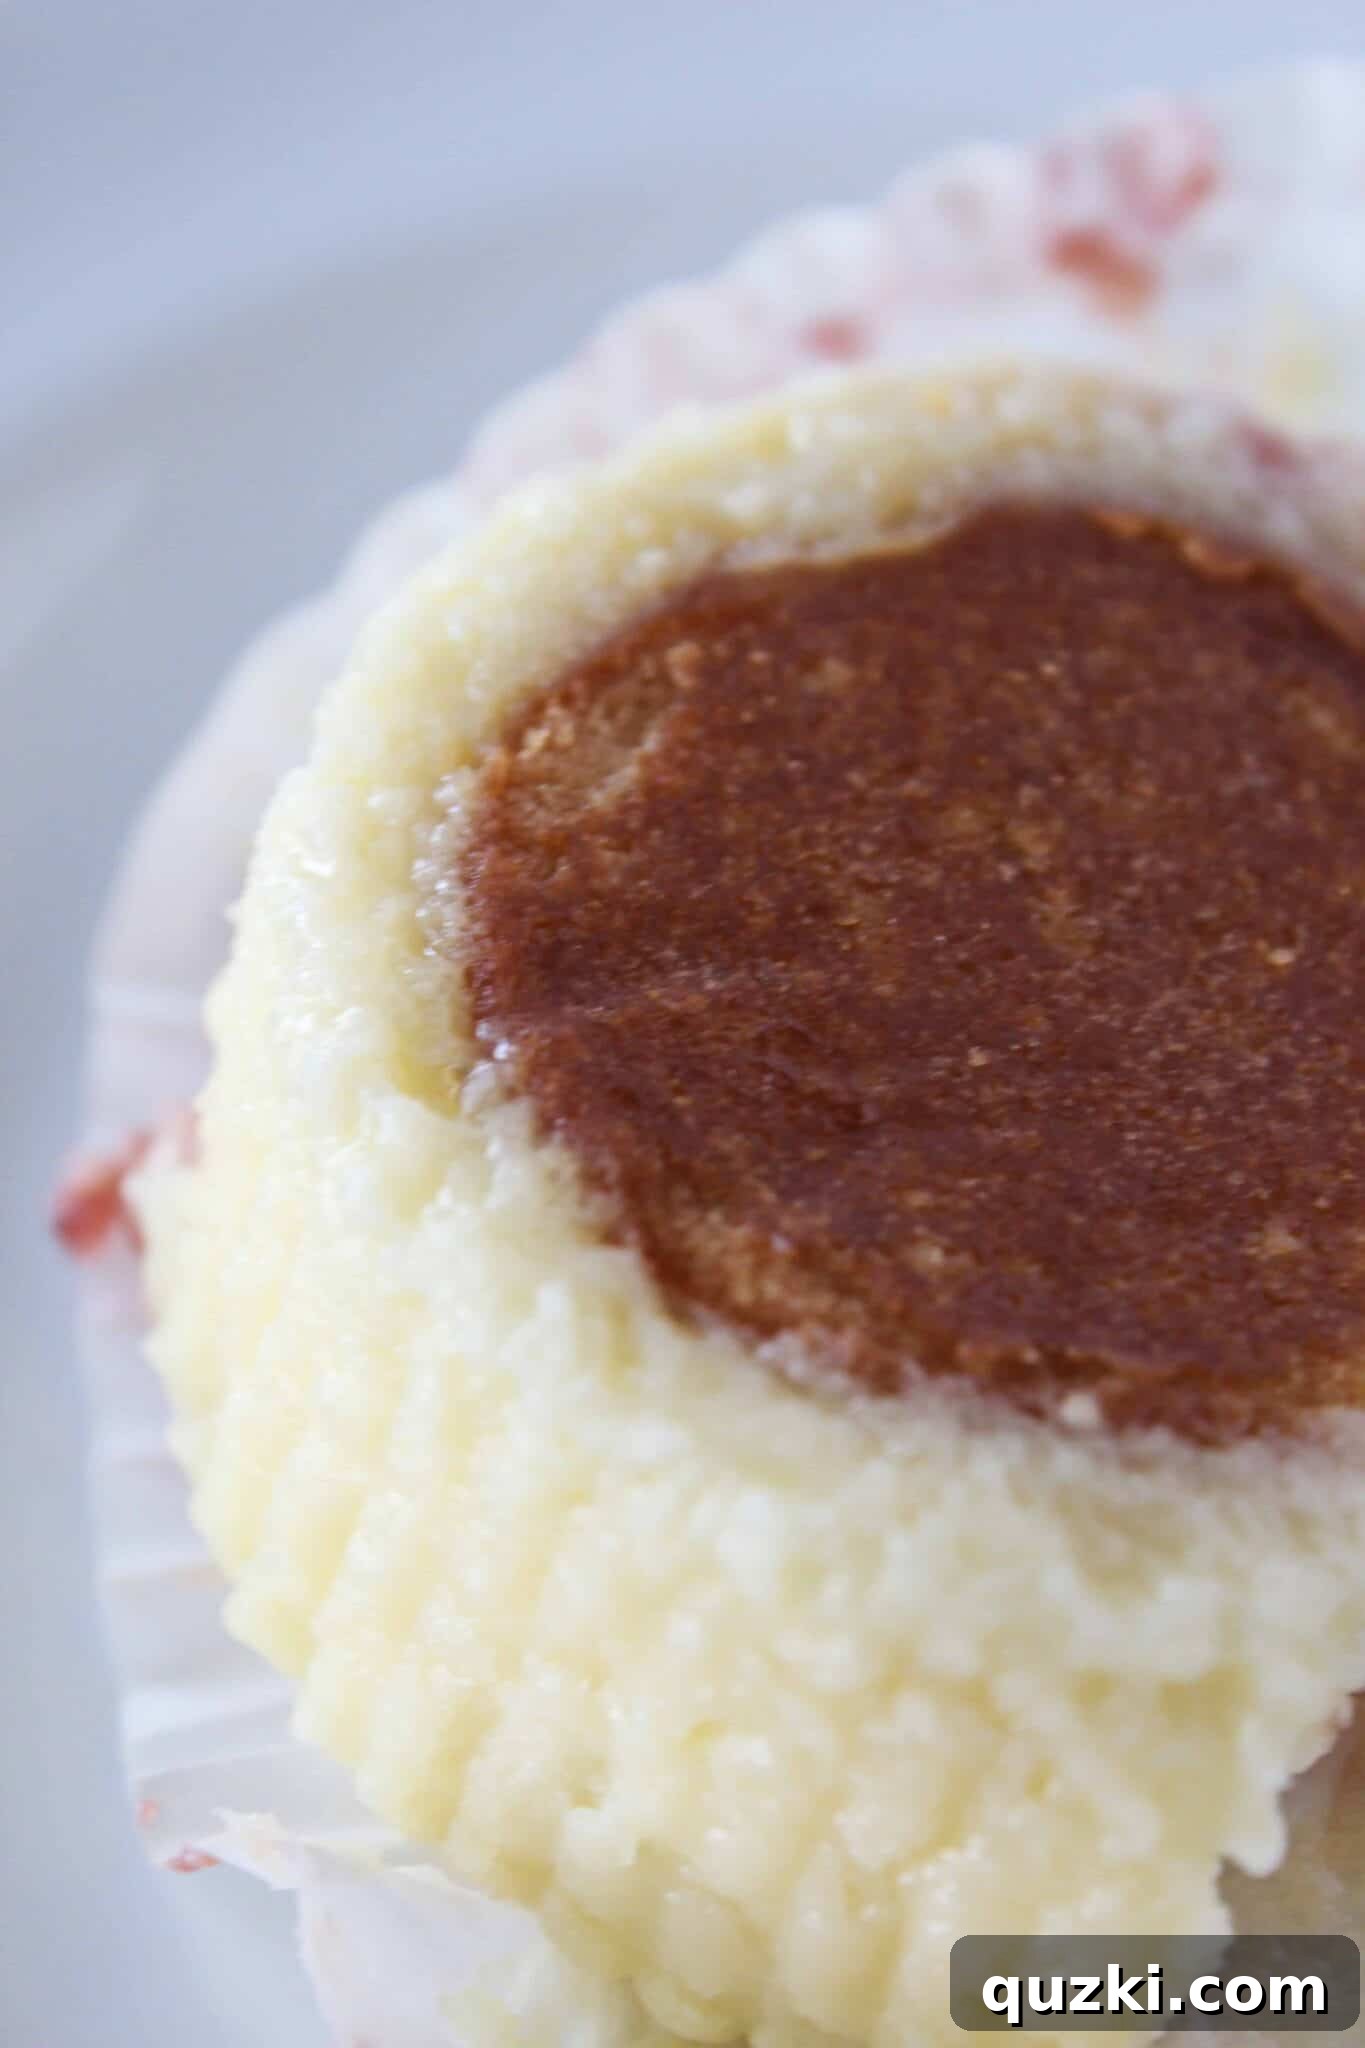
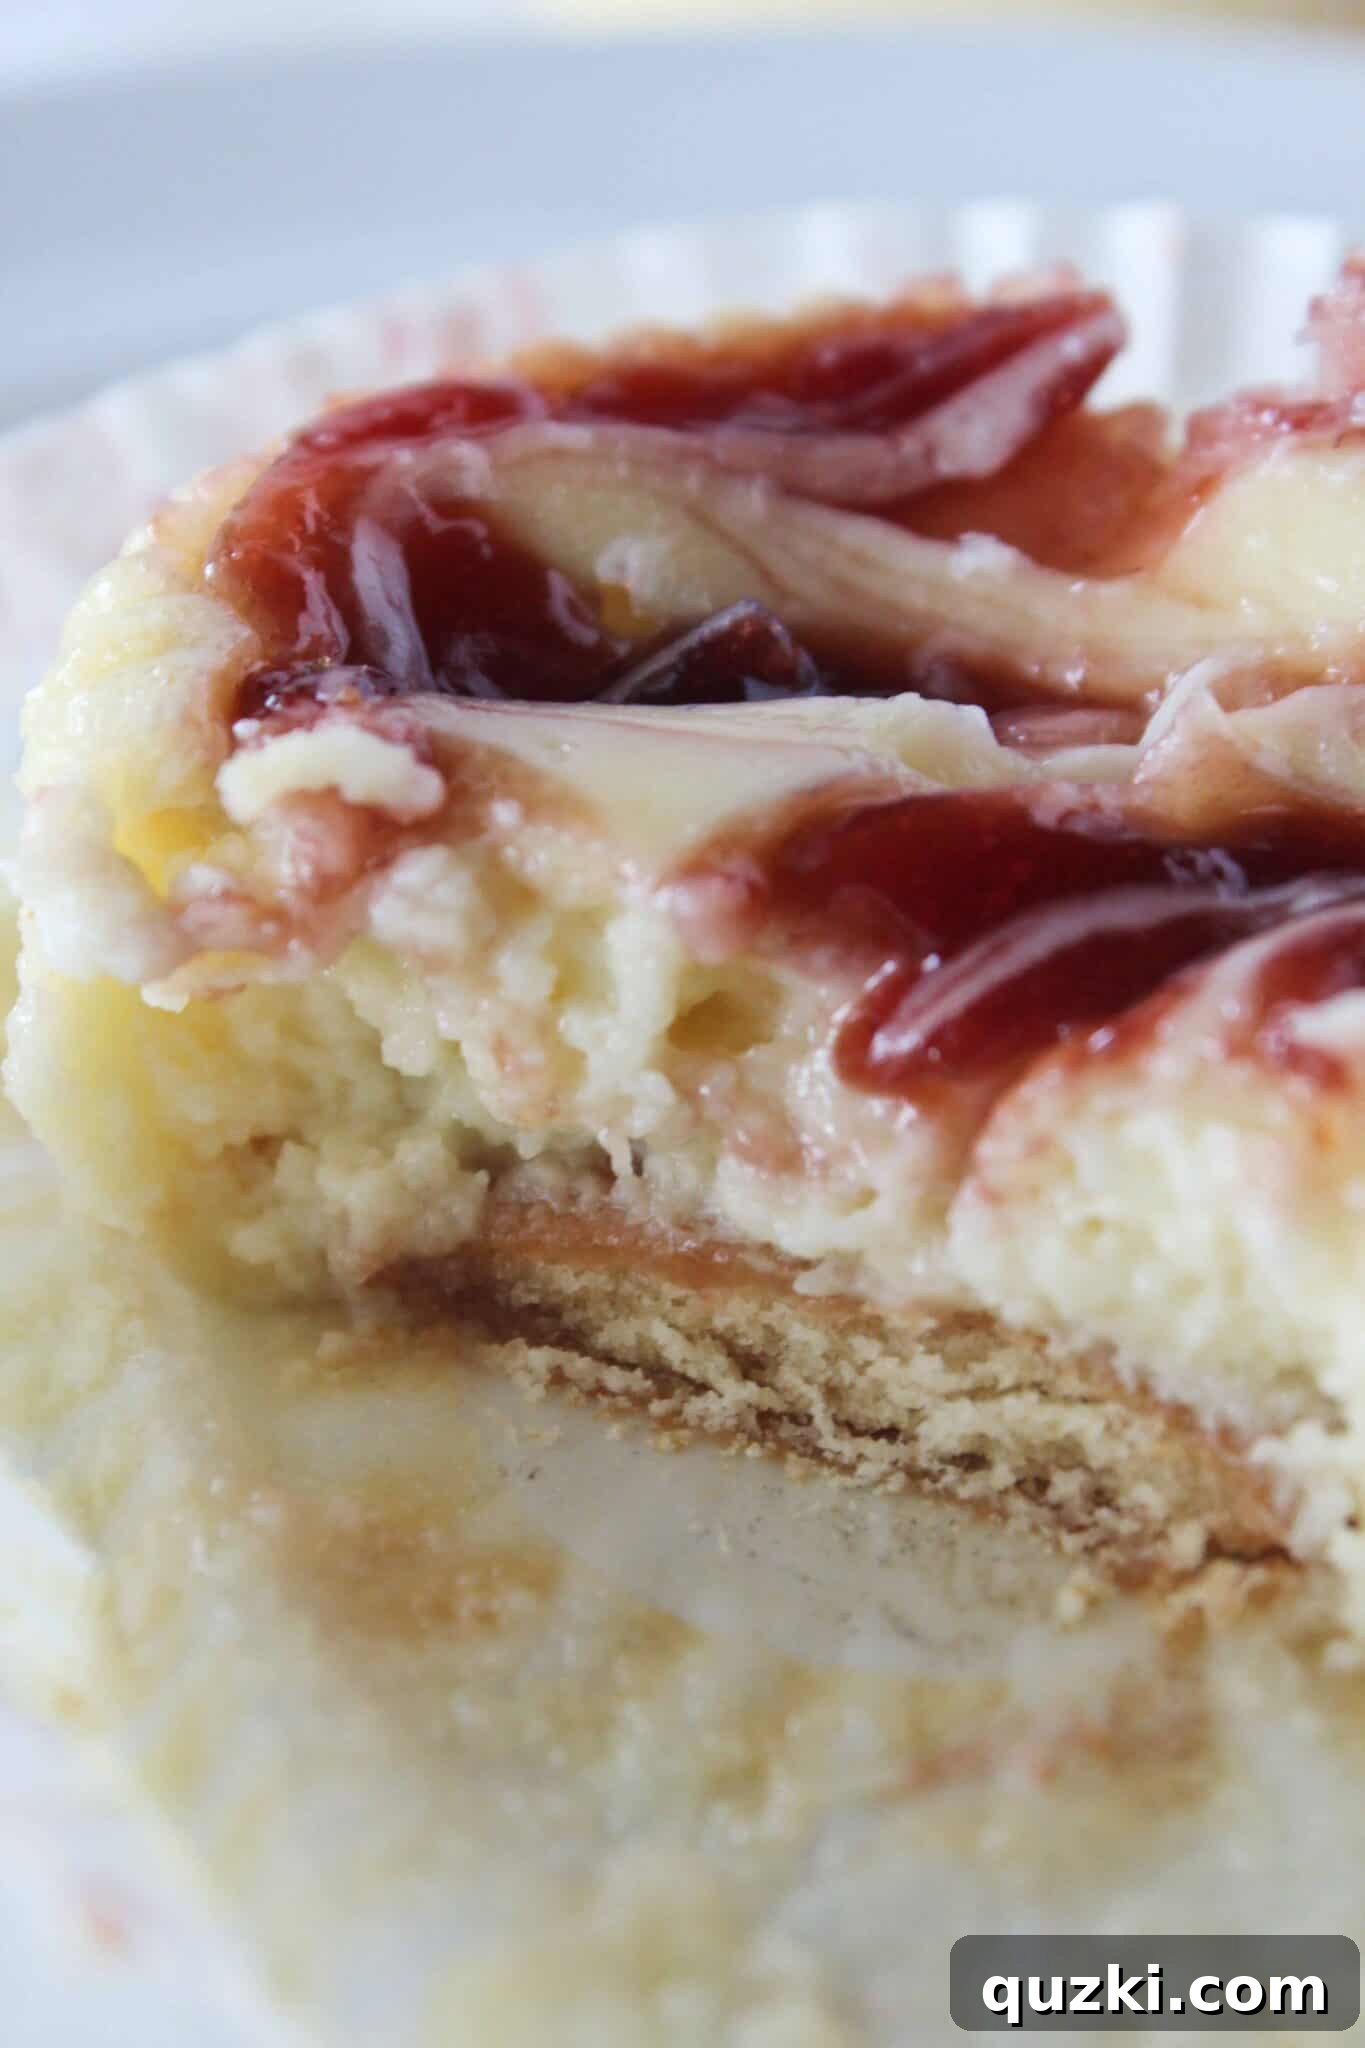
Here’s a closer look at how the creamy cheesecake filling perfectly melds with the Golden Oreo crust. The layers are distinct, yet come together harmoniously in every delicious bite.
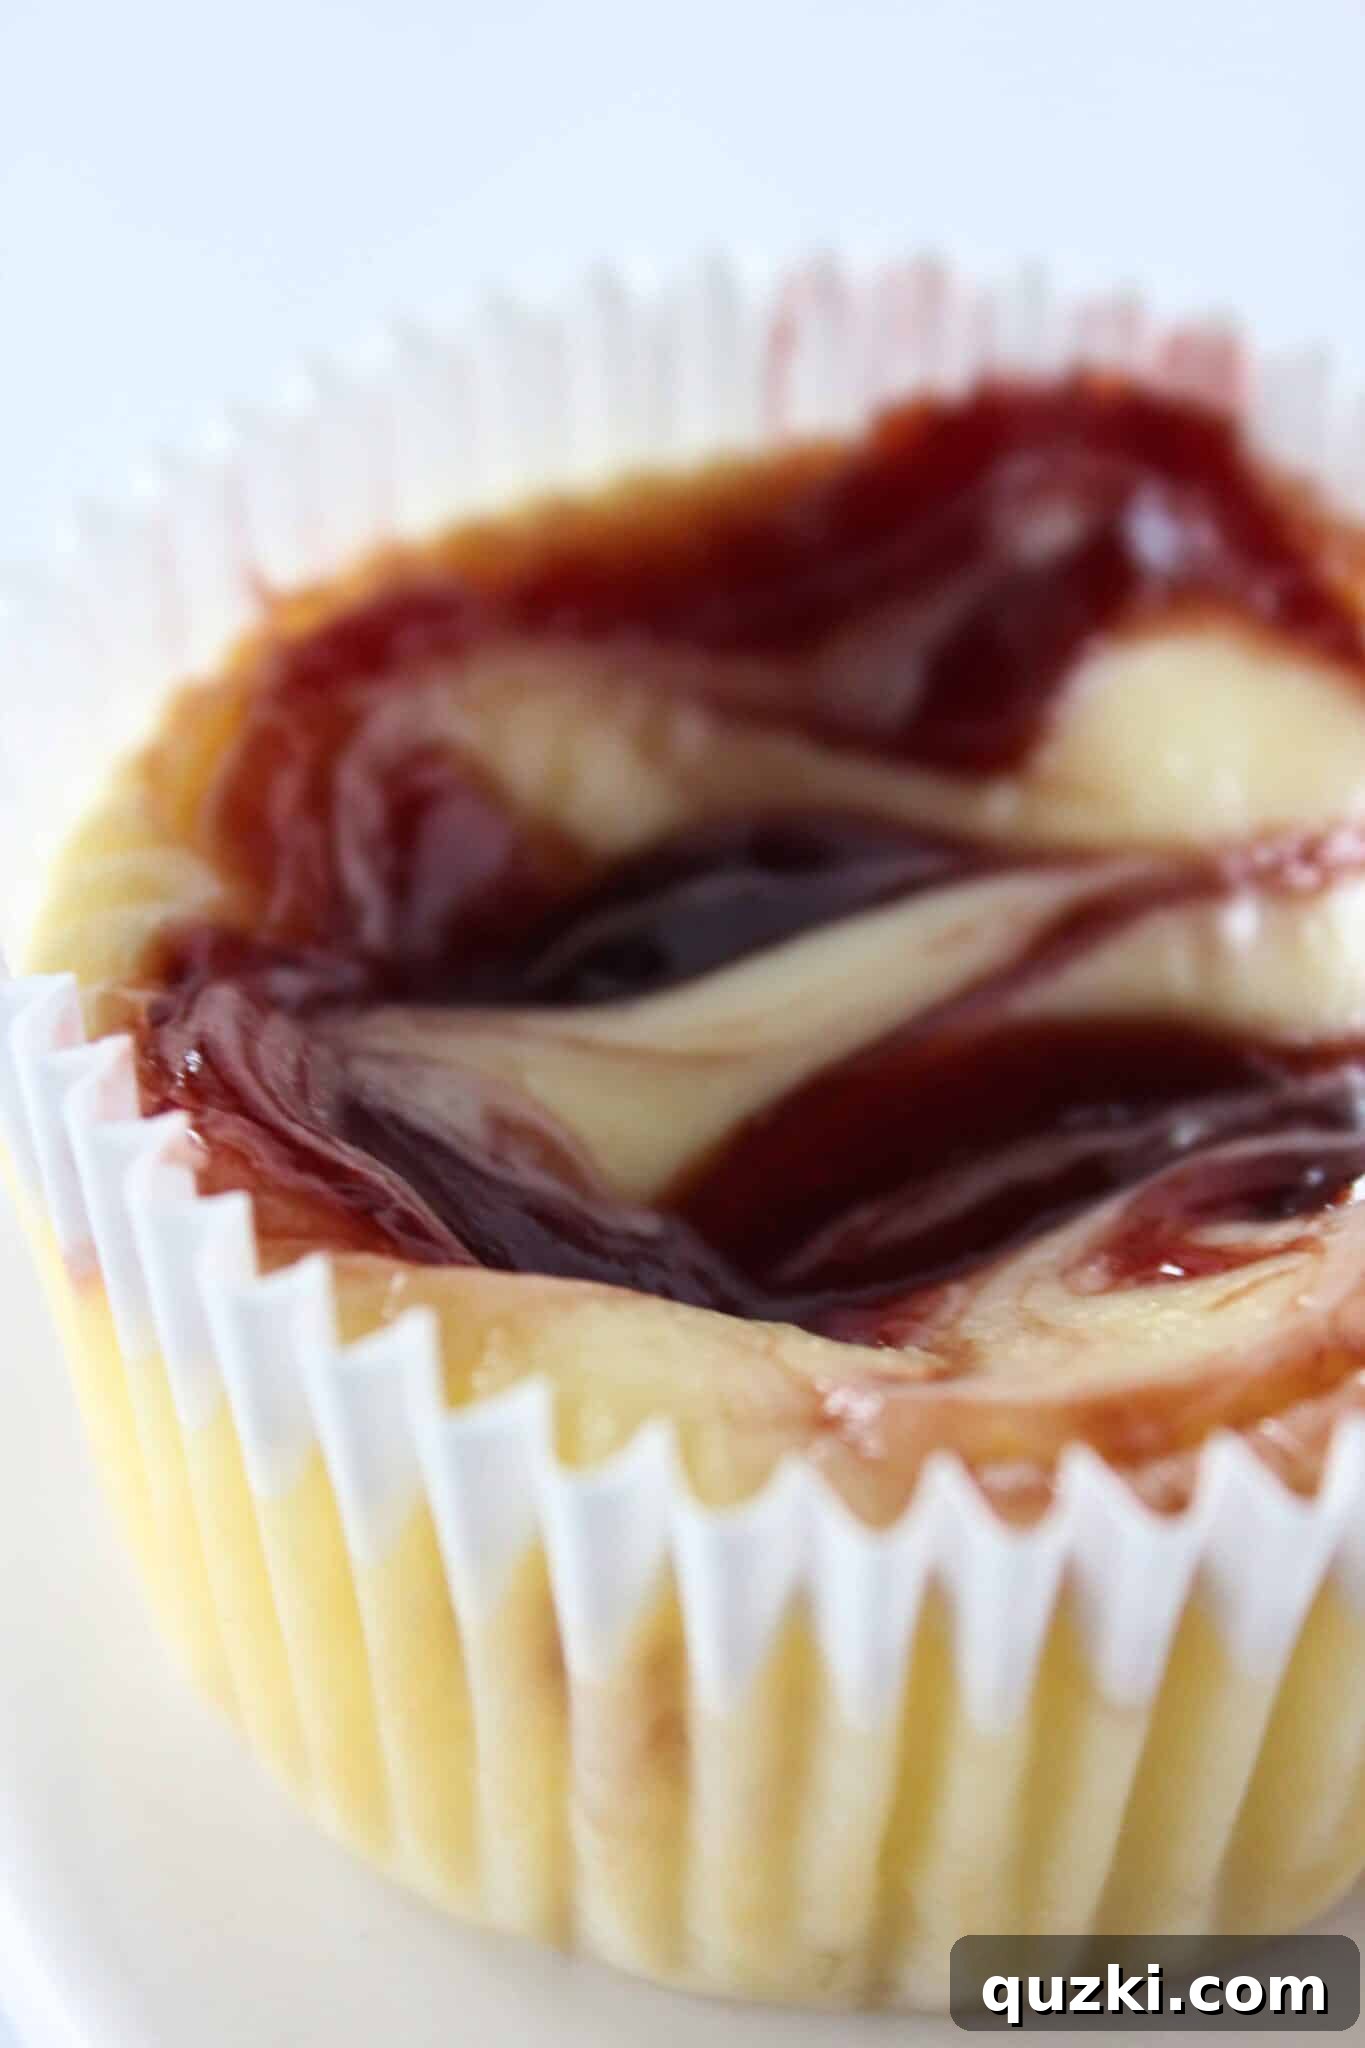
Every single bite of these mini cheesecakes is pure heaven. This year, more than ever, a homemade treat for our moms feels extra special. With many of us having limited access to shopping, baking is a wonderful way to show love and appreciation. Plus, giving Mom a day off from kitchen duties is always a fantastic idea, especially after many mothers have felt like short-order cooks lately! So, whip up these Mini Raspberry Cheesecakes and shower your mama with love.
Craving more delightful mini desserts? Try these recipes:
- Black Forest Cookie Cups
- Boston Cream Pie Cookie Bites
- Ice Cream Sundae Cookie Bites
- Cookie Dough Bites
- Mini Krispie Bundts
5 from 1 vote
Easy No-Bake Mini Raspberry Cheesecakes
June Albertson-Dick
15 mins
0 mins
4 hrs
4 hrs 15 mins
12 mini cheesecakes
Print Recipe
Ingredients
Golden Oreo Crust
- 2 ¼ cups Golden Oreo crumbs
- ⅓ cup butter, {melted}
Raspberry Cheesecake Filling
- 16 ounces cream cheese , {softened}
- 14 ounces sweetened condensed milk
- 8 ounces whipped topping
- 1/2 cup raspberry jam
Instructions
Golden Oreo Crust
-
Pulse the Golden Oreo cookies into a fine crumb using a food processor or blender. (If you don’t have a food processor or blender, add cookies to a zipper bag and crush with a rolling pin).
-
Mix together Golden Oreo crumbs and melted butter, stir until crumbs are completely coated. Press crumbs firmly into the bottom of 12 muffin cups lined with paper liners. Refrigerate crusts until filling is ready.
Cheesecake Filling
-
In a large bowl, mix together softened cream cheese and sweetened condensed milk until creamy using a hand held (or stand) mixer. Add the whipped topping and gently fold into the mixture until it is totally combined. Finally, add the raspberry jam to the mixture and make a few swirls through the cheesecake. NOTE: You want it to be swirled and not fully incorporated.
Assembly
-
Divide the raspberry swirl cheesecake filling into the prepared crusts in the muffin cups and spread out into an even layer. Refrigerate for at least 4 hours before serving, or until completely set. Garnish with a scoop of whipped topping and fresh raspberries if desired. Leftovers can be stored in the refrigerator for up to 4 days.
Notes
Warm the raspberry jam slightly before adding it to the cheesecake. This makes it easier to create a pretty pattern.
Get creative with toppings. Fresh raspberries, whipped cream, or even a drizzle of white chocolate can make these cheesecakes extra special.
Nutrition
Serving:
1mini cheesecake
,
Calories:
510kcal
,
Carbohydrates:
56g
,
Protein:
7g
,
Fat:
29g
,
Saturated Fat:
16g
,
Polyunsaturated Fat:
3g
,
Monounsaturated Fat:
8g
,
Trans Fat:
0.2g
,
Cholesterol:
63mg
,
Sodium:
336mg
,
Potassium:
231mg
,
Fiber:
1g
,
Sugar:
43g
,
Vitamin A:
768IU
,
Vitamin C:
2mg
,
Calcium:
156mg
,
Iron:
1mg
Nutrition information is automatically calculated, so should only be used as an approximation.
Like this? Leave a comment below!