
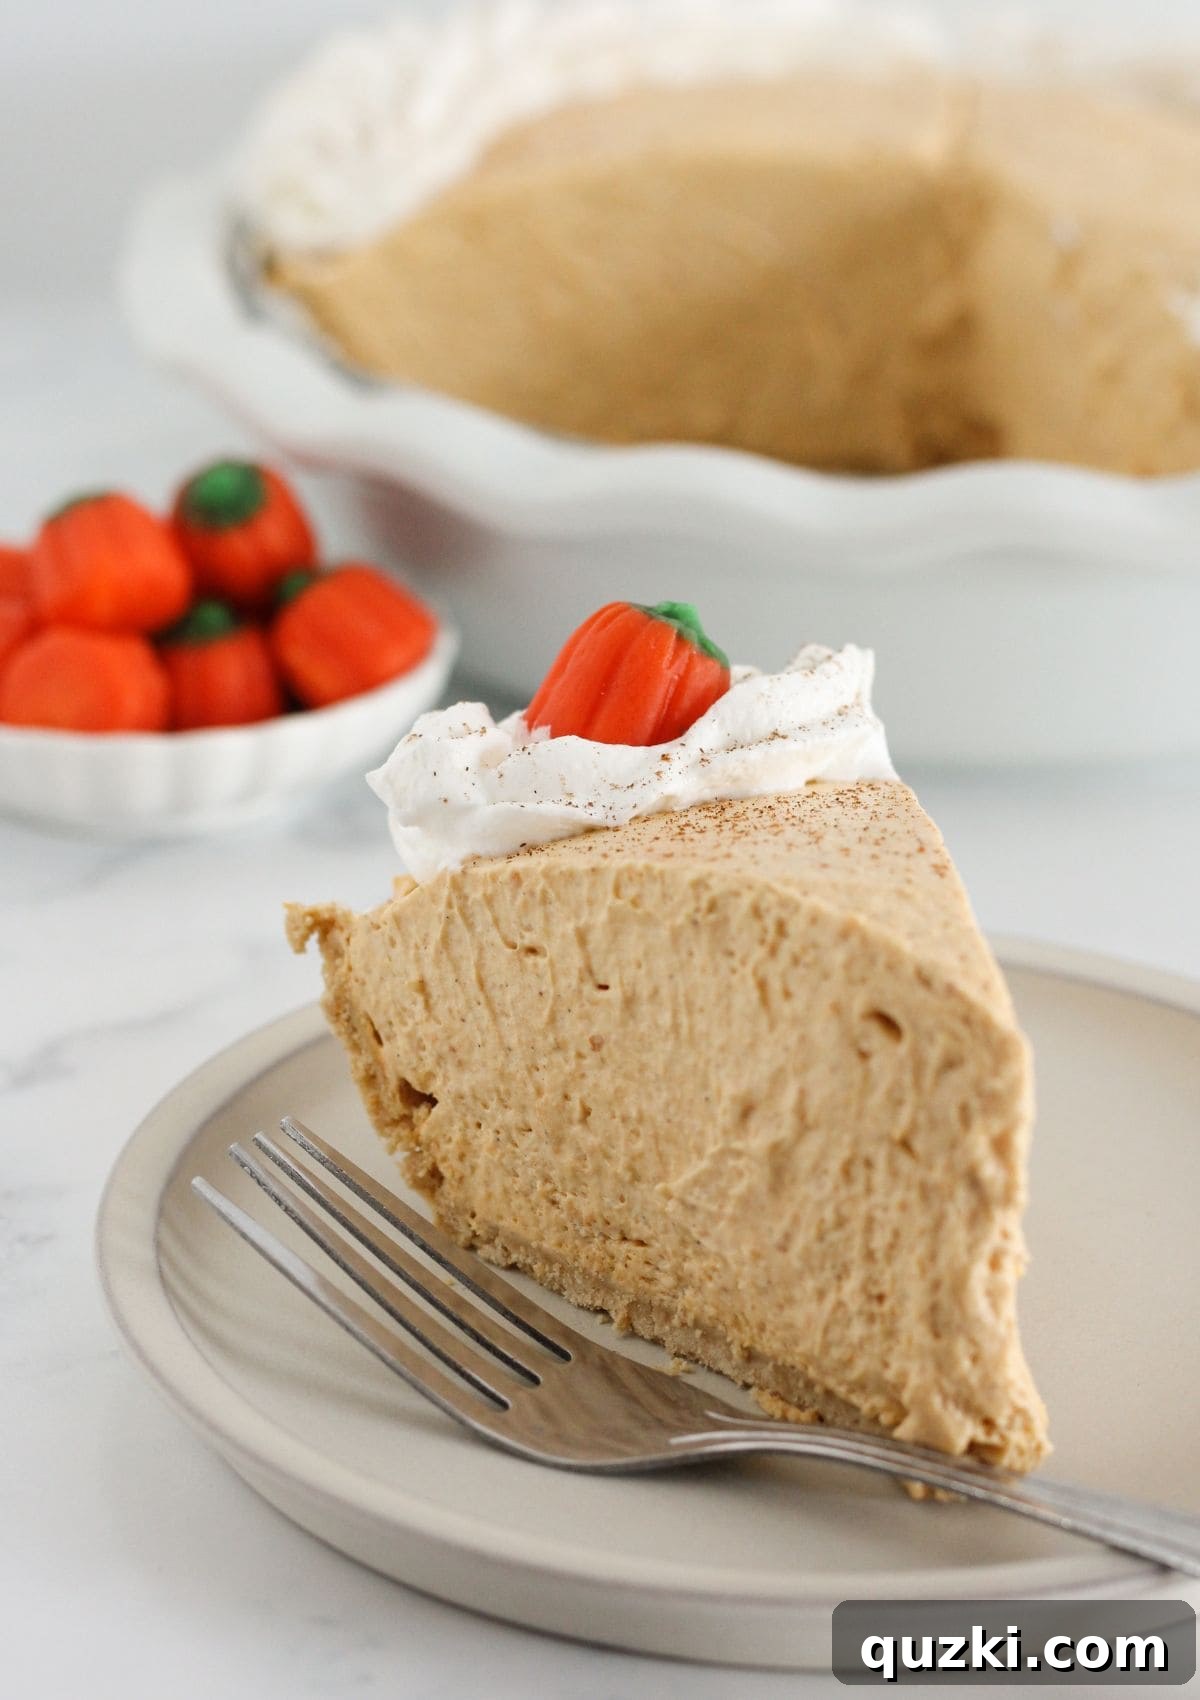
Easy No-Bake Pumpkin Mousse Pie: Your New Favorite Fall Dessert
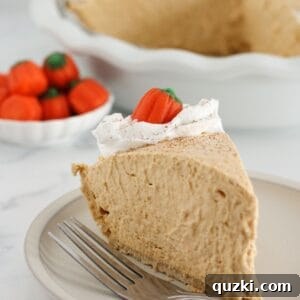
While traditional Pumpkin Hand Pies and decadent Pumpkin Cheesecake Bars are undeniably delightful fall dessert staples, there’s one recipe that consistently steals the spotlight in my home: this incredibly simple and utterly delicious No-Bake Pumpkin Mousse Pie. It masterfully marries the best qualities of both desserts into one light, airy, and irresistibly creamy creation. It’s a perennial favorite, earning top requests for family gatherings and a guaranteed star on my Thanksgiving Dessert Table.
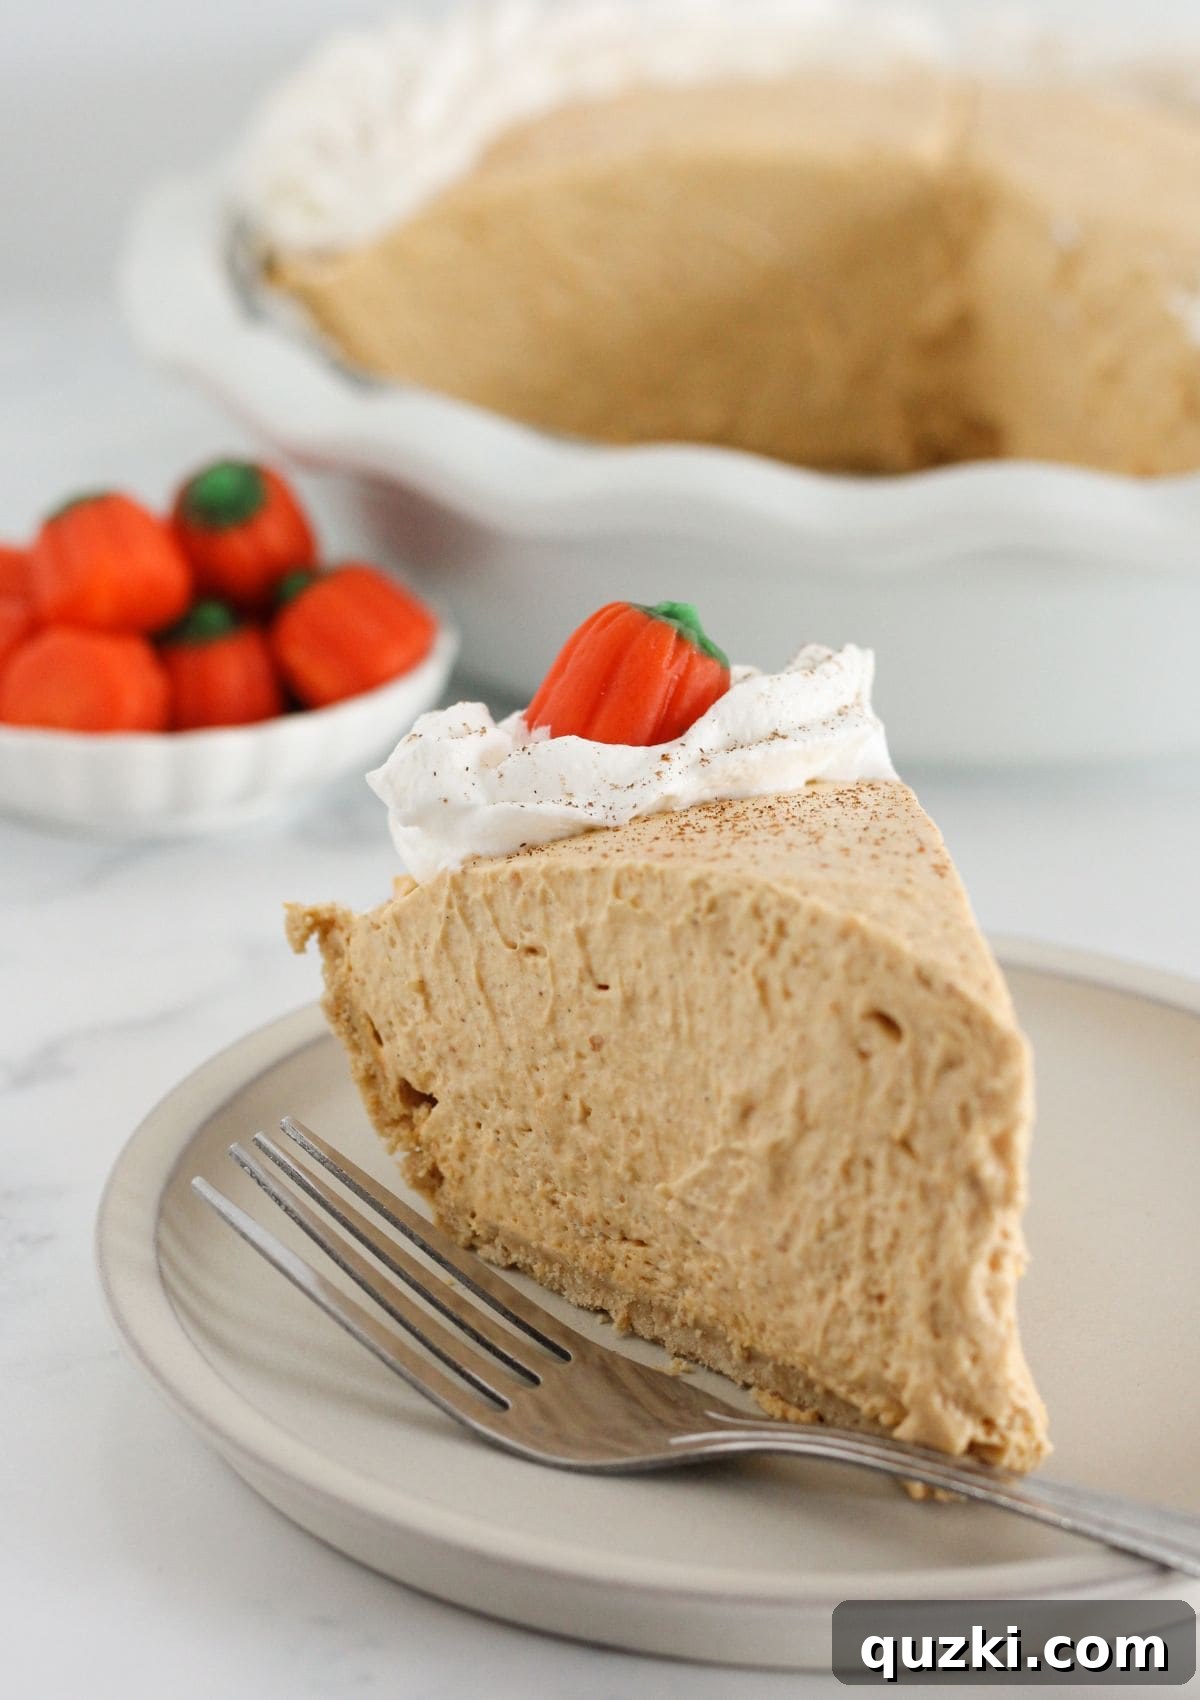
Recipe at a Glance
- Recipe Name: Irresistible No-Bake Pumpkin Mousse Pie
- Preparation Time: Approximately 15 minutes
- Chill Time: A minimum of 4 hours to set (overnight for best results)
- Yields: 10 generous slices
- Time-Saving “Practically Homemade” Staples: Pre-made Graham Cracker Crust, Canned Pumpkin Puree, Store-bought Whipped Topping
Table of Contents
- Why You’ll Adore This Pumpkin Mousse Pie
- Essential Ingredients for Your Mousse Pie
- Crust Variations: Beyond the Graham Cracker
- How to Make No-Bake Pumpkin Mousse Pie: A Simple Guide
- Expert Tips for the Perfect Pie
- Storage and Freezing Instructions
- Pumpkin Mousse Pie FAQs
- Craving More Easy Pie Recipes?
- No Bake Pumpkin Mousse Pie Full Recipe Card
Why You’ll Adore This Pumpkin Mousse Pie
This No-Bake Pumpkin Mousse Pie isn’t just another dessert; it’s a fall tradition waiting to happen. What makes it so special and why will it quickly become a family favorite? First and foremost, its effortless preparation. With no oven time required, you’ll free up valuable space and time, especially during busy holiday cooking. It comes together in a mere 15 minutes of active prep, making it ideal for impromptu gatherings or when you simply crave something sweet without the fuss.
The texture is another standout feature. Unlike denser pumpkin pies, this mousse version is incredibly light, airy, and creamy, melting in your mouth with every bite. The delicate pumpkin flavor, perfectly balanced with warm spices, is comforting yet refreshing. It’s truly the best of both worlds – the classic taste of pumpkin pie transformed into a cloud-like mousse. Plus, it’s a fantastic make-ahead dessert, allowing the flavors to meld beautifully and the mousse to achieve its optimal set, perfect for entertaining.
Essential Ingredients for Your Mousse Pie
Creating this delightful No-Bake Pumpkin Mousse Pie requires a handful of common ingredients, most of which you likely already have or can easily find at your local grocery store. Each component plays a crucial role in achieving the pie’s signature light texture and rich flavor.
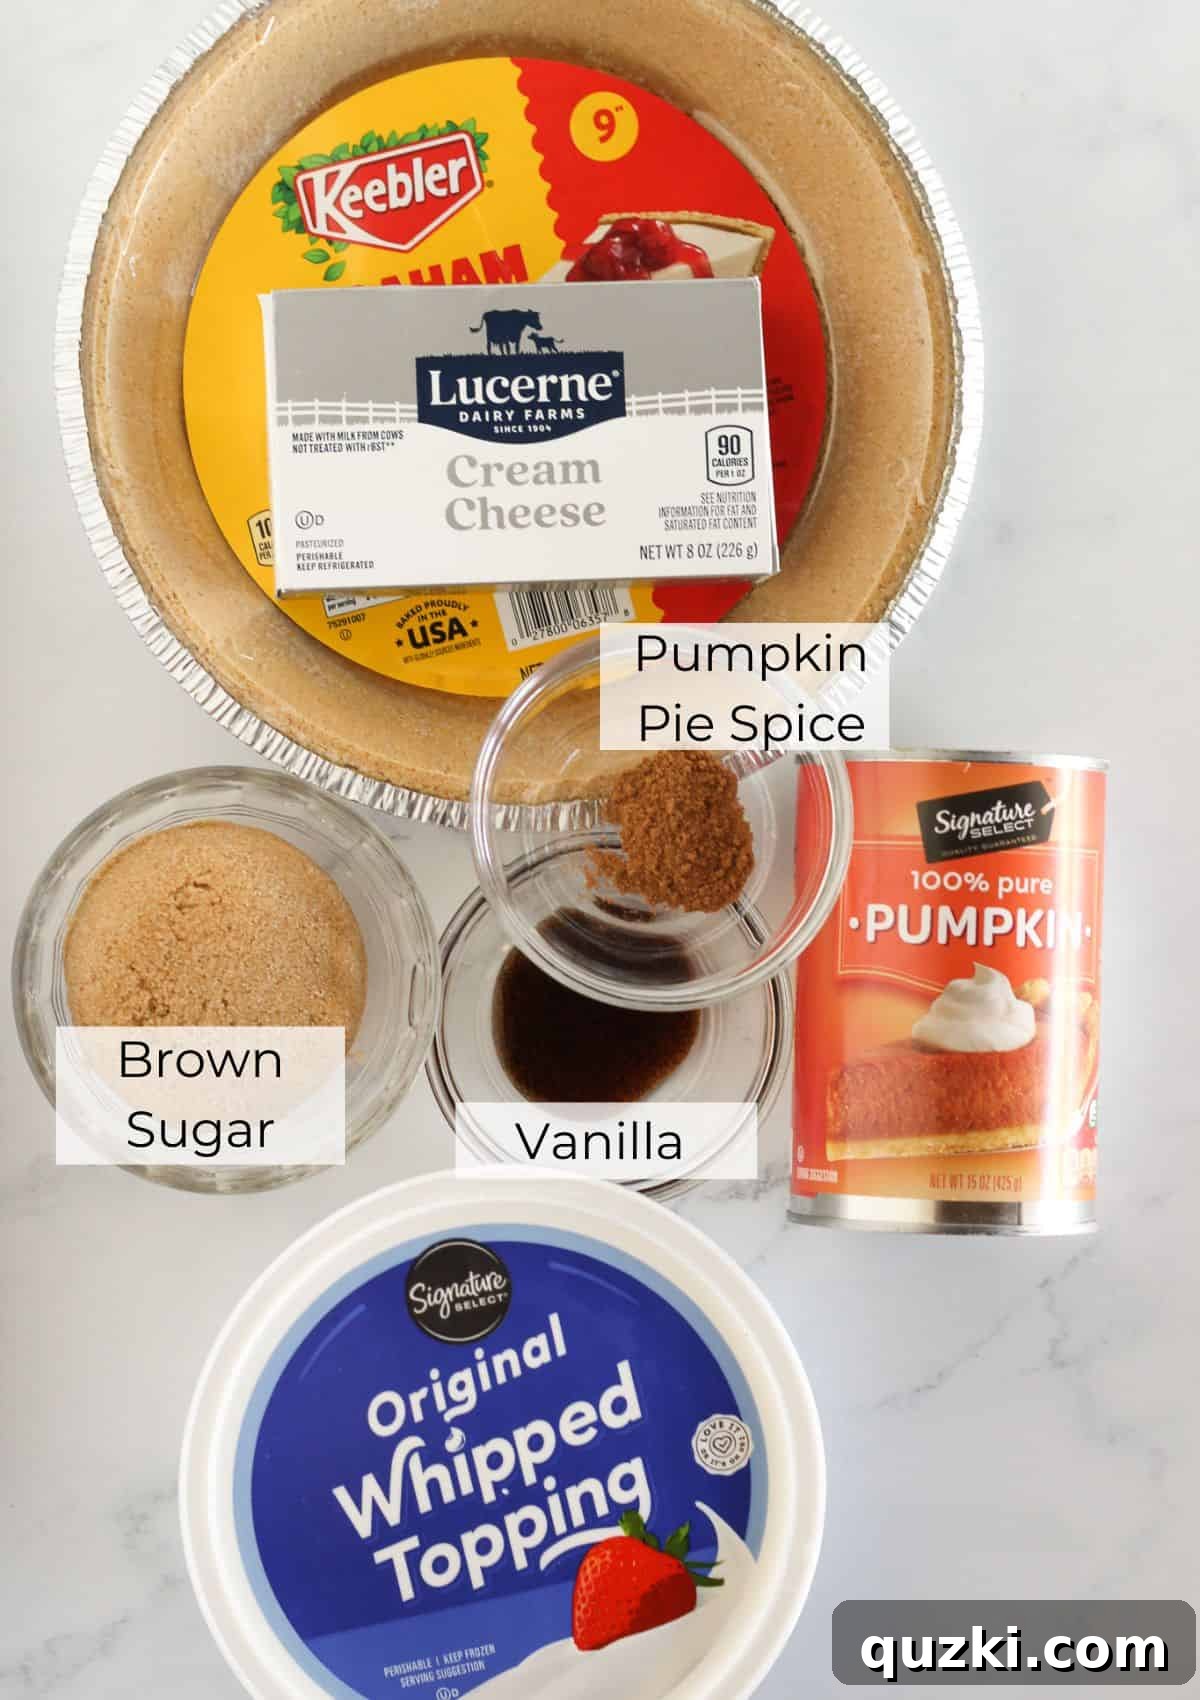
- Pre-made Pie Crust: For ultimate convenience, I highly recommend using a store-bought graham cracker crust found in the baking aisle. It provides a sweet, crunchy base that perfectly complements the creamy mousse. It saves you time and effort, ensuring this truly remains a no-bake wonder.
- Cream Cheese: This is the secret to the mousse’s rich, thick, and wonderfully smooth texture. Make sure it’s softened to room temperature before mixing to prevent lumps and achieve a silky consistency.
- Pumpkin Puree: It’s crucial to use pure pumpkin puree and not pumpkin pie filling. Pumpkin pie filling already contains sugar and spices, which would make it difficult to control the flavor profile of your mousse. Using pure pumpkin allows you to adjust the sweetness and spice levels to your personal preference.
- Whipped Topping: This ingredient is essential for giving the pumpkin mousse its signature light and airy consistency. While store-bought whipped topping is a fantastic shortcut, you can also opt for a homemade whipped cream for an even richer flavor. Just be sure to thaw store-bought topping according to package directions.
- Brown Sugar: Adds a deep, caramelized sweetness that pairs wonderfully with the pumpkin and spices. Packed brown sugar will give you the most accurate measurement.
- Vanilla Extract: A splash of vanilla enhances all the other flavors, adding warmth and depth to the mousse.
- Pumpkin Pie Spice: This blend of cinnamon, nutmeg, ginger, and cloves is what gives the pie its classic fall aroma and taste. You can purchase it pre-made or easily create your own homemade pumpkin pie spice blend for a fresher flavor.
The full recipe card below provides precise measurements for all ingredients and quantities.
Crust Variations: Beyond the Graham Cracker
While a classic graham cracker crust is my go-to for this recipe, don’t limit yourself! The beauty of a no-bake pie is its versatility. Here are some fantastic alternatives to consider:
- Homemade Graham Cracker Crust: For those who prefer a completely homemade touch, whipping up your own graham cracker crust is easy and adds a wonderful fresh crunch.
- Pre-baked Frozen or Refrigerated Pie Crust: If you have a traditional pie crust on hand, you can pre-bake it and use it as a base. Just ensure it’s fully cooled before adding the mousse.
- Vanilla Wafer Crust: A vanilla wafer crust offers a delicate, buttery sweetness that complements the pumpkin beautifully.
- Cookie Crumb Crusts: Get creative with other cookies! Crushed Biscoff cookies, ginger snaps, pecan sandies, or even Oreo cookies (with the cream removed) would make a uniquely delicious and unforgettable crust, adding an extra layer of flavor and texture.
How to Make No-Bake Pumpkin Mousse Pie: A Simple Guide
This recipe is designed for ease and minimal effort, ensuring a stunning dessert without the stress. Follow these simple steps to create your perfect no-bake pumpkin mousse pie.
-

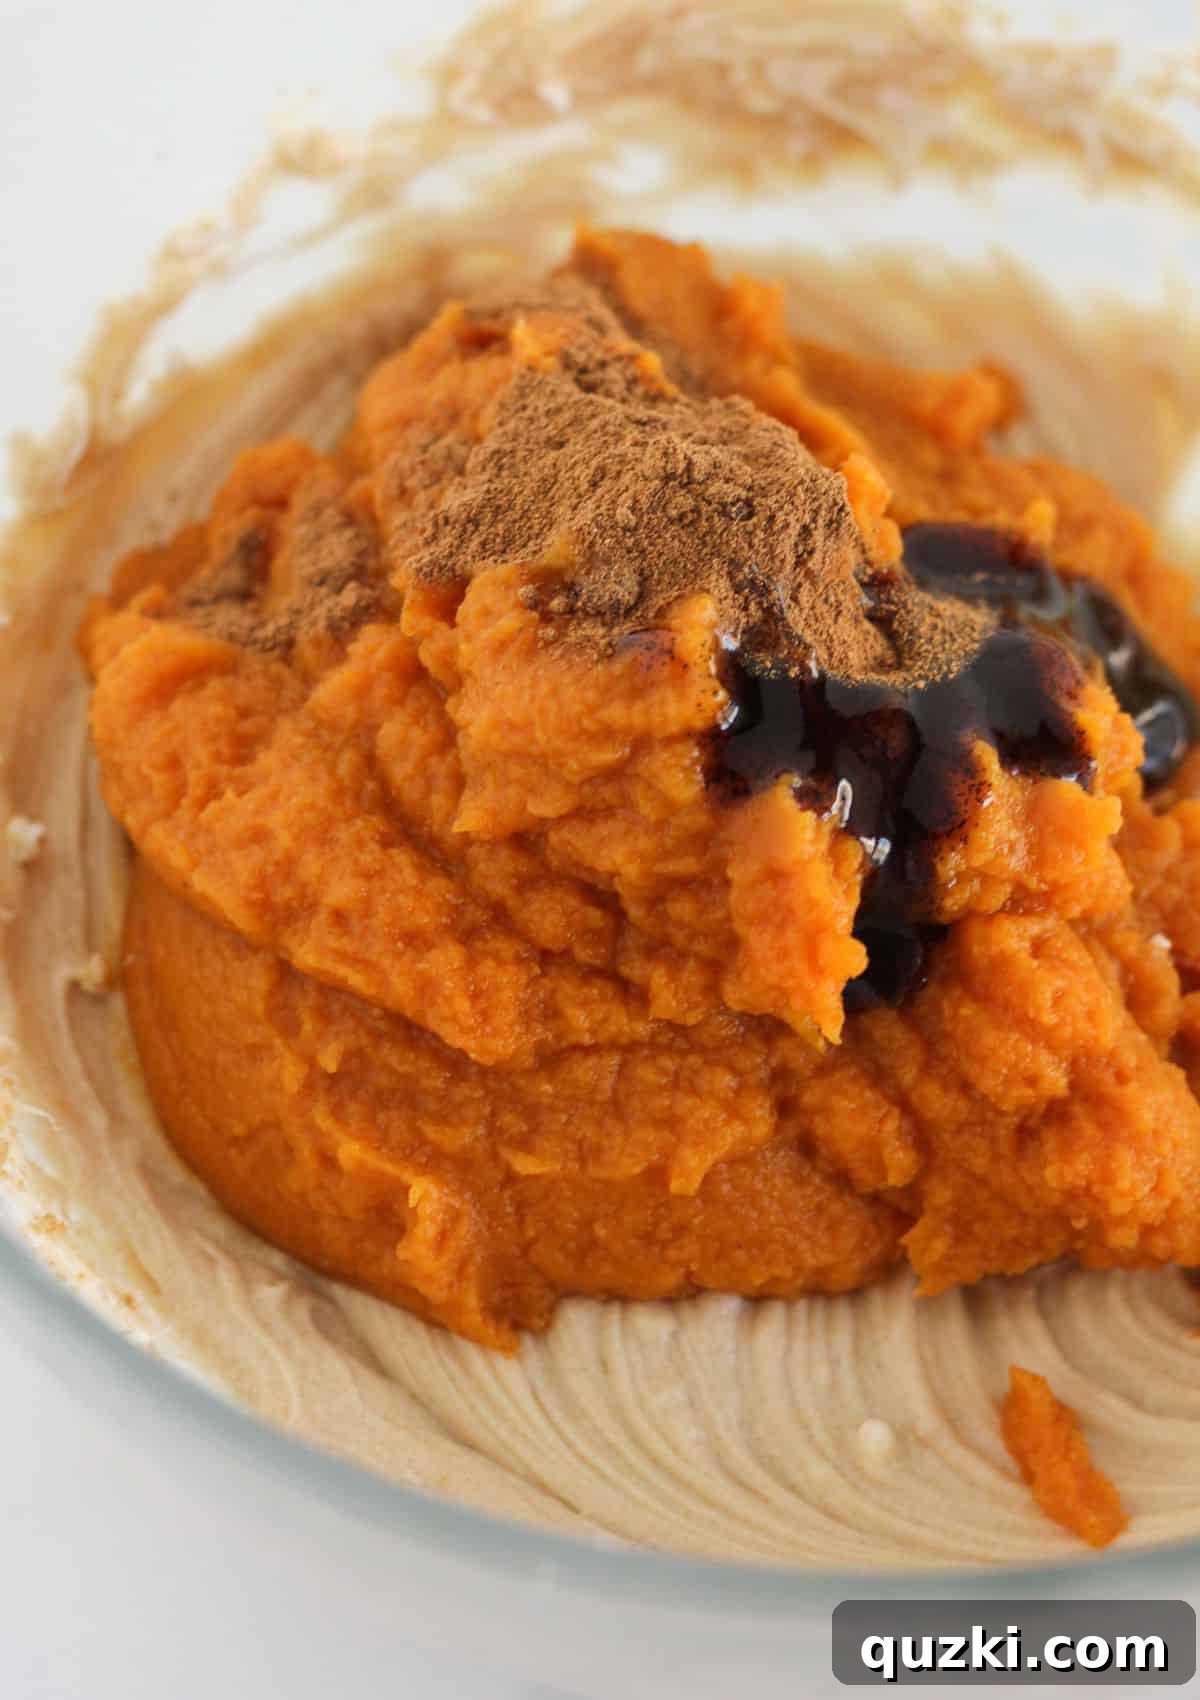
Begin by creaming together the softened cream cheese and brown sugar until smooth. Prepare the Base Mixture: In a large mixing bowl, combine the softened cream cheese and brown sugar. Using an electric mixer, beat on medium speed until the mixture is light, fluffy, and completely creamy, usually about 30 seconds to a minute. Ensure there are no lumps of cream cheese remaining. Next, add the pumpkin puree, vanilla extract, and pumpkin pie spice to the bowl. Continue beating until all ingredients are thoroughly incorporated and the mixture is smooth and evenly colored.
-
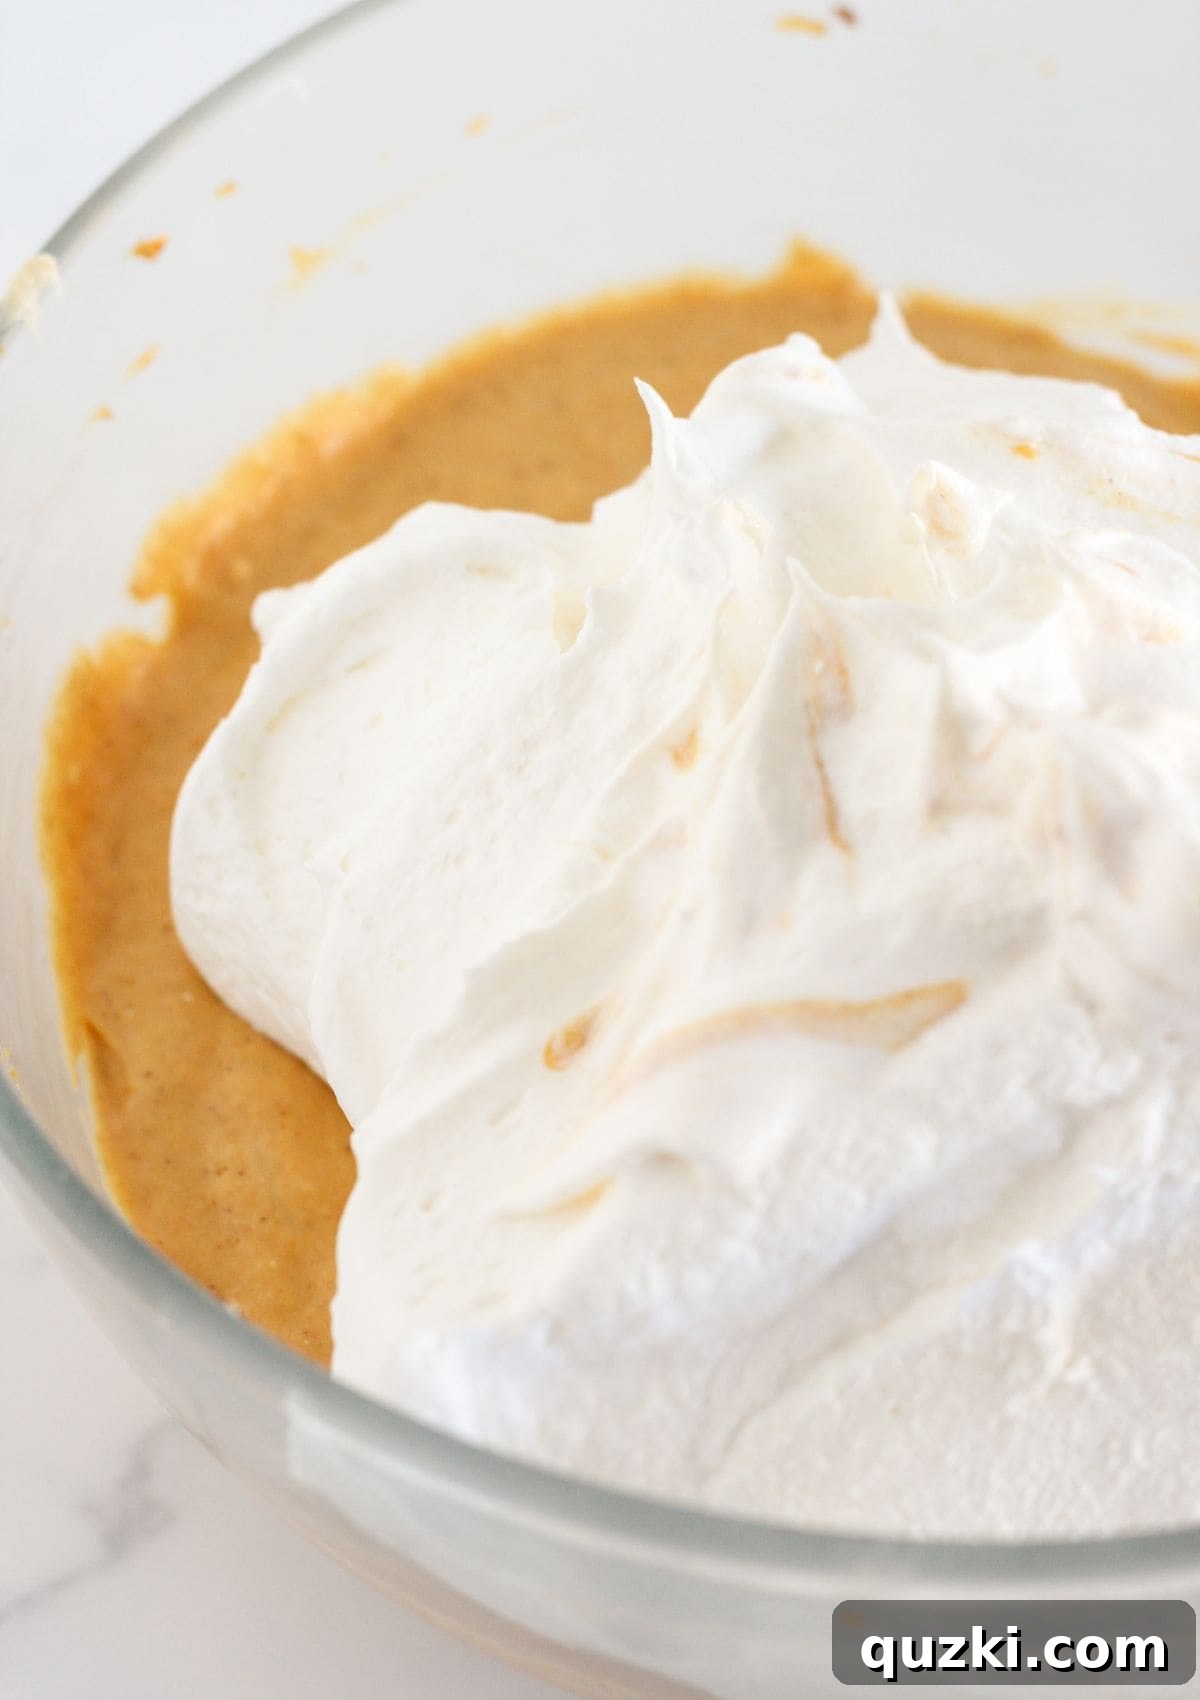
Gently fold in the whipped topping until the mousse is light and uniform. Create the Mousse: Once the pumpkin mixture is smooth, gently fold in the thawed whipped topping. Use a spatula to carefully incorporate the whipped topping, stirring until no streaks remain and the mixture is light and uniform. Be careful not to overmix, as this can deflate the whipped topping and reduce the airy texture of the mousse.
-
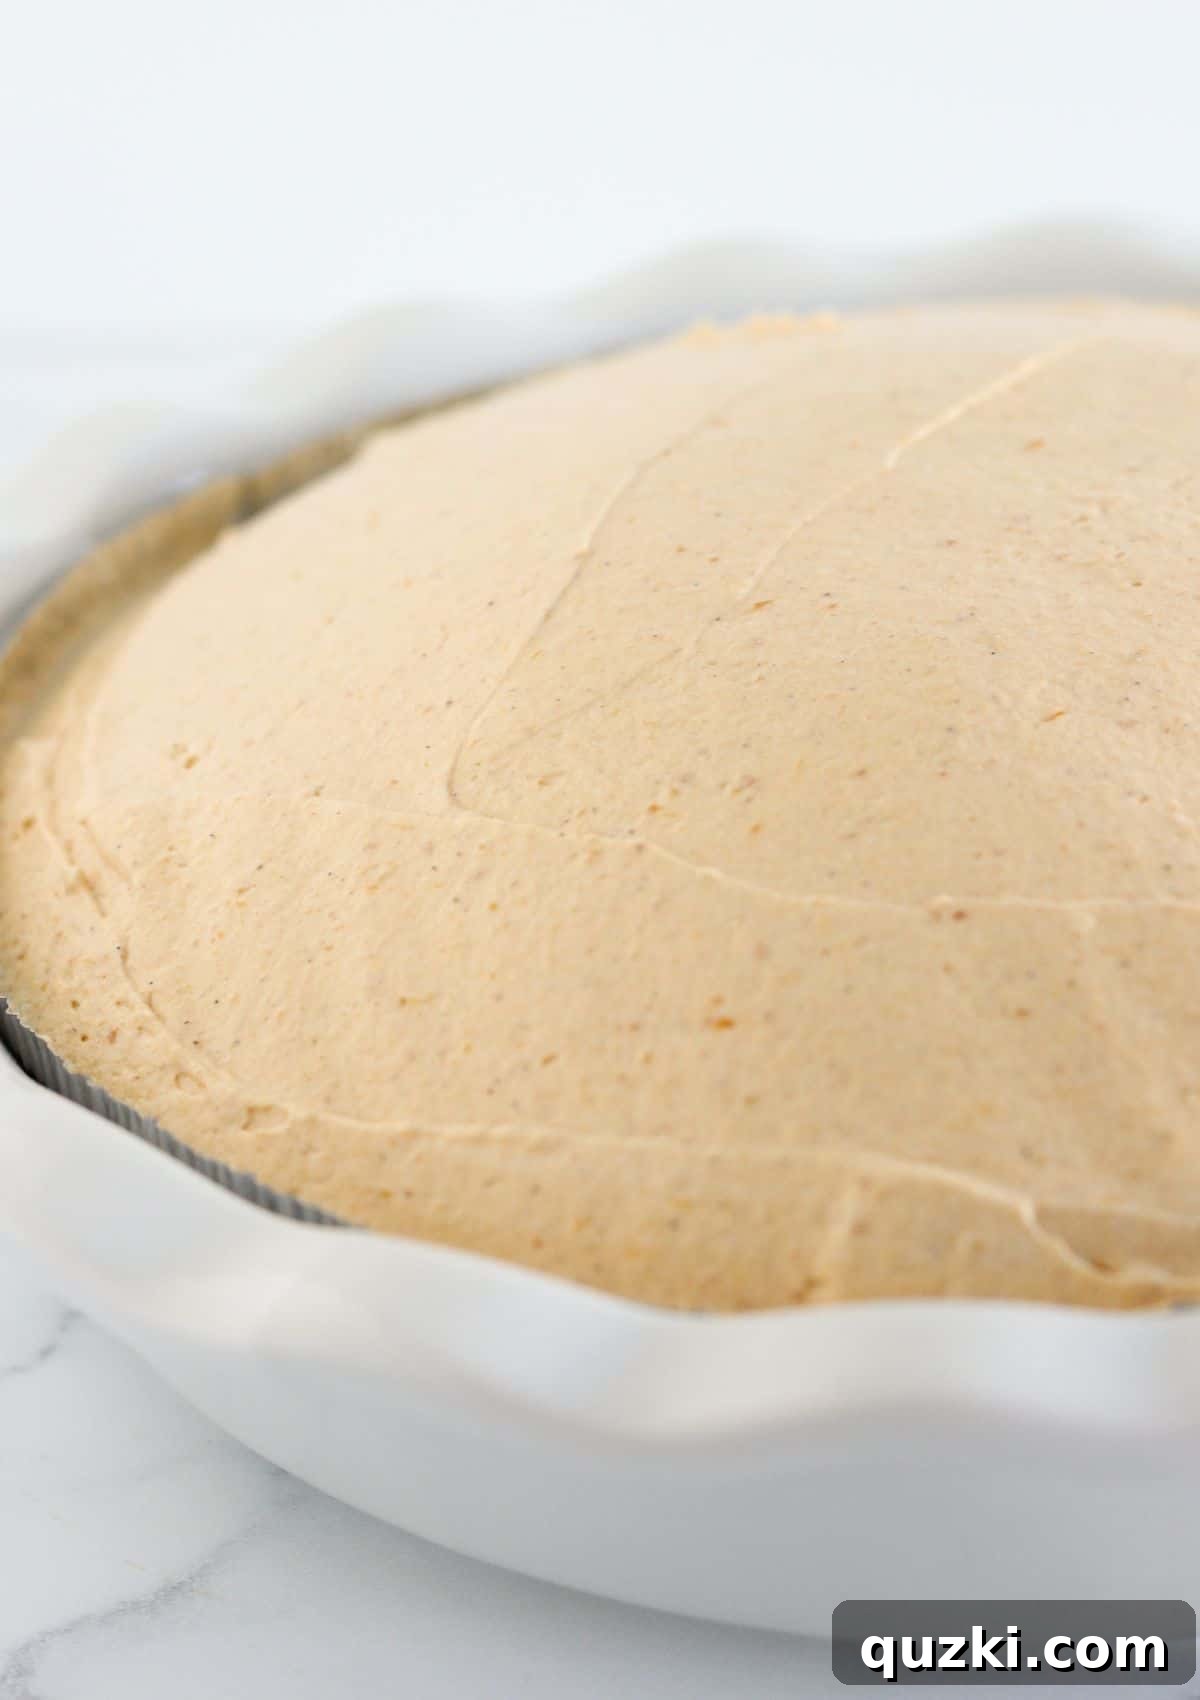
Pour the delicious pumpkin mousse into your prepared crust and chill. Fill and Chill: Carefully spoon the prepared pumpkin mousse filling into your chosen pie crust. Use a spatula or the back of a spoon to spread the filling out into an even layer, ensuring it fills the crust completely. Once filled, cover the pie tightly with plastic wrap to prevent a skin from forming and refrigerate for at least 4 hours. Chilling is essential for the mousse to set properly and achieve its firm yet creamy texture.
-
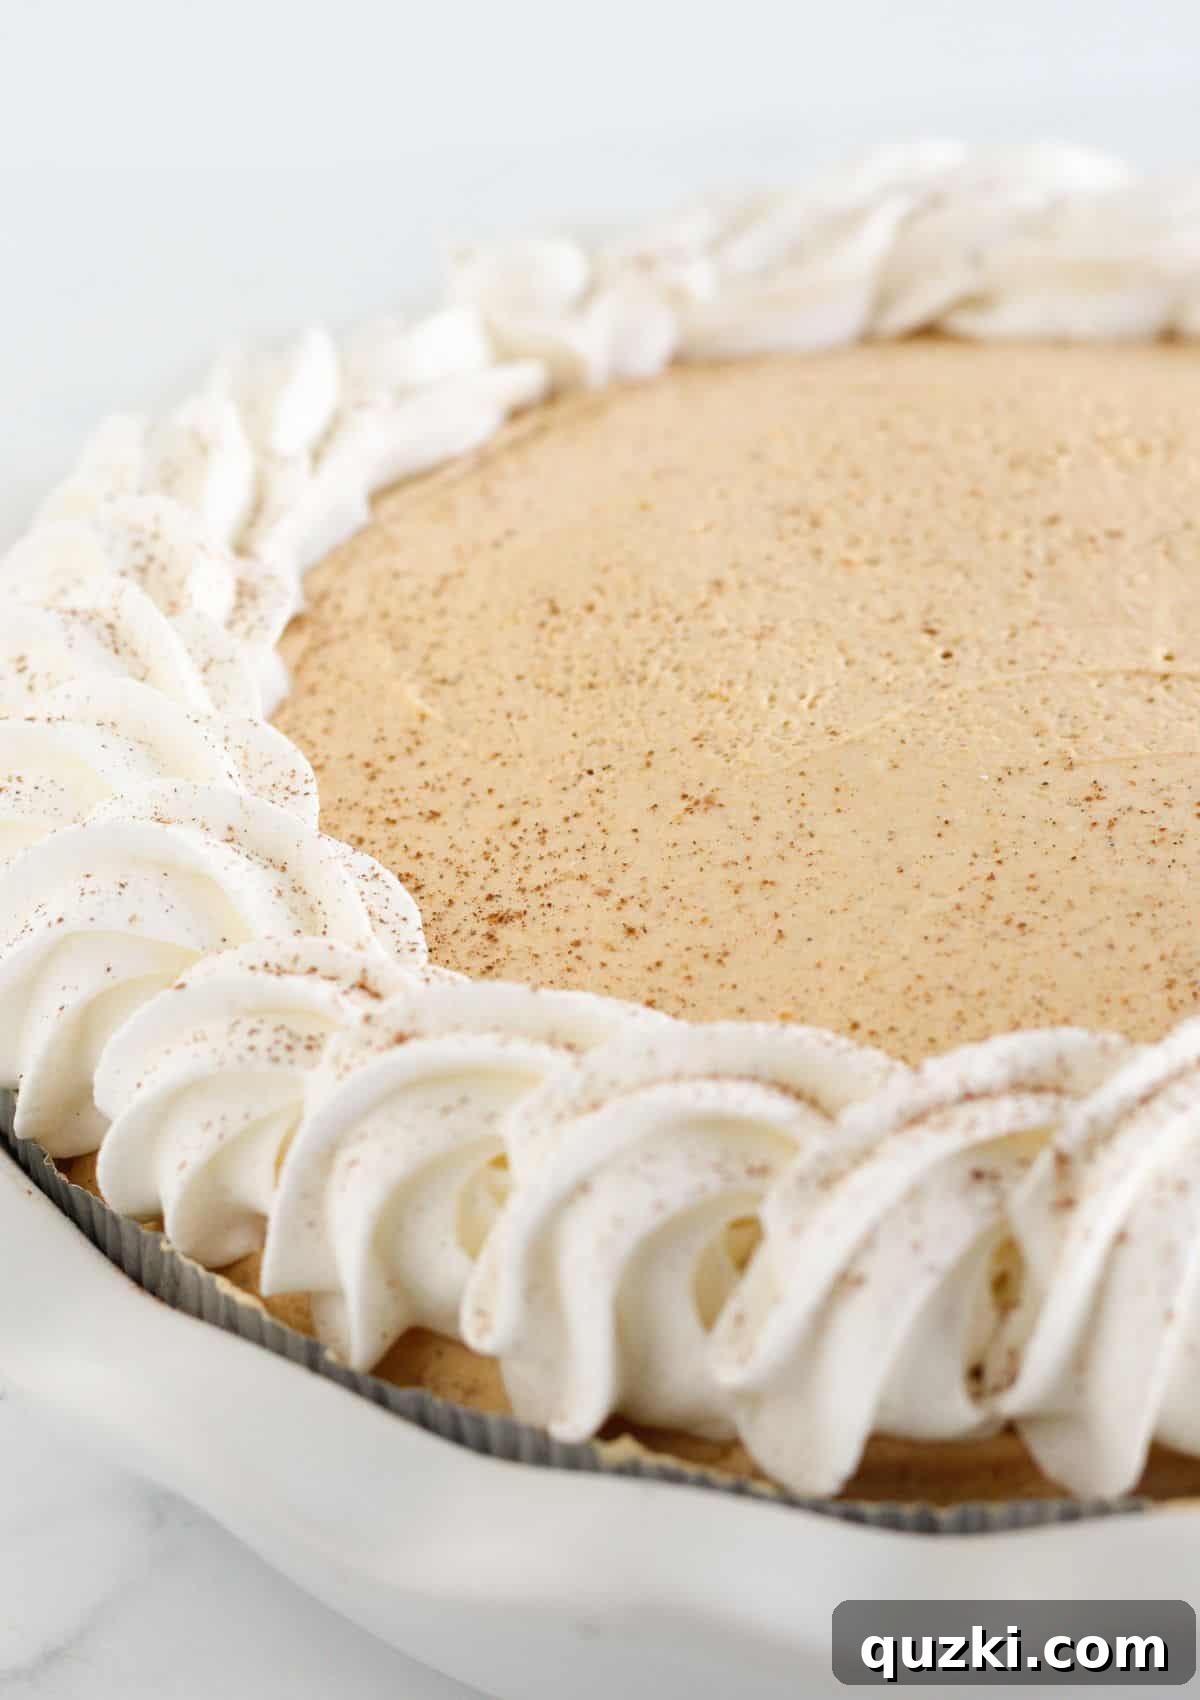
Garnish with fresh whipped topping and a sprinkle of spice before serving. Serve and Garnish: Once the pie has thoroughly chilled and set, remove it from the refrigerator. Just before serving, top the pie with additional whipped topping. You can pipe it on for an elegant presentation or simply spread it evenly. For an extra touch of flavor and visual appeal, sprinkle a pinch of cinnamon or pumpkin pie spice over the whipped topping. Slice and serve immediately.
Expert Tips for the Perfect Pie
Achieving pumpkin mousse pie perfection is simple with a few key tricks. These tips will help ensure your pie is smooth, perfectly set, and utterly delicious every time.
- Transfer Your Ready-Made Crust to a Pie Plate: While store-bought crusts come in their own foil pans, transferring it to a decorative pie plate makes a significant difference. Not only does it enhance the presentation, making it look more “homemade” and appealing, but it also provides crucial stability. This makes the pie much easier to transport for potlucks or holiday gatherings, preventing any unfortunate mishaps.
- Room Temperature Cream Cheese is Non-Negotiable: This is perhaps the most important tip for a smooth mousse. If your cream cheese is cold, it will not blend properly with the sugar and pumpkin, resulting in a lumpy, undesirable texture. Plan ahead and take your cream cheese out of the refrigerator at least an hour before you begin mixing. If you’re short on time, you can soften it quickly by unwrapping it and microwaving it on low power for 10-15 seconds, checking frequently.
- Don’t Skimp on the Chilling Time: Patience is a virtue when it comes to no-bake pies. While the pumpkin mousse filling might appear semi-set after just 2 hours, allowing it to chill for a full 4 hours, or even better, overnight, gives it the best possible structure and firm texture. This extended chill time allows the ingredients to fully bind and the flavors to deepen, resulting in a slice that holds its shape beautifully and tastes even better.
- Individual Servings for Easy Entertaining: For a delightful twist, consider making this recipe in individual portions. Small mason jars, ramekins, or even clear plastic cups work wonderfully. Place a vanilla wafer or a spoonful of graham cracker crumbs at the bottom of each for a mini crust, then divide the pumpkin mousse filling evenly among about 10 jars. These individual servings are perfect for parties, easy to grab, and incredibly charming. They also eliminate the need for slicing a large pie, making dessert service a breeze.
- Adjust Spices to Taste: Feel free to customize the amount of pumpkin pie spice to your liking. If you prefer a bolder, spicier flavor, add an extra pinch. For a milder taste, reduce it slightly. You can also add a tiny pinch of ground ginger or cloves for a more complex spice profile.
Storage and Freezing Instructions
Proper storage ensures your delicious No-Bake Pumpkin Mousse Pie remains fresh and enjoyable for as long as possible.
- Store: Any leftover Pumpkin Mousse Pie should be stored in the refrigerator. Cover it tightly with plastic wrap or aluminum foil to prevent it from drying out or absorbing other odors from the fridge. It will stay fresh and delightful for up to 4 days.
- Freeze: This No-Bake Pumpkin Mousse Pie is suitable for freezing, allowing you to prepare it well in advance. Wrap the entire pie (or individual slices) tightly in plastic wrap, then cover with a layer of aluminum foil. It can be frozen for up to 2-3 weeks. To serve, thaw the pie overnight in the refrigerator. Once thawed, add the fresh whipped topping and any desired garnishes before slicing and serving.
Pumpkin Mousse Pie Recipe FAQs
What is the difference between pumpkin mousse pie and pumpkin chiffon pie?
While both pumpkin mousse pie and pumpkin chiffon pie share a similar light, airy texture and iconic pumpkin flavor, the key difference lies in their stabilizing ingredients. Pumpkin Mousse Pie typically achieves its light consistency through the use of whipped cream or whipped topping, folded into a cream cheese and pumpkin base. Pumpkin Chiffon Pie, on the other hand, relies on gelatin or stiffly beaten egg whites (or a combination) to create its distinctive fluffy, jiggly texture.
Is pumpkin mousse pie a good make-ahead recipe?
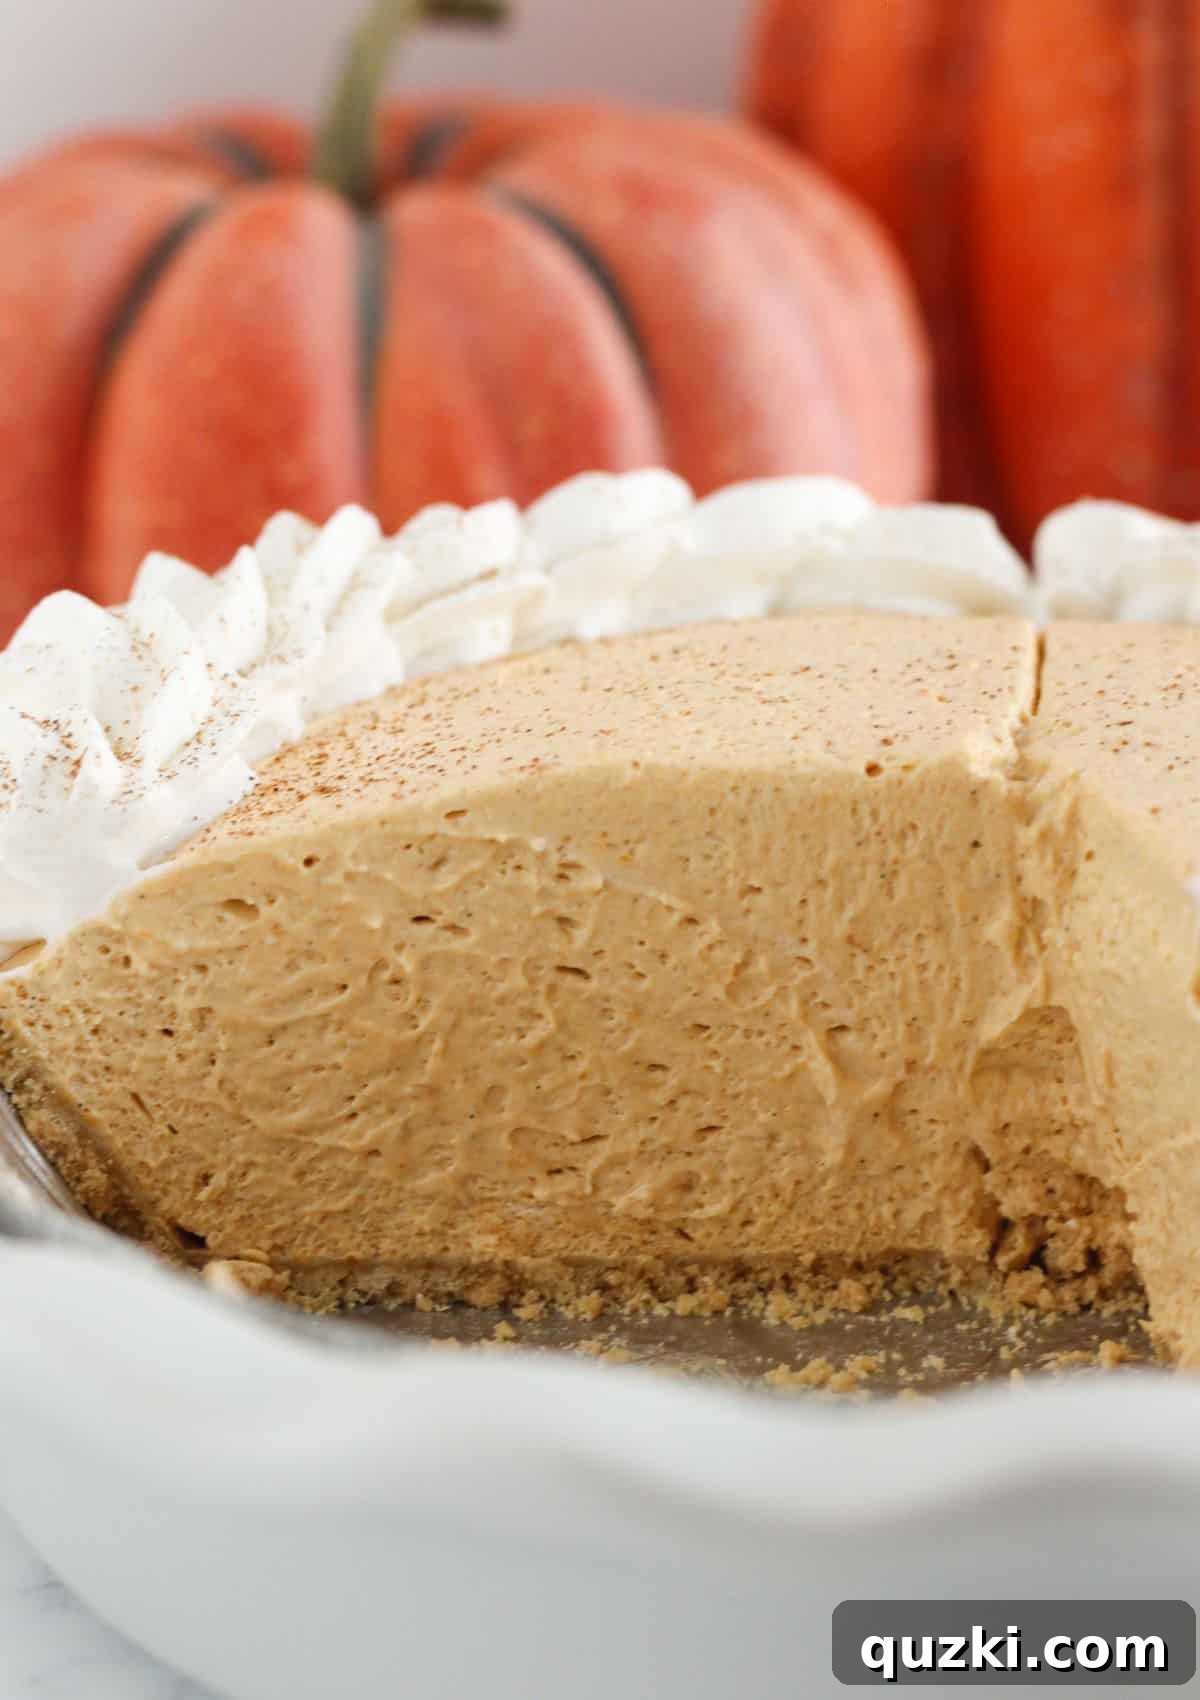
Absolutely, yes! In fact, this No-Bake Pumpkin Mousse Pie is arguably at its best when prepared a day in advance. Making it ahead of time allows the mousse ample opportunity to set up perfectly, resulting in firm, clean slices. It also gives all the flavors a chance to meld and deepen, enhancing the overall taste experience. This make-ahead quality makes it an outstanding choice for busy holidays like Thanksgiving, as it frees up valuable time and oven space on the day of the celebration.
Can I use real whipped cream instead of whipped topping?
Yes, you can definitely use freshly made whipped cream! If you prefer to make your own, beat 1 cup of heavy cream with 2 tablespoons of powdered sugar and 1/2 teaspoon of vanilla extract until stiff peaks form. Gently fold this into the pumpkin and cream cheese mixture as instructed. Homemade whipped cream will give your pie an even richer, more luxurious flavor and texture.
How can I tell if my cream cheese is softened enough?
Softened cream cheese should be easily spreadable and have no hard lumps. When you press it with your finger, it should yield easily. If it’s too cold, it will be firm and resist blending, leading to a lumpy mousse. If it’s too warm or melted, it can make the mousse too thin. Aim for a soft, pliable texture.
Craving More Easy Pie Recipes? Try These Delightful Options!
If you’ve fallen in love with the simplicity and deliciousness of this no-bake pumpkin mousse pie, you’ll be thrilled to discover more easy pie recipes that require minimal effort but deliver maximum flavor. Perfect for any occasion, these recipes are designed to make your baking experience a breeze.
Pies
Pies
Pies
Desserts
Did you try this recipe? Leave a ⭐⭐⭐⭐⭐ review below and tag @practicallyhomemade on Pinterest! We love seeing your delicious creations.
No-Bake Pumpkin Mousse Pie Recipe
By: June Albertson-Dick
Transform classic pumpkin pie flavors into a light and airy No-Bake Pumpkin Mousse Pie with just a few simple ingredients. This creamy, delightful pie is the perfect way to enjoy your pumpkin fix without turning on the oven.
Prep Time: 15 minutes
Cook Time: 0 minutes
Chill Time: 4 hours
Total Time: 4 hours 15 minutes
Servings: 10 slices
Print Recipe
Ingredients
For the Crust:
- 1 ready-made graham cracker crust (9-inch)
For the Pumpkin Mousse Filling:
- 8 ounces cream cheese, softened to room temperature
- ½ cup packed brown sugar
- 15 ounces (approx. 1 ¾ cups) pumpkin puree (not pie filling)
- 1 teaspoon vanilla extract
- 1 teaspoon pumpkin pie spice
- 8 ounces (approx. 3 ½ cups) whipped topping, thawed
For the Topping:
- 8 ounces (approx. 3 ½ cups) whipped topping, thawed (for serving)
- ¼ teaspoon ground cinnamon or extra pumpkin pie spice (for garnish)
Instructions
Making the Pumpkin Mousse Filling:
- In a large mixing bowl, beat the softened cream cheese and brown sugar with an electric mixer on medium speed until the mixture is smooth, light, and creamy (about 30 seconds).
- Add the pumpkin puree, vanilla extract, and pumpkin pie spice to the bowl. Continue beating until all the ingredients are well combined and no pockets of cream cheese remain.
- Gently fold in the thawed whipped topping using a spatula until it is completely incorporated into the pumpkin mixture. Be careful not to overmix to maintain the airy texture.
- Pour the pumpkin mousse filling into the prepared graham cracker crust. Spread it out evenly with a spatula. Cover the pie tightly with plastic wrap and refrigerate for a minimum of 4 hours, or ideally overnight, until fully set.
Topping and Serving:
- Just before serving, remove the pie from the refrigerator. Pipe or spread additional thawed whipped topping over the entire surface of the pie.
- Garnish with a sprinkle of ground cinnamon or pumpkin pie spice for an inviting aroma and finish.
- Slice and serve immediately. Leftovers should be covered and refrigerated for up to 4 days.
Recipe Notes
- For a homemade touch, consider preparing a homemade graham cracker crust or a vanilla wafer crust in a 9-inch pie plate instead of a store-bought crust.
- Ensure cream cheese is at room temperature for a smooth, lump-free mousse.
- Chilling for 4 hours to overnight is crucial for the pie to set properly.
- This recipe is excellent for making ahead of time for holidays or parties.
Nutrition Facts (Approximate)
Per Serving (1 slice):
- Calories: 226 kcal
- Carbohydrates: 23g
- Protein: 3g
- Fat: 14g
- Saturated Fat: 10g
- Polyunsaturated Fat: 0.5g
- Monounsaturated Fat: 2g
- Cholesterol: 24mg
- Sodium: 108mg
- Potassium: 96mg
- Fiber: 0.1g
- Sugar: 22g
- Vitamin A: 572 IU
- Vitamin C: 0.1mg
- Calcium: 65mg
- Iron: 0.2mg
Nutrition information is automatically calculated and should only be used as an approximation. Actual values may vary based on specific ingredients and preparation methods.