
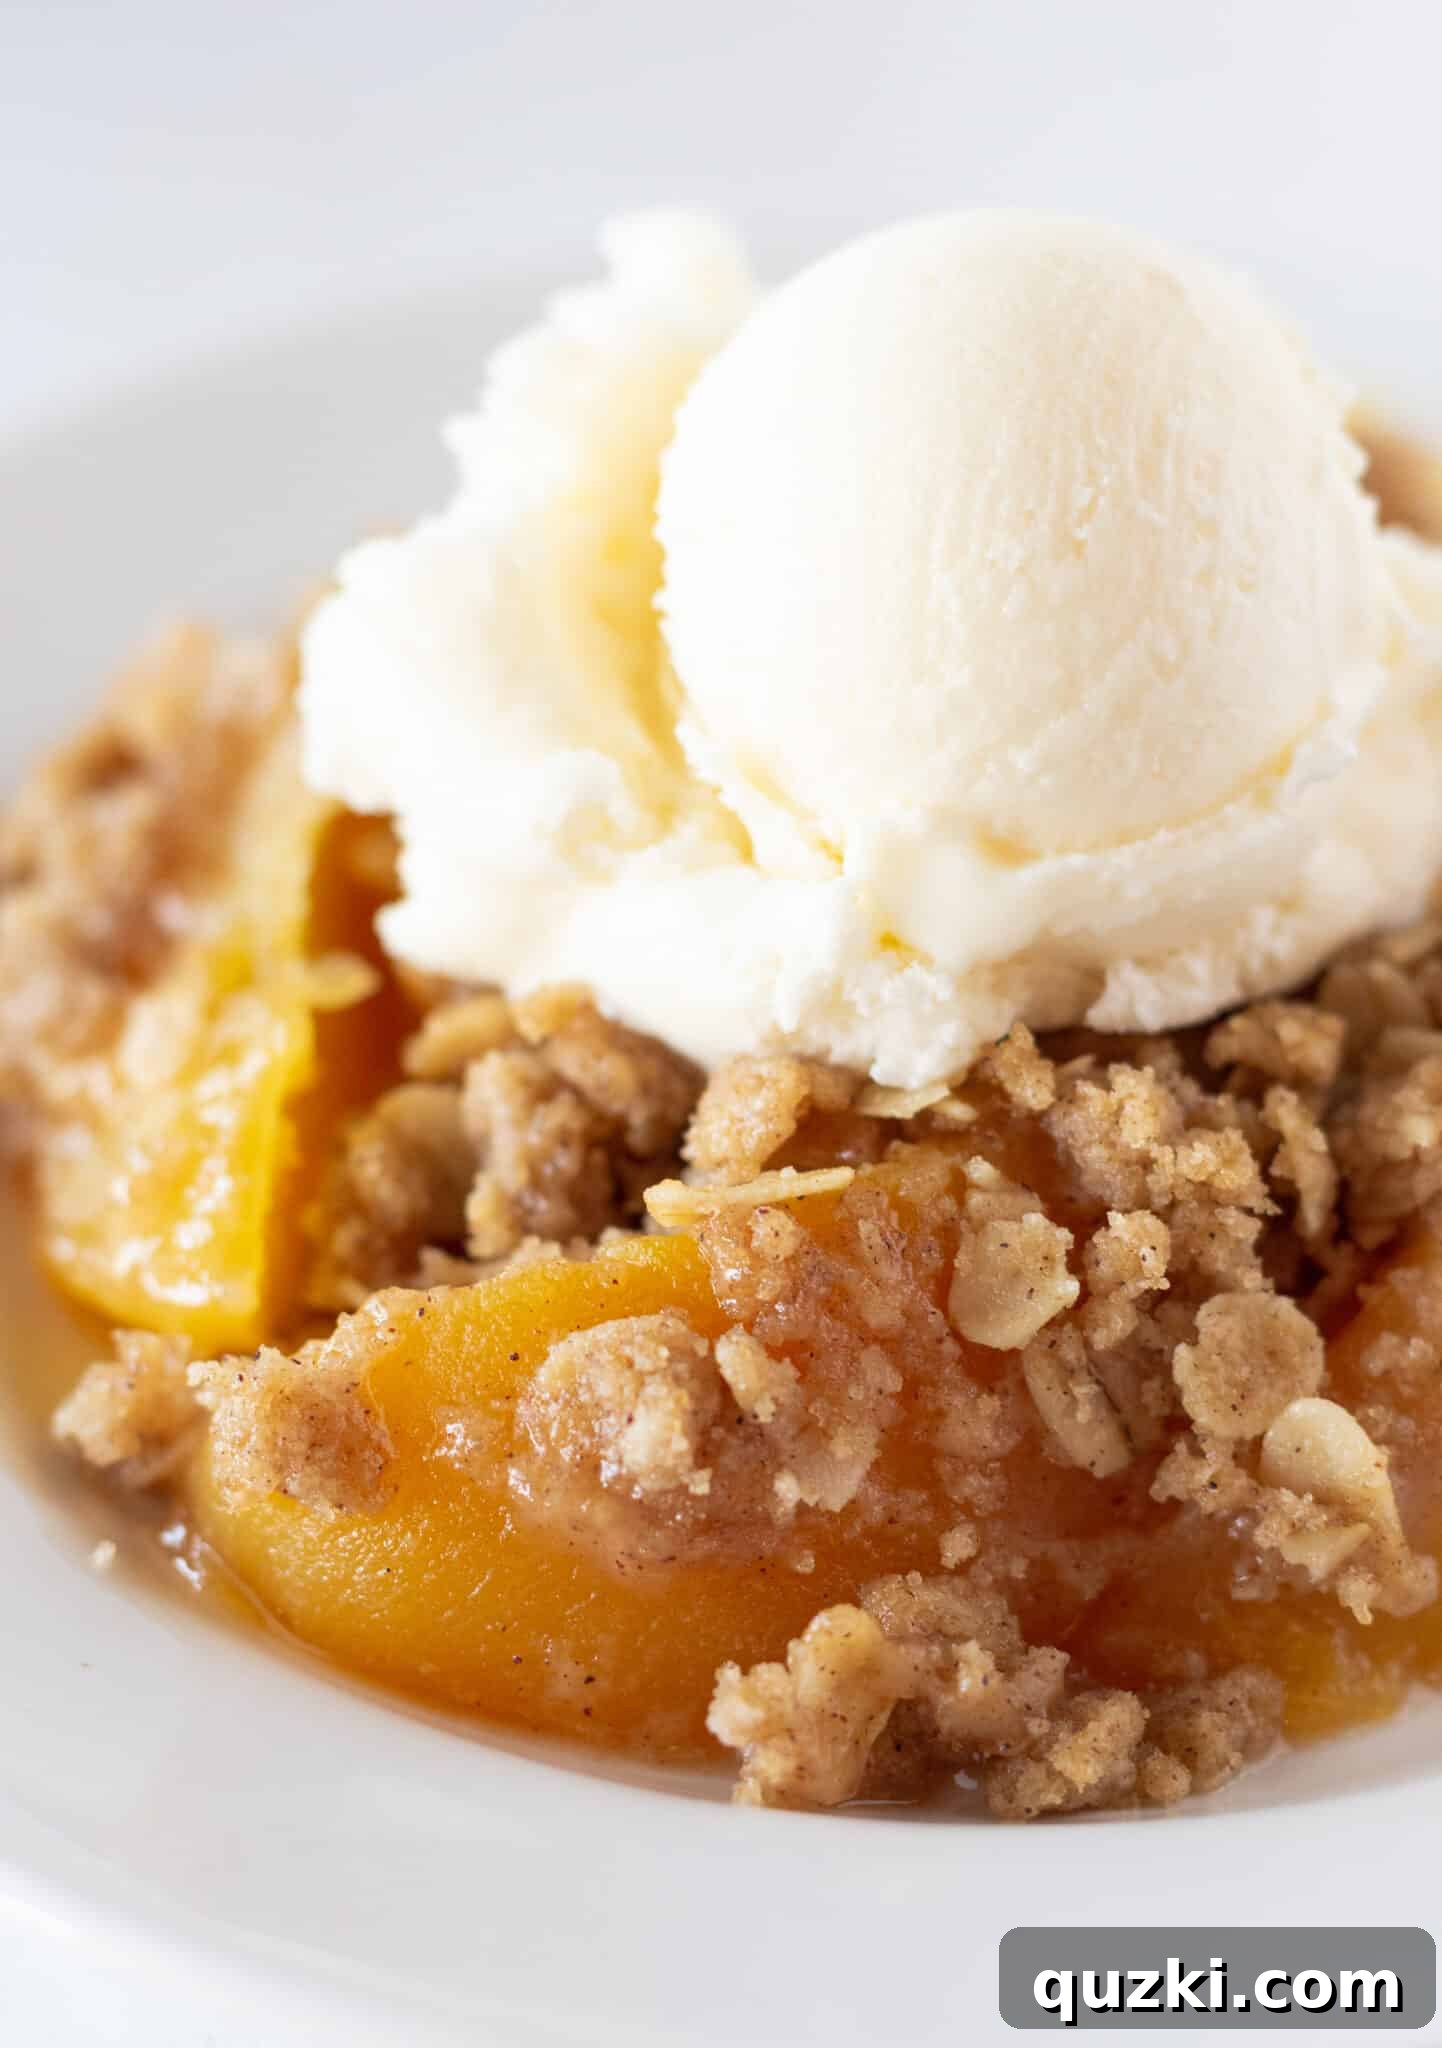
Easy Peach Crisp with Canned Peaches: Your Go-To Dessert for Any Occasion
Imagine a dessert that brings warmth, comfort, and incredible flavor to your table, all with minimal effort and ingredients you likely already have. This Easy Peach Crisp with Canned Peaches is that dream dessert! It takes the simple goodness of juicy canned peaches and elevates them to something truly extraordinary, topped with a perfectly crisp, golden-brown oat streusel. Whether you’re a seasoned baker or just starting, this recipe promises delicious results every time. And for that extra touch of decadence, a generous scoop of creamy vanilla ice cream is the ultimate companion to this warm, bubbly fruit delight.
If you have a fondness for fruit-based baked goods, you might also adore this incredible Apple Crisp recipe, offering another delightful twist on a classic comfort dessert.
Crisp vs. Cobbler: What Sets These Fruit Desserts Apart?
While often grouped together, peach crisp and peach cobbler are distinct desserts, each offering a unique textural experience. Understanding the difference can help you appreciate the specific charm of our easy peach crisp.
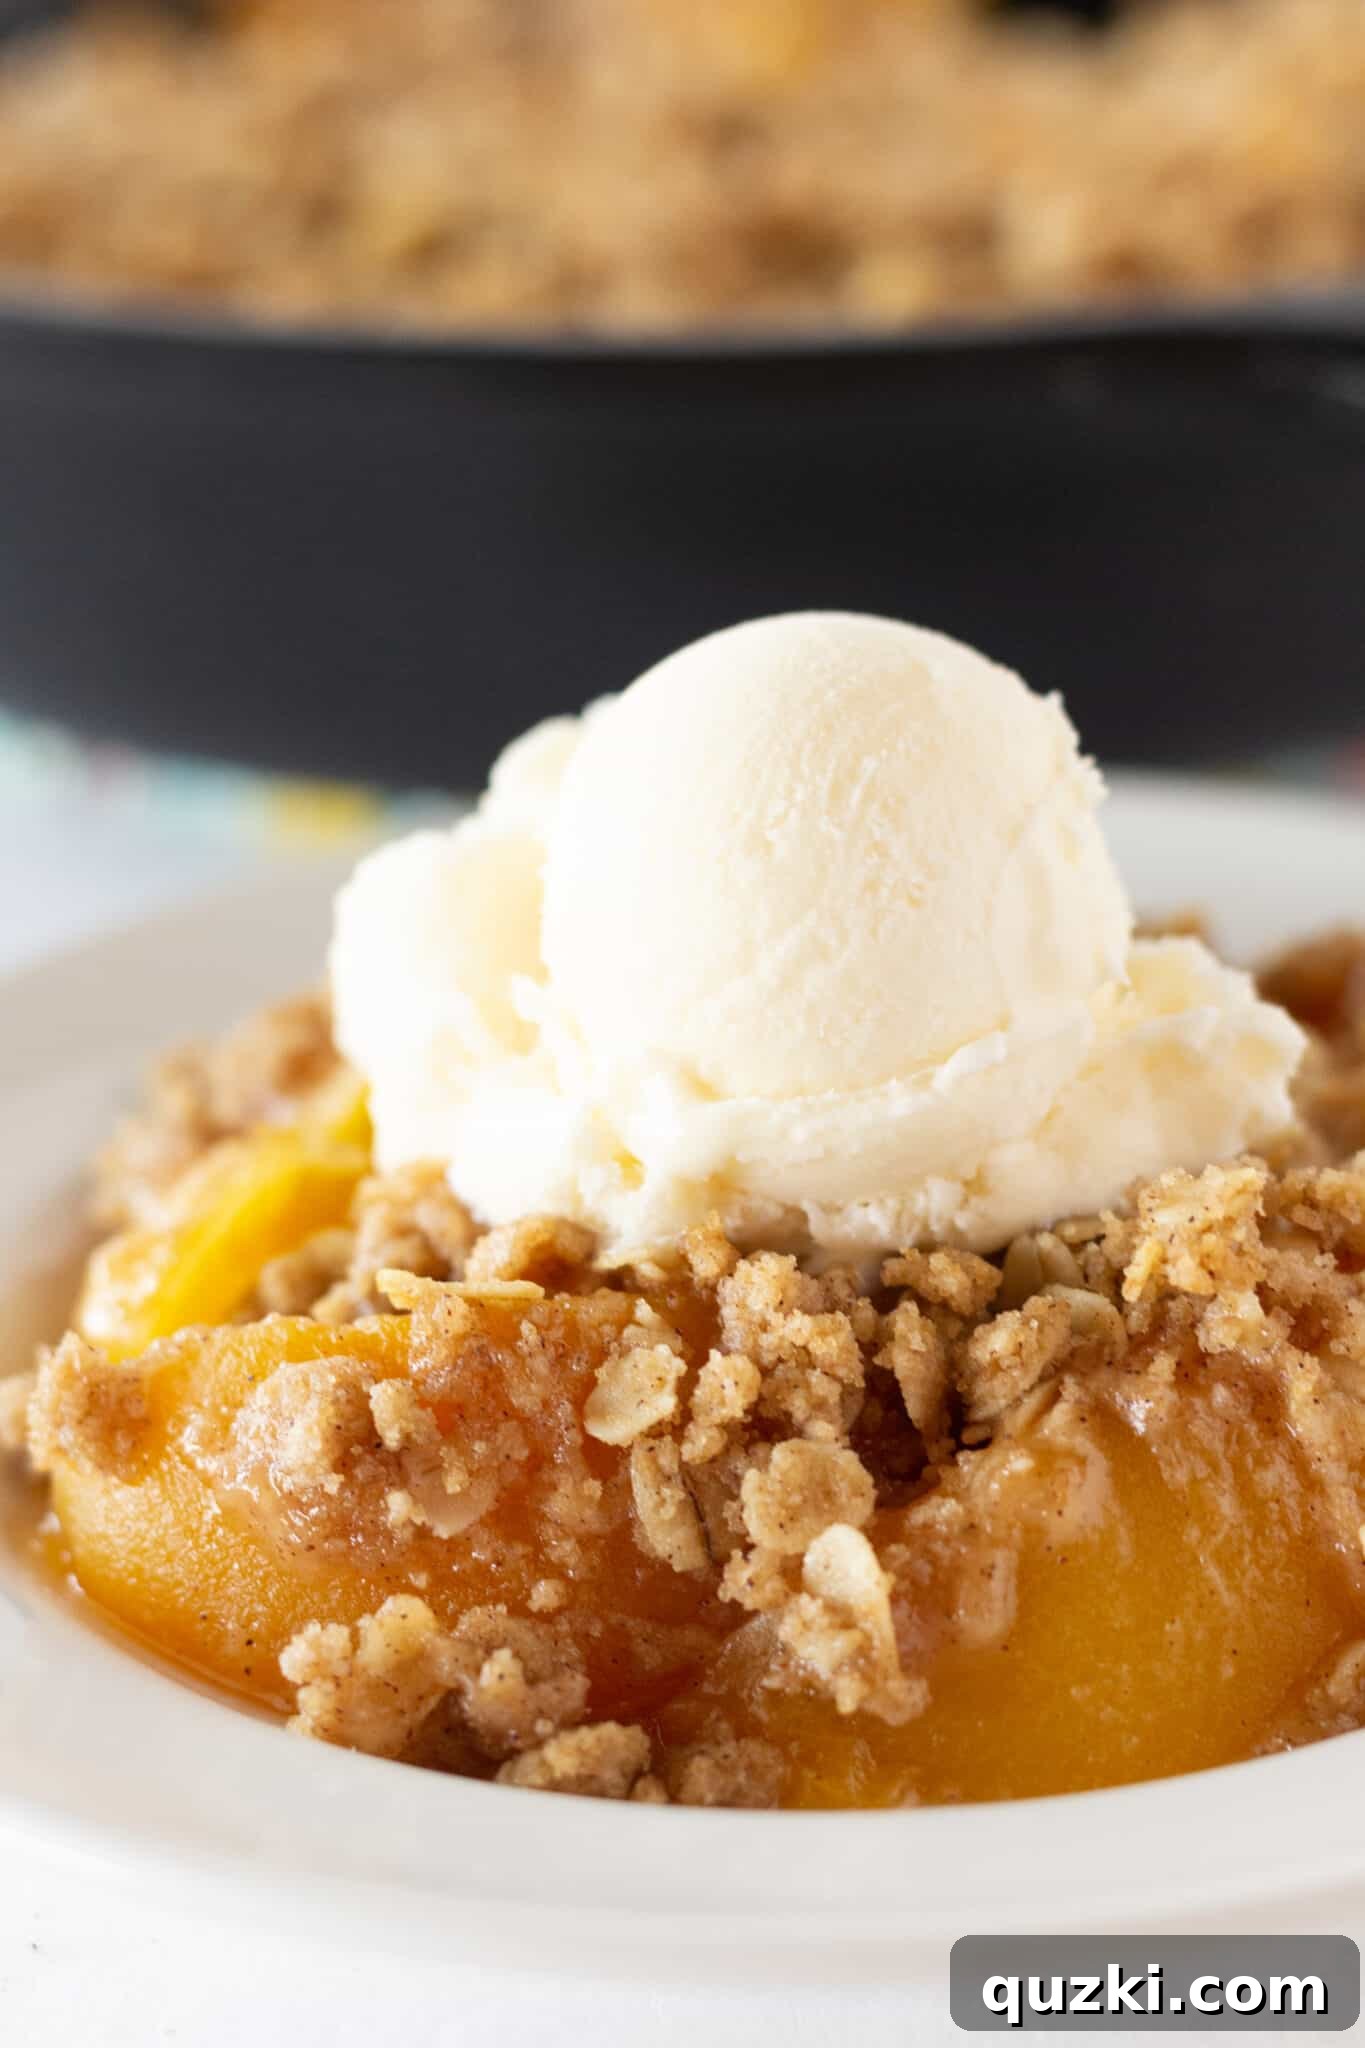
- A Peach Crisp: This baked fruit dessert is defined by its signature crisp and crunchy topping. Typically, this topping incorporates oats, flour, sugar, butter, and sometimes nuts. As it bakes, these ingredients form a wonderfully crumbly, textured layer over the sweet fruit, providing a delightful contrast to the soft, warm peaches underneath. The inclusion of oats is a hallmark of a true crisp, giving it that characteristic “crispy” texture.
- A Peach Cobbler: In contrast, a peach cobbler features a topping made from biscuit dough, scone dough, or a pie crust. These dough elements are usually dropped or laid over the fruit, creating a more cohesive, cake-like, or bread-like covering. The topping can range from soft and fluffy to slightly chewy, offering a different kind of comforting texture compared to a crisp.
For this recipe, we celebrate the satisfying crunch and irresistible crumbly texture that only a classic peach crisp can deliver, making it a standout choice for anyone who loves a good textural contrast in their dessert.
The Genius of Canned Peaches in Your Crisp
While fresh, ripe peaches are undoubtedly delicious, opting for canned peaches in this crisp recipe is not a shortcut; it’s a smart choice that offers unparalleled convenience, consistent quality, and year-round access to your favorite fruit. Here’s why canned peaches are the secret to this effortlessly perfect crisp:
- Unmatched Convenience: Say goodbye to the tedious tasks of peeling, pitting, and slicing. Canned peaches come ready to use, significantly reducing your preparation time and making this dessert genuinely “easy.” You can go from craving to baking in minutes!
- Consistent Flavor and Sweetness: Peaches selected for canning are harvested at their peak ripeness, ensuring a consistent sweetness and robust flavor that can be challenging to achieve with fresh peaches, especially outside of their prime season. They’re typically packed in light syrup, which adds to their inherent sweetness, making them ideal for baking.
- Always Available: Whether it’s the height of summer or the depths of winter, canned peaches are a pantry staple that’s always accessible. This means you can whip up this comforting dessert whenever the craving strikes, regardless of the season.
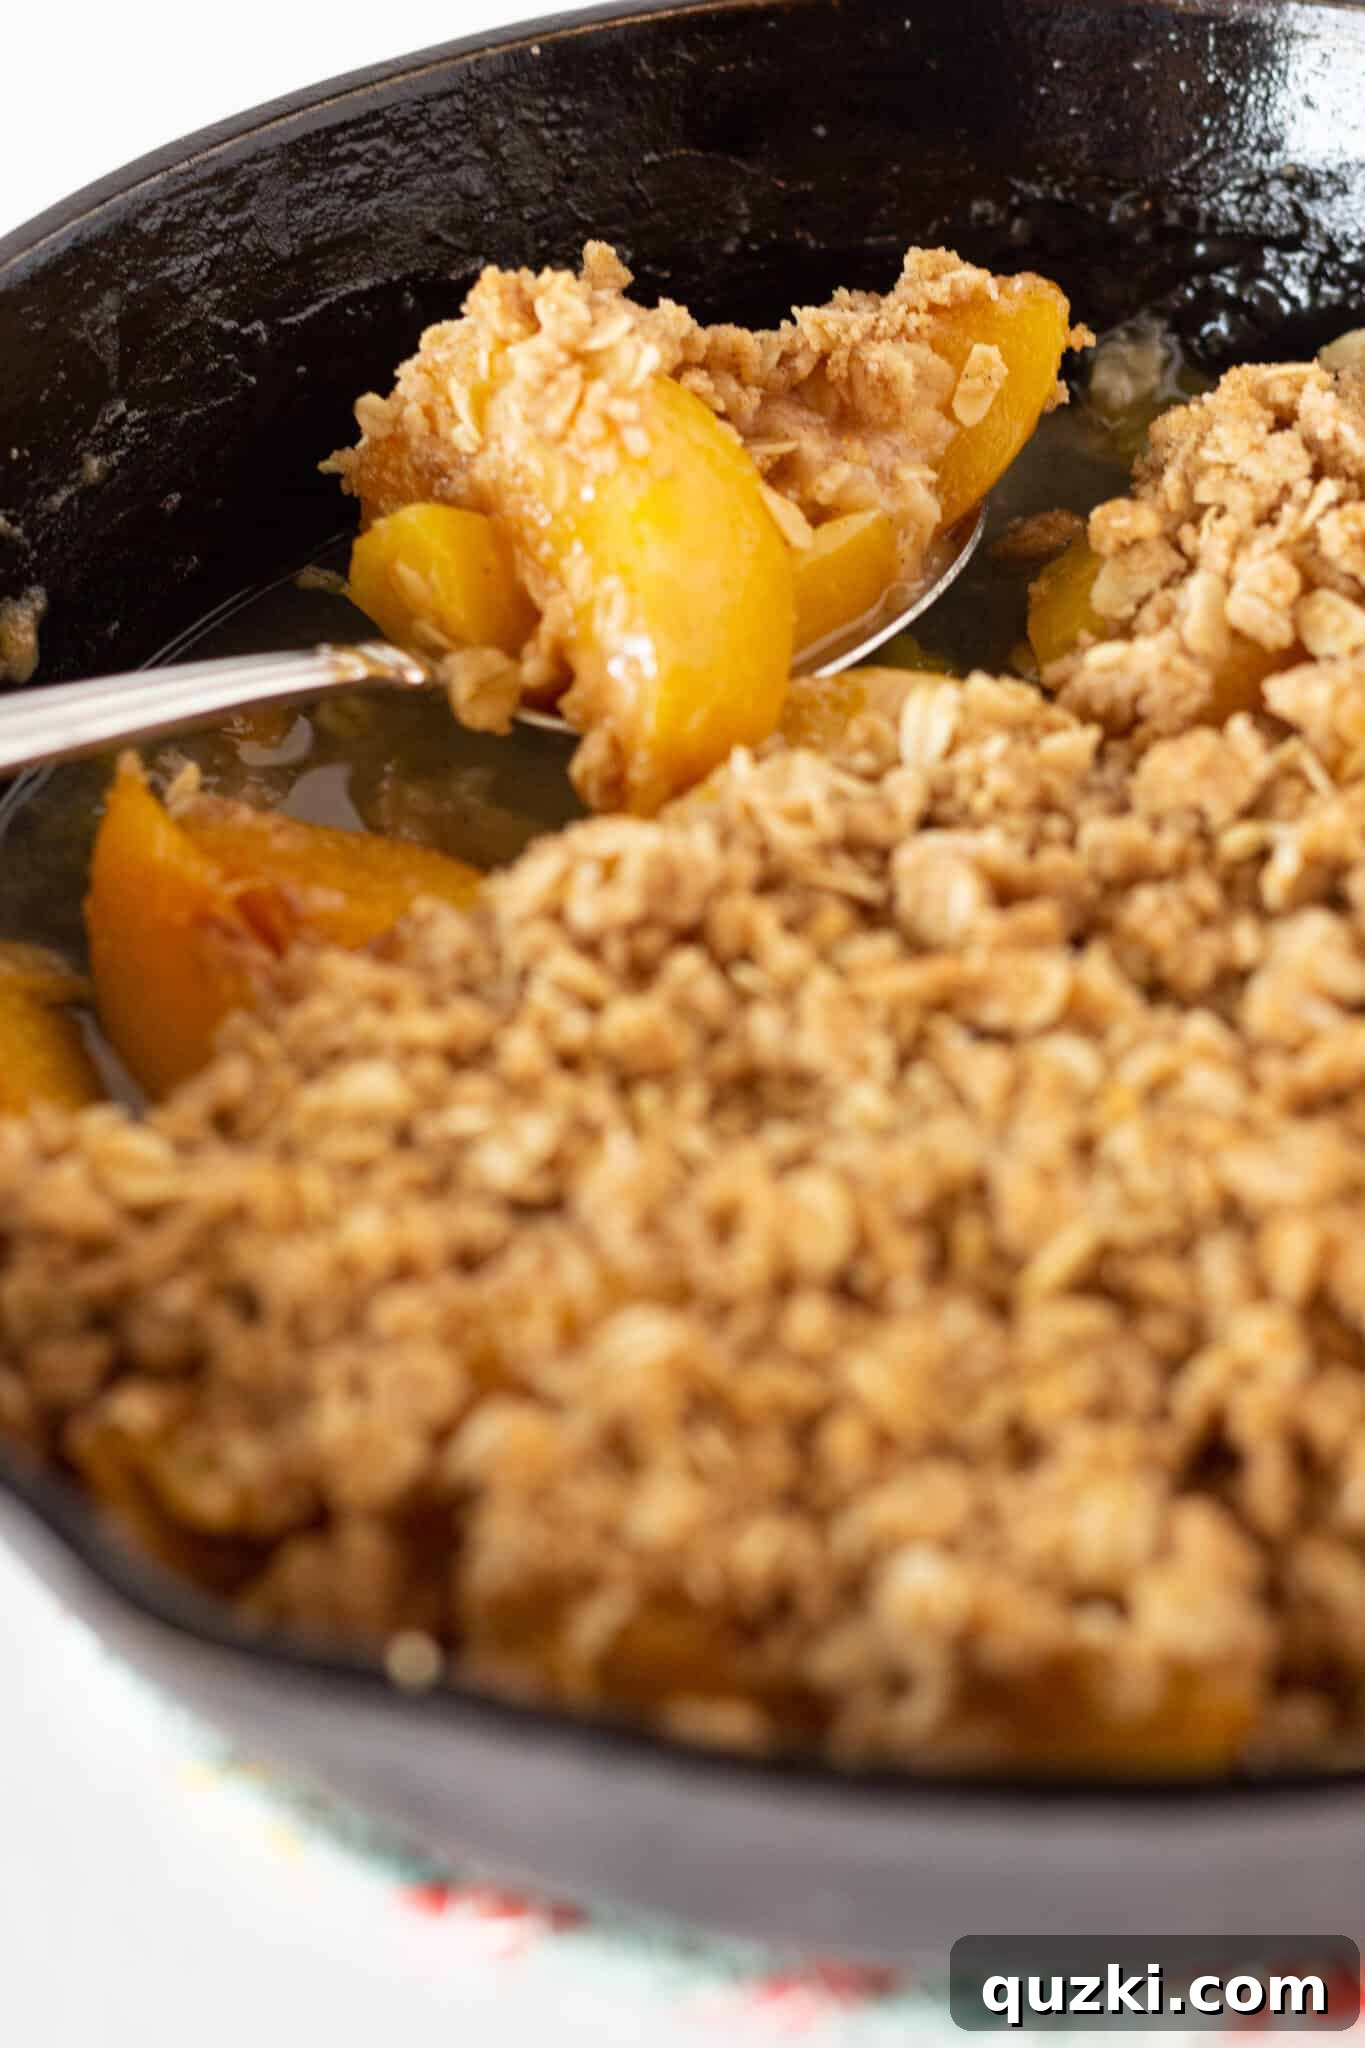
- Perfect Baked Texture: When properly drained, canned peaches maintain a wonderfully tender yet firm texture through baking. They become soft and juicy without turning mushy, creating a luscious fruit base for your crisp.
Crafting the Perfect Peach Crisp: A Closer Look at the Ingredients
Every great recipe relies on a harmonious blend of ingredients, and this easy peach crisp is no exception. Each component plays a vital role in creating both the sweet, bubbly peach filling and the irresistible, crunchy topping.
- Canned Peaches: The star of our show! We recommend two large (29 oz) cans of sliced peaches. The key here is to drain them very well. While the syrup adds sweetness, too much moisture will result in a soggy crisp. Draining ensures you’re left with perfectly sweet, tender peach slices that will bake beautifully and retain their integrity.
- Unsalted Butter: The foundation of our crumb topping. Softened butter is essential for binding all the dry ingredients together, allowing them to form that desirable crumbly texture. As it bakes, the butter melts, caramelizes, and imparts a rich, nutty flavor, forming a golden, incredibly crisp crust that makes this dessert so addictive. Using unsalted butter gives you control over the overall saltiness of the dish.
- Brown Sugar: We opt for brown sugar in the crisp topping for its deep, molasses-rich sweetness and moist texture. It contributes to a more complex, caramel-like flavor compared to white sugar, and helps achieve a wonderfully chewy element within the streusel, as well as a beautiful golden-brown color during baking.
- All-Purpose Flour: This acts as the structural binder for our topping. Flour ensures that the oats, sugar, and butter come together to form distinct, crunchy crumbs that hold their shape and cling perfectly to the peaches, rather than melting completely into a flat layer.
- Oats (Quick or Old-Fashioned): The defining ingredient that gives a crisp its name and texture! Oats are crucial for that characteristic chewy-yet-crunchy mouthfeel. You have the flexibility to use either quick-cooking oats or old-fashioned rolled oats. Old-fashioned oats will yield a heartier, more robust crumble, while quick oats will produce a slightly finer and more delicate texture. Both deliver a delicious result.
- Ground Cinnamon: A timeless spice that beautifully complements peaches and other stone fruits. Cinnamon adds a warm, inviting aroma and a cozy depth of flavor that perfectly enhances the natural sweetness of the peaches and the richness of the brown sugar, tying all the flavors together in a comforting embrace.
- Salt: Often underestimated in sweet recipes, salt is a critical flavor enhancer. A small amount of salt in the crisp topping doesn’t make it salty; instead, it brightens and balances all the other sweet and fruity notes, preventing the dessert from tasting one-dimensional. It truly makes the peach flavors pop!
Assembly Guide: Creating Your Perfect Peach Crisp, Step-by-Step
Assembling this peach crisp is incredibly straightforward, allowing you to quickly get this delightful dessert into the oven. Follow these clear steps to build your masterpiece:
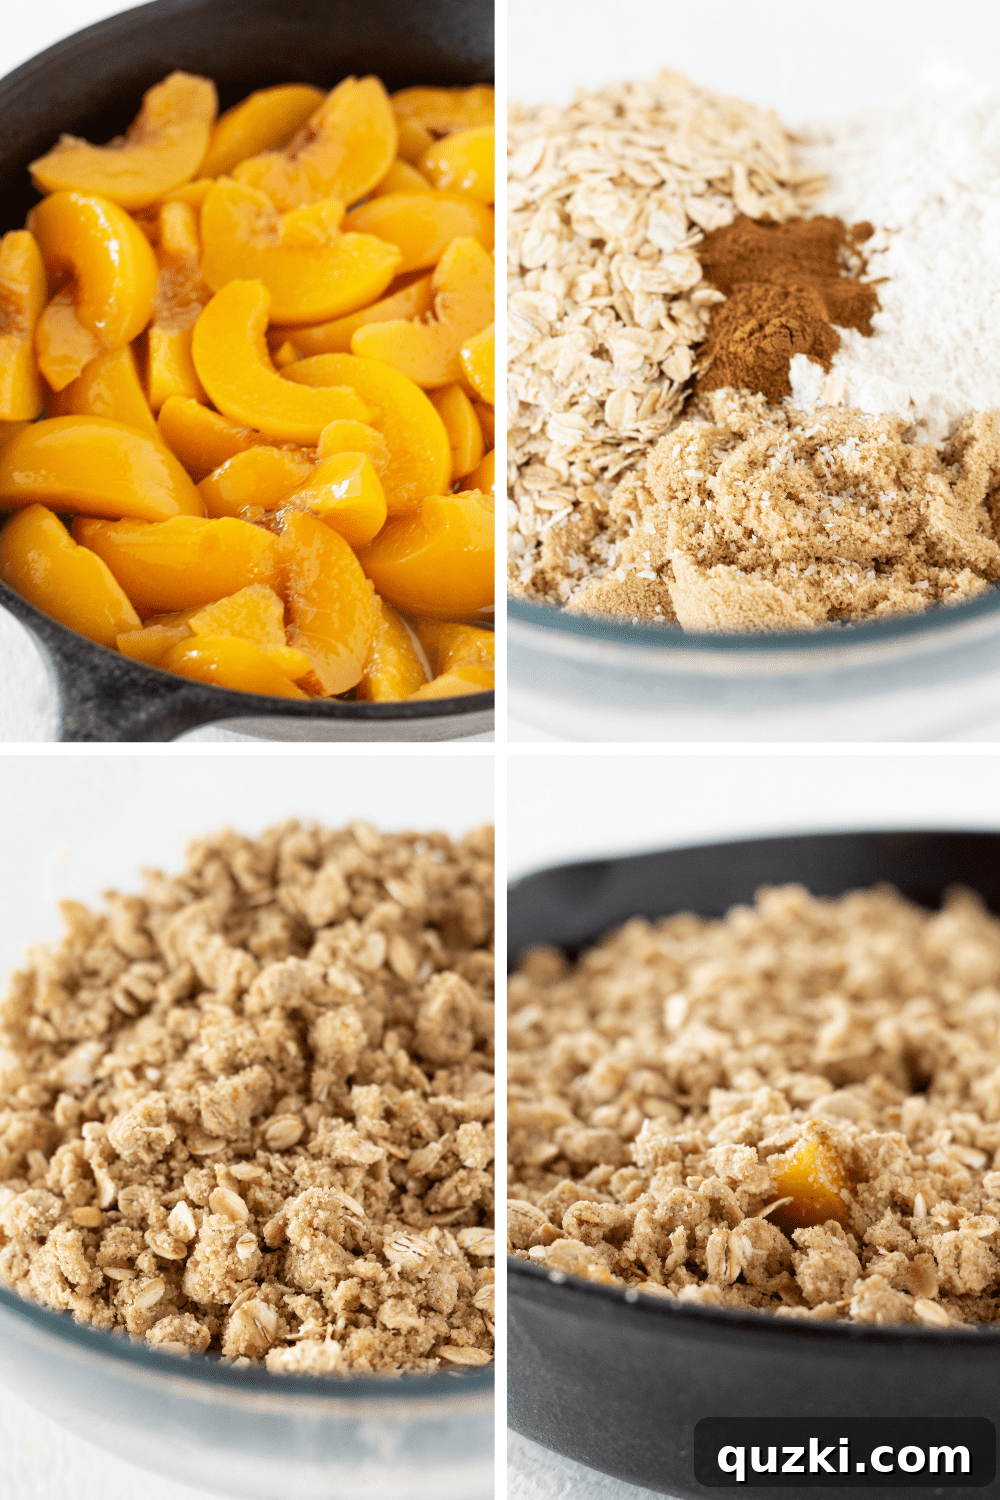
- **Prepare Your Baking Dish and Peaches:** Begin by preheating your oven to 350°F (175°C). Next, select your baking vessel. A 10-inch oven-safe skillet or a 9×9 inch baking pan are ideal choices. Lightly spray the inside with nonstick cooking spray to ensure easy serving. Open your two large cans of sliced peaches and drain them thoroughly. This step is crucial: excess syrup will lead to a watery filling and a less crisp topping. Once drained, pour the peaches into your prepared pan, spreading them out into an even layer across the bottom.
- **Combine Dry Topping Ingredients:** In a medium-sized mixing bowl, combine all the dry components for your crisp topping: the brown sugar, all-purpose flour, oats (either quick-cooking or old-fashioned), ground cinnamon, and salt. Use a whisk or a fork to mix them thoroughly until all ingredients are evenly distributed.
- **Incorporate the Butter for Crumbly Perfection:** Now, add the softened butter to your bowl of dry ingredients. This is where the magic happens! Using a fork, a pastry cutter, or even your clean fingertips, work the butter into the dry mixture. The goal is to break down the butter and combine it with the flour and oats until the mixture resembles coarse crumbs or small, pea-sized pieces. It’s important not to overmix at this stage; overworking can develop the gluten in the flour too much, resulting in a tougher, pasty topping rather than a light, crumbly one. Stop as soon as the mixture reaches a crumbly consistency.
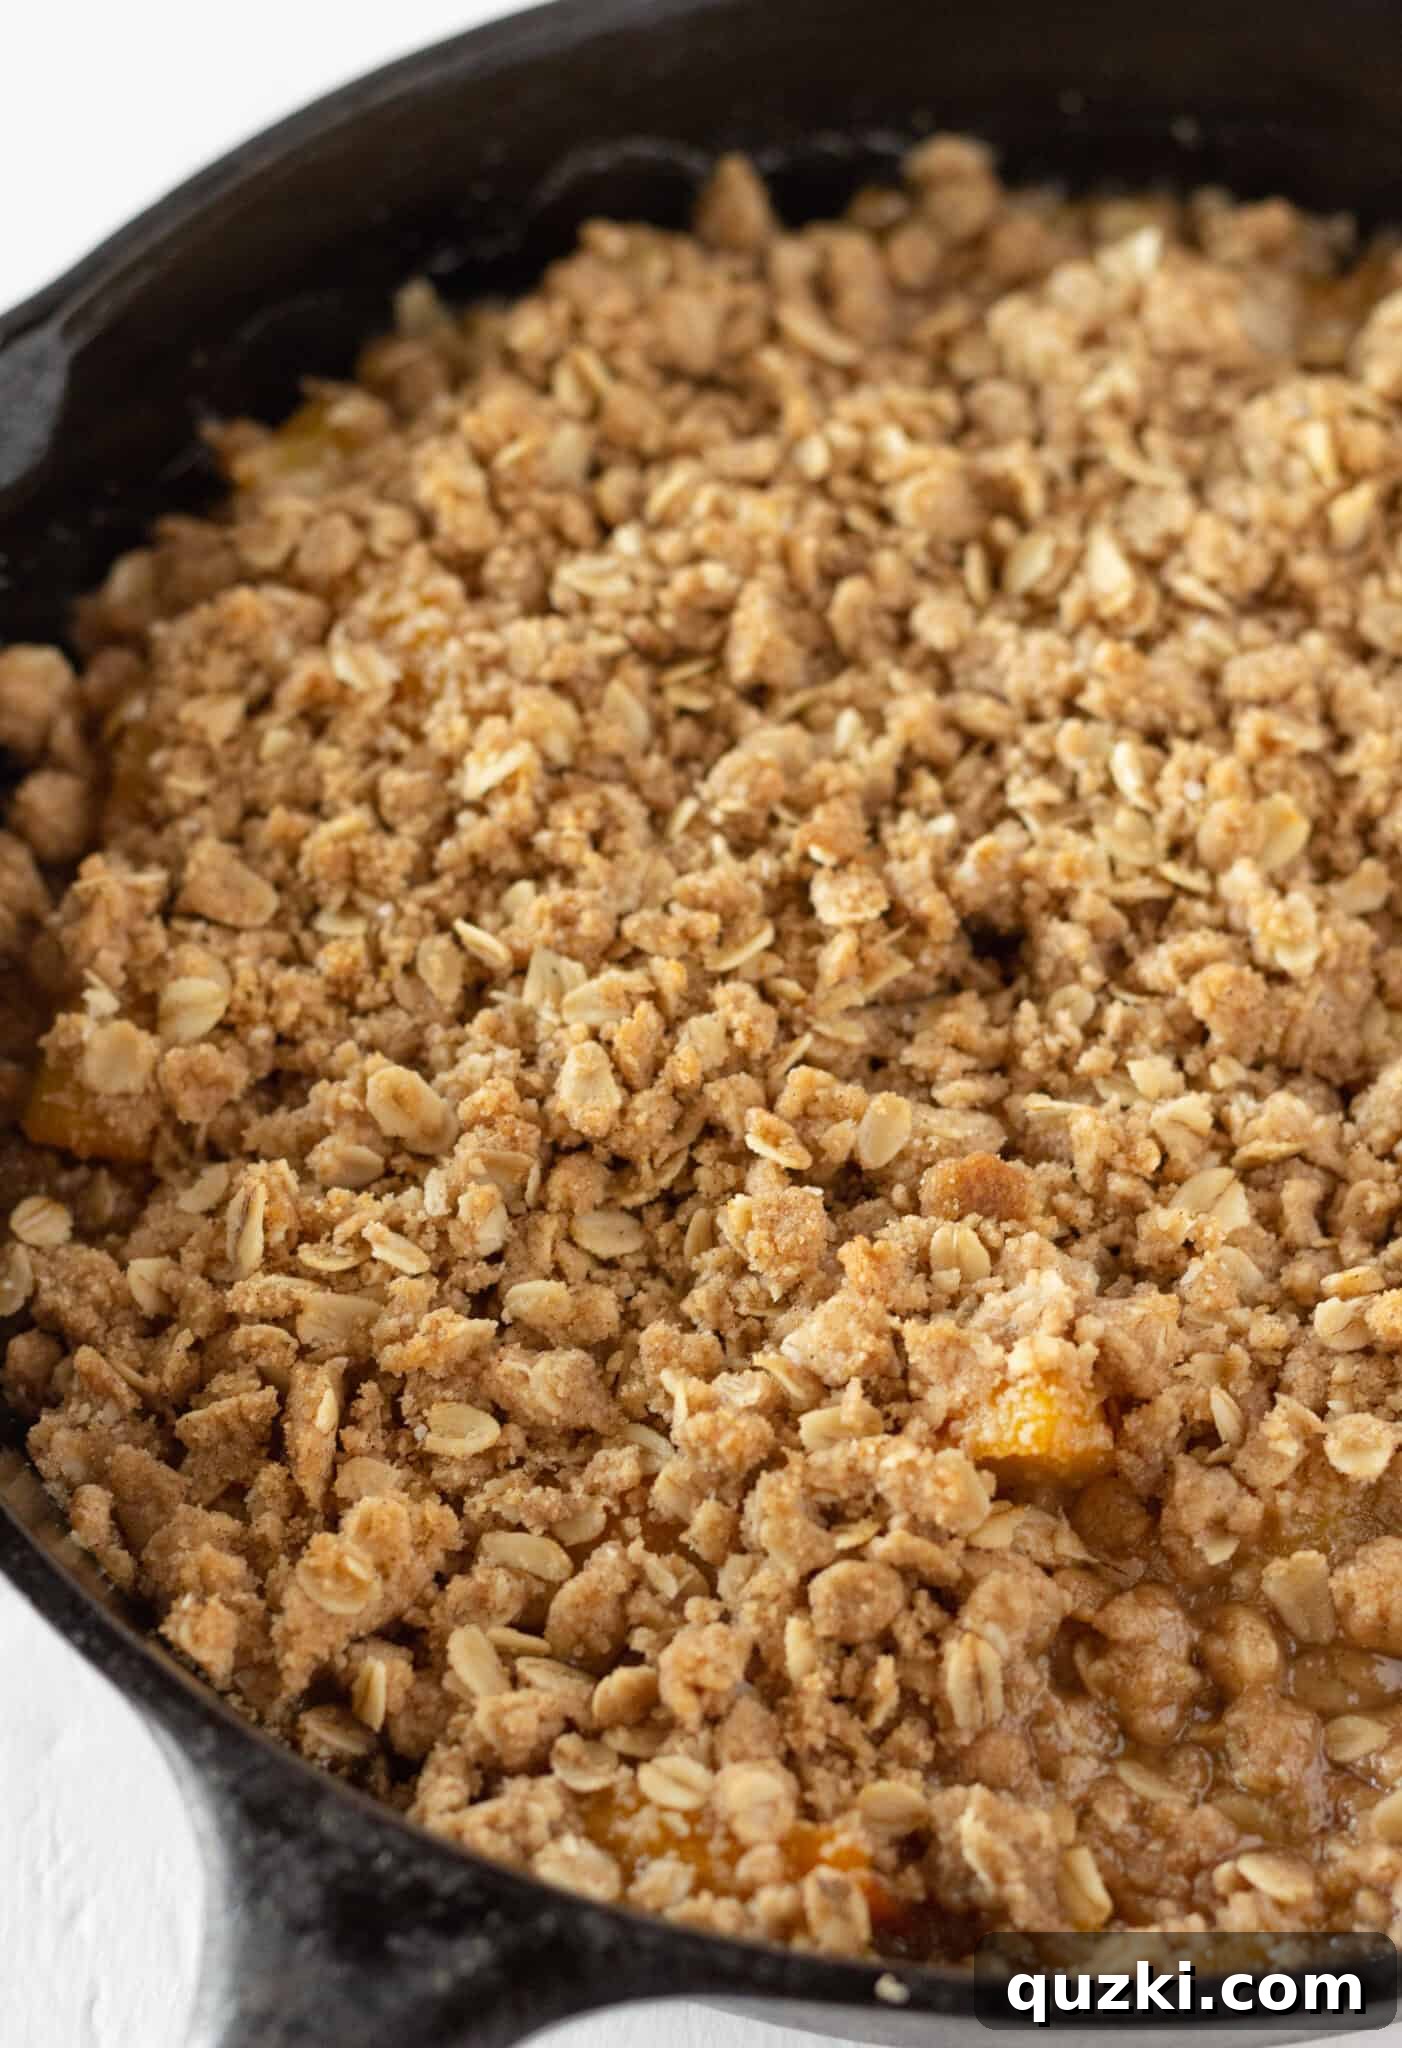
- **Layer the Topping Over Peaches:** Once your delicious crumb topping is ready, sprinkle it evenly over the top of the drained canned peaches in your baking dish. Ensure the peaches are mostly covered to create a uniform crisp layer across the entire surface of the dessert. This even distribution helps in achieving a consistent golden-brown crust.
Baking and Serving Your Golden Peach Crisp
With your peach crisp meticulously assembled, it’s time to let the oven work its wonders, transforming simple ingredients into a warm, inviting dessert. The baking process allows the flavors to meld, the peaches to become even more tender, and the topping to crisp up to perfection.
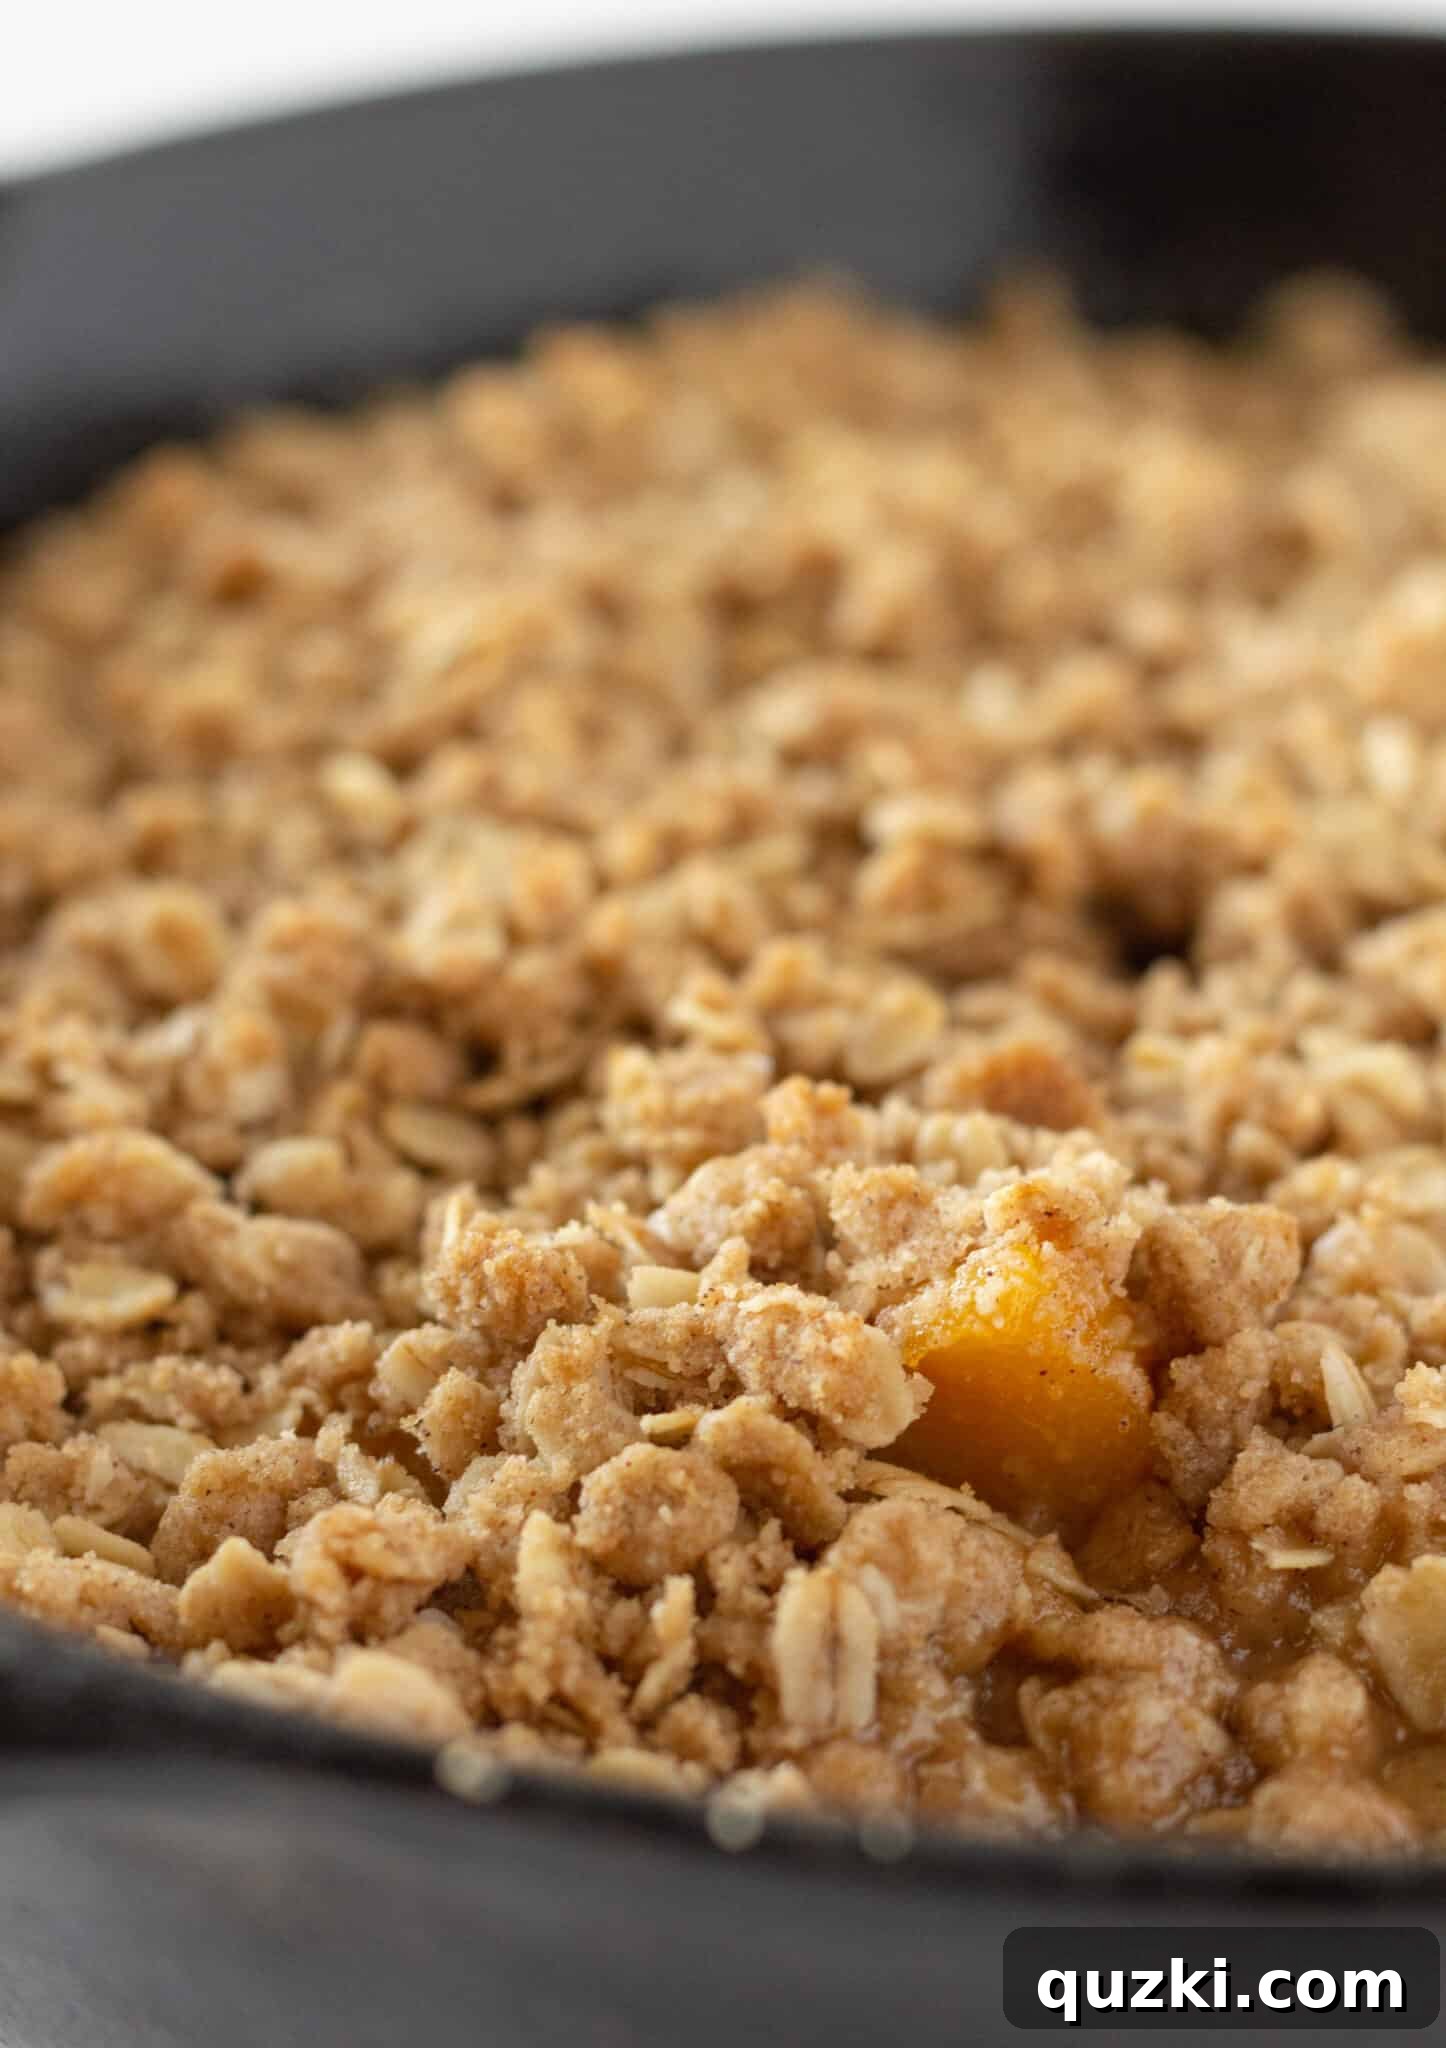
Carefully place your baking dish into the preheated 350°F (175°C) oven. Bake for approximately 25-30 minutes. You’ll know your crisp is perfectly done when the topping achieves a beautiful golden-brown color and the peach filling beneath is visibly bubbly around the edges of the pan. The bubbling indicates that the fruit is heated through, and its natural juices have gently thickened, creating a luscious sauce. Keep a watchful eye during the final minutes of baking to prevent the topping from over-browning. Once baked, remove from the oven and allow it to cool for a few minutes before serving. The internal temperature will be quite hot!
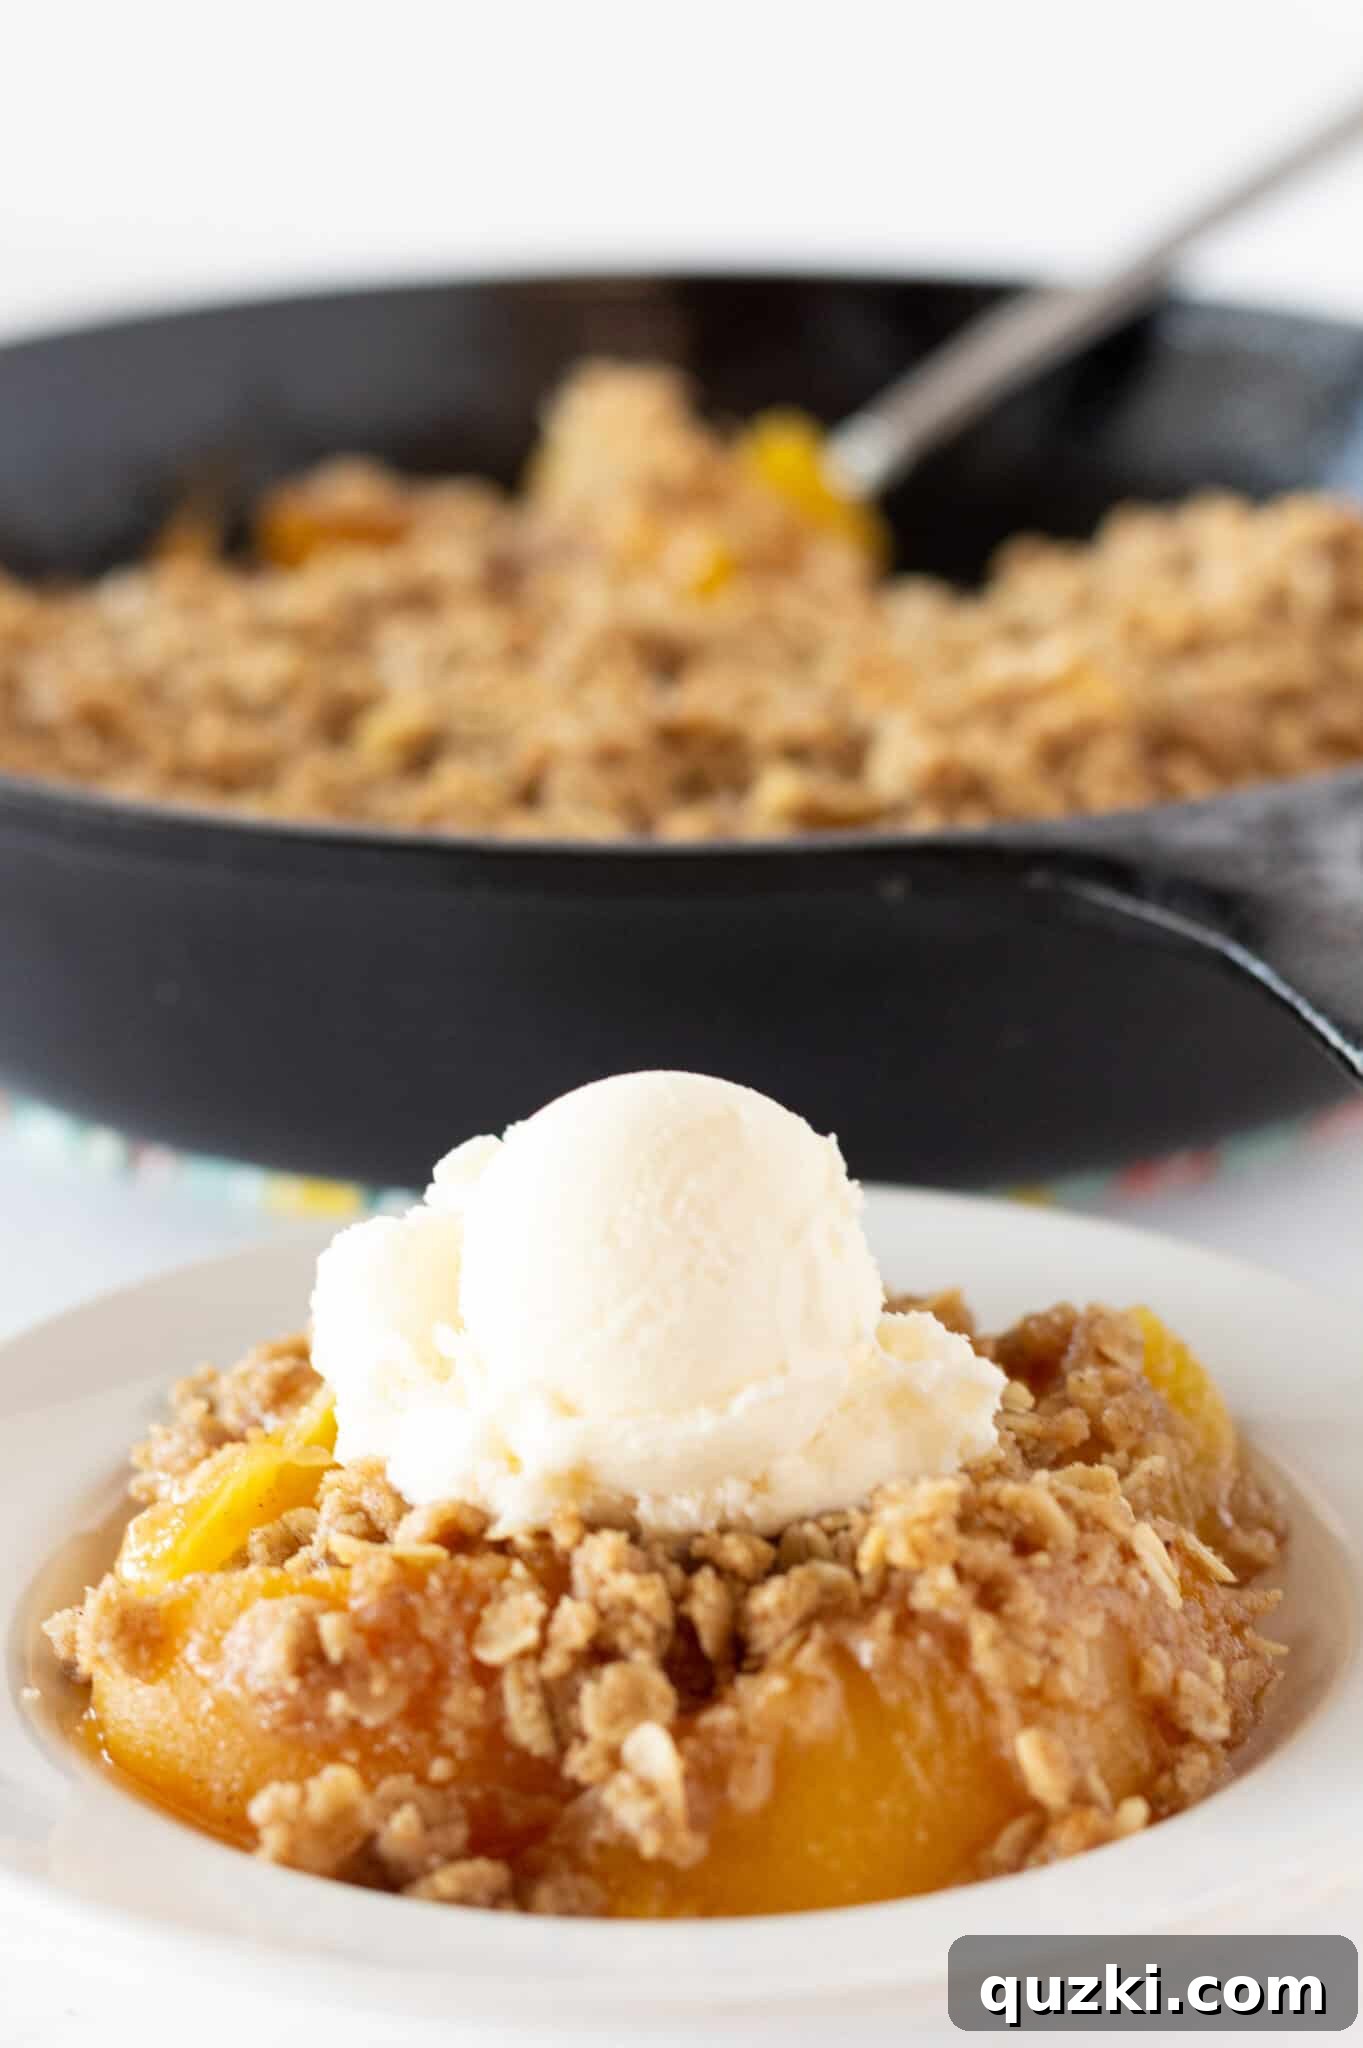
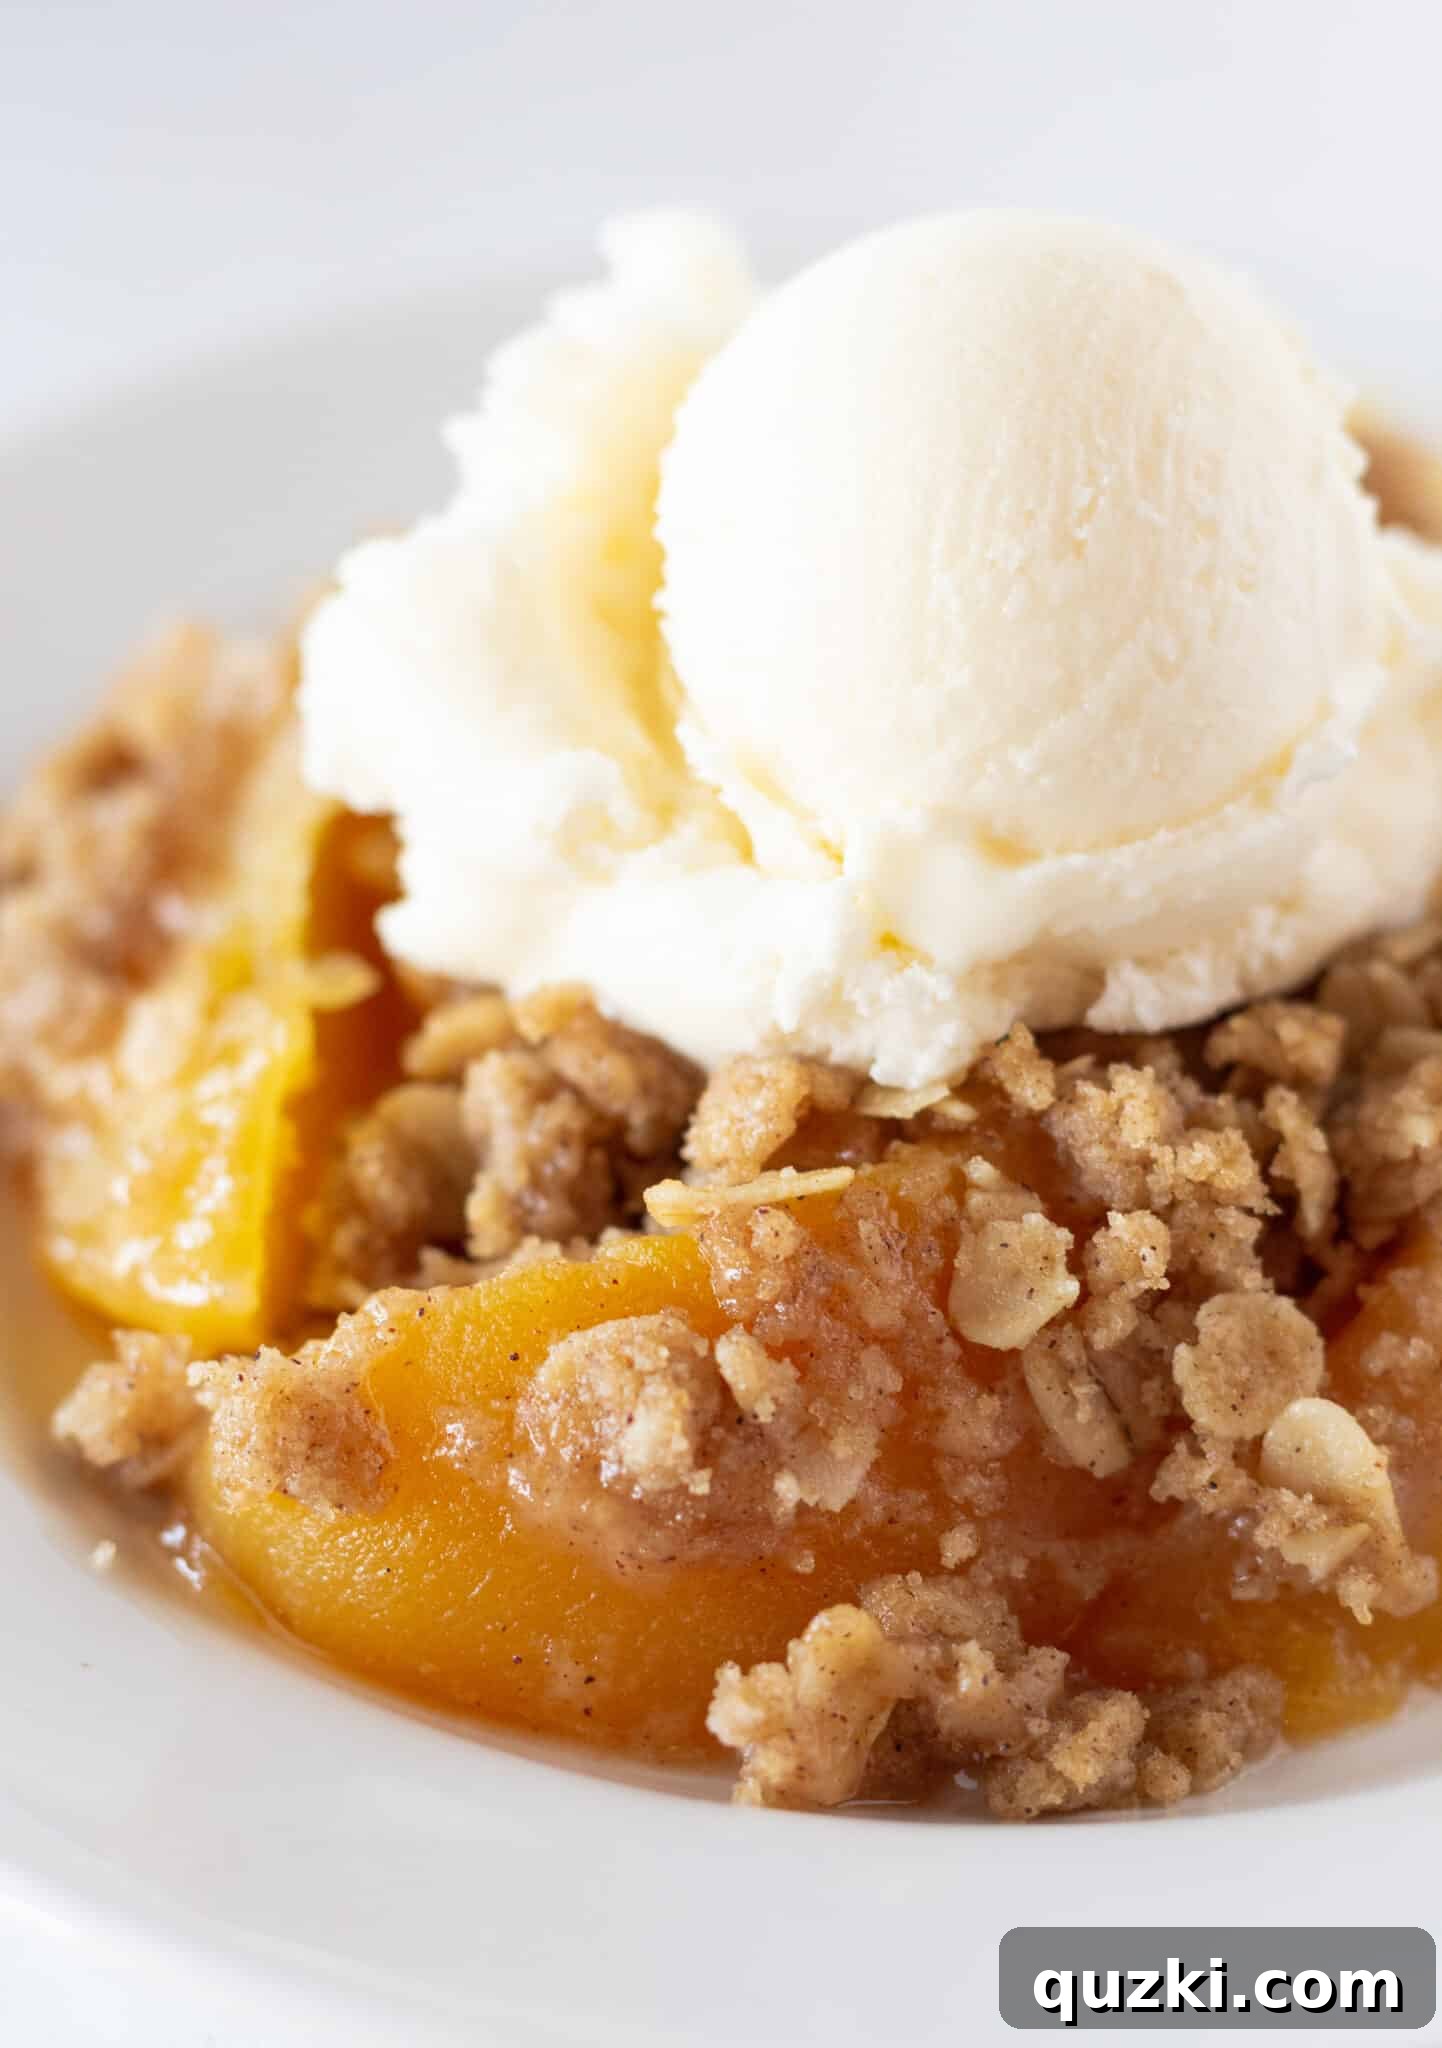
For the ultimate enjoyment, serve your peach crisp warm. The contrast of the hot, sweet fruit with a cold accompaniment is simply heavenly. A generous scoop of premium vanilla bean ice cream or a dollop of freshly whipped cream will elevate this already delightful dessert to an unforgettable experience. The melting ice cream mingling with the warm peaches and crunchy topping creates a symphony of textures and flavors that is truly comforting.
Creative Variations to Customize Your Peach Crisp
While the classic peach crisp recipe is a masterpiece in its own right, it also serves as an excellent canvas for culinary creativity. Don’t hesitate to experiment with these delightful variations to personalize your dessert or utilize ingredients you have on hand:
- **Alternative Fruit Fillings:** The beauty of this recipe is its versatility beyond peaches. Feel free to swap out canned peaches for other canned fruit pie fillings, such as apple, raspberry, cherry, or a mixed berry blend. If you prefer using frozen fruit, simply ensure it’s thawed and well-drained before layering, and be prepared to add a few extra minutes to the baking time if necessary. Each fruit offers a wonderfully unique flavor profile.
- **Add a Nutty Crunch:** Elevate the texture and flavor of your crisp topping by mixing in 1/4 cup of finely chopped pecans, walnuts, or almonds. These nuts toast beautifully in the oven, adding a delightful crunch and a rich, earthy dimension that perfectly complements the sweet fruit and warm spices.
- **Individual Servings for Special Occasions:** For an elegant presentation ideal for dinner parties, brunches, or portion control, bake your peach crisp in individual portions. Divide the drained peaches and the crumb topping evenly among 6 small mason jars (oven-safe) or ramekins. Place these on a baking sheet to ensure stability and to catch any potential overflow. Bake for 20-25 minutes at 350°F (175°C), or until the tops are golden and the fruit is bubbly. These mini crisps are incredibly charming and easy to serve.
- **Spice it Up Further:** Beyond cinnamon, consider introducing other warm spices to your topping for a more complex and aromatic flavor profile. A pinch of ground nutmeg, cardamom, or even a tiny whisper of ground cloves can add intriguing depth and warmth.
- **A Touch of Citrus Zest:** For a brighter, more vibrant fruit flavor, grate 1 teaspoon of fresh lemon or orange zest directly into the drained peaches before baking. The citrus notes will cut through the sweetness and add a refreshing lift to the dessert.
- **Caramel Drizzle:** Once baked and slightly cooled, a light drizzle of homemade or store-bought caramel sauce over the warm crisp can add another layer of indulgent sweetness and richness.
Storage and Reheating: Keeping Your Peach Crisp Fresh and Delicious
Properly storing your peach crisp ensures that every slice remains as delightful as the first, while effective reheating methods can bring back that desired warmth and crispness.
How to Store Your Peach Crisp with Canned Peaches
- **Refrigeration:** The most important step for storing leftover peach crisp is to allow it to cool completely to room temperature before covering. This prevents condensation from forming and turning your beautiful crisp topping soggy. Once fully cooled, cover the baking dish tightly with plastic wrap or aluminum foil. It will keep well in the refrigerator for up to 3 days. While the topping might soften slightly over time, the flavors will remain wonderfully intact.
- **Freezing for Extended Storage:** Peach crisp is an excellent candidate for freezing, making it perfect for meal prep or saving for future cravings. For optimal results when freezing, we recommend baking the crisp in a disposable 9×9 inch foil pan. After baking, let it cool completely. Then, wrap it thoroughly with a layer of plastic wrap, followed by a layer of heavy-duty aluminum foil. This double-layer protection helps prevent freezer burn. It can be frozen for up to 3 months.
- **Thawing Frozen Crisp:** When you’re ready to enjoy your frozen crisp, you have a couple of convenient thawing options:
- Room Temperature: If you’re in a bit of a hurry, you can allow the frozen crisp to sit at room temperature for about 1 hour.
- Refrigerator Thawing: For a more gradual thaw, transfer the frozen crisp to the refrigerator and let it thaw slowly for 4-5 hours, or ideally, overnight.
Reheating Your Peach Crisp for Optimal Enjoyment
To bring your peach crisp back to its original glory, especially that lovely crisp topping, reheating it properly is key:
- **Microwave (for Individual Servings):** For a quick warm-up of a single portion, transfer it to a microwave-safe plate. Microwave on high for 30-60 seconds, or until it’s warmed through to your preference. Be aware that microwaving tends to soften the topping significantly, so you won’t get that fresh-baked crunch, but the peaches will be wonderfully warm.
- **Oven (for Best Crispness):** If you want to restore the satisfying crunch of the topping, reheating in the oven is highly recommended. Place the entire crisp (or a larger portion in an oven-safe dish) back into a preheated 300°F (150°C) oven. Bake for 15-20 minutes, or until the crisp is thoroughly warmed and the topping has re-crisped slightly. Keep an eye on it to ensure it doesn’t dry out or over-brown.
Expert Tips for the Best Peach Crisp Every Time
Even though this is an “easy” recipe, a few insider tips can elevate your peach crisp from simply good to truly spectacular. Pay attention to these details for an unforgettable dessert:
- **Mind the Topping Mixture – Don’t Overwork It!** This is perhaps the most crucial tip for achieving that perfect, crumbly crisp topping. When you’re incorporating the softened butter into the dry ingredients, mix just until coarse crumbs form. Overworking the mixture can overdevelop the gluten in the flour, leading to a tough, paste-like topping rather than a delicate, crunchy streusel. Use a light hand, whether you’re using a fork, a pastry cutter, or your fingertips.
- **Chill the Topping for Extra Crispness:** If your kitchen is warm, or if you find the butter in your topping mixture is becoming too soft, don’t hesitate to place the bowl of crumb mixture into the refrigerator for 20-30 minutes before sprinkling it over the peaches. Chilling helps solidify the butter, which in turn leads to a crispier, more defined crumble once baked.
- **Cool Completely Before Covering:** This tip is vital for preserving the crispness of your topping during storage. If you cover the peach crisp while it’s still warm, condensation will form inside the cover, trapping moisture and causing your perfectly crisp topping to become soggy. Always allow the entire crisp to cool completely to room temperature before covering it tightly with plastic wrap or foil.
- **Master the Make-Ahead Option:** For ultimate convenience, especially when entertaining, prepare the crumb topping a day in advance. Store the dry topping mixture in an airtight container in the refrigerator. When you’re ready to bake, simply assemble the drained peaches and the chilled topping, then bake as directed. This significantly cuts down on same-day prep time, making your baking experience stress-free.
- **Thoroughly Drain Those Peaches:** We cannot emphasize this enough – ensure your canned peaches are *very* well-drained. Any excess syrup will contribute to a watery fruit filling and a soggy bottom crust, which detracts from the crisp’s overall texture. A colander or fine-mesh sieve works wonders.
- **Serve with the Perfect Complement:** While delicious on its own, a warm peach crisp truly shines when paired with a cool, creamy accompaniment. A generous scoop of high-quality vanilla bean ice cream is the classic choice, but a dollop of freshly whipped cream, a drizzle of crème anglaise (custard sauce), or even a scoop of frozen yogurt can elevate this simple dessert into a truly indulgent experience.
Frequently Asked Questions About Peach Crisp
To help you perfect your peach crisp and answer any common queries, here are some frequently asked questions:
- Can I use fresh peaches instead of canned? Yes, absolutely! If fresh peaches are in season and you prefer them, you can use about 6-8 medium fresh peaches (approximately 4-5 cups when sliced). You will need to peel, pit, and slice them yourself. You might also want to toss them with 1-2 tablespoons of granulated sugar and a squeeze of lemon juice before adding them to the pan, as fresh peaches can vary widely in sweetness and tartness.
- What kind of oats are best for a crisp? Both quick-cooking oats and old-fashioned rolled oats work wonderfully for a crisp topping. Old-fashioned oats will provide a chewier, more rustic texture, while quick oats will result in a finer, slightly more delicate crumble. Avoid instant oats, as their texture is often too fine and can become mushy after baking.
- My crisp topping isn’t getting crunchy. What might be the issue? Several factors can contribute to a less-than-crisp topping. Ensure your butter was softened but not melted when mixing, avoid overworking the topping mixture (which can make it dense), and most importantly, make sure your peaches are thoroughly drained to prevent excess moisture. Baking until deep golden brown and allowing the crisp to cool slightly after baking will also aid in achieving that desired crunch.
- Can I make this recipe gluten-free or dairy-free? Yes, with simple substitutions! For a dairy-free version, use a high-quality plant-based butter alternative that is suitable for baking. For a gluten-free crisp, substitute the all-purpose flour with a 1:1 gluten-free baking flour blend (ensure it contains xanthan gum) and use certified gluten-free oats.
- How do I know when the crisp is fully baked? The crisp is ready when the topping is a rich golden brown, and the fruit filling underneath is visibly bubbly around the edges of the pan. The bubbling indicates the peaches are heated through and their juices have thickened, creating a delicious sauce.
The Classic Recipe: Easy Peach Crisp with Canned Peaches
Here is the full, simplified recipe for a truly effortless and satisfying peach crisp, featuring plump, juicy peaches nestled under a perfectly golden, crunchy oat streusel. This recipe yields approximately 6 servings and takes only about 40 minutes from start to finish, making it a perfect choice for any occasion.

Easy Peach Crisp with Canned Peaches Recipe
By: June Albertson-Dick
This simple dessert crisp recipe utilizes pantry ingredients, including canned peaches, to create the ultimate homemade Canned Peach Crisp.
Prep Time: 10 mins
Cook Time: 30 mins
Total Time: 40 mins
Servings: 6 servings
Ingredients
For the Peach Filling:
- 2 (29 oz) cans sliced peaches, well-drained
For the Crisp Topping:
- ¾ cup packed brown sugar
- ¾ cup all-purpose flour
- ⅔ cup oats (quick or old-fashioned)
- 1 tsp ground cinnamon
- ½ tsp salt
- ½ cup unsalted butter, softened
Instructions
- Preheat your oven to 350°F (175°C). Lightly spray a 10-inch oven-safe skillet or a 9×9 inch baking pan with nonstick cooking spray.
- Pour the well-drained peaches into the prepared pan and spread them into an even layer.
- In a medium bowl, combine the brown sugar, flour, oats, cinnamon, and salt. Whisk them together briefly to mix.
- Add the softened butter to the dry ingredients. Using a fork, pastry cutter, or your fingertips, work the butter into the dry mixture until it forms coarse crumbs. Be careful not to overmix to avoid forming a paste.
- Evenly sprinkle the crumb topping over the layer of peaches in the baking dish.
- Bake in the preheated oven for 25-30 minutes, or until the topping is golden brown and the peach filling is visibly bubbly around the edges.
- Serve warm, ideally with a scoop of vanilla ice cream or a dollop of whipped cream for the best experience.
- Store any leftover crisp, covered, in the refrigerator for up to 3 days.
Notes
- **To Freeze Crisp:** Bake the crisp in a disposable 9×9 inch pan. Allow it to cool completely, then cover it well with plastic wrap and aluminum foil. Freeze for up to 3 months. To defrost, let it sit at room temperature for 1 hour or in the refrigerator for 4-5 hours. Reheat in the oven for the best texture.
- **For Added Crunch:** For an extra layer of flavor and texture, mix 1/4 cup of chopped pecans or walnuts into the crisp topping mixture before sprinkling it over the peaches.
- **Individual Crisps:** To make individual servings, divide the drained peaches and topping evenly between 6 small mason jars or ramekins. Place the jars onto a baking sheet and bake in a 350°F (175°C) oven for 20-25 minutes, or until golden and bubbly.
Nutrition Information (Approximation per serving)
Serving Size: 1 scoop | Calories: 351kcal | Carbohydrates: 50g | Protein: 3g | Fat: 16g | Saturated Fat: 10g | Polyunsaturated Fat: 1g | Monounsaturated Fat: 4g | Trans Fat: 1g | Cholesterol: 41mg | Sodium: 324mg | Potassium: 142mg | Fiber: 2g | Sugar: 31g | Vitamin A: 474IU | Vitamin C: 0.01mg | Calcium: 37mg | Iron: 1mg
Nutrition information is automatically calculated and should only be used as an approximation.
We truly hope you enjoy making and savoring this easy and incredibly satisfying peach crisp recipe! It’s a wonderful example of how simple ingredients, combined with a little love, can create a truly magical dessert. Whether you’re making it for a special occasion, a comforting family meal, or just a sweet treat for yourself, this crisp promises warmth, delightful sweetness, and that irresistible crunch in every single bite.
Discover More Delightful Fruit Desserts!
If you’re a true admirer of fruit-based treats and crave more delicious inspiration, we invite you to explore these other fantastic recipes from our collection:
- Homemade Peach Turnovers
- Classic Strawberry Shortcake with Sweet Biscuits
- Irresistible Blackberry Crumble Bars
- Easy Blueberry Pound Cake
- No-Bake Raspberry Cheesecake
Explore More Recipes from Practically Homemade
Beyond our delicious array of desserts, Practically Homemade offers a wide selection of recipes designed for every meal, occasion, and skill level. Dive in and find your next favorite dish!
- The Best Chewy Mini M&M Cookies
- Simple Mini Charcuterie Board Ideas
- Quick Bread with Instant Yeast
- Easy Blueberry Cake Recipe
- Homemade Chocolate Chip Cookie Cereal
- Delightful Tiny Chocolate Chip Cookies
- Recipe for Bisquick Coffee Cake
- Simple Velveeta Queso Dip
- Easy Cheesy Breadsticks Recipe
- Creative Salami Roses
- Hearty Chicken and Biscuits Casserole
- Elegant Chocolate Pomegranate Cookies
- Quick Easy Chocolate Mousse Pie
- Delicious Banana Upside Down Cake
- Classic Apple Crisp in Cast Iron