
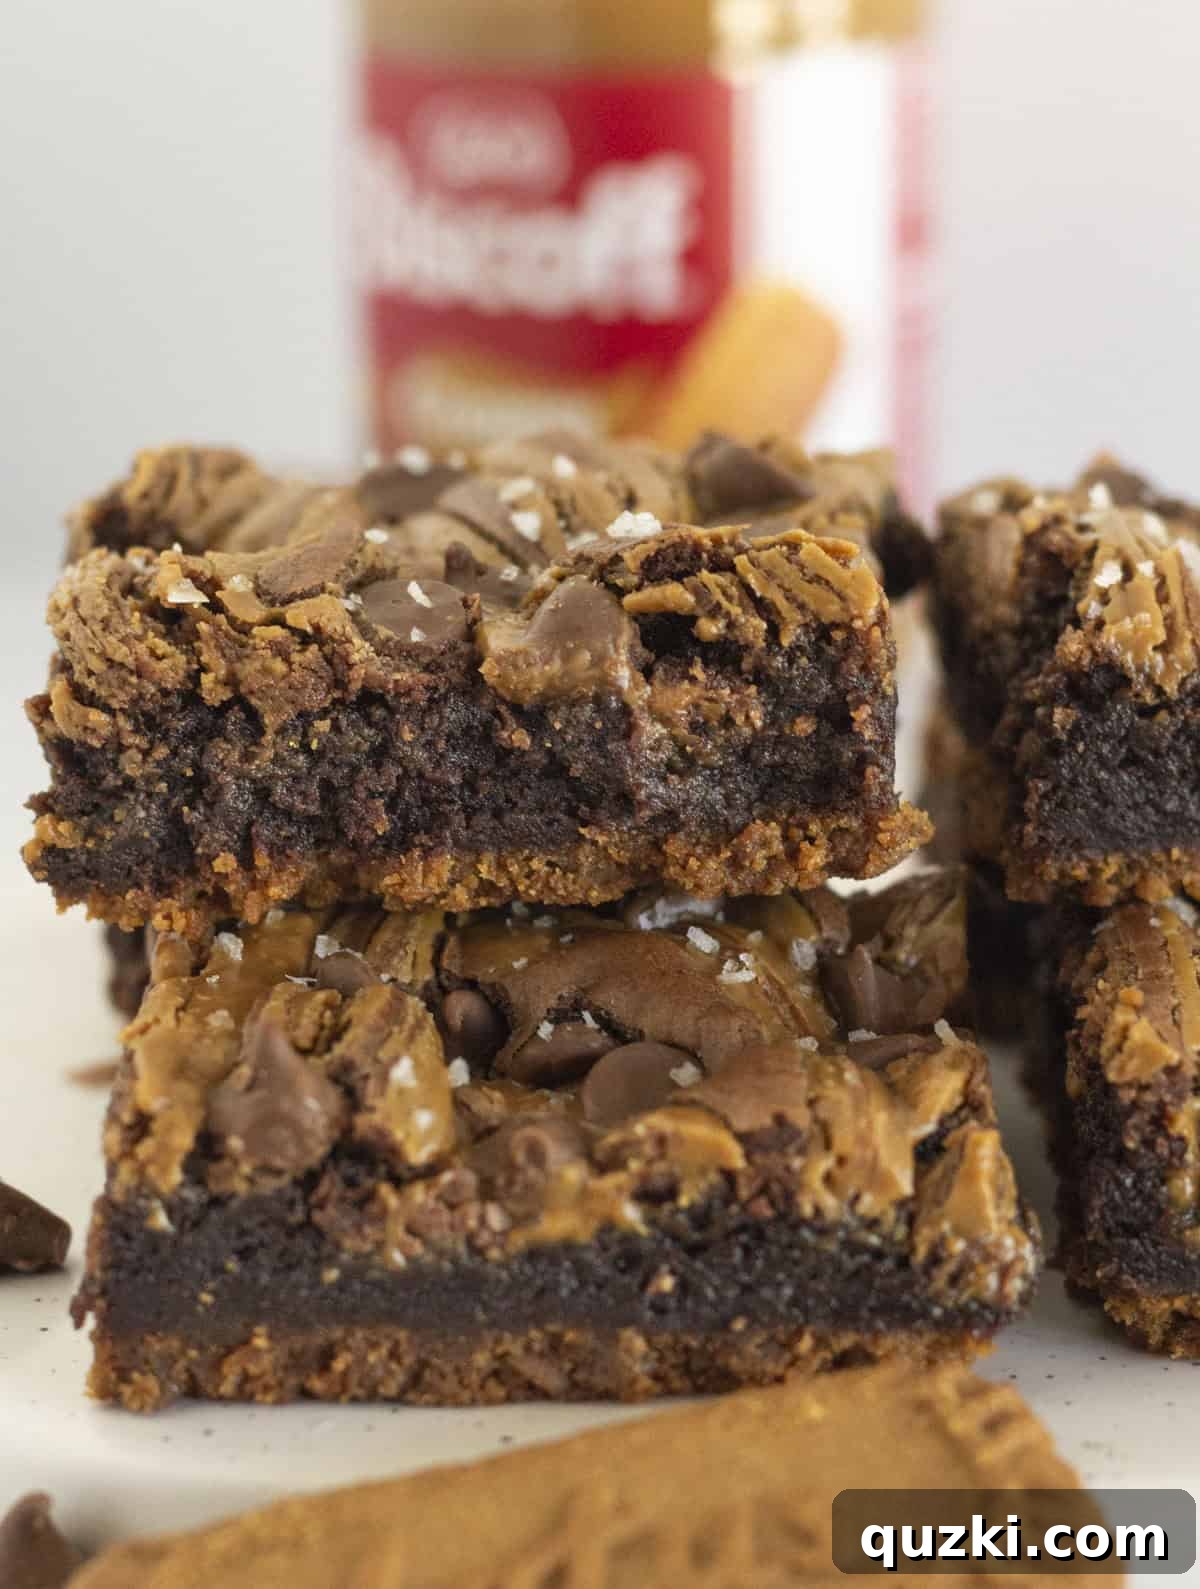
Irresistible Biscoff Brownies: The Ultimate Cookie Butter Chocolate Treat
Prepare yourself for a truly decadent dessert experience with these incredible Biscoff Brownies. This recipe takes the beloved classic brownie and elevates it to new heights with layers of buttery Biscoff cookie crust, a rich, fudgy chocolate brownie, and luscious swirls of spiced cookie butter baked right into the batter. Every bite offers a harmonious blend of warm, spiced cookie flavor and deep, satisfying chocolate, making it an unforgettable treat for any occasion.
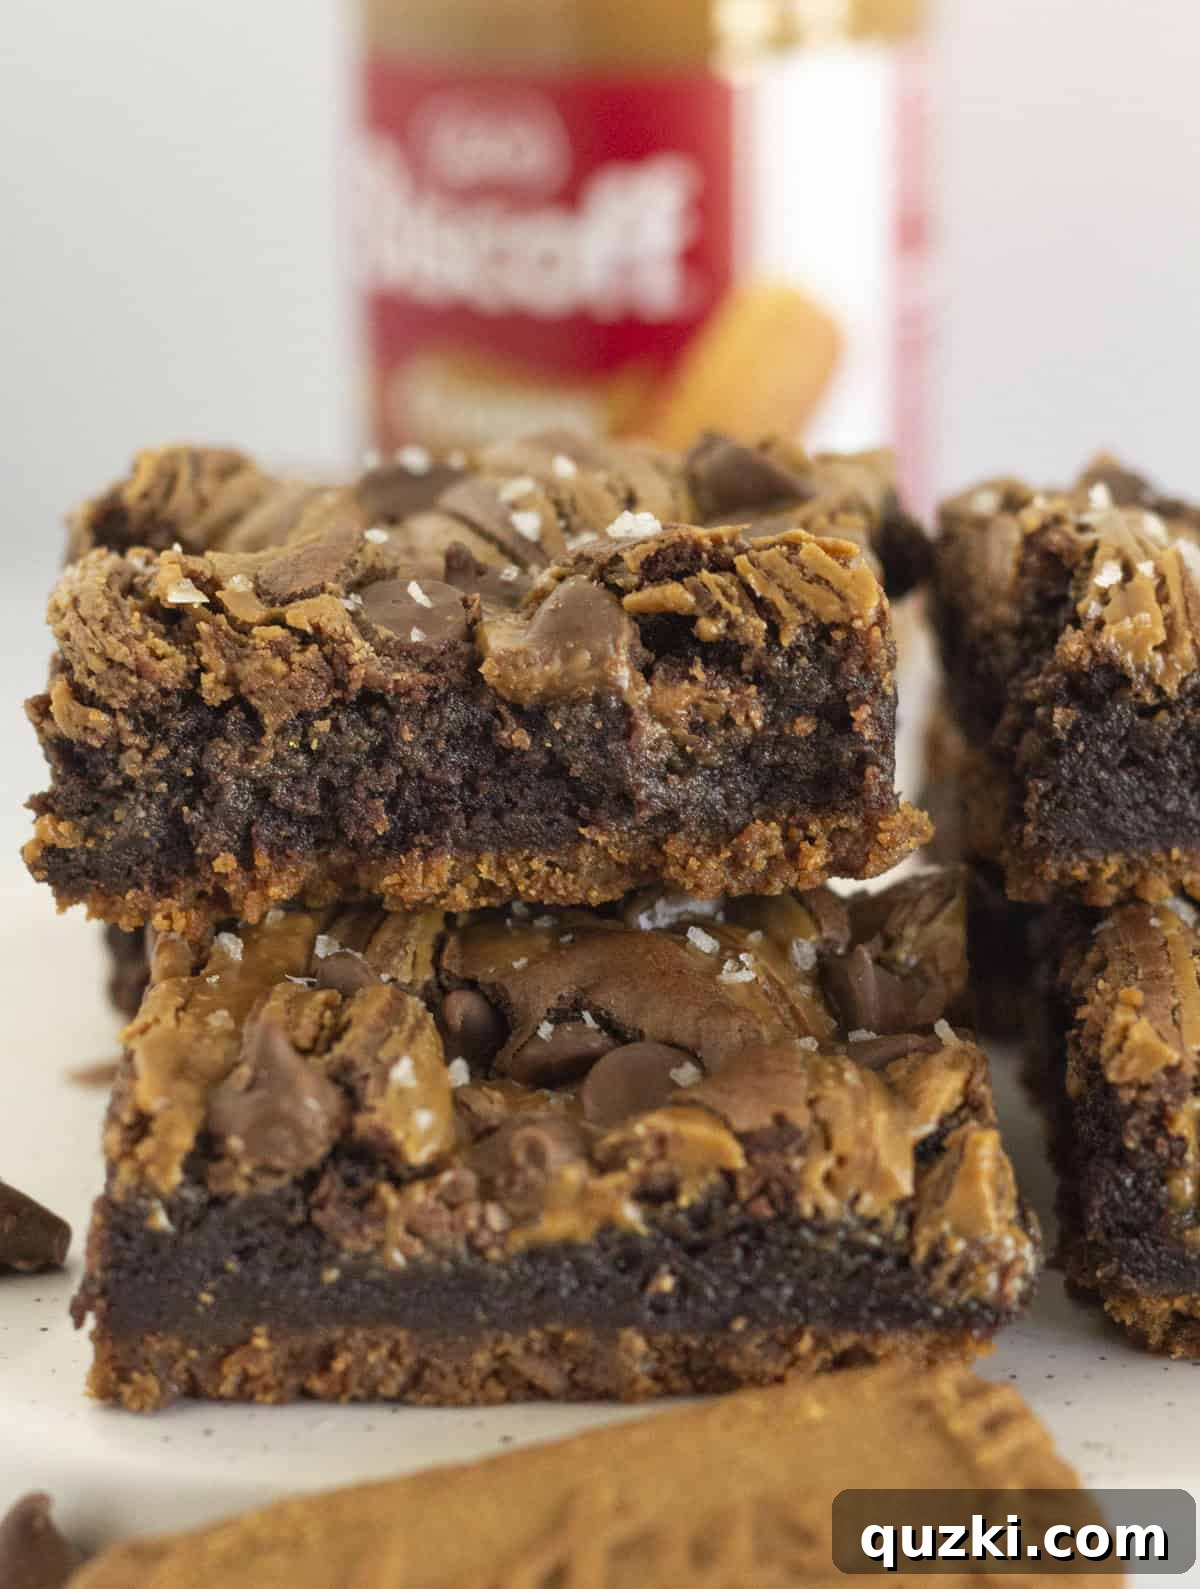
My journey into the world of Biscoff began a few years ago, and like many, I quickly became completely captivated by the unique, caramelized flavor of cookie butter. It wasn’t long before I started incorporating it into all my baking, dreaming up new and exciting recipes. This brownie creation, along with my Cookie Butter Bundt Cake, Biscoff No-Bake Cheesecake, and No-Bake Cookie Butter Cookies, rapidly became a household favorite. The combination of that distinctive spiced cookie taste with rich, dark chocolate is nothing short of pure magic, transforming a simple dessert into something extraordinary.
While these multi-layered cookie butter brownies are perfect for holiday gatherings, potlucks, or special celebrations, I find myself craving them on the most ordinary of days. I’m a firm believer that every day deserves a touch of fabulousness, and these brownies are precisely the kind of indulgence that can turn a regular Tuesday evening into a truly special moment. The ease of this recipe, starting with a convenient box of brownie mix, ensures that you can whip up this gourmet-tasting dessert without spending hours in the kitchen.
The Enchantment of Biscoff: A Cookie Story
For those new to the delights of Biscoff, it’s a brand of speculoos cookies, originally from Belgium. These thin, crispy, caramelized biscuits are known for their distinctive spiced flavor, which includes notes of cinnamon, nutmeg, and ginger. “Biscoff” is a portmanteau of “biscuit” and “coffee,” reflecting their traditional pairing with a cup of coffee. The true magic, however, comes in the form of cookie butter – a spread made from these very cookies. Imagine the creamy consistency of peanut butter, but with the warm, comforting taste of speculoos cookies. It’s an intensely flavorful spread that adds an unparalleled depth to desserts, making it the perfect companion for fudgy chocolate brownies.
The beauty of this recipe lies in its ability to combine convenience with gourmet results. By starting with a high-quality box brownie mix, we cut down on prep time significantly, allowing you to enjoy these treats sooner. The addition of a crunchy Biscoff cookie crust provides a wonderful textural contrast to the soft, gooey brownie, while the swirls of cookie butter infuse every bite with that irresistible spiced caramel goodness. It’s a symphony of flavors and textures that will leave you reaching for another piece.
Ingredients Needed to Create Your Biscoff Brownies
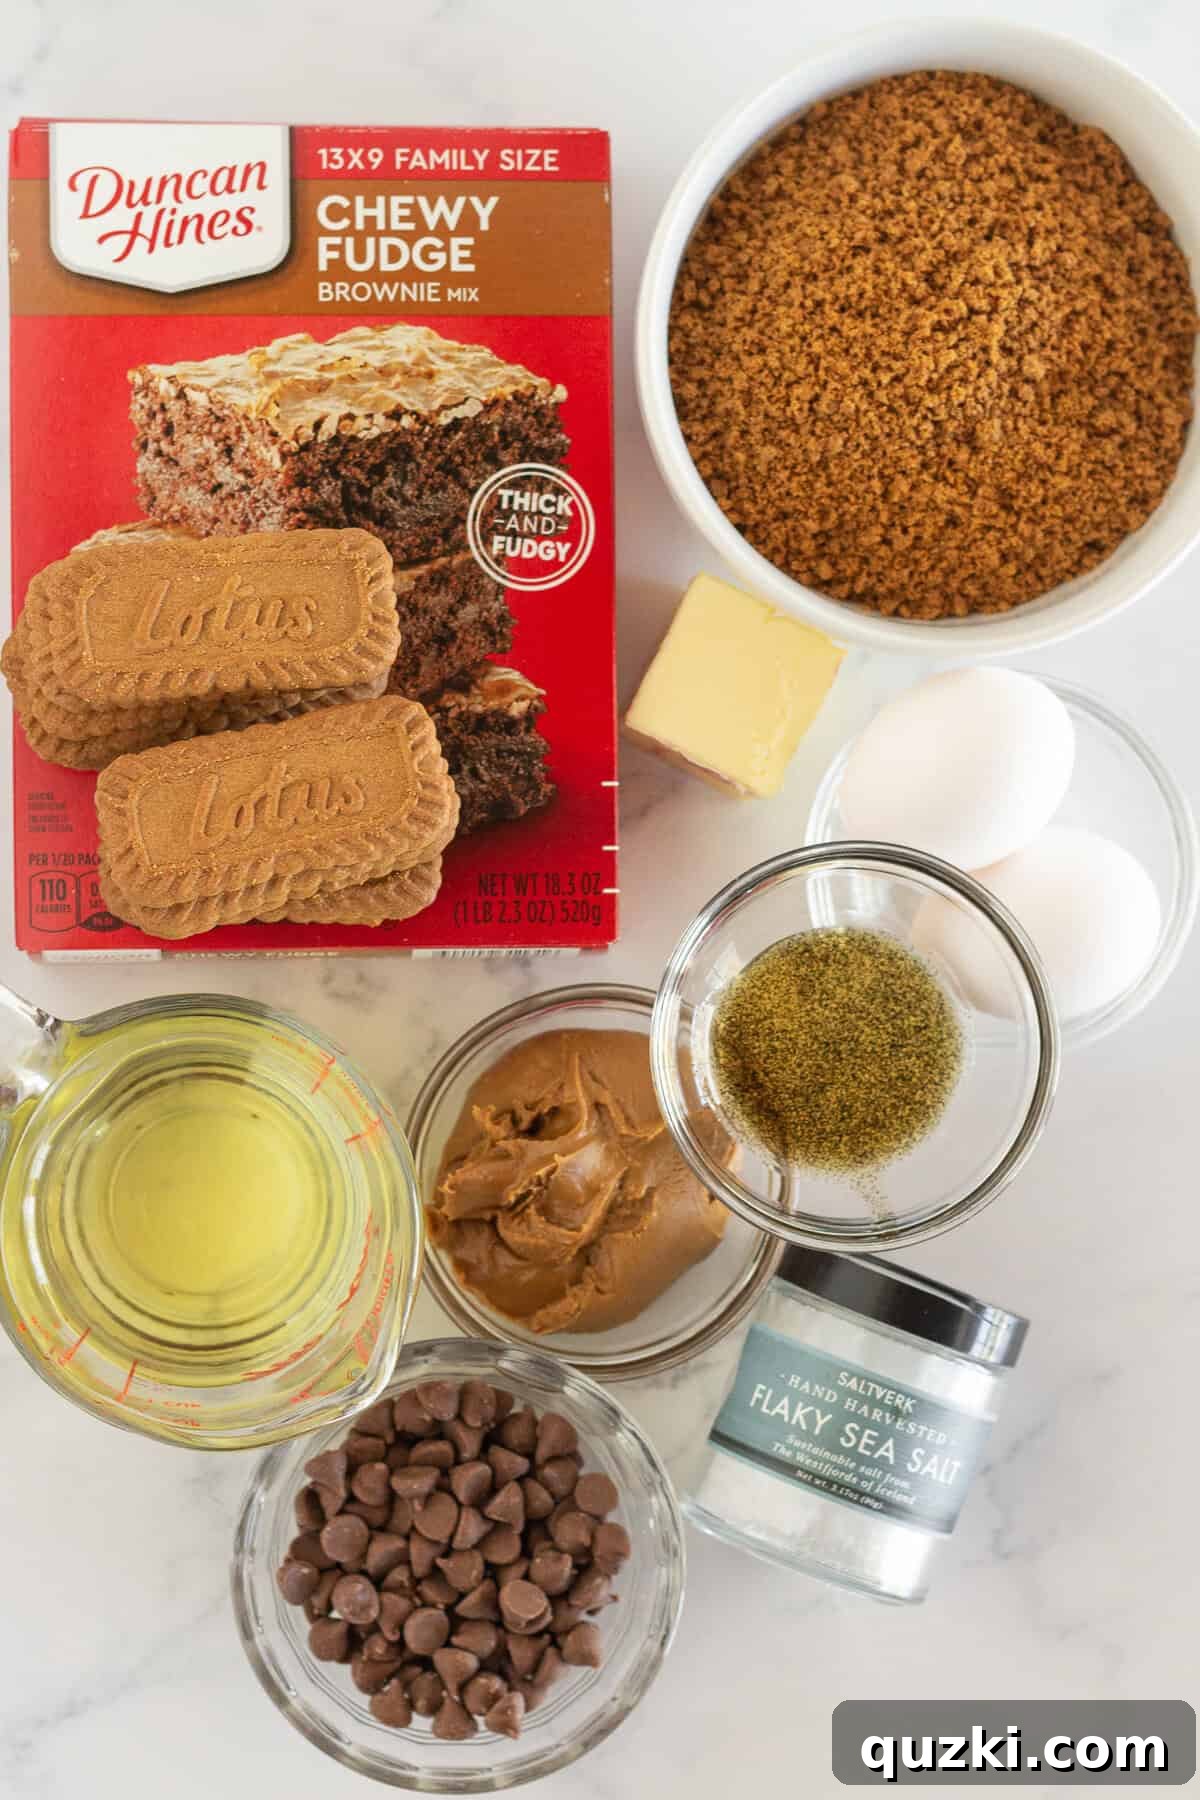
To embark on this delightful baking adventure, you’ll need a few key ingredients, most of which are pantry staples or easily found at your local grocery store:
- Chocolate Fudge Brownie Mix: The foundation of our quick and easy brownies. A high-quality fudge brownie mix ensures a rich, moist, and chewy base. Choose your favorite brand, typically an 18.3-ounce box, and prepare it according to the package directions, or as specified in our detailed recipe card below.
- Biscoff Cookies: These iconic spiced cookies are crucial for forming the crunchy, flavorful crust. You’ll need about 20 cookies, which will be crushed and combined with melted butter to create the perfect base.
- Cookie Butter: The star ingredient that gives these brownies their signature twist. Swirling cookie butter into the chocolate batter not only imparts its unique spiced flavor but also creates beautiful, marbled patterns on top of the brownies, making them visually appealing.
- Flaky Sea Salt: While entirely optional, a sprinkle of flaky sea salt after baking does wonders to balance the sweetness and enhance the rich chocolate and spice flavors. It adds a subtle crunch and a touch of gourmet elegance.
- Standard Brownie Mix Add-ins: You’ll also need the ingredients typically called for on your brownie mix box, such as large eggs, water, and vegetable oil. These ensure your brownies are perfectly moist and fudgy.
For precise measurements and quantities, please refer to the comprehensive recipe card located at the end of this article.
Delicious Variations to Personalize Your Brownies
One of the best things about this Biscoff brownie recipe is its versatility. Feel free to experiment with these variations to suit your taste or what you have on hand:
- Brownie Mix Flavor: Don’t limit yourself to fudge! You can try a salted caramel brownie mix for an extra layer of sweetness and complexity, a classic milk chocolate brownie mix for a milder chocolate flavor, or even a dark chocolate brownie mix for a truly intense cocoa experience. Always prepare the brownie batter according to the instructions on your chosen box.
- Alternative Cookie Crusts: While the Biscoff crust is undeniably amazing and central to this recipe’s theme, you can certainly swap it out for other delicious options if you wish. Consider a chocolate chip cookie crust for a familiar and comforting twist, a vanilla wafer crust for a lighter, buttery base, or a traditional graham cracker crust for a classic cheesecake-like foundation. Each option offers a different texture and flavor profile that pairs wonderfully with the fudgy brownie layer.
- Add-ins and Toppings: Enhance your brownies with extra elements. Consider folding chocolate chips, chopped nuts, or even crushed Biscoff cookies into the brownie batter before baking. After baking, a drizzle of melted white chocolate or a dollop of whipped cream can take these brownies to the next level.
How to Make Biscoff Brownies: A Step-by-Step Guide
Crafting these extraordinary Biscoff brownies is a straightforward process, designed for ease without compromising on flavor or presentation. Follow these simple steps for a truly rewarding baking experience:
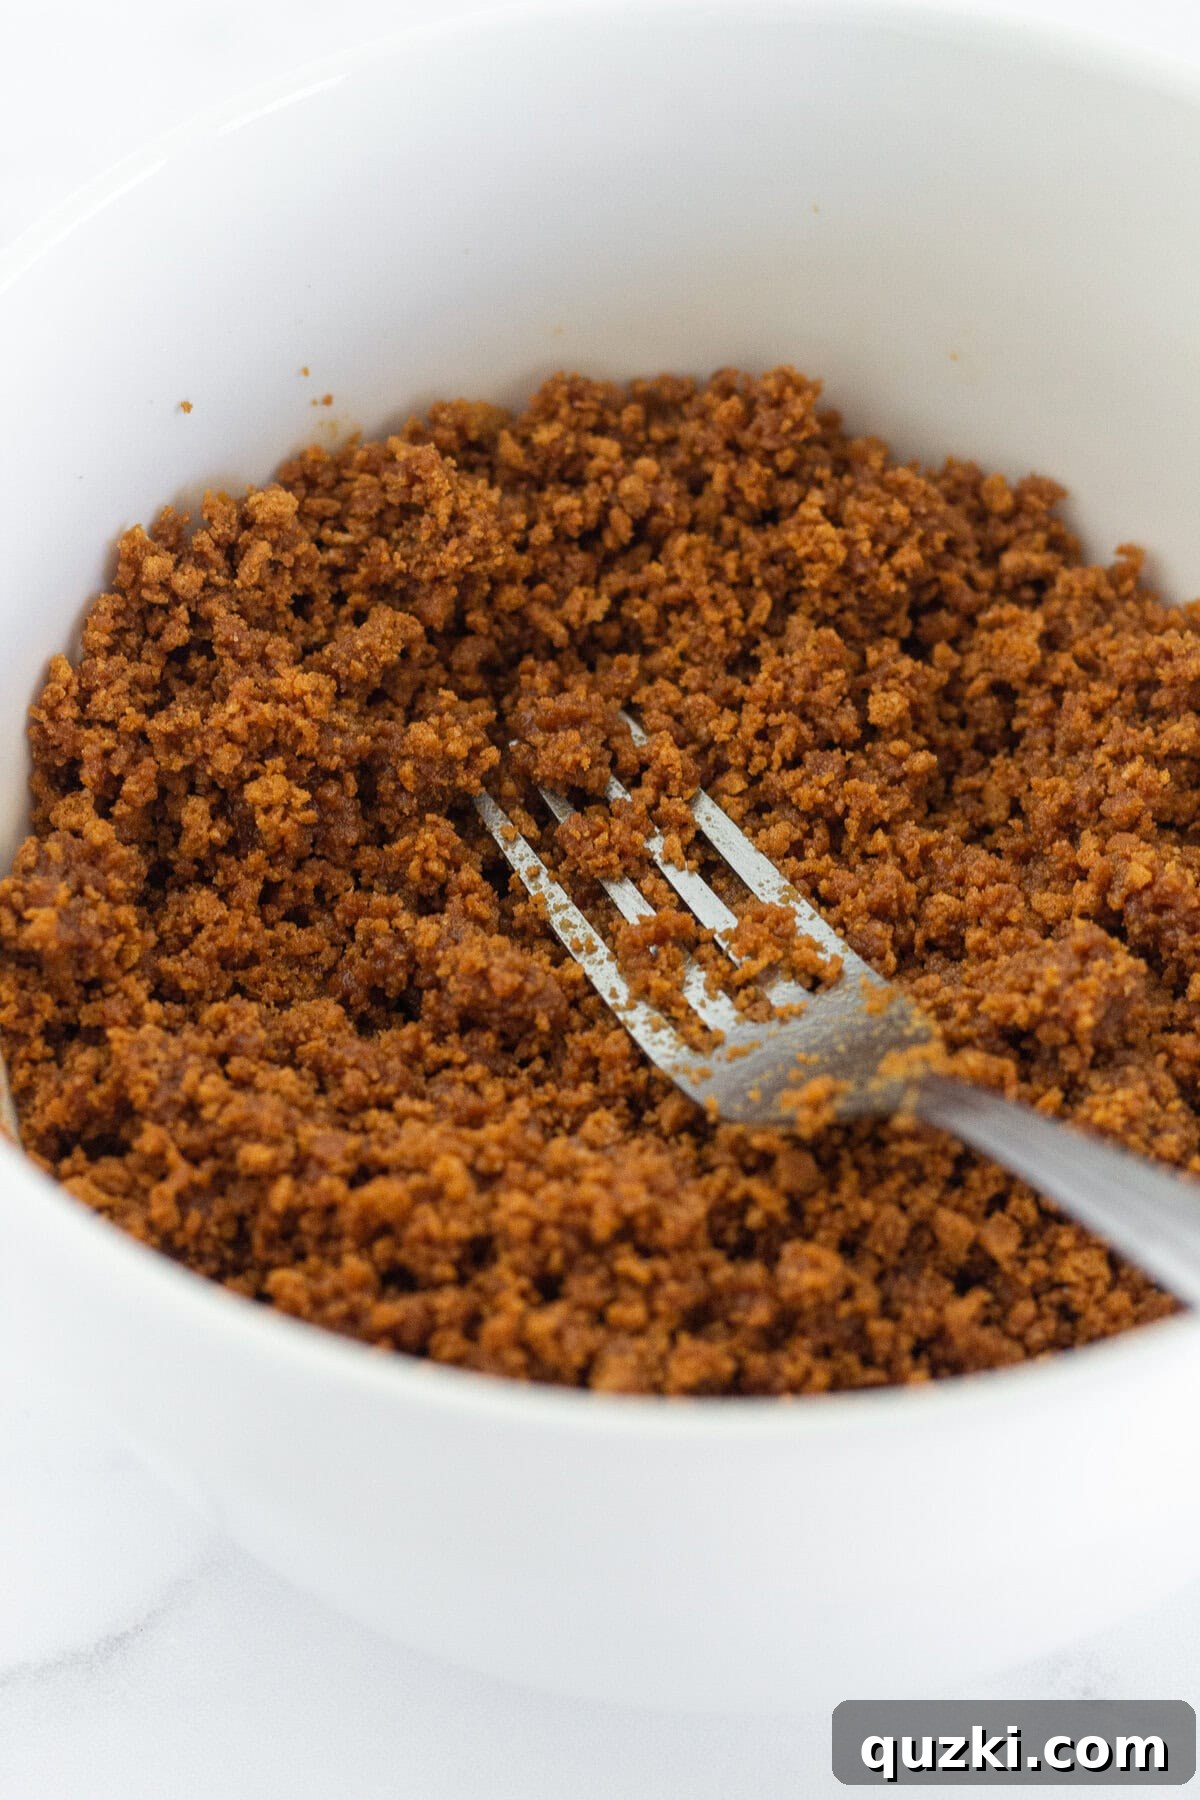
First, prepare your Biscoff cookie crust. In a medium bowl, combine the finely crushed Biscoff cookies with the melted butter. Stir thoroughly until all the cookie crumbs are evenly coated, creating a wet, sandy mixture. You can crush the cookies using a food processor for a fine crumb or place them in a zip-top bag and crush with a rolling pin for a slightly chunkier texture.
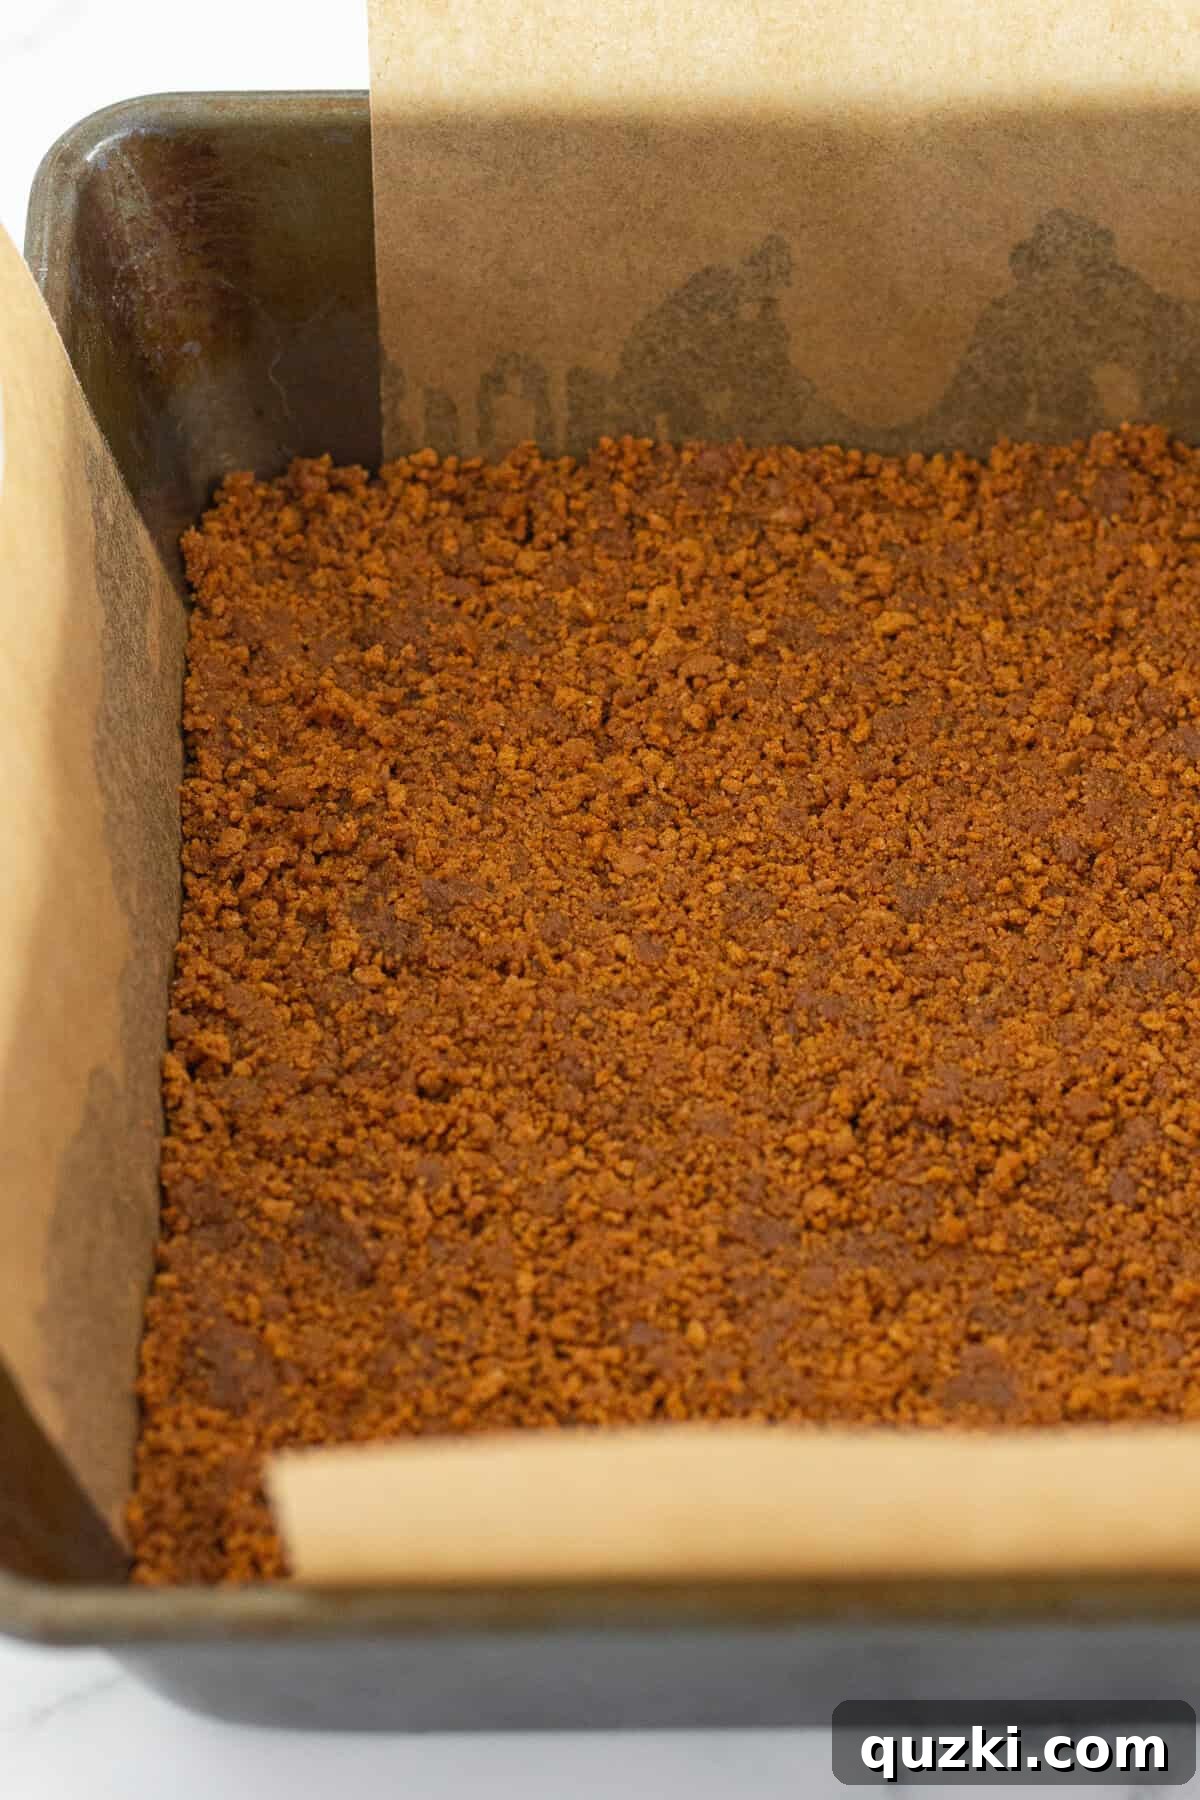
Pour the buttery cookie mixture into the bottom of a prepared 8×8 inch baking pan. Using the back of a spoon or your fingertips, press the mixture down firmly and evenly across the entire bottom of the pan to form a compact crust. Set this aside while you prepare the brownie batter.
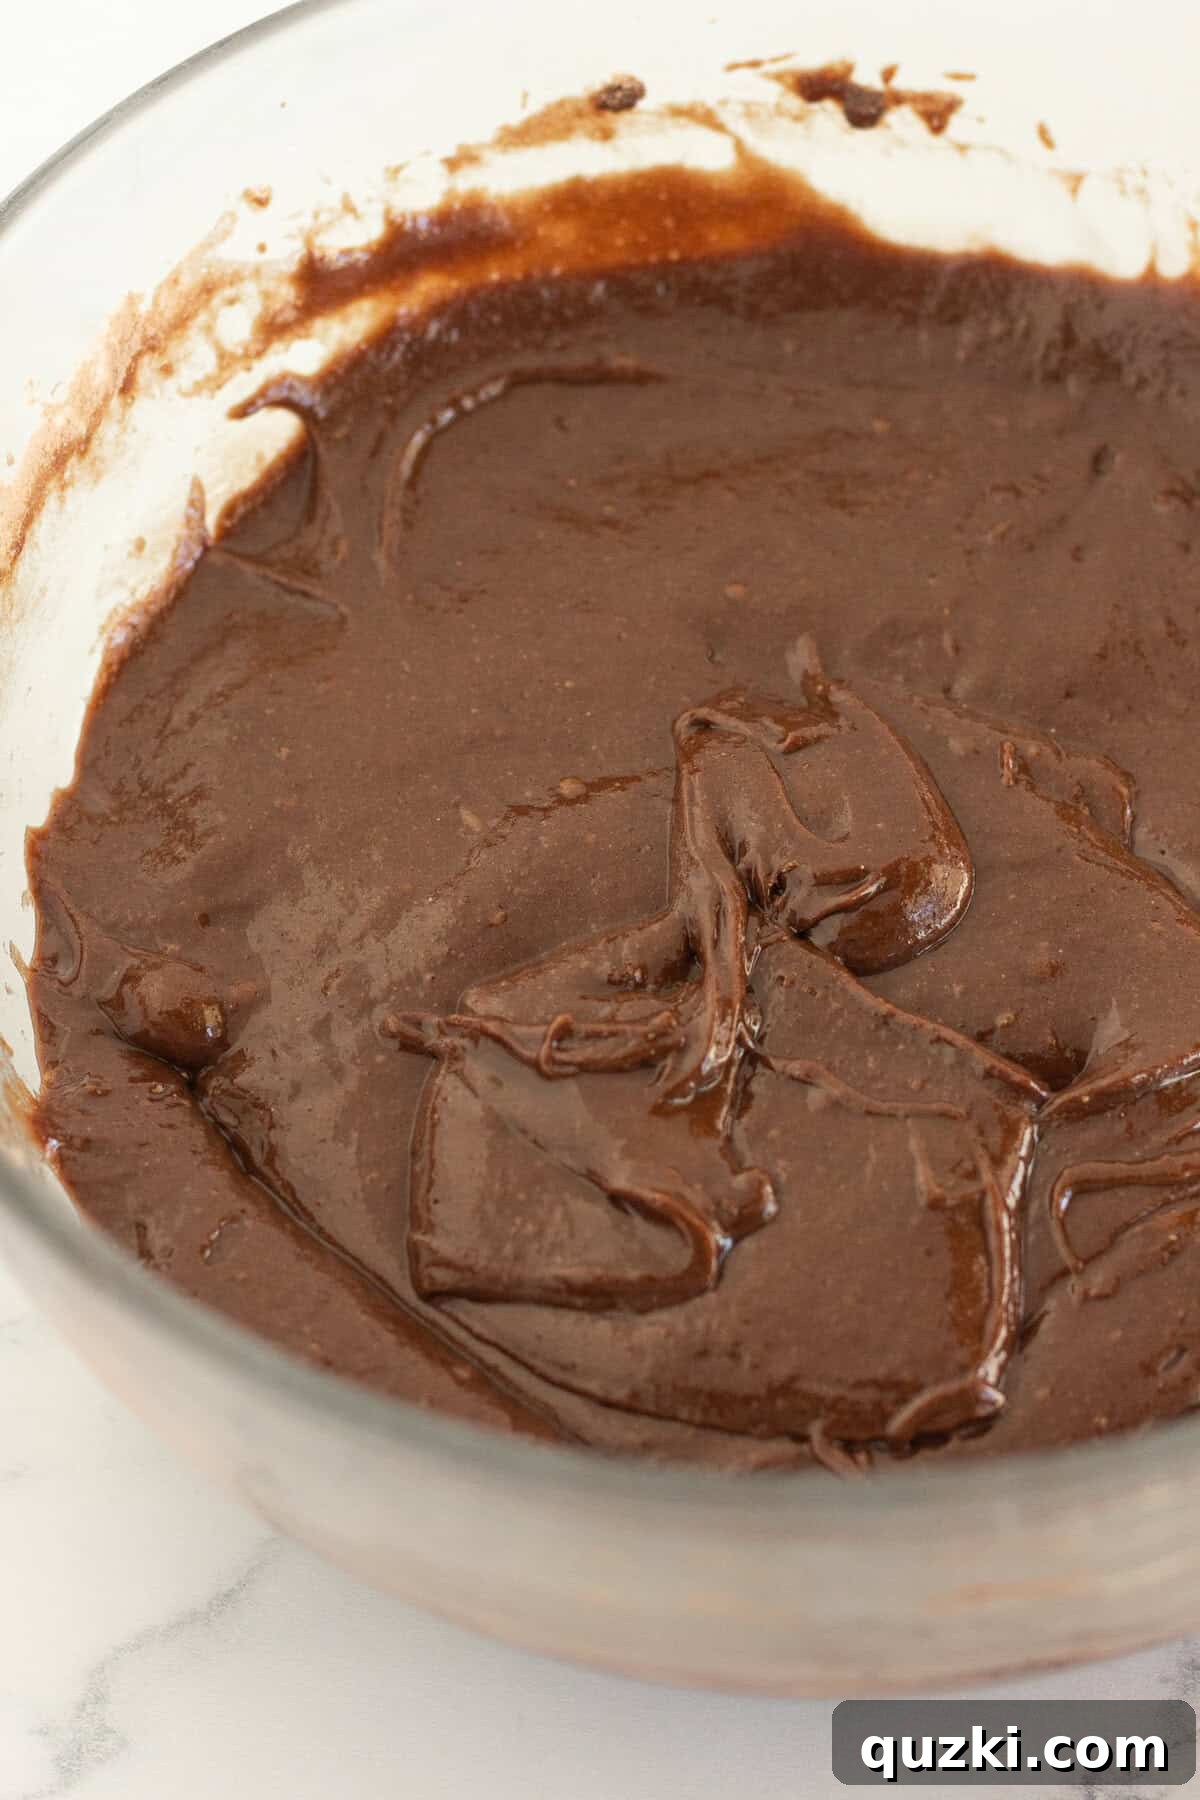
Next, prepare the brownie batter. In a large mixing bowl, combine the chocolate brownie mix, eggs, water, and vegetable oil. Mix these ingredients thoroughly using a handheld mixer on low speed, or by hand with a sturdy whisk or spatula, until everything is just incorporated. Be careful not to overmix, as this can lead to a less fudgy texture. Scrape down the sides of the bowl as needed to ensure all ingredients are well combined.
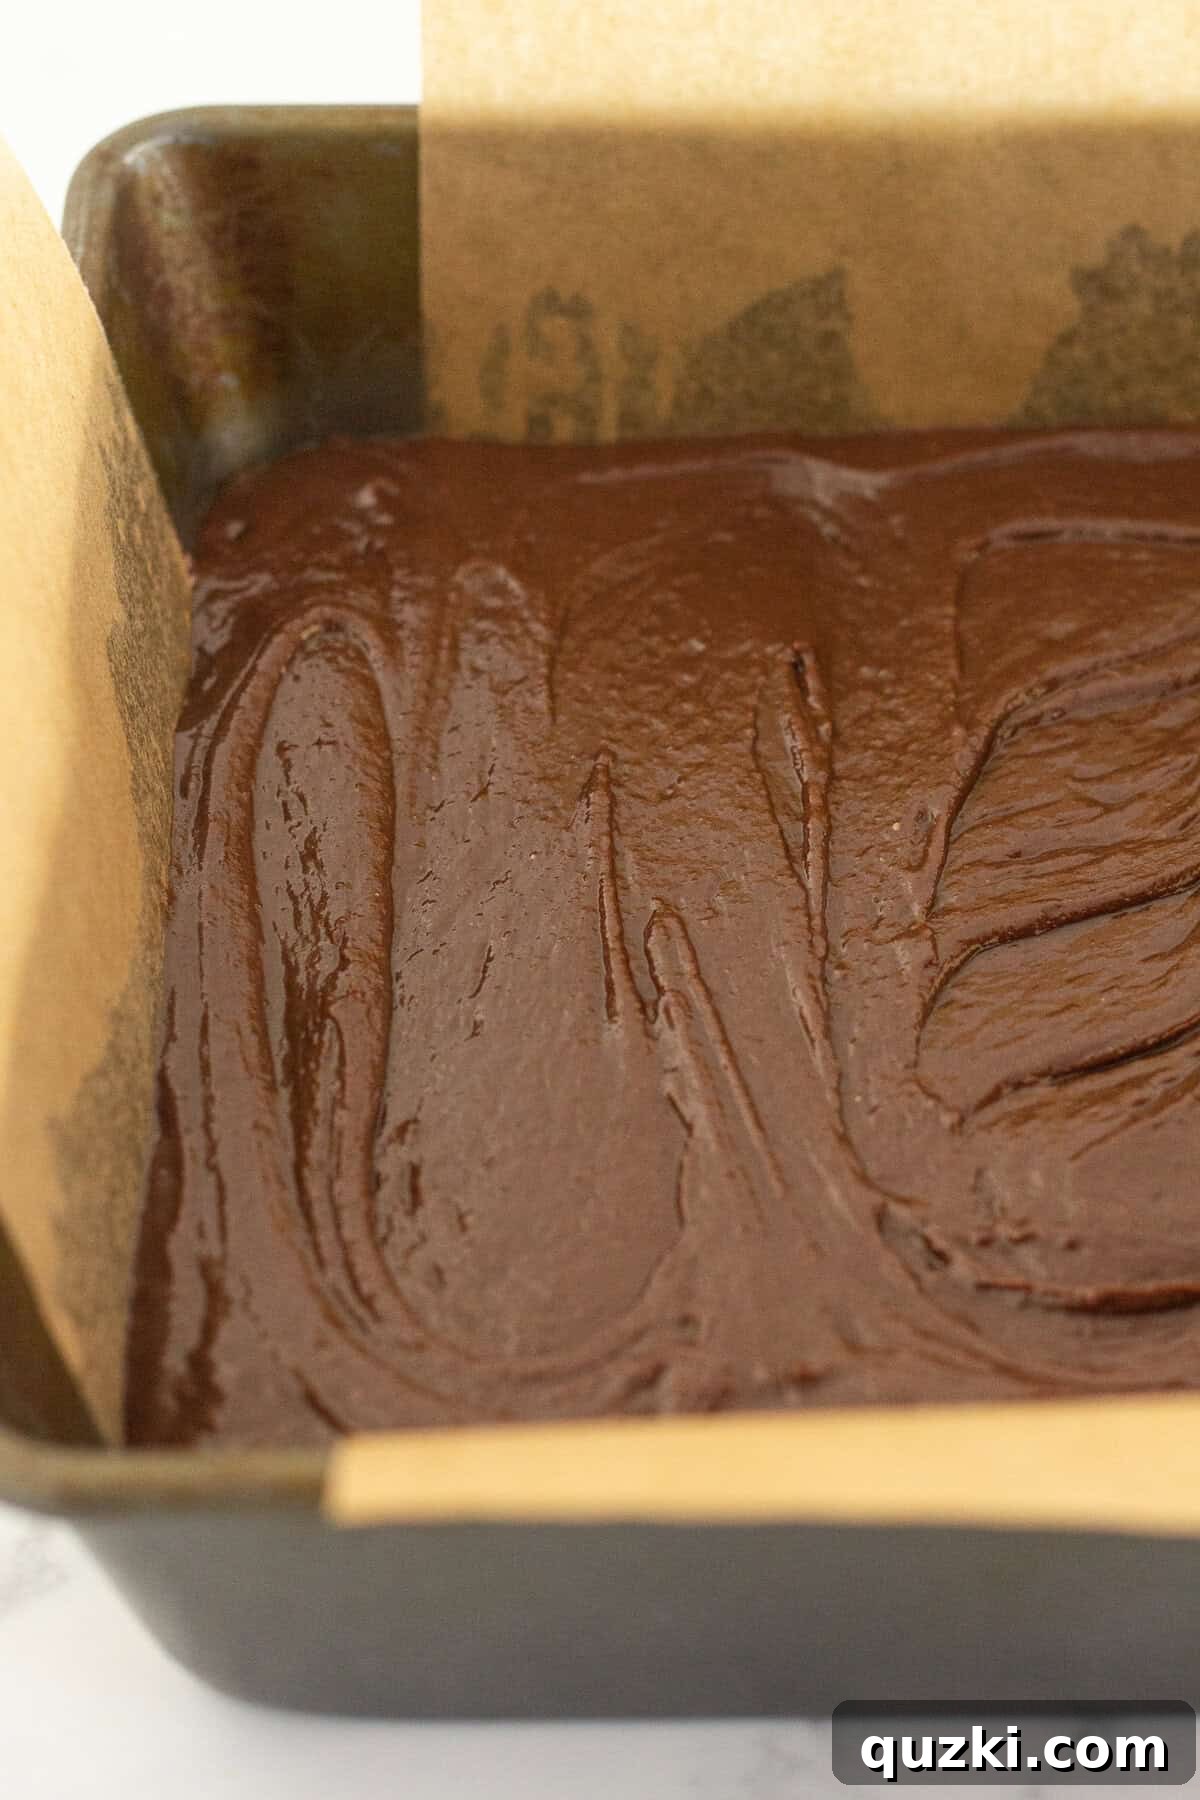
Gently pour the prepared brownie batter over the Biscoff cookie crust in the baking pan. Carefully spread the batter into an even layer, making sure it covers the entire crust without disturbing it too much. Take your time to ensure a smooth, consistent layer for even baking.
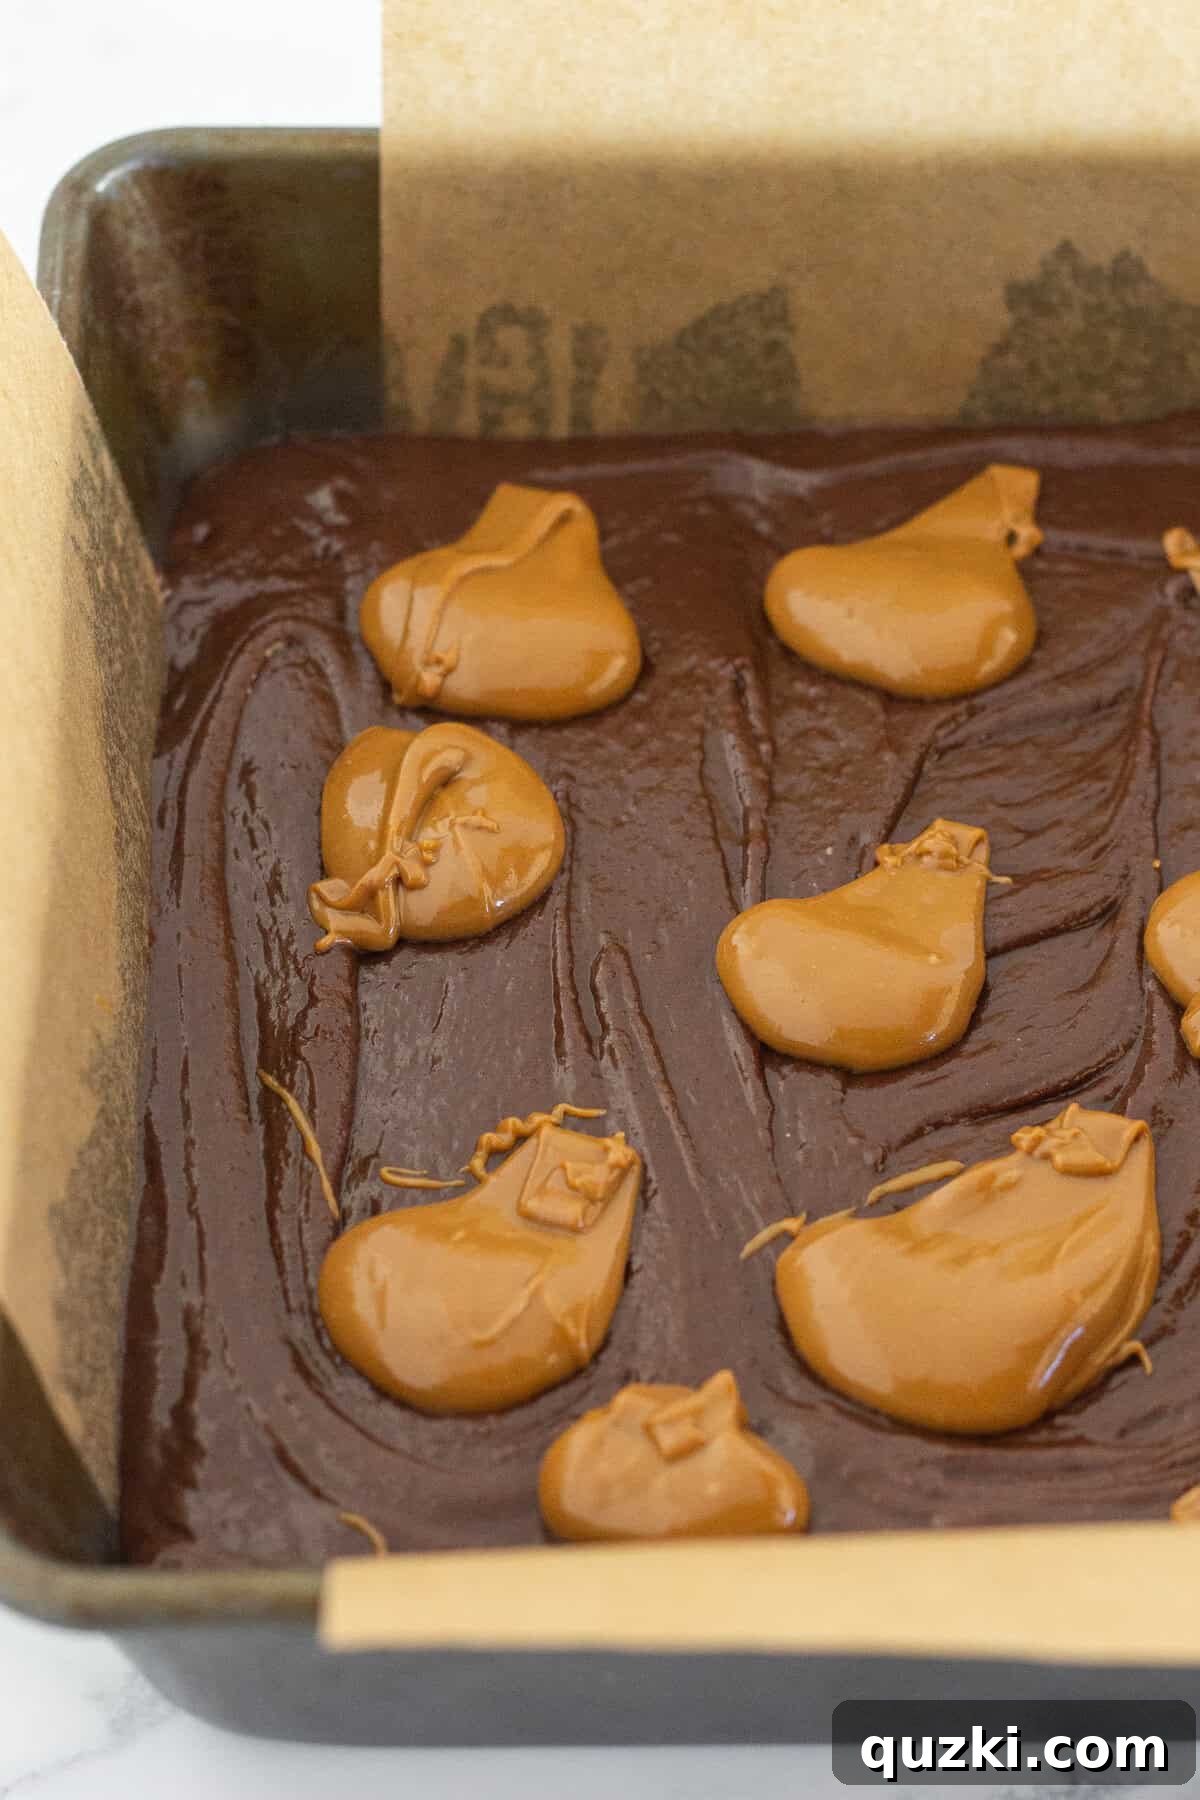
Now for the luscious cookie butter swirl. Drop spoonfuls of Biscoff cookie butter over the top of the brownie layer. If your cookie butter is too thick, microwave it in a microwave-safe bowl for about 20 seconds. Stir, and if necessary, microwave in 5-second intervals until it reaches a thinner, pourable, but not runny, consistency. This makes it easier to swirl. Aim for small dollops scattered across the surface.
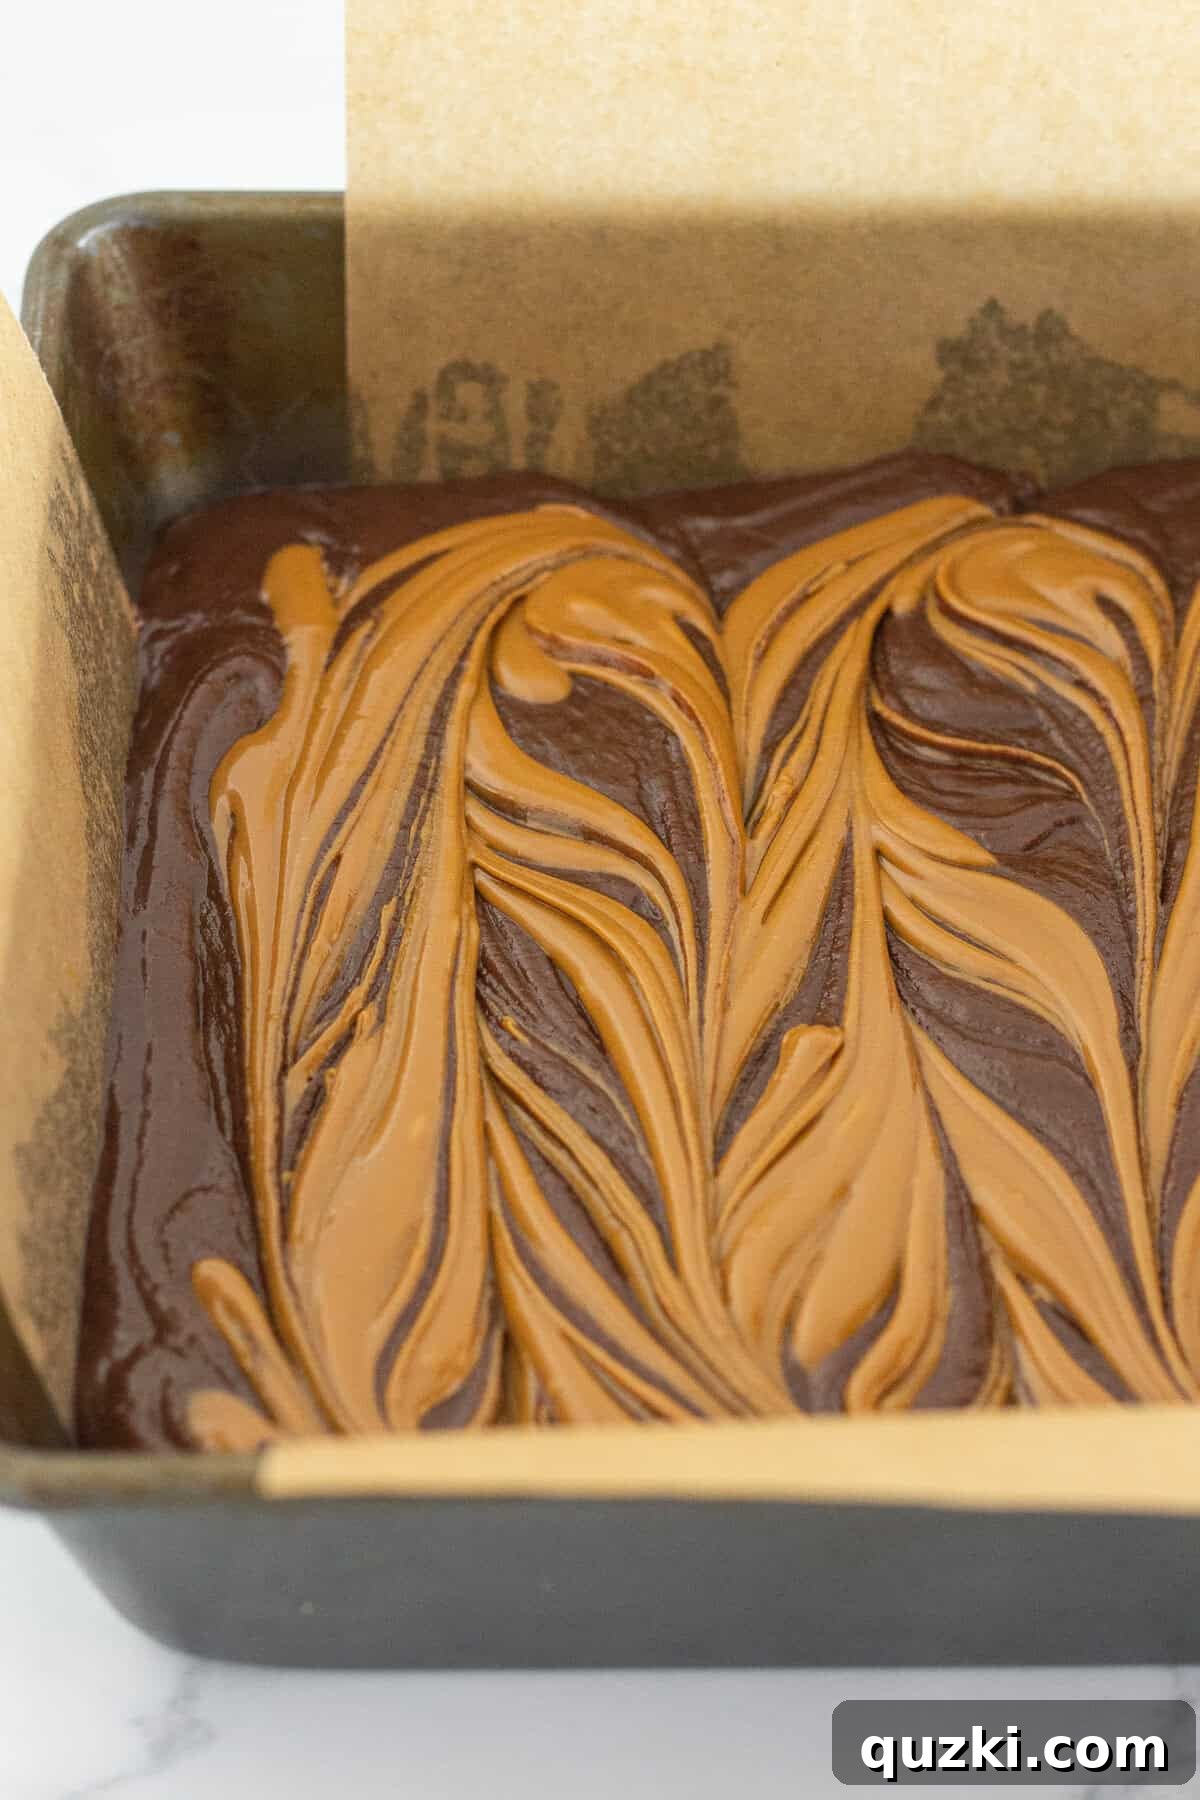
Using a butter knife or a skewer, gently swirl the cookie butter into the brownie batter. Create appealing patterns by dragging the knife through the dollops and into the chocolate batter. Be mindful not to press down too hard, as you want to avoid disrupting the cookie crust underneath. The goal is a beautiful marbled effect.
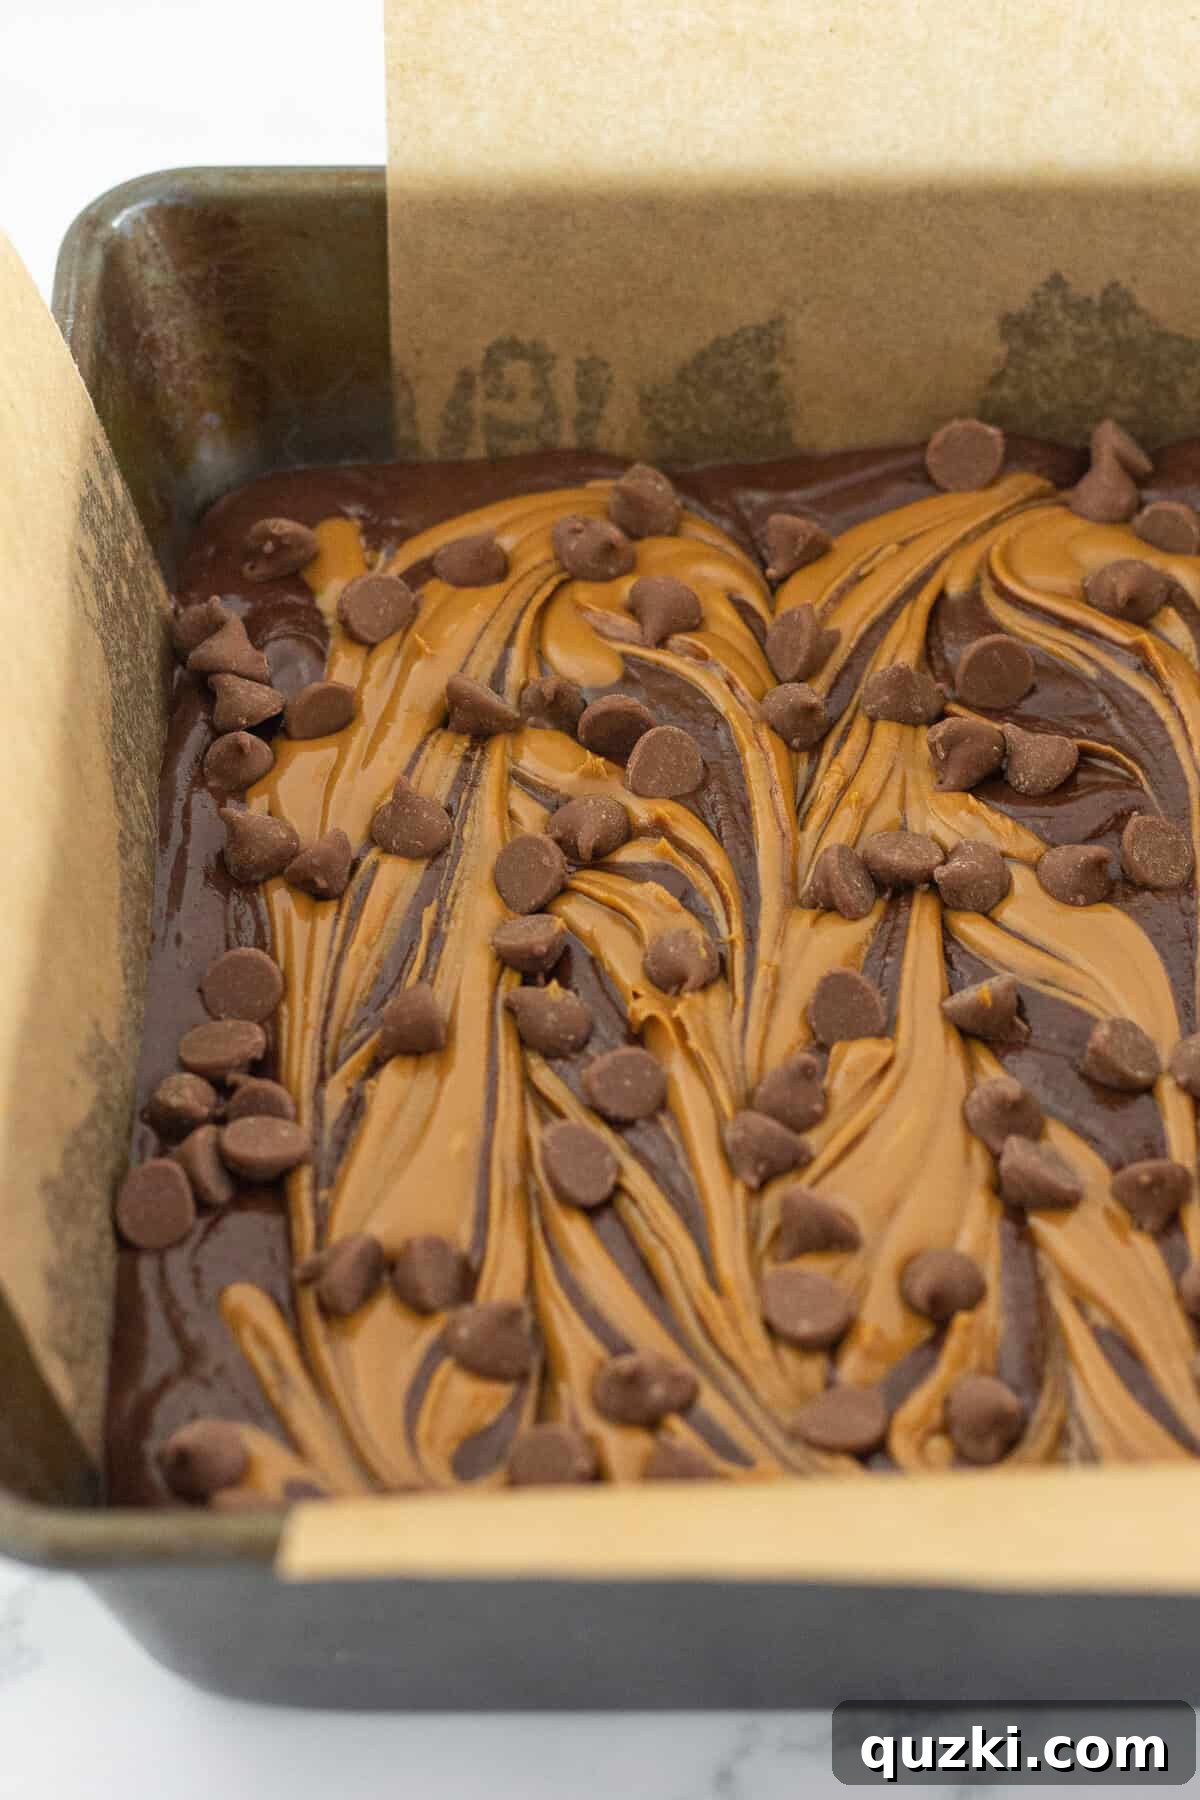
Finally, sprinkle the top of the brownies with milk chocolate chips (this step is optional but highly recommended for extra chocolatey goodness). Bake the brownies in a preheated oven at 350°F (175°C) for 25-28 minutes. Baking times can vary depending on your oven, so keep a close eye on them.
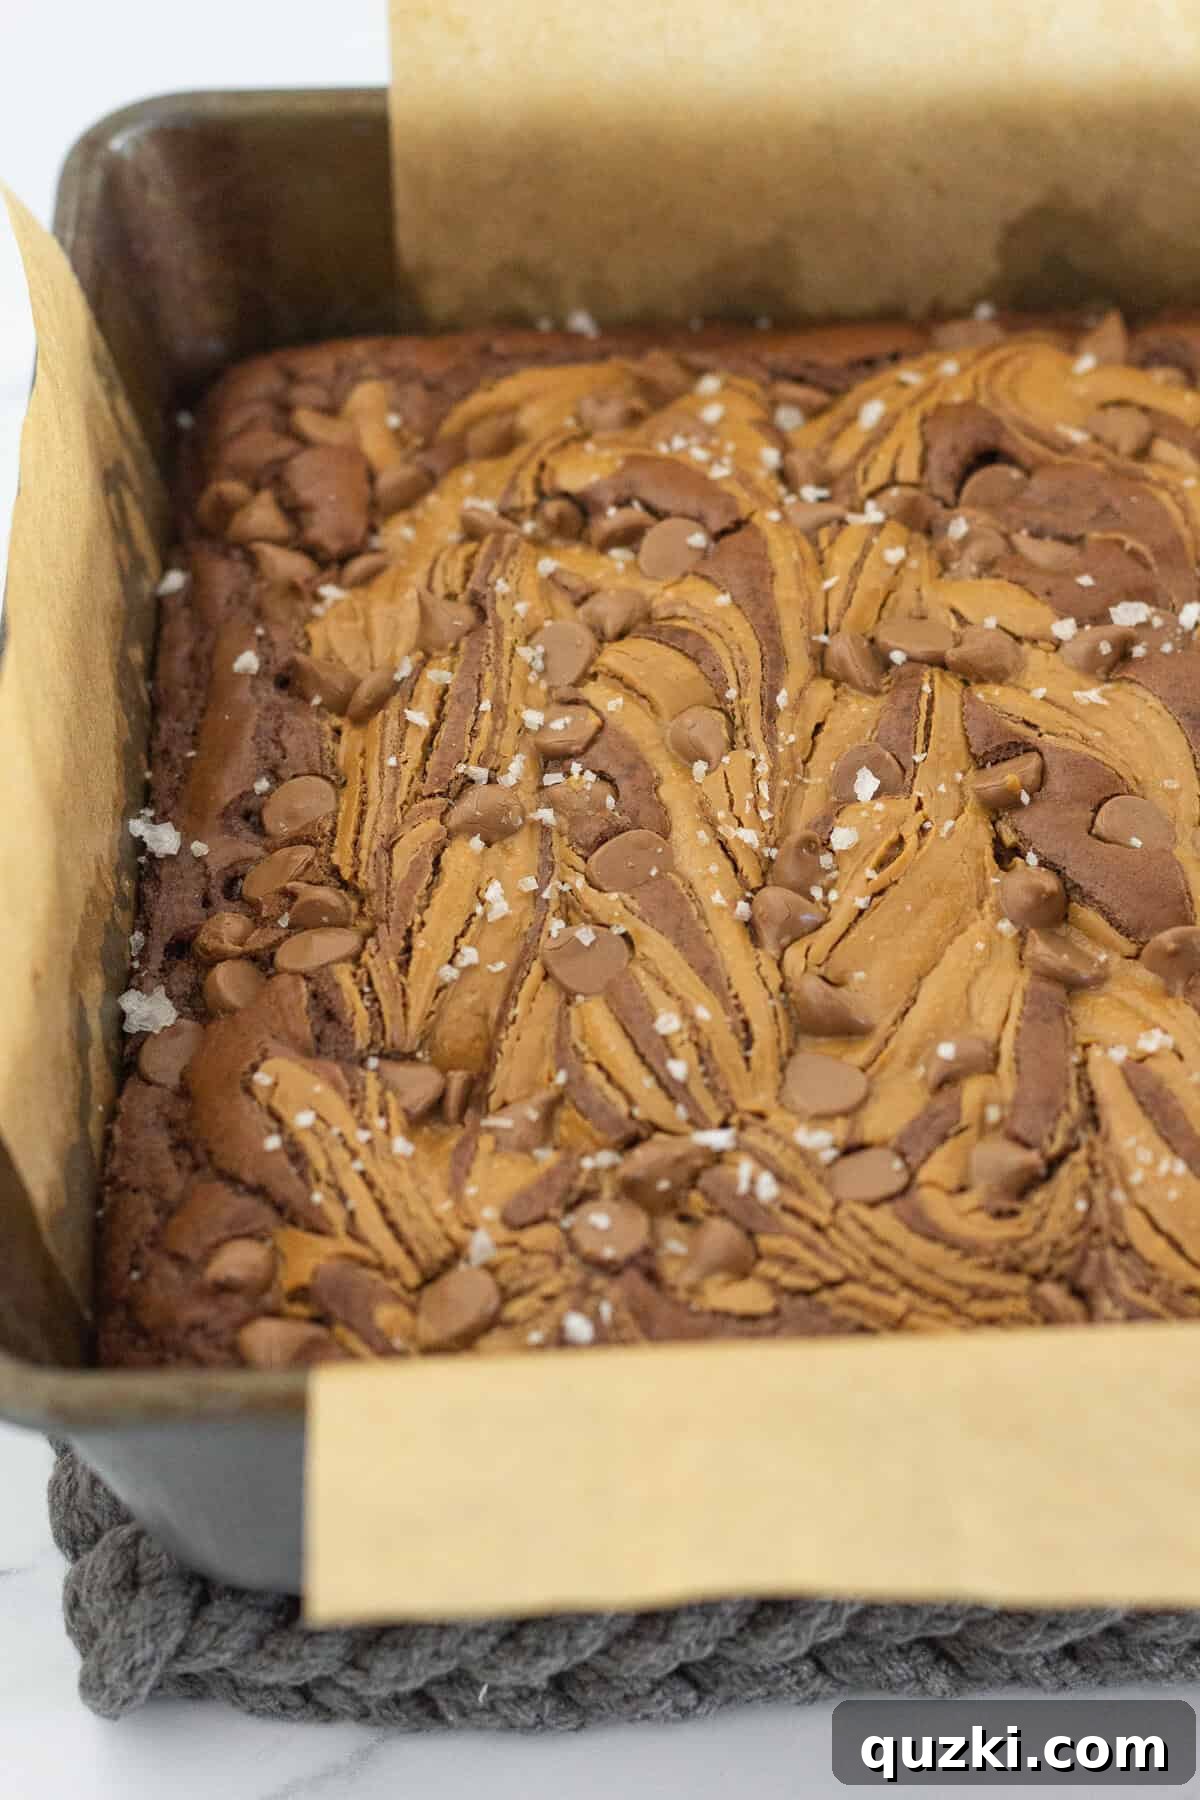
Once baked, pull the Biscoff brownies from the oven. While they are still warm, immediately sprinkle them with a generous pinch of flaky sea salt, if desired. This touch of salt beautifully enhances the sweet and spiced flavors. Allow the brownies to cool completely in the pan on a wire rack before attempting to cut them into perfect squares. Patience is key for clean cuts and optimal texture!
Expert Tips for the Best Biscoff Brownies
Achieving the perfect fudgy brownie with a distinct Biscoff flavor is easy with these expert tips:
- Choose Your Baking Pan Wisely: For the absolute best results, I highly recommend baking these cookie butter brownies in a metal pan. Metal pans conduct heat more efficiently and evenly, ensuring your brownies cook through without burning the bottom. If you only have a glass baking dish, which retains more heat and can get much hotter in the oven, it’s crucial to reduce the baking temperature to 325°F (160°C) to prevent the bottom from overcooking or burning.
- Do Not Overbake: This is perhaps the most critical rule for fudgy and gooey brownies. Brownies continue to set as they cool, so it’s essential to remove them from the oven when they still have a slight “jiggle” in the center. The edges should look set and slightly pulled away from the sides of the pan, but the middle should not be completely firm. Overbaking will result in dry, cakey brownies, losing that desirable fudgy texture.
- For Impeccable, Clean Cuts: If presentation is important and you want perfectly neat squares, refrigerate the brownies for at least an hour (or even longer) before cutting them. Chilling solidifies the brownie and cookie butter, making it much easier to achieve sharp, clean lines without crumbling. Use a sharp knife and wipe it clean between each cut for the best results.
- Warming Cookie Butter: When it comes to swirling, the consistency of your cookie butter is vital. A few seconds in the microwave (as mentioned in the instructions) can make it pliable enough to swirl beautifully without being too runny. You want it to integrate with the brownie batter, not simply sink to the bottom.
Storage and Freezing Instructions
Proper storage ensures your Biscoff brownies remain fresh and delicious for as long as possible:
- Room Temperature Storage: These Biscoff cookie brownies will maintain their freshness and delicious taste for up to 4 days when stored in a good airtight container or tightly wrapped in plastic wrap. Keep them in a cool, dry place away from direct sunlight.
- Refrigeration: If you prefer a firmer brownie or live in a warmer climate, you can store them in an airtight container in the refrigerator for up to a week. The flavors will still be wonderful, though the texture might be slightly denser.
- Freezing for Long-Term Enjoyment: Brownies are excellent for freezing, allowing you to enjoy them for an extended period. To freeze, first ensure the brownies are completely cooled. Then, cut them into individual squares. Place the squares in a freezer-safe container, using parchment paper between layers to prevent them from sticking together. They can be frozen for up to 3 months. When you’re ready to enjoy, simply thaw them at room temperature or warm them gently in the microwave for a few seconds.
Frequently Asked Questions About Biscoff Brownies
How can I tell when the brownies are done baking?
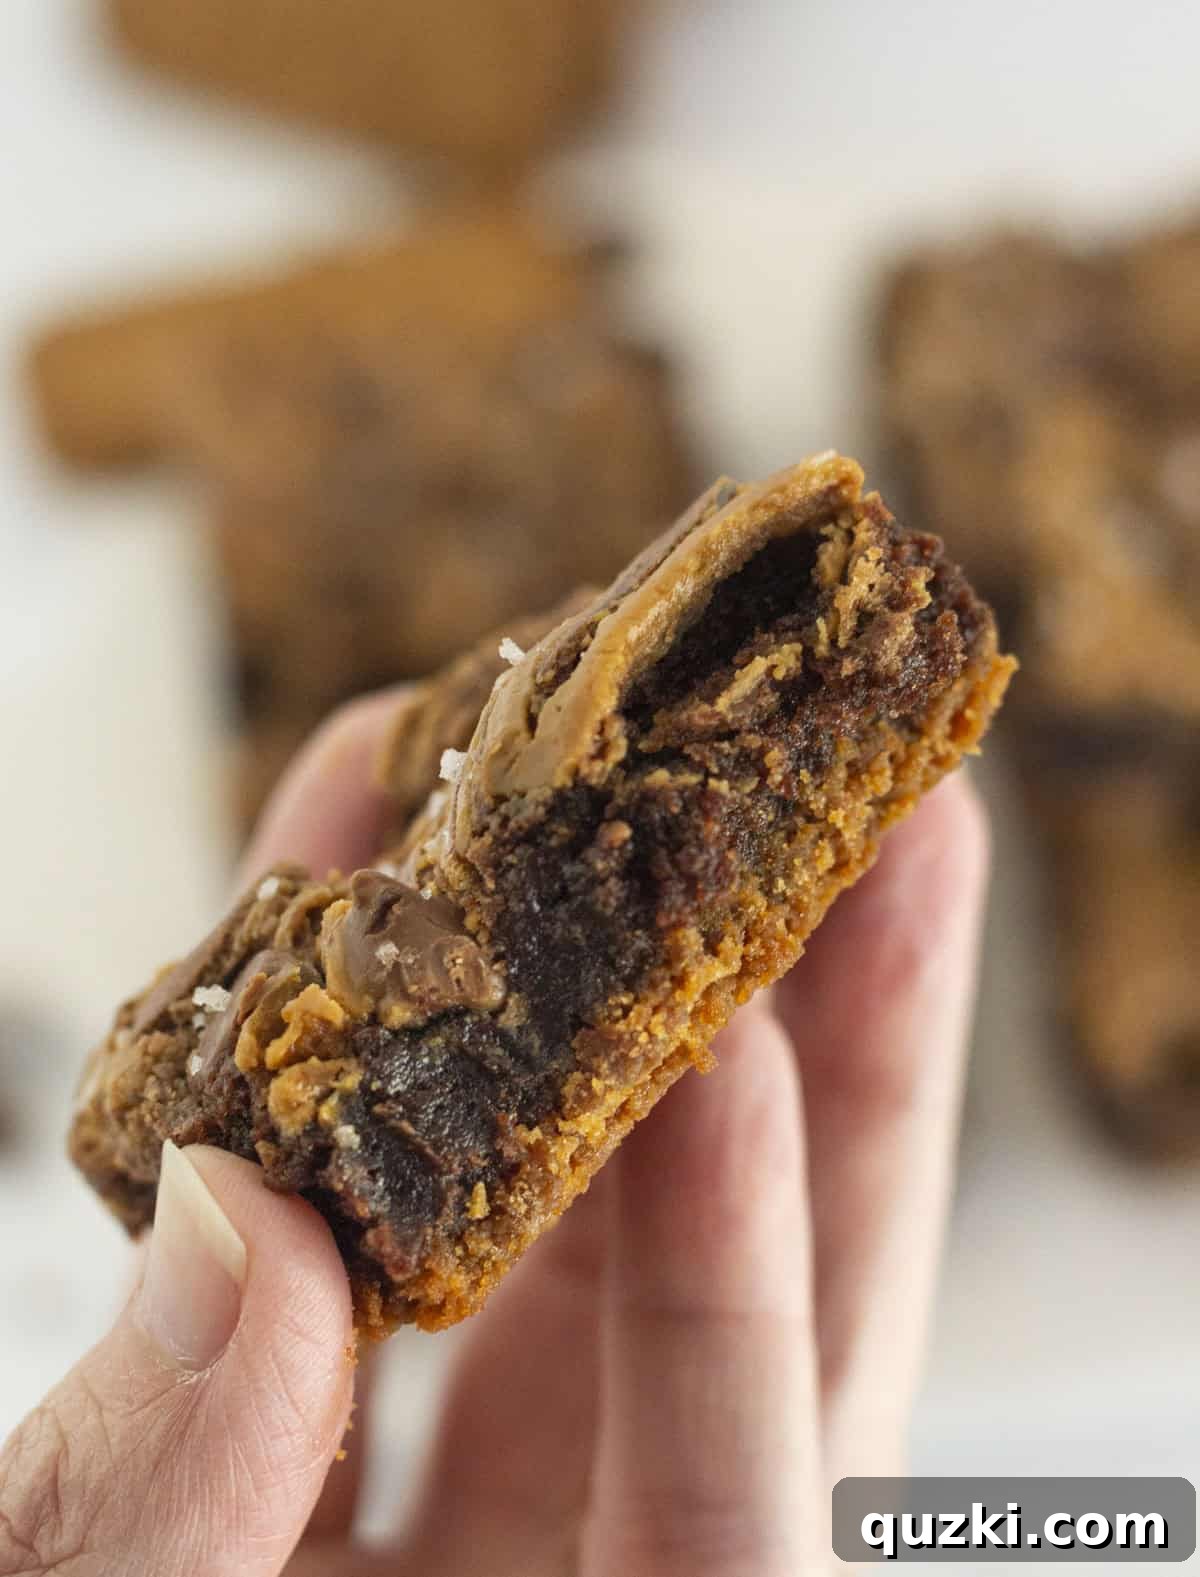
Determining when brownies are perfectly baked is key to their fudgy texture. When your Biscoff brownies are ready, the edges of the brownie layer should appear set and slightly pulled away from the sides of the pan. The center, however, should still have a slight “jiggle” when you gently shake the pan. A wooden skewer or toothpick inserted into the center should come out with moist crumbs attached, not wet batter, and not entirely clean. Remember, they will continue to cook slightly and set as they cool, so it’s better to underbake them slightly than to overbake.
Can I double the recipe for a larger batch?
Absolutely! This recipe is easily scalable. You can certainly double all the ingredients to make a larger batch of these delightful Biscoff brownies. If doubling, you will need a larger baking pan, typically a 9×13 inch baking pan. Keep in mind that when baking in a larger pan with more batter, the baking time will be slightly longer. Start checking for doneness a few minutes past the original recipe’s maximum baking time, using the “jiggle test” described above.
Do you love cookie butter as much as we do? Try these other irresistible recipes!
More Decadent Cookie Butter Recipes
Desserts
Super Easy Biscoff Cookie Butter Cake
Cookies
Easy Biscoff Cookie Butter Cookies
Cheesecakes
Cookie Butter No Bake Cheesecake Recipe
Cookies
Trader Joe’s No Bake Cookie Butter Cookies
We hope you thoroughly enjoy creating and devouring these incredibly rich Biscoff Brownies! They are truly a treat that combines ease with gourmet flavor. If you try this recipe, please consider leaving a ⭐️⭐️⭐️⭐️⭐️ review below and don’t forget to tag @practicallyhomemade on Pinterest so we can see your delicious creations!
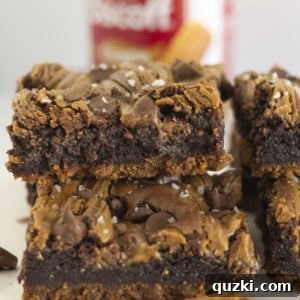
Biscoff Cookie Butter Brownies
These delicious Biscoff brownies have layers of goodness baked inside. They start with a Biscoff cookie crust and then are topped with a fudgy brownie layer that has cookie butter swirled on top.
Rate Recipe
Print Recipe
Save this recipe!
Get this sent to your inbox, plus get new recipes from us every week!
Ingredients
Biscoff Cookie Crust
Brownies
Instructions
- Preheat the oven to 350°F (175°C) and line an 8×8 inch baking pan with parchment paper, leaving an overhang on two sides for easy removal, or spray liberally with nonstick cooking spray. Set aside.
Biscoff Cookie Crust
- Mix together the crushed Biscoff cookie crumbs with the melted butter until all of the crumbs are thoroughly coated. Press this mixture firmly into an even layer in the bottom of the prepared pan.
Brownies
- Combine the brownie mix, eggs, water, and oil in a large bowl. Mix with a handheld mixer or by hand until everything is just combined and no dry streaks remain. Pour this brownie batter evenly over the Biscoff crust and spread it out into a smooth, consistent layer.
- Add the cookie butter to a microwave-safe bowl and microwave for 20 seconds. Stir, and if it’s still too thick, microwave in 5-second intervals until it is thin enough to swirl easily, but not overly runny. Use a spoon to dollop the warmed cookie butter over the top of the brownie batter. Using a butter knife or a skewer, gently swirl the cookie butter into the brownie batter, taking care not to disturb the cookie crust below. Finally, sprinkle the milk chocolate chips over the top of the brownie batter (this step is optional but adds a lovely touch).
- Bake for 25-28 minutes, or until the brownie edges are set and begin to pull away slightly from the pan, but the center still has a slight “jiggle.” Remove from the oven, immediately sprinkle with flaky sea salt (if desired) and allow the brownies to cool completely in the pan on a wire rack before cutting them into squares. Store any leftovers in an airtight container at room temperature for up to 4 days, or freeze for up to 3 months.
Notes
- For optimal results and to prevent burning, bake in a metal pan. Glass pans retain heat more intensely, which can lead to overcooked bottoms. If using a glass pan, reduce the baking temperature to 325°F (160°C).
- To achieve perfectly neat and clean cuts for serving, refrigerate the cooled brownies for at least an hour before slicing them into squares. A sharp knife, wiped clean between each cut, will also aid in this.
Nutrition
Calories: 588 kcal,
Carbohydrates: 54g,
Protein: 6g,
Fat: 39g,
Saturated Fat: 10g,
Polyunsaturated Fat: 8g,
Monounsaturated Fat: 7g,
Trans Fat: 0.3g,
Cholesterol: 45mg,
Sodium: 177mg,
Potassium: 13mg,
Sugar: 34g,
Vitamin A: 203IU,
Calcium: 6mg,
Iron: 1mg
Nutrition information is automatically calculated and should only be used as an approximation.
Like this? Leave a comment below!
We’d love to hear your thoughts and see your creations!