
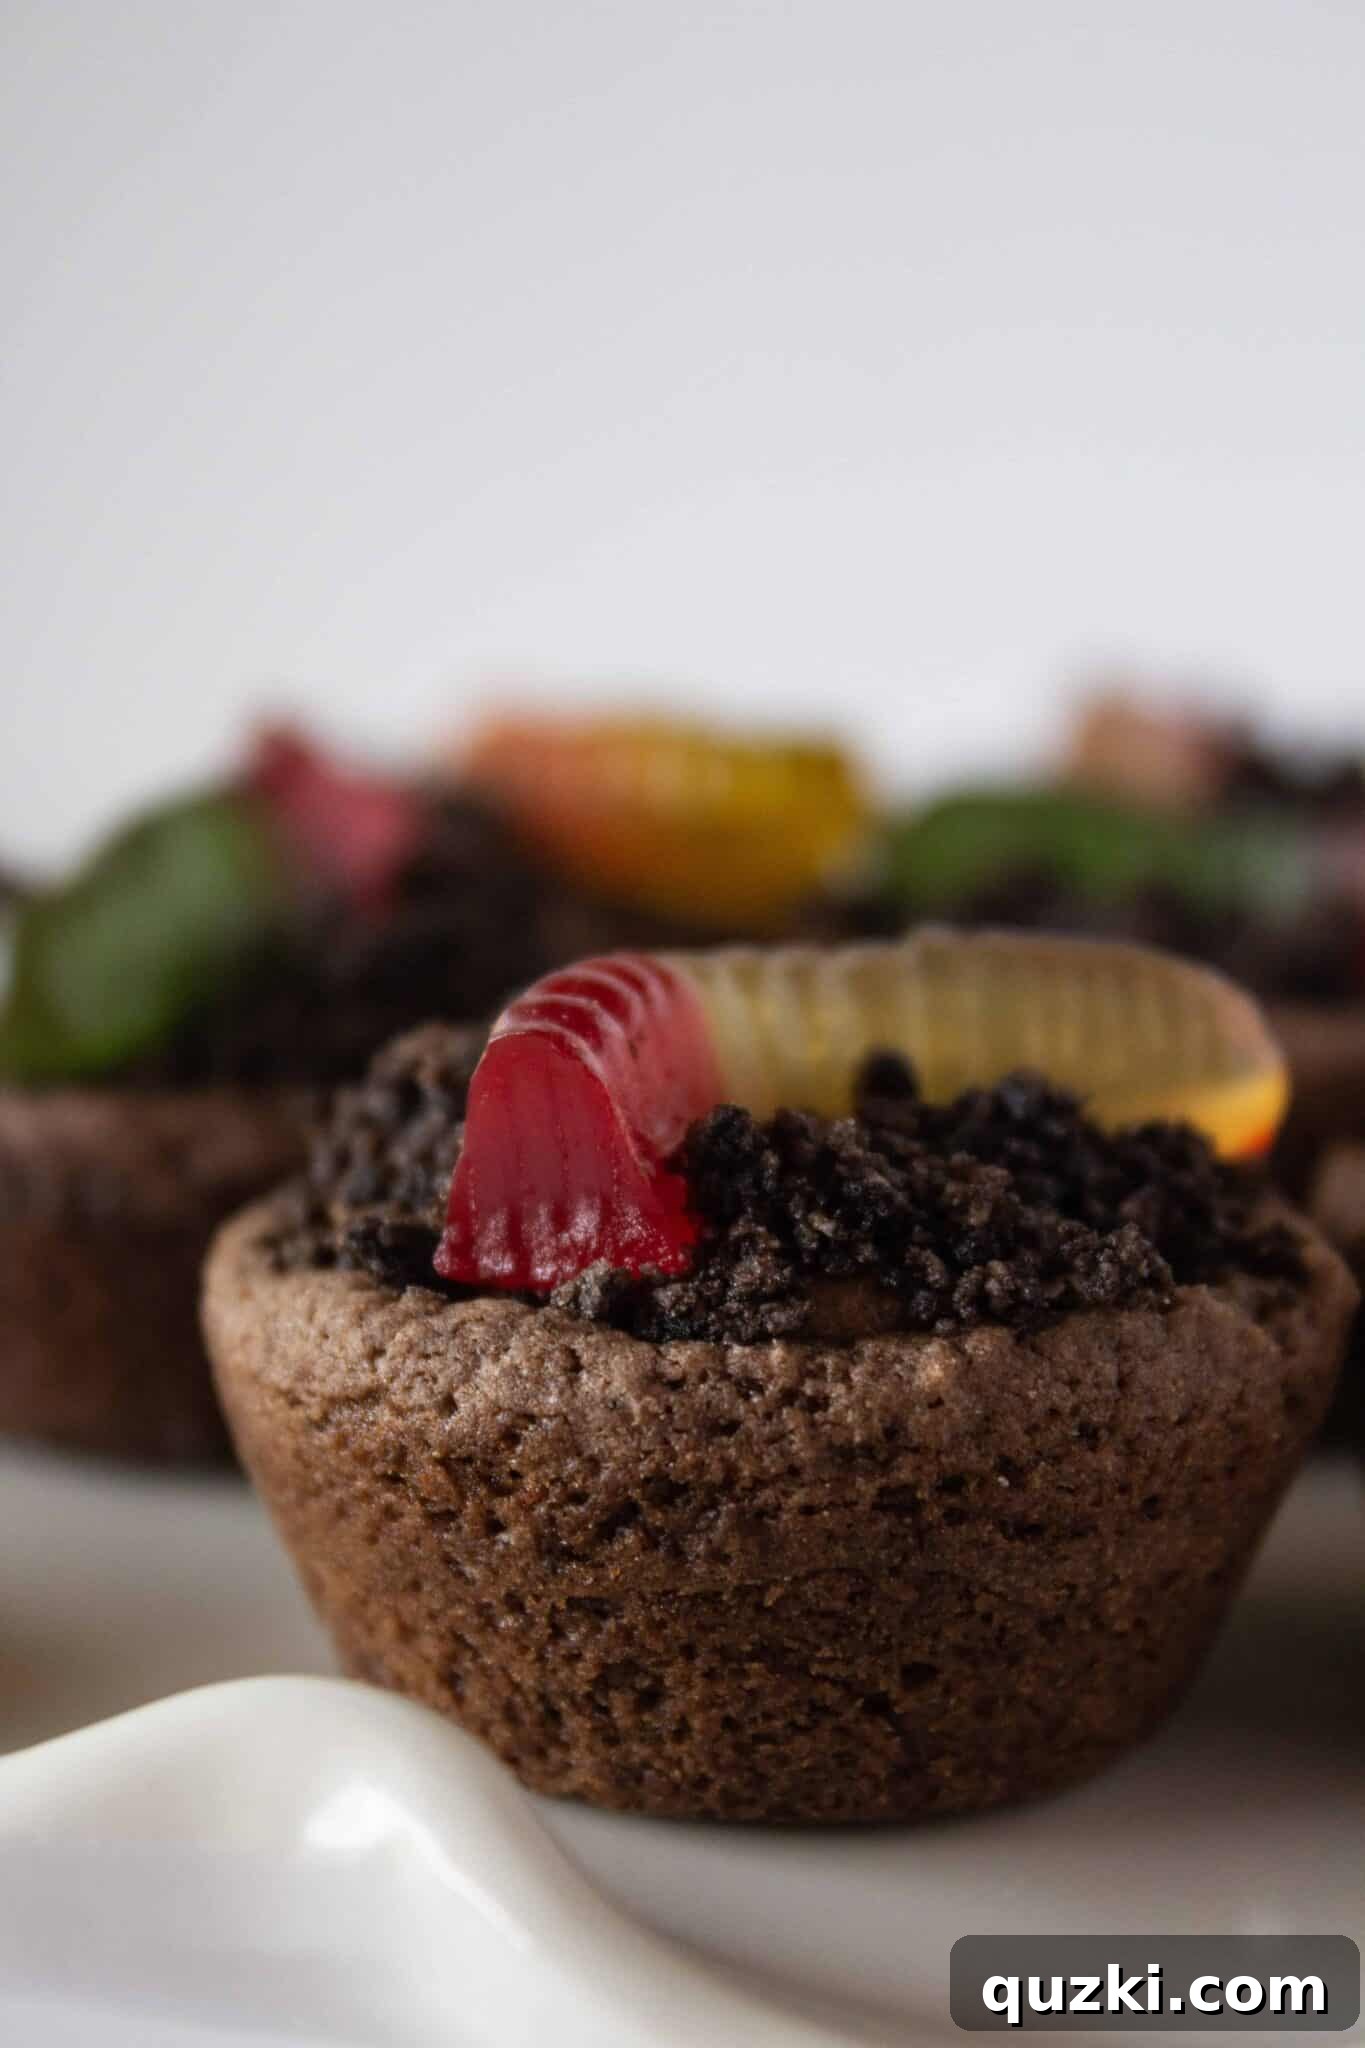
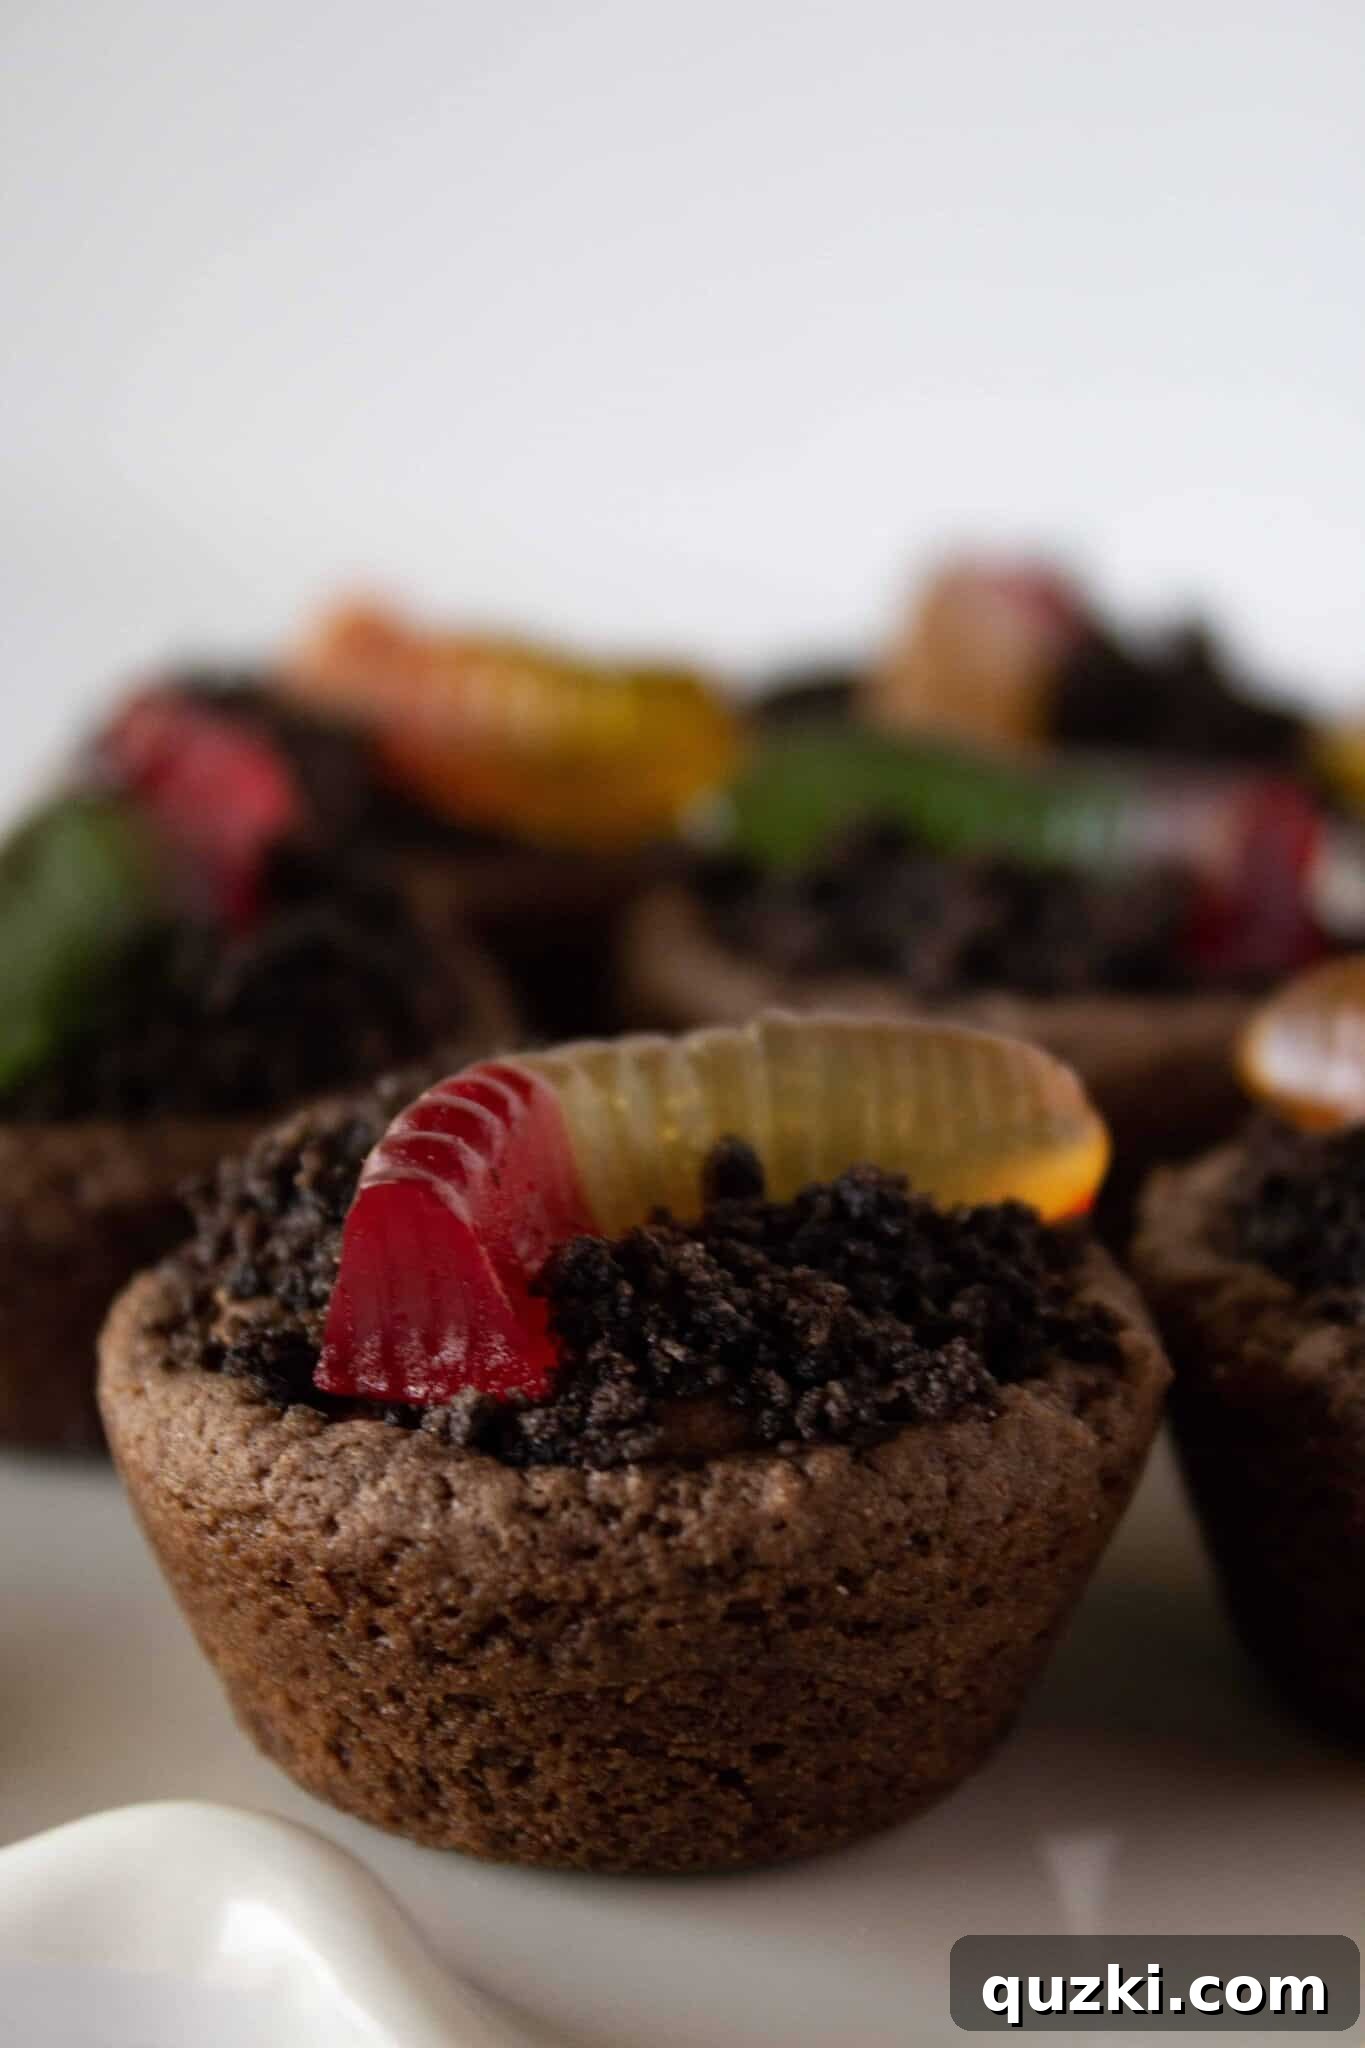
What could possibly be a more perfect Halloween dessert than a classic Dirt Cup? Imagine elevating this beloved treat by serving it not in a plastic cup, but in a delicious, entirely edible cake mix cookie cup! This innovative twist transforms the simple dirt cup into the best darn Dirt Cup Cookie Bite EVER. The sheer joy of devouring the whole thing, from the “dirt” to the “worms” and right down to its chocolatey foundation, makes it an instant hit. This delightful combination of a tender cookie and a creamy, spooky filling truly makes for one of the most ingenious Halloween dessert ideas we’ve ever encountered.
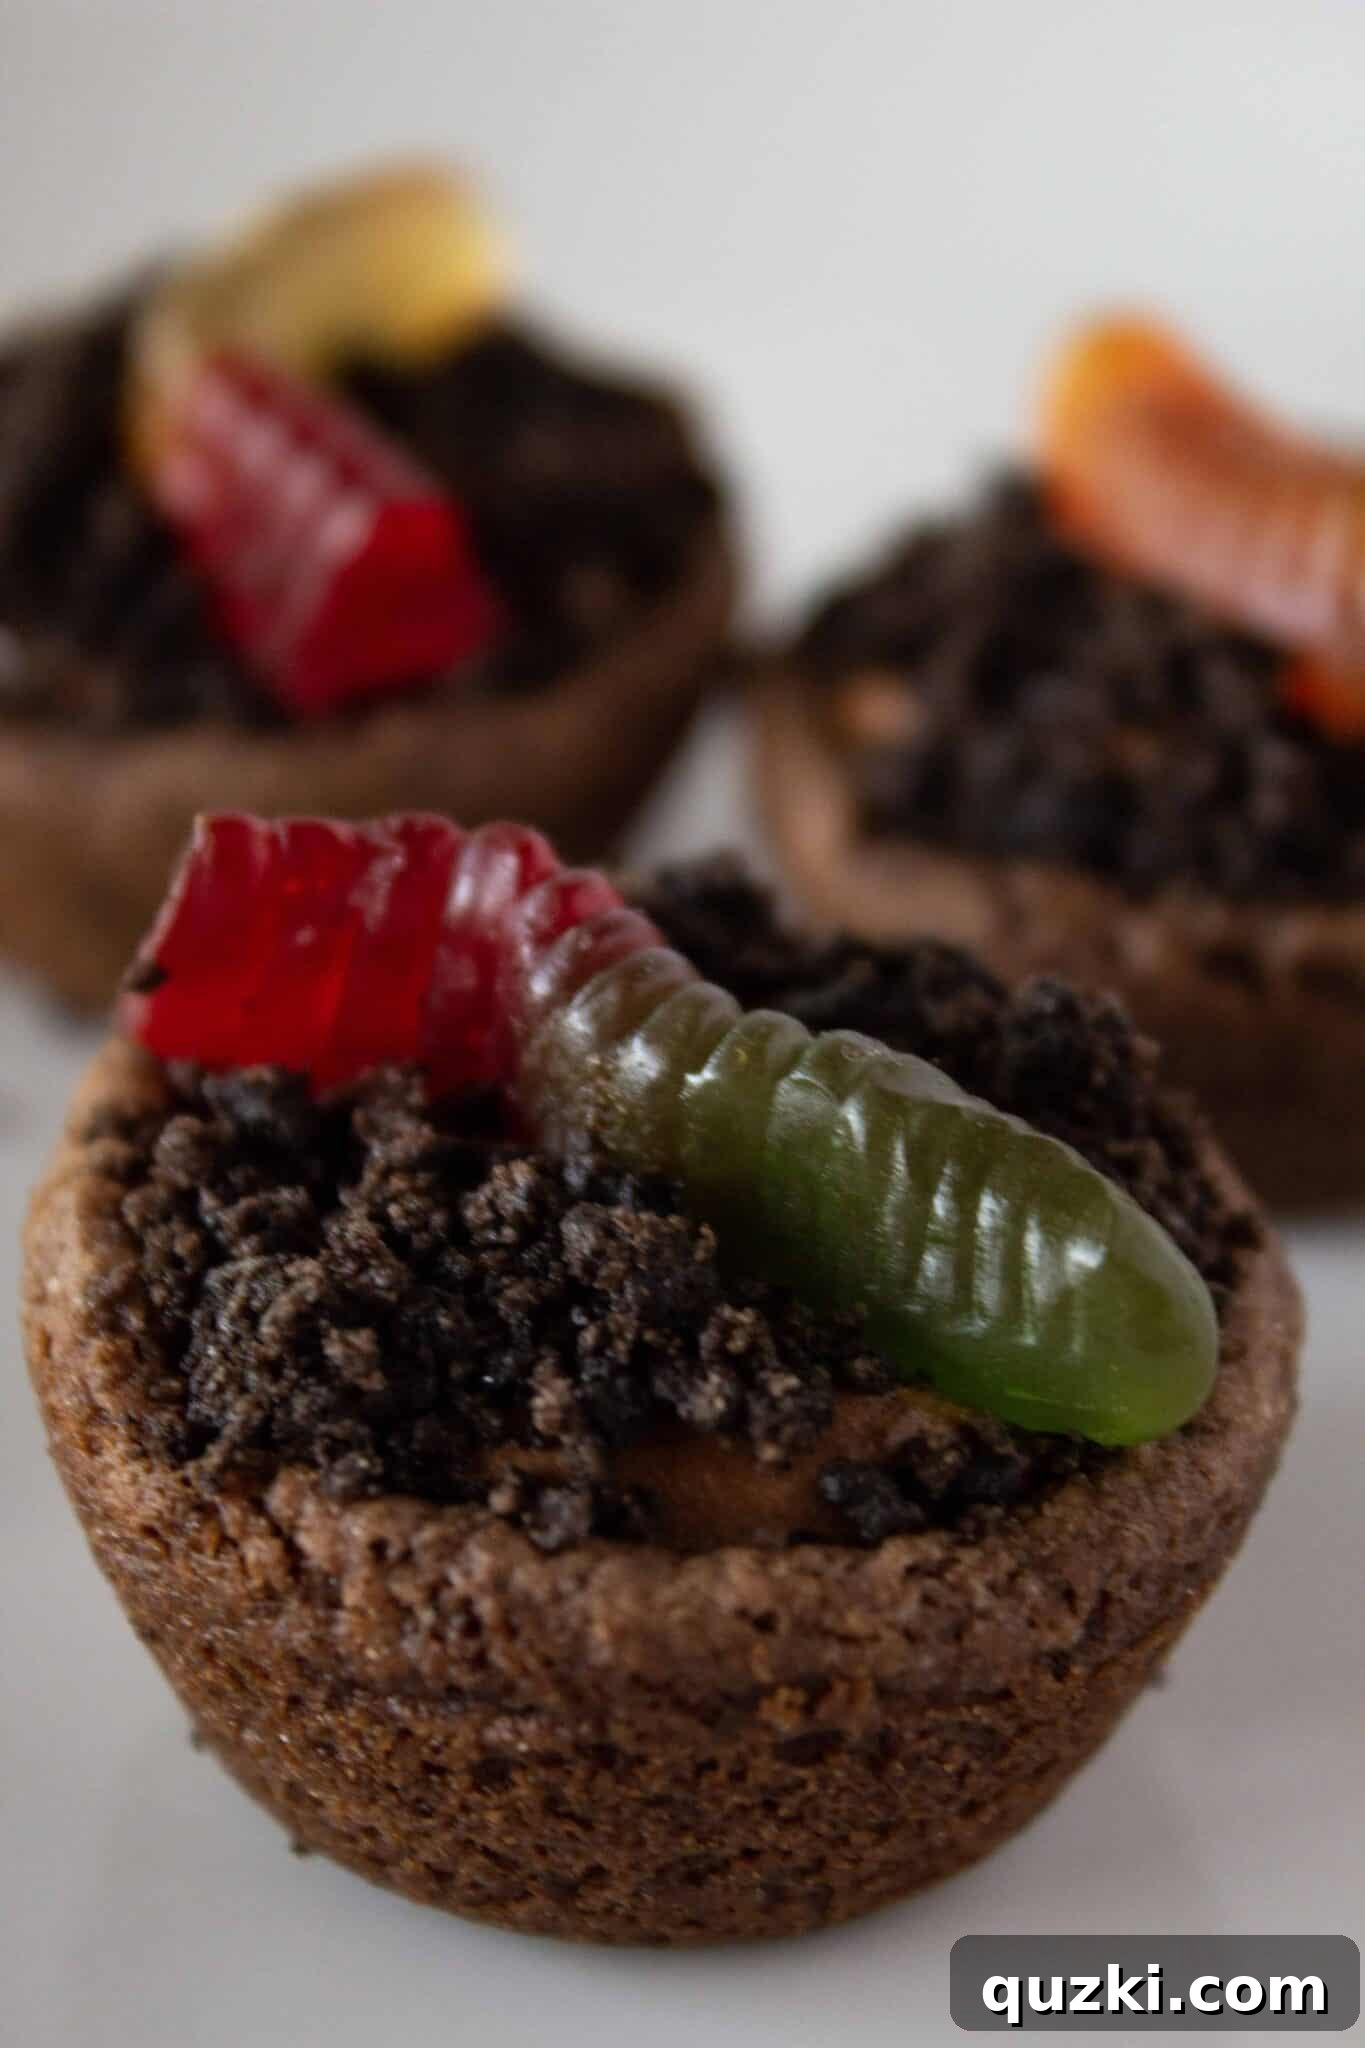
It’s been quite a while since I last had the pleasure of preparing a traditional Dirt Cup. My children, whom I affectionately call my “Taters and Tales,” are now 28 and 26 years old (how time flies!). It genuinely feels like ages ago that I was on Halloween party duty, whipping up fun, spooky treats for their school events and gatherings. The nostalgia, however, recently inspired me to revisit this classic, but with a fresh, more sophisticated (and undeniably more delicious) approach.
These adorable mini cookie cups are a symphony of chocolate goodness, layered to perfection. Their irresistibly sweet, diminutive size gives them a special place in my heart – mini treats always seem to capture everyone’s attention. Every Halloween, we love to create something uniquely fun, and these Dirt Cup Cookie Bites have quickly become the top contender for our go-to recipe of choice. They’re not just cute; they’re incredibly flavorful and embody the playful spirit of the season.
Imagine the delight on faces young and old when they discover these charming, spooky-themed dessert bites. They’re perfect for school parties, family gatherings, or simply a cozy night in, celebrating the magic of Halloween. Their portability and self-contained nature also make them an ideal party food, easy to serve and enjoy without any fuss.
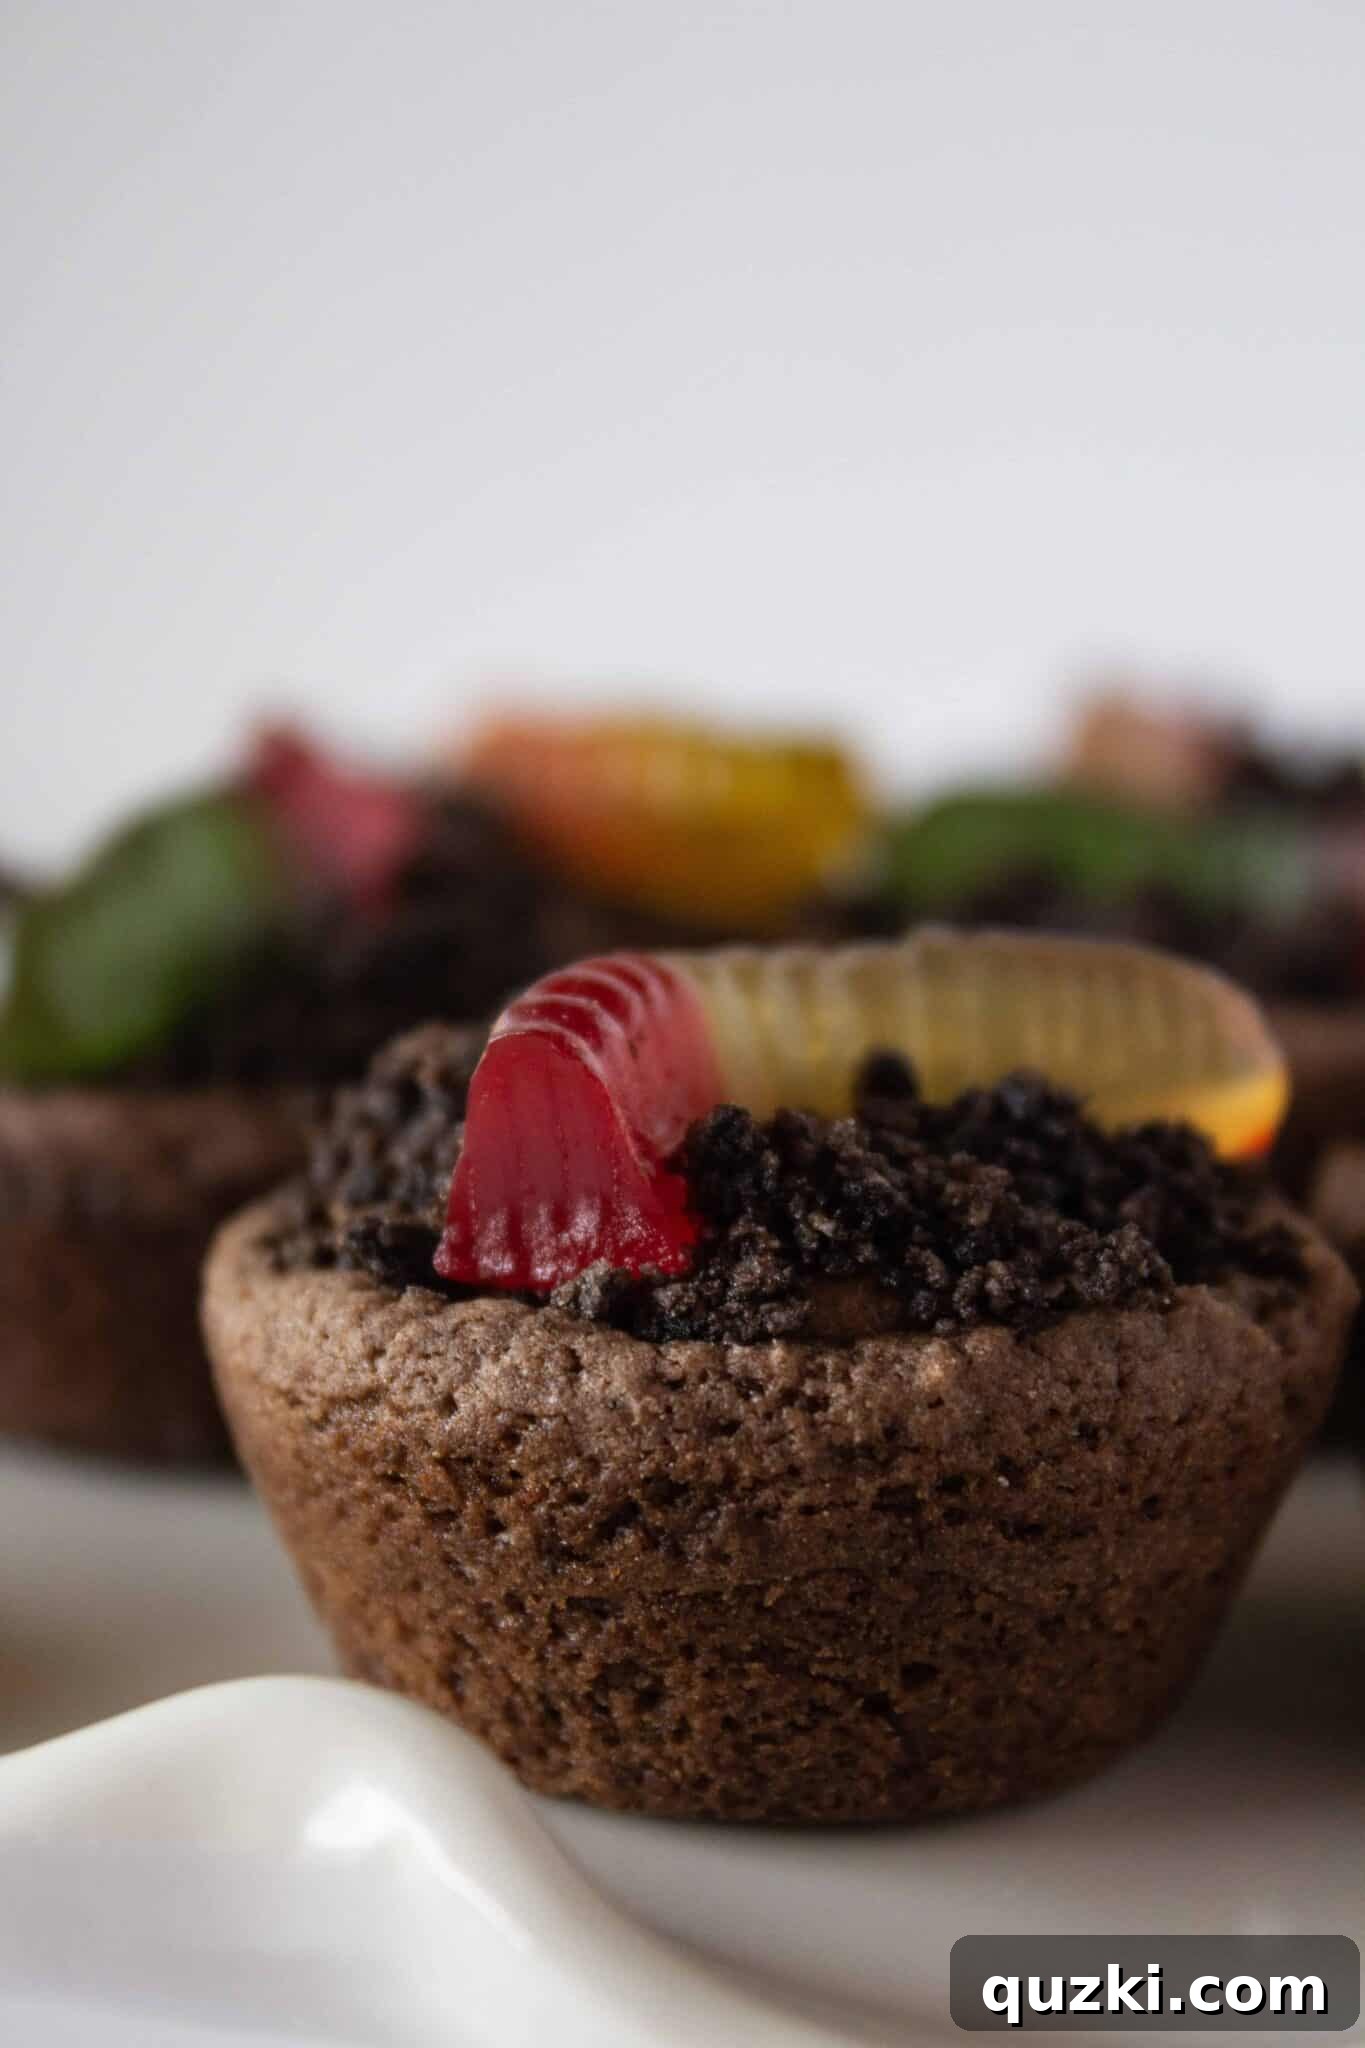
What Makes a Dirt Cup Cookie Bite So Special?
Traditionally, Dirt Cups are a beloved dessert famous for their whimsical, earthy appearance. They typically feature layers of rich chocolate pudding, crunchy cookie crumbs designed to mimic “dirt,” and the iconic gummy worm wriggling out, creating a playful, garden-inspired treat. The charm lies in their simplicity and fun presentation, making them a perennial favorite, especially around Halloween.
Our Dirt Cup Cookie Bite recipe takes this concept to a whole new level. Instead of serving the layers in a standard plastic cup, we bake a tender, chocolate cookie cup from a convenient cake mix. This innovation means the entire dessert is edible, adding an extra layer of delight and convenience. Each bite offers a harmonious blend of textures and flavors: the soft, chewy chocolate cookie base, the smooth, creamy chocolate pudding, the satisfying crunch of cookie “dirt,” and the delightful chewiness of a gummy worm. It’s a miniature culinary adventure that’s both delicious and wonderfully thematic for spooky season.
Crafting Your Own Dirt Cup Cookie Bites with Ease (Using a Cake Mix)
Making these charming Dirt Cup Cookie Bites is surprisingly straightforward, thanks to the clever use of a cake mix for the cookie base. This hack not only saves time but also guarantees a consistently moist and flavorful cookie cup every time. Follow these simple steps to bring your spooky-sweet vision to life:
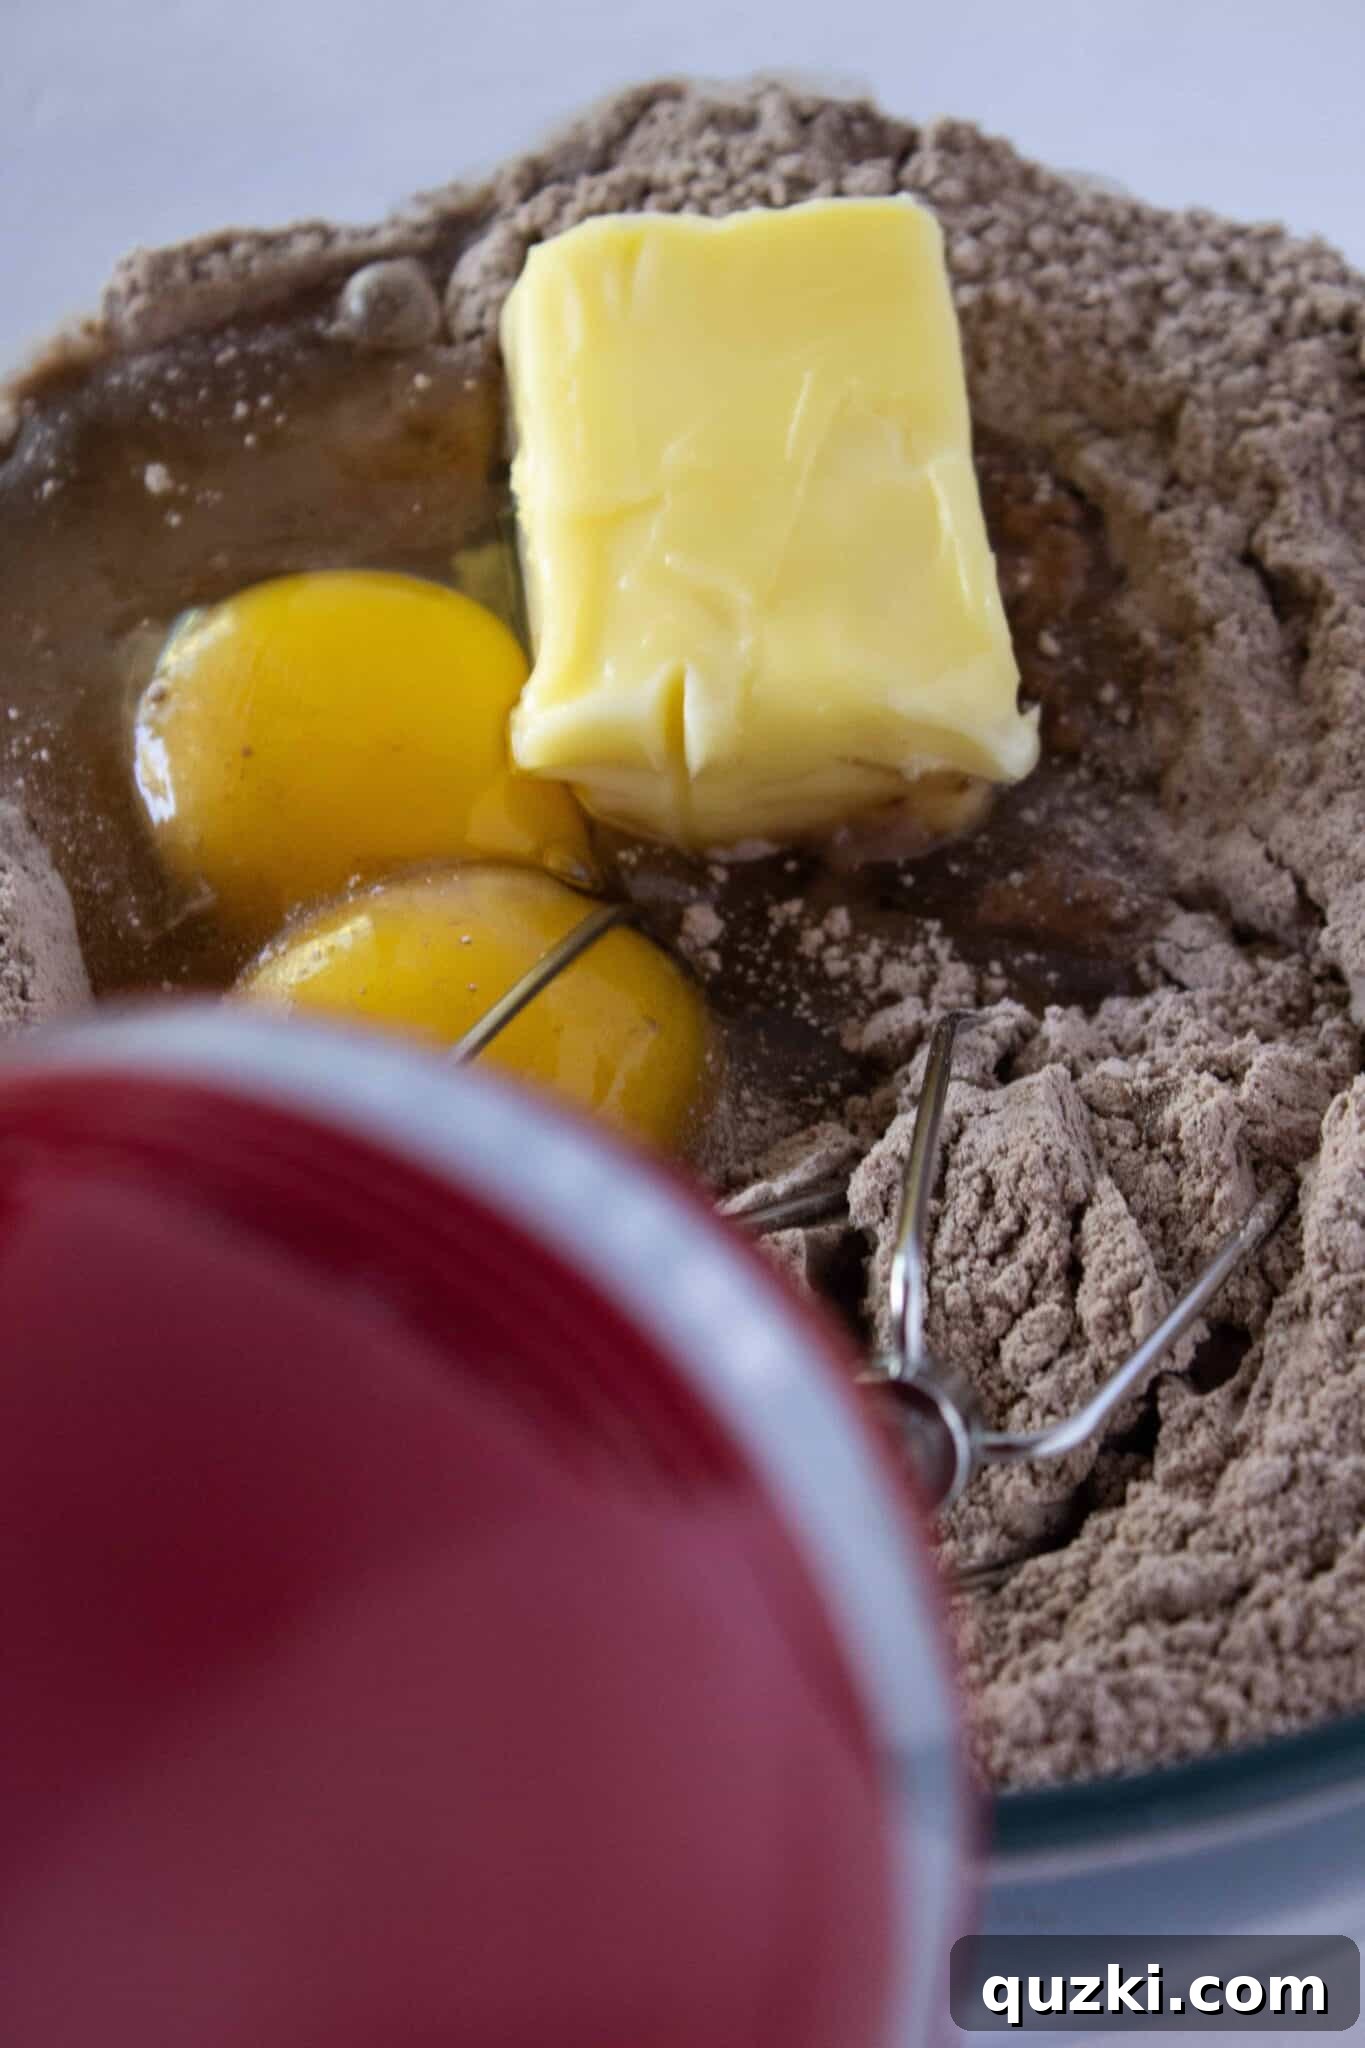
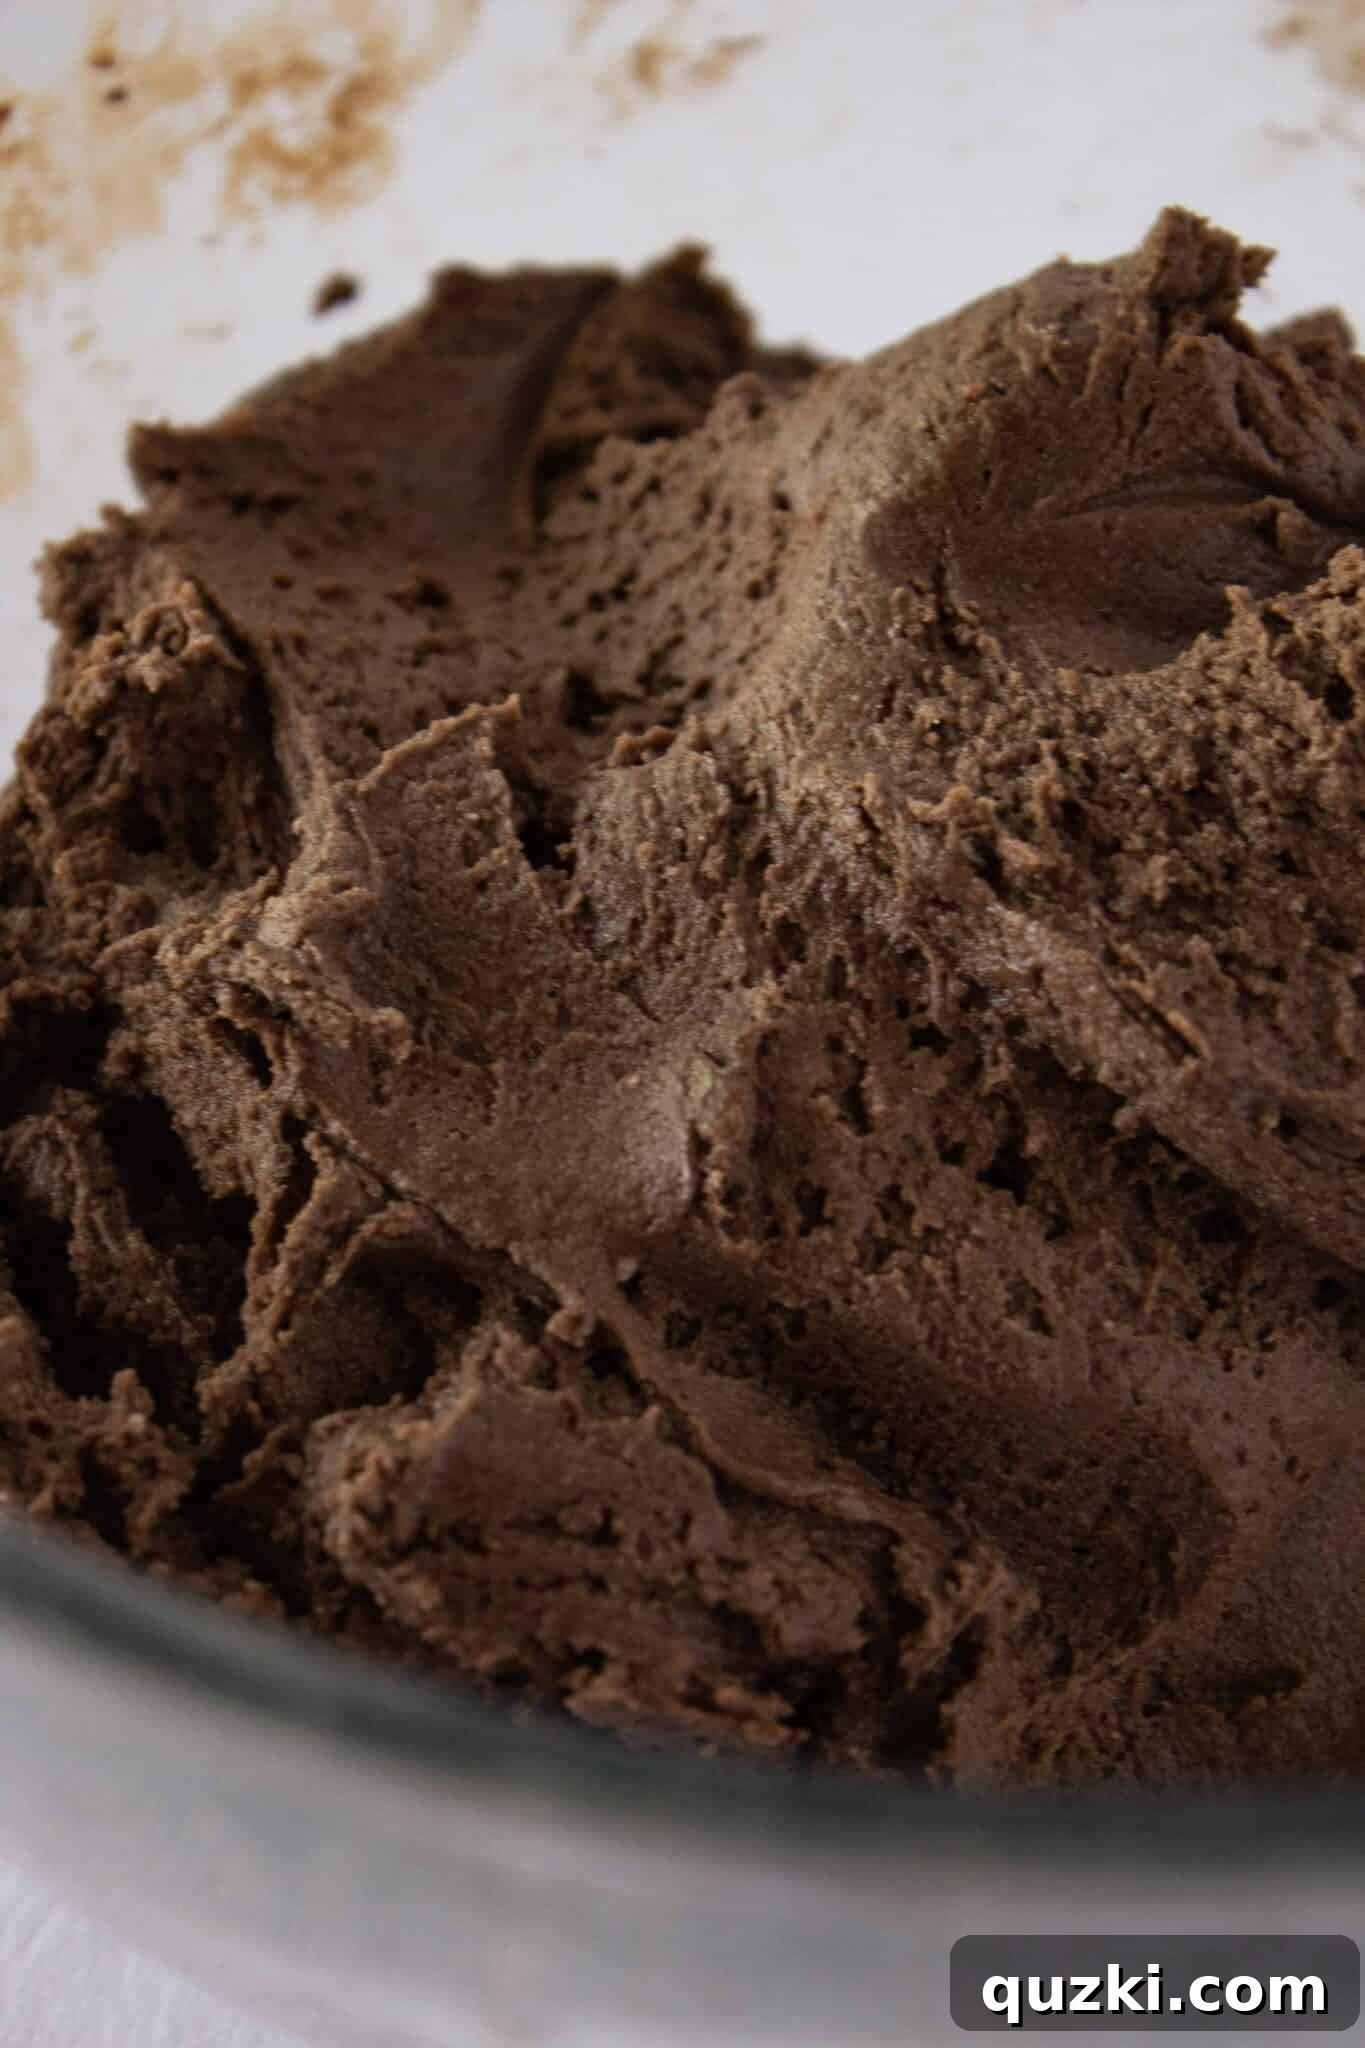
- Prepare the Cookie Dough: Start by preheating your oven to 350 degrees Fahrenheit (175°C). Liberally spray each cup of a mini muffin pan with non-stick cooking spray – this crucial step ensures your cookie cups release effortlessly after baking. In a medium mixing bowl, combine one 15.25 oz box of chocolate cake mix (a chocolate fudge mix works wonders for extra richness) with 1/3 cup of softened butter and two large eggs. Using a hand-held mixer or a sturdy whisk, blend these ingredients until a thick, beautiful chocolate dough forms. The dough should be sticky and well-combined, with no dry cake mix streaks remaining.
- The Perfect Dough Consistency: Once mixed, you’ll notice the cookie dough has transformed into a wonderfully thick, rich, and vibrant chocolate mixture. This is exactly what you want – a dough that’s pliable enough to press into muffin cups but firm enough to hold its shape during baking. This cake mix trick makes the dough exceptionally easy to work with.
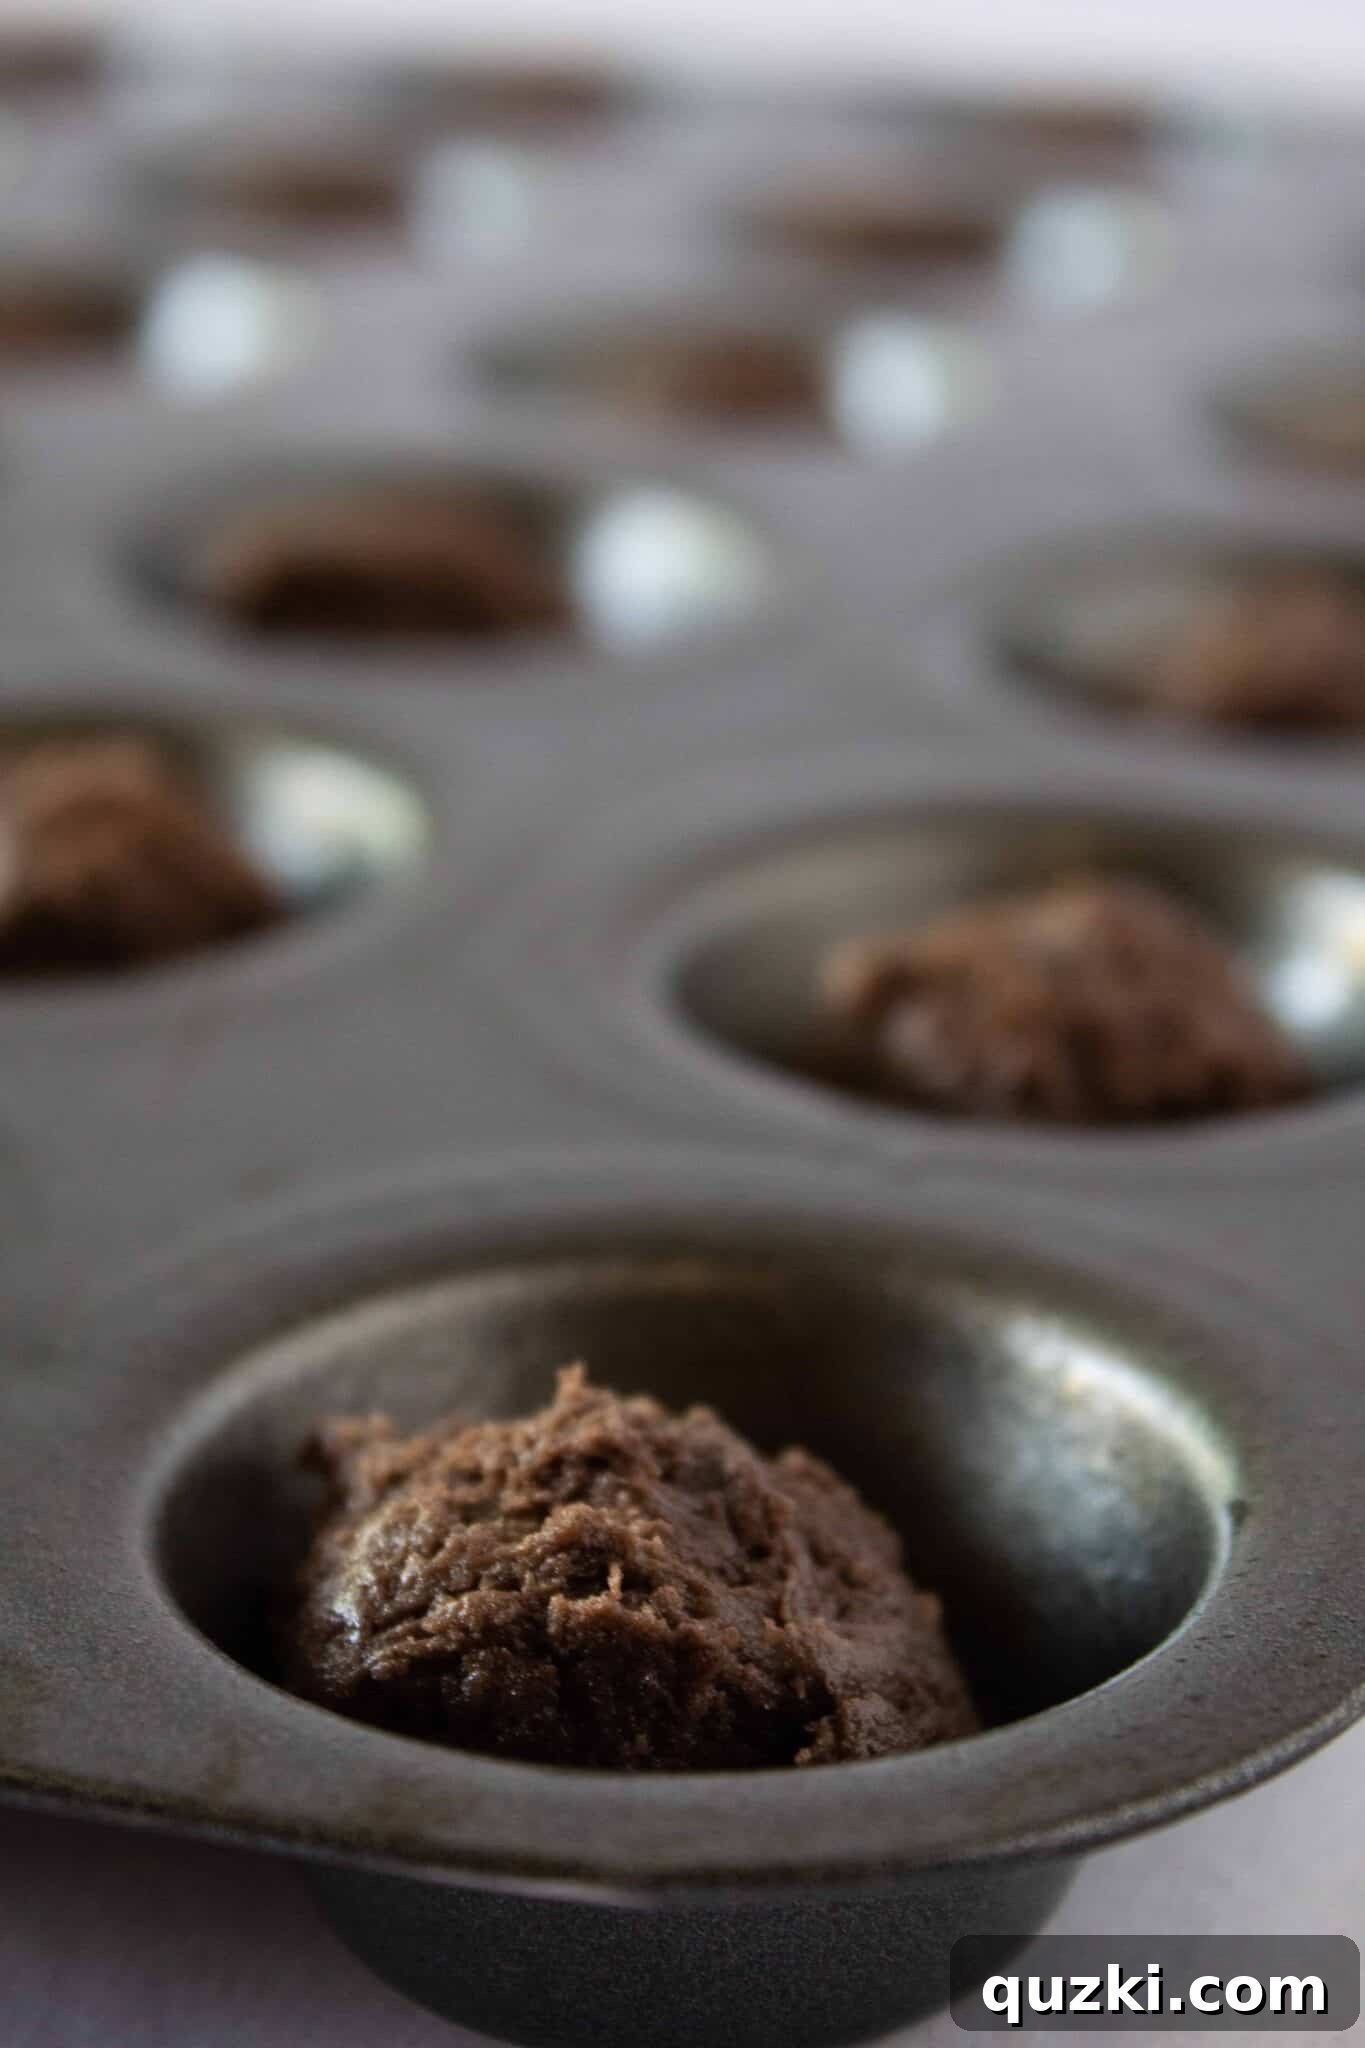
- Scoop and Shape the Cookie Cups: Using a small cookie scoop (approximately 1/2 tablespoon in size), carefully scoop mounds of the chocolate cake mix cookie dough into each prepared mini muffin cup. Aim for relatively even portions to ensure consistent baking.
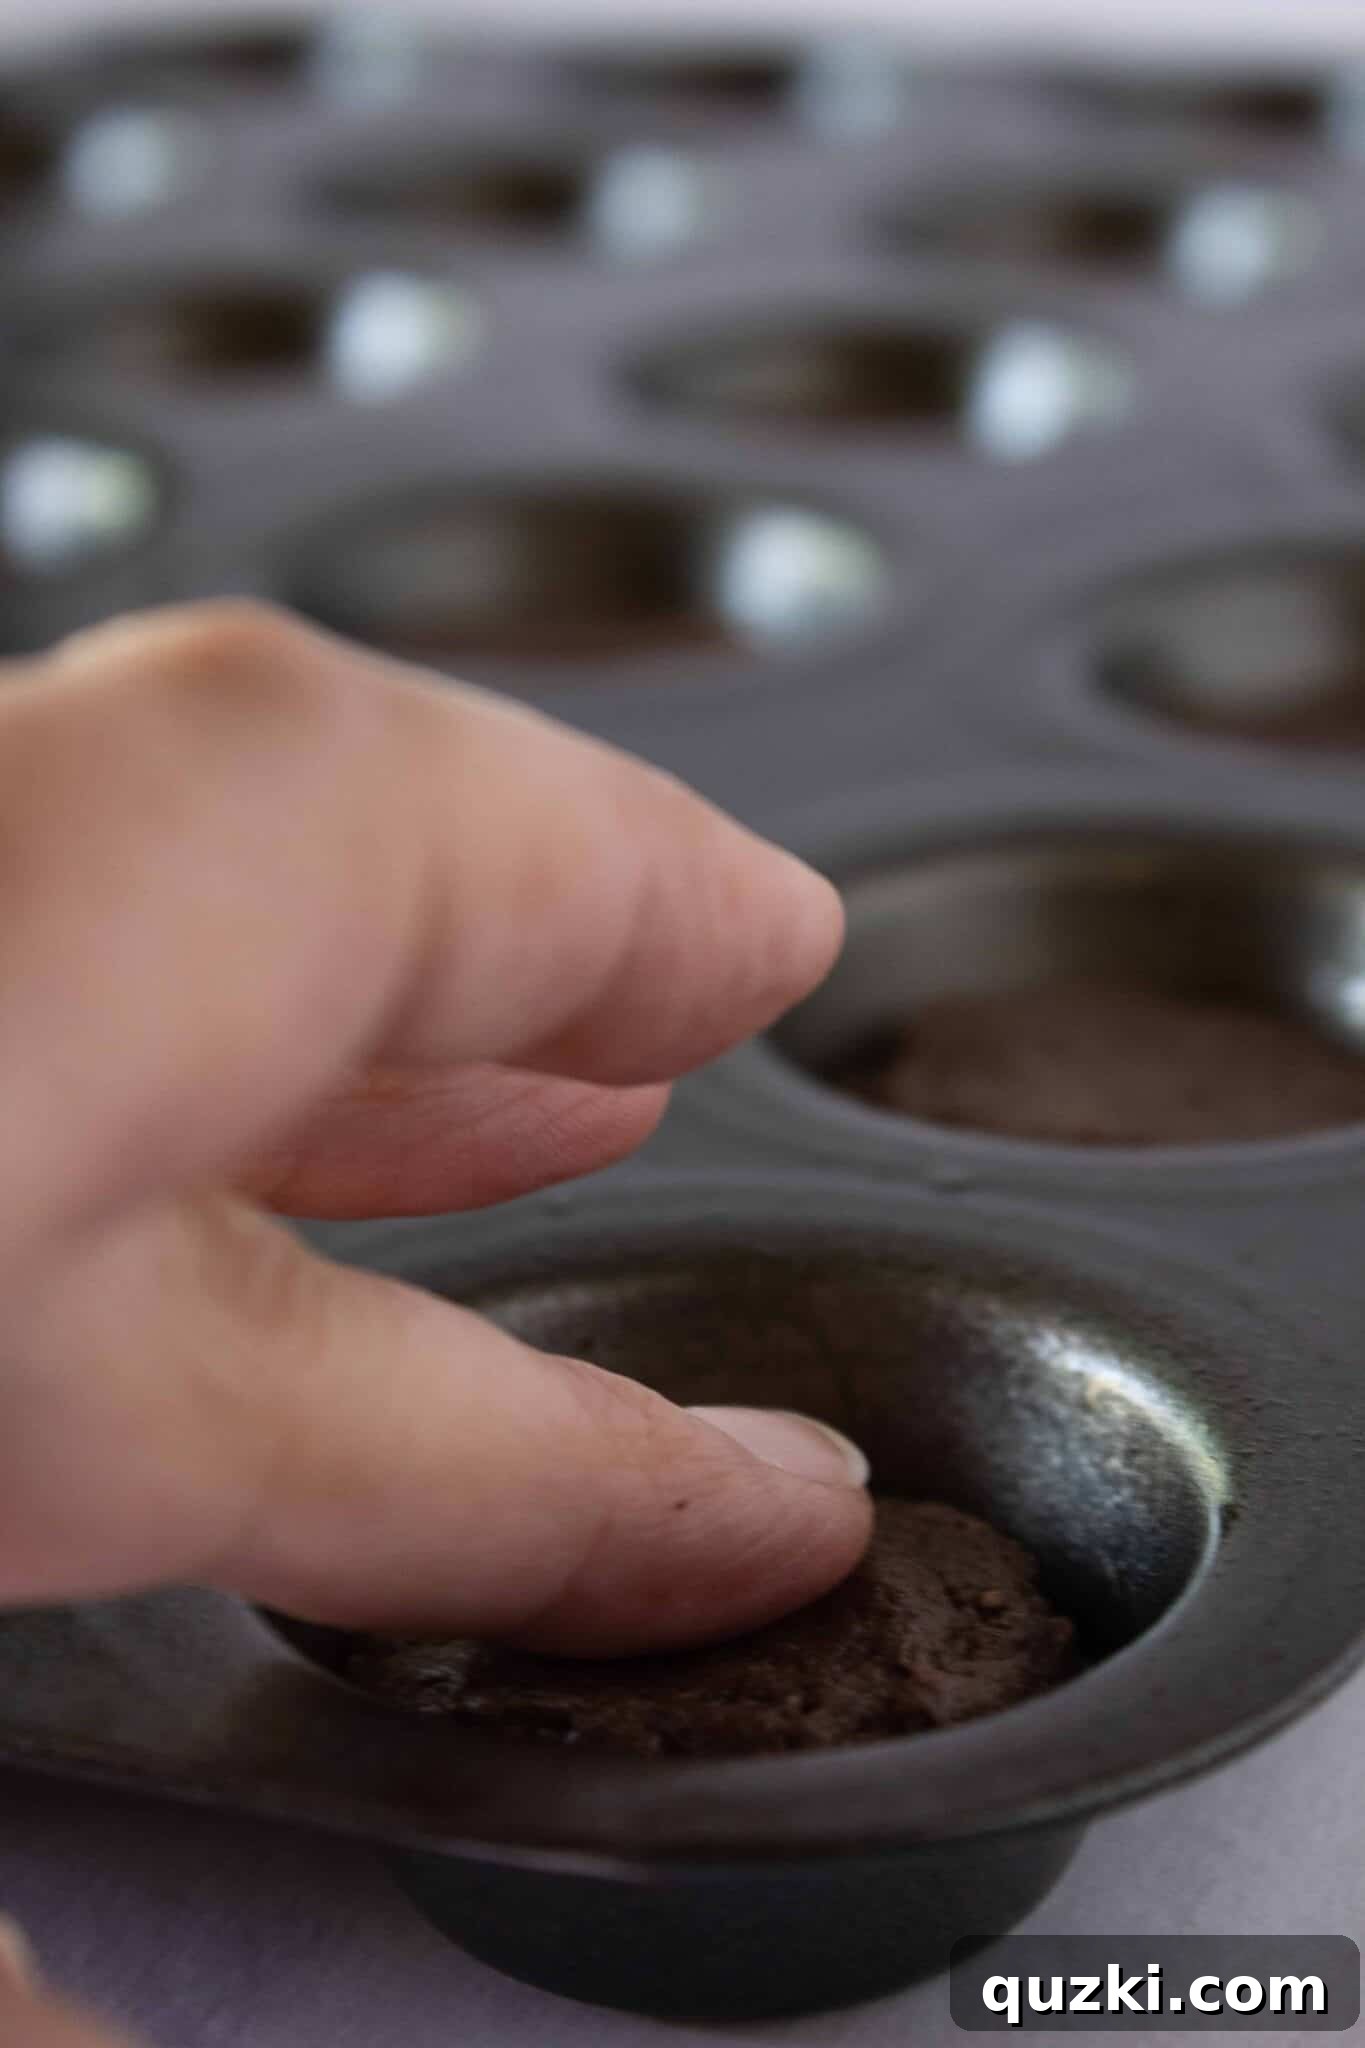
- Create the Perfect Base: Once the dough is in the cups, gently use your fingers to lightly press each mound down, creating an even layer across the bottom of the muffin cup. This initial flattening helps form a uniform cookie base for your “dirt cups.” Bake in the preheated 350-degree oven for 9-11 minutes.
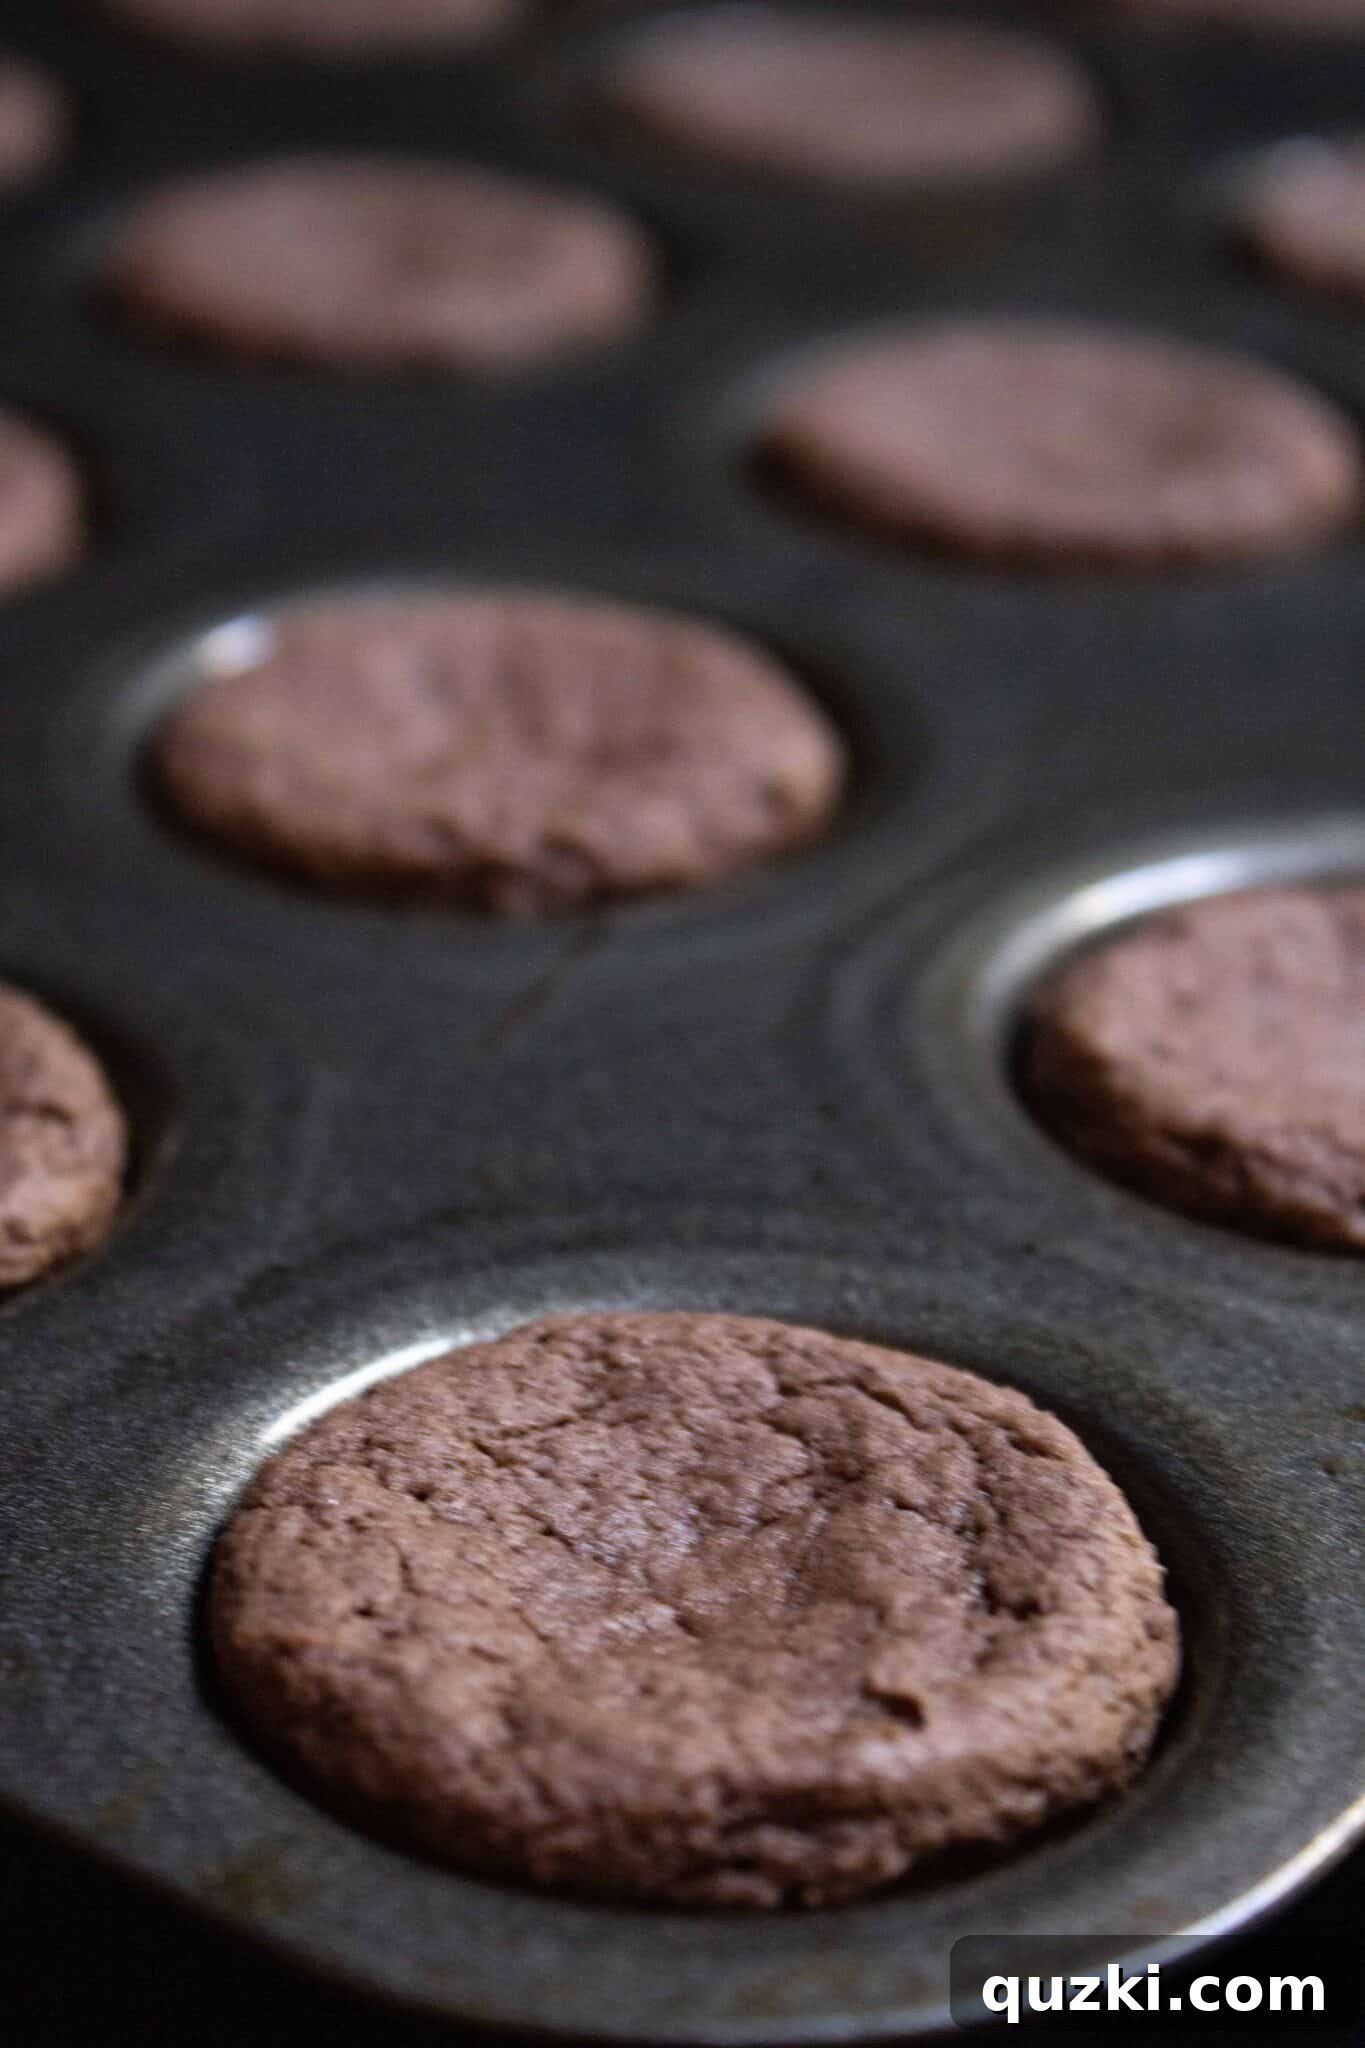
- Bake to Perfection (and Loosen Immediately!): Bake until the cookie cups are puffed up and cooked through around the edges, but still appear soft in the center. It’s vital not to overbake them, as they will continue to set as they cool, ensuring a tender, not dry, cookie. Immediately upon removing the pan from the oven, take a small knife or an offset spatula and gently run it around the edge of each cookie to loosen it from the muffin cup. This prevents sticking and makes removal much easier later on.
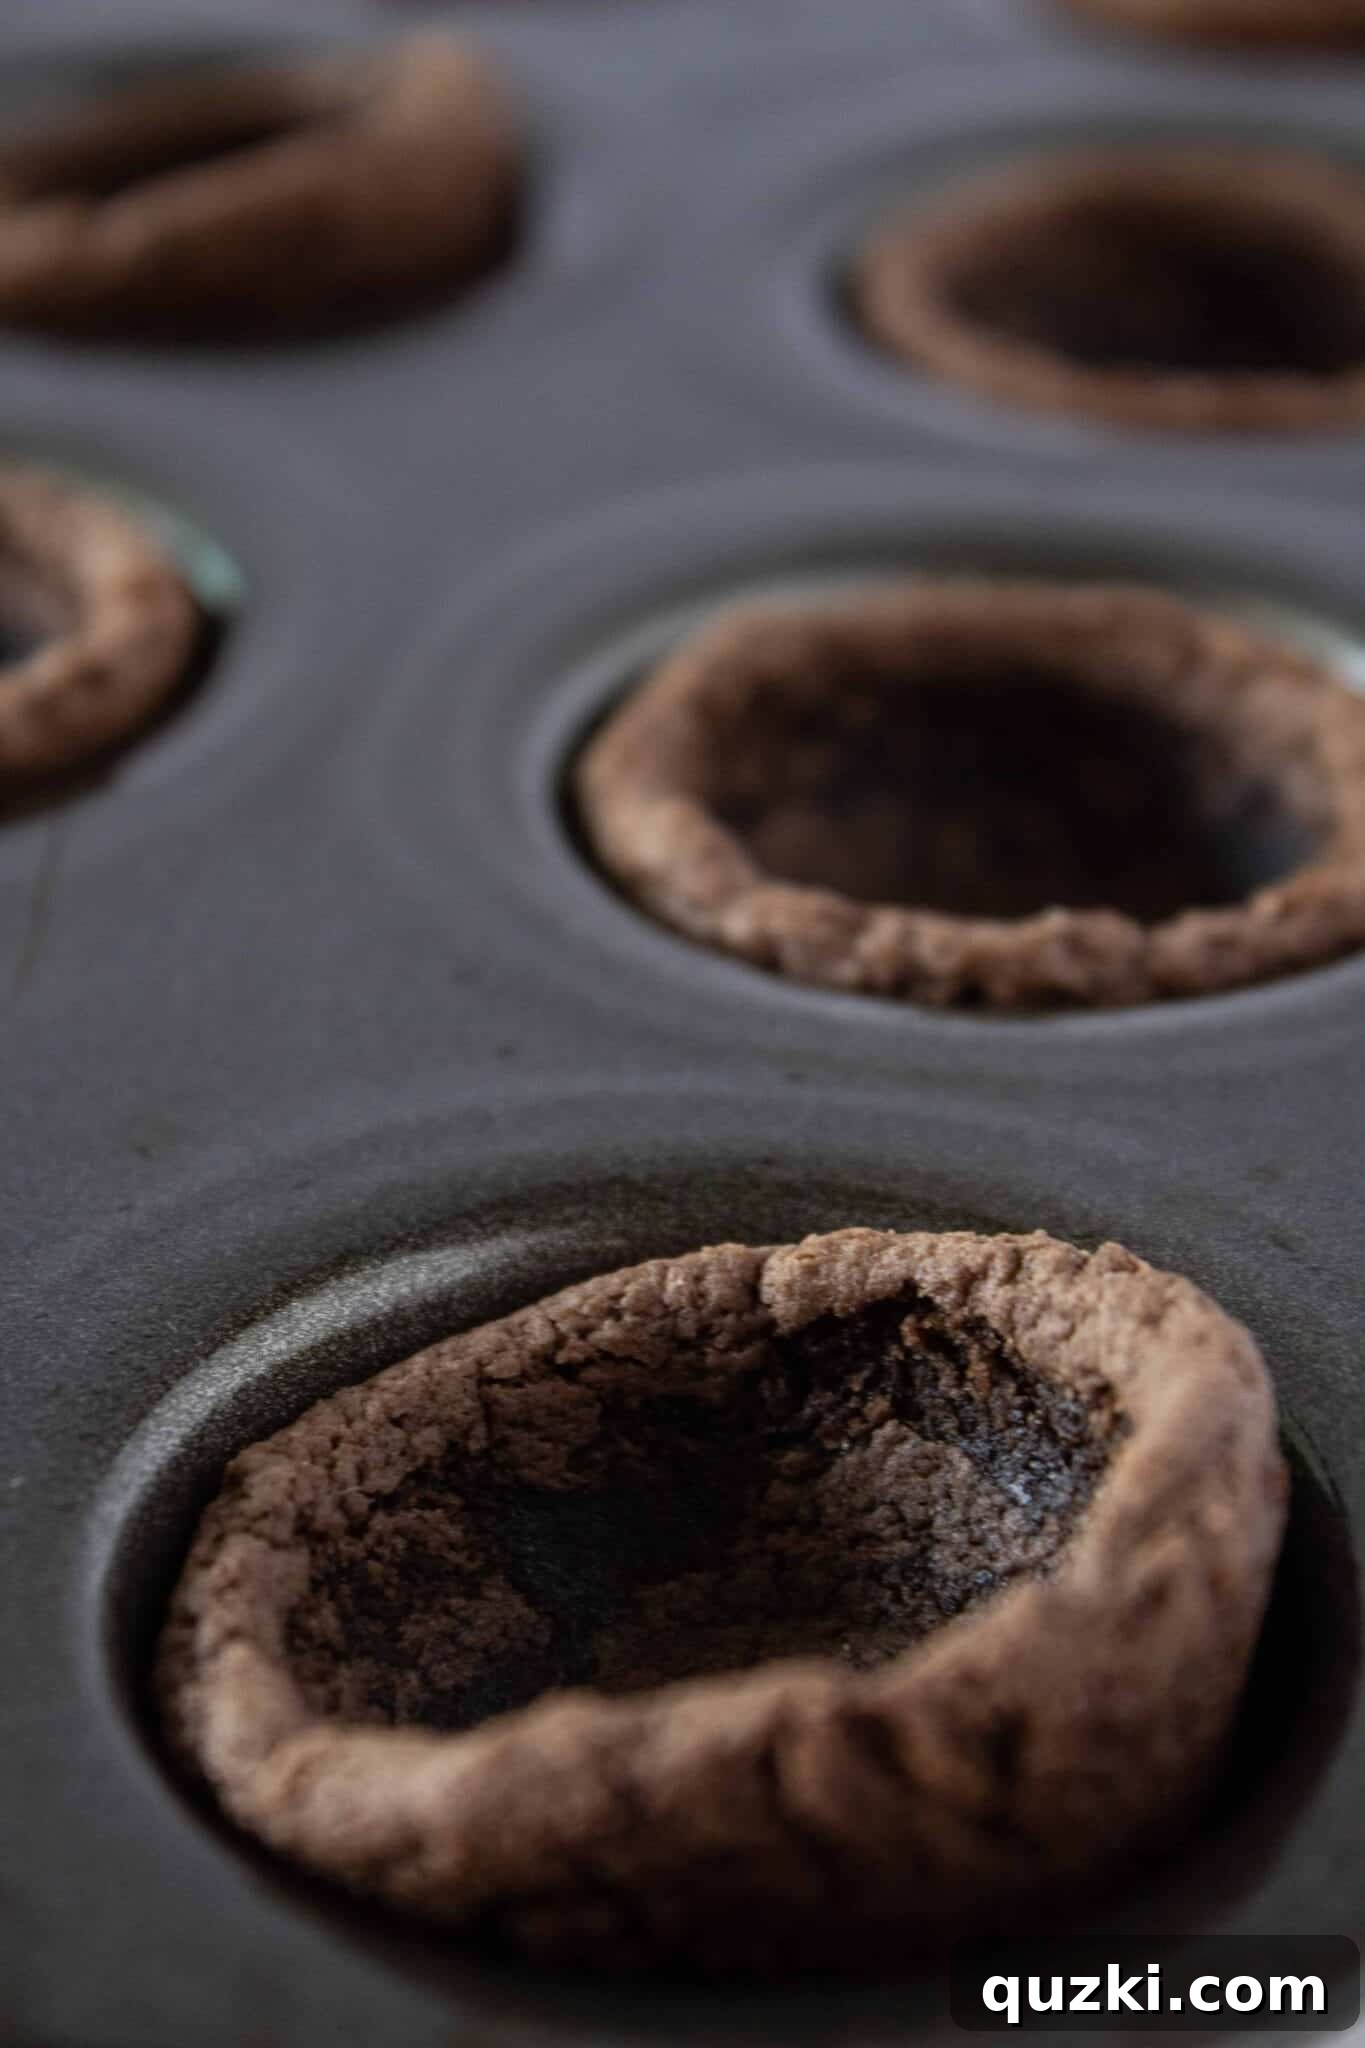
- Form the Indentation: While the cookies are still warm and pliable in the pan, use a tart shaper or the end of a wooden spoon to press down firmly in the middle of each cookie. This creates the perfect indentation, or “cup,” which will hold your delicious chocolate pudding filling. Transfer the cookie cups to a wire rack and allow them to cool completely. If baking in batches, repeat the process.
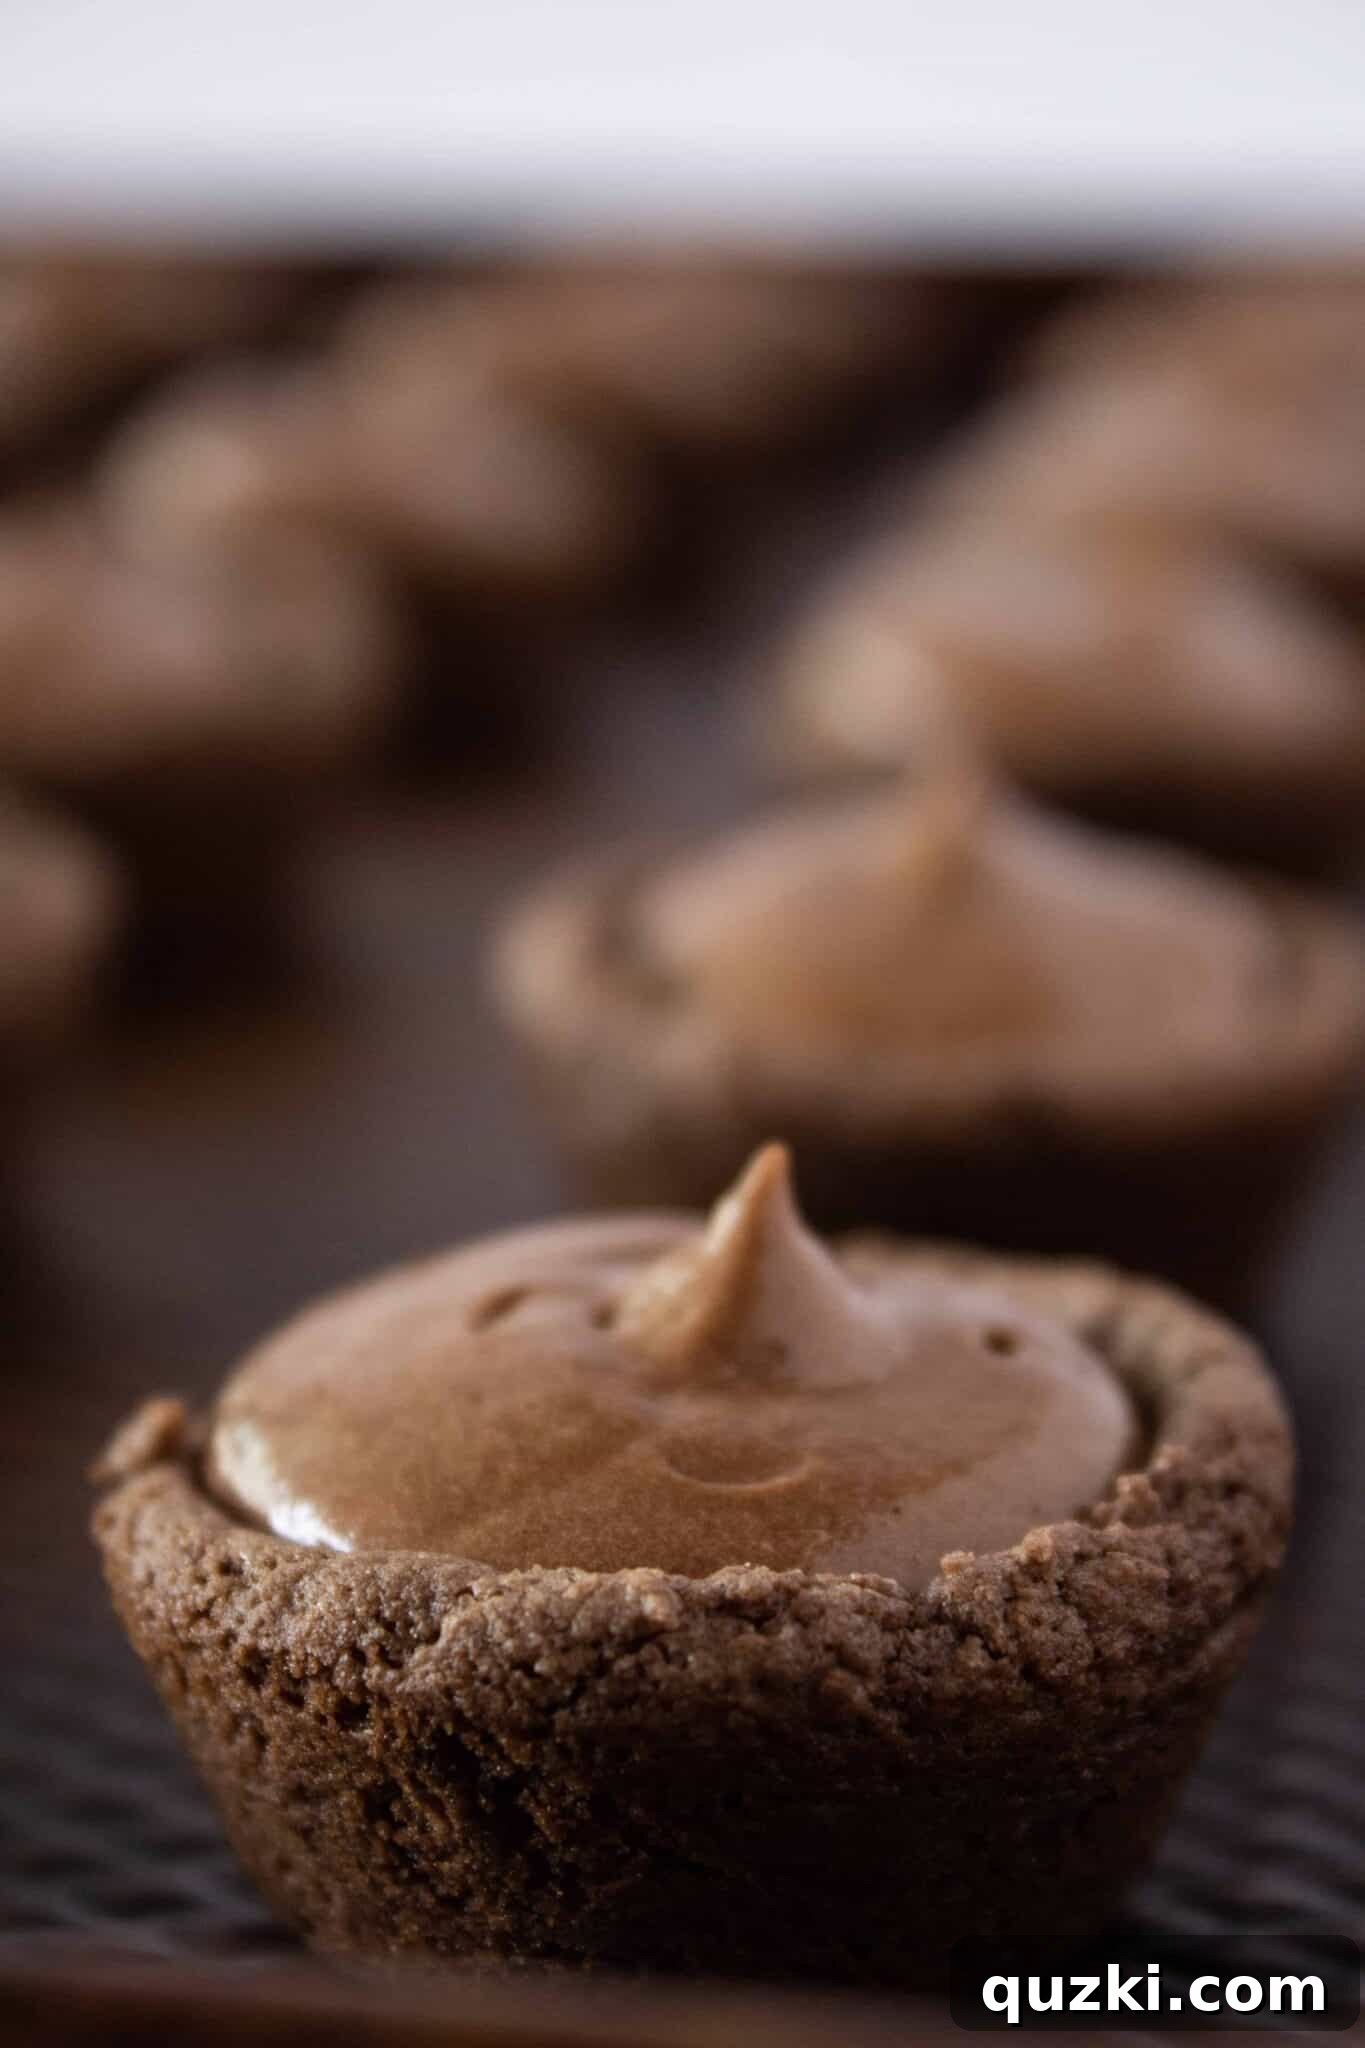
- Prepare and Fill with Pudding: While your cookie cups are cooling, prepare the rich chocolate pudding. This step is super simple because we’re using instant pudding mix. In a medium bowl, combine one small box of instant chocolate pudding mix with 1 1/2 cups of cold milk (1% milk works well, but any milk will do). Whisk vigorously until the mixture becomes thick and smooth. Then, gently fold in 1 cup of whipped topping until fully combined, creating a lighter, airy pudding. To fill the cooled cookie cups, you can either spoon a generous amount of pudding into each indentation or, for a neater presentation, transfer the pudding to a piping bag (or a Ziploc bag with one corner snipped off) and pipe it into each cup.
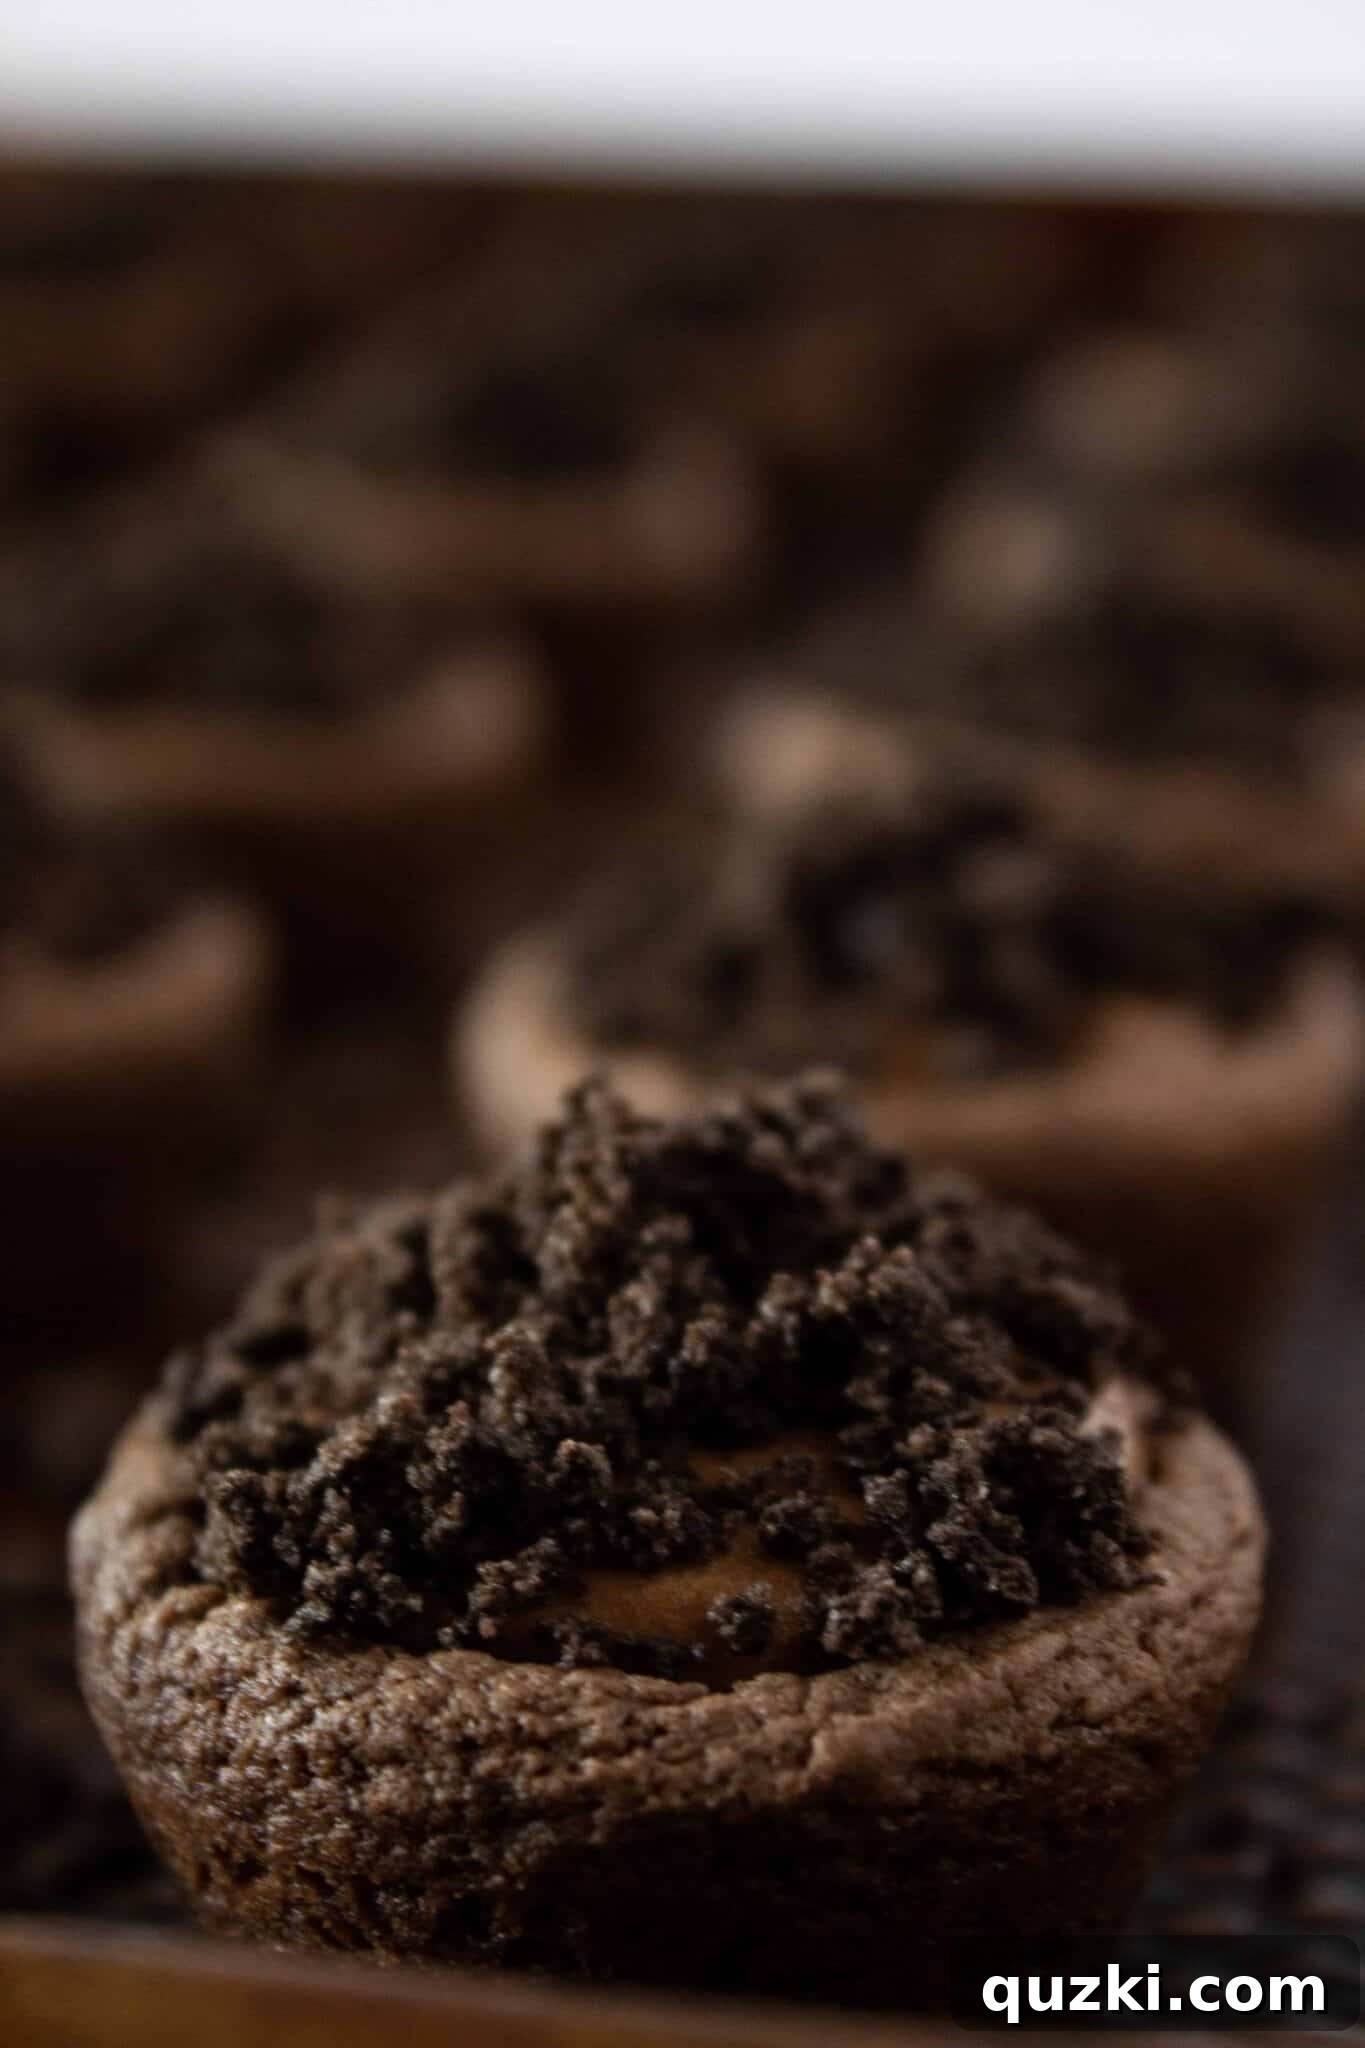
- Add the “Dirt” Topping: The next exciting step is to create the “dirt” effect. Cover the top of the chocolate pudding generously with chocolate sandwich cookie crumbs. To achieve a very fine, realistic “dirt” texture, process the chocolate sandwich cookies (like Oreos) in a food processor until they resemble fine soil. Alternatively, you can place them in a Ziploc bag and crush them thoroughly with a rolling pin until uniformly fine.
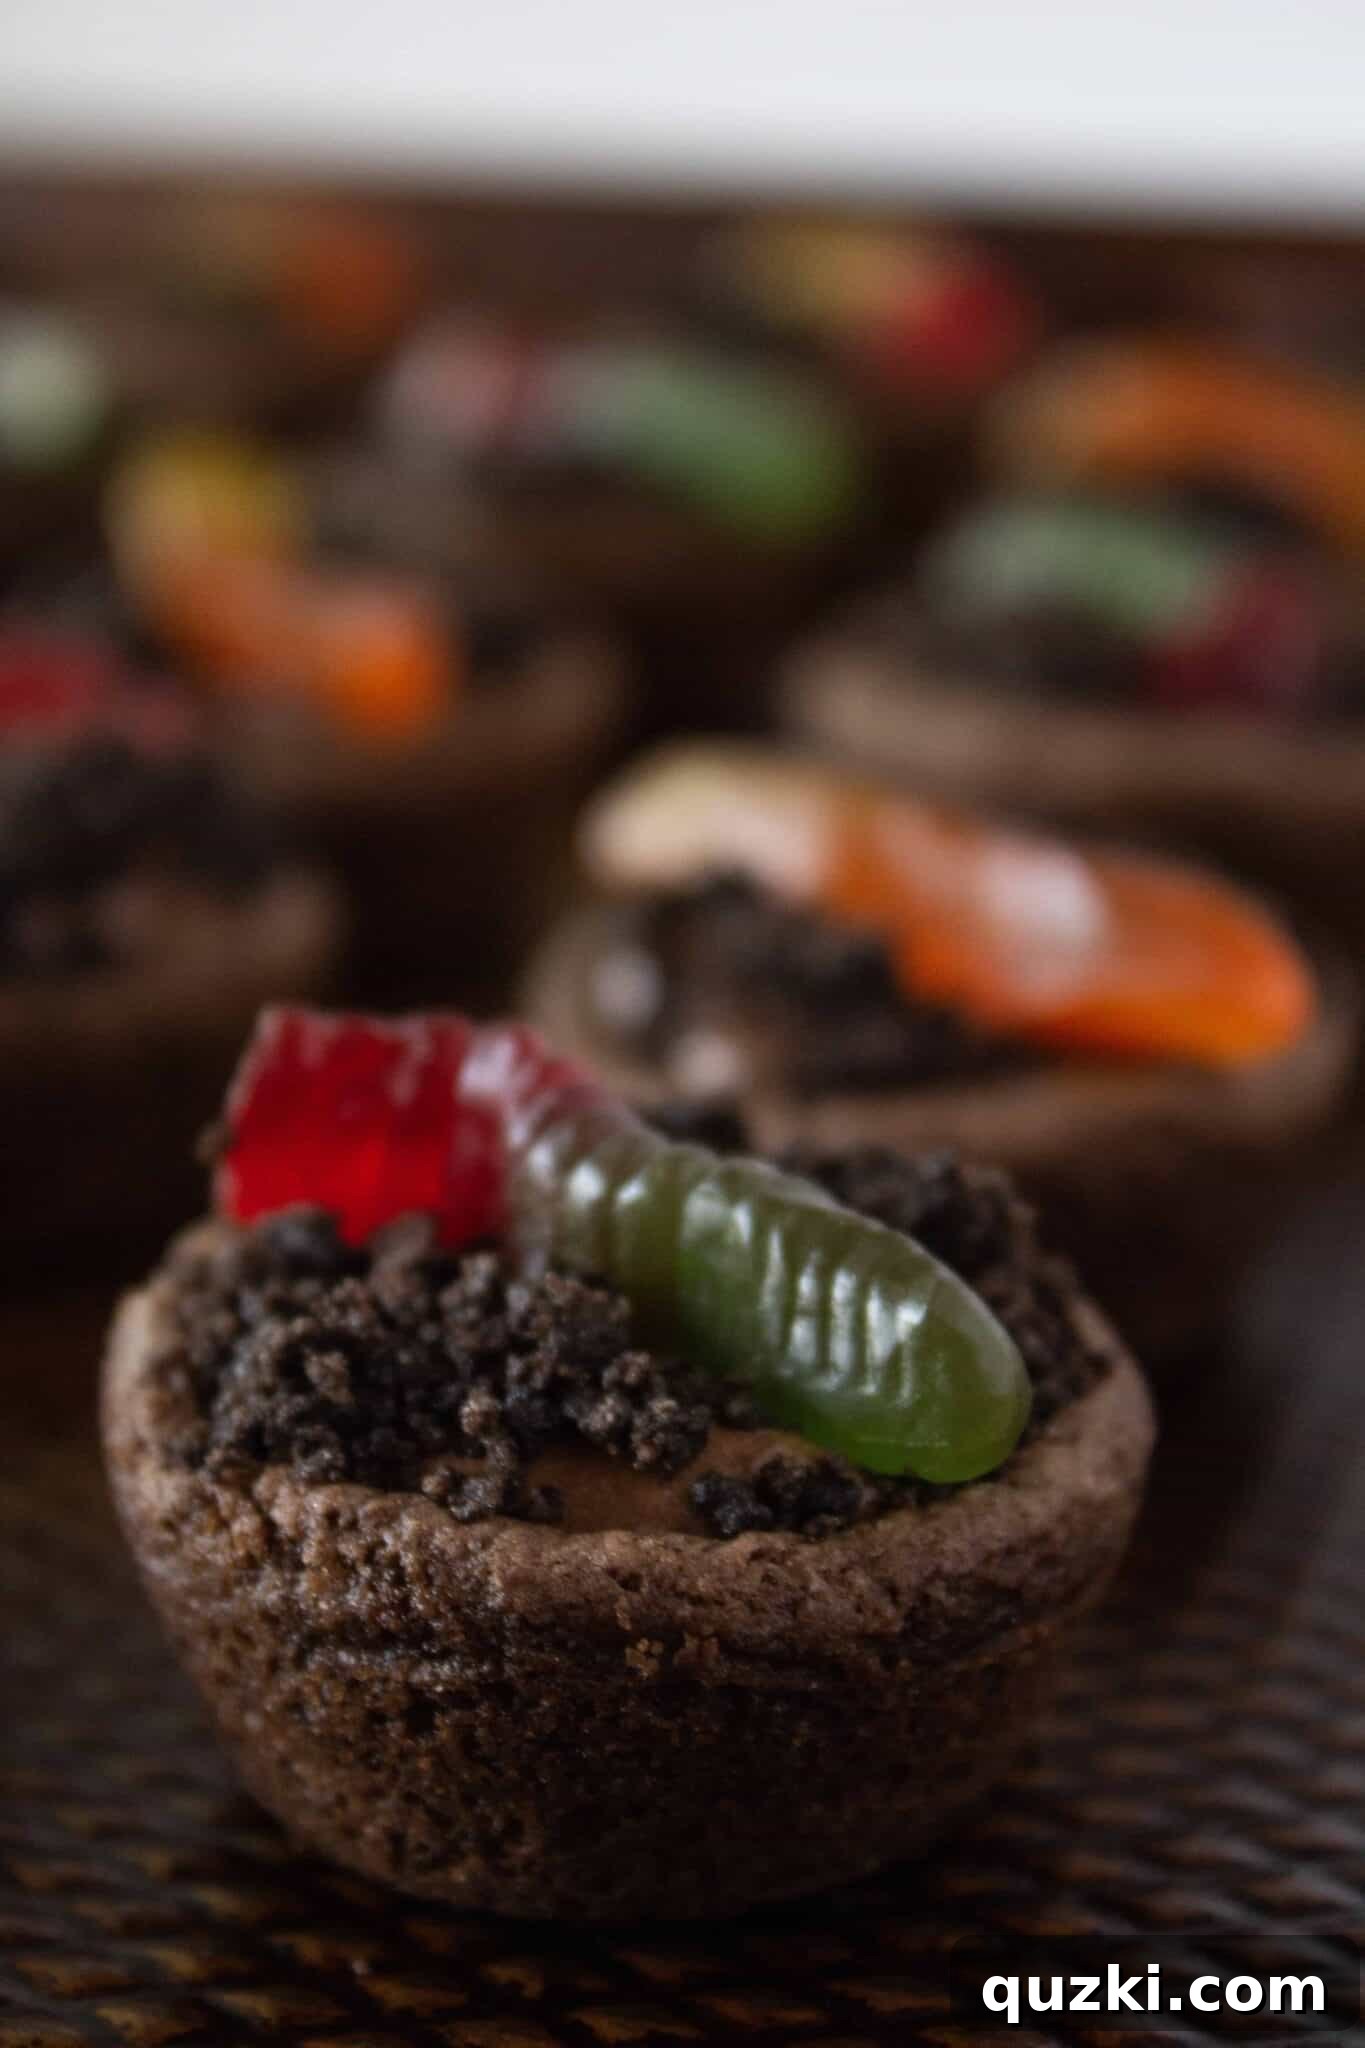
- The Gummy Worm Grand Finale: Finally, complete your whimsical Dirt Cup Cookie Bites by topping each one with a mini gummy worm. If you only have regular-sized gummy worms, simply cut them in half to fit perfectly atop your mini treats. Arrange them to look as if they’re playfully wriggling out of the “dirt” for maximum effect. Serve immediately or refrigerate for 1-2 days.
Planning Ahead: How Far in Advance Can You Prepare Dirt Cup Cookie Bites?
While these Dirt Cup Cookie Bites are undeniably irresistible, timing is key to maintaining their optimal texture and freshness. Assembling them more than a day in advance can lead to a super soft, almost soggy, cookie cup as the moisture from the pudding seeps into the cookie. To ensure the best possible experience, with perfectly crisp cookie cups and creamy pudding, my strongest suggestion is to prepare all the individual elements ahead of time, but keep them separate.
You can bake the cookie cups and store them in an airtight container at room temperature for up to 3 days. The chocolate pudding can be made and refrigerated for up to 2 days. The cookie crumbs can be prepared and stored in an airtight container. Then, on the very day you plan to eat or serve these delightful treats, simply assemble them. This method guarantees that each bite is as fresh, delicious, and texturally perfect as possible, making your Halloween celebrations truly memorable.
Quick Overview: Essential Steps for Dirt Cup Cookie Bites:
For those who love a concise guide, here’s a brief summary of the key steps to creating these edible Halloween wonders:
- Bake delicious chocolate cookie cups using a cake mix in a mini muffin pan.
- Prepare the creamy chocolate pudding mixture and fill each cooled cookie cup.
- Crown the filled cookies with a generous layer of chocolate cookie crumbs and a playful gummy worm.
Don’t wait for Halloween night to try this incredible recipe! Make these fun, festive treats today and watch them disappear in record time. They are truly awesome and guaranteed to be a hit with everyone who tries them. Whether for a spooky party or a simple family dessert, these Dirt Cup Cookie Bites are a delightful way to celebrate.
Craving More Cookie Cup Creations? Explore These Delightful Recipes!
If you’ve fallen in love with the charm and convenience of cookie cups, you’re in for a treat! These miniature desserts are incredibly versatile and always a crowd-pleaser. Here are some other fantastic cookie cup recipes to inspire your next baking adventure:
- Boston Cream Pie Cookie Bites
- Chocolate Chip Cookie Dough Cookie Bites
- Ice Cream Sundae Cookie Bites
- Candy Corn Cookie Bites
- Halloween Brownie Bites
Dirt Cup Cookie Bites Recipe
June Albertson-Dick
20 mins
20 mins
40 mins
36 dirt cup cookies
Rate Recipe
Print Recipe
Ingredients
Chocolate Cookie Cups
- 1-15.25 oz. box chocolate cake mix (chocolate fudge recommended)
- 1/3 cup butter (softened)
- 2 eggs
Chocolate Pudding Filling
- 1 small box instant chocolate pudding mix
- 1 1/2 cups milk (e.g., 1%)
- 1 cup whipped topping
Toppings
- 1/2 cup chocolate sandwich cookie crumbs
- 36 mini gummy worms (or 36 regular gummy worms halved)
Instructions
Chocolate Cookie Cups
-
Preheat oven to 350°F (175°C). Prepare a mini muffin pan by spraying each cup liberally with non-stick cooking spray. Pour the chocolate cake mix into a medium bowl and whisk or sift to remove any lumps. Add the softened butter and eggs to the cake mix and combine thoroughly with a hand-held mixer until a thick, sticky dough forms. Using a small cookie scoop (about 1/2 tbsp), place a mound of cookie dough into each muffin cup. Gently use your fingers to press the dough down, creating a level cookie base. Bake for 9-11 minutes. (Do not overcook; they will set as they cool). Remove from the oven and immediately run a small knife or offset spatula around the edge of each cookie cup to loosen them. Then, use a tart shaper or the end of a wooden spoon to press down the middle of each cookie, creating an indentation. Move cookies to a cooling rack and let them cool completely. Continue to bake a second batch if necessary.
Chocolate Pudding Filling
-
In a medium bowl, combine the instant chocolate pudding mix and milk. Using a mixer or whisk, incorporate the ingredients until the mixture becomes thick and smooth. Add the whipped topping and mix until fully combined. Spoon a generous amount of chocolate pudding into each cooled cookie indentation. For a neater finish, you can also fill a piping bag (or a Ziploc bag with a corner cut off) and pipe the pudding into each cup.
Toppings
-
Evenly sprinkle the chocolate cookie crumbs over the top of the chocolate pudding, ensuring it’s completely covered to mimic “dirt.” Finally, top each cookie cup with a mini gummy worm, positioning it playfully as if emerging from the dirt. Serve immediately or refrigerate for 1-2 days for optimal freshness.
Notes
Nutrition
,
Calories: 102kcal
,
Carbohydrates: 14g
,
Protein: 2g
,
Fat: 5g
,
Saturated Fat: 2g
,
Polyunsaturated Fat: 1g
,
Monounsaturated Fat: 2g
,
Trans Fat: 0.1g
,
Cholesterol: 14mg
,
Sodium: 168mg
,
Potassium: 73mg
,
Fiber: 0.4g
,
Sugar: 9g
,
Vitamin A: 87IU
,
Calcium: 35mg
,
Iron: 1mg
Nutrition information is automatically calculated and should only be used as an approximation.
Enjoyed this recipe? Share your thoughts below!