
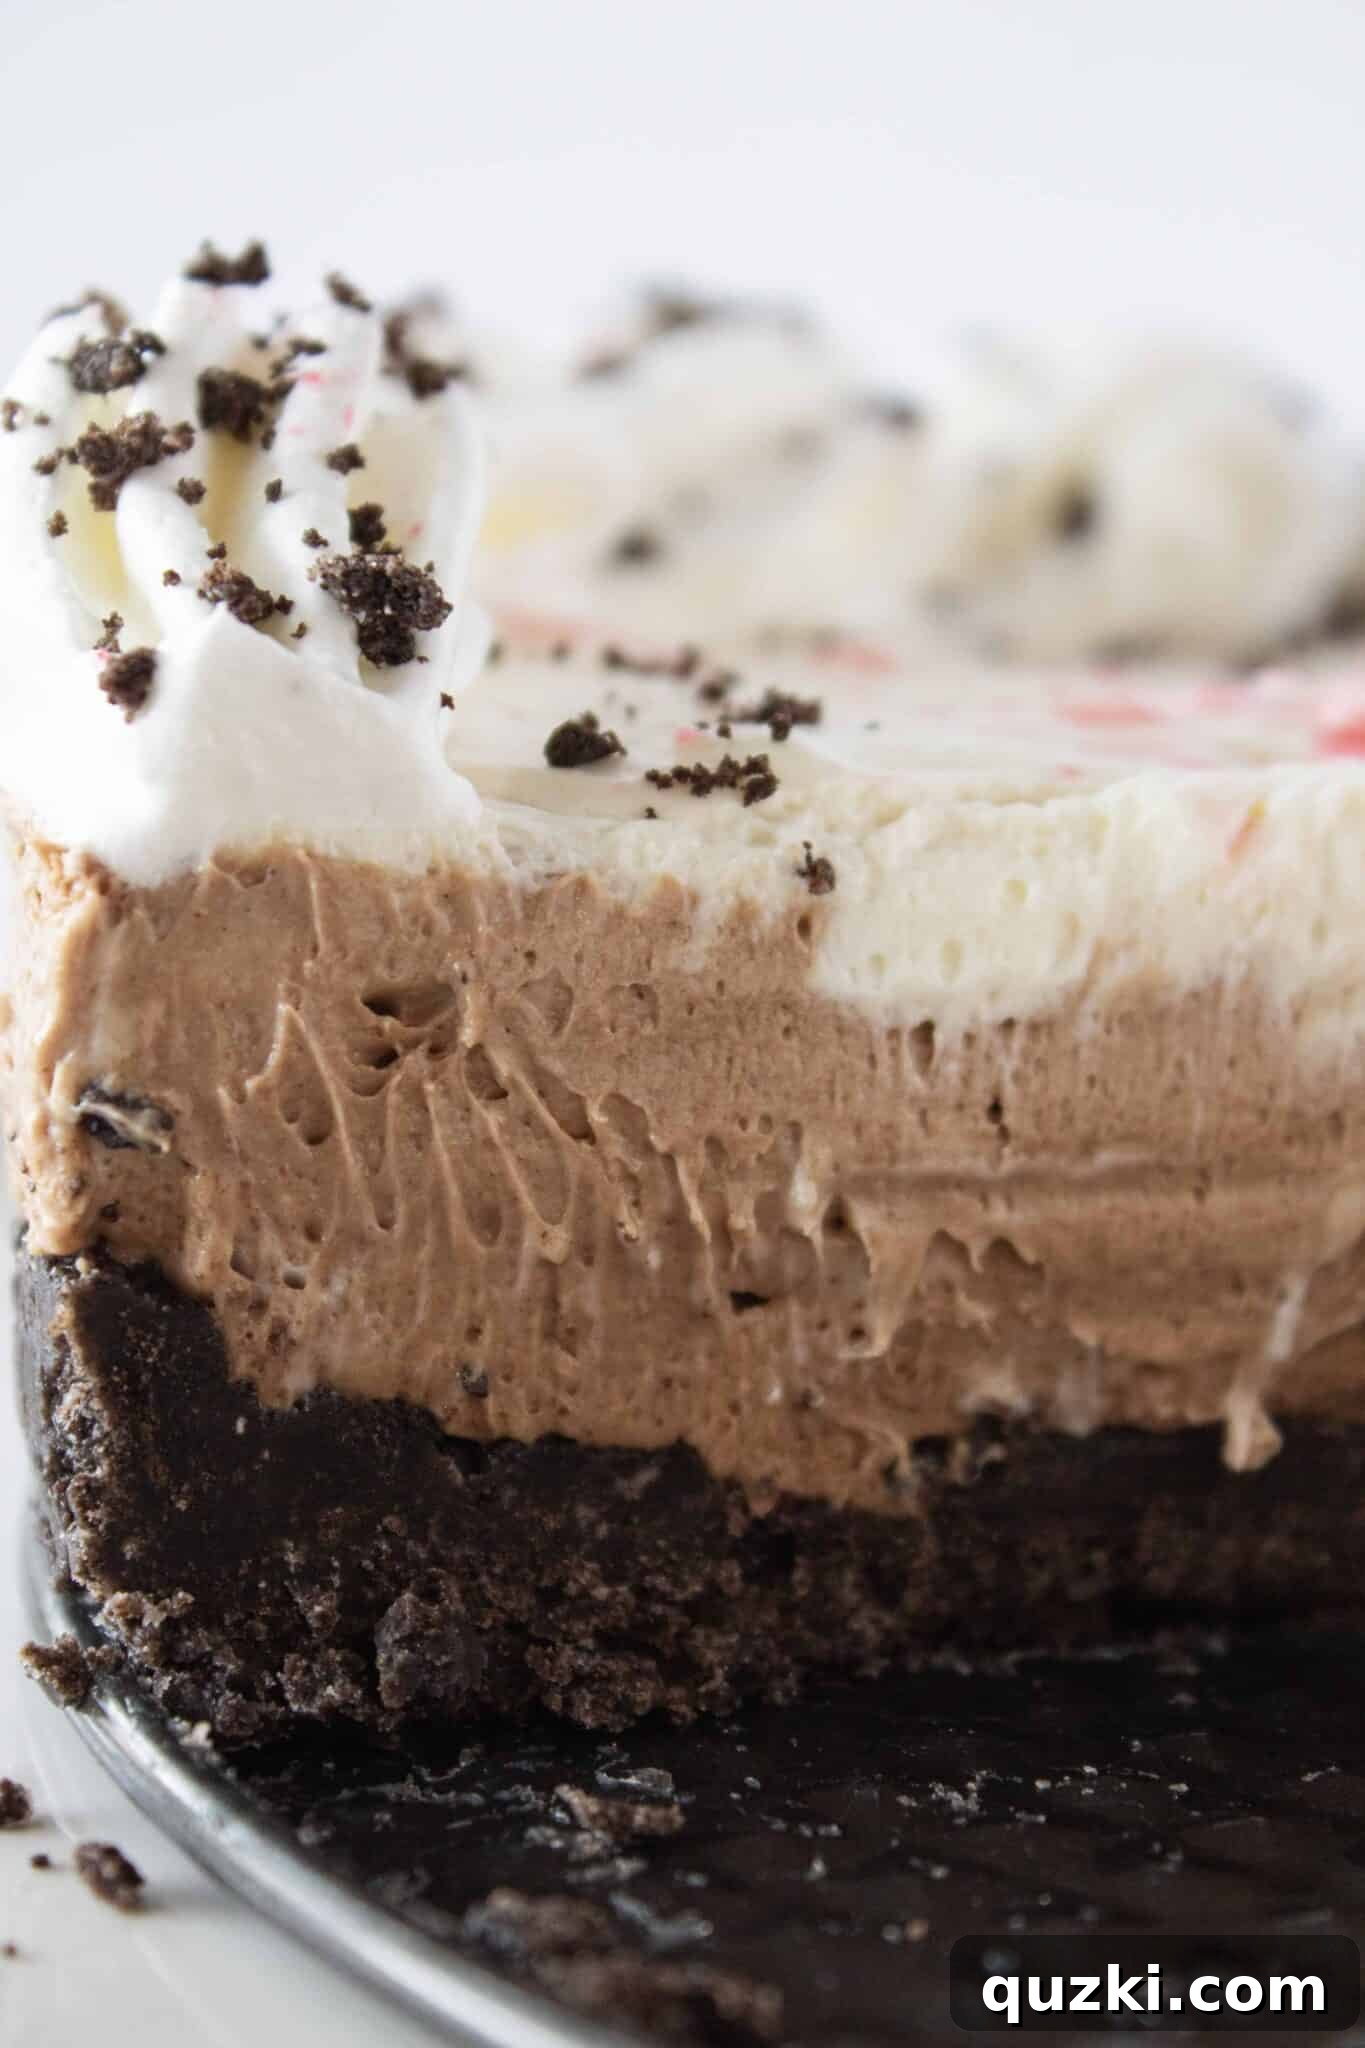
The festive season often brings with it a yearning for comforting, decadent desserts, and for many, Christmas isn’t truly complete without the refreshing zing of peppermint. This year, elevate your holiday dessert table with a show-stopping No-Bake Chocolate Peppermint Cheesecake that perfectly marries the cool, invigorating taste of peppermint with the rich indulgence of chocolate. This recipe is designed to deliver an extraordinarily smooth, velvety dessert without the fuss of baking, making it an ideal choice for busy holiday schedules.
The Magic of No-Bake Cheesecakes
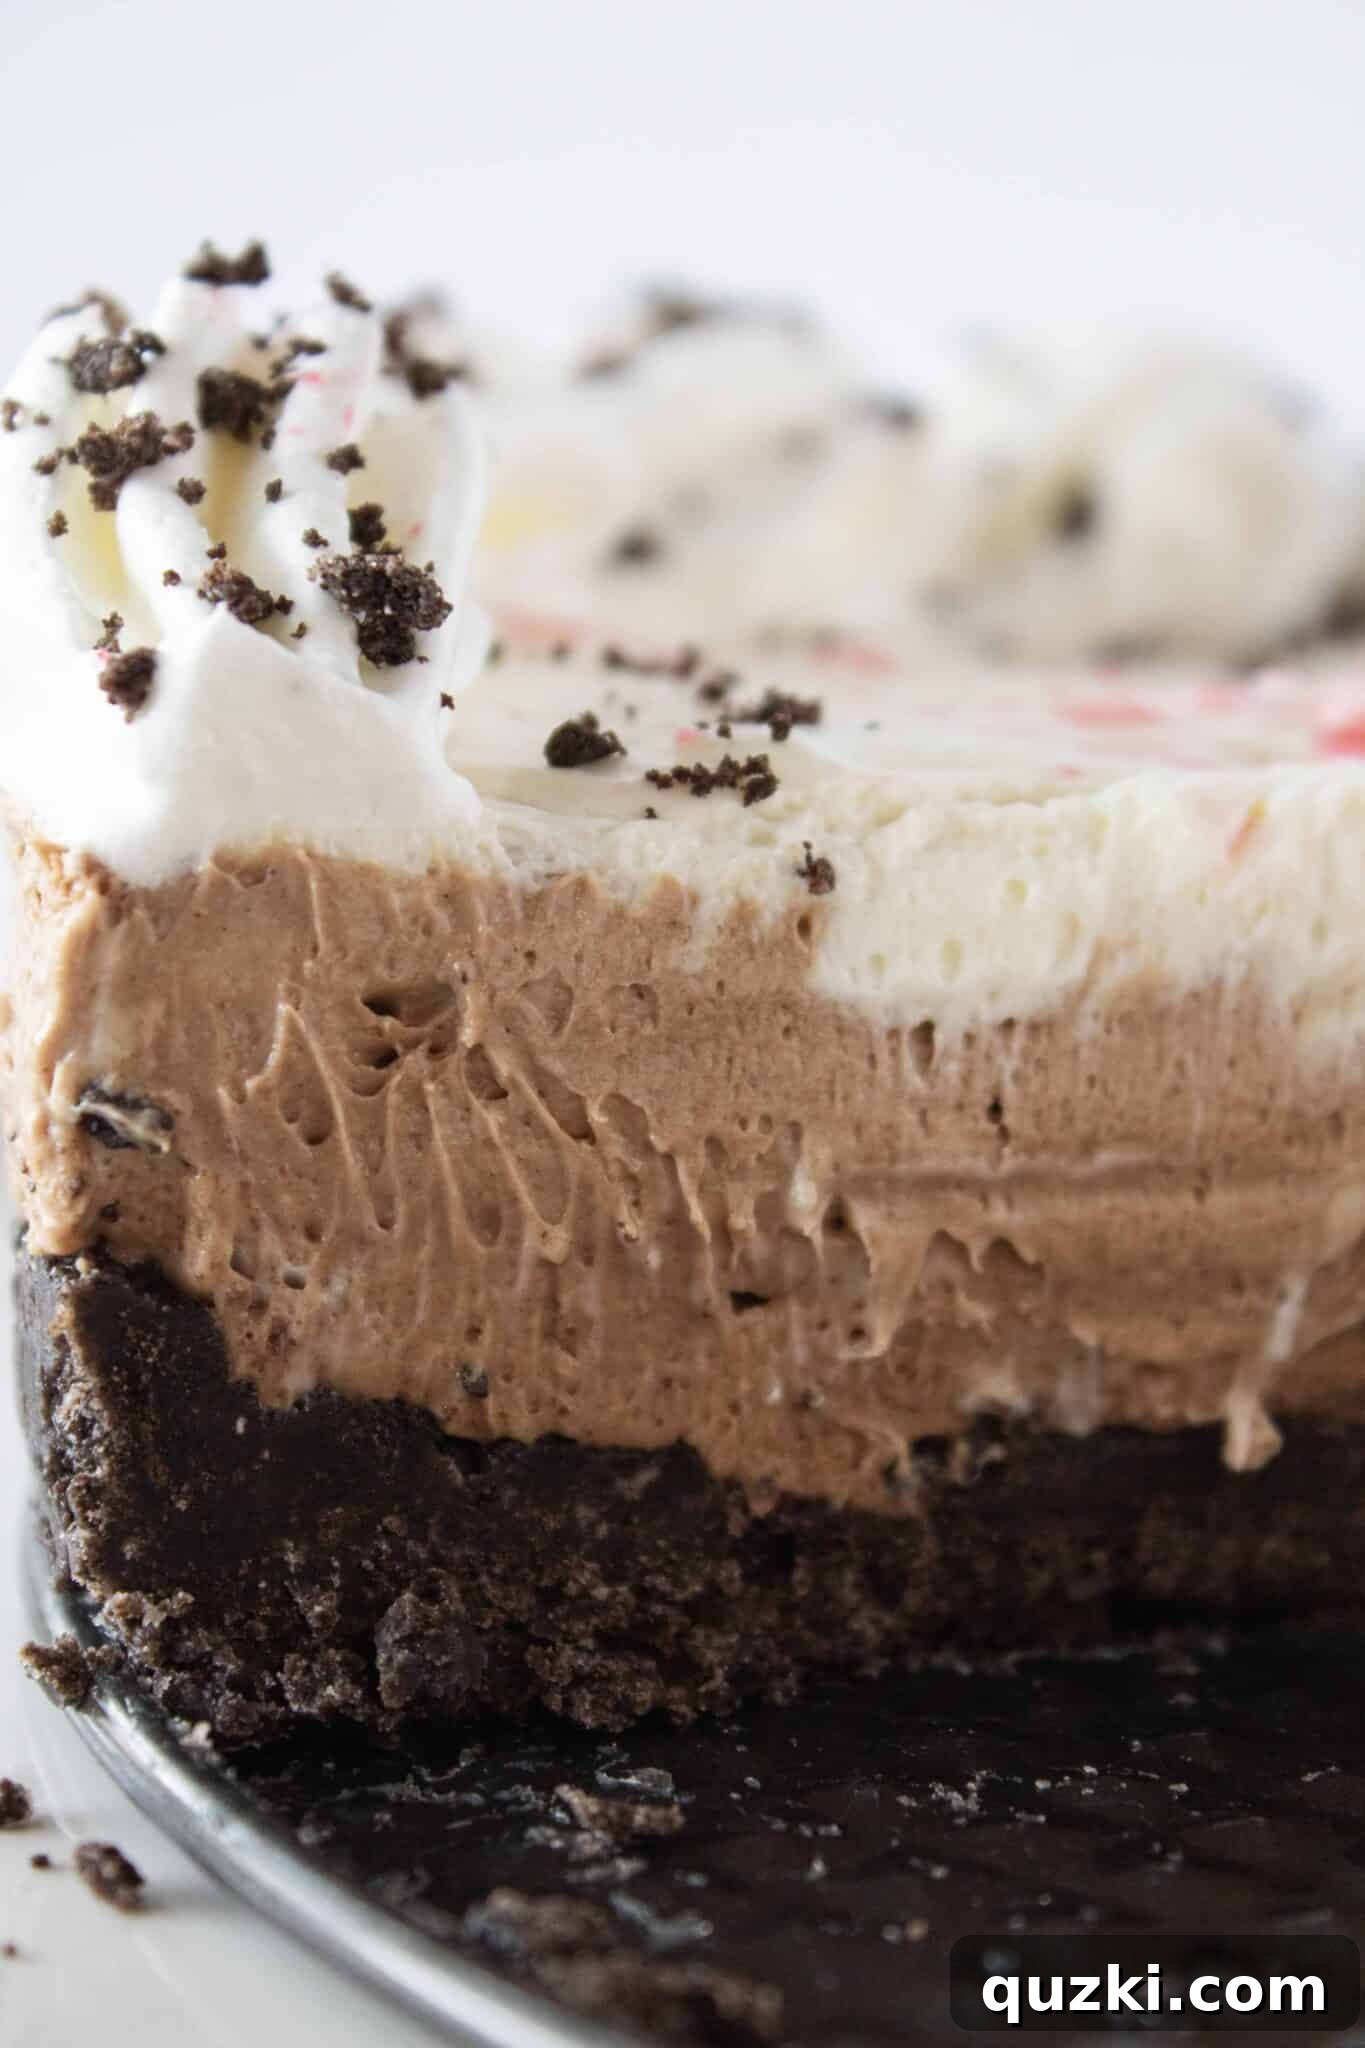
There’s an undeniable magic in creating a truly sublime dessert from just a handful of ingredients, all without ever needing to preheat an oven. No-bake cheesecakes are truly awesome for their simplicity and the incredible results they yield. They offer a luxurious texture that is often smoother and creamier than their baked counterparts, making them a favorite for those who appreciate both ease and elegance.
This particular no-bake dessert is a testament to how simple ingredients can transform into something extraordinary. Whether it’s a luscious cheesecake or quick Cream Cheese Cake Mix Cookies, my passion lies in creating desserts that are both spectacular and stress-free. This approach is especially valuable during the bustling holiday season when every minute counts. Even if Christmas looks a little different this year, it doesn’t mean it’s any less hectic, and easy recipes become your best friend.
My goal is to provide you with truly “out of this world” recipes that save you precious time, allowing you to spend more cherished moments with family and friends. Start your festive baking adventure with this amazing No-Bake Chocolate Peppermint Cheesecake, and then perhaps try these delightful Peppermint Chocolate Cookies to truly get into the holiday spirit.
Crafting Your Decadent Chocolate Peppermint Cheesecake
Creating this masterpiece is a straightforward process, broken down into manageable steps to ensure a flawless dessert every time. Let’s dive into the details of making this sensational no-bake cheesecake.
1. The Perfect Oreo Cookie Crust
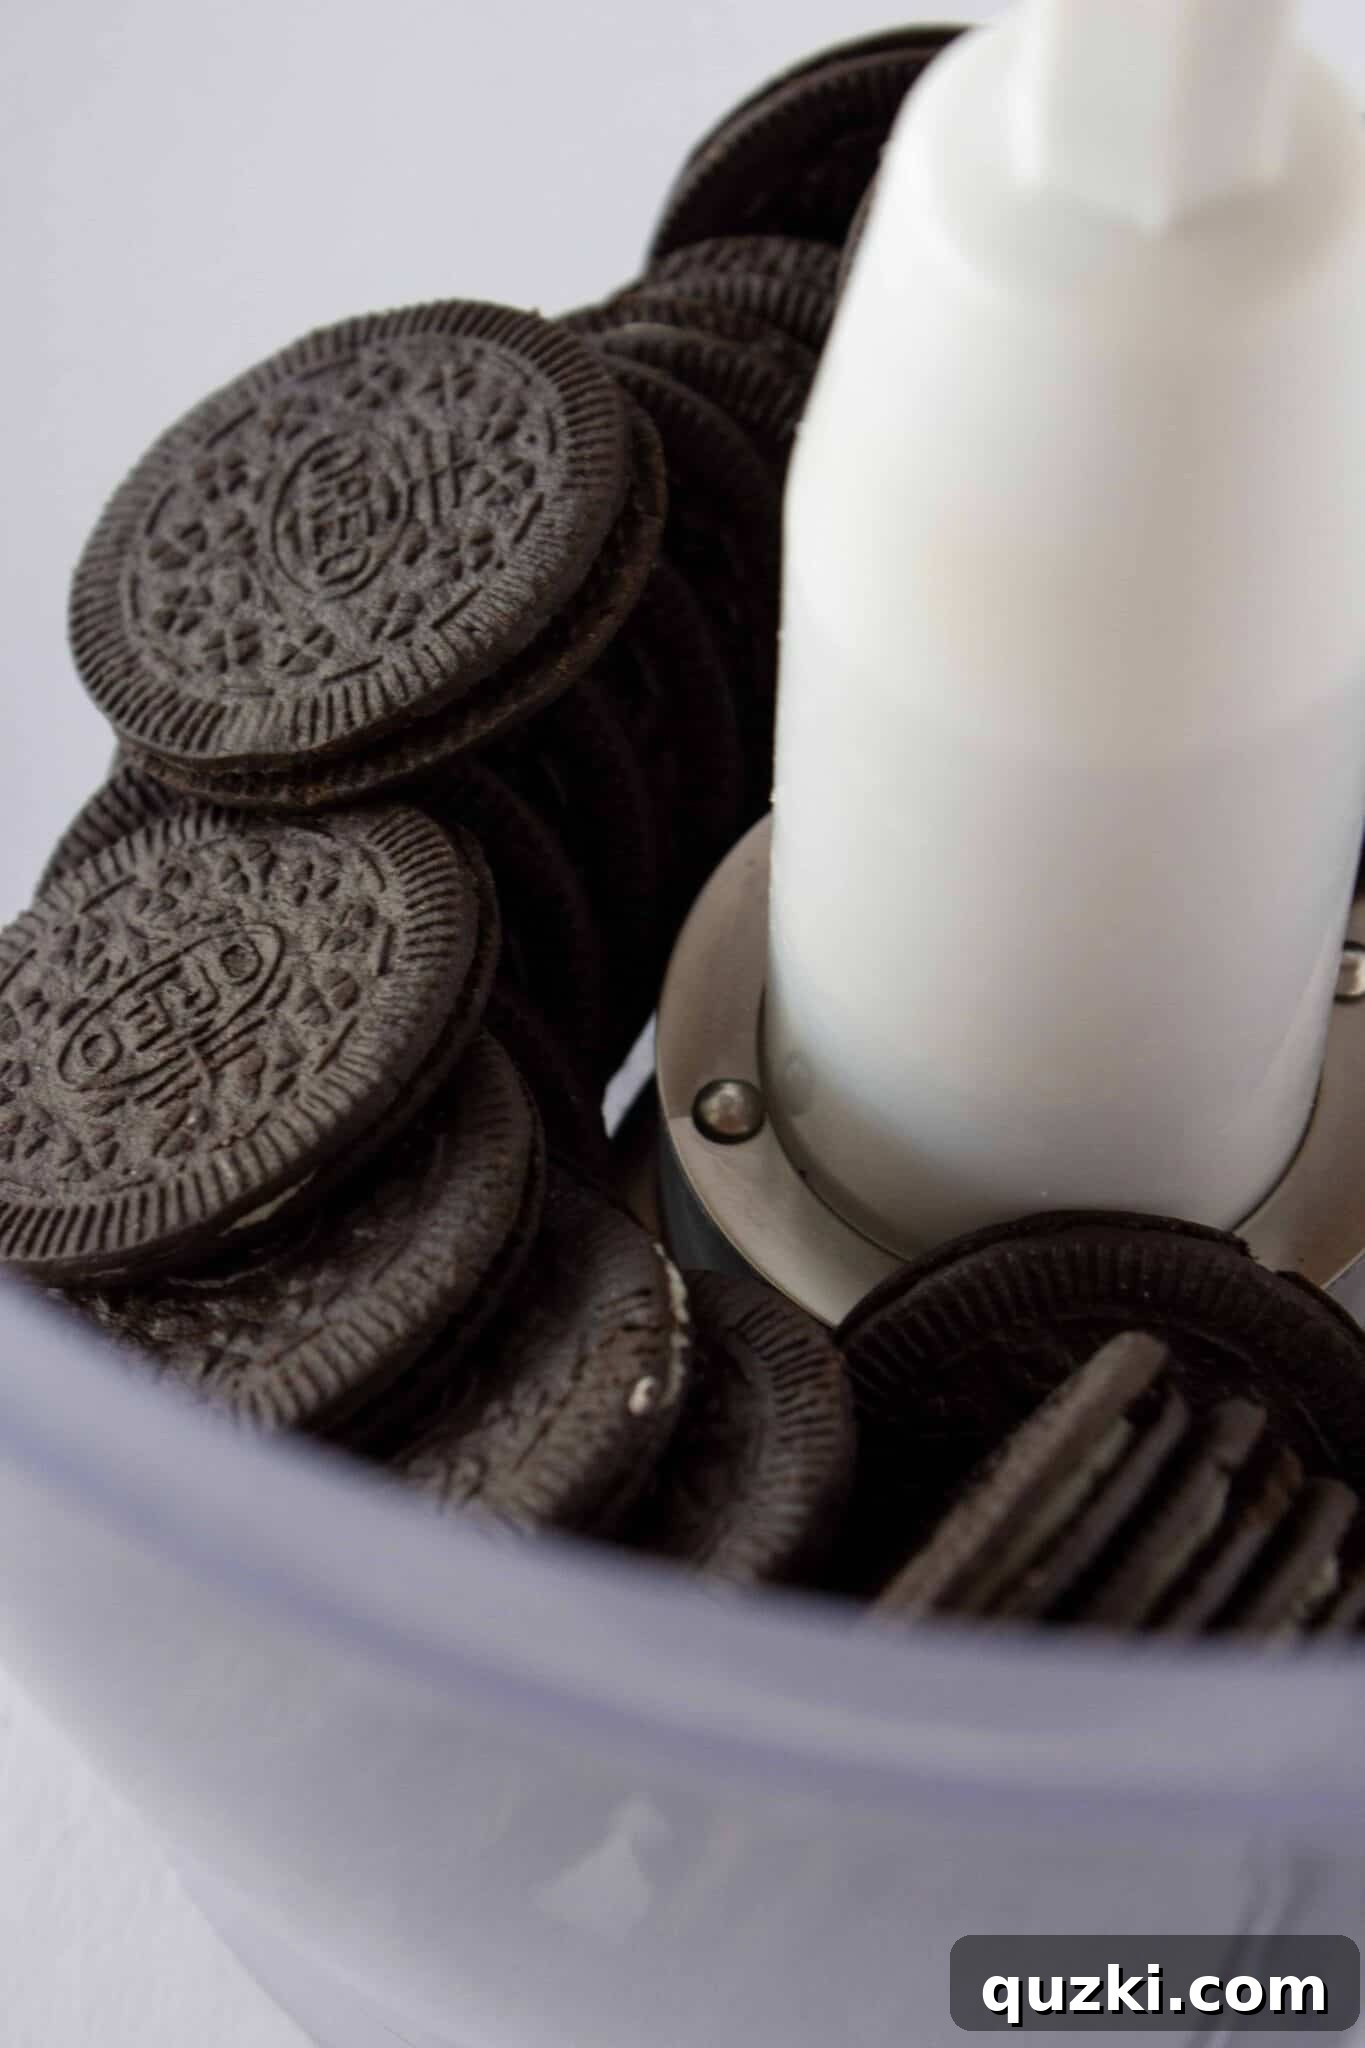
- To begin, you’ll need a robust and flavorful crust. I prefer using Oreo Thins for their excellent chocolate-to-cream ratio, which results in a rich chocolatey base. However, regular Oreos work just as beautifully. Place your chosen Oreos into a food processor and pulse until you achieve fine, even crumbs.
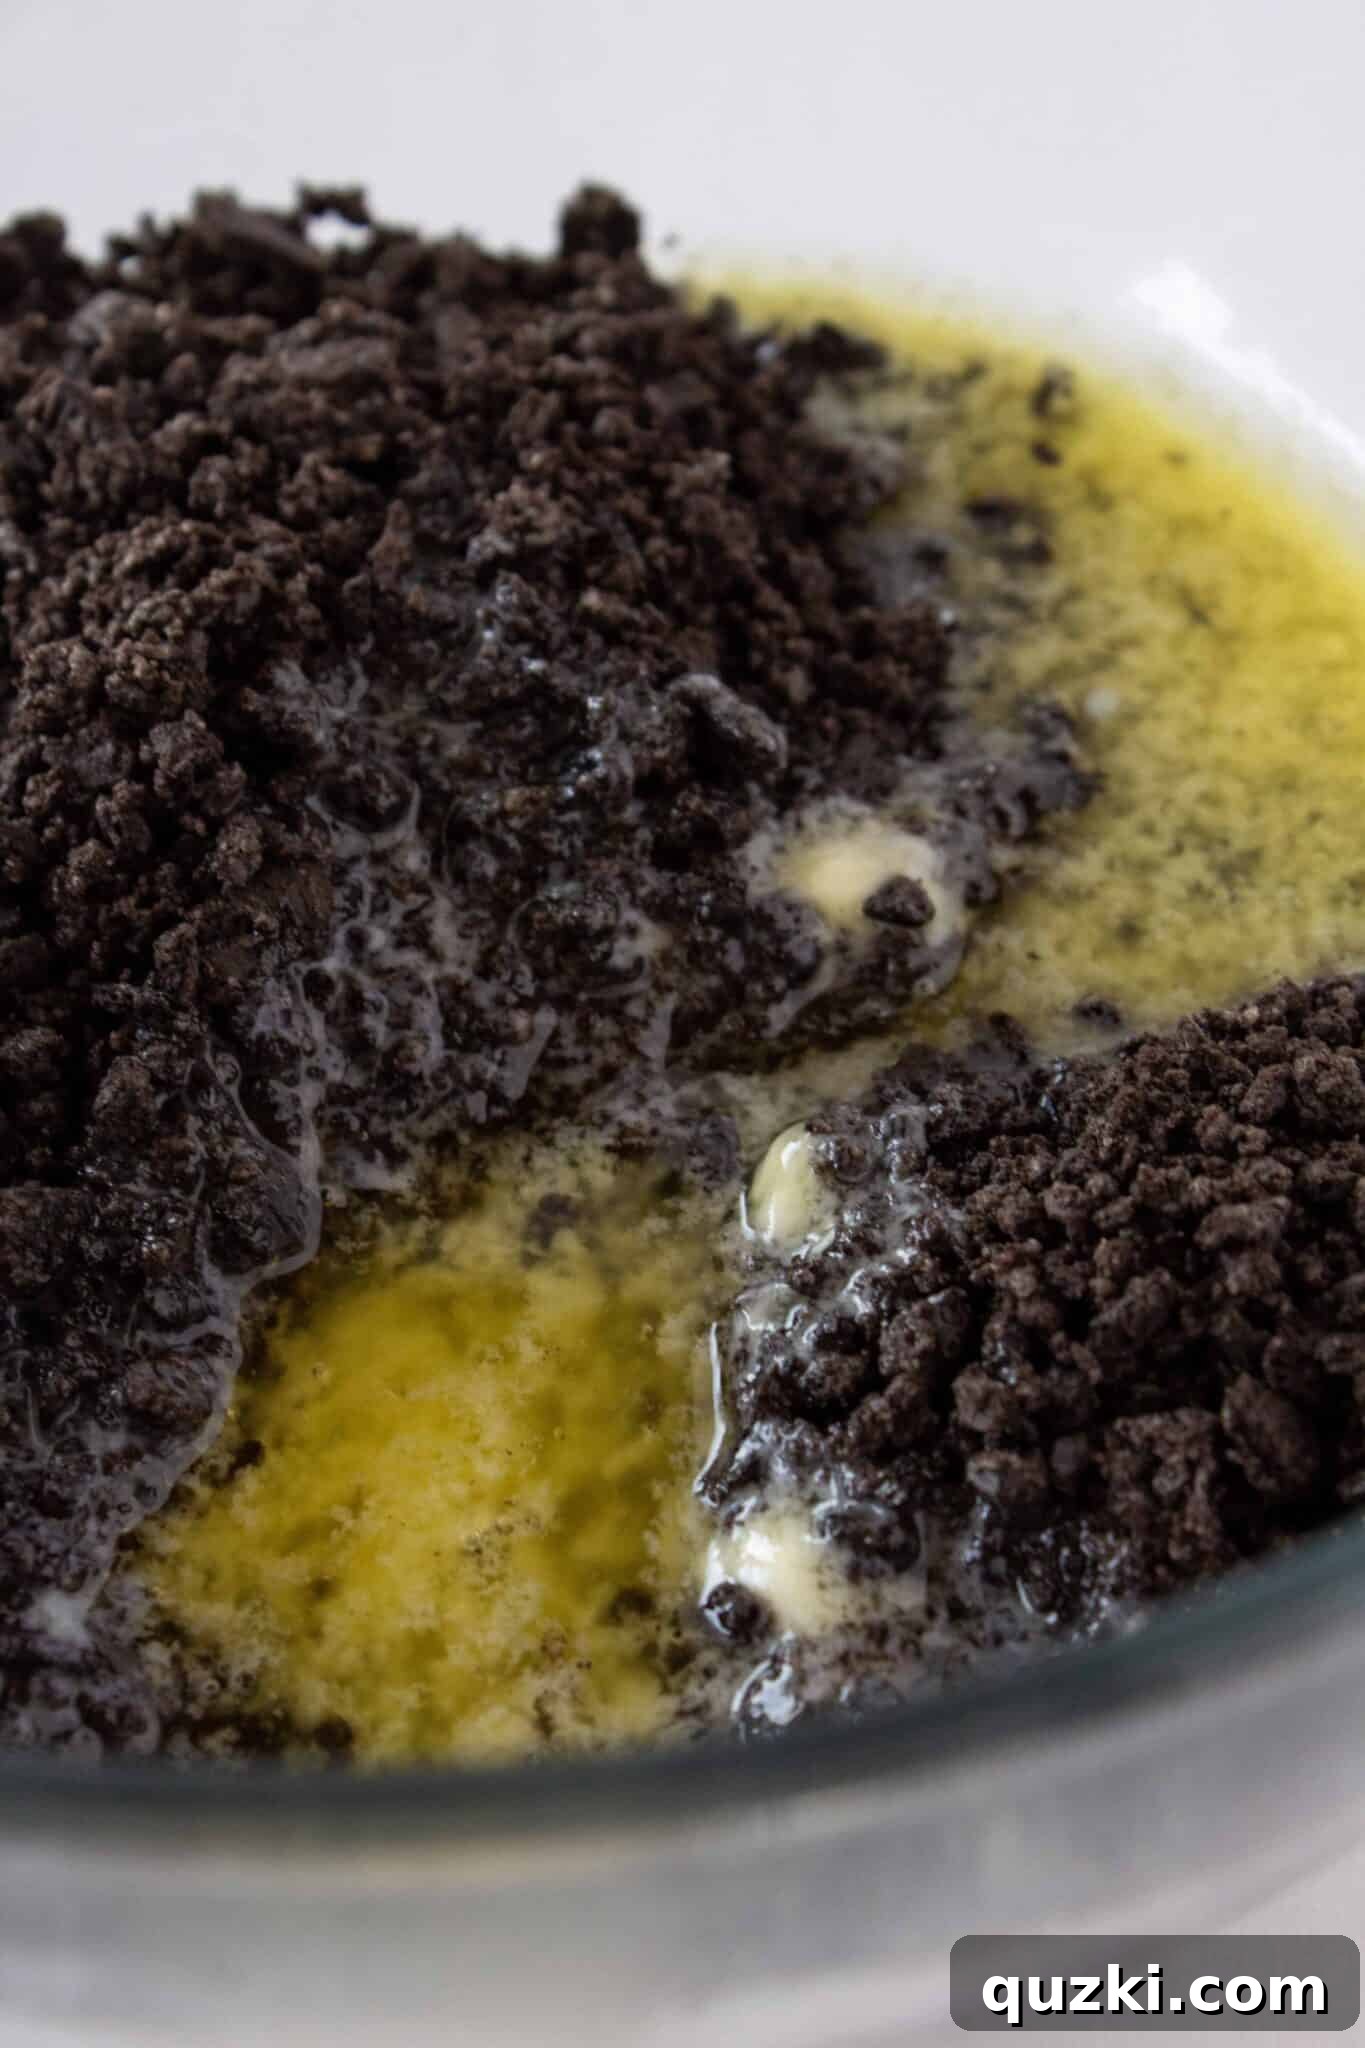
- Once the cookies are finely crushed, you can either transfer them to a mixing bowl or keep them in the food processor. Add the melted butter to the crumbs. Mix thoroughly until all the crumbs are evenly coated and resemble wet sand. This ensures a firm, stable crust.
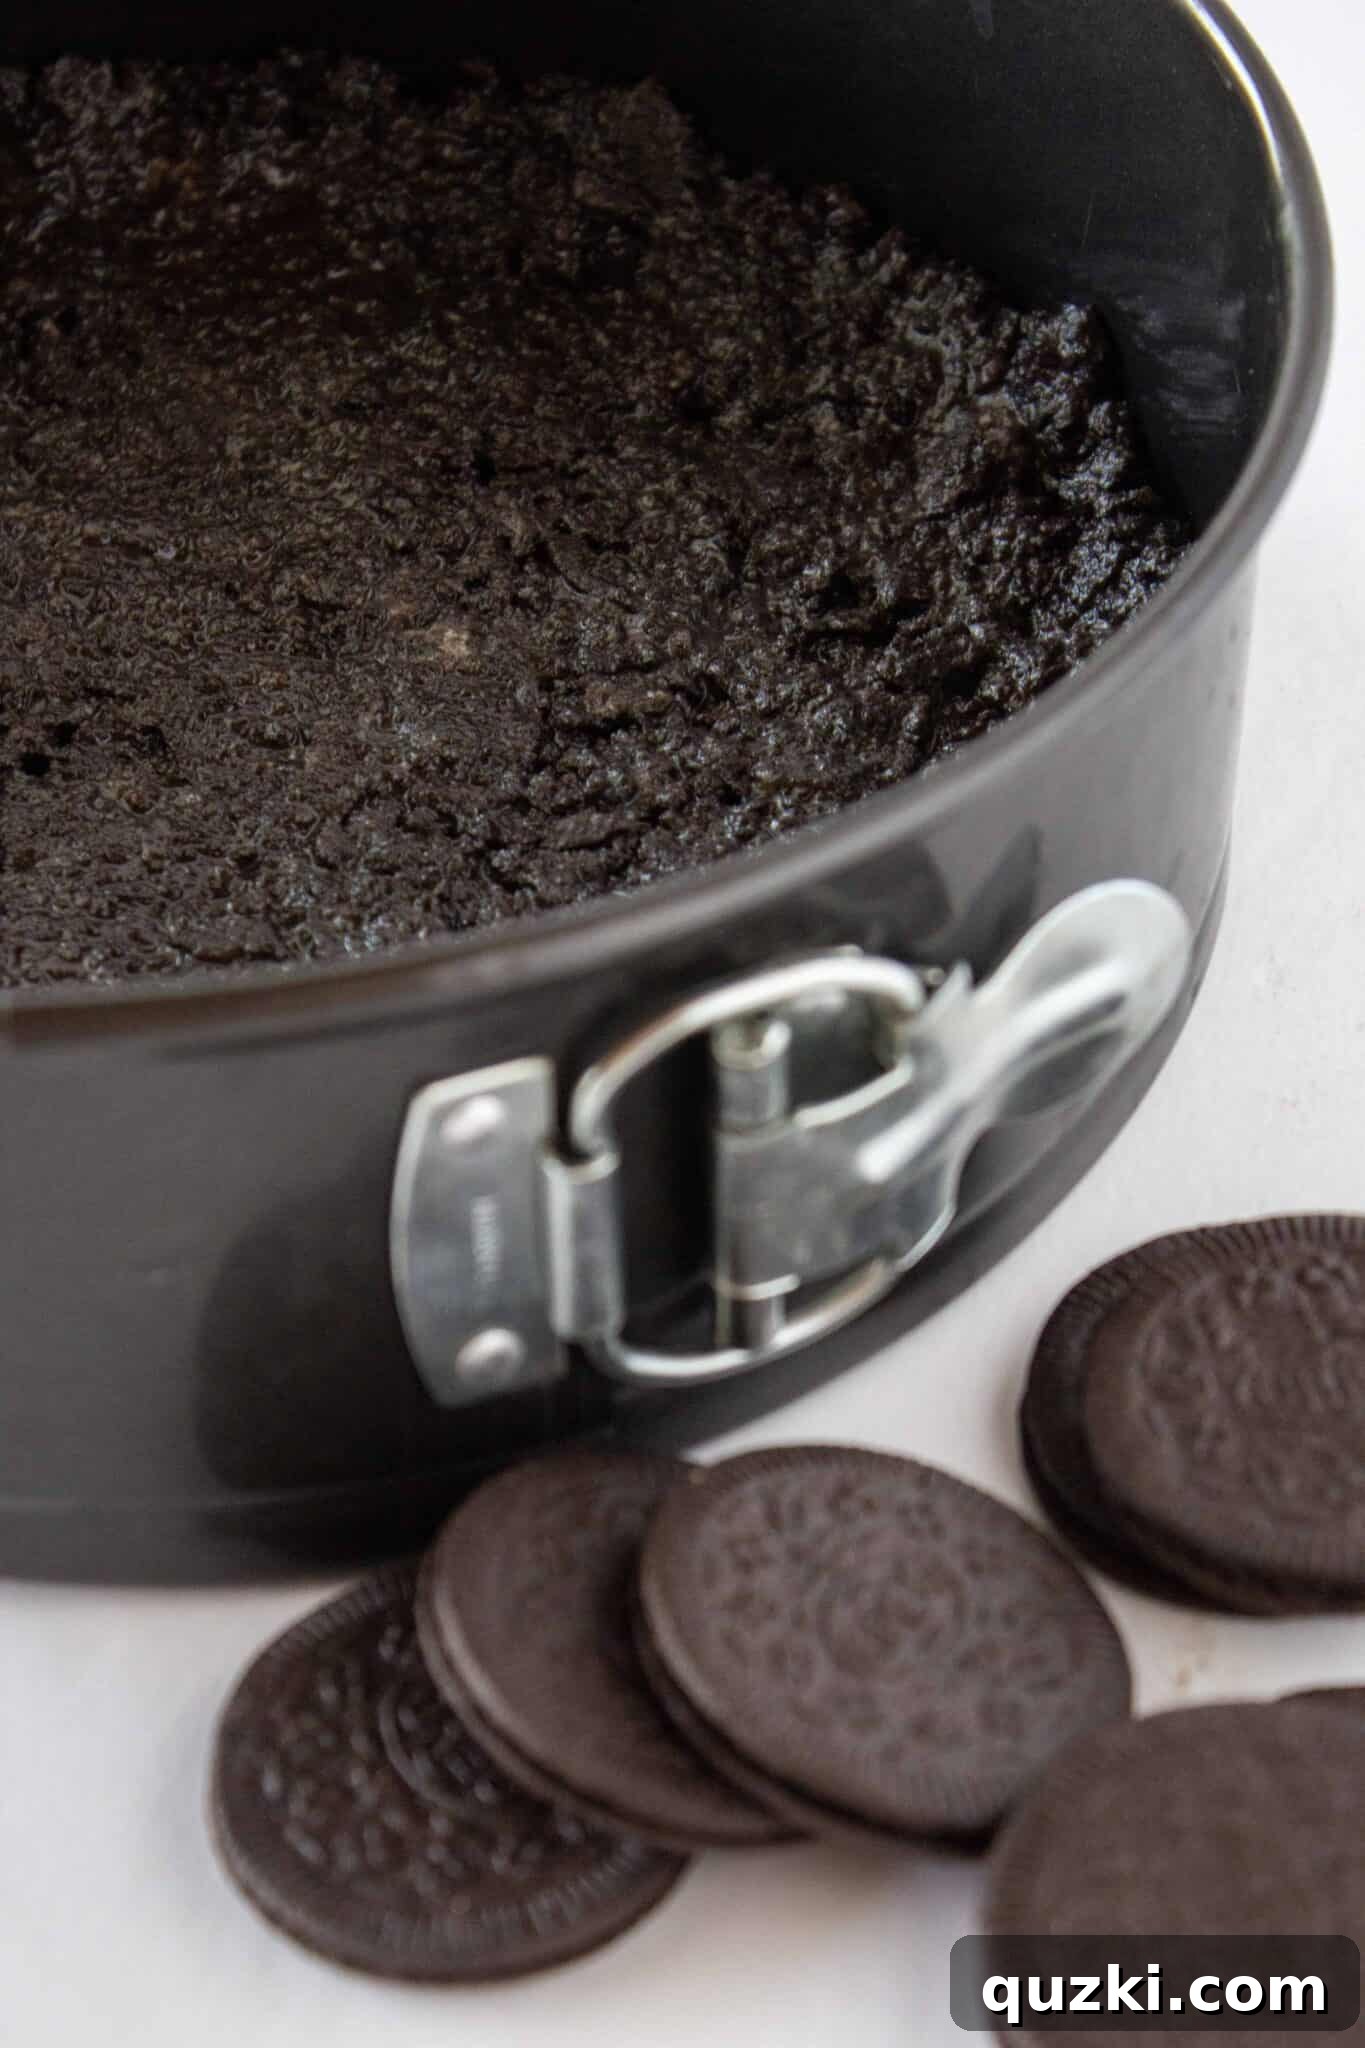
- Pour the buttery Oreo crumbs into your ungreased springform pan. Press the crumbs down firmly and evenly across the bottom of the pan, and slightly up the sides. A flat-bottomed glass or the back of a spoon can help create a compact and smooth crust. Refrigerate this crust while you prepare the creamy filling, allowing it to firm up.
2. The Irresistible Cheesecake Filling
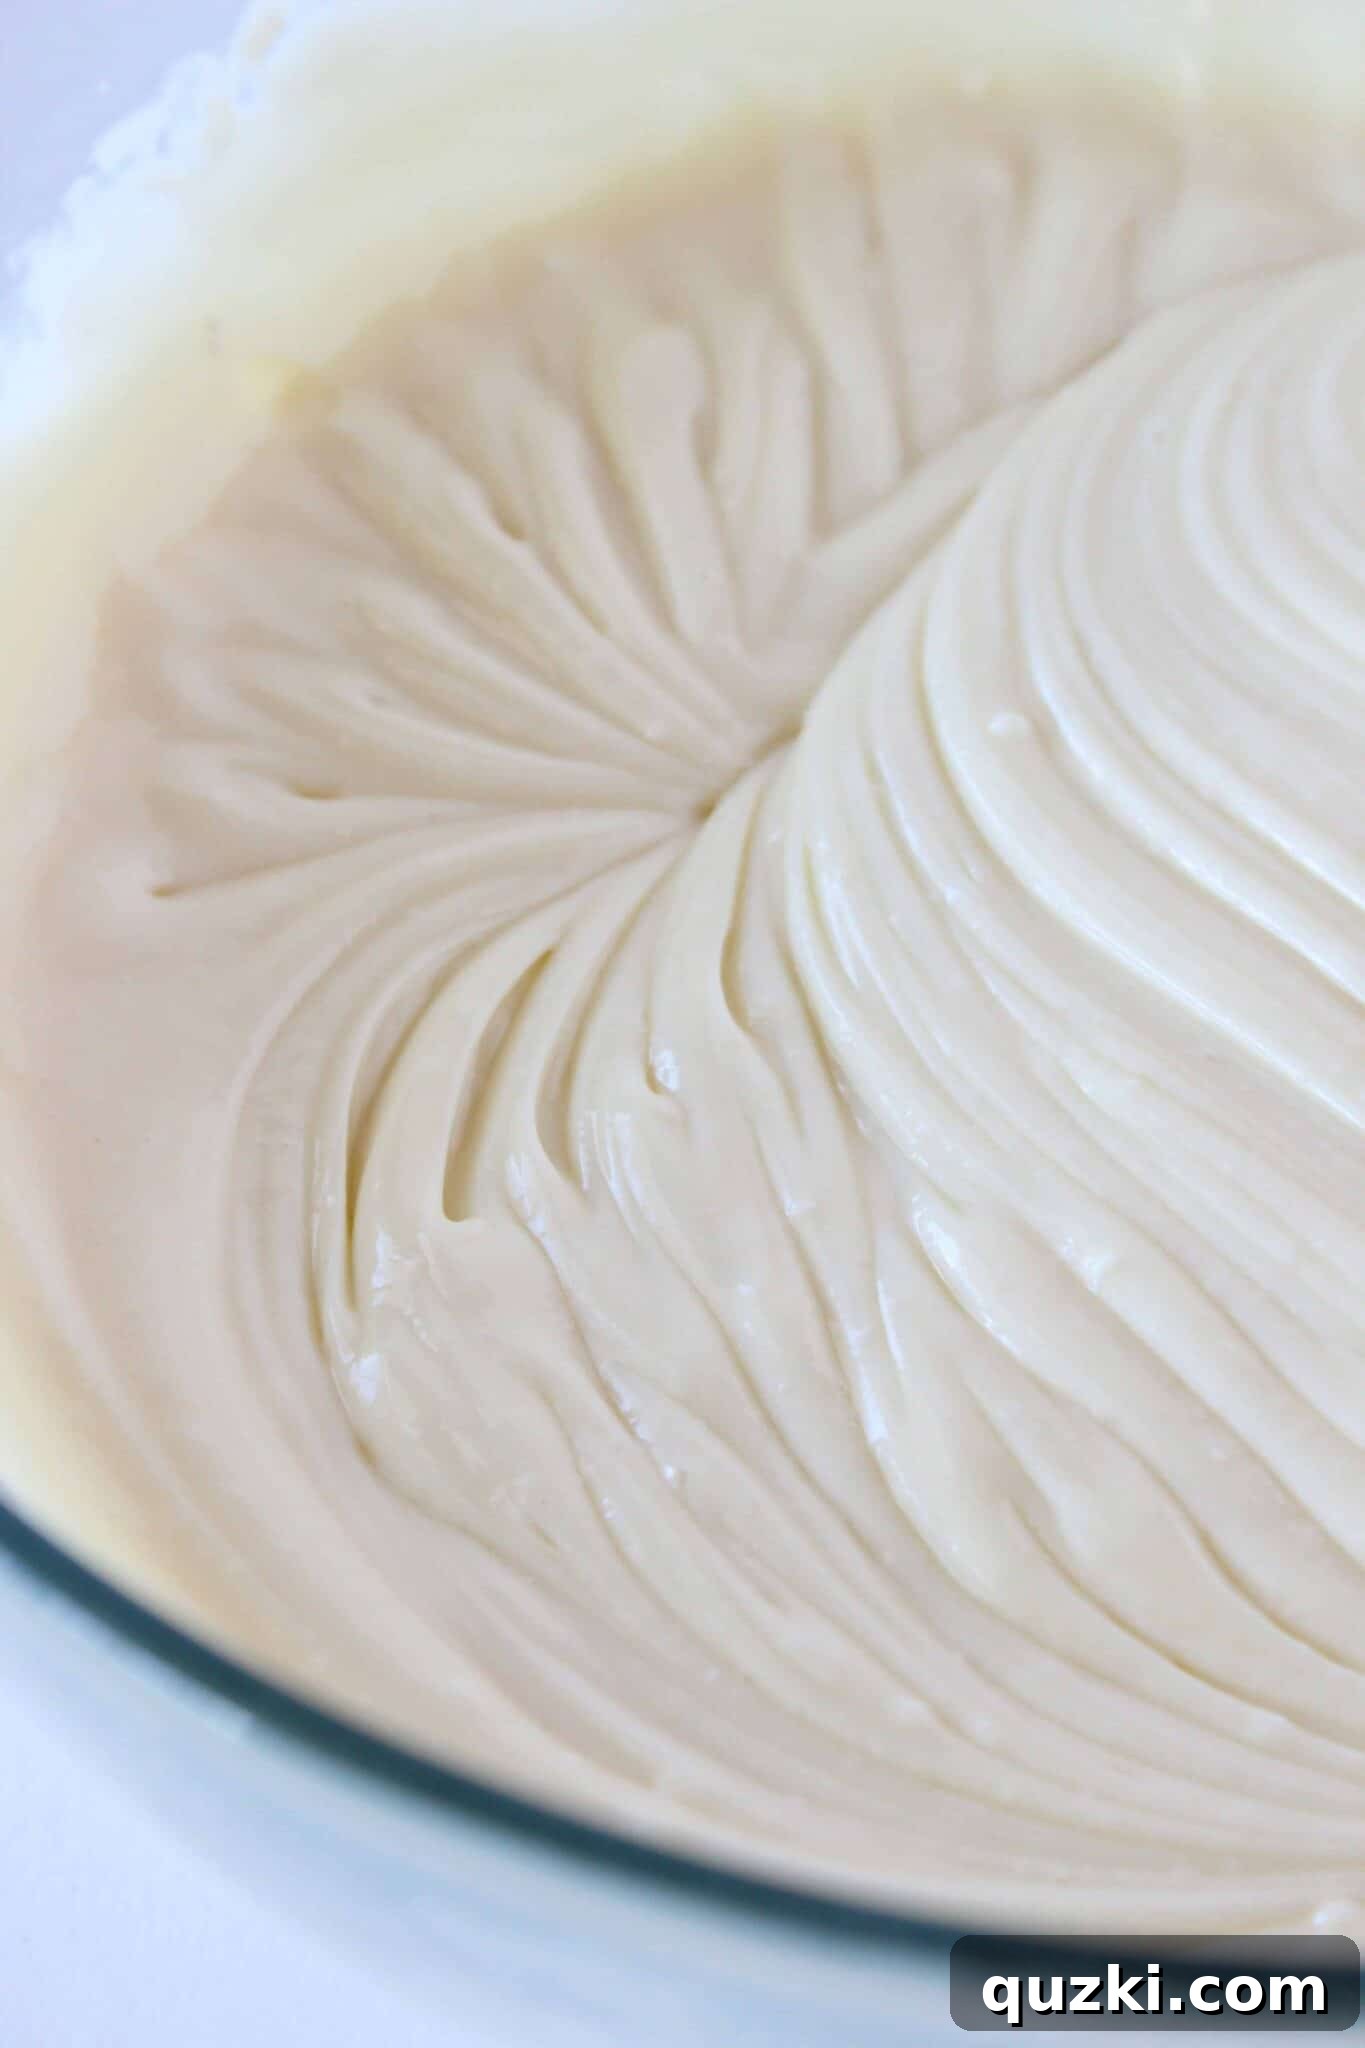
- In a large mixing bowl, begin by combining two bricks (16 ounces) of softened cream cheese with one can (14 ounces) of sweetened condensed milk. Use a handheld mixer to beat these ingredients together until the mixture is completely smooth and free of lumps. This creamy base is crucial for the cheesecake’s texture. Next, add the peppermint extract, mixing just until combined. Finally, gently fold in the whipped topping. It’s important to fold, not beat, the whipped topping to maintain its airy texture and prevent deflating the cheesecake mixture, ensuring a light and fluffy filling. Divide this prepared cheesecake mixture into two bowls: one bowl containing 1/3 of the mixture and the other containing the remaining 2/3.
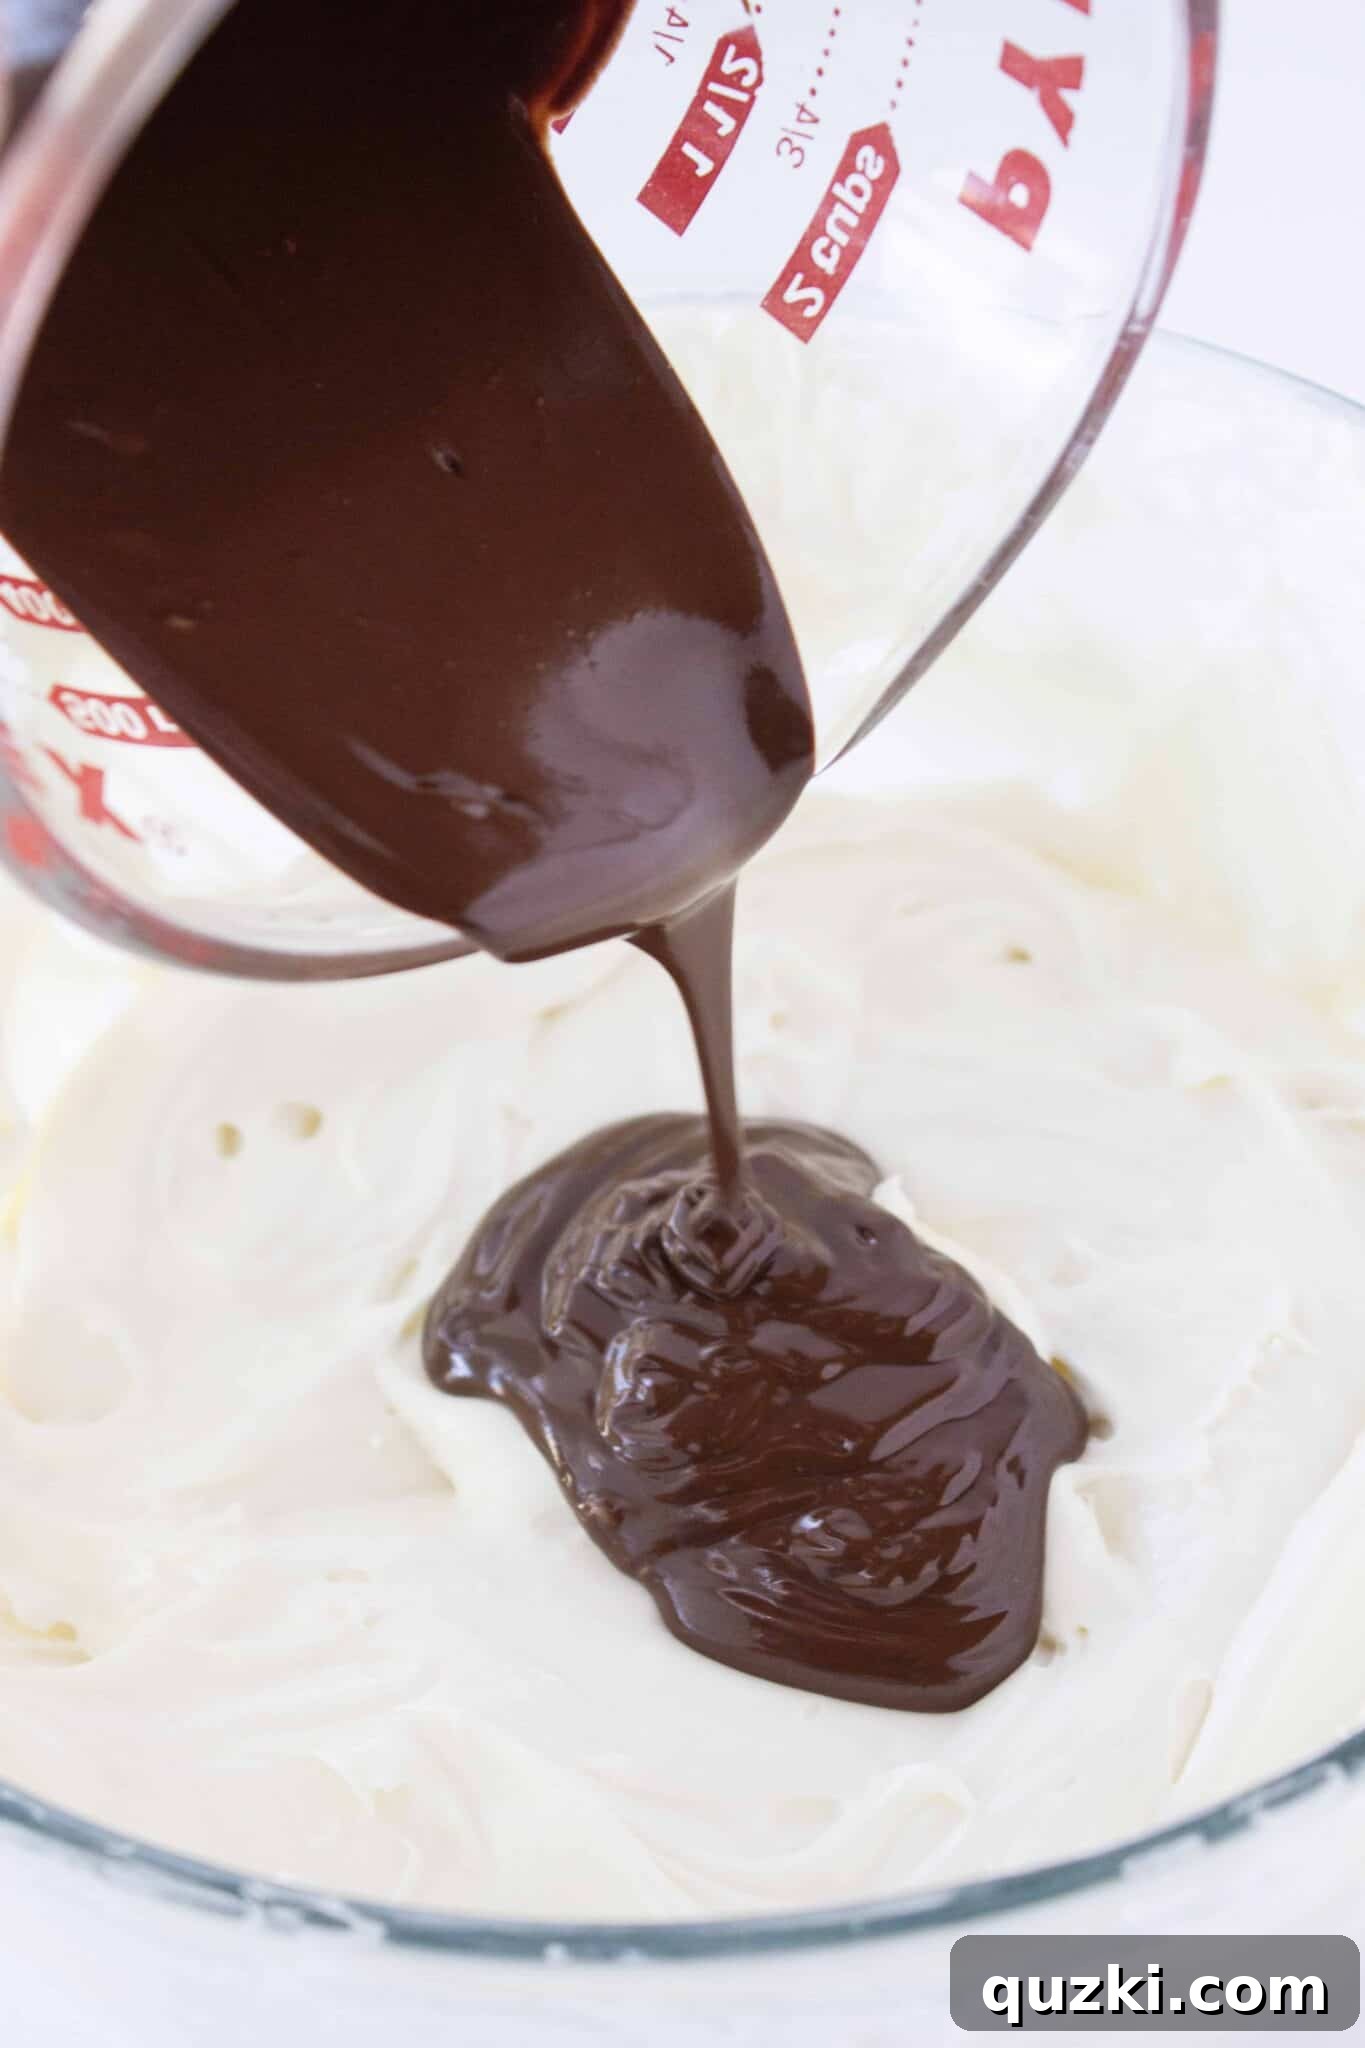
- To infuse a rich chocolate flavor into a portion of the cheesecake, melt 4 ounces of semi-sweet chocolate. Use a microwave-safe bowl, heating in 30-second intervals, stirring well after each, until the chocolate is smooth and fully melted. Allow the melted chocolate to cool slightly but remain liquid. Once cooled, add it to the bowl containing the larger portion (2/3) of the plain cheesecake mixture. Gently fold the melted chocolate into the mixture until fully combined. Again, be mindful not to overmix, which could deflate the airy texture created by the whipped topping.
3. Assembly and Chilling for Perfection
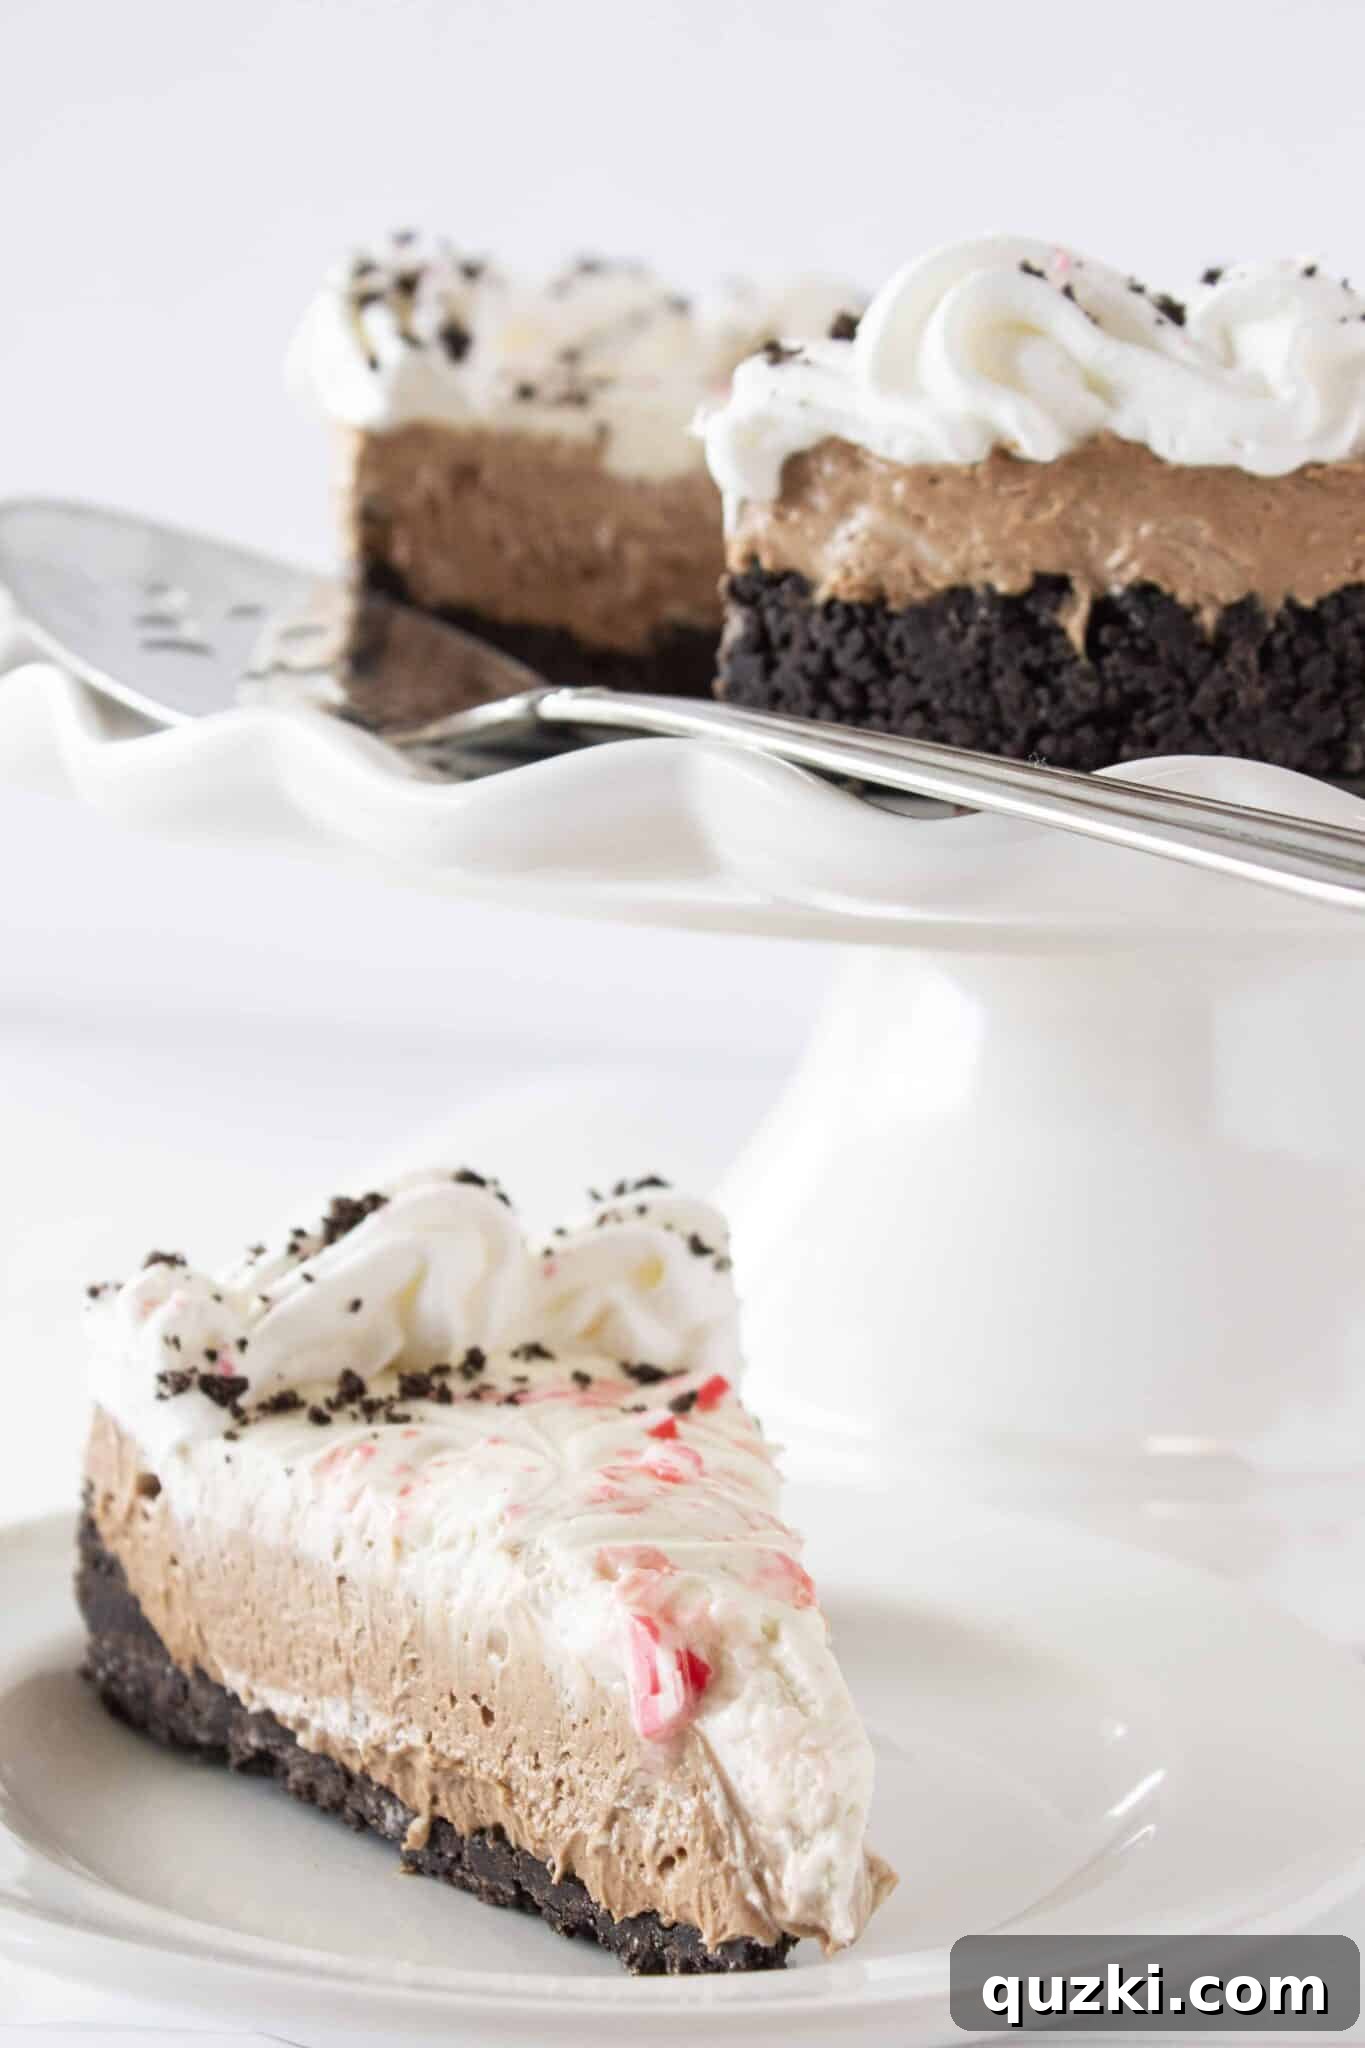
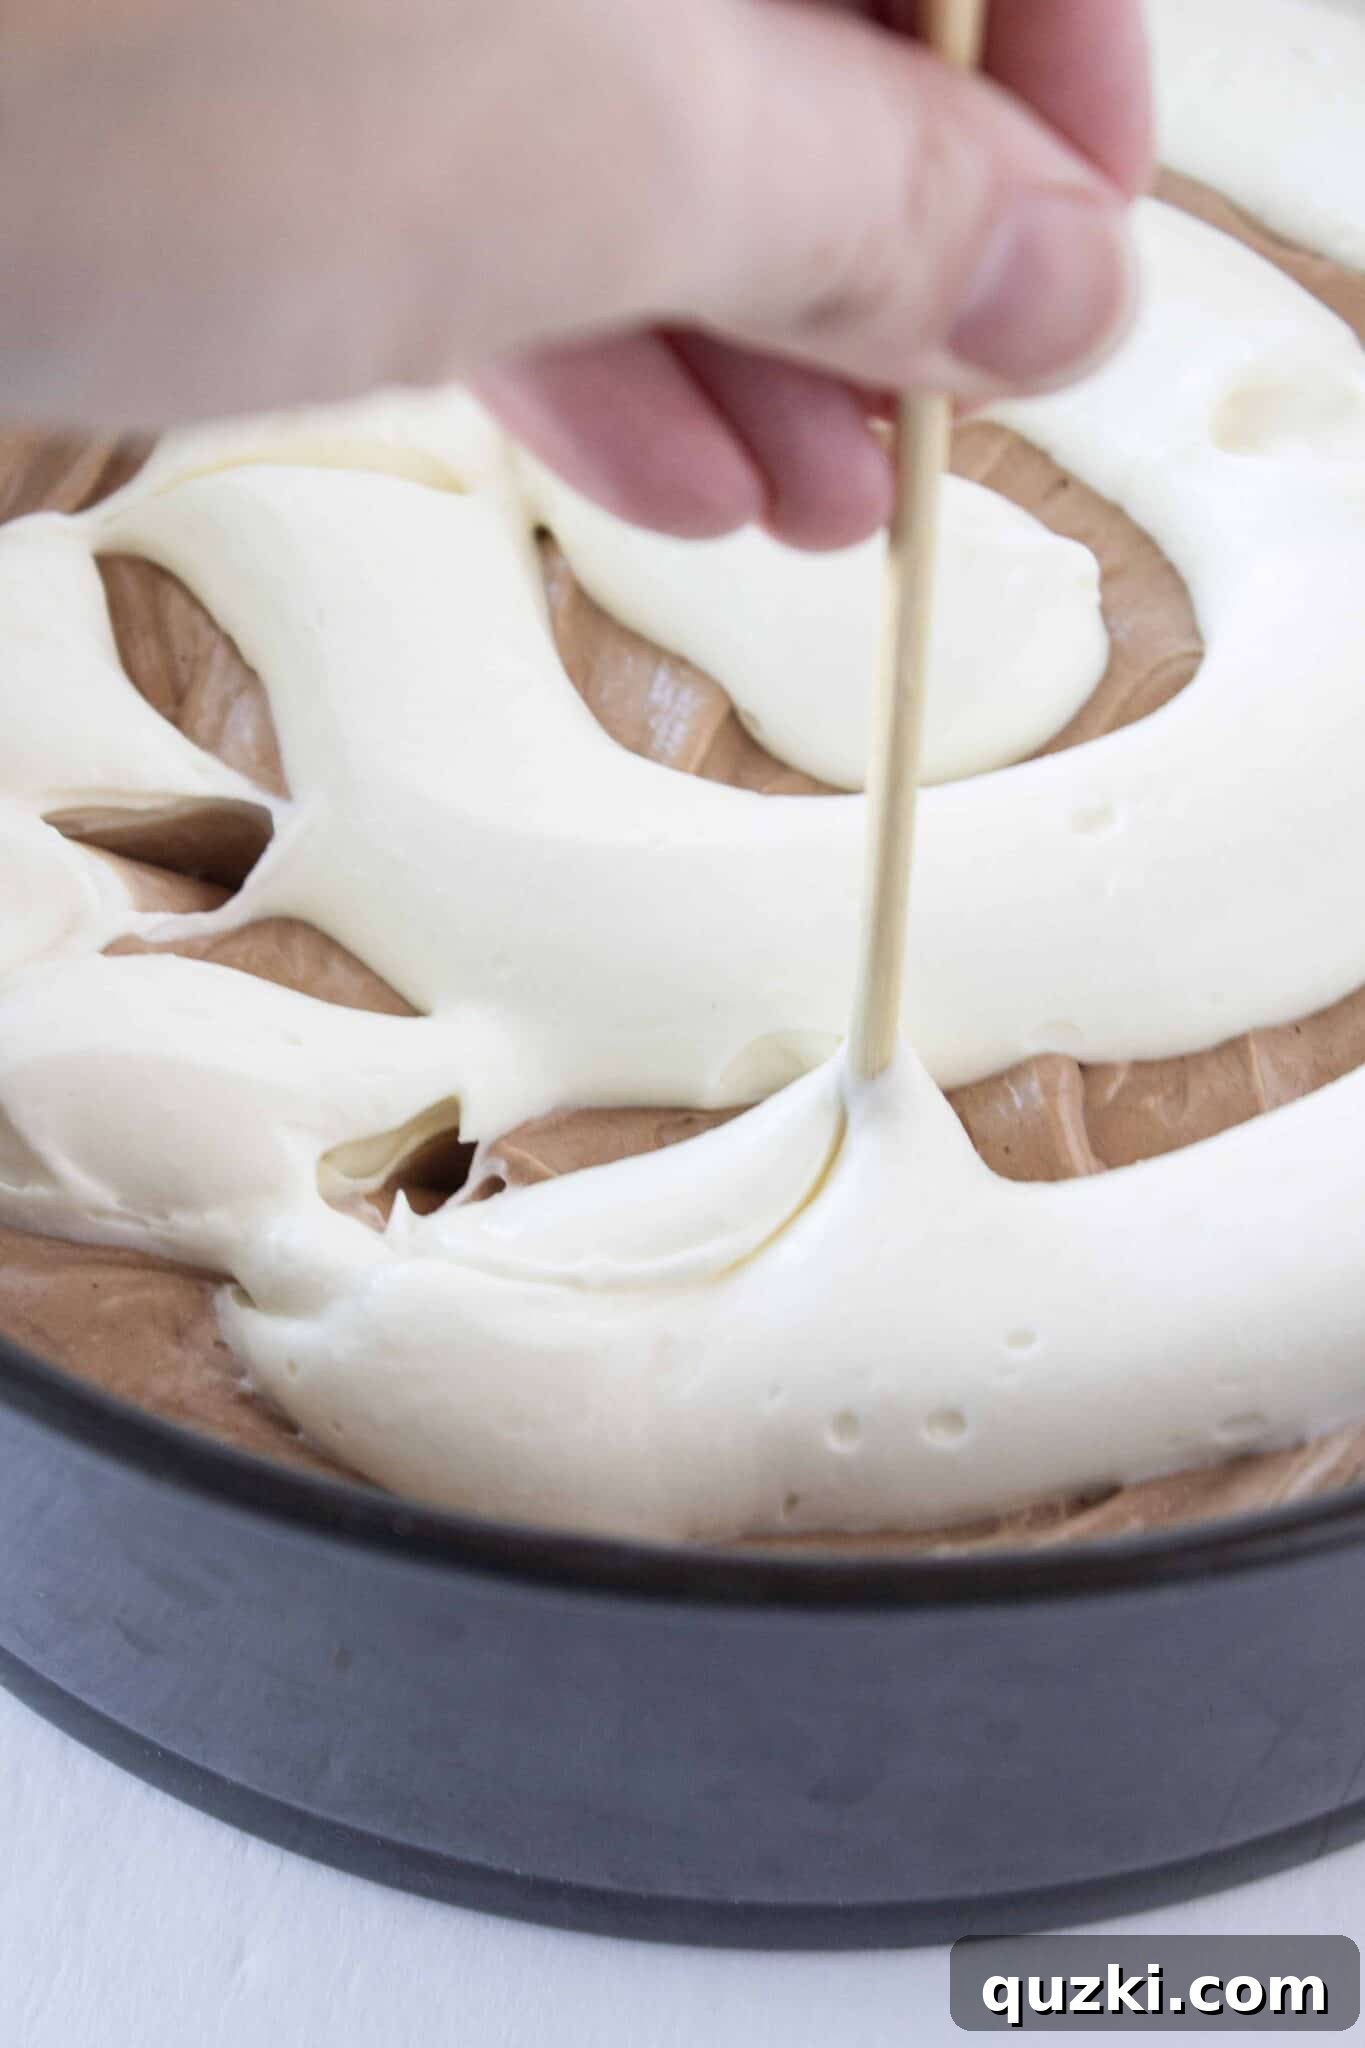
- Now for the exciting assembly! Evenly spread the chocolate peppermint cheesecake batter over the chilled Oreo crust in the springform pan. Next, take the remaining plain peppermint cheesecake mixture and add dollops strategically over the chocolate layer. Using a toothpick or a skewer, gently swirl the plain cheesecake through the chocolate layer. This creates beautiful, marbled patterns, making each slice a visual treat.
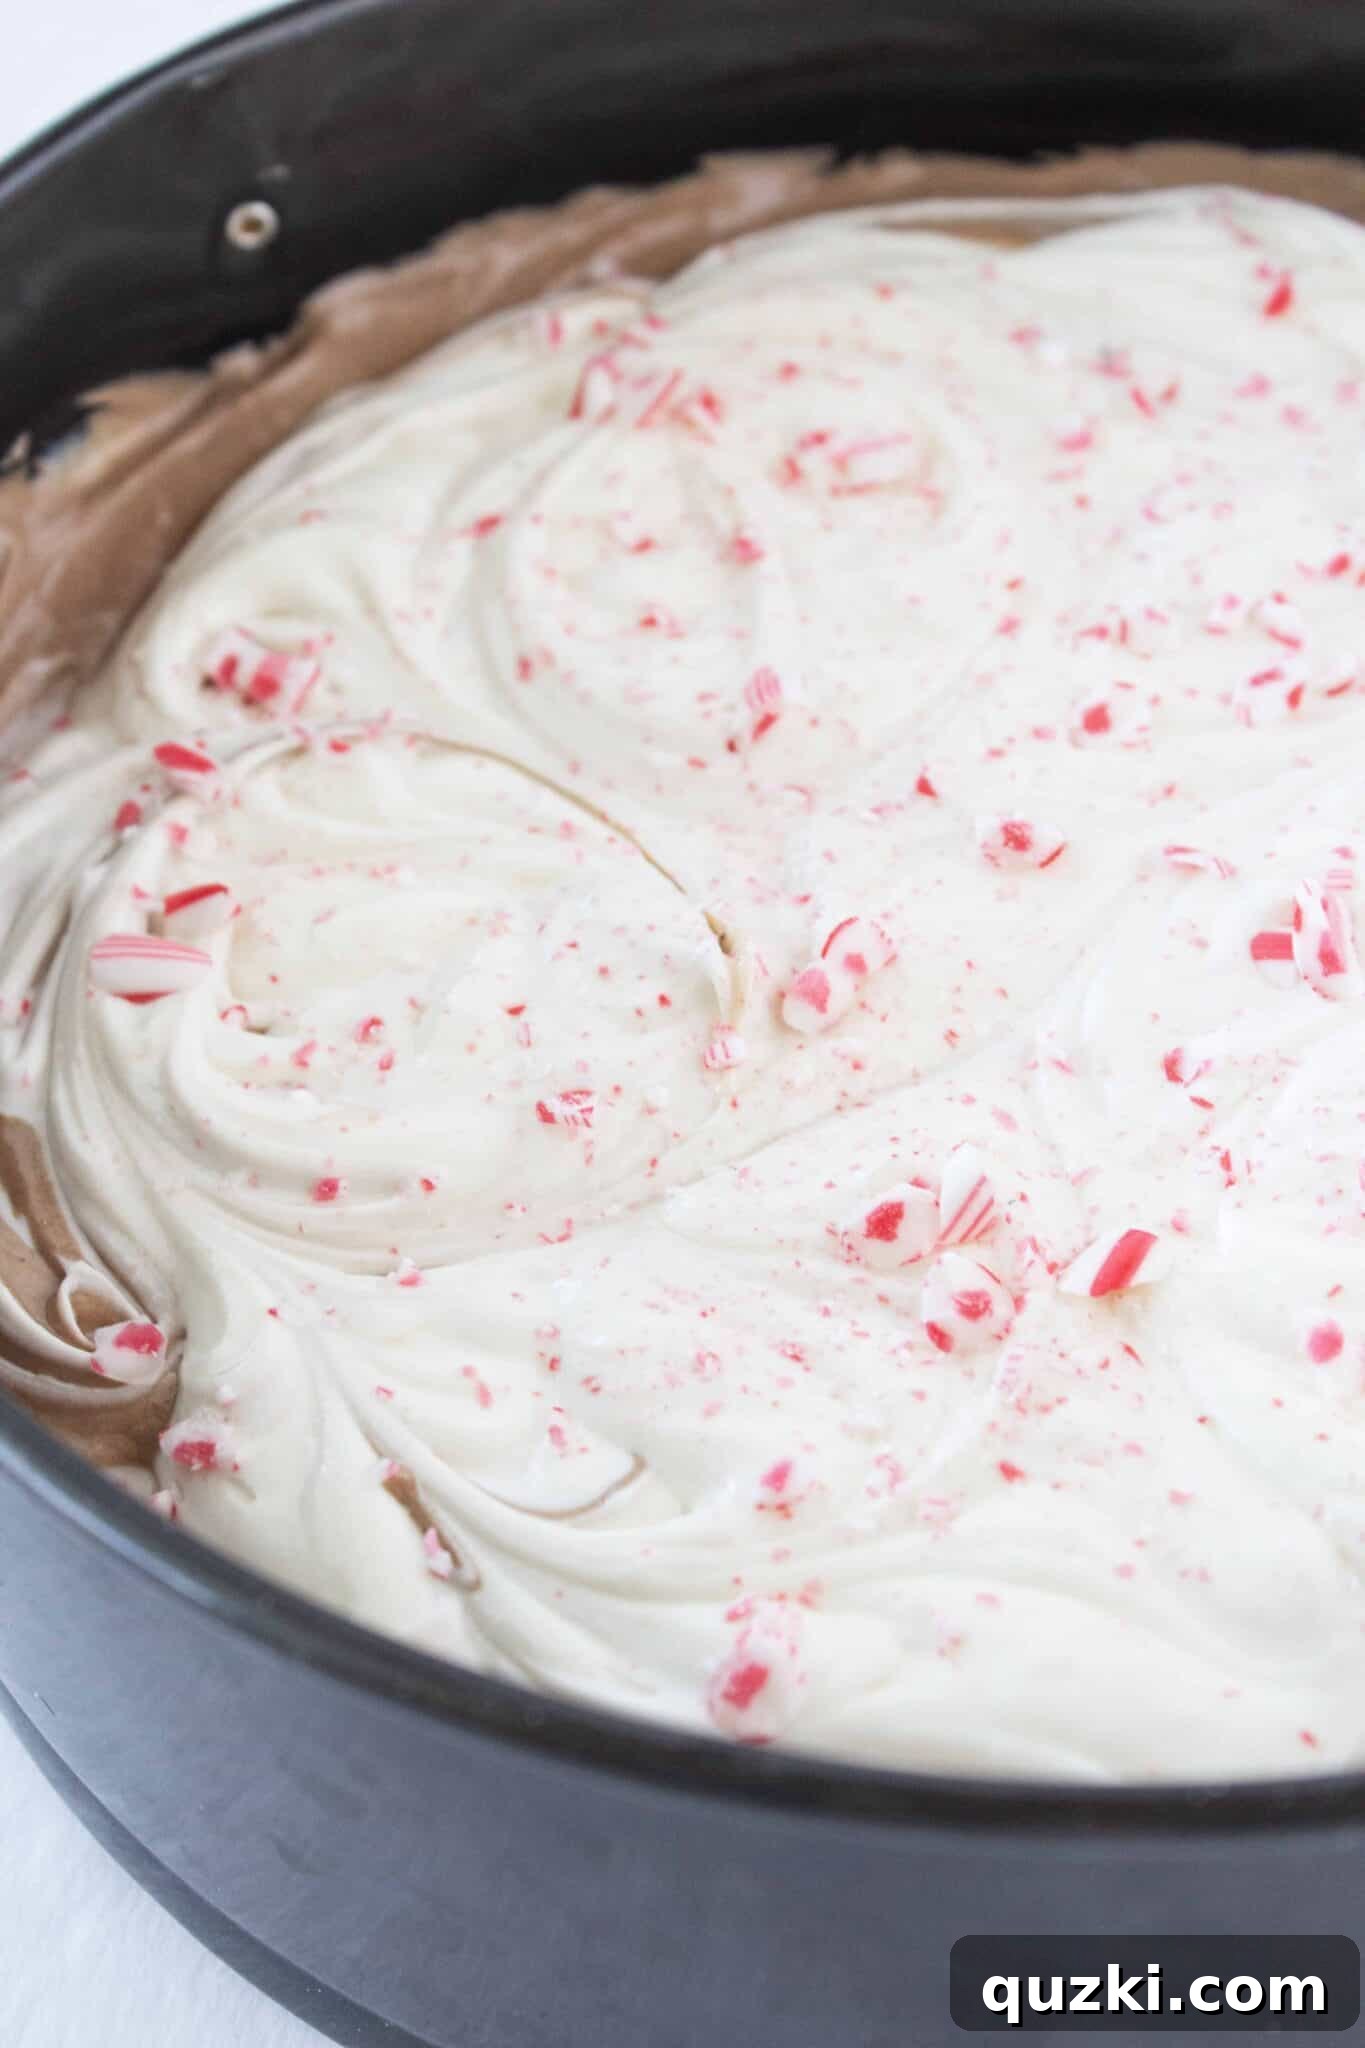
- Finish by generously sprinkling crushed peppermint over the top of the cheesecake. This not only adds a burst of festive color but also an extra layer of refreshing peppermint crunch. Place the cheesecake back into the refrigerator to chill for at least 2 hours, or preferably longer, to allow it to set completely.
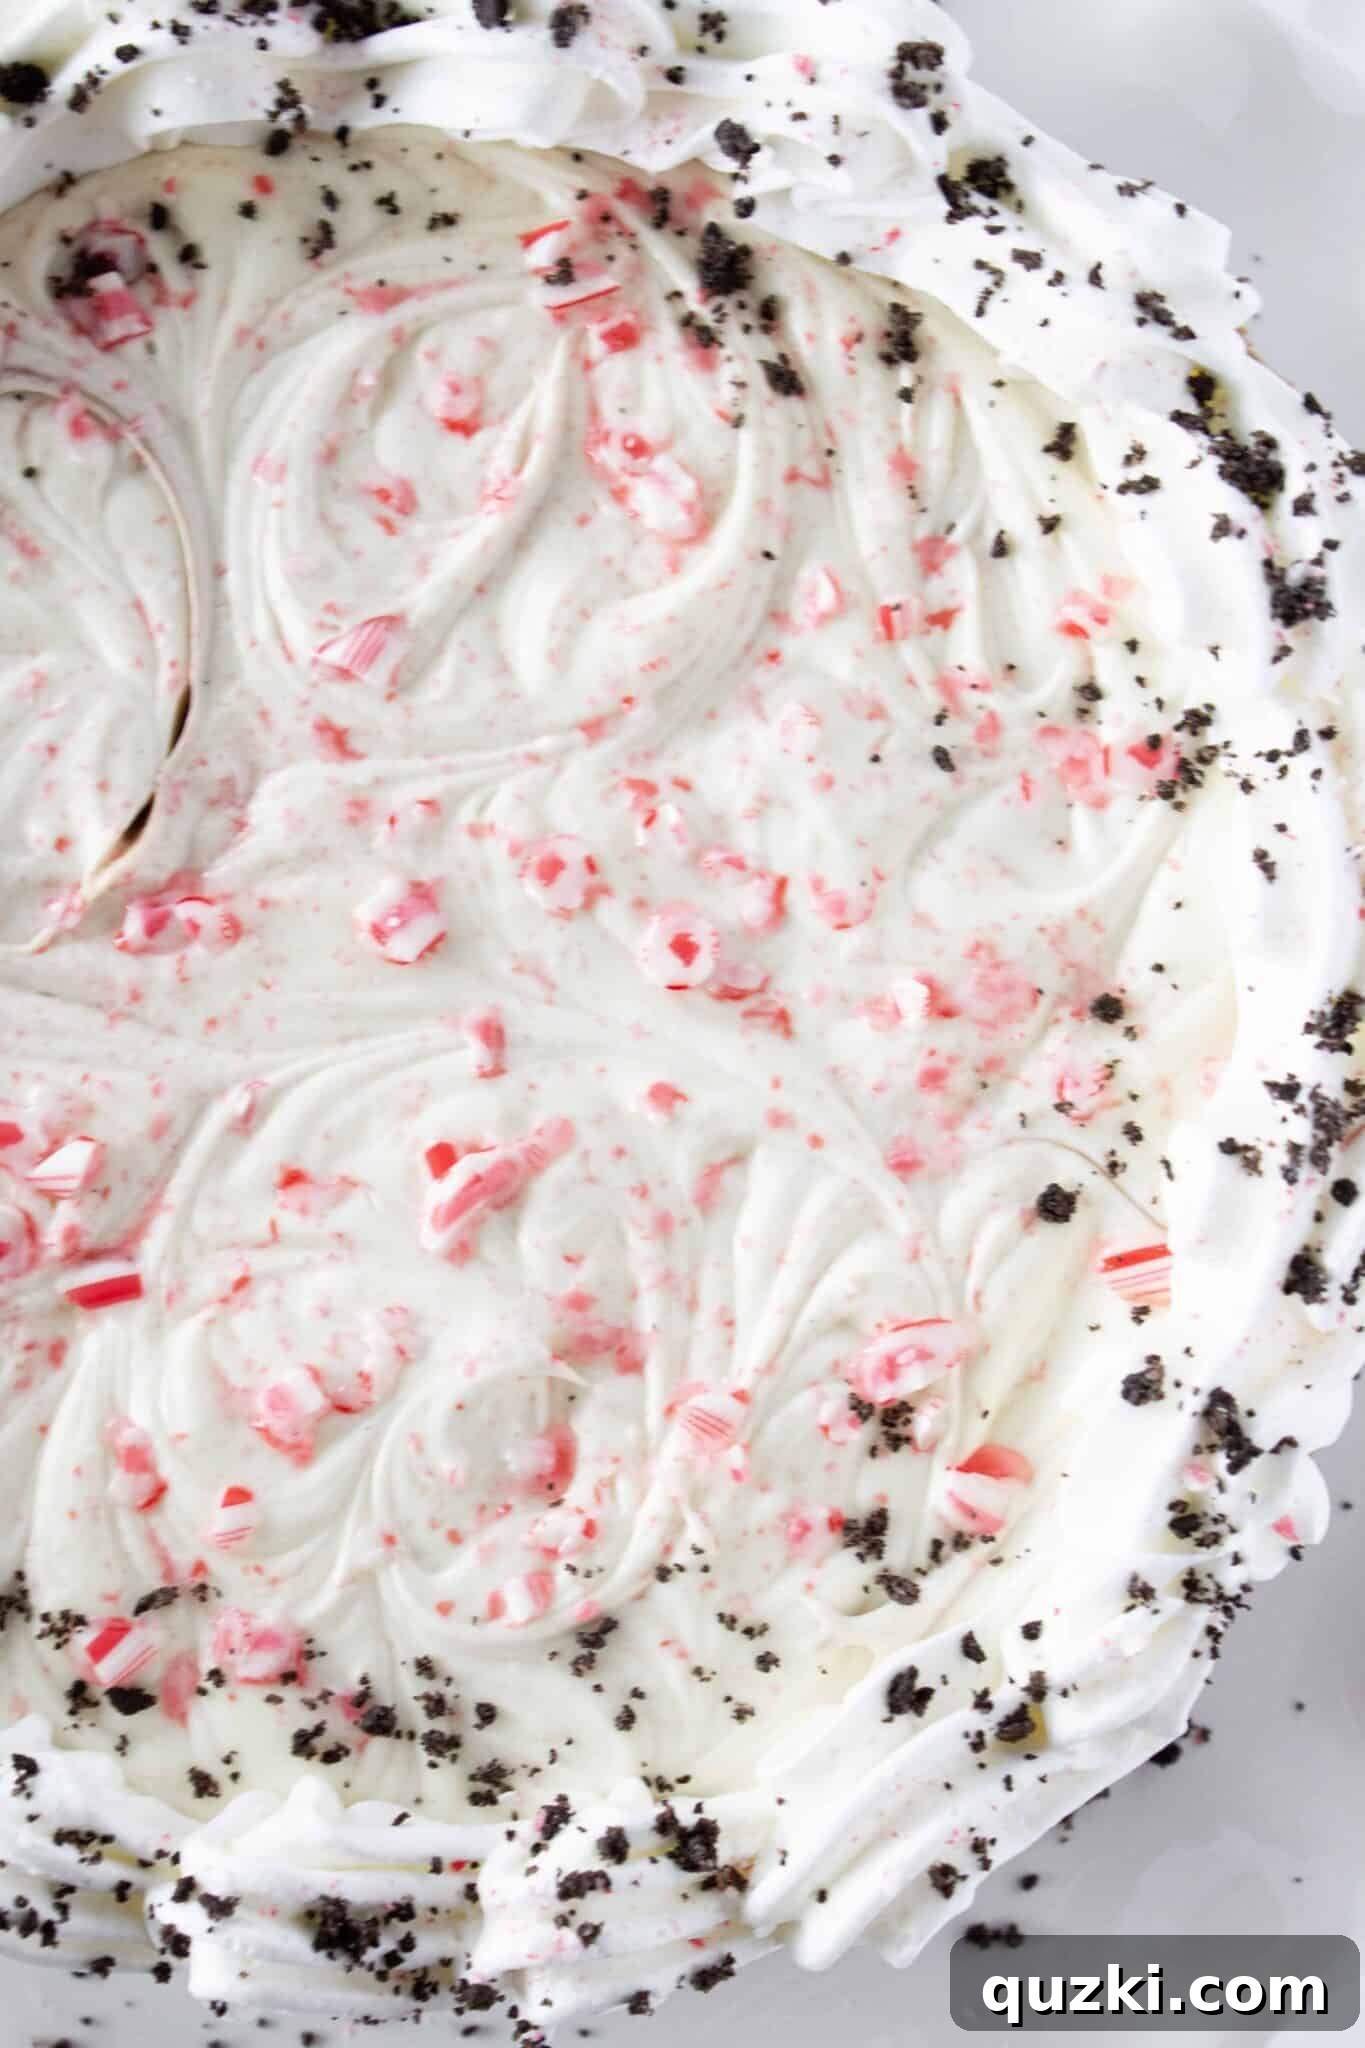
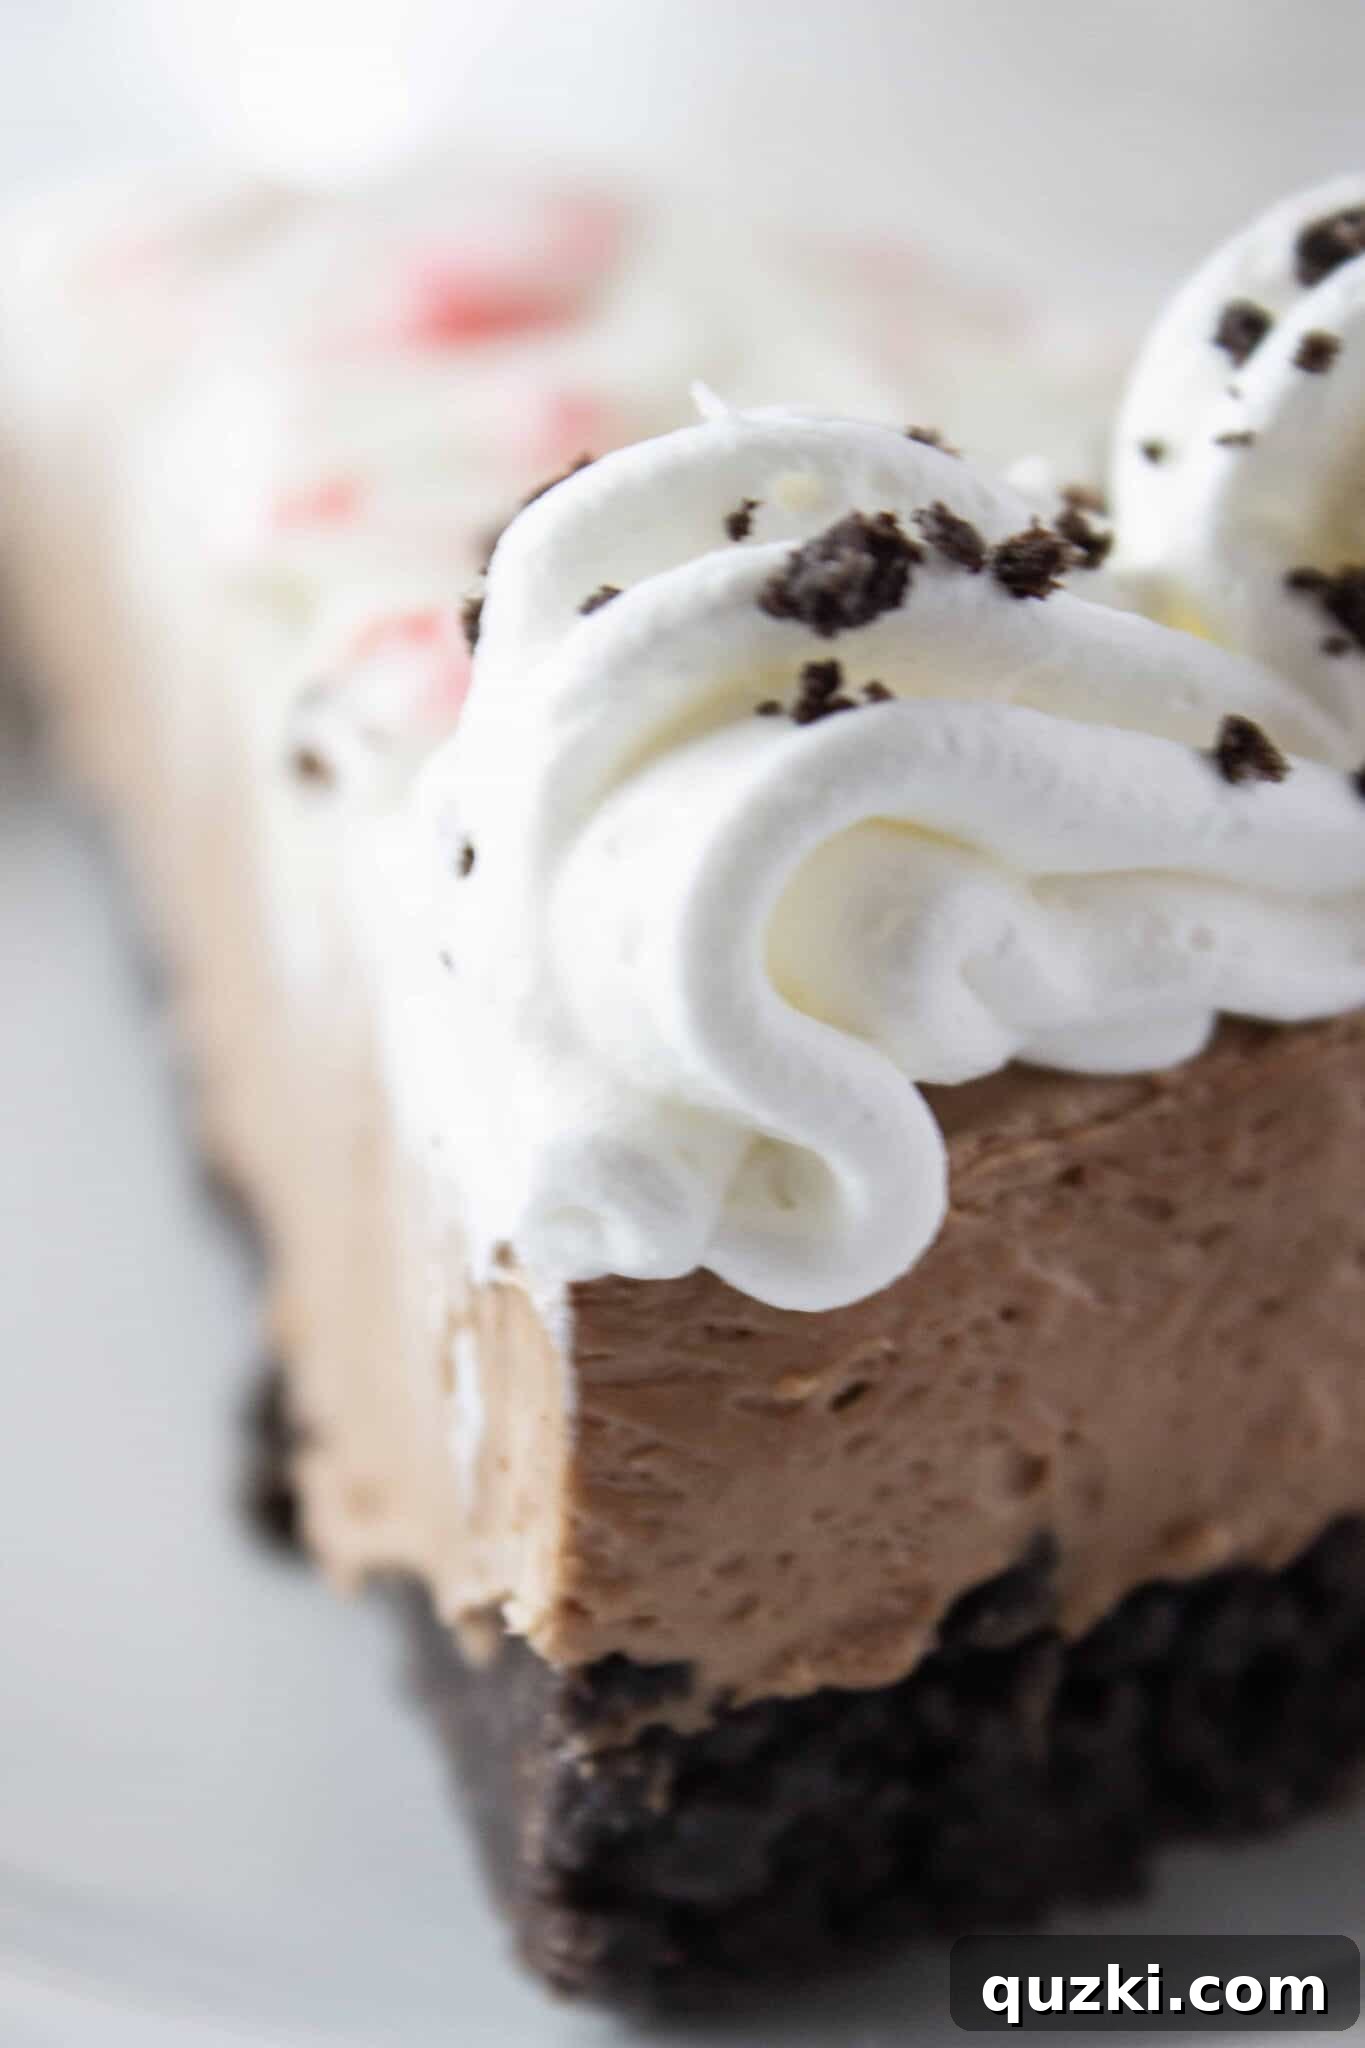
- Once your No-Bake Chocolate Peppermint Cheesecake has fully set and is firm, carefully remove it from the refrigerator. Gently loosen the sides of the springform pan and remove the ring. For an extra touch of elegance, you can pipe a border of whipped topping (or homemade whipped cream) around the edge of the cheesecake. A light dusting of finely crushed Oreo crumbs around the border complements the crust beautifully and adds visual appeal.
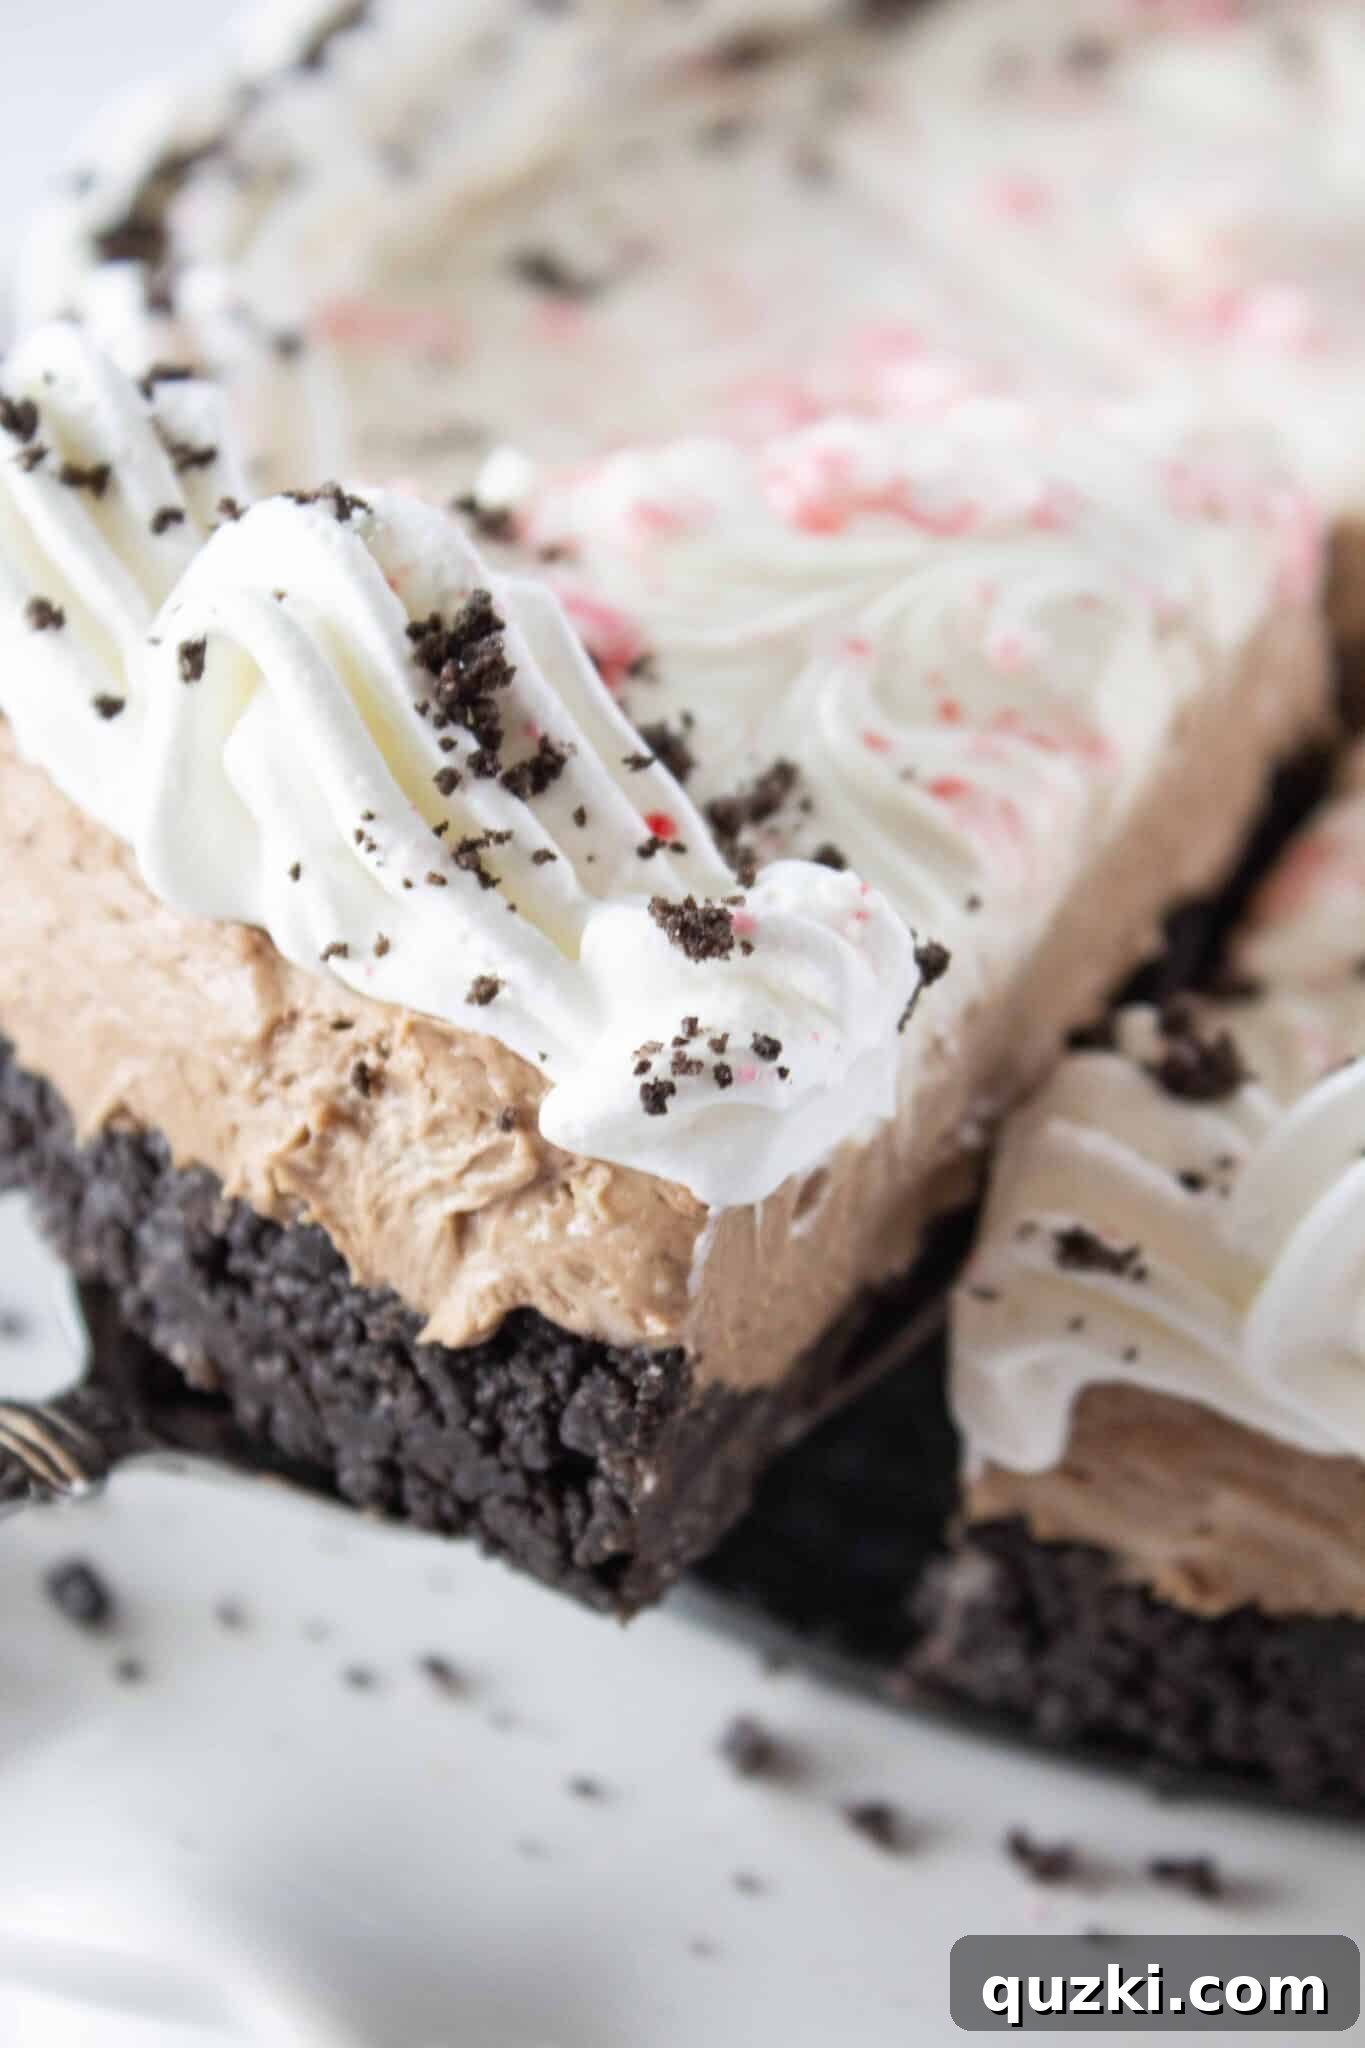
And now, for the moment you’ve been waiting for—the best part! It’s time to serve yourself and your loved ones a generous slice (or two!) of this heavenly creation. This cheesecake delights with the satisfying crunch of the Oreo crust, followed by the unparalleled creaminess of the filling. But what truly makes this dessert shine is the perfectly balanced, invigorating kiss of peppermint. It’s a flavor combination that’s both classic and captivating.
This dessert is exquisitely perfect for any holiday occasion, from a grand Christmas feast to a cozy New Year’s Eve gathering. Yet, don’t feel obligated to wait for a special event; it’s also wonderful for transforming a regular weeknight into something truly special. I wholeheartedly believe we shouldn’t reserve wonderful things for special occasions – life is far too short not to enjoy them whenever the craving strikes!
Alternate Pans for Your No-Bake Cheesecake
If you don’t own a springform pan, don’t fret! You can absolutely make this delicious no-bake cheesecake in a large pie plate. When using a pie plate, you’ll still press the cookie crust down firmly, but remember to extend the crust up the sides of the pie plate to create a beautiful and functional edge. All other steps for preparing the creamy filling and assembling the cheesecake remain exactly the same, ensuring a delightful dessert regardless of your bakeware.
Expert Tips for No-Bake Cheesecake Perfection
- **Crushing Cookies Without a Food Processor:** No food processor? No problem! Simply place your Oreo cookies in a sturdy Ziploc bag, seal it tightly, and use a rolling pin to crush them into fine crumbs. It’s a great way to release a little stress!
- **Butter in the Crust:** Don’t be alarmed if the crust mixture seems overly buttery or even a bit greasy initially. This generous amount of butter is crucial for an unbaked crust, acting as the primary binder that ensures it holds together perfectly once chilled. The crumbs will absorb the butter as it sets in the refrigerator.
- **Room Temperature Cream Cheese is Key:** This is perhaps the most vital tip for any cheesecake, especially a no-bake one. Ensure your cream cheese is at room temperature. This allows it to blend smoothly and effortlessly with the sweetened condensed milk, preventing lumps and creating that signature silky-smooth cheesecake texture. Cold cream cheese will result in a lumpy filling that won’t set properly.
- **Gentle Folding for Lightness:** When incorporating the whipped topping and melted chocolate, always use a gentle folding motion. Overmixing can deflate the air incorporated into the whipped topping, leading to a denser cheesecake.
- **Adequate Chilling Time:** Resist the urge to cut into your cheesecake too early! The minimum 2-hour chilling time is essential for the cheesecake to firm up and for the flavors to fully meld. For best results and the cleanest slices, consider chilling it for 4-6 hours, or even overnight.
More Peppermint Delights: Explore Related Recipes
If you’ve fallen in love with the invigorating taste of peppermint, there’s a whole world of delightful peppermint-infused treats waiting for you! These recipes complement the festive flavors of this cheesecake and are perfect for expanding your holiday baking repertoire.
Cookies
Chocolate Peppermint Cookies
These soft, chocolatey cookies with a refreshing peppermint twist are a fan favorite and incredibly easy to make. Perfect for cookie exchanges or a quick holiday treat!
Christmas
No Bake Oreo Peppermint Bark
A quick, no-fuss dessert that delivers big on flavor! This crunchy bark combines crushed Oreos with a double layer of chocolate and peppermint for an irresistible holiday snack.
Desserts
Easy Hot Cocoa Peppermint Cookies Recipe with a Cake Mix
Shortcut your way to deliciousness with these cake mix cookies featuring the comforting flavors of hot cocoa and a cool peppermint kick. Simple yet impressive!
Brownies
The Best Peppermint Bark Brownies Recipe
Indulge in fudgy brownies topped with a creamy white chocolate peppermint layer and festive crushed candy canes. A guaranteed holiday hit!
No Bake Chocolate Peppermint Cheesecake
June Albertson-Dick
2 hours
25 minutes
2 hours
25 minutes
10
servings
Print Recipe
Ingredients
Oreo Cookie Crust
- 2 ¼ cup Oreo cookie crumbs
- ½ cup butter, melted
Chocolate Peppermint Cheesecake Filling
- 16 ounces cream cheese, softened
- 14 ounces sweetened condensed milk
- 8 ounces whipped topping
- 4 ounces semi-sweet chocolate, melted
- ½ teaspoon peppermint extract
- 1 candy cane, crushed
Optional Toppings:
- 2 Oreo cookies, broken into pieces
- 4 ounces whipped topping
Instructions
Oreo Cookie Crust
-
Combine Oreo cookie crumbs and melted butter in a bowl. Mix thoroughly until everything is nicely incorporated and the crumbs resemble wet sand. Pour this mixture into an ungreased springform pan. Press the crumbs down firmly and evenly into the bottom and slightly up the sides of the pan. Refrigerate the crust until the filling is ready to be added, allowing it to set.
Chocolate Peppermint Cheesecake Filling
-
In a large mixing bowl, combine the softened cream cheese and sweetened condensed milk. Using a handheld or stand mixer, beat these ingredients until the mixture is completely creamy and smooth. Gently add the whipped topping and fold it into the cream cheese mixture until just combined. Next, incorporate the peppermint extract, mixing gently until it’s evenly distributed. Divide this batter into two separate bowls: one bowl should contain 1/3 of the batter, and the other 2/3.
Melt the semi-sweet chocolate in a microwave-safe bowl. Begin by heating for 30 seconds, then stir. Continue heating in 10-second increments, stirring after each, until the chocolate is smooth and fully melted. Allow the melted chocolate to cool slightly (it should still be liquid but not hot) before pouring it into the bowl containing the larger portion (2/3) of the cheesecake filling. Gently fold the chocolate into the mixture, being careful not to deflate the airy batter.
Cheesecake Assembly
-
Pour the chocolate peppermint cheesecake batter over the chilled Oreo crust and spread it evenly to create a smooth layer. Take the plain peppermint cheesecake batter and add dollops strategically on top of the chocolate layer. Using a toothpick or skewer, gently swirl the plain cheesecake through the chocolate cheesecake to create beautiful, marbled patterns. Finish by sprinkling the crushed candy cane generously over the top of the cheesecake. Refrigerate for at least 2 hours, or until completely set.
-
To serve, carefully remove the outer portion of the springform pan. For an enhanced presentation, if desired, pipe a decorative border of whipped topping (or homemade whipped cream) around the edge of the cheesecake. Dust this whipped topping with a sprinkle of crushed Oreo pieces. Cut the cheesecake into wedges and serve immediately. Store any leftover cheesecake in the refrigerator for up to 4 days, ensuring it’s covered to maintain freshness.
Nutrition
Calories: 688kcal,
Carbohydrates: 65g,
Protein: 10g,
Fat: 44g,
Saturated Fat: 26g,
Polyunsaturated Fat: 3g,
Monounsaturated Fat: 13g,
Trans Fat: 0.4g,
Cholesterol: 85mg,
Sodium: 440mg,
Potassium: 399mg,
Fiber: 2g,
Sugar: 51g,
Vitamin A: 1030IU,
Vitamin C: 1mg,
Calcium: 199mg,
Iron: 6mg
Nutrition information is automatically calculated, so should only be used as an approximation.
We hope you enjoy creating and sharing this spectacular No-Bake Chocolate Peppermint Cheesecake as much as we do. It’s a truly unforgettable dessert that brings joy and festive cheer to any table. If you have any questions or simply want to share your experience, please feel free to leave a comment below!